DIY: Replacing cracked fog light lenses
 Jun 29, 2012, 11:25 PM
#1
Evolving Member
Thread Starter

Background Info:
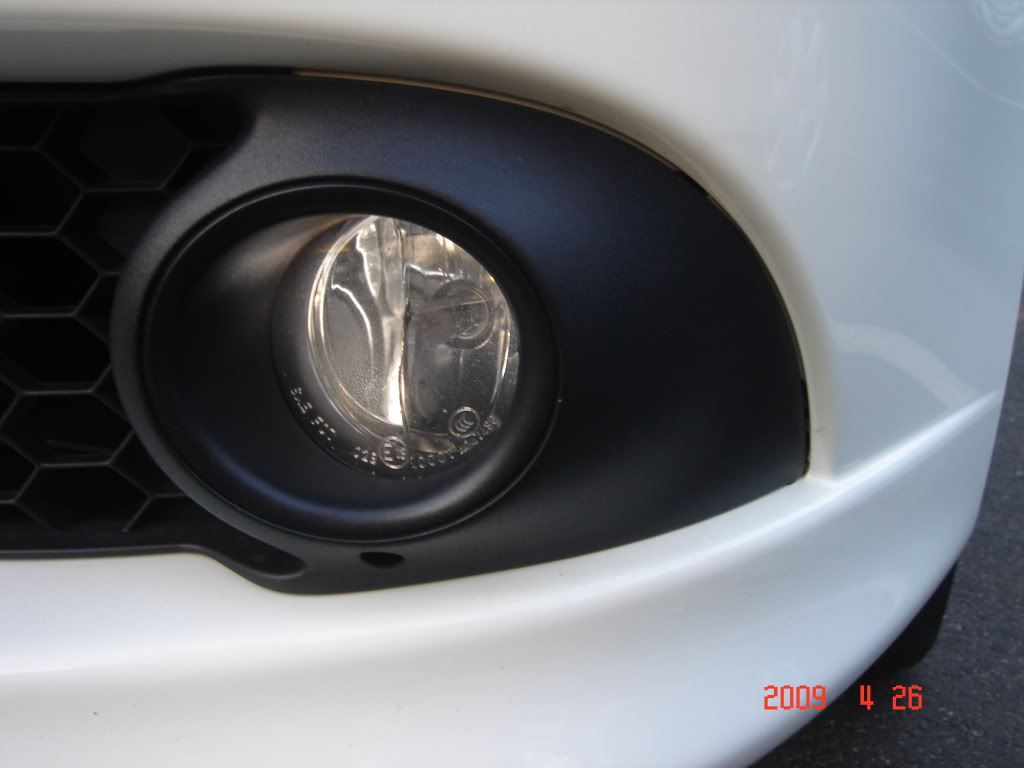
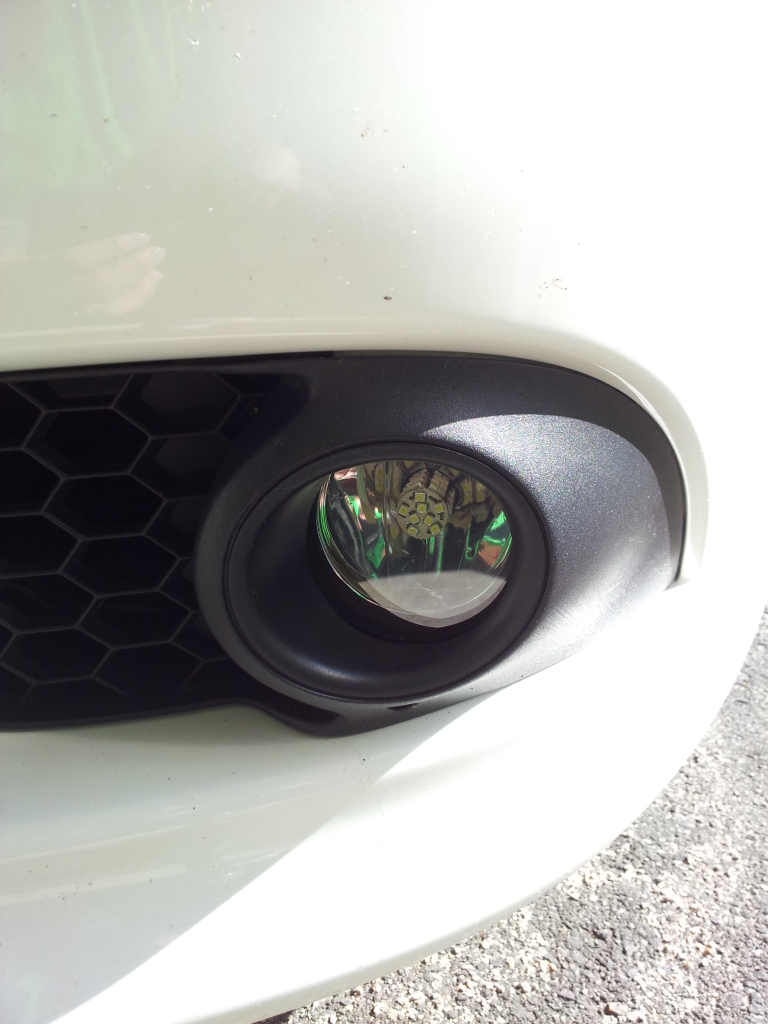
Both of my fog light lenses cracked about 2 years ago, it happened when the weather started getting warmer after the 2nd winter my car endured. I am 100% sure the cracks were not impact-induced, but in fact they cracked due to temperature changes. Both lenses started cracking about the same time and the surface is completely free of nicks or chips, and the cracks started developing from the inside. I've searched around this forum and clubralliart.com and quite a few people have experienced the same issue, and they all live in either NorthEast or Canada.
Long story short, brought it in to the dealer, service manager agreed with my theory, regional warranty manager didn't and he declined to replace my fog lights under warranty, I walked out pissed cursing at Mitsubishi.
Drove around with the cracked fog lights for 1.5 year, moisture would get in and light bulbs would go out all the time and the lenses look ghetto. Started doing some research and found out people have attempted to replace the lenses themselves. So I decided to go ahead and try it since it's better than paying $100 for a new pair of fog light assembly.
================================================== ========
Tools and Materials Needed:
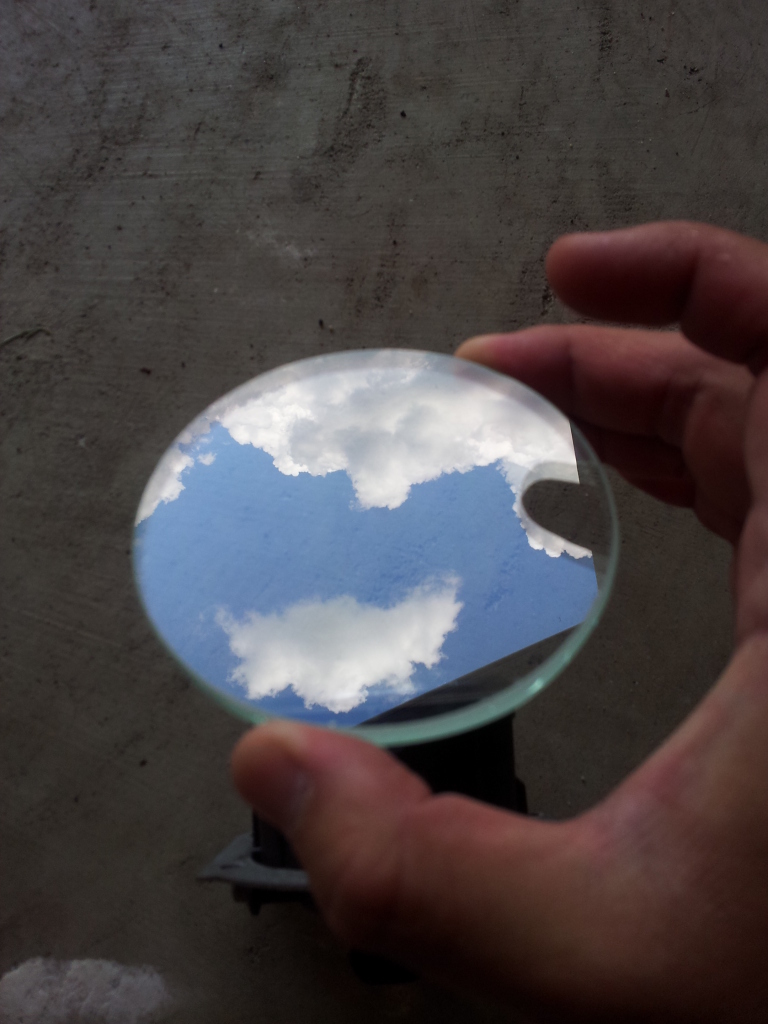
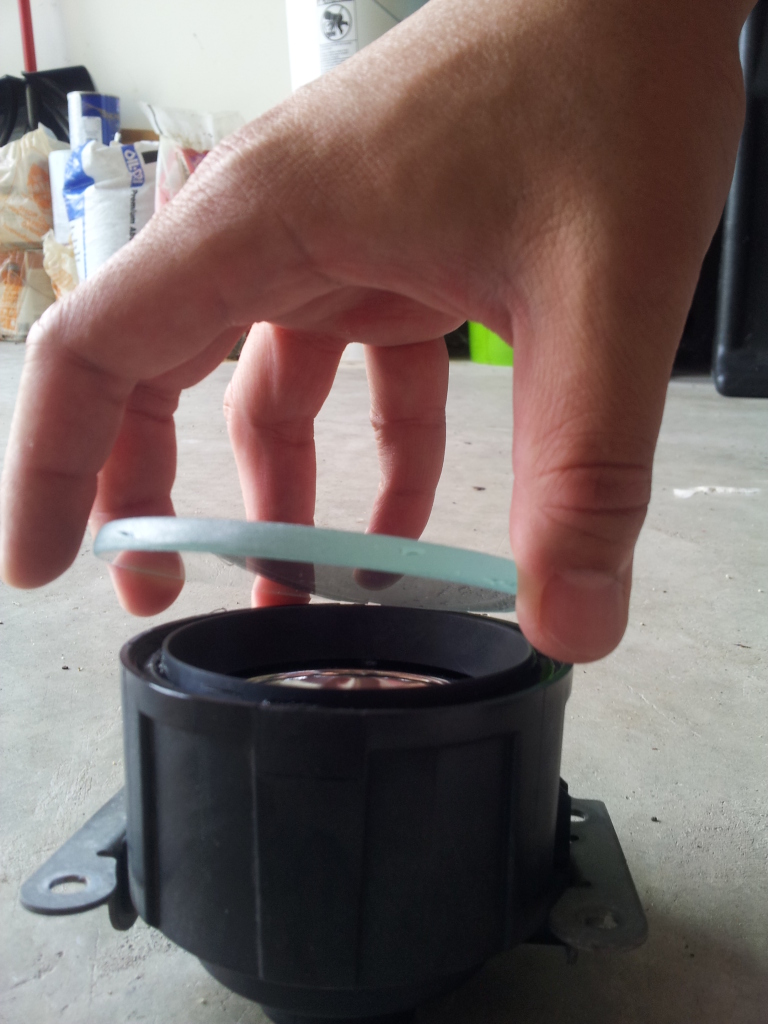
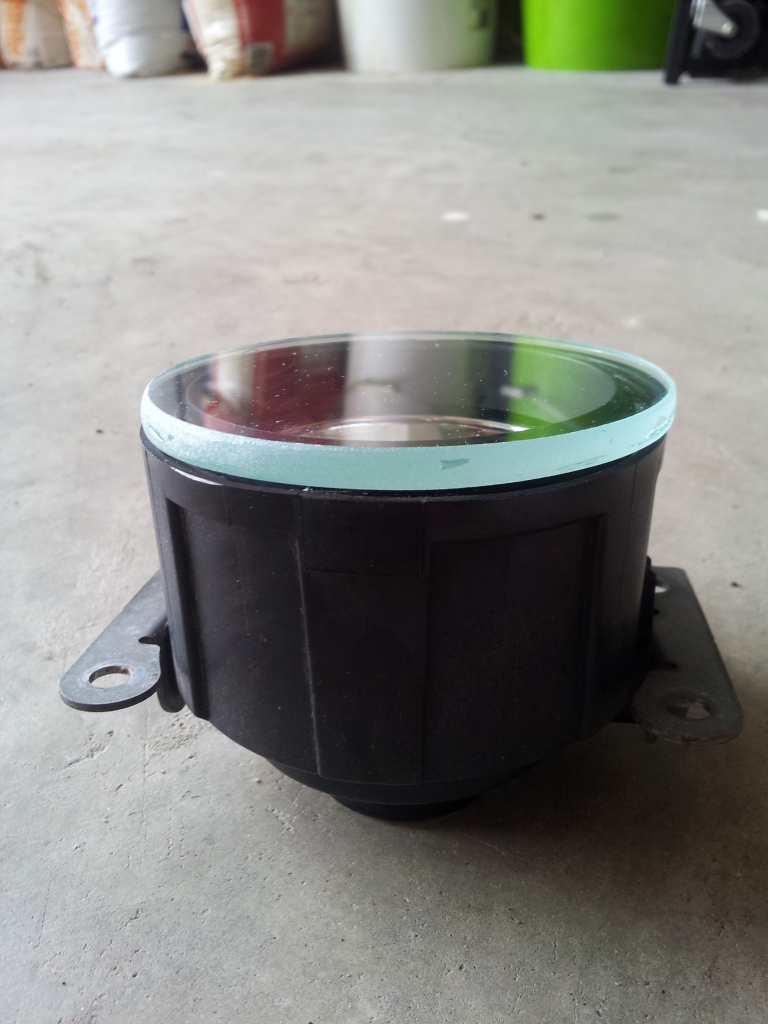
Pre-cut glass circles 3.5” diameter and �” thick
Visit your local glass shops or Google "pre-cut glass circles"; I went with �” thickness over 1/8” worrying that 1/8” may be too thin. I paid $5 for each piece.
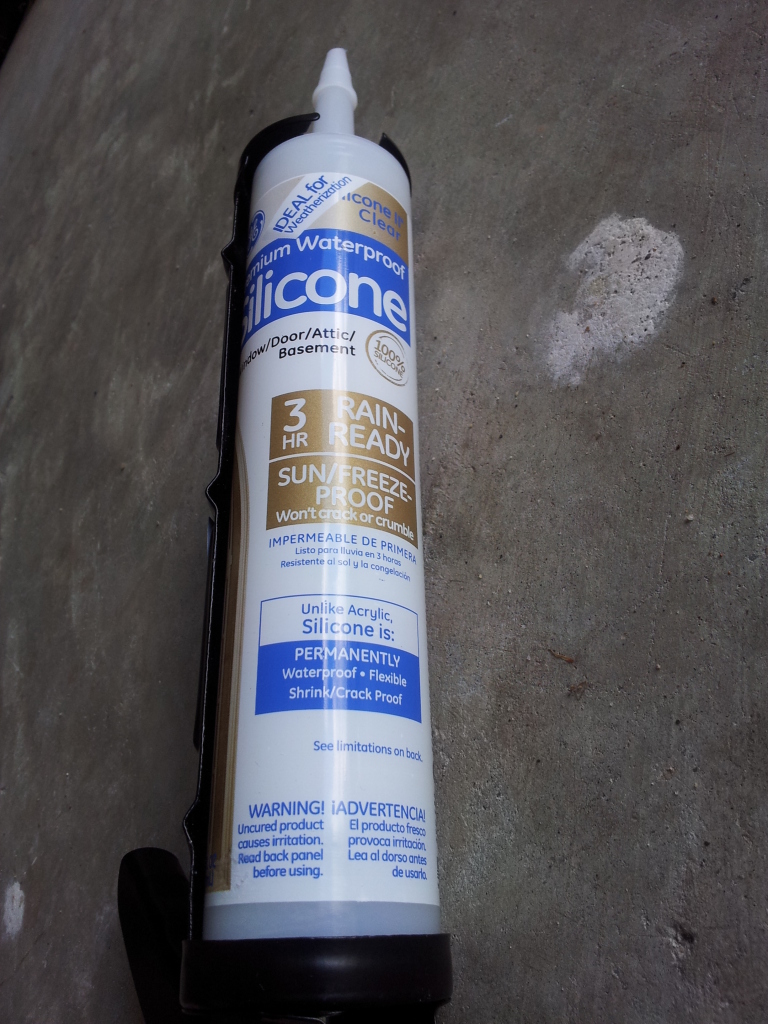
High temp resistant silicone sealant
I went with this: http://www.caulkyourhome.com/ge-sili...w-and-door.php, it is not advertised as high temp resistant but that’s the best my local Home Depot had to offer. The temp range listed on the label says -40 to 400 degrees so it should be good enough especially I use LED bulbs for the fog lights which do not produce nearly as much heat as halogen bulbs.
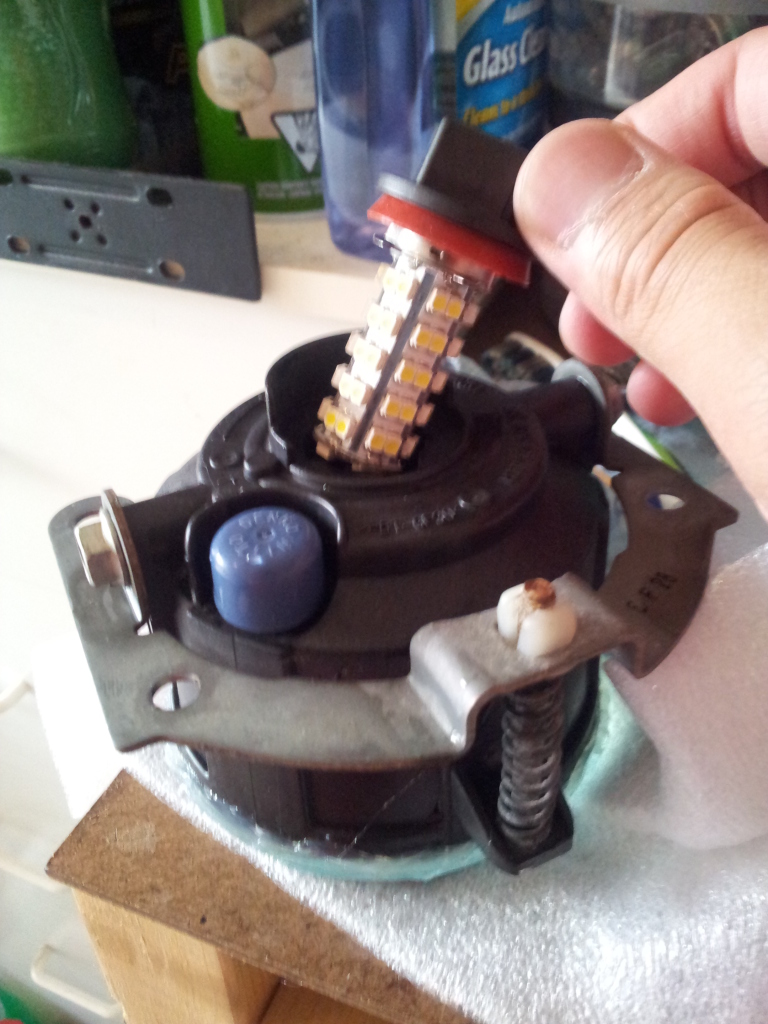
New bulbs if they need to be replaced. I would recommend LED bulbs; they are cheap and look so much cooler. I bought a set from eBay and paid ~ $10 for a set of H11 White LED bulbs with 68 LEDs on each. Do not get the ones with 120 LEDs, the diameter of those bulbs are too big to fit through the opening in the housing (I know because I wasted money on a set).
A philip screwdriver.
A hammer or mallet used with a screw driver to break the old lenses off.
Some working gloves so you don’t cut yourself while cleaning the broken glass off of the fog light housings.
================================================== ========
Steps:
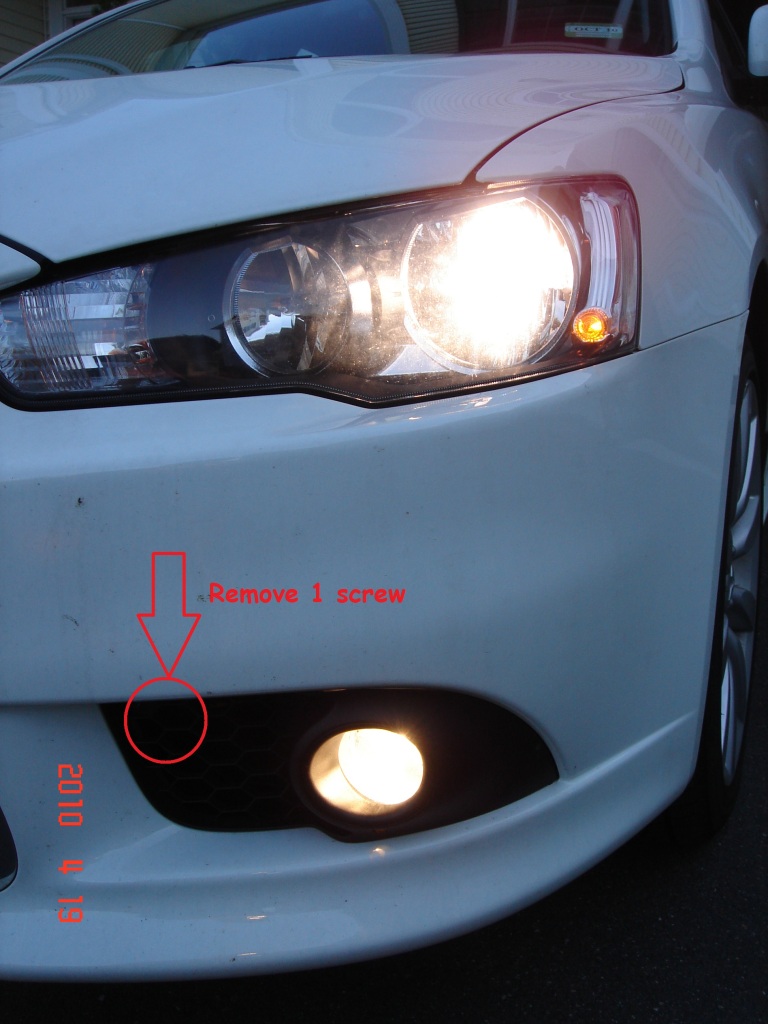
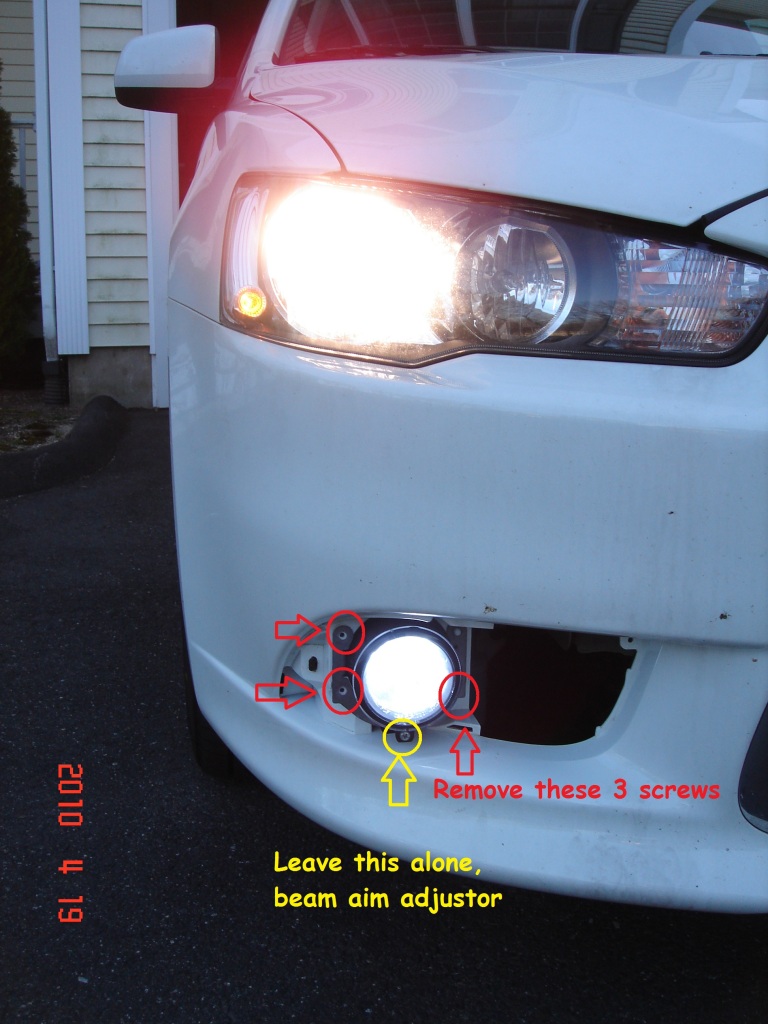
1. Remove one screw located at the top of the bezel, it’s on the side towards the center of the car. Don’t mess with the one at the bottom of the bezel because it’s the aim adjustment screw for the fog lights.
************************************************** ***************
************************************************** ***************
2. Stick your finger through the mesh and pull on the bezel to wiggle it out. It’s held on by that one screw you just removed and a bunch of clips along the edges of the bezel.
************************************************** ***************
3. Remove 3 short screws from the fog light housing mounting bracket, 2 on the outside and 1 inside.
************************************************** ***************
************************************************** ***************
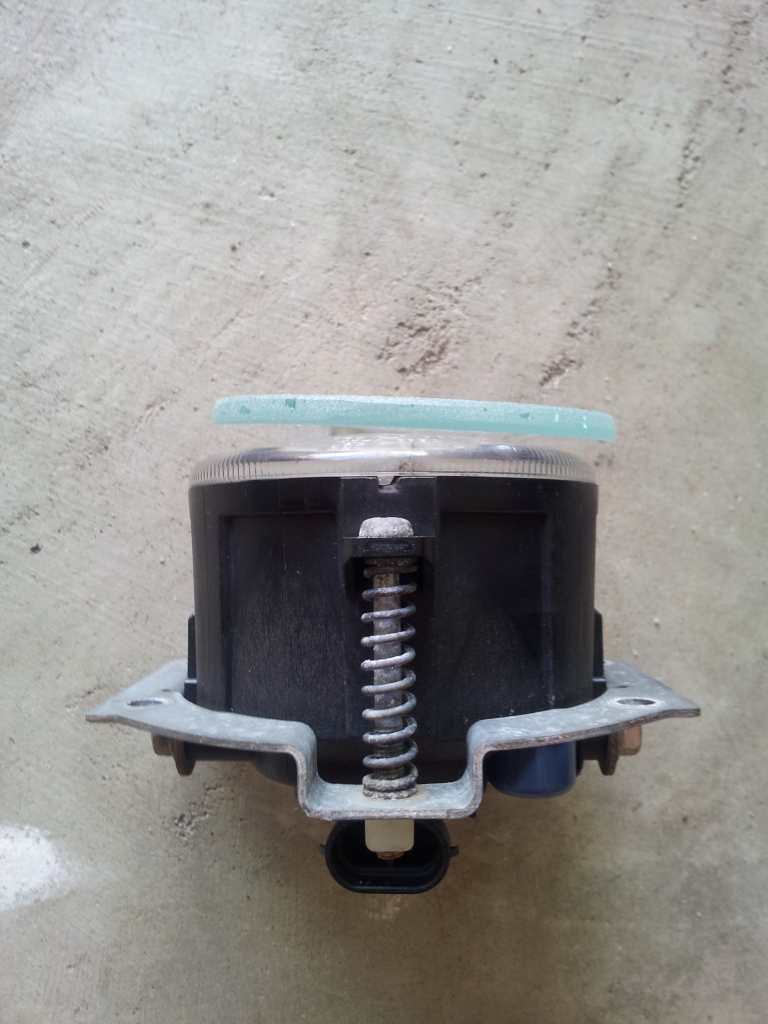
4. Pull the light housing out a bit and unplug the connector
************************************************** ***************


************************************************** ***************
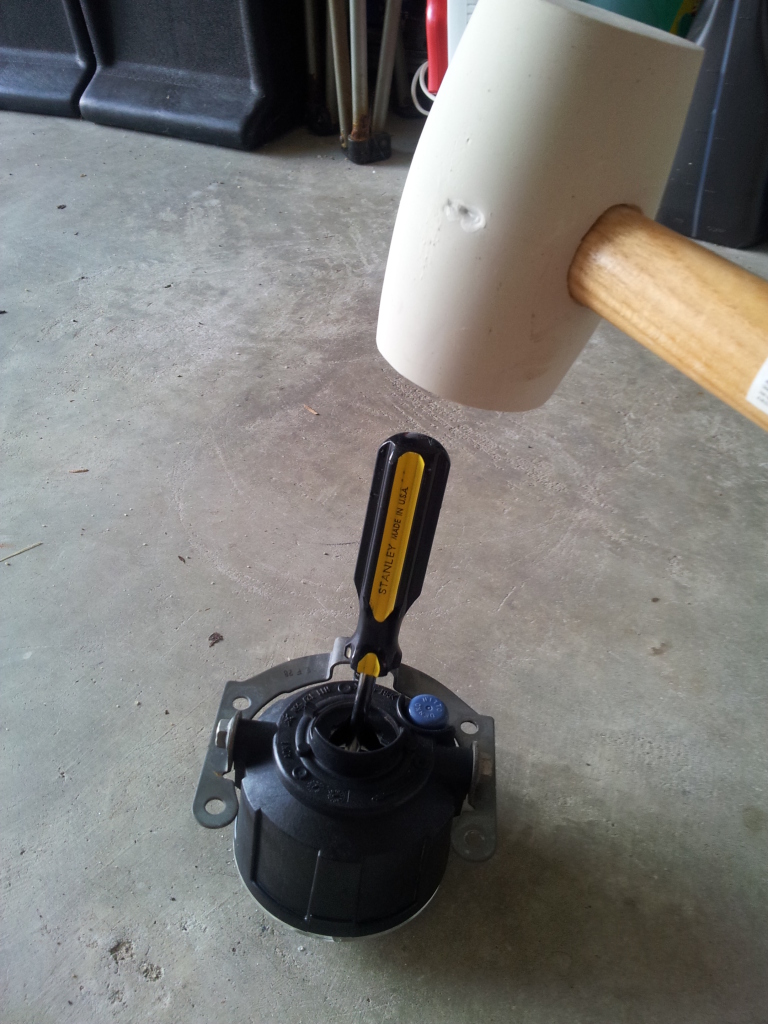
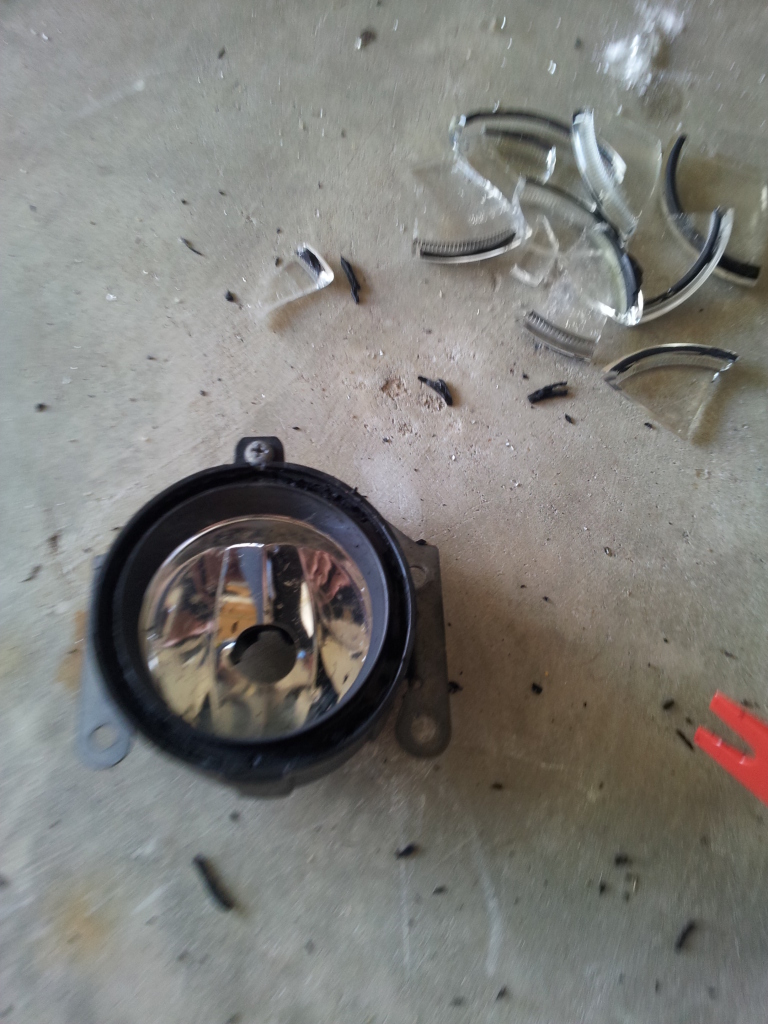
5. Now it’s time to remove the cracked lenses. Break the glass however you like, but I did it like this:
************************************************** ***************
************************************************** ***************
6. If you lay the tip of the screwdriver right on top of an existing crack and hammer it, the glass will break off easier.
************************************************** ***************
************************************************** ***************
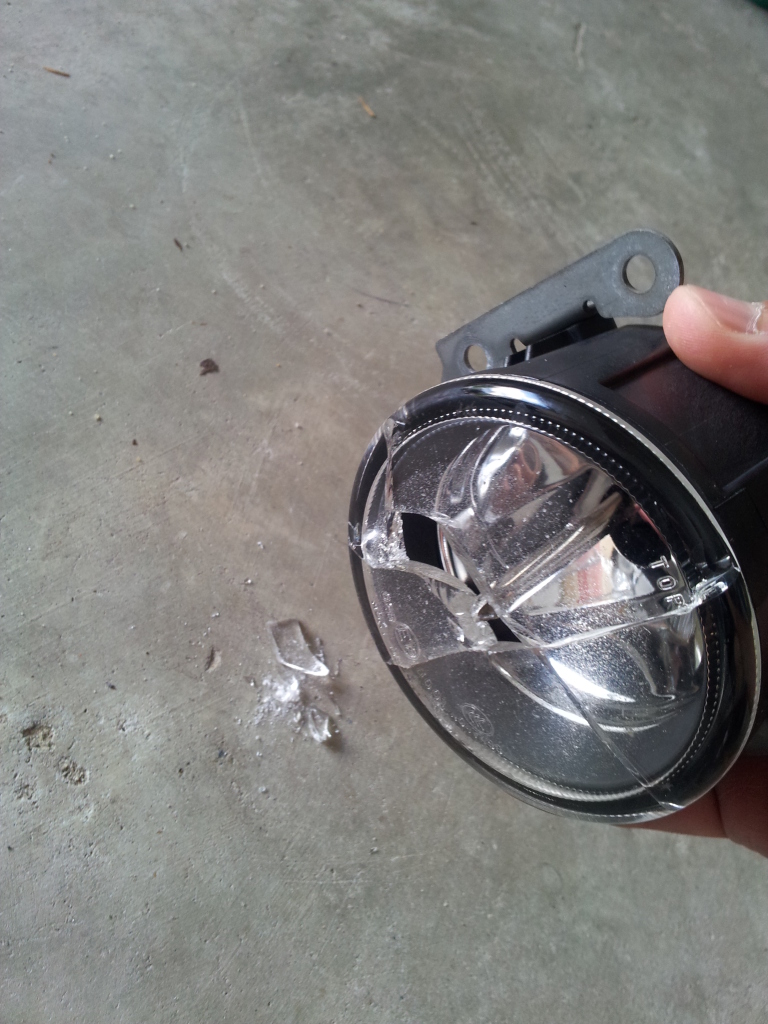
7. Put on some working gloves before you remove the broken glasses by hand. The glass is held on by some black sealant around the rim of the housing. Just pull the pieces back and rip them off.
************************************************** ***************
************************************************** ***************
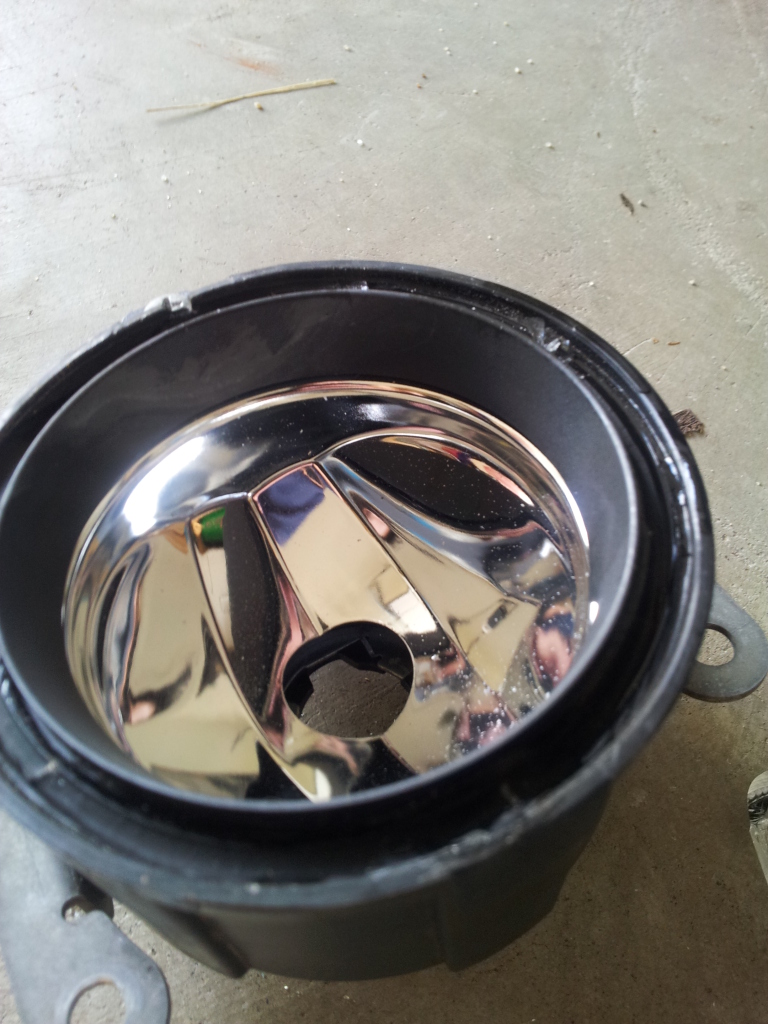
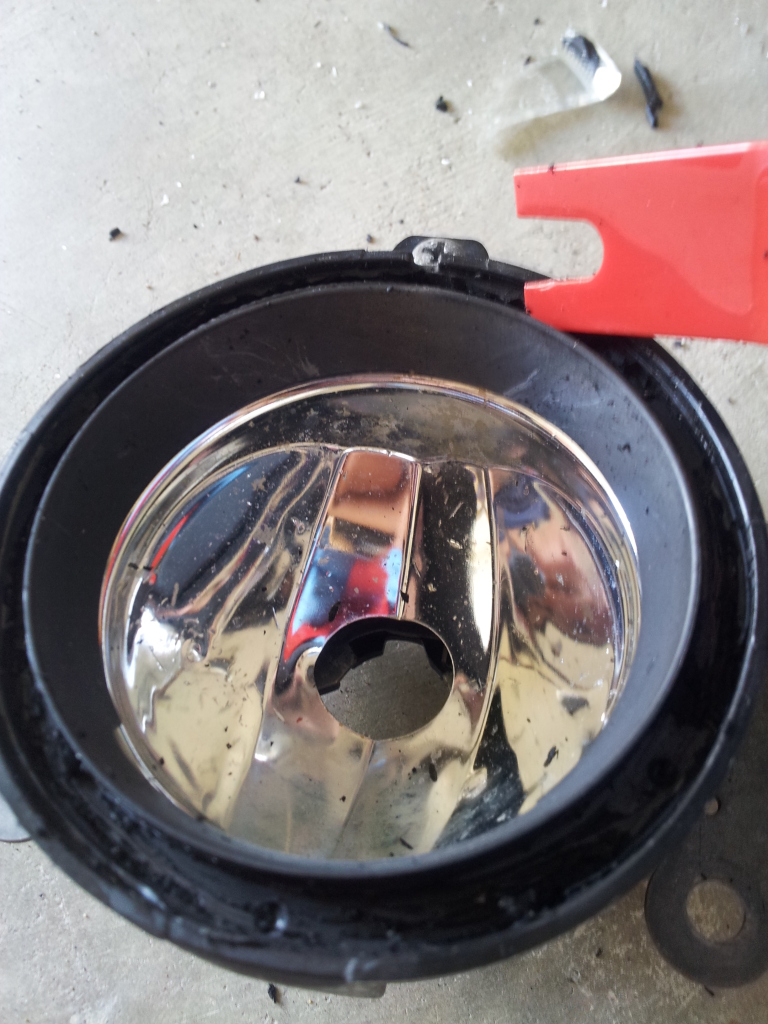
8. Inspect the chrome reflector, moisture most likely had been getting inside the housing through the cracks so take some mild cleaner and clean it if you want. Lesson learned here: blow on the reflector and shake the housing a few times first; when I cleaned mine I had no idea there were micro pieces of shattered glass (glass dust) resting on the reflector so when I was wiping it down I scratched the surface a bit.
************************************************** ***************
************************************************** ***************
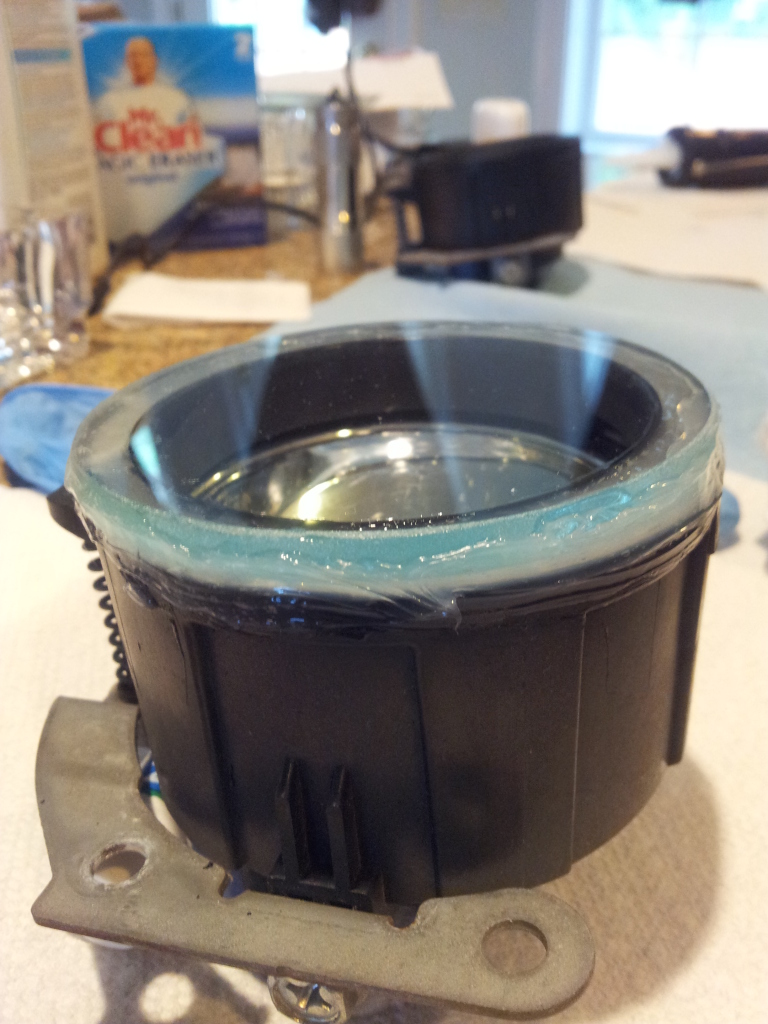
9. The next step you can choose to skip if you’d like. In hindsight I probably didn’t need to do this but what I did was I scrapped off all the leftover black sealant/gasket. Thinking I was gonna fill up the rim with new sealant anyway. But turned out the flat piece of glass circles I got would sit on top on the inner ring leaving a small gap around the outer edge. So filling up the rim of the housing with new sealant would not do anything since it won’t make contact with the glass.
************************************************** ***************
************************************************** ***************
10. You can see the small gap along the outer edge that I was talking about
************************************************** ***************
************************************************** ***************
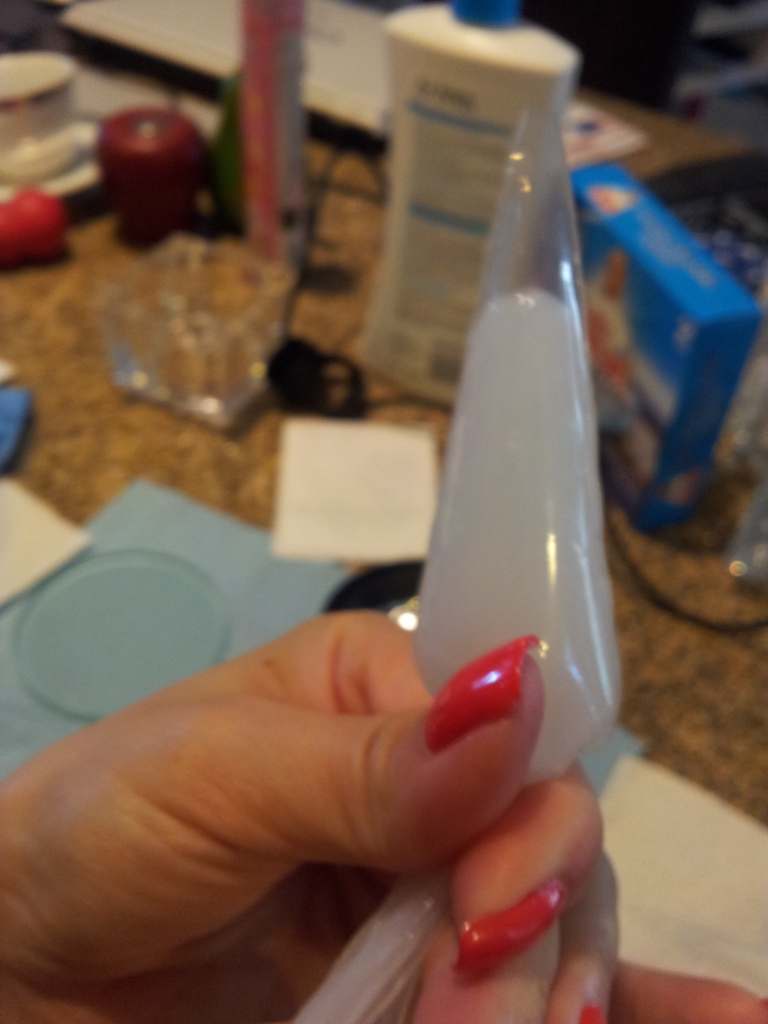
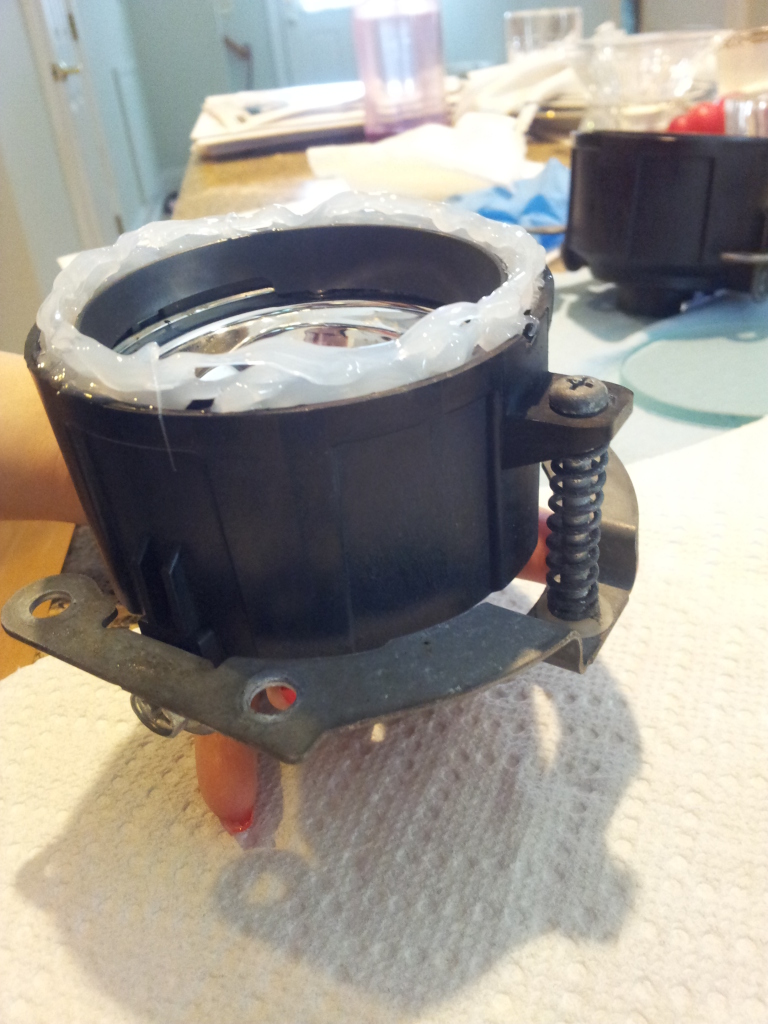
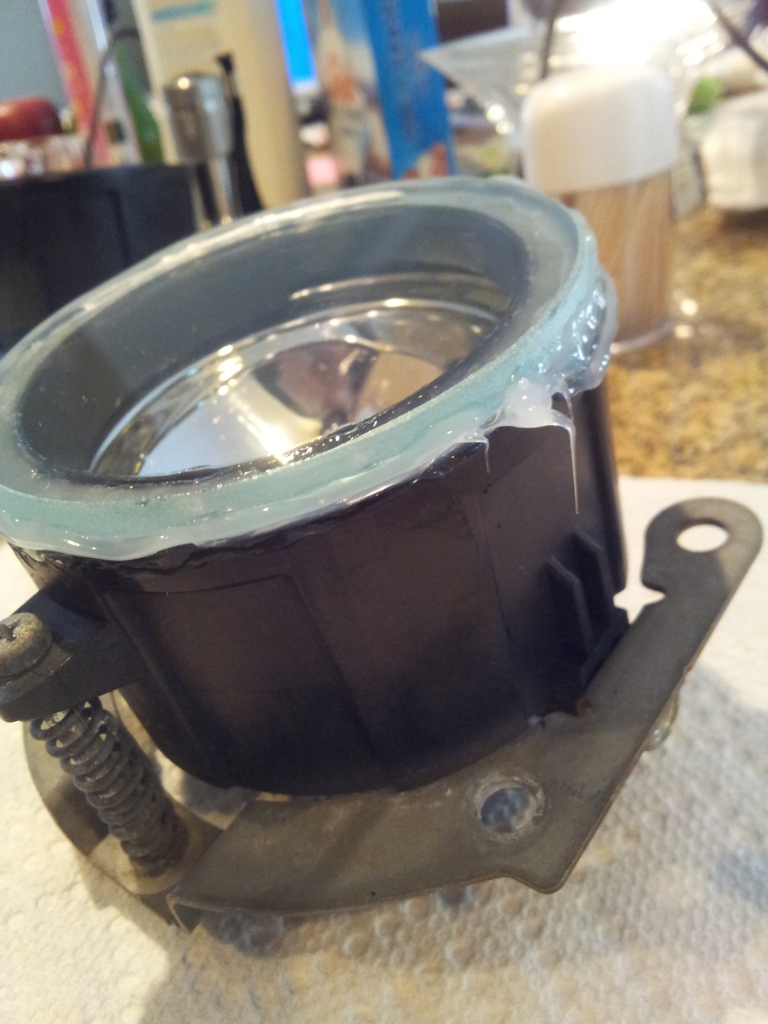
11. Here’s where my wife stepped in and helped. I would’ve made a huge mess if I were to do this myself. The caulk gun was not working out at all....we needed finer control, so wifey came up with the idea of using some plastic cake decorating bag that we had in the house. Much easier to control while applying the sealant.
************************************************** ***************
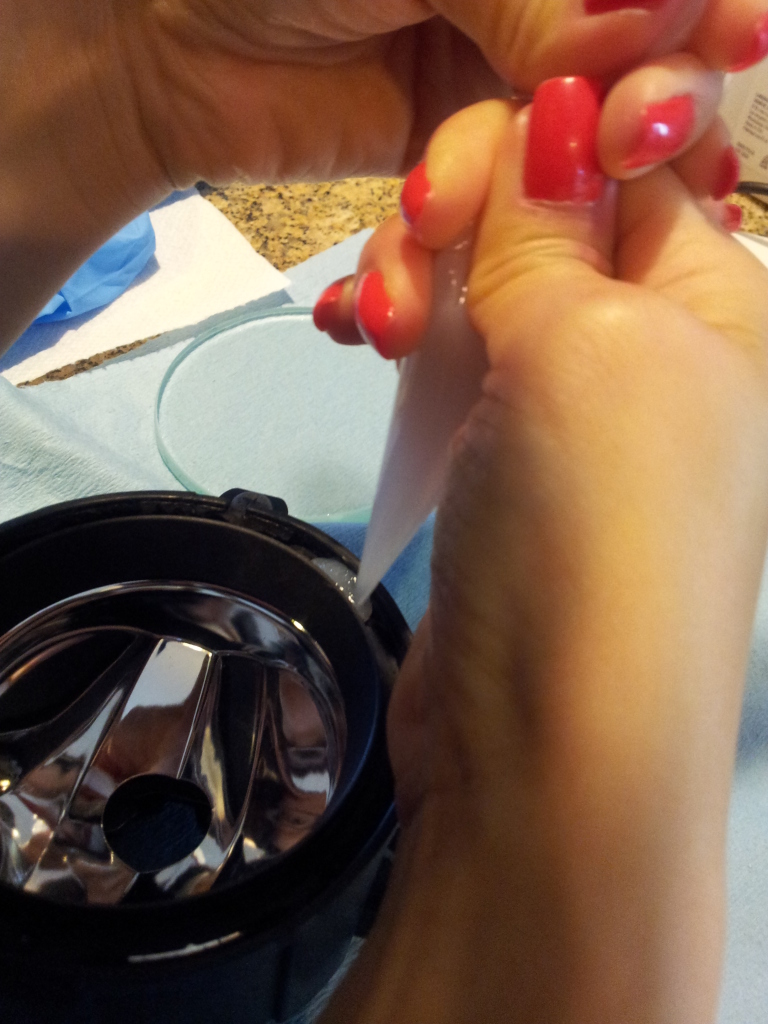
Don't put too much sealant on the rim because when you set the glass down the sealant may get pushed in and make a mess
************************************************** ***************
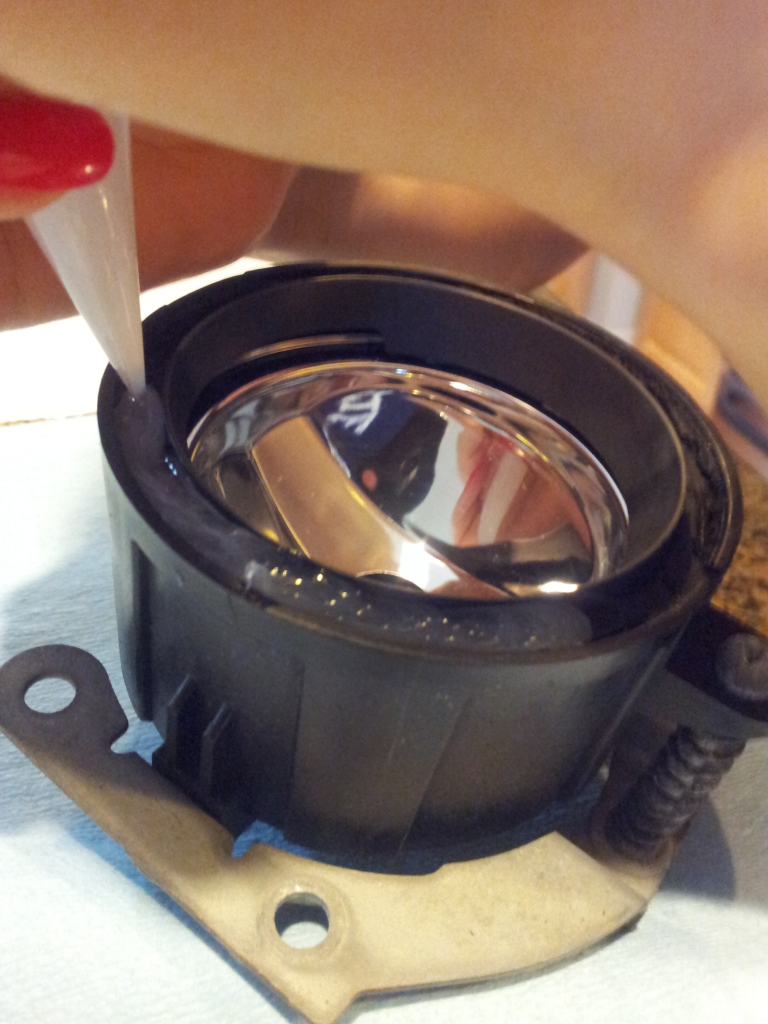
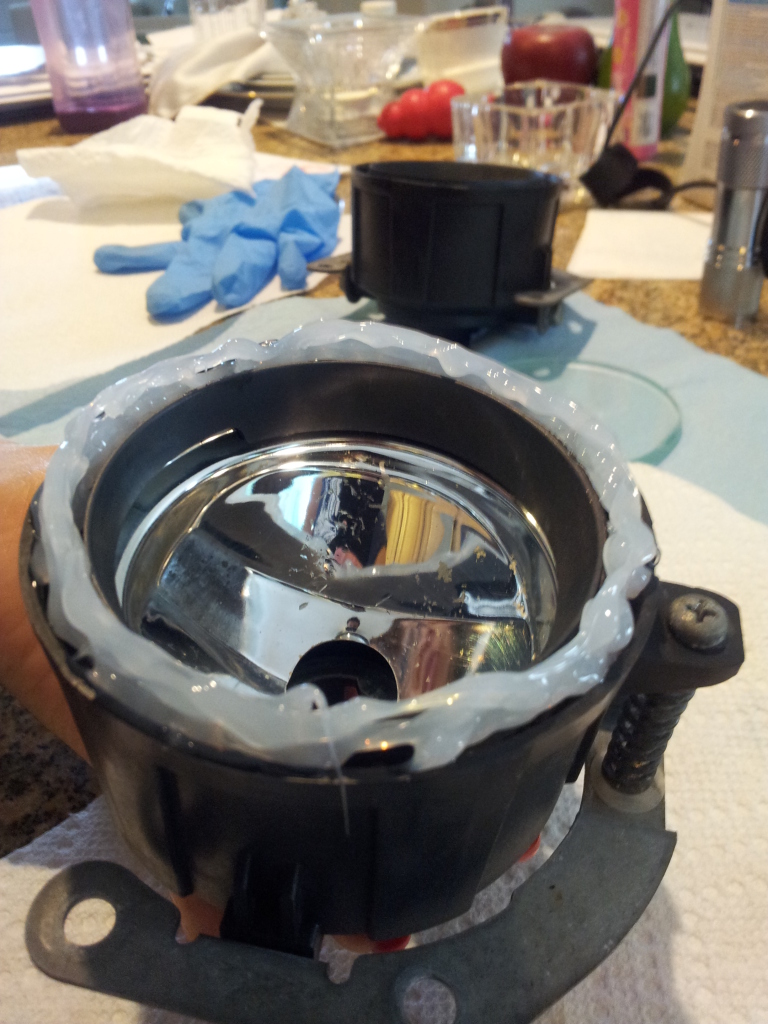
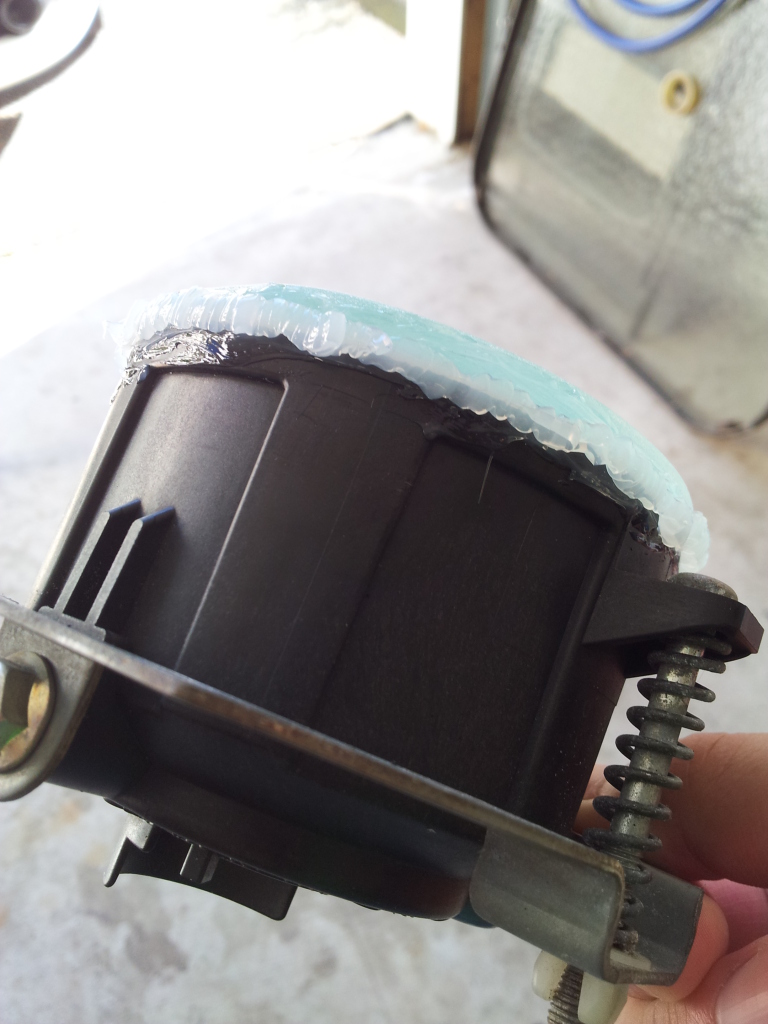
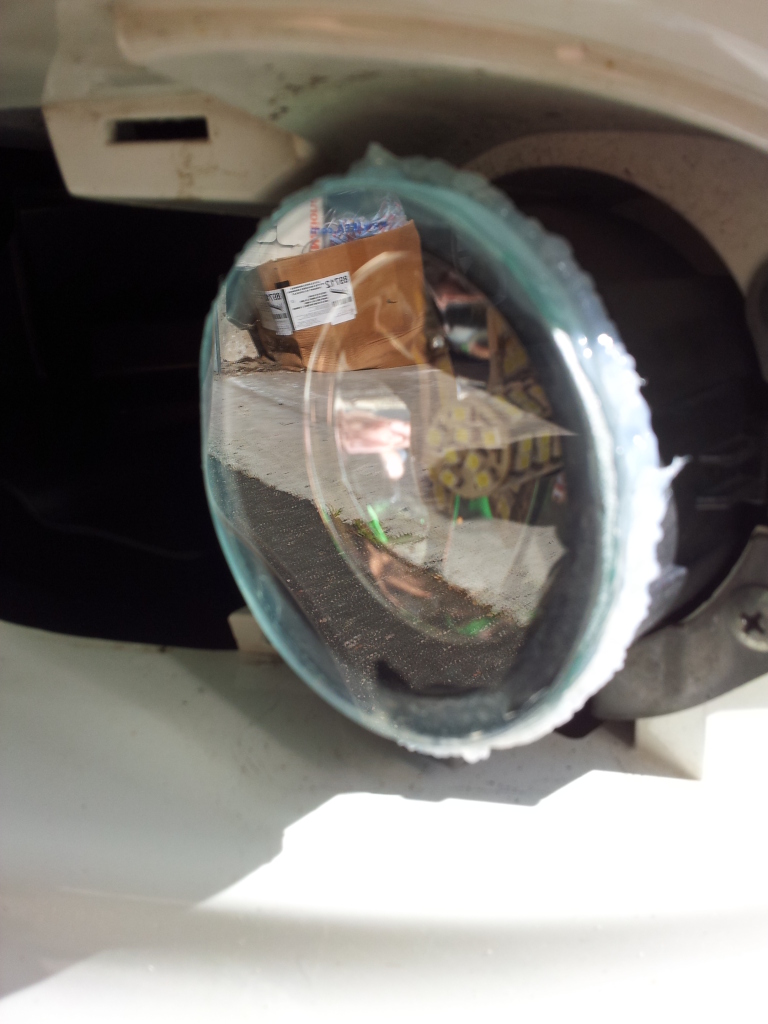
12. You can see that I filled the rim with new sealant, it looks weird but don’t worry, the plastic bezel will cover the outer edge up so you won’t see the sealant.
************************************************** ***************
************************************************** ***************
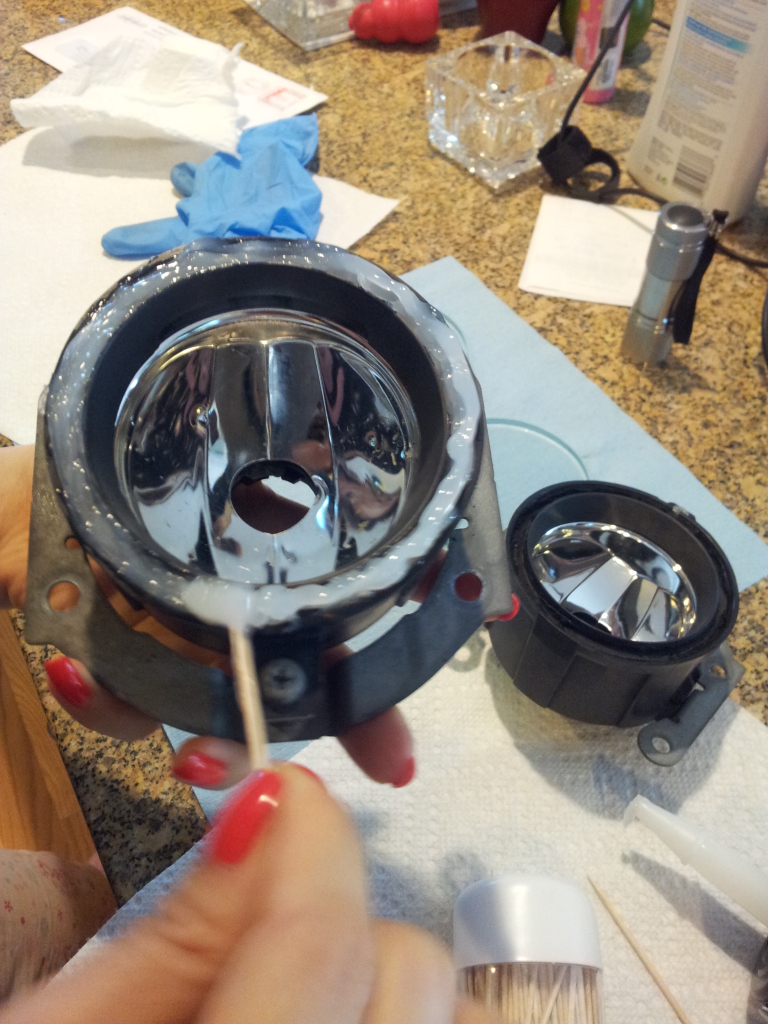
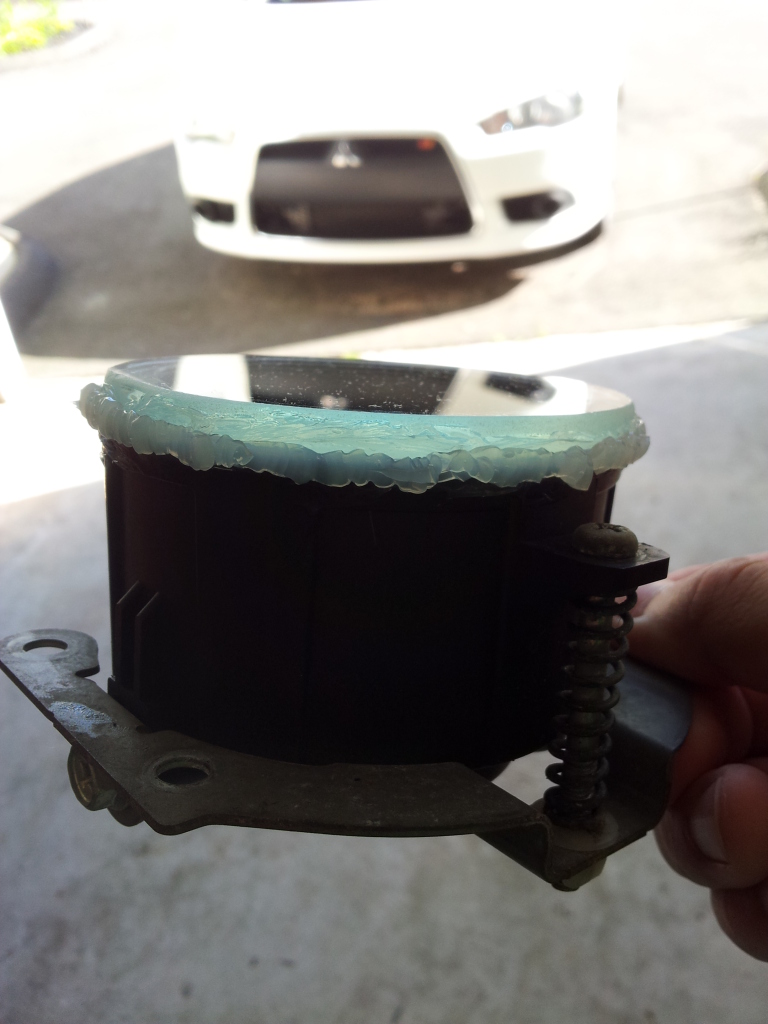
13. Apply sealant around the outer edge, this is what’s gonna keep the glass on the housing. There are a couple of notches along the edge, make sure you seal them up.
************************************************** ***************
************************************************** ***************
14. Let it sit over night…label says it needs 24 hours to fully cure.
************************************************** ***************

************************************************** ***************
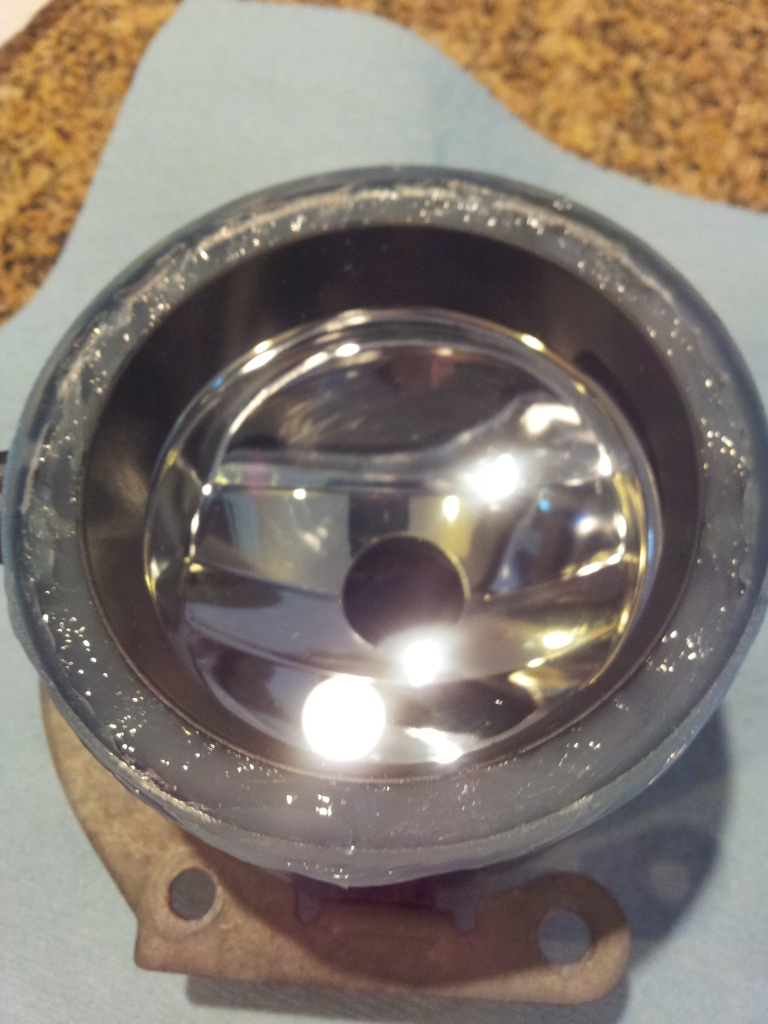
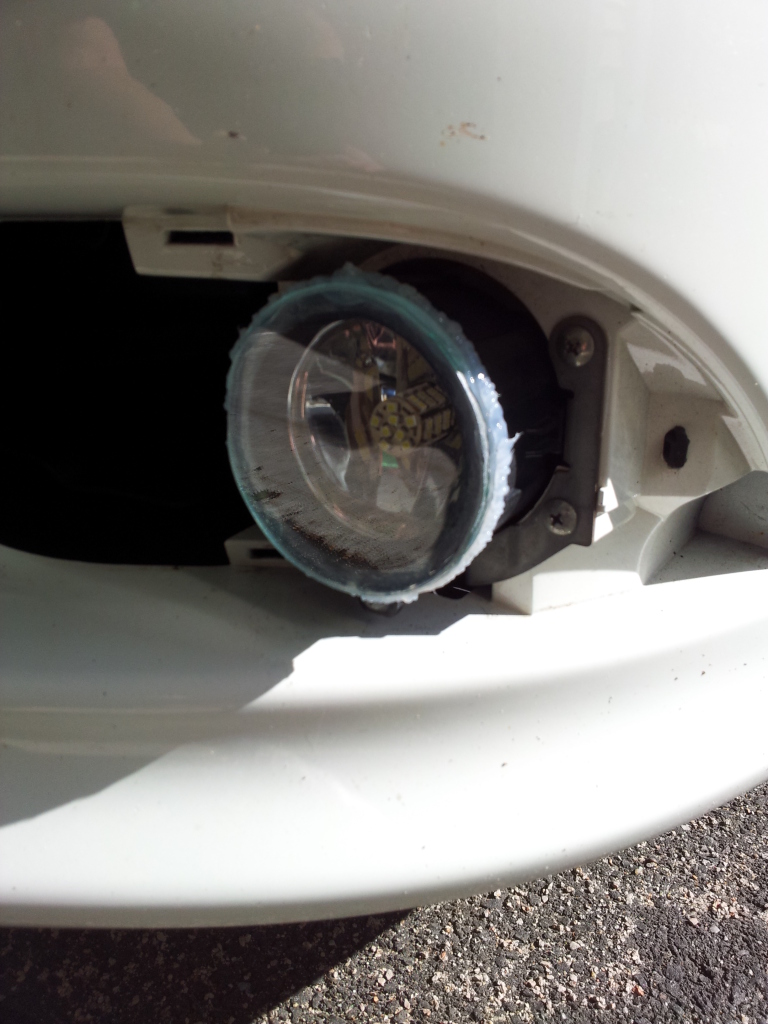
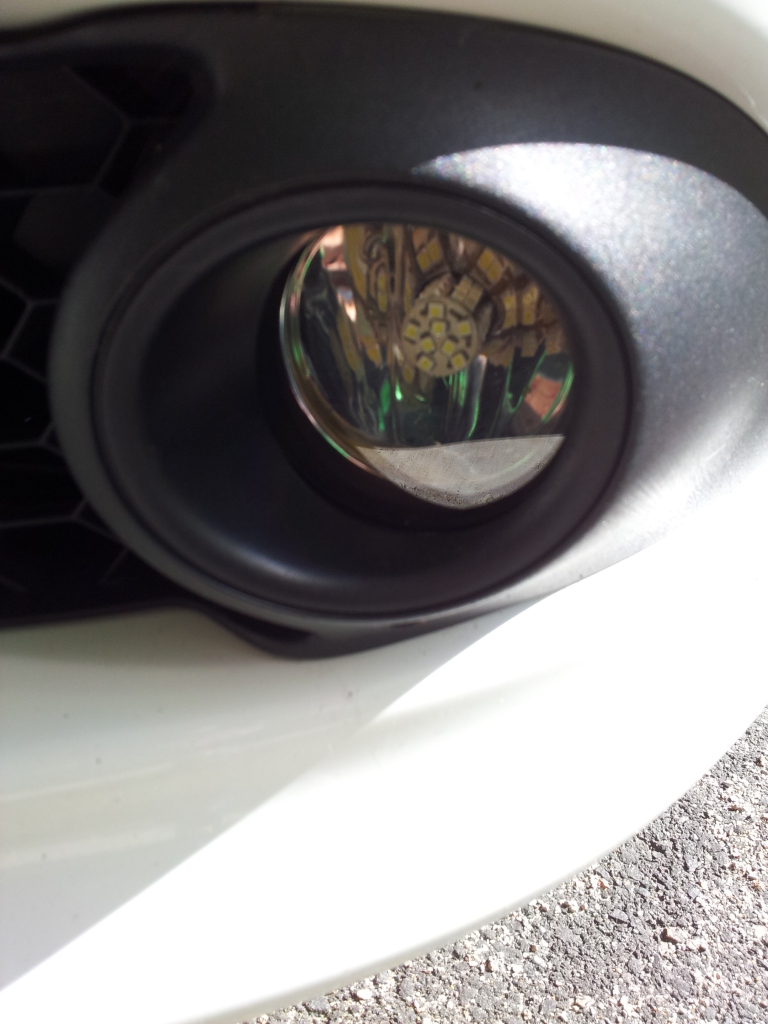
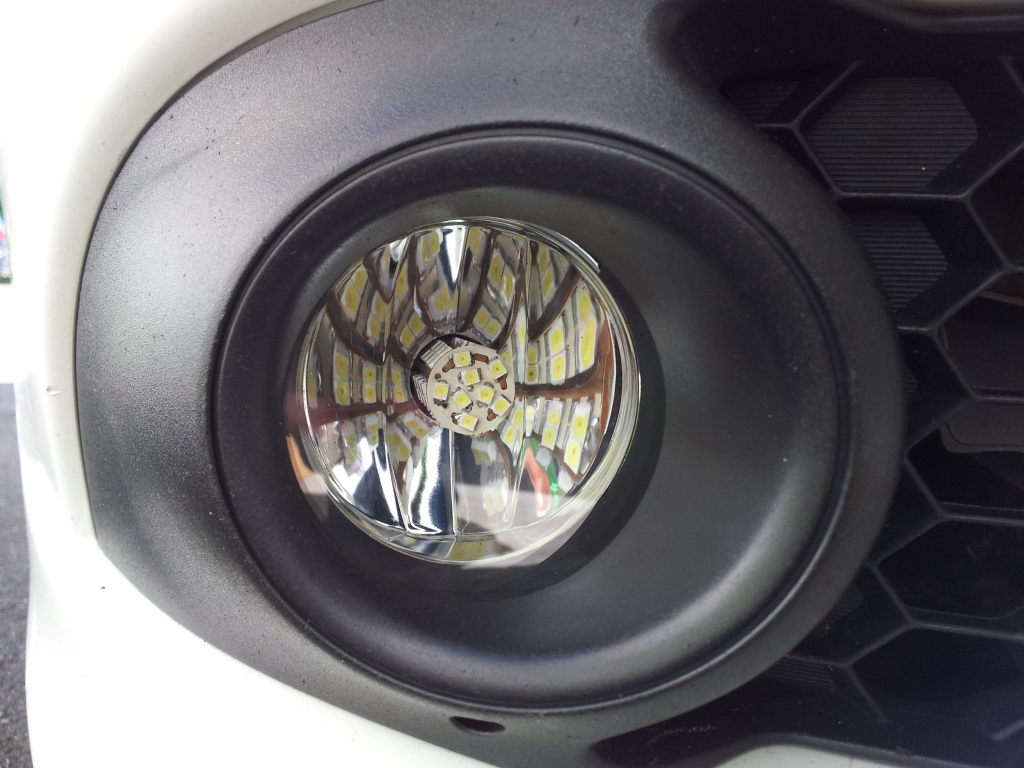
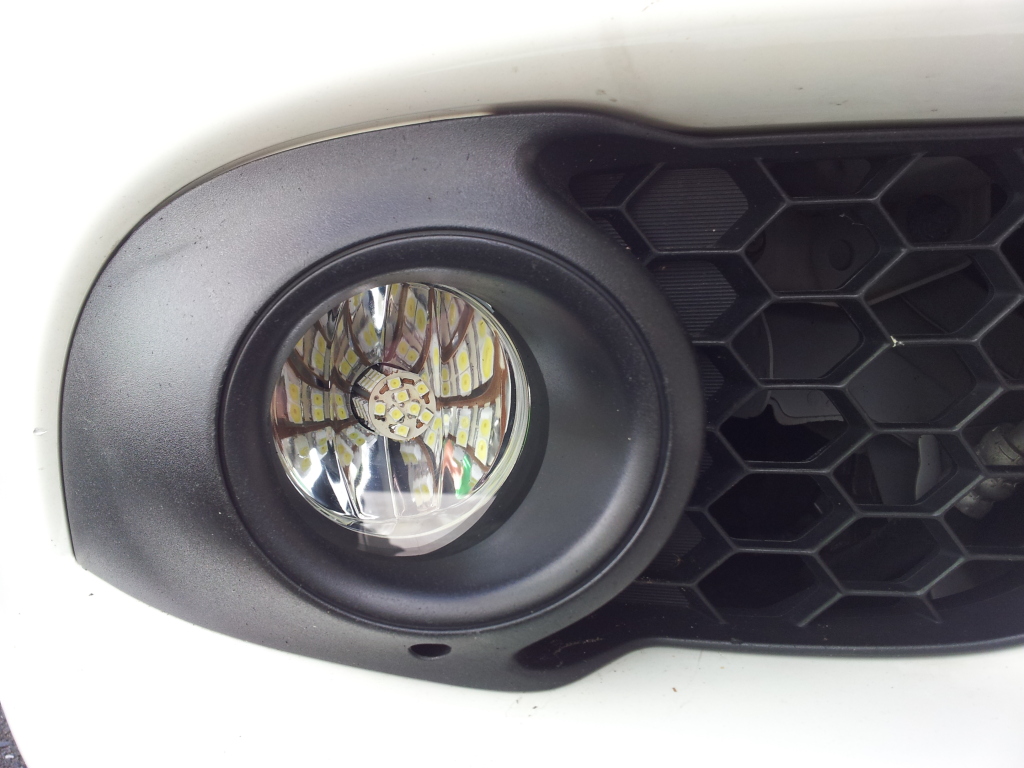
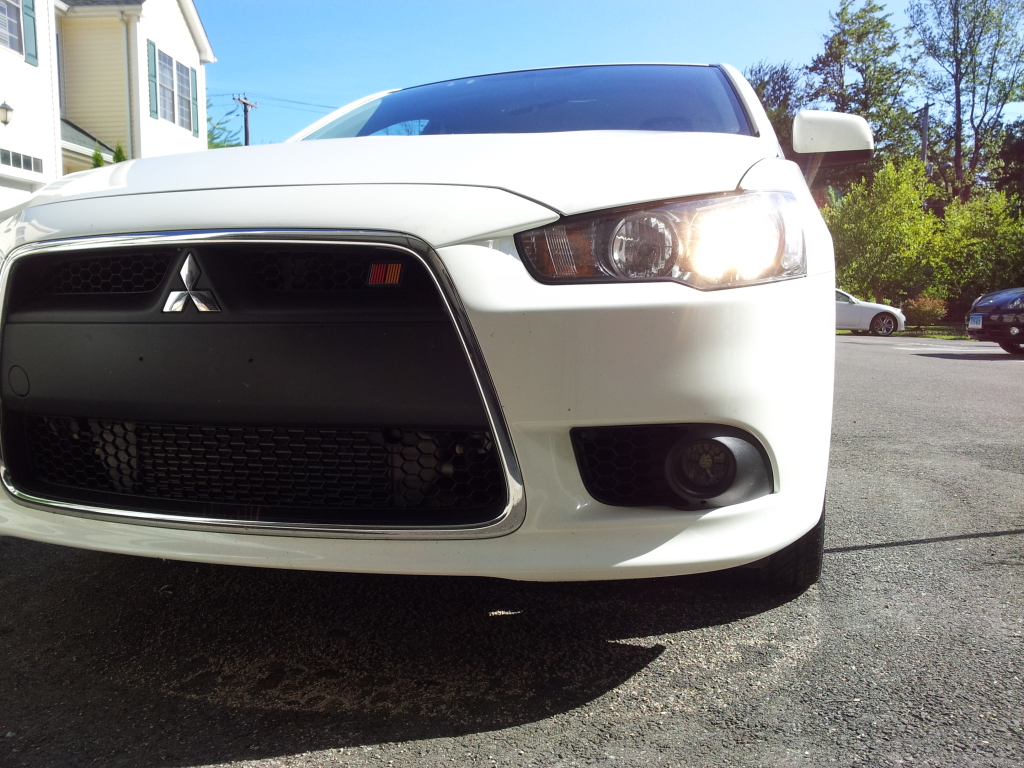
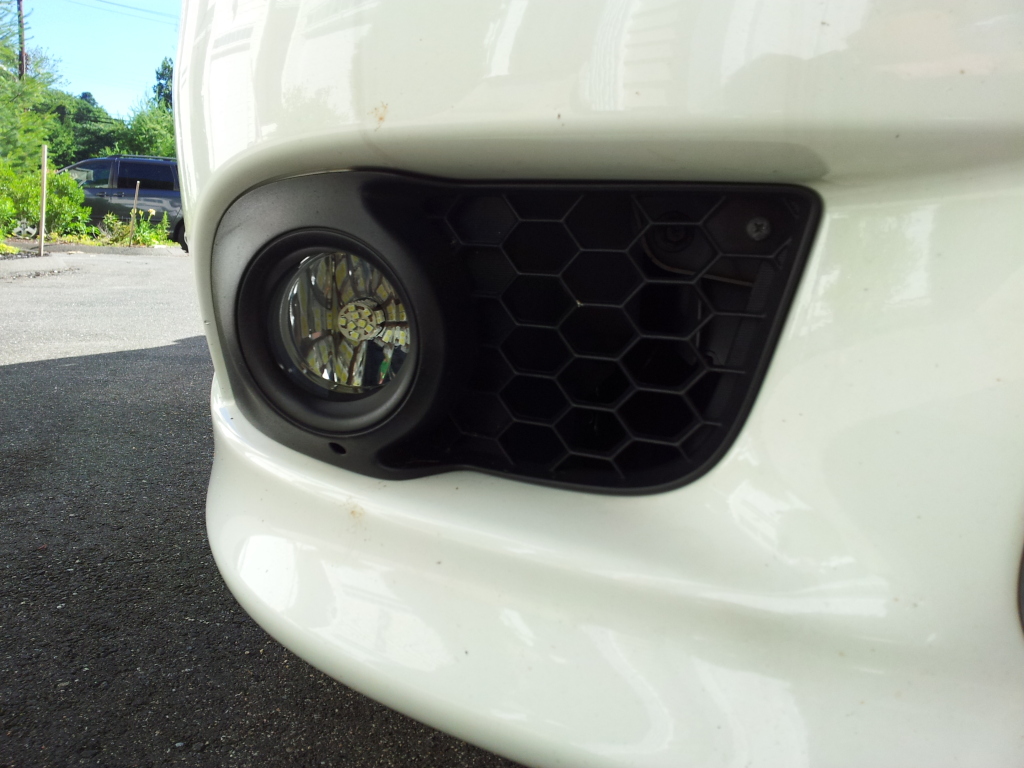
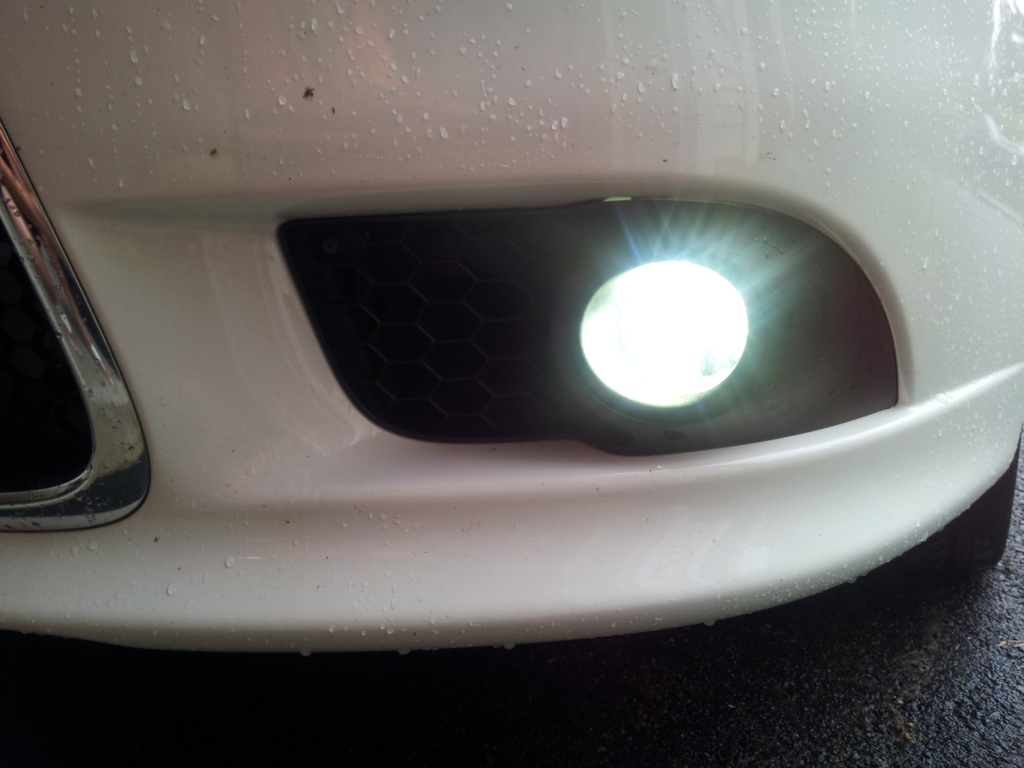
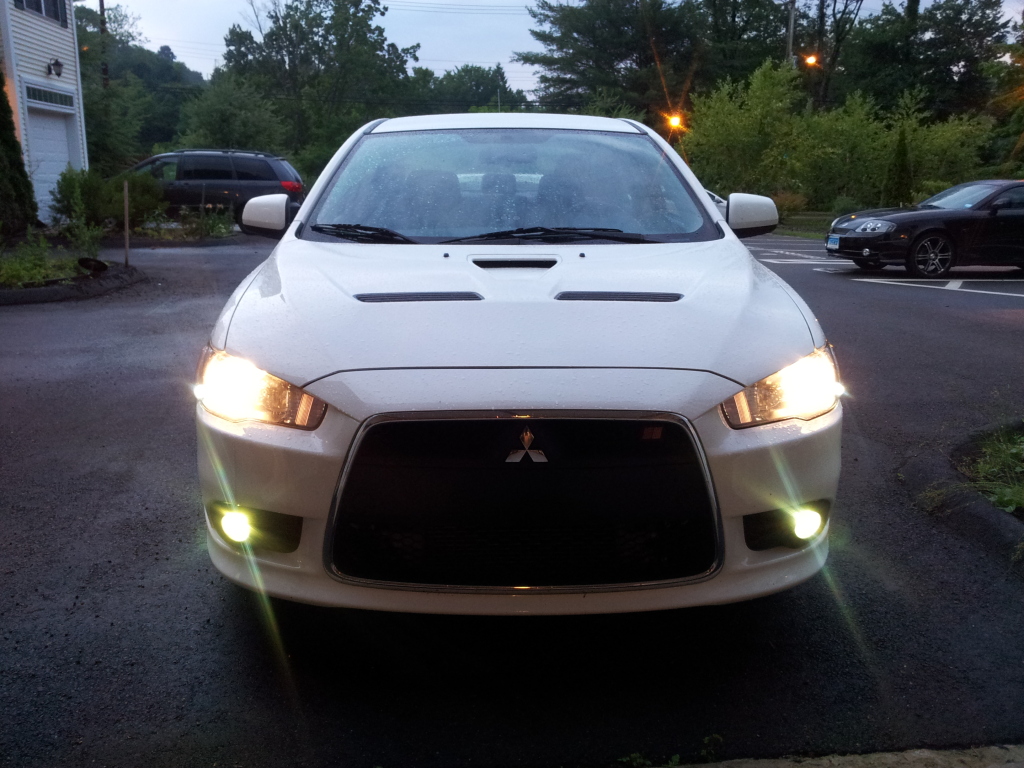
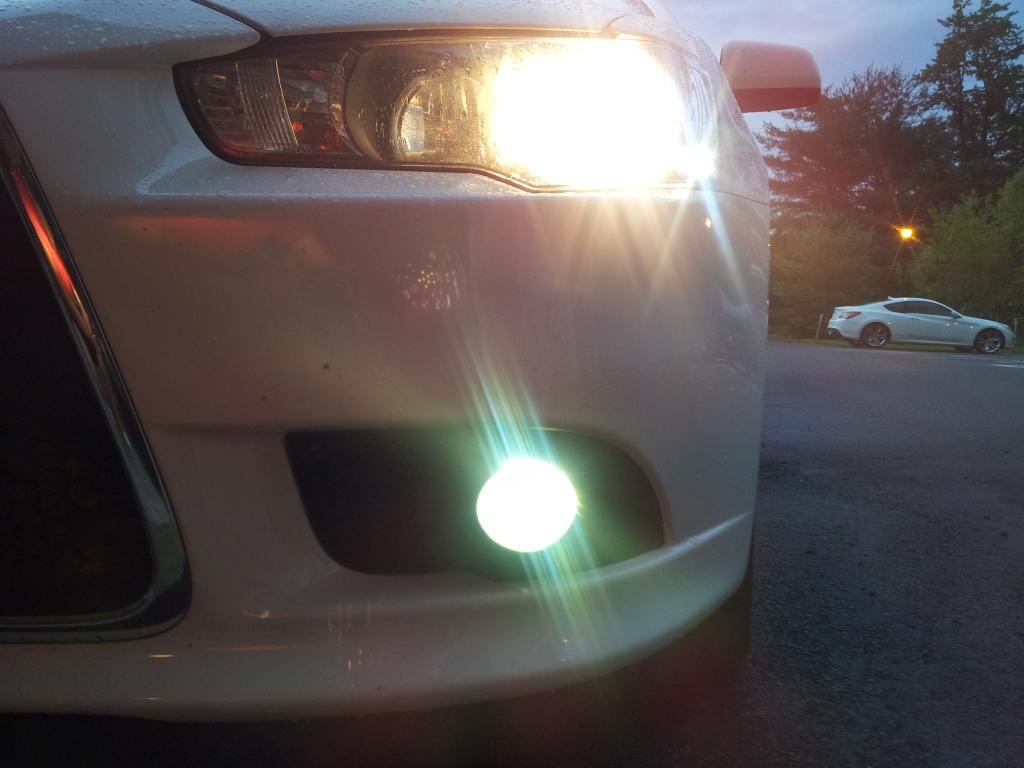
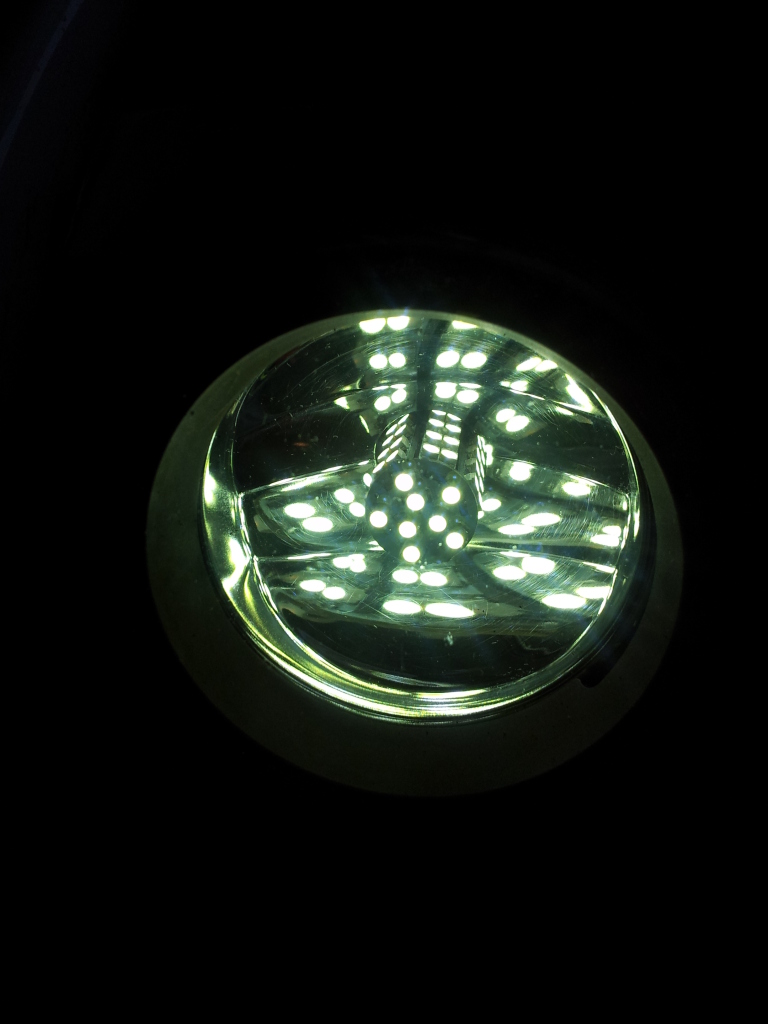
15. Make sure there is no moisture inside the housing, put the LED bulbs in, and mount the fog lights back on the car and reinstall the plastic bezel…the glass pieces look great!
************************************************** ***************

************************************************** ***************
Any questions let me know. Hope this DIY helps.
************************************************** ***************

The following users liked this post:
FenixTX717 (Jun 16, 2017)
Jul 10, 2012, 09:56 AM
#3
Evolving Member
Very helpfull info there. Can you verify the length of those LED bulbs? I am looking on eBay and they all seem to be around 75mm long which seems almost too long to fit! But yours fit, so I would appreciate the dimensions if possible. Thanks.
Again, nice write up!
Cheers.
Again, nice write up!
Cheers.
Jul 10, 2012, 10:21 AM
#4
Evolving Member
Thread Starter
Very helpfull info there. Can you verify the length of those LED bulbs? I am looking on eBay and they all seem to be around 75mm long which seems almost too long to fit! But yours fit, so I would appreciate the dimensions if possible. Thanks.
Again, nice write up!
Cheers.
Again, nice write up!
Cheers.
.
.
.
The bulbs that i got:
http://www.ebay.com/itm/280892555932...#ht_2766wt_979
Head diameter: 18mm
Base diameter: approx. 31mm
Total Height: 60mm
75mm may be ok...ill take a look at the fog light later and see if there is 15mm of room left...
the 120 LEDs bulbs that I got were 20mm in diameter and there were slightly too big to fit.
Last edited by Heliart; Jul 10, 2012 at 10:01 PM.
Jul 10, 2012, 11:34 PM
#5
Evolving Member

Join Date: Aug 2011
Location: calgary
Posts: 194
Likes: 0
Received 0 Likes
on
0 Posts
Ya this works like a charm, as I did the exact process many months ago. It has held up great. I would suggest "clear" heat resistent silicone, although it was more difficult to find (for me anyways).
Jul 11, 2012, 01:06 PM
#6
Evolving Member
The bulbs that i got:
http://www.ebay.com/itm/280892555932?ssPageName=STRK:MEWNX:IT&_trksid=p398 4.m1439.l2649#ht_2766wt_979
Head diameter: 18mm
Base diameter: approx. 31mm
Total Height: 60mm
http://www.ebay.com/itm/280892555932?ssPageName=STRK:MEWNX:IT&_trksid=p398 4.m1439.l2649#ht_2766wt_979
Head diameter: 18mm
Base diameter: approx. 31mm
Total Height: 60mm
On the subject of LED automotive applications, I see lots of fog, backup, tail, interior, etc. bulbs on ebBay but very few headlamp sizes. Is there a reason for this? I see so many many and I mean many crappy cars with blueish headlights I assumed they were LED because reliable HIDs are still kinda pricey but now I'm not so sure what they are.
Jul 11, 2012, 06:30 PM
#7
Evolving Member
Thread Starter
Perfect! Thanks again for the info.
On the subject of LED automotive applications, I see lots of fog, backup, tail, interior, etc. bulbs on ebBay but very few headlamp sizes. Is there a reason for this? I see so many many and I mean many crappy cars with blueish headlights I assumed they were LED because reliable HIDs are still kinda pricey but now I'm not so sure what they are.
On the subject of LED automotive applications, I see lots of fog, backup, tail, interior, etc. bulbs on ebBay but very few headlamp sizes. Is there a reason for this? I see so many many and I mean many crappy cars with blueish headlights I assumed they were LED because reliable HIDs are still kinda pricey but now I'm not so sure what they are.
these LED bulbs you find on ebay are nowhere near bright enough to be used as headlights. Audi I believe is the first manufacturer that uses LED headlights...read up about it here:
http://ledsmagazine.com/news/9/2/4
Trending Topics
Jul 12, 2012, 07:17 AM
#8
Evolving Member
Thanks for that link, Audi LED headlamps are awesome. Their Le Mans cars looked fantastic at night and I heard other racers comment that they were ridiculously bright at night.
I recently 'upgraded' a MagLight 3-D cell flashlight from incandescent to LED, and the LED element looks like a tiny tiny yellow dot where there should be a bulb. Until you turn it on, then it's so bright it will blind you if you look directly at it. I can easily light up the curb, trees cars down my street at night for several blocks. So given that one LED can do that, I don't see why two bulbs with 26, 68 or whatever amount of LED elements in each wouldn't work for a car. I still remember the craptastic yellowish sealed-beam GE headlights that came OEM on my US-market E30 M3. They were the worst, specially since Euro-spec M3s came with ellipsoid headlamps with halogen bulbs. It doesn't seem like LEDs' would be any worse than those perfectly street legal yet comparatively dim headlights. I know from what I read apparently they don't work, it just seems like they should. I may just throw $10 at eBay and see for myself. Get it? See for myself! Cheers.
I recently 'upgraded' a MagLight 3-D cell flashlight from incandescent to LED, and the LED element looks like a tiny tiny yellow dot where there should be a bulb. Until you turn it on, then it's so bright it will blind you if you look directly at it. I can easily light up the curb, trees cars down my street at night for several blocks. So given that one LED can do that, I don't see why two bulbs with 26, 68 or whatever amount of LED elements in each wouldn't work for a car. I still remember the craptastic yellowish sealed-beam GE headlights that came OEM on my US-market E30 M3. They were the worst, specially since Euro-spec M3s came with ellipsoid headlamps with halogen bulbs. It doesn't seem like LEDs' would be any worse than those perfectly street legal yet comparatively dim headlights. I know from what I read apparently they don't work, it just seems like they should. I may just throw $10 at eBay and see for myself. Get it? See for myself! Cheers.
Sep 15, 2012, 02:01 PM
#9
Evolved Member
iTrader: (4)

Join Date: Apr 2010
Location: Baton Rouge
Posts: 568
Likes: 0
Received 0 Likes
on
0 Posts
Do you have a link to the glass you bought? The only stuff I can find online is either 3" or 4"
It looks like 4" could work though since the cover just sits on top of it
It looks like 4" could work though since the cover just sits on top of it
Sep 15, 2012, 03:14 PM
#10
Evolving Member
Join Date: Aug 2011
Location: calgary
Posts: 194
Likes: 0
Received 0 Likes
on
0 Posts
I've done this and 4" won't work. Any glass place in your area should be able to cut glass to the dimensions you want.
Apr 27, 2015, 01:15 PM
#12
Evolving Member

Join Date: Jun 2010
Location: Bolton, ON
Posts: 101
Likes: 0
Received 0 Likes
on
0 Posts
I did this in late October and wow so good. The glass you get from the glass grinder is much better than stock. Easy fix to do and will save you tonnes of money from buying new lights from the dealership.
