How To: Inner Tie Rods
 Sep 10, 2010, 01:03 PM
#1

How To: Inner Tie Rods
I didn't see a write up for this, so I thought I'd give it a go. Please feel free to add comments and such as this is the first time I've done this.
Tools you'll need:
1) Vice grips or adjustable pliers
2) 22mm crescent wrench
3) 17mm socket
4) Impact gun (can be done without, but it's 100 times easier)
5) BFG (Big F*****g Hammer)
6) Inner tie rod tool (can be rented at any auto parts store)
7) 1/2" drive breaker bar or ratcheting wrench (a small extension may be helpful)
8) Long flathead screwdriver
9) Side cutters
10) Blue loctite (medium strength)
Start off by jacking up the front end of the car and support it with jack stands. As per usual, safety first, DO NOT work on the car without the support of jack stands.
Remove the wheels
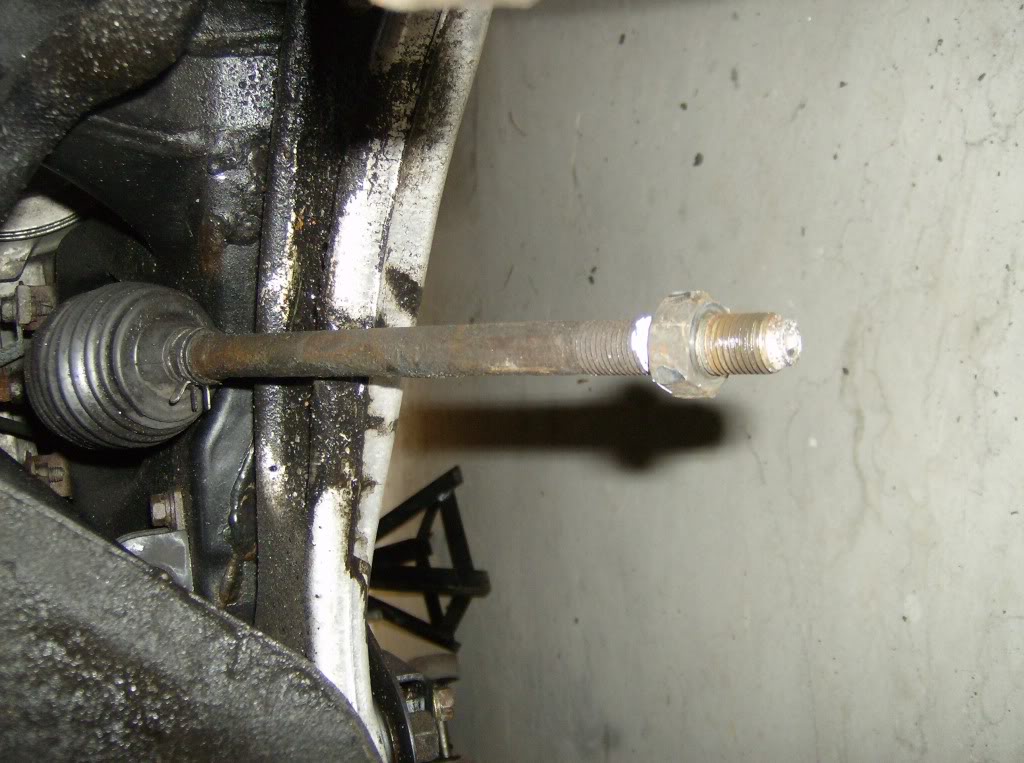
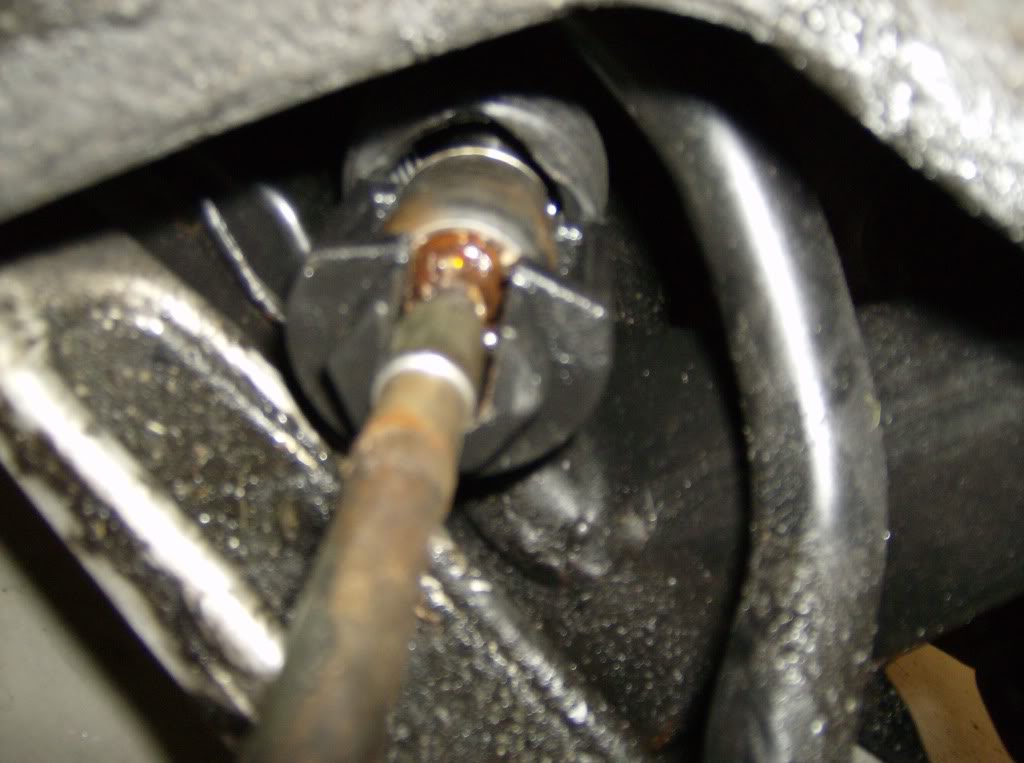
Use an impact gun with a 17mm socket to remove the nut on the outer tie rod. This can be done with a wrench, but chances are the ball joint will turn with it. The impact gun makes it pretty easy to come off.
(sorry some pics came out terrible
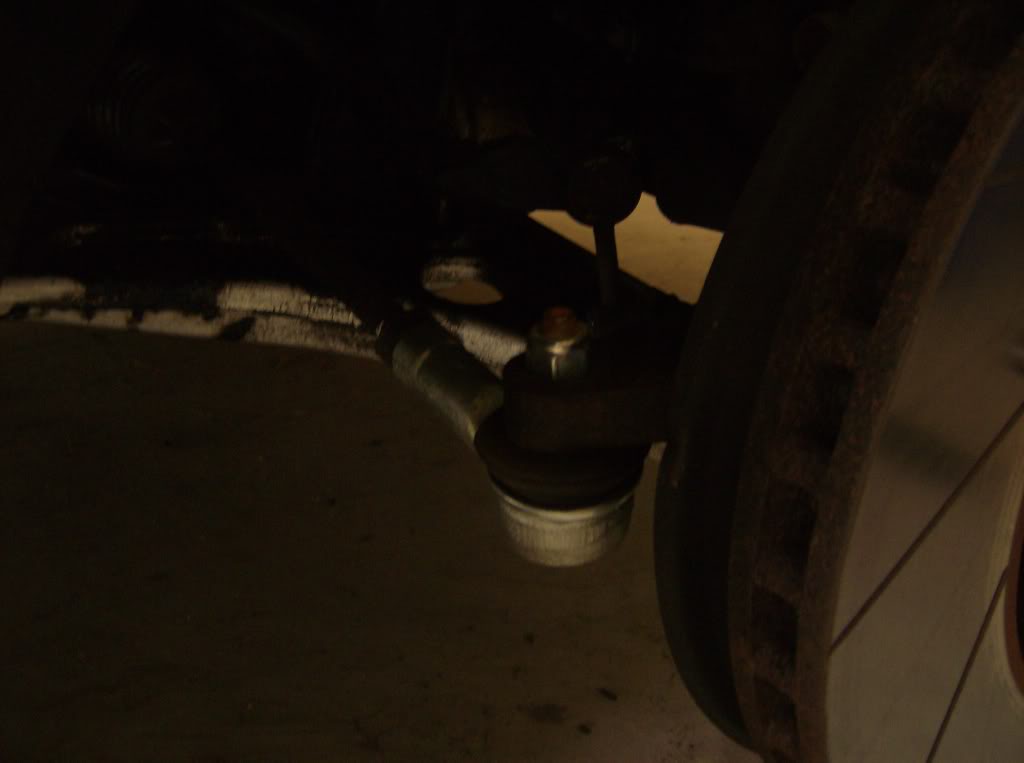
With the nut off:
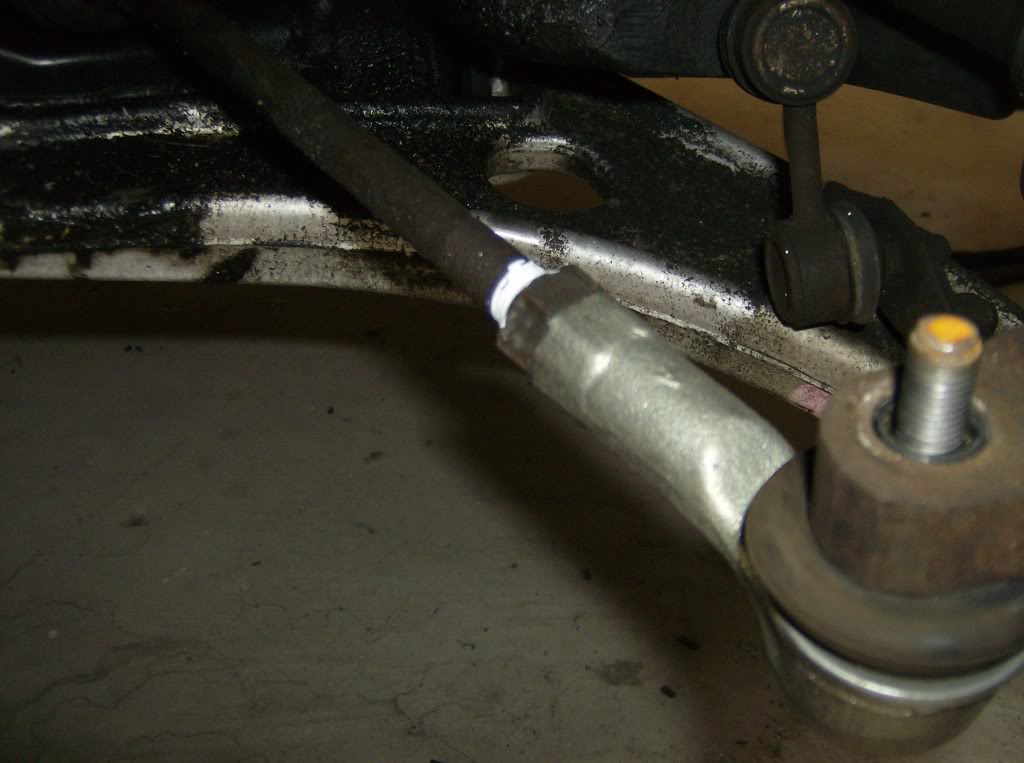

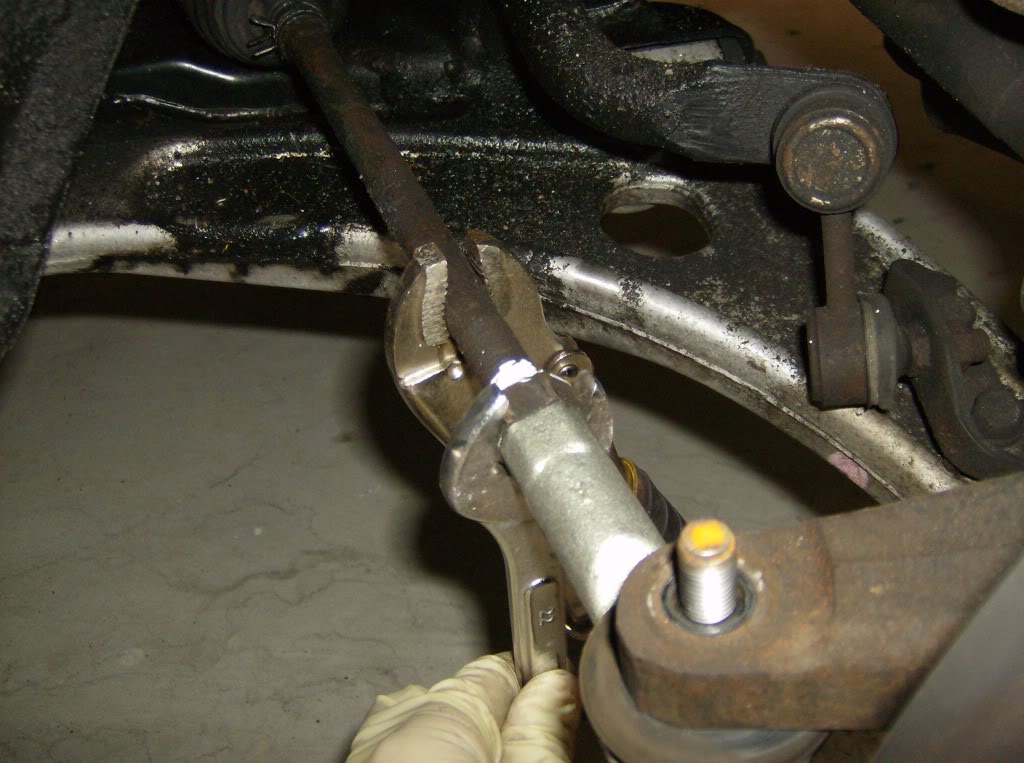
Now I like to loosen the jam nut with the tie rod end still in the knuckle, but this step can also be done after you remove it from the knuckle. I like to use some whiteout on the tie rod threads right behind the jam nut just to give a point of reference for when putting the tie rod end back on, but it is not necessary. On the inner tie rod itself, there should be a place where you can get a pair of vice grips or adjustable wrench on. Then use a 22mm wrench on the jam nut (right behind the tie rod end) and loosen the nut.
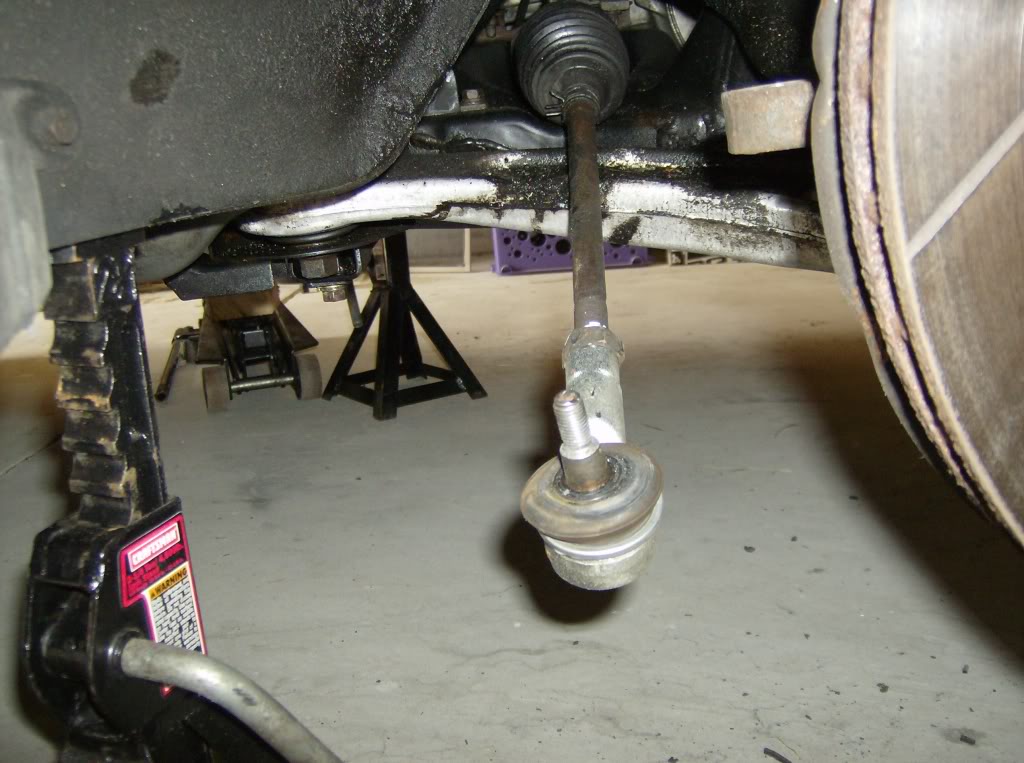
There are several ways to get the outer tie rod end out of the steering knuckle. You can use a pickle fork (ball joint fork) but that tends to ruin the boot and will force you to get a new tie rod end. Or my favorite method, is just to use a BFH. Try not to hit the stud unless you have to, but hit the tie rod end a few times to persuade it out of the knuckle, it shouldn't take too much effort. But if it gives you a hard time, just smack the top of the stud straight down (or up depending on how your tie rod is oriented).
NOTE: Make sure to note the orientation of the tie rod end. It may be facing up or facing down. This is important for when you put it back on so your alignment is as close to straight as it was before.
Tie rod out of the knuckle:
Now you can turn the tie rod end to remove it from the tie rod. Make sure to count how many full turns it takes to get it off as you will need to turn it this many times to put it back on. This time, it took me 8 full revolutions.
With the tie rod end off
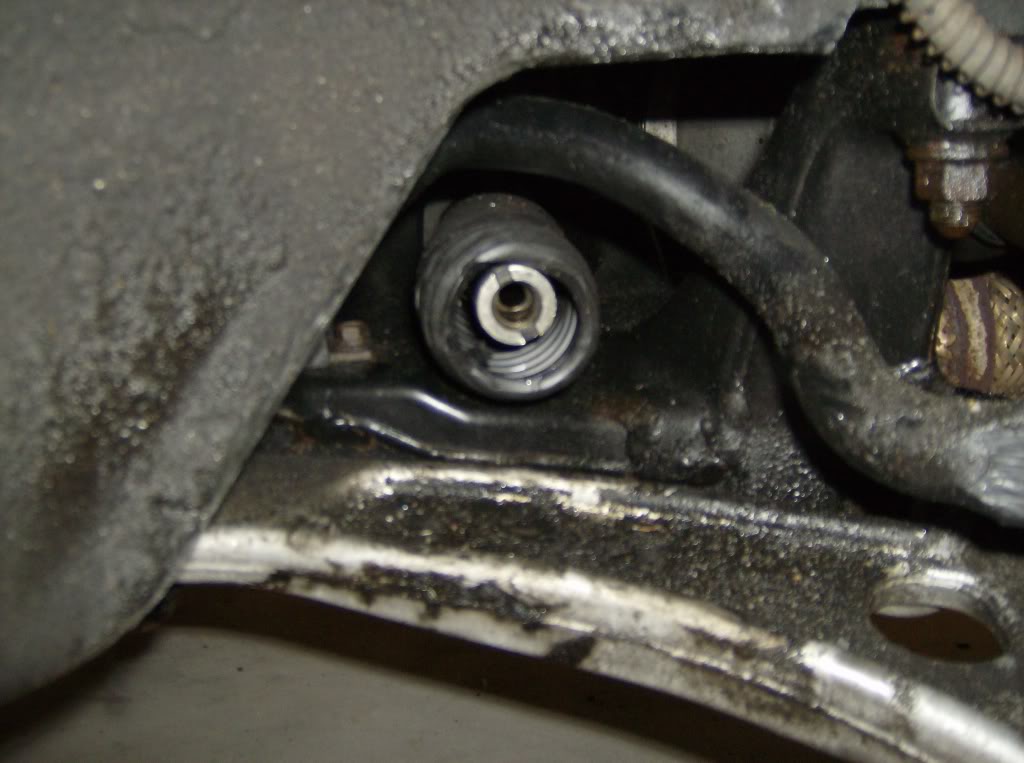
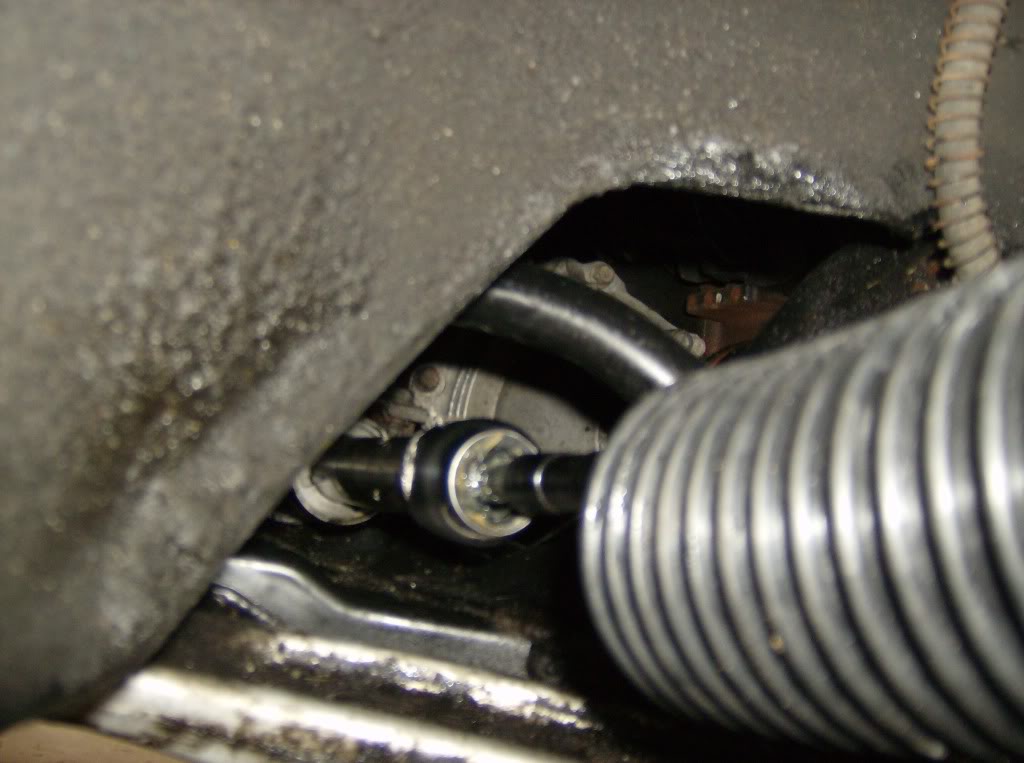
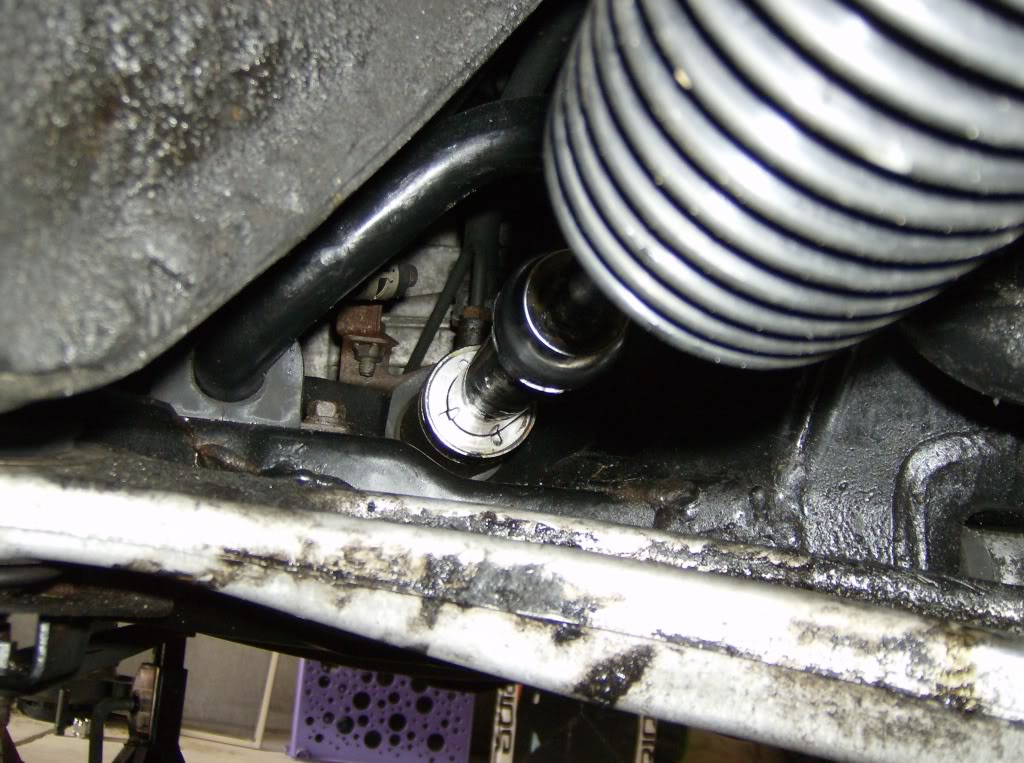
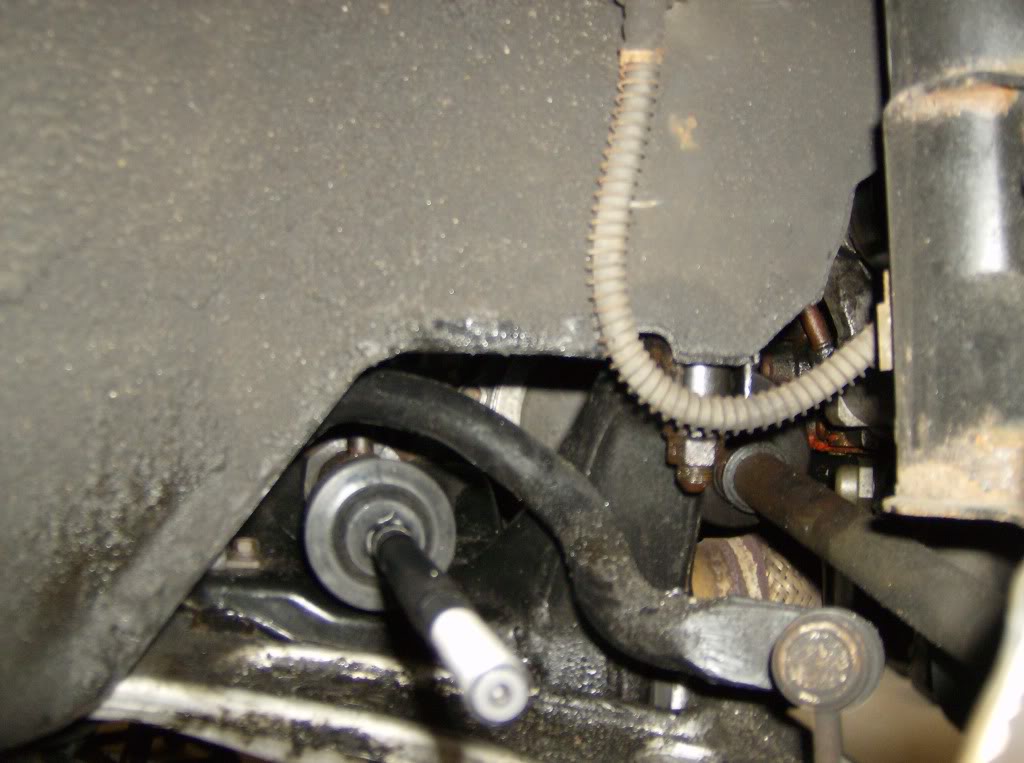
Now its time to remove the tie rod from the rack. There is a boot (sometimes called a bellow) over the joint. The front end has a clamp you can remove with a pair of pliers. The back has a metal boot strap. It is difficult to get to, and at first I couldn't figure out how to get it off, so I ended up cutting the boot open. Later I figure out to take a long flathead screwdriver and lay it on the lip and hit it with a hammer to bend it out of shape and off the boot. Once you get the boot off you can see the ball joint and where it screws in to the rack.
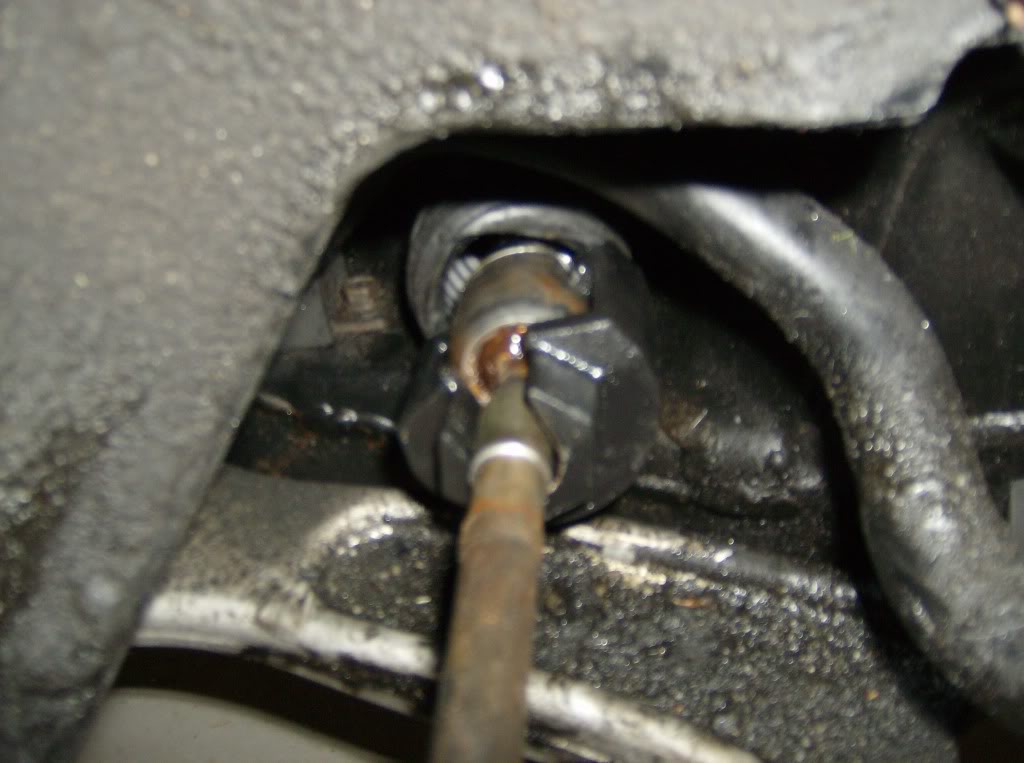
Now to get the tie rod out, you will need a special tool called an inner tie rod tool. As I mentioned this can be rented at AutoZone or Advanced Auto or anywhere that rents tools. I forgot to take a picture, but its basically a long hollow tube that you can either put a crows feet at the end or in this case a half open socket.
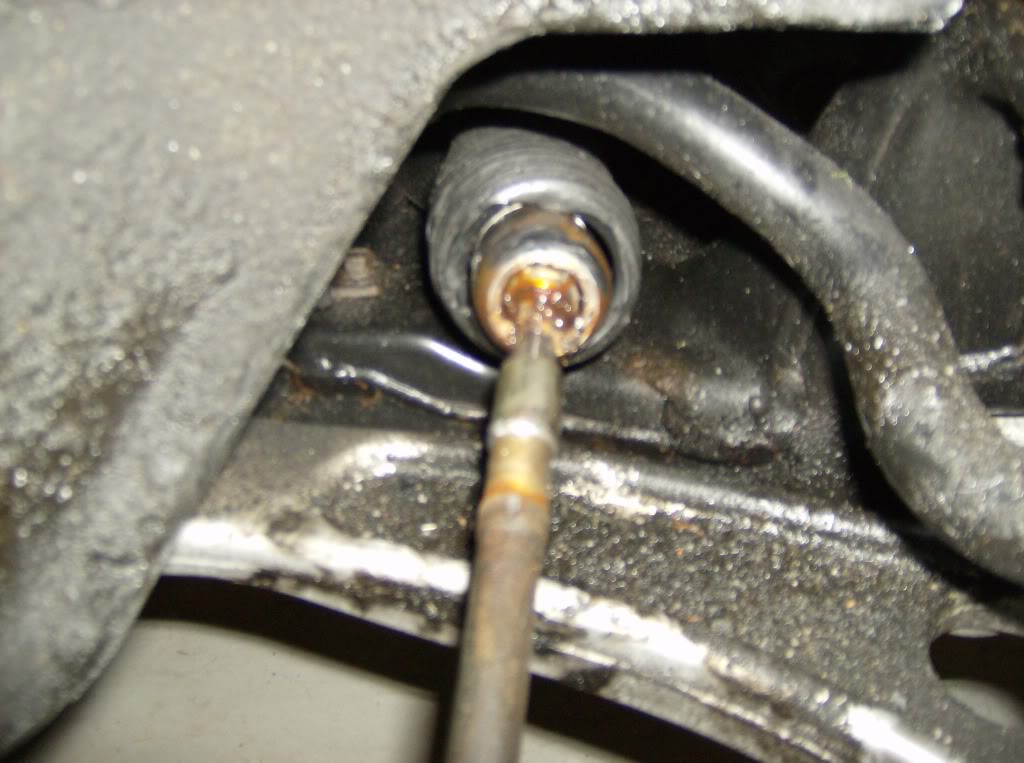
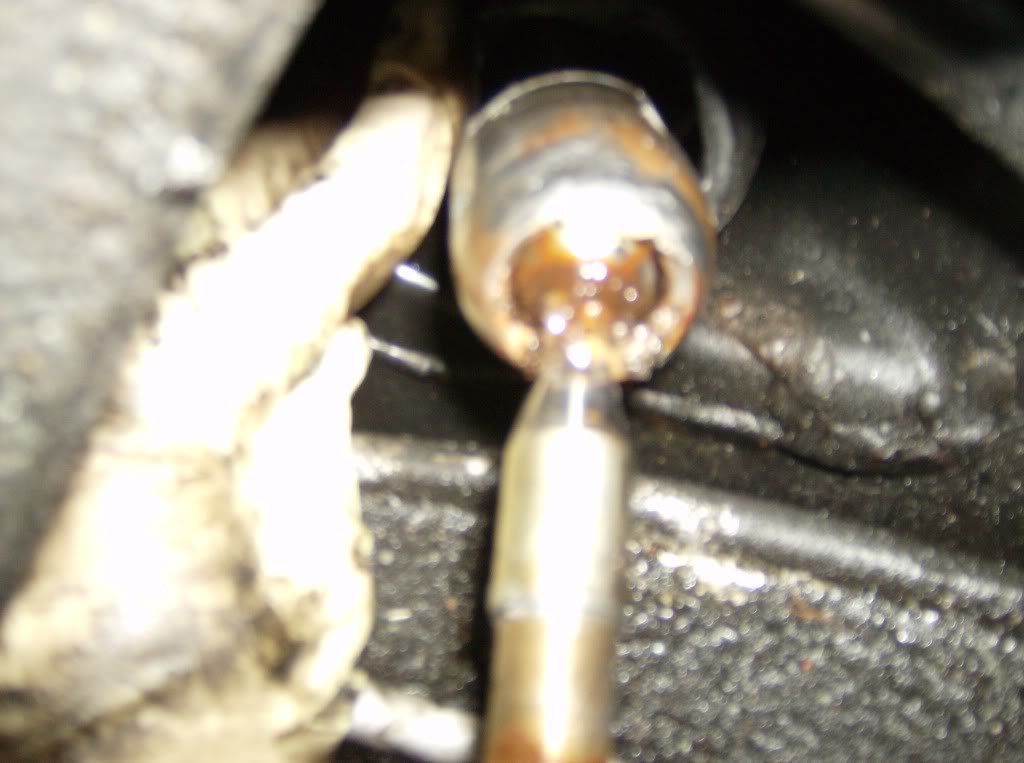
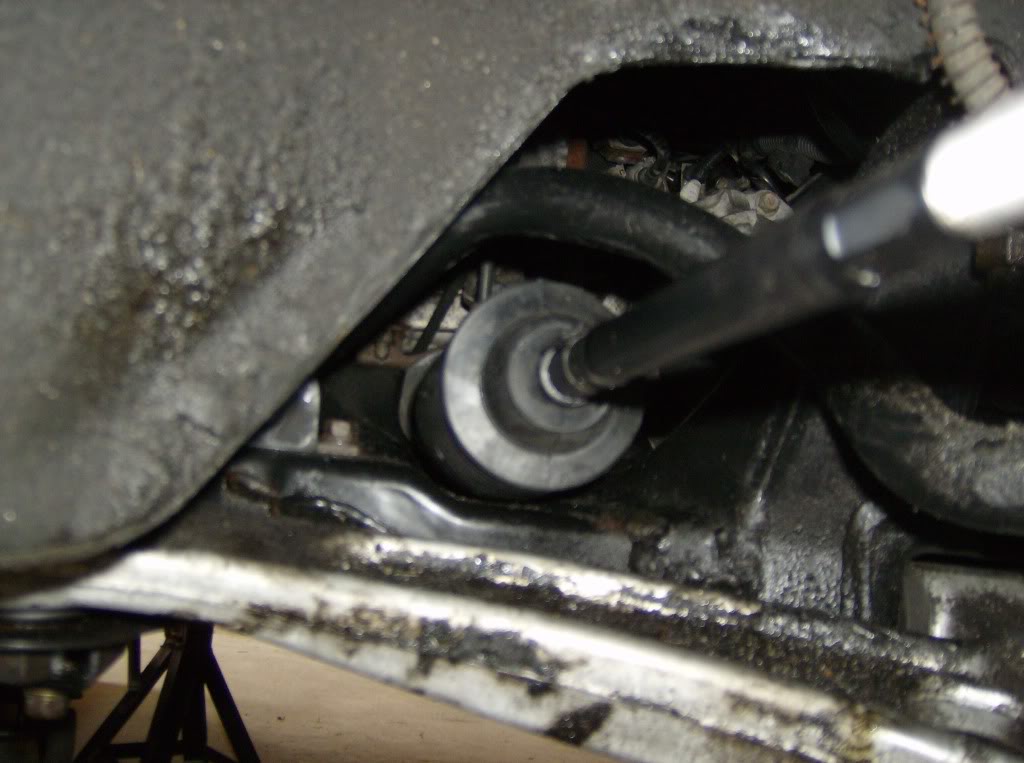
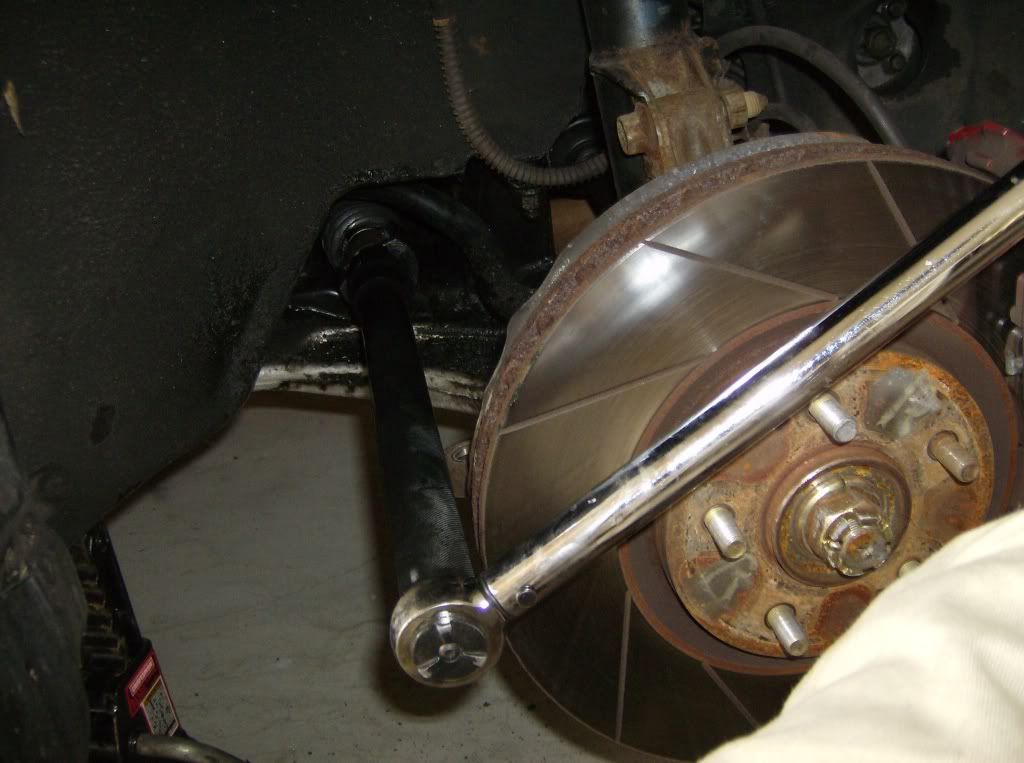
First, there is a lock washer between the tie rod and the rack. There will be two tabs on the flat surfaces that you will need to push back with a punch or a flat head screwdriver. Once this is done, you will be able to get the socket (or crows feet) around the end of the tie rod. Once that is secure, place the long tube over the socket and use a 1/2" drive breaker bar or wrench to loosen it from the rack.
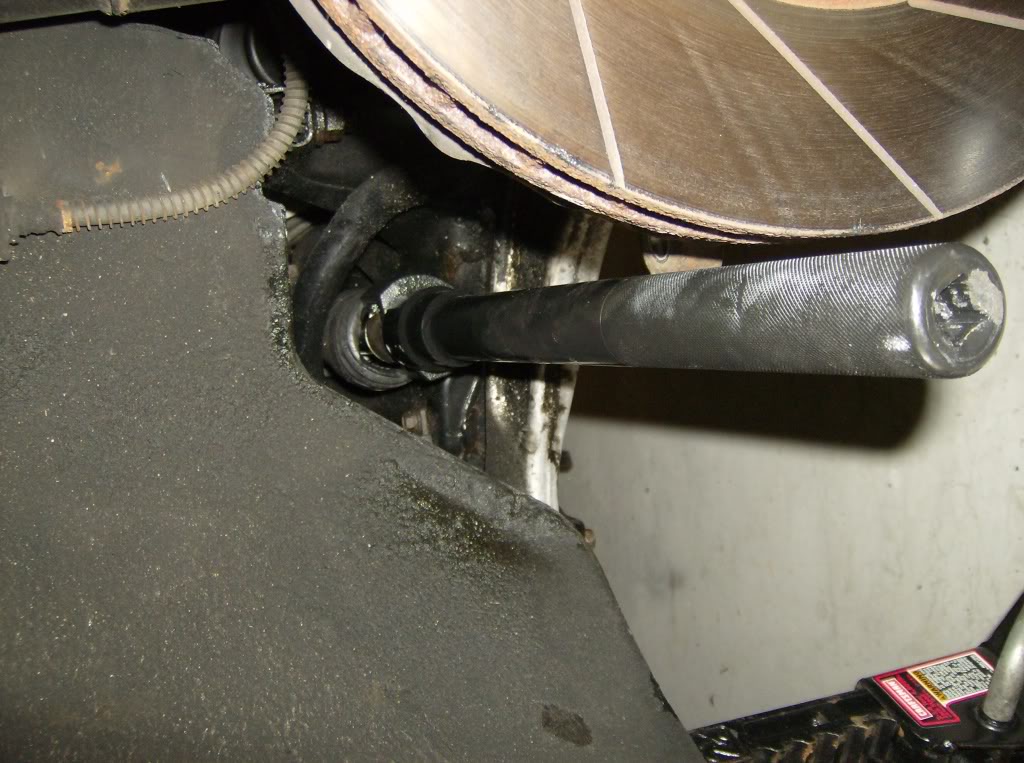
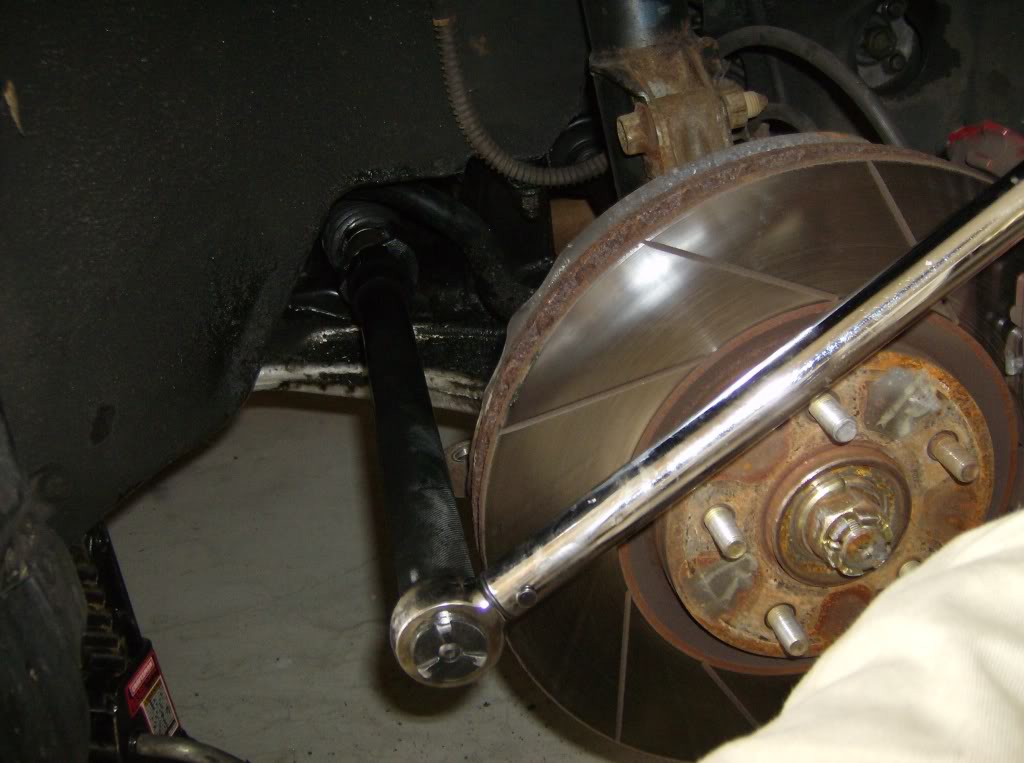
Once it is loose, you can take the rest off by hand.
Here is the tie rod itself with the lock washer in the bottom left hand corner
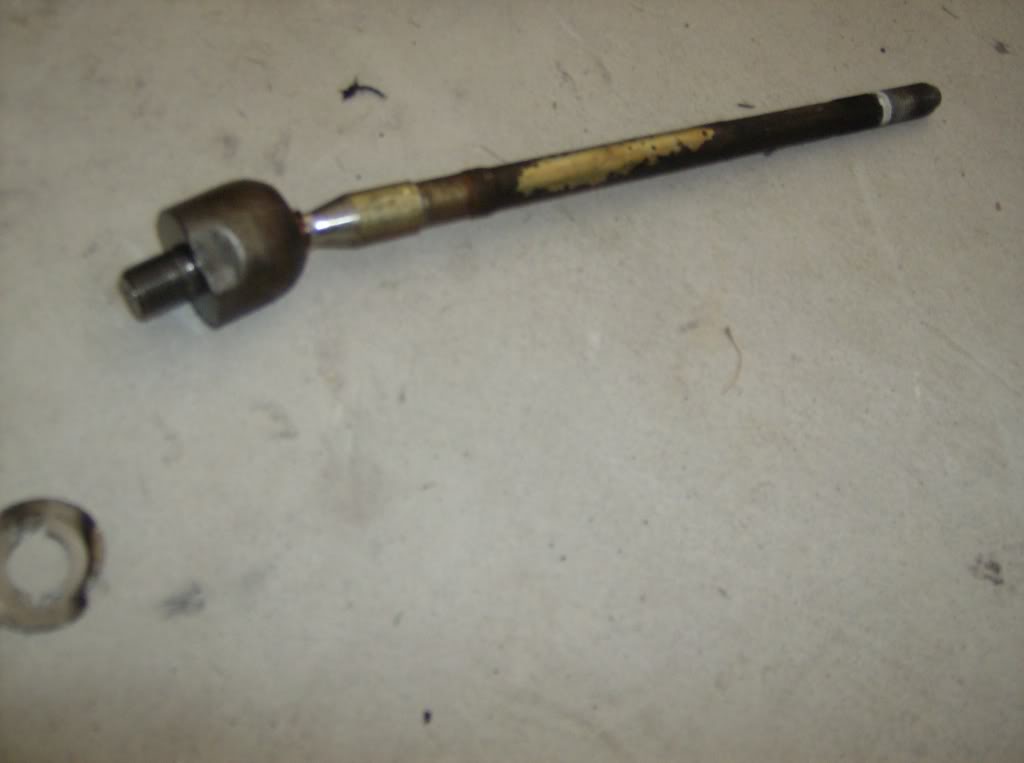
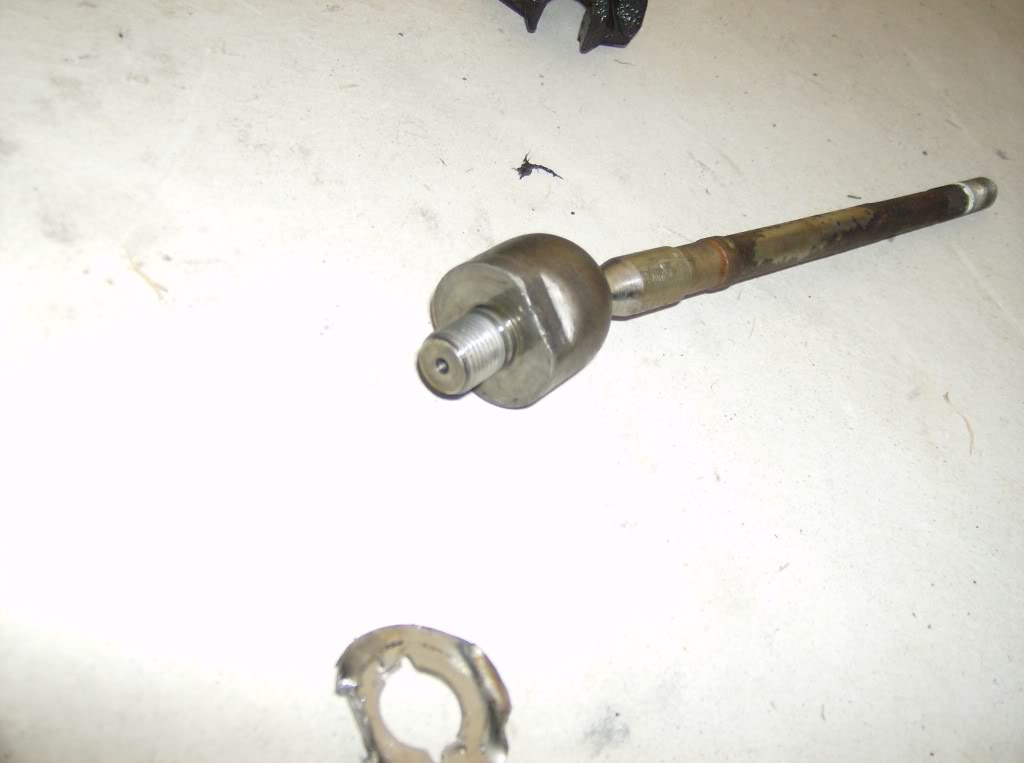
Here is the old tie rod next to the new one:

NOTE: I purchased one from AutoZone with a part number of SR7870 and it is NOT the correct part. The threads for the outer tie rod end are not the right size and this WILL NOT work. I'd recommend going with OEM Mitsu parts.
From here on out, it's basically the reversal of what you've done so far. First, make sure to use some blue loctite on the threads of the inner tie rod where it goes into the rack. Thread it on by hand making sure to put the lock washer between the rack and the tie rod. Once it's hand tight, use the inner tie rod tool to tighten it to 65-70 ft/lb. Please don't quote me on these specs, I don't have a shop manual to use as a reference, but based on the research I've done, this should be in the right area. You'll have a real tough time getting it past 70 ft/lb anyway.
At this point, slide the new boot over the tie rod end
Getting the back of the boot in the right place is a real pain in the butt because there isn't much room to play with. You can gain some access underneath by where the oil filter housing is. You'll notice there a ridge on the rack where you the metal band was. The boot I purchased uses zip ties, but metal bands are recommended. Make sure to secure the boot on that ridge as it will help the boot stay on. On the front, you will also notice a ridge where you should use a zip tie or metal band to secure it. Before doing the front one, make sure the boot isn't twisted or collapsed. Then secure the boot.
At this point, it should be smooth sailing! Put the jam nut back on the new tie rod to about where the whiteout mark is (if you did it). Now take the tie rod end and orient it the way it was before taking it off. If it was facing up, start threading it with it face or. Then give it the same number of turns you used to take it off. In my case, it was 8 full revolutions.
Now again you can interchange these next two steps. I like to put the tie rod end in the knuckle before tightening the jam nut, but you can do that first if you'd like.
Put the tie rod into the knuckle and hand tighten the nut. Now just like you loosened the nut, put vice grips on the tie rod (or adjustable wrench) and use the 22mm wrench on the jam nut. Tighten down by hand as best you can. I don't have torque specs for this.
Now to tighten the nut on the tie rod end I used my impact gun at about 100-110psi and had no problem. You can do this by hand if you're lucky and the ball joint doesn't move with it. I believe there is a hand tool you can use for this if you don't have an impact gun.
Good job! You're done! Now go do the other side, put the wheel back on, lower the car, and take it for a test drive. It is HIGHLY recommended to get a front end alignment after this procedure. The car should be straight enough to drive, but you don't want to wear out those tires!

Tools you'll need:
1) Vice grips or adjustable pliers
2) 22mm crescent wrench
3) 17mm socket
4) Impact gun (can be done without, but it's 100 times easier)
5) BFG (Big F*****g Hammer)
6) Inner tie rod tool (can be rented at any auto parts store)
7) 1/2" drive breaker bar or ratcheting wrench (a small extension may be helpful)
8) Long flathead screwdriver
9) Side cutters
10) Blue loctite (medium strength)
Start off by jacking up the front end of the car and support it with jack stands. As per usual, safety first, DO NOT work on the car without the support of jack stands.
Remove the wheels
Use an impact gun with a 17mm socket to remove the nut on the outer tie rod. This can be done with a wrench, but chances are the ball joint will turn with it. The impact gun makes it pretty easy to come off.
(sorry some pics came out terrible
With the nut off:
Now I like to loosen the jam nut with the tie rod end still in the knuckle, but this step can also be done after you remove it from the knuckle. I like to use some whiteout on the tie rod threads right behind the jam nut just to give a point of reference for when putting the tie rod end back on, but it is not necessary. On the inner tie rod itself, there should be a place where you can get a pair of vice grips or adjustable wrench on. Then use a 22mm wrench on the jam nut (right behind the tie rod end) and loosen the nut.
There are several ways to get the outer tie rod end out of the steering knuckle. You can use a pickle fork (ball joint fork) but that tends to ruin the boot and will force you to get a new tie rod end. Or my favorite method, is just to use a BFH. Try not to hit the stud unless you have to, but hit the tie rod end a few times to persuade it out of the knuckle, it shouldn't take too much effort. But if it gives you a hard time, just smack the top of the stud straight down (or up depending on how your tie rod is oriented).
NOTE: Make sure to note the orientation of the tie rod end. It may be facing up or facing down. This is important for when you put it back on so your alignment is as close to straight as it was before.
Tie rod out of the knuckle:
Now you can turn the tie rod end to remove it from the tie rod. Make sure to count how many full turns it takes to get it off as you will need to turn it this many times to put it back on. This time, it took me 8 full revolutions.
With the tie rod end off
Now its time to remove the tie rod from the rack. There is a boot (sometimes called a bellow) over the joint. The front end has a clamp you can remove with a pair of pliers. The back has a metal boot strap. It is difficult to get to, and at first I couldn't figure out how to get it off, so I ended up cutting the boot open. Later I figure out to take a long flathead screwdriver and lay it on the lip and hit it with a hammer to bend it out of shape and off the boot. Once you get the boot off you can see the ball joint and where it screws in to the rack.
Now to get the tie rod out, you will need a special tool called an inner tie rod tool. As I mentioned this can be rented at AutoZone or Advanced Auto or anywhere that rents tools. I forgot to take a picture, but its basically a long hollow tube that you can either put a crows feet at the end or in this case a half open socket.
First, there is a lock washer between the tie rod and the rack. There will be two tabs on the flat surfaces that you will need to push back with a punch or a flat head screwdriver. Once this is done, you will be able to get the socket (or crows feet) around the end of the tie rod. Once that is secure, place the long tube over the socket and use a 1/2" drive breaker bar or wrench to loosen it from the rack.
Once it is loose, you can take the rest off by hand.
Here is the tie rod itself with the lock washer in the bottom left hand corner
Here is the old tie rod next to the new one:
NOTE: I purchased one from AutoZone with a part number of SR7870 and it is NOT the correct part. The threads for the outer tie rod end are not the right size and this WILL NOT work. I'd recommend going with OEM Mitsu parts.
From here on out, it's basically the reversal of what you've done so far. First, make sure to use some blue loctite on the threads of the inner tie rod where it goes into the rack. Thread it on by hand making sure to put the lock washer between the rack and the tie rod. Once it's hand tight, use the inner tie rod tool to tighten it to 65-70 ft/lb. Please don't quote me on these specs, I don't have a shop manual to use as a reference, but based on the research I've done, this should be in the right area. You'll have a real tough time getting it past 70 ft/lb anyway.
At this point, slide the new boot over the tie rod end
Getting the back of the boot in the right place is a real pain in the butt because there isn't much room to play with. You can gain some access underneath by where the oil filter housing is. You'll notice there a ridge on the rack where you the metal band was. The boot I purchased uses zip ties, but metal bands are recommended. Make sure to secure the boot on that ridge as it will help the boot stay on. On the front, you will also notice a ridge where you should use a zip tie or metal band to secure it. Before doing the front one, make sure the boot isn't twisted or collapsed. Then secure the boot.
At this point, it should be smooth sailing! Put the jam nut back on the new tie rod to about where the whiteout mark is (if you did it). Now take the tie rod end and orient it the way it was before taking it off. If it was facing up, start threading it with it face or. Then give it the same number of turns you used to take it off. In my case, it was 8 full revolutions.
Now again you can interchange these next two steps. I like to put the tie rod end in the knuckle before tightening the jam nut, but you can do that first if you'd like.
Put the tie rod into the knuckle and hand tighten the nut. Now just like you loosened the nut, put vice grips on the tie rod (or adjustable wrench) and use the 22mm wrench on the jam nut. Tighten down by hand as best you can. I don't have torque specs for this.
Now to tighten the nut on the tie rod end I used my impact gun at about 100-110psi and had no problem. You can do this by hand if you're lucky and the ball joint doesn't move with it. I believe there is a hand tool you can use for this if you don't have an impact gun.
Good job! You're done! Now go do the other side, put the wheel back on, lower the car, and take it for a test drive. It is HIGHLY recommended to get a front end alignment after this procedure. The car should be straight enough to drive, but you don't want to wear out those tires!
 Sep 20, 2010, 11:31 AM
#3
Newbie
Join Date: Aug 2010
Location: Germany
Posts: 9
Likes: 0
Received 0 Likes
on
0 Posts
Well I love you! I wrecked on the Nurburgring 2 weeks ago.. waited 9 days for the new tie rods from japan to come in and this helped me out 100%
The shop I took it to wanted to replace the whole steering system 3100 euro I asked what is actually wrong and he said a bent tie rod.. He could not locate one so I did some research and found the MoonFace ones from japan and ordered.
German law will not let the mechanic just replace a tie rod... so I have to do this myself.
Thanks
Oct 1, 2010, 05:44 PM
#5
Newbie

Join Date: Sep 2010
Location: usa
Posts: 91
Likes: 0
Received 0 Likes
on
0 Posts
did you use a torque wrench to loosen something? and if you want to remove tie rod with out damaging boot why not sure pitman arm puller?
http://www.autozone.com/autozone/acc...mString=search
these can be renter also.
http://www.autozone.com/autozone/acc...mString=search
these can be renter also.
Oct 1, 2010, 05:47 PM
#6
did you use a torque wrench to loosen something? and if you want to remove tie rod with out damaging boot why not sure pitman arm puller?
http://www.autozone.com/autozone/acc...mString=search
these can be renter also.
http://www.autozone.com/autozone/acc...mString=search
these can be renter also.
The pitman arm will also work to remove the outer tie rod end. Just don't use a pickle fork!
Oct 1, 2010, 11:21 PM
#7
Newbie
Join Date: Sep 2010
Location: usa
Posts: 91
Likes: 0
Received 0 Likes
on
0 Posts
I think your pics may be out of order then.
that looks like the head of one of the sears brand click type torque wrench it is in the part where you talk about taking things apart.
Last edited by benwara; Oct 1, 2010 at 11:29 PM.
Trending Topics
 Dec 9, 2010, 12:48 AM
#11
Newbie
iTrader: (1)

Join Date: Feb 2007
Location: lewisville, TX
Posts: 89
Likes: 0
Received 0 Likes
on
0 Posts
i am going to do the inner tie rod soon and was wondering if the washer is reusable? I bought a new clamp for the boot i just couldn't get my hands on a new washer.
Apr 9, 2011, 06:22 AM
#13
turbotaloon95,
Thanks for the post & very useful for me.
Could you please share with me, what are the correct part number of the Inner Tie Rods?
I just bought the unit but it's not are correct part due to the threads are smaller to enter the Outer Tie Rods. The parts number I bought is 4422A056 (WRONG).
Having problem at the moment searching the correct parts.
Your help very much appreciated. Thanks in advance.
Please refer attach picture.
The top unit are the old unit bottom are the wrong part I bought.
Doesn't fit the Outer Tie Rods
Apr 11, 2011, 07:19 PM
#14
turbotaloon95,
Thanks for the post & very useful for me.
Could you please share with me, what are the correct part number of the Inner Tie Rods?
I just bought the unit but it's not are correct part due to the threads are smaller to enter the Outer Tie Rods. The parts number I bought is 4422A056 (WRONG).
Having problem at the moment searching the correct parts.
Your help very much appreciated. Thanks in advance.
Please refer attach picture.
The top unit are the old unit bottom are the wrong part I bought.
Doesn't fit the Outer Tie Rods
Thanks for the post & very useful for me.
Could you please share with me, what are the correct part number of the Inner Tie Rods?
I just bought the unit but it's not are correct part due to the threads are smaller to enter the Outer Tie Rods. The parts number I bought is 4422A056 (WRONG).
Having problem at the moment searching the correct parts.
Your help very much appreciated. Thanks in advance.
Please refer attach picture.
The top unit are the old unit bottom are the wrong part I bought.
Doesn't fit the Outer Tie Rods

