When you click on links to various merchants on this site and make a purchase, this can result in this site earning a commission. Affiliate programs and affiliations include, but are not limited to, the eBay Partner Network.
Evo How Tos / InstallationsPost or link to your detailed how to / installation articles in here. If you have any questions regarding the how tos, feel free to post them in the Request sub-forum.
Hey everyone, I like many had a broken bolster on my Recaro seats so I decided to fix it. I read this thead: "OTHER BOLSTER FIX" and it helped me out a lot. I suggest you read it too before deciding which fix to use. You'll have more details there too.
FINAL RESULT:
Anyway I feel that my fix is faster / stronger (you might even be able to do it with the seat still in the car) as you only have to slide the top of the cloth and top foam up just an inch or 2. Once you screw in the 2 screws/washers the bolsters feel stronger then original. Cloth also covers the screws/washers once you put everything back so it looks awesome :-)
HOW TO:
1★Basically just slide the cloth up 2 inches after removing the clips that hold the cloth in. I took them out with a skinny screw driver. See this for more info on the clips "OTHER BOLSTER FIX"
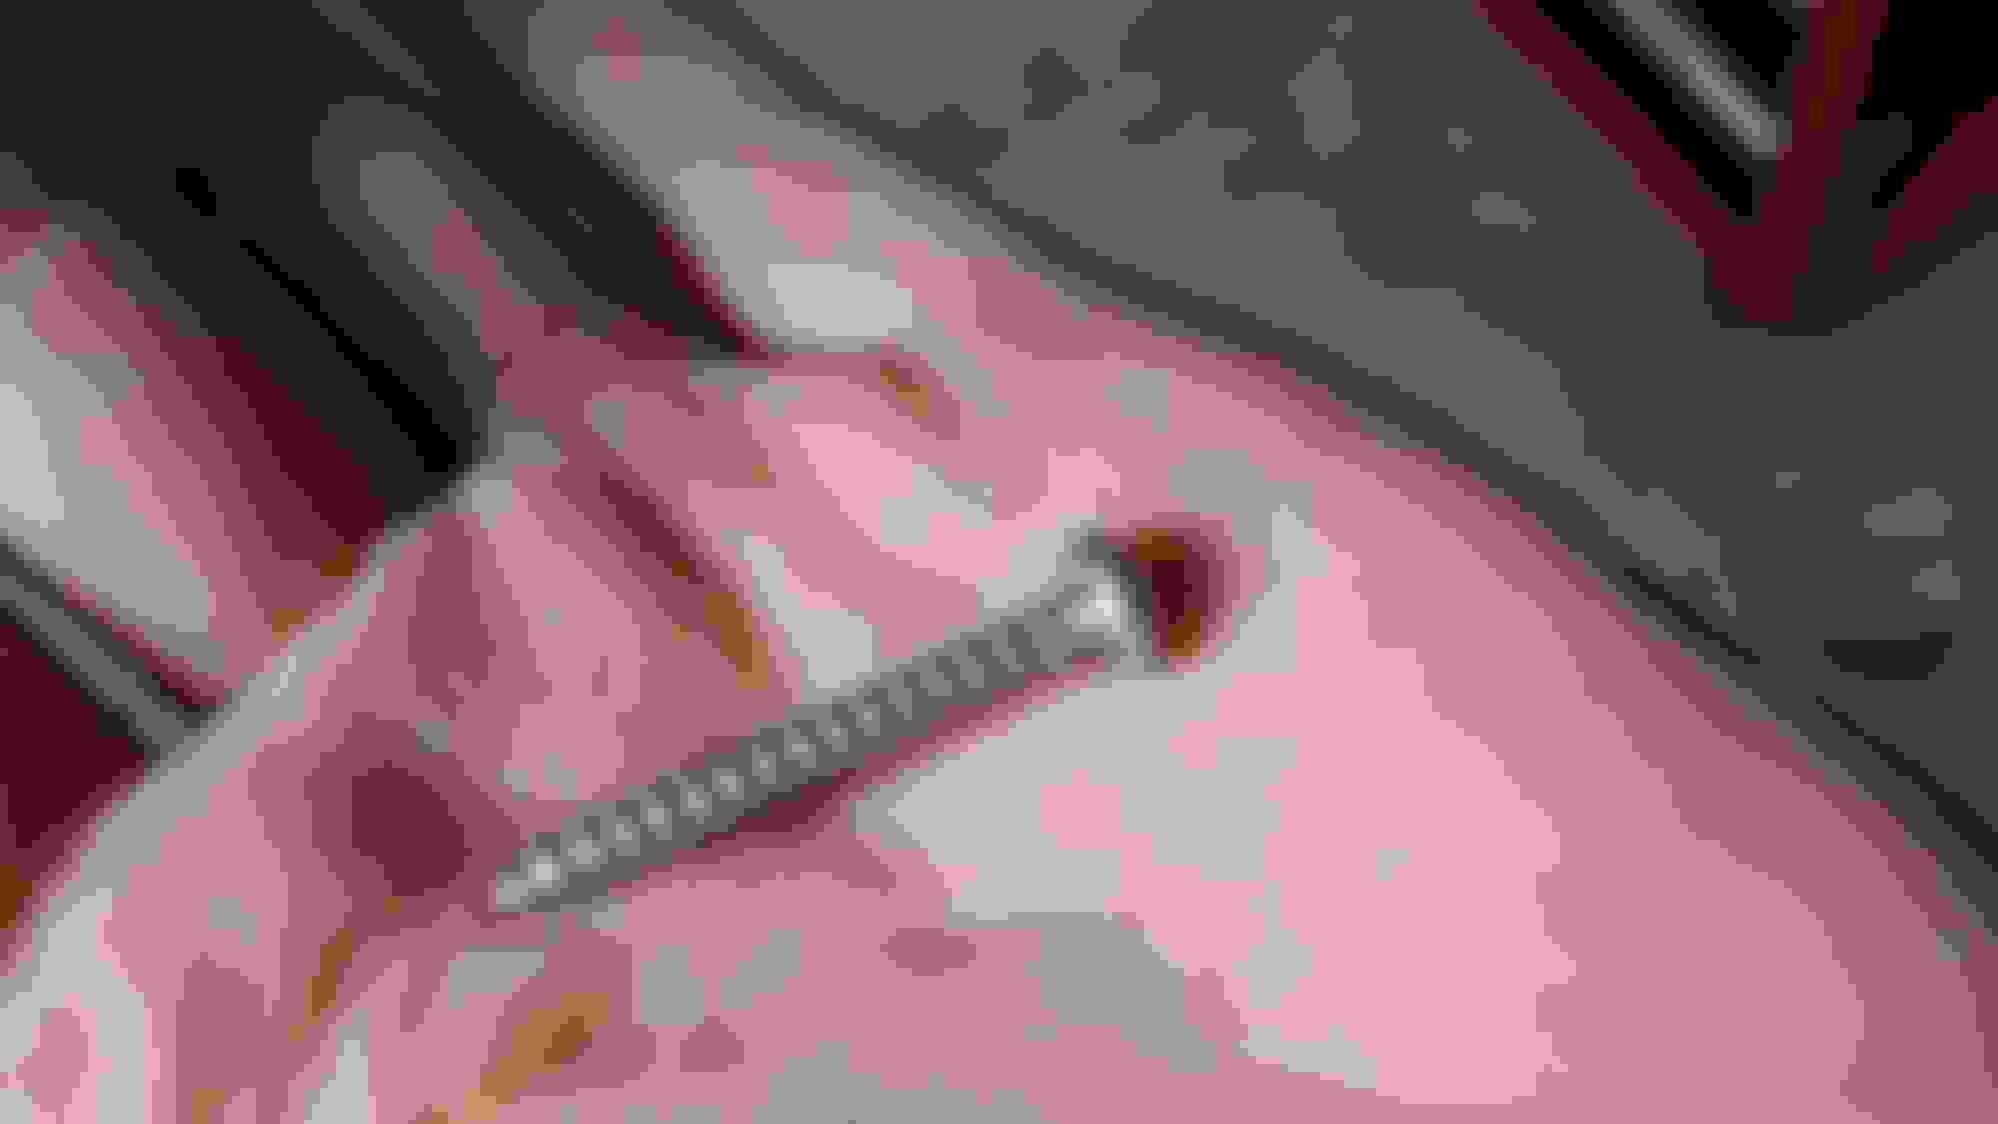
2★ Once the cloth and foam is up 2 inches, just drill a small hole through the plastic and through the metal frame behind the plastic. Make sure you hit the frame. You can see the frame through the slip/hole in the plastic (PIC BELOW). Frame is very thin so drill a tiny hole (I did a 2.5mm drill bit, and used a 5mm wide screw) to make the screw hold better. SEE THIS PIC:
Use a much thicker metal screw then the hole you drilled!!! I used large washers and a 1.5inch long screws (PIC BELOW). (I strongly recommend using a large washer as it will spread the load over a larger area so you don't end up cracking the plastic again in the future)
Once screwed in, put the foam and the cloth back, redo the cloth clips and you are done. PLEASE RATE THIS THEAD IF IT HELPED YOU OR YOU LIKED IT
___________________________________________
NOTES:
This fixes the top bolster which is the one that most people break. It help a ton with the bottom one too, i didn't even have to do anything to my bottom ones, this fix alone feels like it fixed both. Now if you strongly feel you must fix the bottom boaters, you could do the same fix to the bottom but you will have 2 screws/washers visible on the back of the sear as the cloth will not cover the bottom ones. Doing the bottom ones seems unnecessary IMO.
MORE PICTURES:
.
.
.
Last edited by supak111; Mar 17, 2016 at 05:24 PM.
 Mar 17, 2016, 04:41 PM