Ultimate Detail: 75 Pictures, 30 Hours, 3 Days, 1 Perfect EVO VIII
 Jun 21, 2009, 03:03 PM
#1
Newbie
Thread Starter

Join Date: May 2008
Location: Skokie, IL
Posts: 51
Likes: 0
Received 0 Likes
on
0 Posts
Ultimate Detail: 75 Pictures, 30 Hours, 3 Days, 1 Perfect EVO VIII
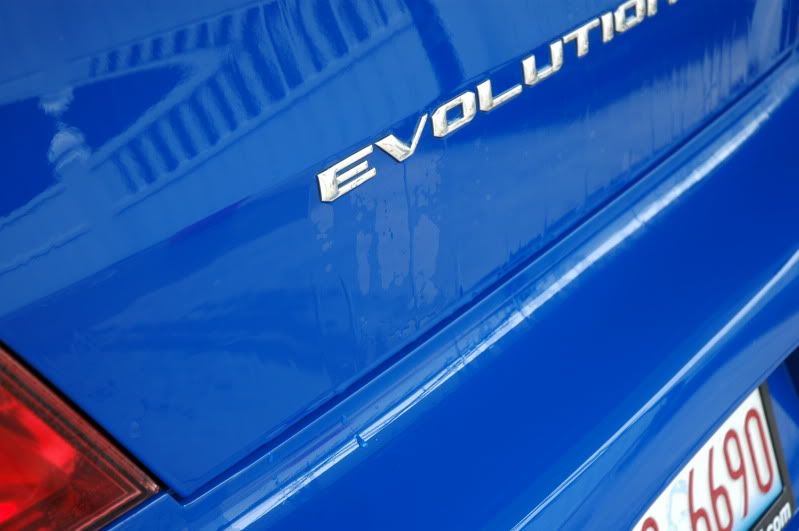
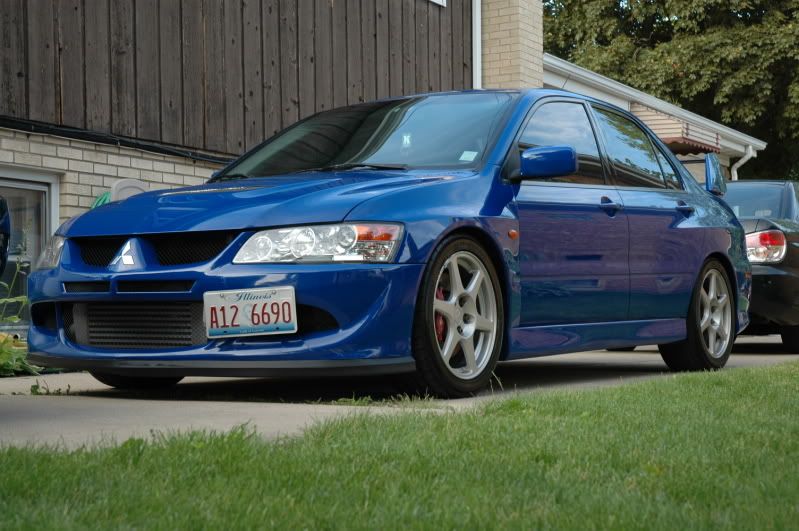
Since its first release in the United States in 2003, the Mitsubishi Lancer Evolution has since been a large competitor in satisfying the pleasures of driving on tracks and city roads alike. With the implementation of aerodynamics and styling coupled with a 271hp/273tq 2.0L turbocharged engine and an intelligent AWD system, the EVO has shown to be the ideal car for a large variety of consumers, from your performance extremists to the local car enthusiast. In this case, Blue-By-You EVO VIII has been the dream car for this customer ever since it was brought to the American shores. Although he was finally able to purchase his perfect car, the condition of its visual appearance was unfortunately much less than perfect. I was hired to make sure that this car achieved that level of perfection that both the owner and I knew it deserved.
Before the owner even contacted me, he was already set on purchasing my �Perfection� detail, where at a set price I would take as long as needed to get the car into the only condition it should be in � perfect.
3 days and around 30 man hours later, I�m glad to say that this car has definitely made an extreme transformation. After all the sweat, frustration, and time, the end result (and the customer�s reaction) has reminded me of what makes detailing worthwhile.
Since this was the first �perfection detail� performed on a customer�s car, I was motivated to make sure that it was done right. I tried to keep things as organized as possible, but now that I�ve gone through the process I�ll hopefully be more efficient in the future.
Day One: Exhaust Treatment, Decontamination & Begin Paint Correction
Summary:
-Pre-Rinse exhaust, agitate inside and outside using Meguiar�s All Purpose Cleaner Plus (4:1) and #0000 Grit Steel Wool.
-Rinse and dry exhaust, then hand polish using Meguiar�s NXT All Metal Polish and a clean microfiber towel until buffed to a like-new shine.
-Re-Install Exhaust
-Pre-Rinse Exterior
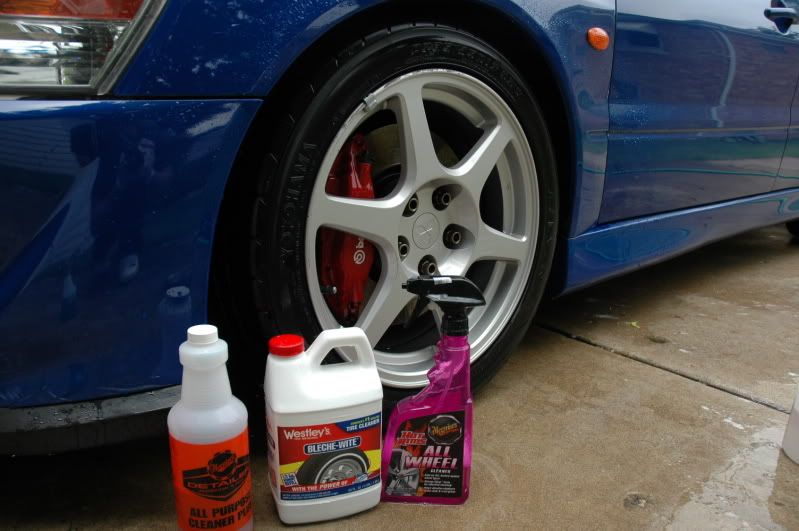
-Deep clean wheels, tires, and wheel wells using Meguiar�s Hot Shine All Wheel Cleaner, Bleche-Wite Tire Gel, and Meguiar�s All Purpose Cleaner Plus (4:1) using Daytona Wheel Brush, Tire Brush, & Meguiar�s Slide Lock Brush.
-Pre-soak side skirts, and lower body panels using Meguiar�s All Purpose Cleaner Plus (20:1) and agitated using Meguiar�s Slide Lock Brush then rinsed off immediately.
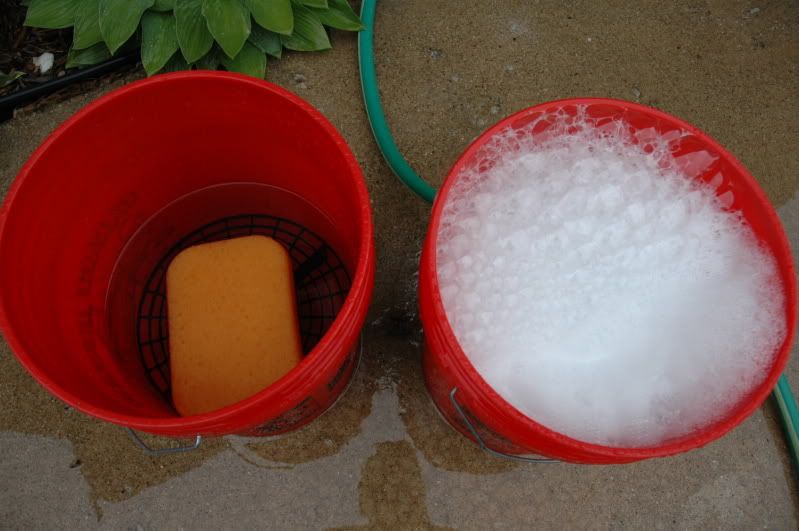
-Wash exterior using two bucket method (with 2 grit guards) and Dawn Dishwashing Liquid to remove any old wax, stains, and mild water marks then rinsed clean.
-Claybar entire car (including glass) while still wet, using distilled water combined with a splash of Meguiar�s #00 Hi-Tech Wash for further lubrication, then blown dry using a leaf blower followed up by a clean microfiber towel.
-Entire car wiped down with 100% Denatured Alcohol to ensure a clean, primed surface for paint correction.
-Do a test panel on a car to develop a system to be used without sacrificing excess clear coat.
-Begin to compound doors, Front and Rear Panels, and hood with M105 on White LC 6.5 Pad using a Makita 9227 Rotary Polisher.
Pictures:
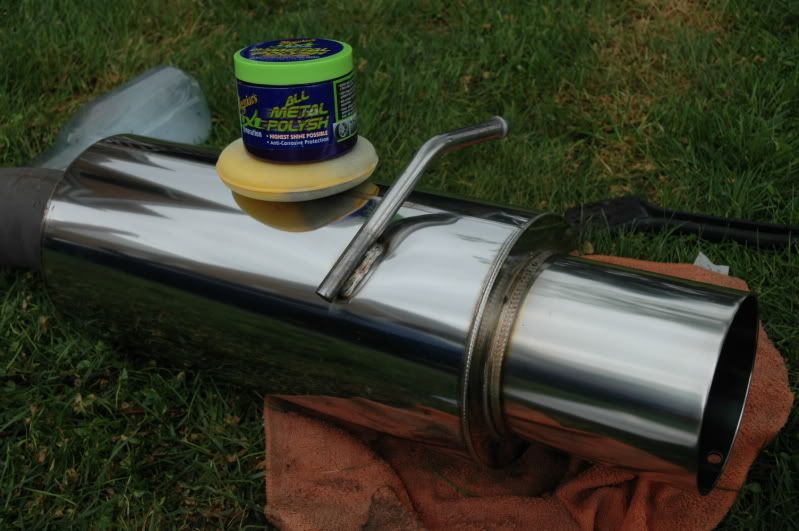
The customer lives within a couple blocks of me, so before bringing the car over to my house for the detail, I stopped by his house to clean up his exhaust since it was already off the car.
Upon arrival, I feared that polishing the exhaust was out of the question. Tar, grime, and salt were BAKED onto the canister. It was unbelievable how hard they felt. I probably could have cut my hand if I ran it across the bumps fast enough.
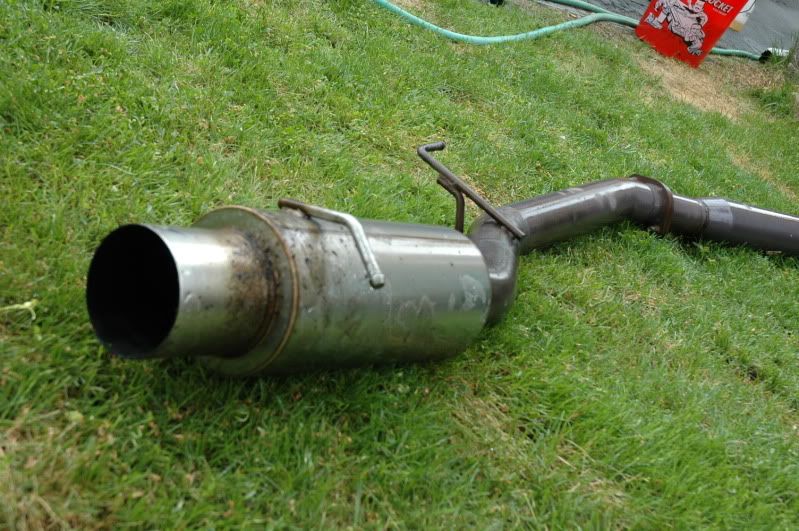
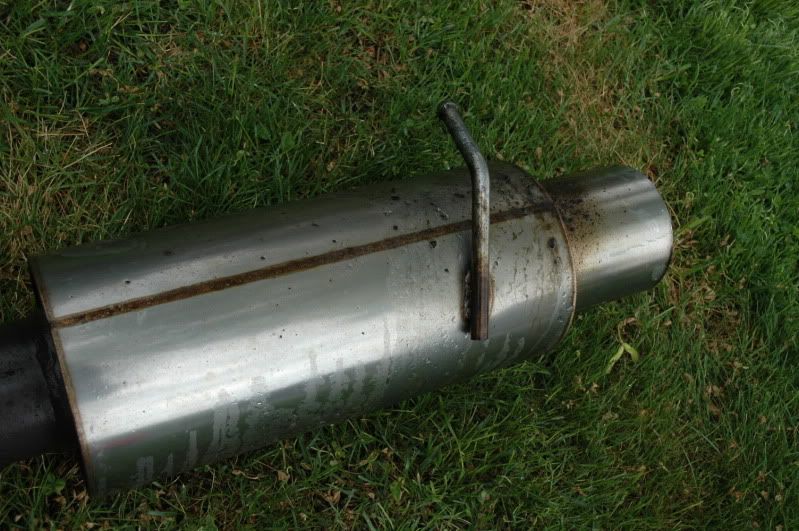
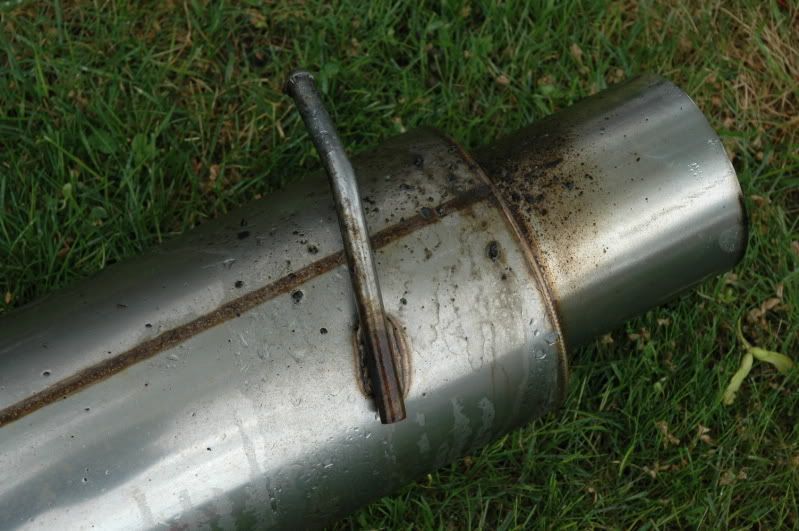
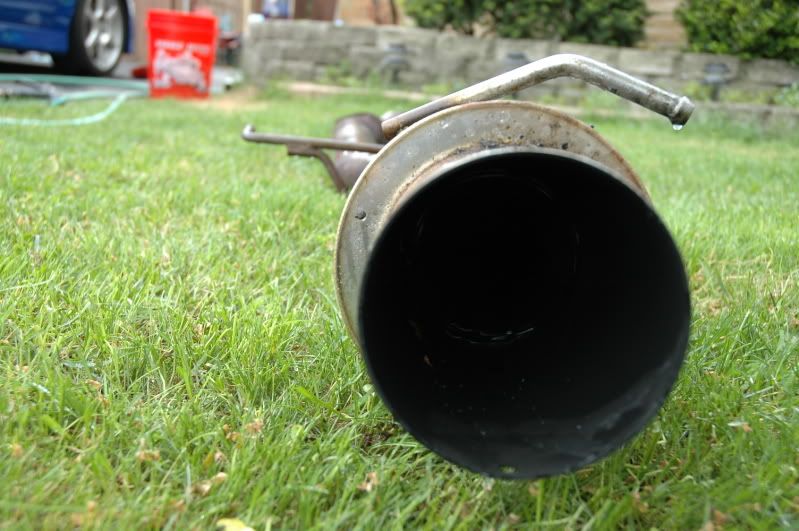
After pre-rinsing the exhaust, I began by tackling the outside and inside of the canister with Meguiar�s APC+ and #0000 Grit Steel Wool. Years of neglect were slowly getting removed from the Apexi N1. My gloves were filthy.
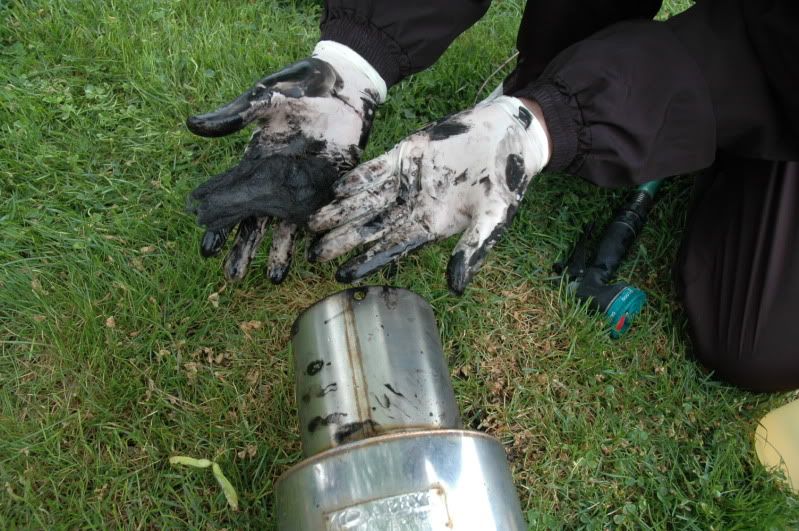
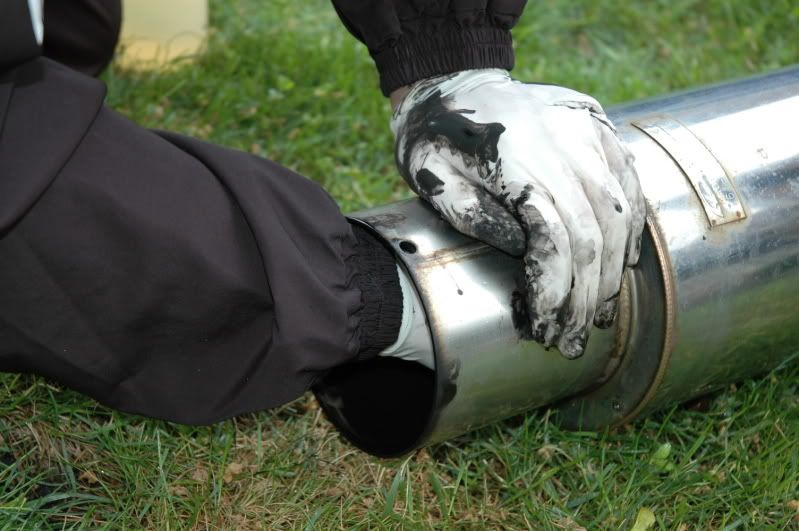
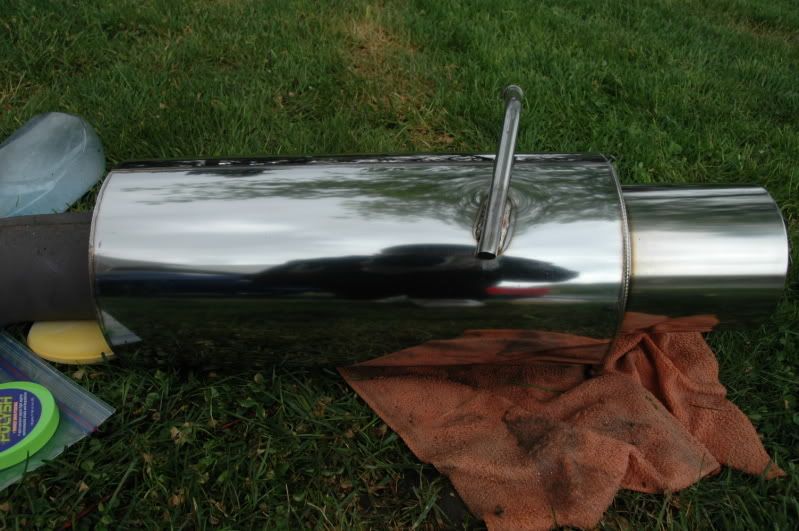
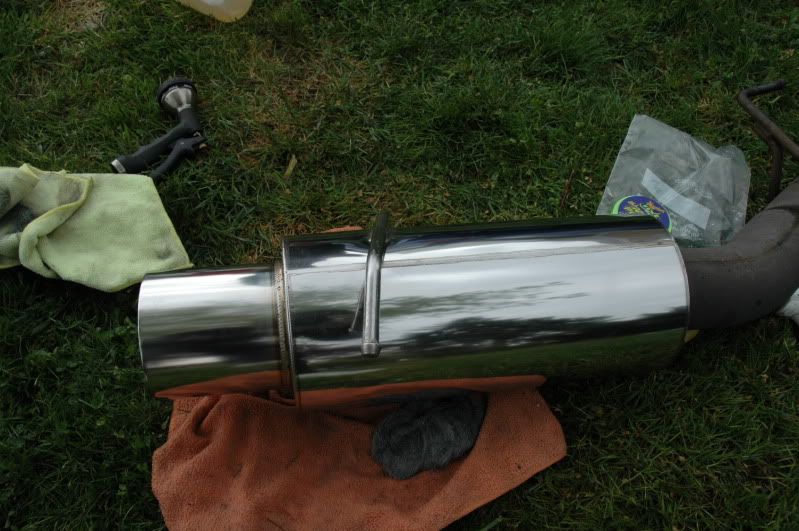
After 2 hours of constant scrubbing, 3 pieces of steel wool, and several applications of Meguiar�s NXT All Metal Polish by hand using a Meguiar�s Yellow Foam Applicator, the exhaust was brought back to life.
Before the owner even contacted me, he was already set on purchasing my �Perfection� detail, where at a set price I would take as long as needed to get the car into the only condition it should be in � perfect.
3 days and around 30 man hours later, I�m glad to say that this car has definitely made an extreme transformation. After all the sweat, frustration, and time, the end result (and the customer�s reaction) has reminded me of what makes detailing worthwhile.
Since this was the first �perfection detail� performed on a customer�s car, I was motivated to make sure that it was done right. I tried to keep things as organized as possible, but now that I�ve gone through the process I�ll hopefully be more efficient in the future.
Day One: Exhaust Treatment, Decontamination & Begin Paint Correction
Summary:
-Pre-Rinse exhaust, agitate inside and outside using Meguiar�s All Purpose Cleaner Plus (4:1) and #0000 Grit Steel Wool.
-Rinse and dry exhaust, then hand polish using Meguiar�s NXT All Metal Polish and a clean microfiber towel until buffed to a like-new shine.
-Re-Install Exhaust
-Pre-Rinse Exterior
-Deep clean wheels, tires, and wheel wells using Meguiar�s Hot Shine All Wheel Cleaner, Bleche-Wite Tire Gel, and Meguiar�s All Purpose Cleaner Plus (4:1) using Daytona Wheel Brush, Tire Brush, & Meguiar�s Slide Lock Brush.
-Pre-soak side skirts, and lower body panels using Meguiar�s All Purpose Cleaner Plus (20:1) and agitated using Meguiar�s Slide Lock Brush then rinsed off immediately.
-Wash exterior using two bucket method (with 2 grit guards) and Dawn Dishwashing Liquid to remove any old wax, stains, and mild water marks then rinsed clean.
-Claybar entire car (including glass) while still wet, using distilled water combined with a splash of Meguiar�s #00 Hi-Tech Wash for further lubrication, then blown dry using a leaf blower followed up by a clean microfiber towel.
-Entire car wiped down with 100% Denatured Alcohol to ensure a clean, primed surface for paint correction.
-Do a test panel on a car to develop a system to be used without sacrificing excess clear coat.
-Begin to compound doors, Front and Rear Panels, and hood with M105 on White LC 6.5 Pad using a Makita 9227 Rotary Polisher.
Pictures:
The customer lives within a couple blocks of me, so before bringing the car over to my house for the detail, I stopped by his house to clean up his exhaust since it was already off the car.
Upon arrival, I feared that polishing the exhaust was out of the question. Tar, grime, and salt were BAKED onto the canister. It was unbelievable how hard they felt. I probably could have cut my hand if I ran it across the bumps fast enough.
After pre-rinsing the exhaust, I began by tackling the outside and inside of the canister with Meguiar�s APC+ and #0000 Grit Steel Wool. Years of neglect were slowly getting removed from the Apexi N1. My gloves were filthy.
After 2 hours of constant scrubbing, 3 pieces of steel wool, and several applications of Meguiar�s NXT All Metal Polish by hand using a Meguiar�s Yellow Foam Applicator, the exhaust was brought back to life.
 Jun 21, 2009, 03:04 PM
#2
Newbie
Thread Starter
Join Date: May 2008
Location: Skokie, IL
Posts: 51
Likes: 0
Received 0 Likes
on
0 Posts
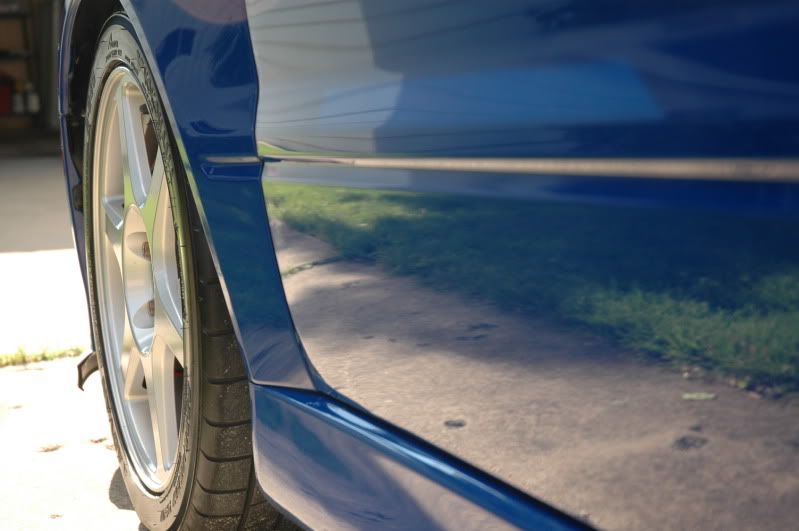
After the exhaust was reinstalled, we brought the EVO back to my house to begin the long journey that followed.
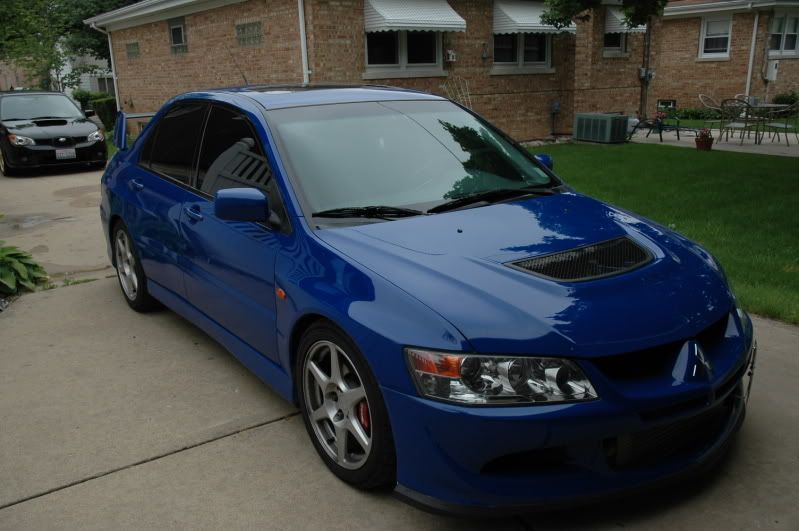
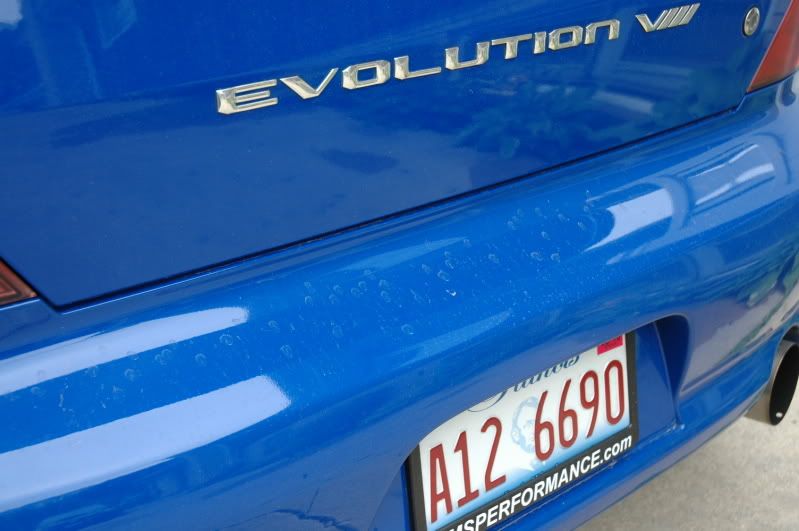
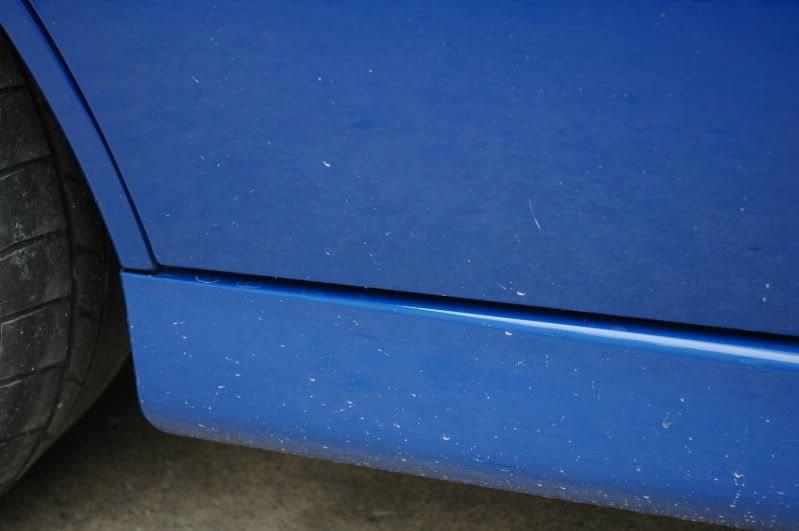
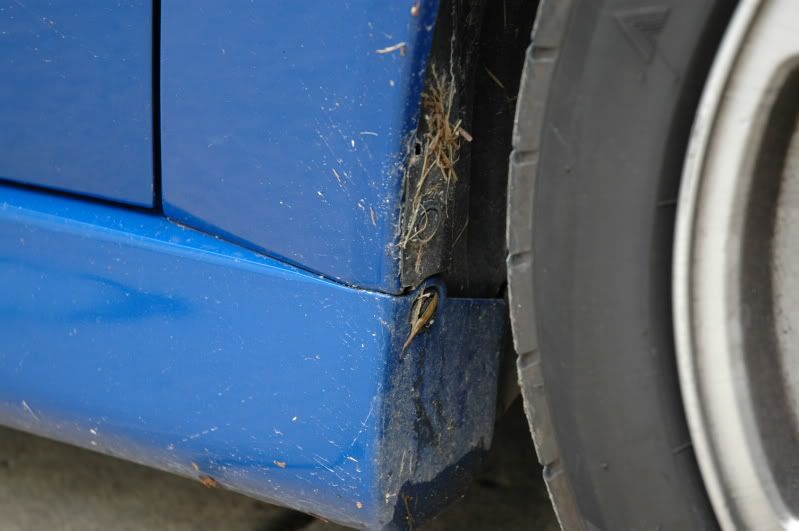
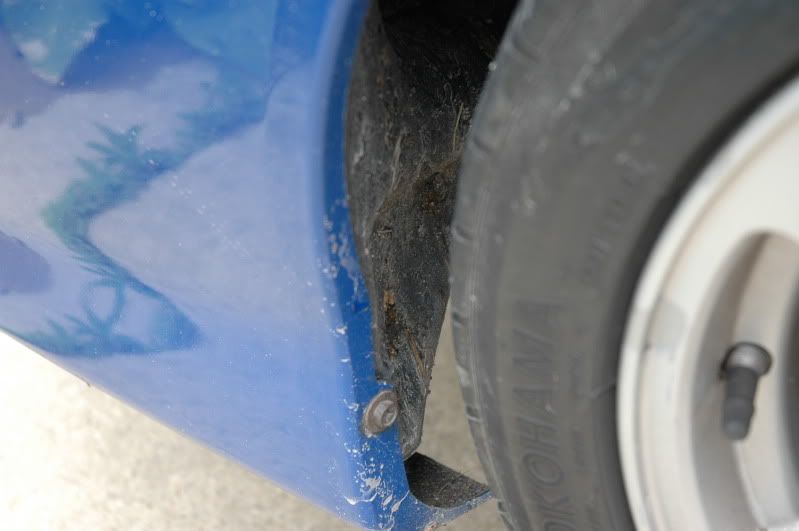
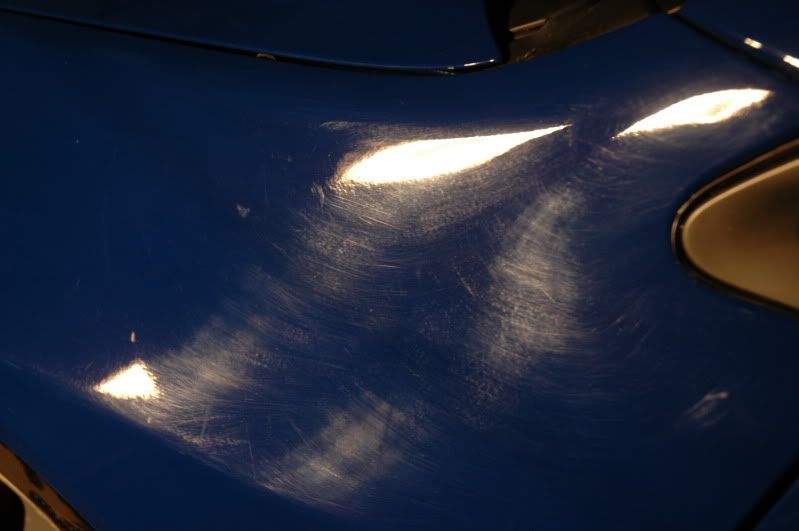
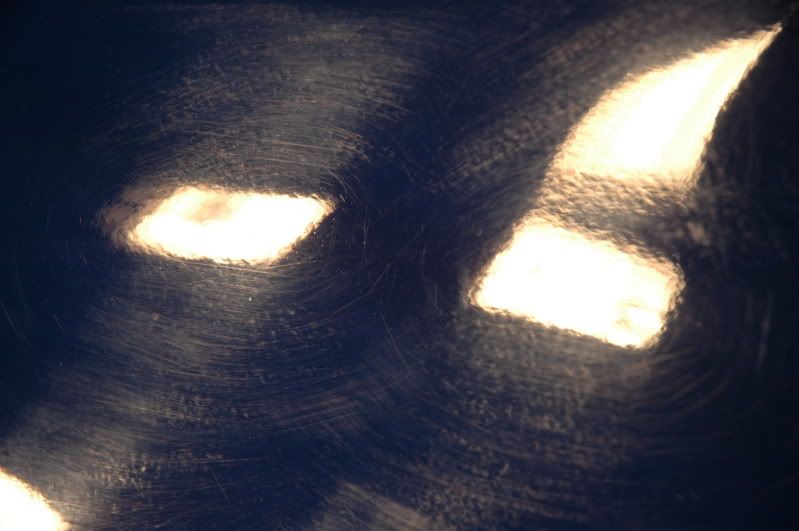
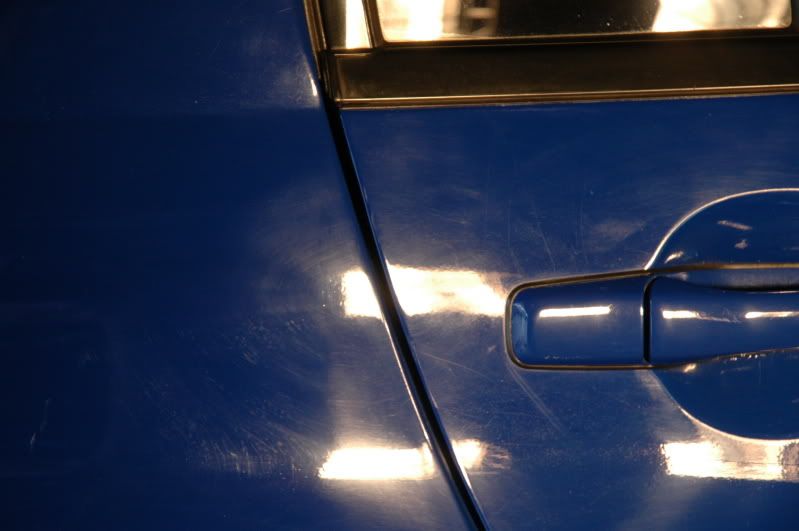
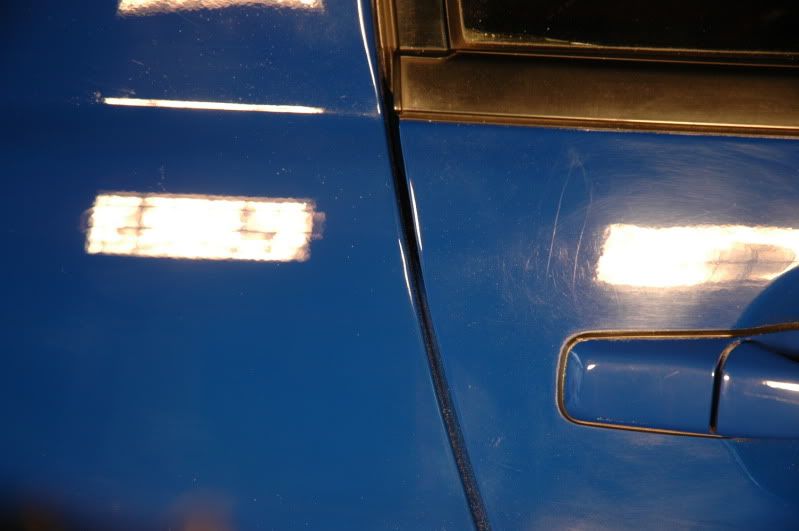
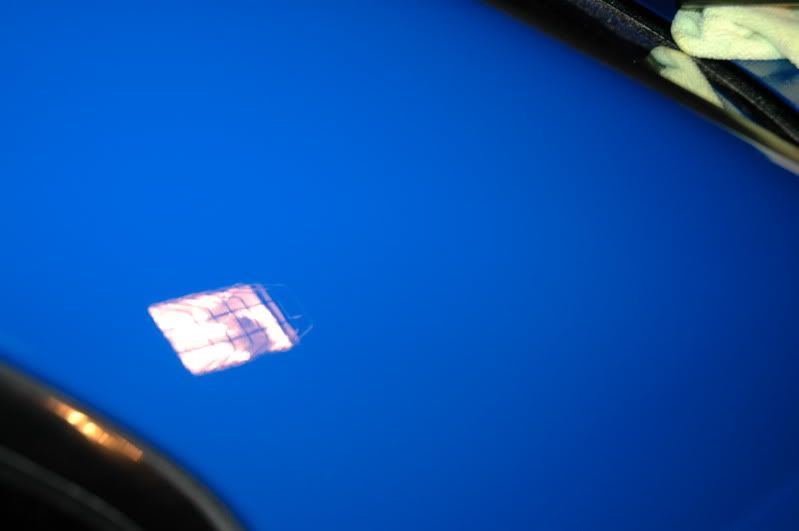
The car had the usual case of water spots, road grime, grass, and for a blue car, very easily spottable swirls and RIDS.
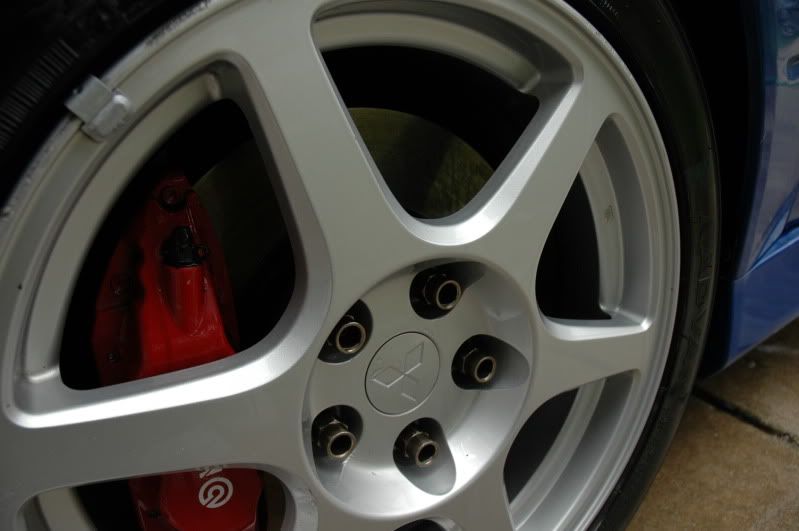
The wheel wells were particularly dirty. In addition, the wheels & tires showed no signs of gloss and color richness that they originally had.

The car had the usual case of water spots, road grime, grass, and for a blue car, very easily spottable swirls and RIDS.
The wheel wells were particularly dirty. In addition, the wheels & tires showed no signs of gloss and color richness that they originally had.
Jun 21, 2009, 03:04 PM
#3
Newbie
Thread Starter
Join Date: May 2008
Location: Skokie, IL
Posts: 51
Likes: 0
Received 0 Likes
on
0 Posts
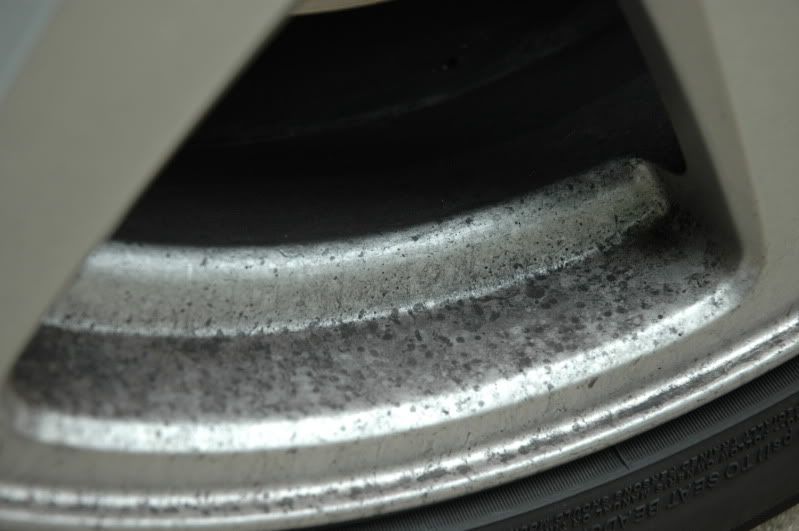
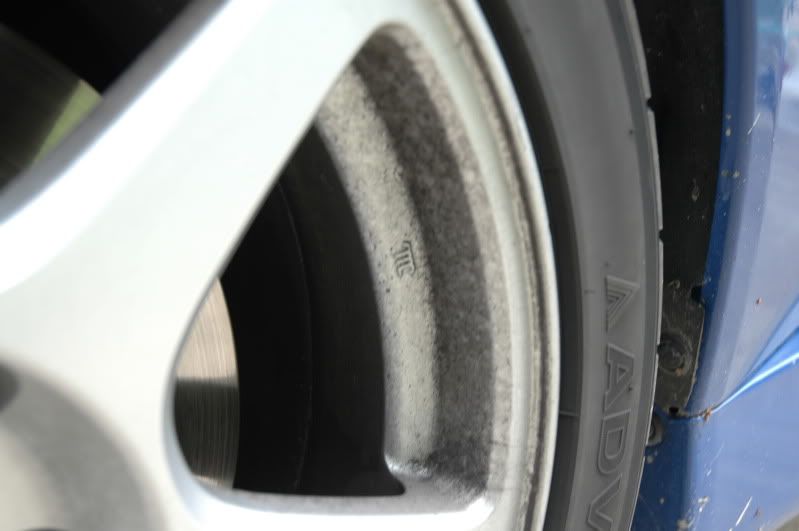
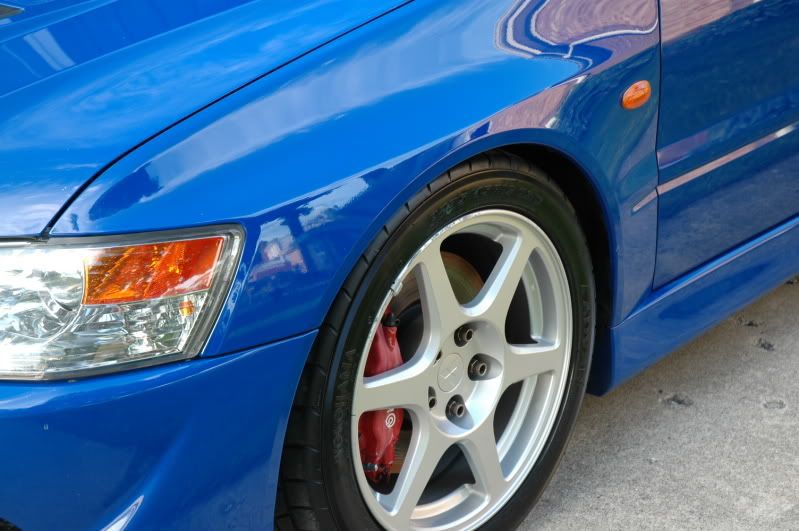
After pre-rinsing, I sprayed a liberal amount of Meguiar’s Hot Shine All Wheel Cleaner (50:50) onto the wheels and used the Daytona Wheel Brush and Meguiar’s Slide-Lock Brush to agitate and loosen the brake dust and tar.
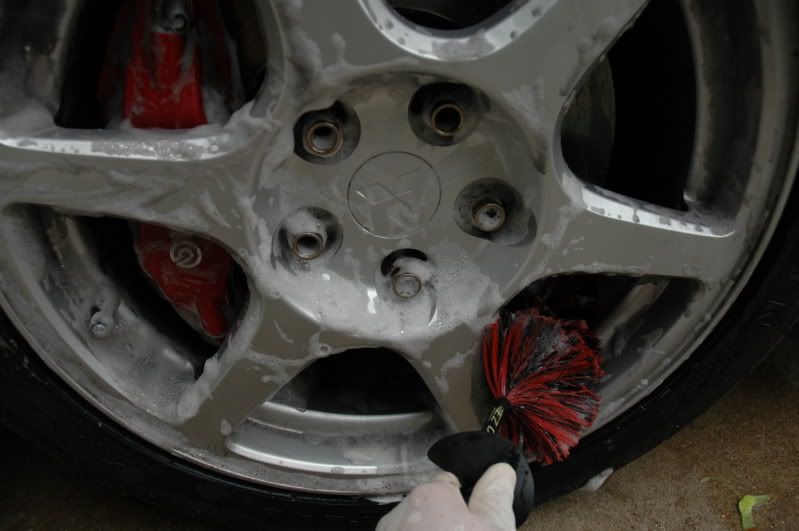
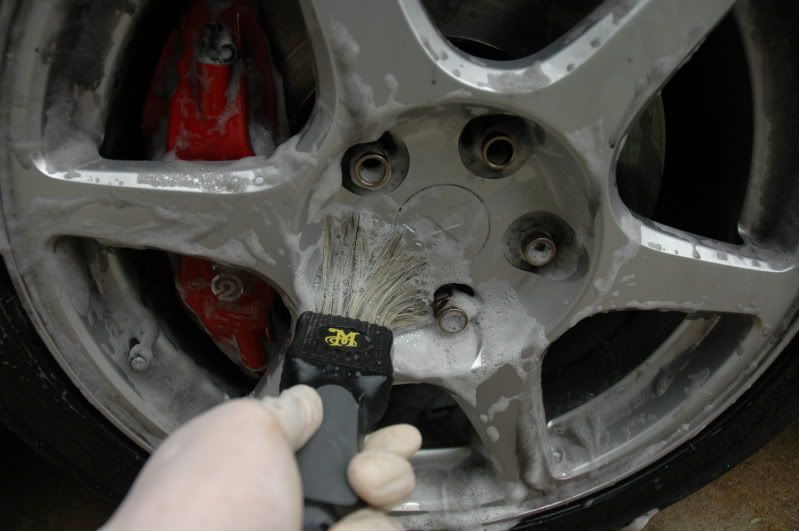
Bleche-Wite Tire Cleaner was sprayed liberally on the tires, and almost instantly grime and dirt oozed from the surface.
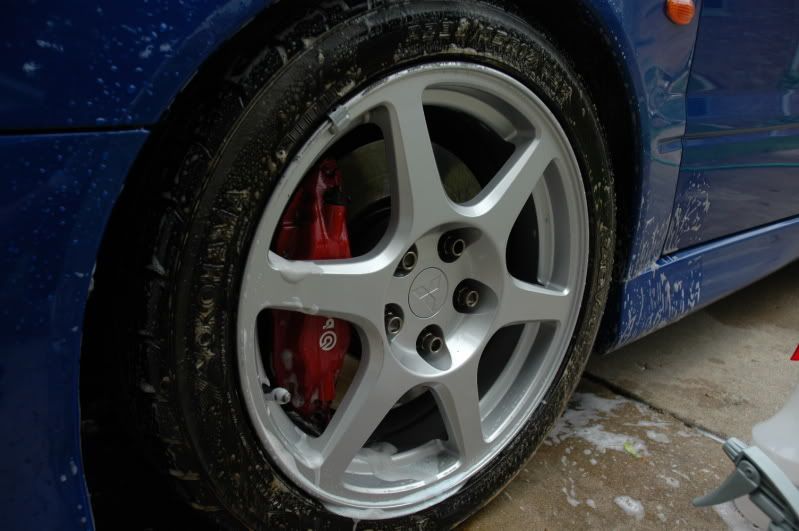
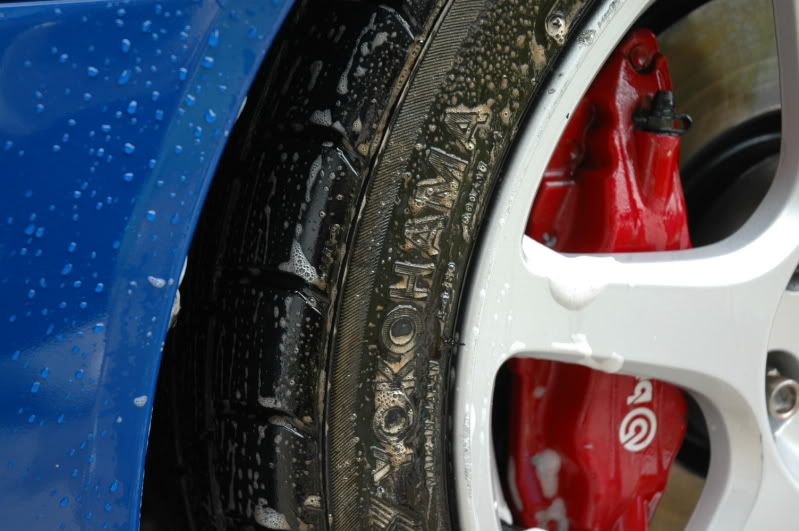
2 applications of the cleaner were used on each tire along with a tire brush to agitate until the brown liquid no longer ran from the tires. Meguiar’s APC+ (4:1) was also sprayed into the wheel wells and agitated with a Daytona Wheel brush. As a result:
 Jun 21, 2009, 03:05 PM
#4
Newbie
Thread Starter
Join Date: May 2008
Location: Skokie, IL
Posts: 51
Likes: 0
Received 0 Likes
on
0 Posts
Once all the wheels were cleaned, I washed the car using the two bucket method with grit guards, TS Grout Sponge, and Dawn as my wash medium.
After the wash, water no longer beaded and I was assured that nearly all of the old wax was removed from the surface.
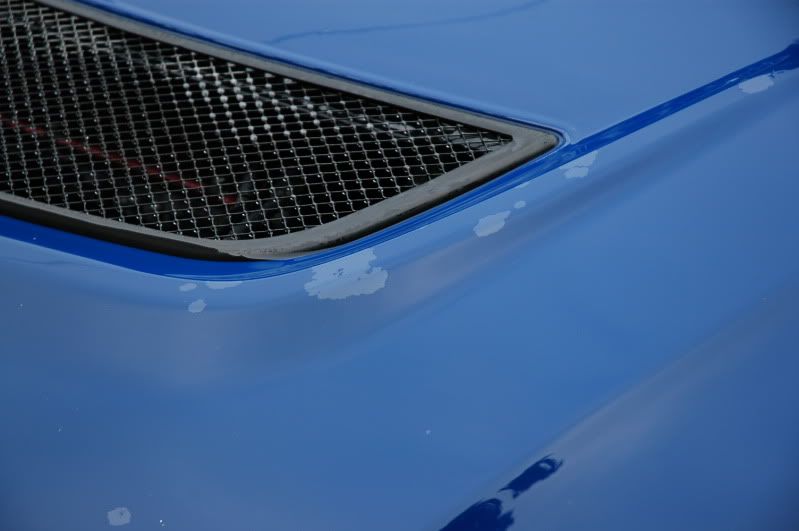
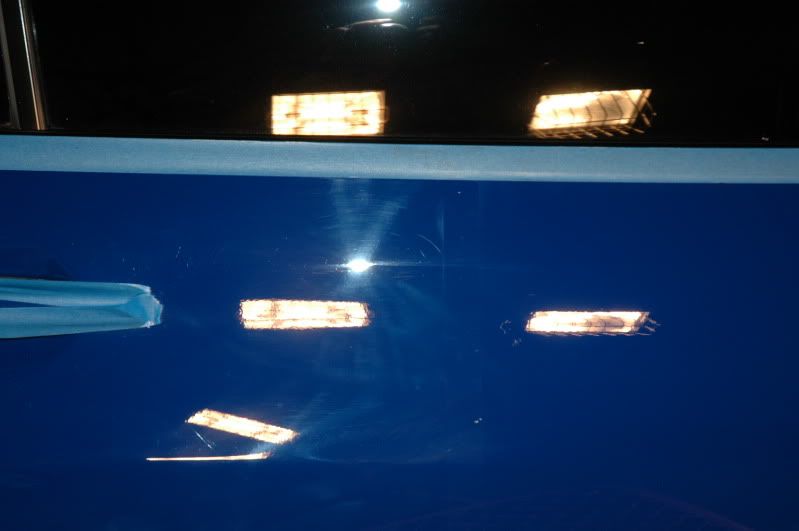
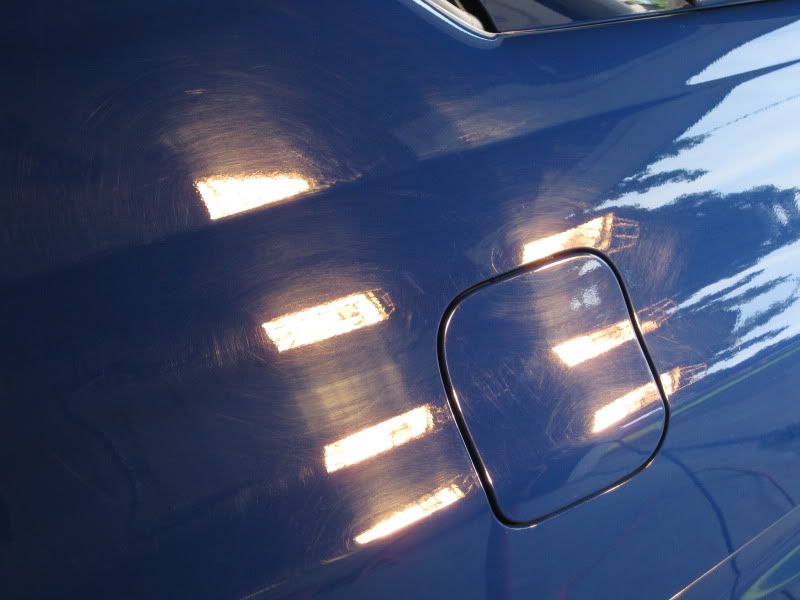
While still wet, the car was brought inside the garage to get clayed. I used the DP clay bar along with a spray bottle of distilled water mixed with a splash of Meguiar’s #00 Hi-Tech wash for further lubricity. After being blown dry and a final wipe down of denatured alcohol, the EVO’s surface showed its true condition.
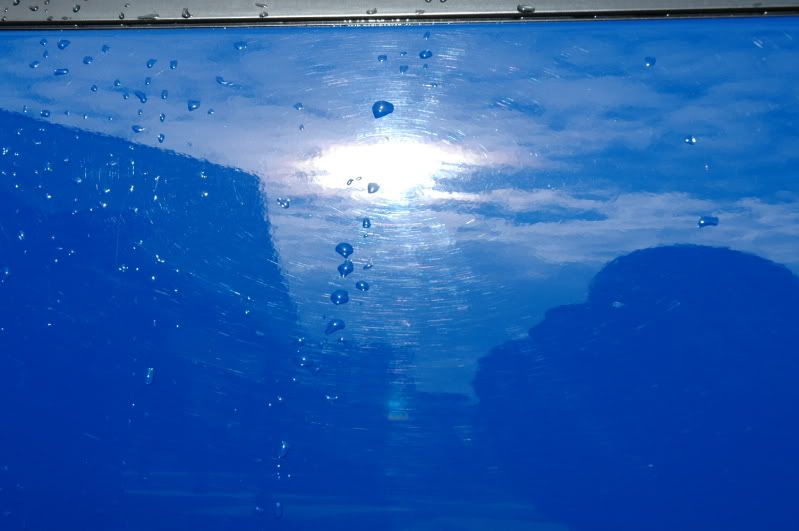
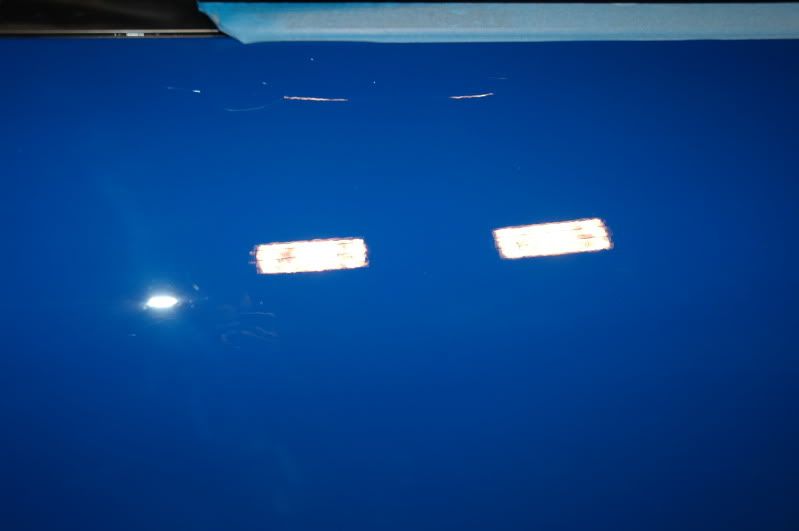
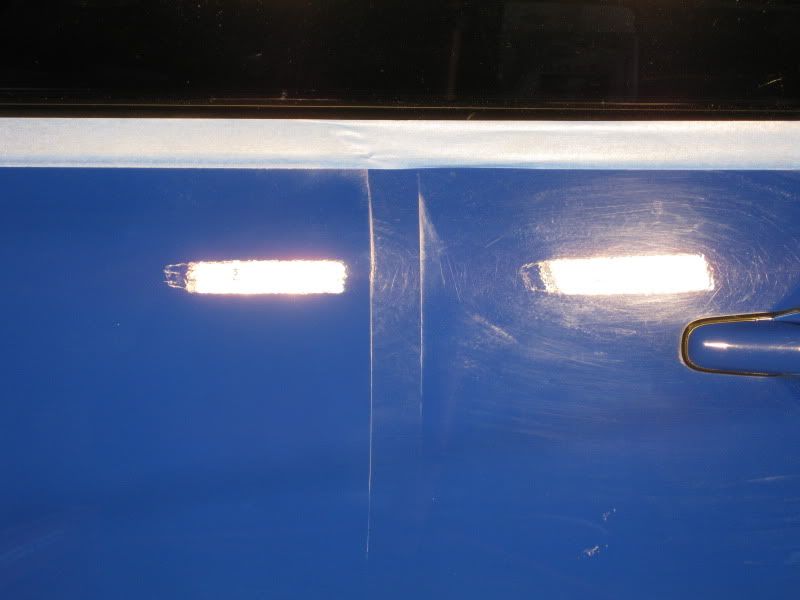
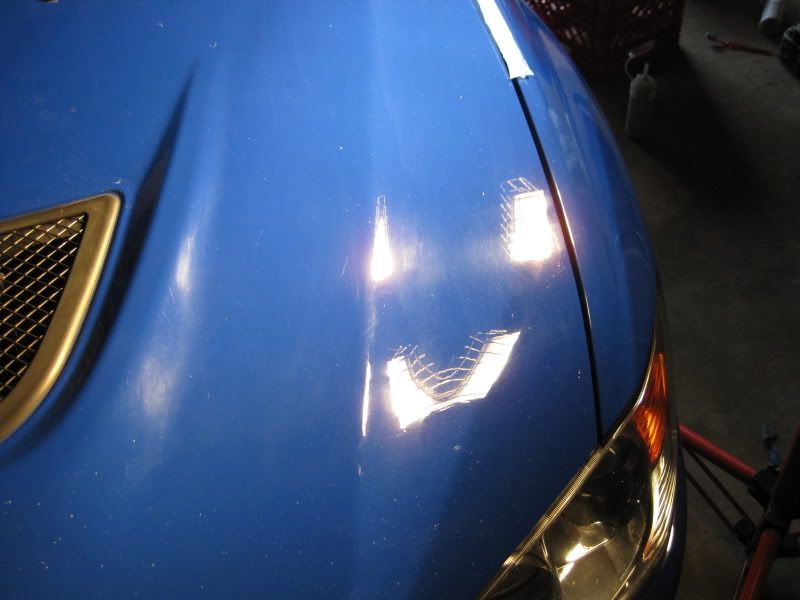
I decided to use the passenger’s side rear fender as my test spot. M105 on white followed by 106FA on blue completely removed the defects.
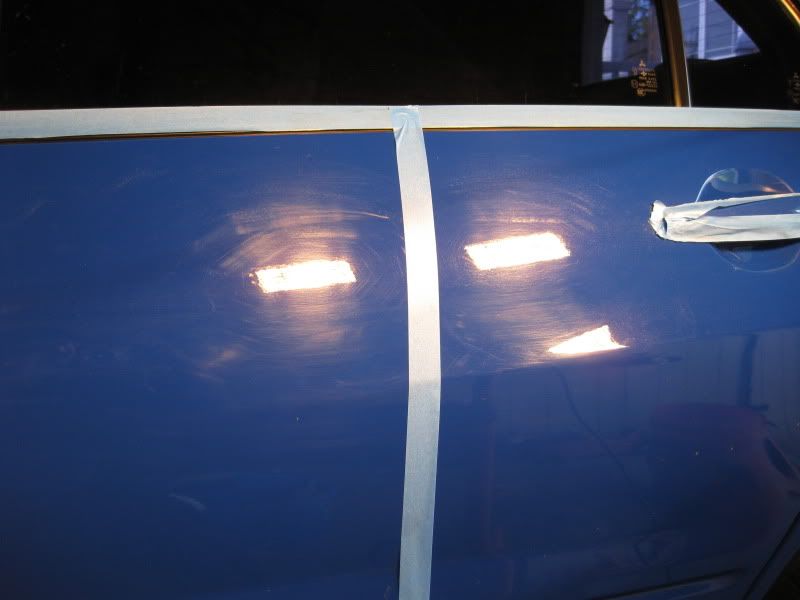
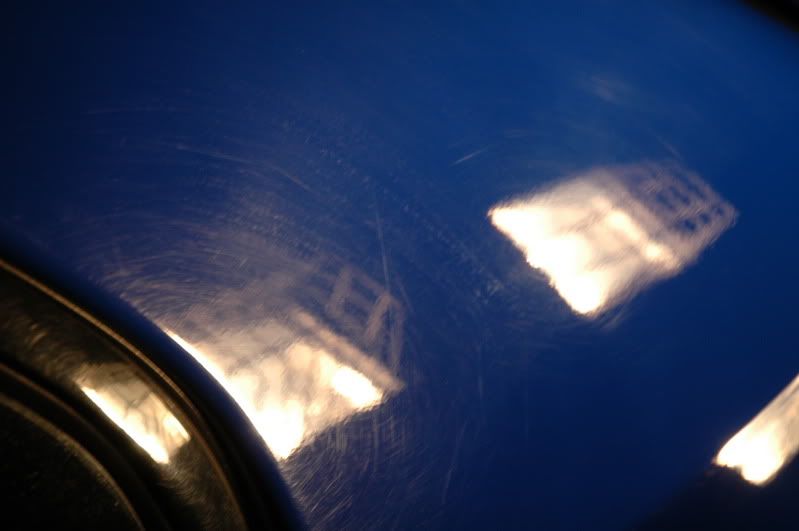
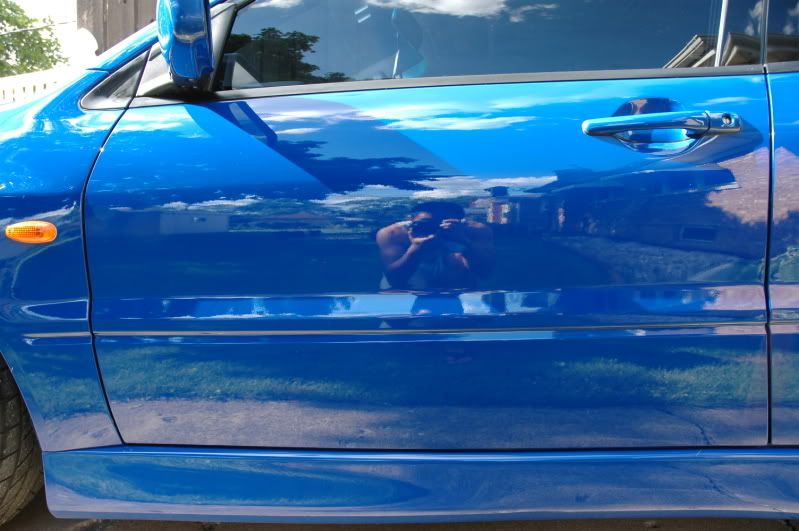
50:50 shot of rear passenger side door.
Corrected
After the wash, water no longer beaded and I was assured that nearly all of the old wax was removed from the surface.
While still wet, the car was brought inside the garage to get clayed. I used the DP clay bar along with a spray bottle of distilled water mixed with a splash of Meguiar’s #00 Hi-Tech wash for further lubricity. After being blown dry and a final wipe down of denatured alcohol, the EVO’s surface showed its true condition.
I decided to use the passenger’s side rear fender as my test spot. M105 on white followed by 106FA on blue completely removed the defects.
50:50 shot of rear passenger side door.
Corrected
Jun 21, 2009, 03:06 PM
#5
Newbie
Thread Starter
Join Date: May 2008
Location: Skokie, IL
Posts: 51
Likes: 0
Received 0 Likes
on
0 Posts
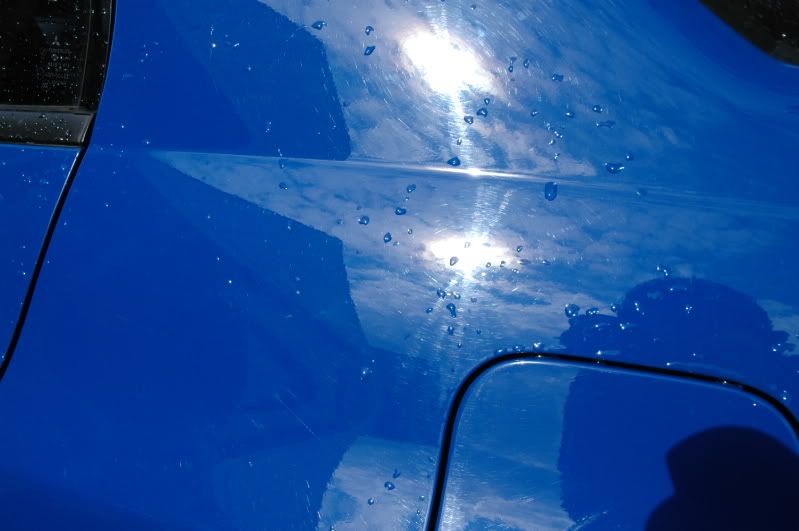
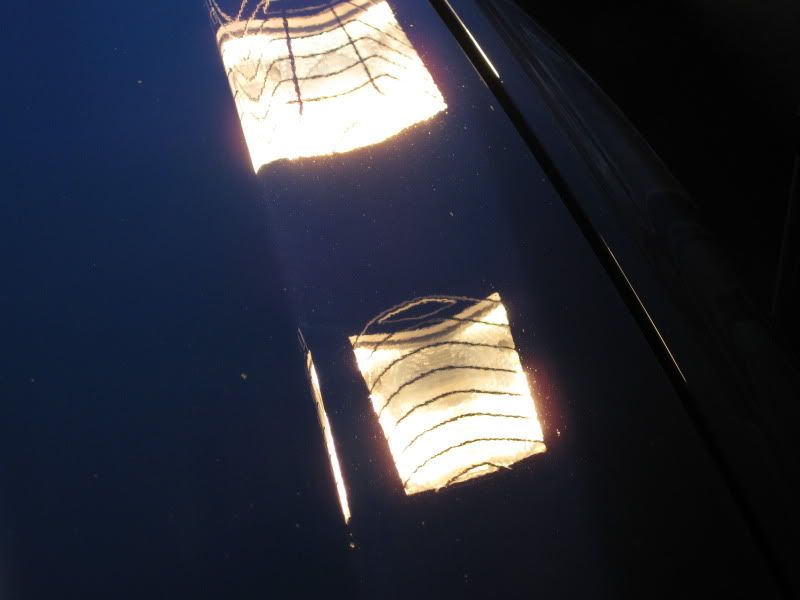
50:50
The porter cable was also used a lot in this process, due to the curvature and small areas that existed around the car. M105 on white followed by M205 on black was the combination of choice.
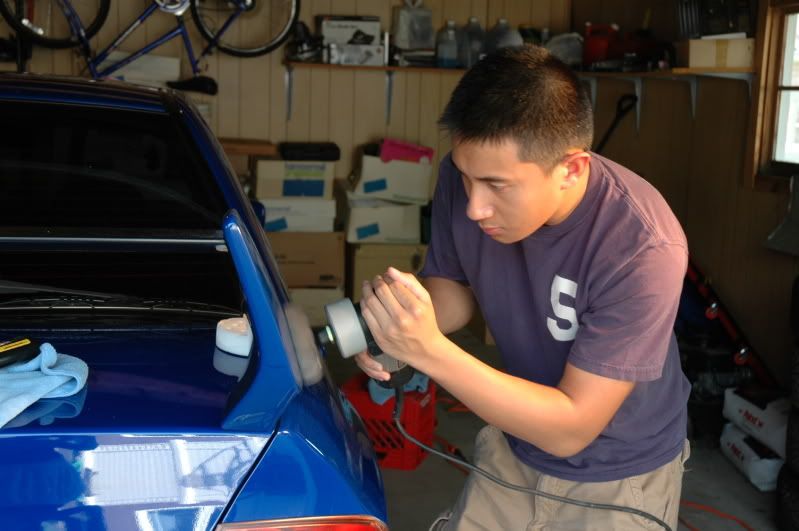
Luckily, my little brother has been learning to use the PC was well. I decided to have him help me out on certain areas of the car. He did a great job to say the least.
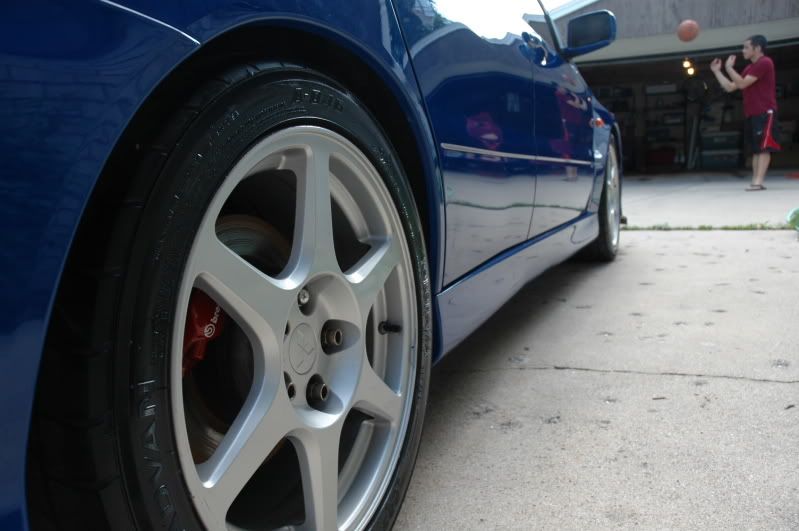
Day Two and Three: Exterior Correction and Perfection, Interior, Wax Application, Trim Touchup, and Final Wipe-down
Overview:
-Rinse down compounding/polish dust left on the car
-Final Glaze with 3M Ultrafina with Rotary and LC Blue Pad
-Apply a coat of Wolfgang Fuzion with Meguiar’s Yellow Foam Applicator Pad and removed with Meguiar’s Ultimate Quick Detailer and a clean microfiber towel.
-Vacuum, dust, and protect interior using Meguiar’s APC+ (10:1) on carpets, Shop Vac, Meguiar’s Slide Lock Brush, and Chemical Guys Silk Shine Dressing
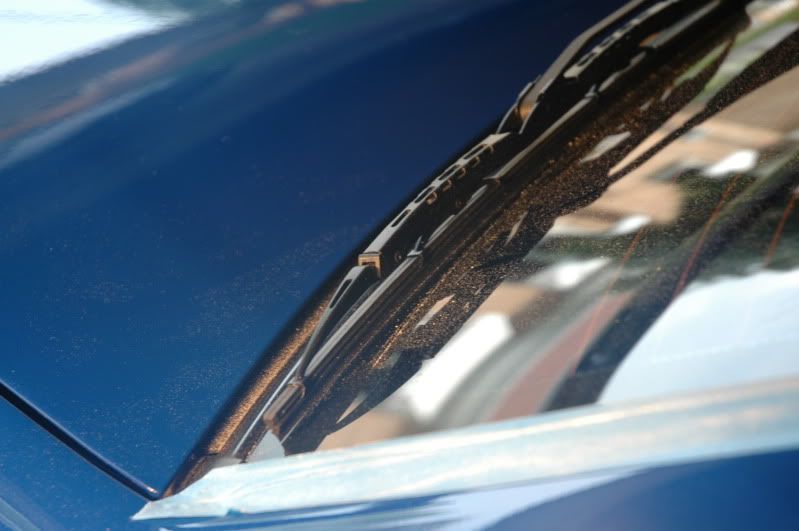
-Touch up trim and wiper blades using Chemical Guys Silk-Shine Dressing
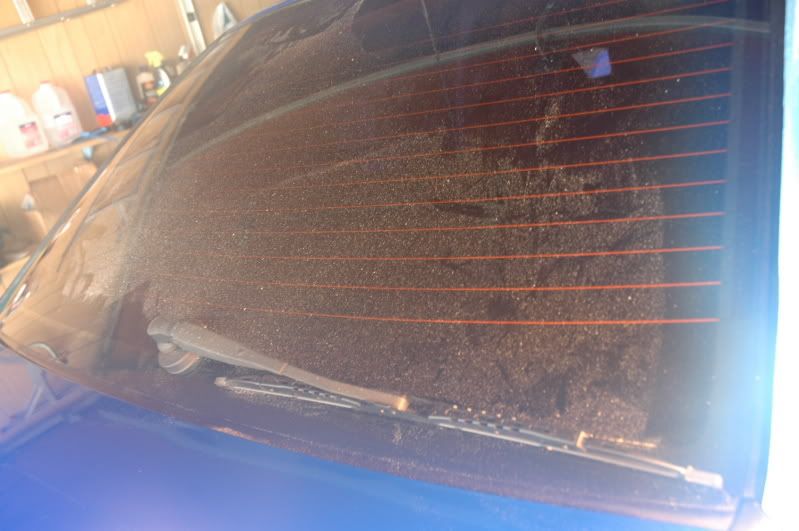
-Clean windows using Stoner’s Invisible Glass
-Apply Meguiar’s Endurance Tire Gel Using Eagle One Tire Shine Applicator
-Final wipedown with Meguiar’s Ultimate Quick Detailer and a clean microfiber towel.
Pictures:
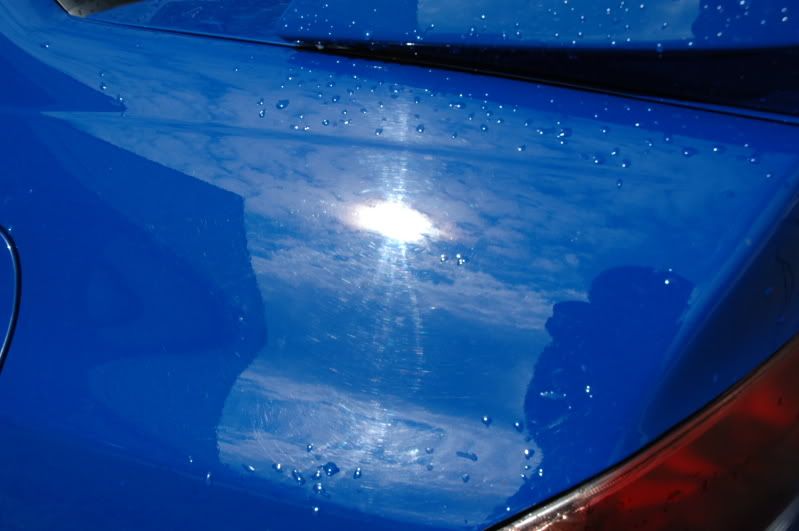
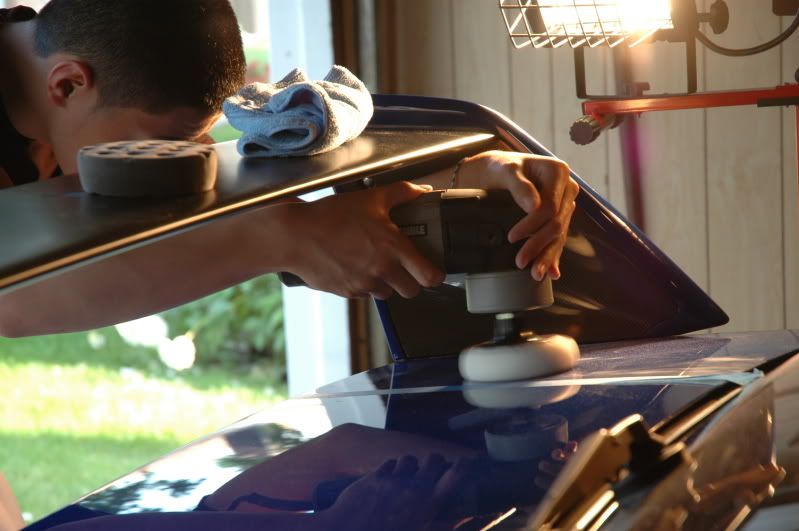
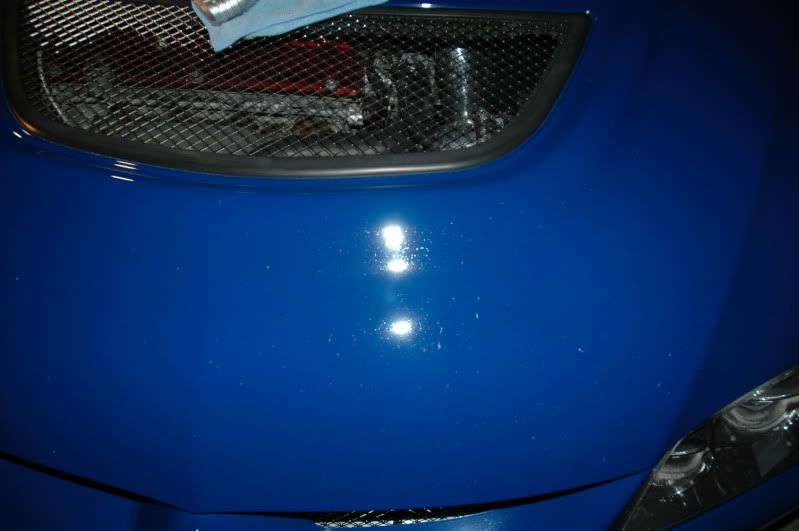
By the morning of the second day, all the compounding dust from the previous day had settled onto the surfaces of the car.
I decided to bring the car out and rinse all the dust off in order to prevent inducing new scratches. After being blown dry again and wiped down with a clean microfiber, I spent the entire day finishing off the rest of the surfaces that hadn’t been polished after compounding, then went around the entire car again with 3M Ultrafina and a Lake Country 6.5” Blue Pad.
Before:
After:
 Jun 21, 2009, 03:06 PM
#6
Newbie
Thread Starter
Join Date: May 2008
Location: Skokie, IL
Posts: 51
Likes: 0
Received 0 Likes
on
0 Posts
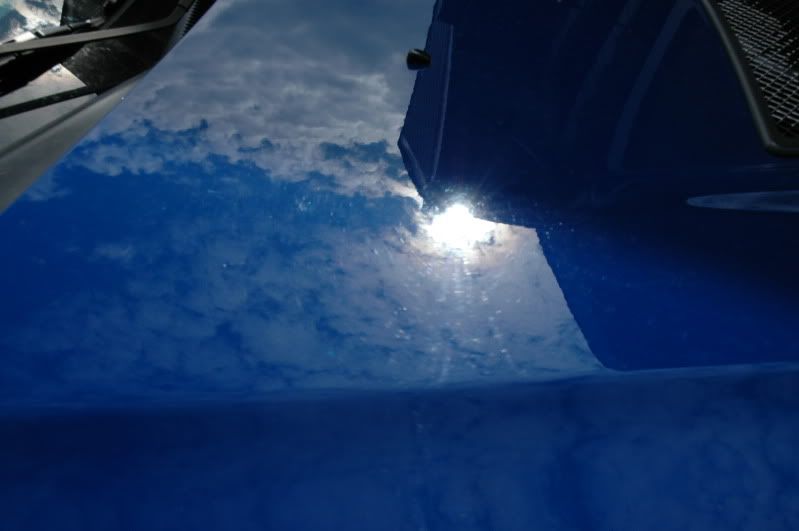
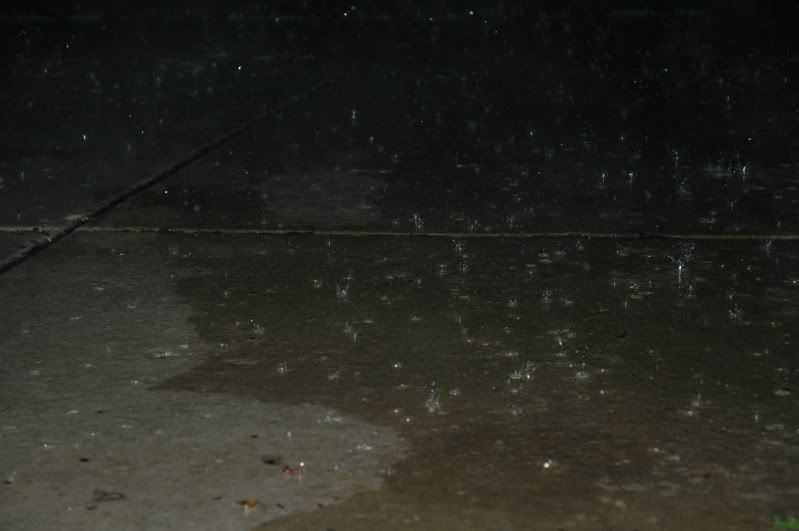
There was a huge thunderstorm with hail that came our way. I had to close the garage � of the way to prevent the rain from splashing onto me and the car.
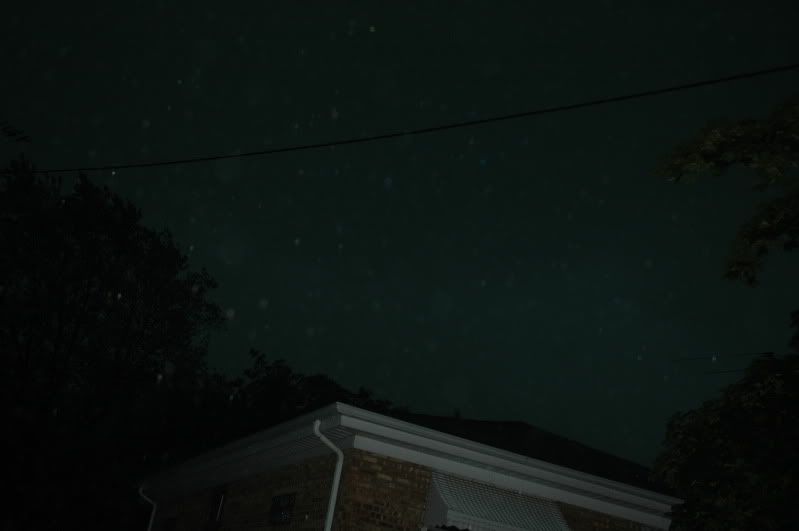
The sky @ only 6:30PM
By the time nightfall came, the car was really starting to come together and kept my aching muscles going to finish the correction by the end of the night.
Before:
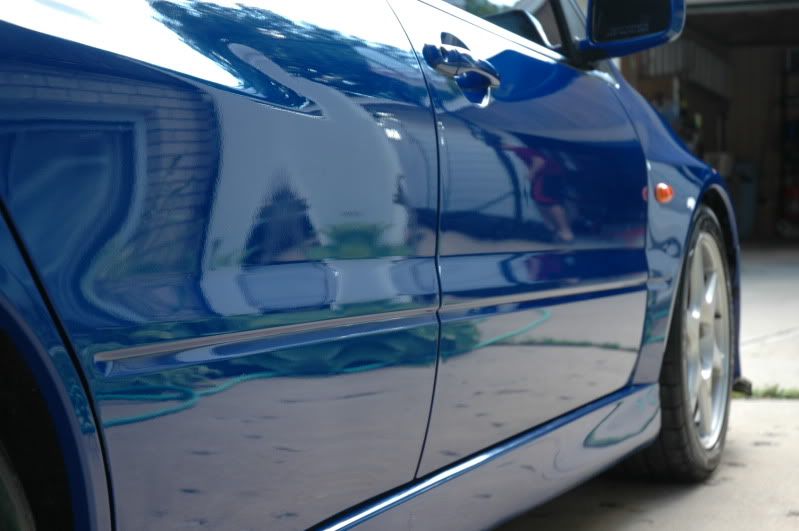
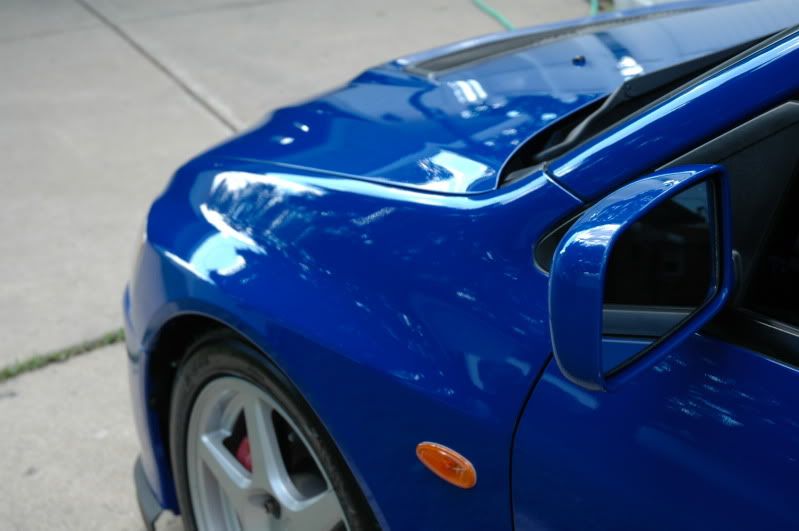
After (Look at the complete difference in color brought out from the paint):
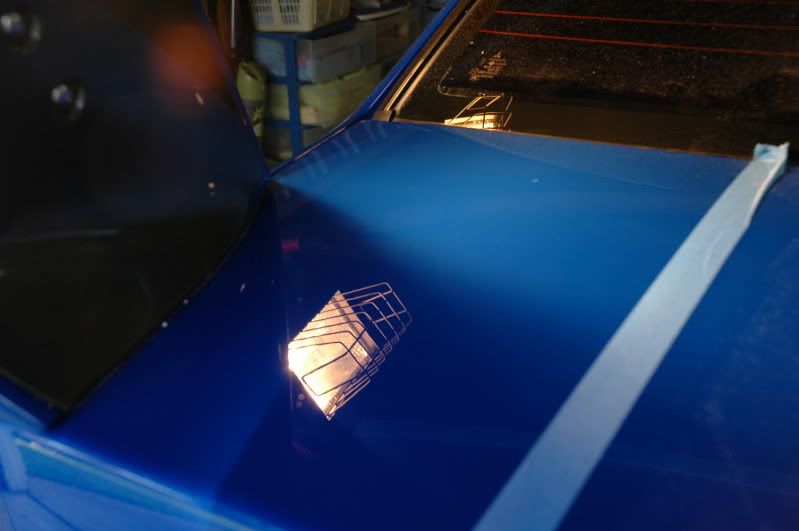
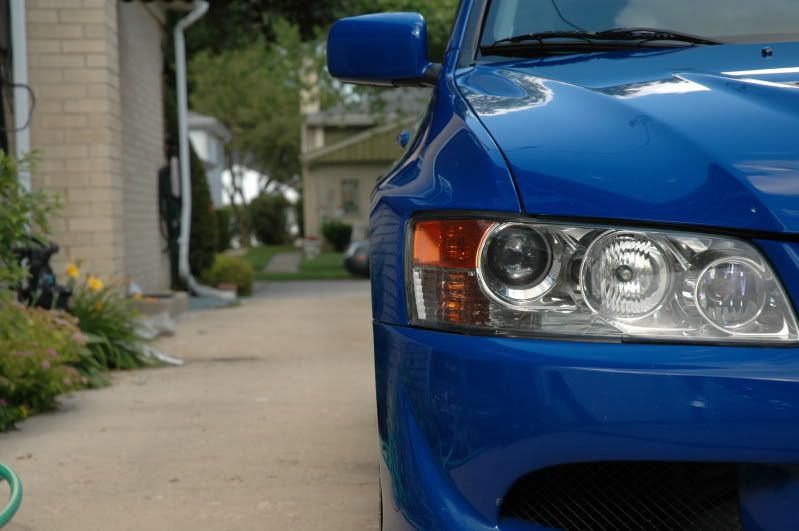
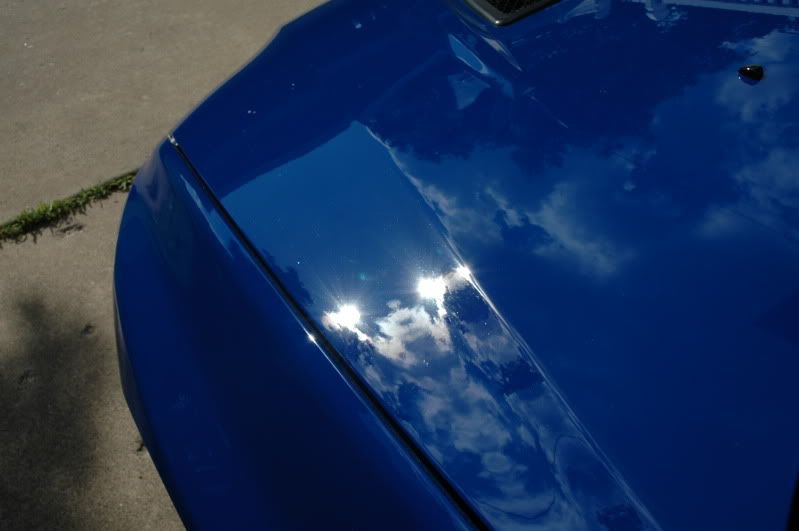
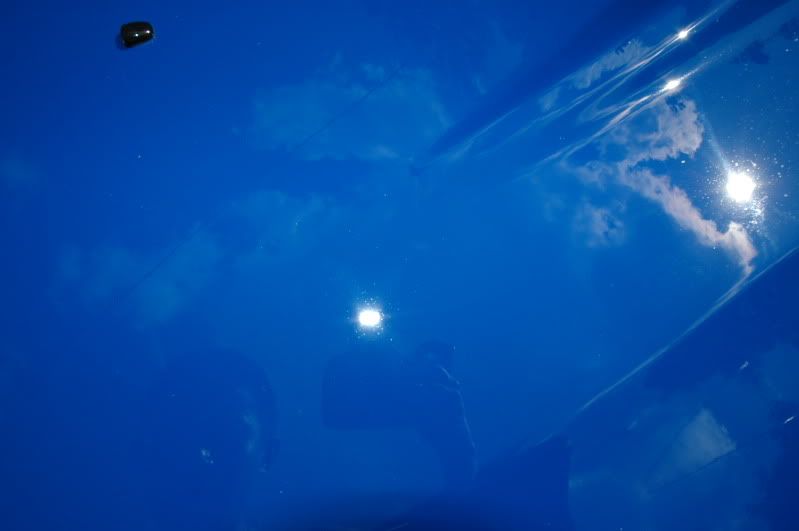
Hood shot before:
After:
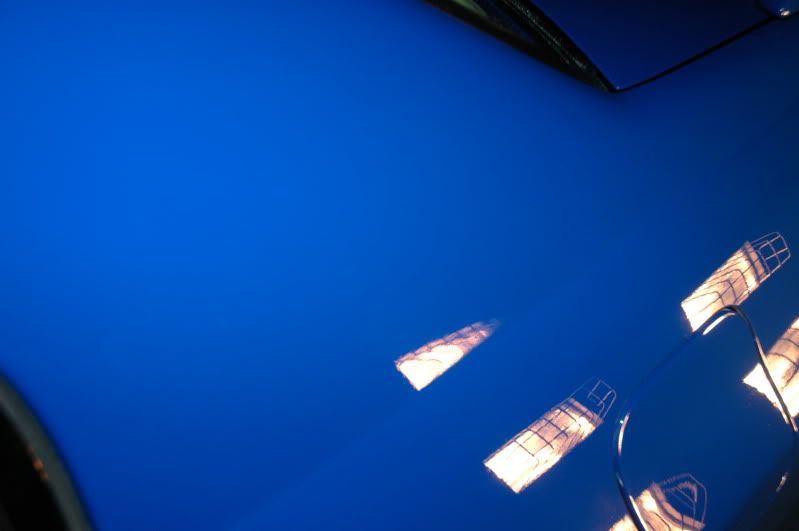
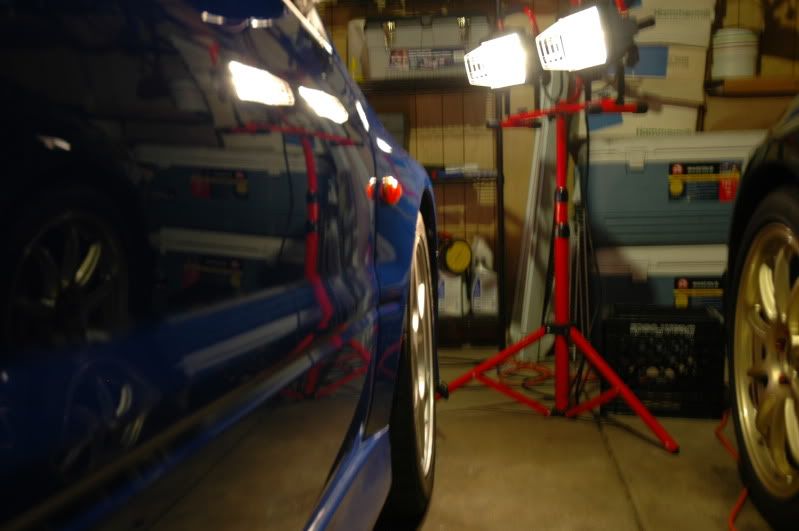
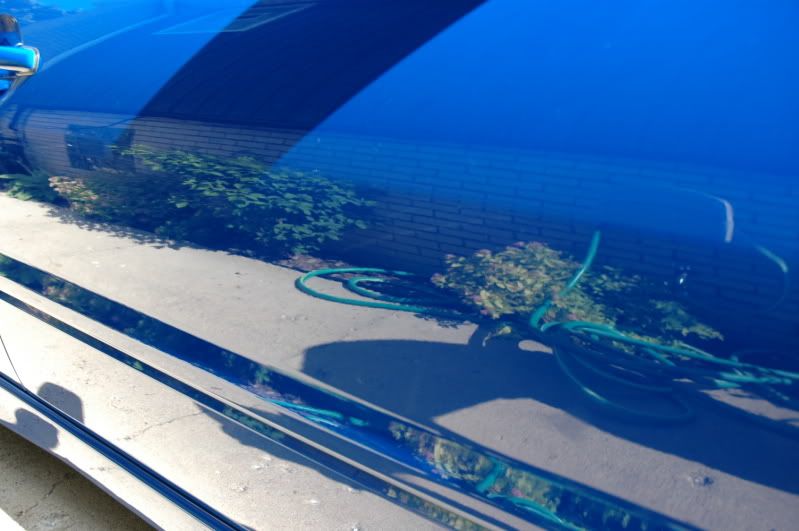
I was excited for the day to come, since the reflections just in my garage were promising. I decided to call it a night and slept well for the next morning.
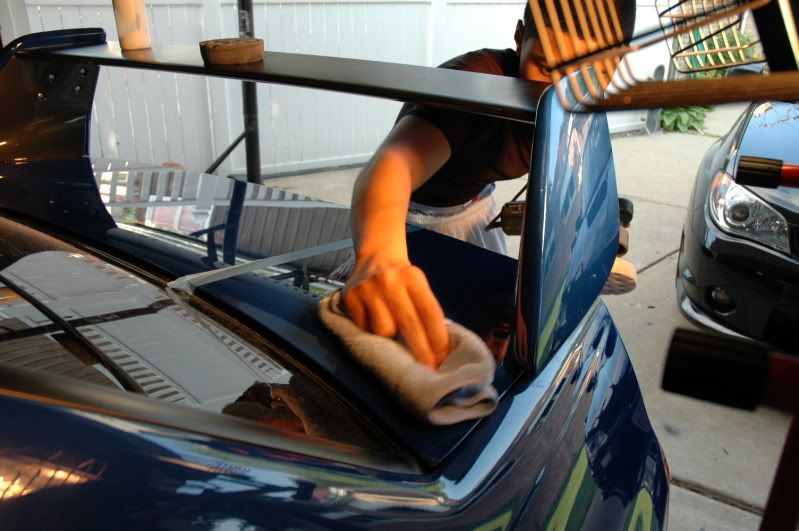
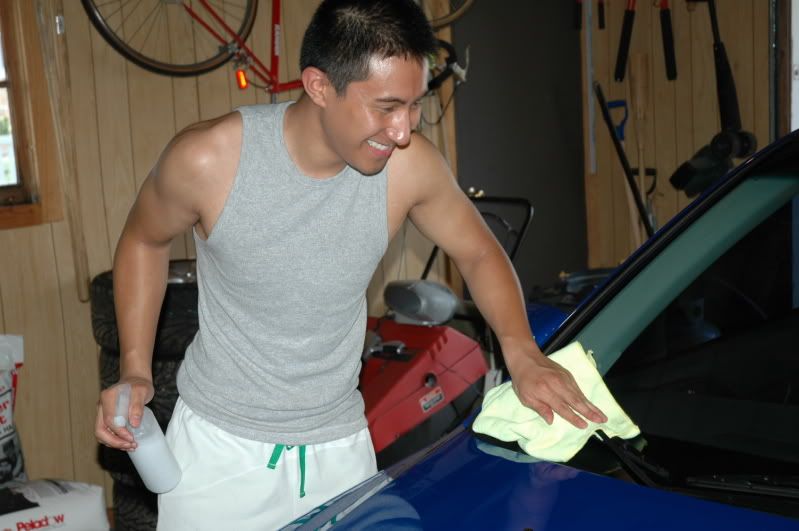
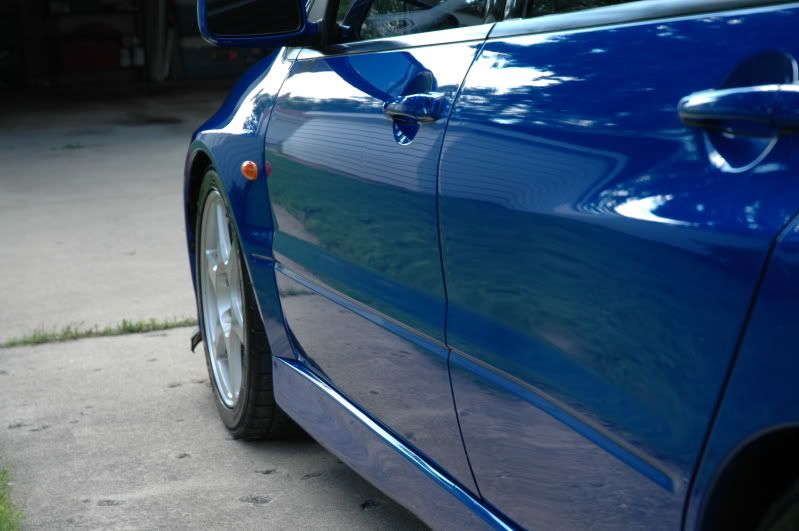
By the third and final day, the correction was complete. I gave the car a coat of Wolfgang Fuzion and was removed using Meguiar’s Ultimate Quick Detailer and a microfiber towel. Afterwards, my friend stopped by and helped treat the interior (No shots, sorry!) while I used trim shine to add the black back to the wiper blades and surrounding trim.
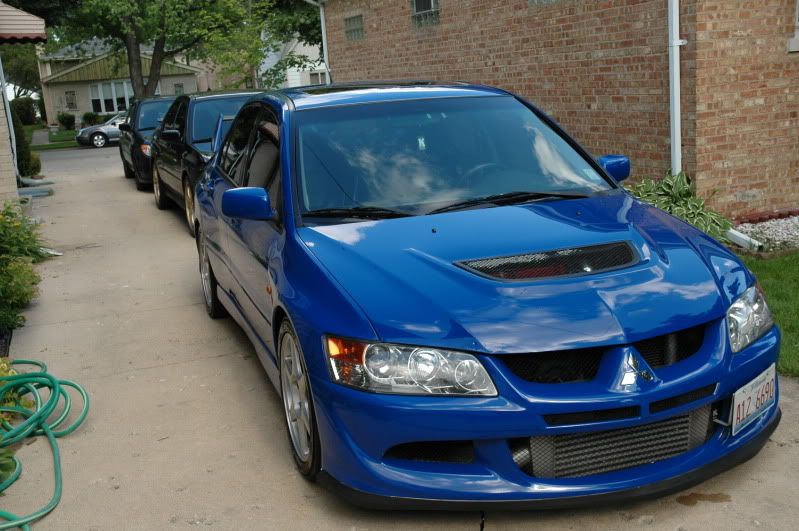
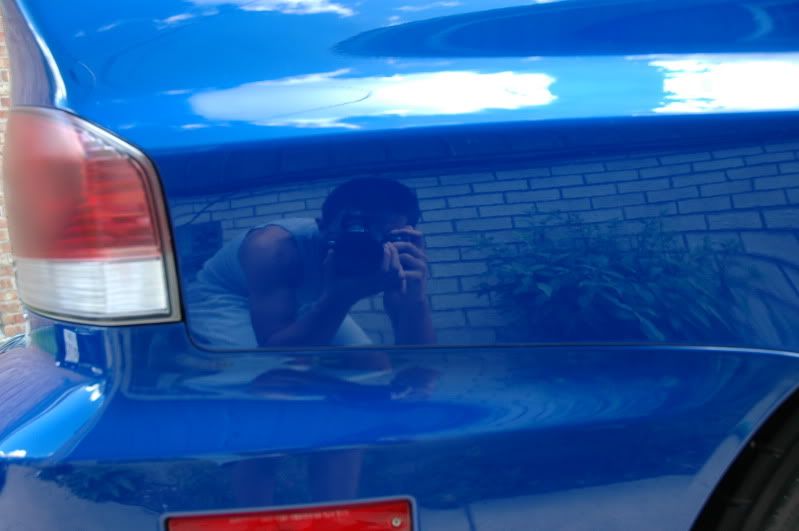
Excuse the cheesiness, my friend was cracking me up acting like a photographer shooting a model for Maxim
The sky @ only 6:30PM
By the time nightfall came, the car was really starting to come together and kept my aching muscles going to finish the correction by the end of the night.
Before:
After (Look at the complete difference in color brought out from the paint):
Hood shot before:
After:
I was excited for the day to come, since the reflections just in my garage were promising. I decided to call it a night and slept well for the next morning.
By the third and final day, the correction was complete. I gave the car a coat of Wolfgang Fuzion and was removed using Meguiar’s Ultimate Quick Detailer and a microfiber towel. Afterwards, my friend stopped by and helped treat the interior (No shots, sorry!) while I used trim shine to add the black back to the wiper blades and surrounding trim.
Excuse the cheesiness, my friend was cracking me up acting like a photographer shooting a model for Maxim
Trending Topics
 Jun 21, 2009, 03:33 PM
#15
Newbie
Thread Starter
Join Date: May 2008
Location: Skokie, IL
Posts: 51
Likes: 0
Received 0 Likes
on
0 Posts
Thanks everyone! Yup, a lot of patience and frustration was definitely involved in this detail. I hope my write-up was just as interesting as it was informative!