DIY window vents
 Jun 2, 2012, 07:02 PM
#1
DIY window vents
don't know how much they would help on my track car but i guess it wouldn't hurt. cost about $15 in materials and about 8 hours of work, mostly sanding.
- 1/8" hardboard
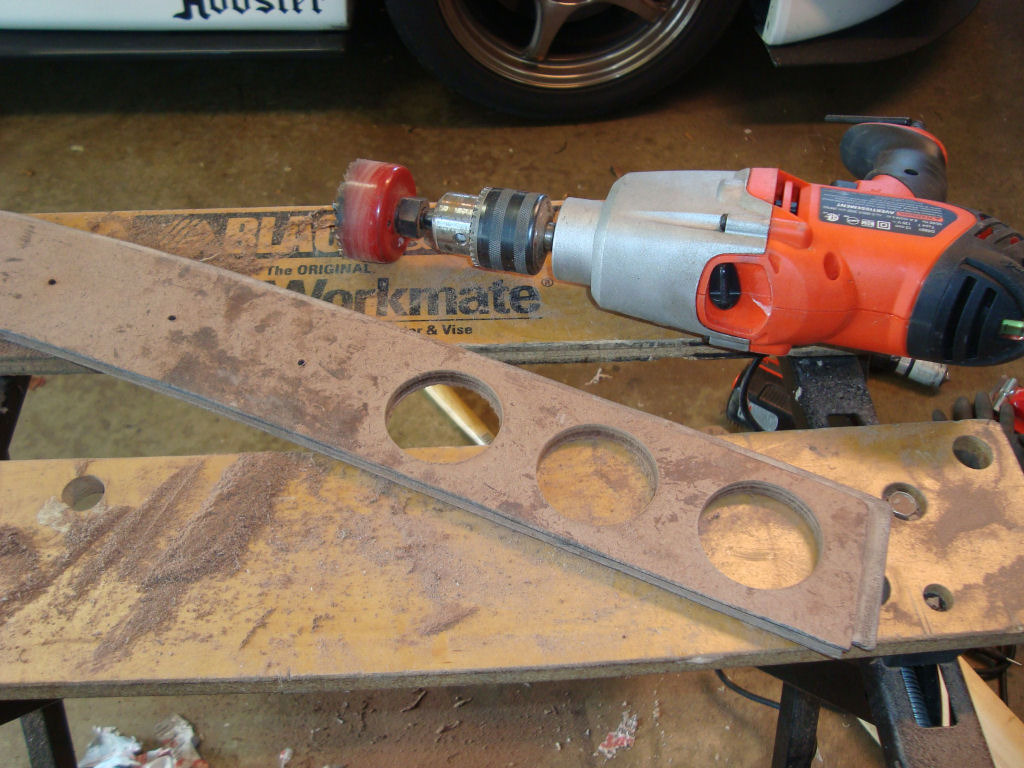
- 2 1/8" hole saw
- final weight after paint, 11 oz
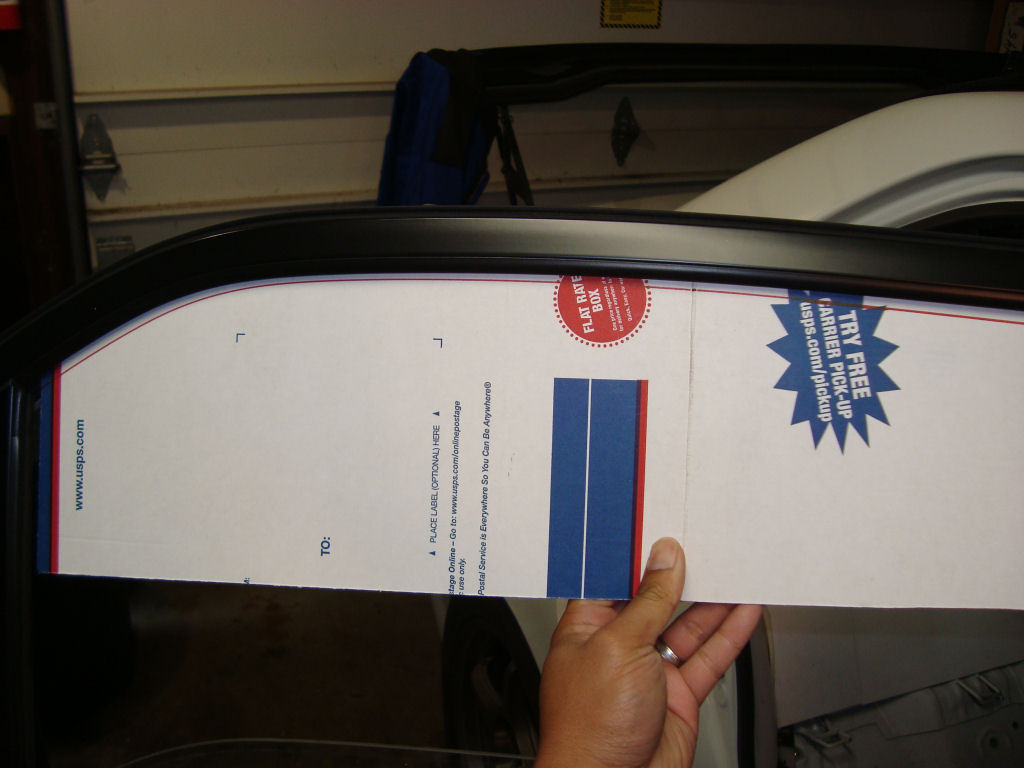
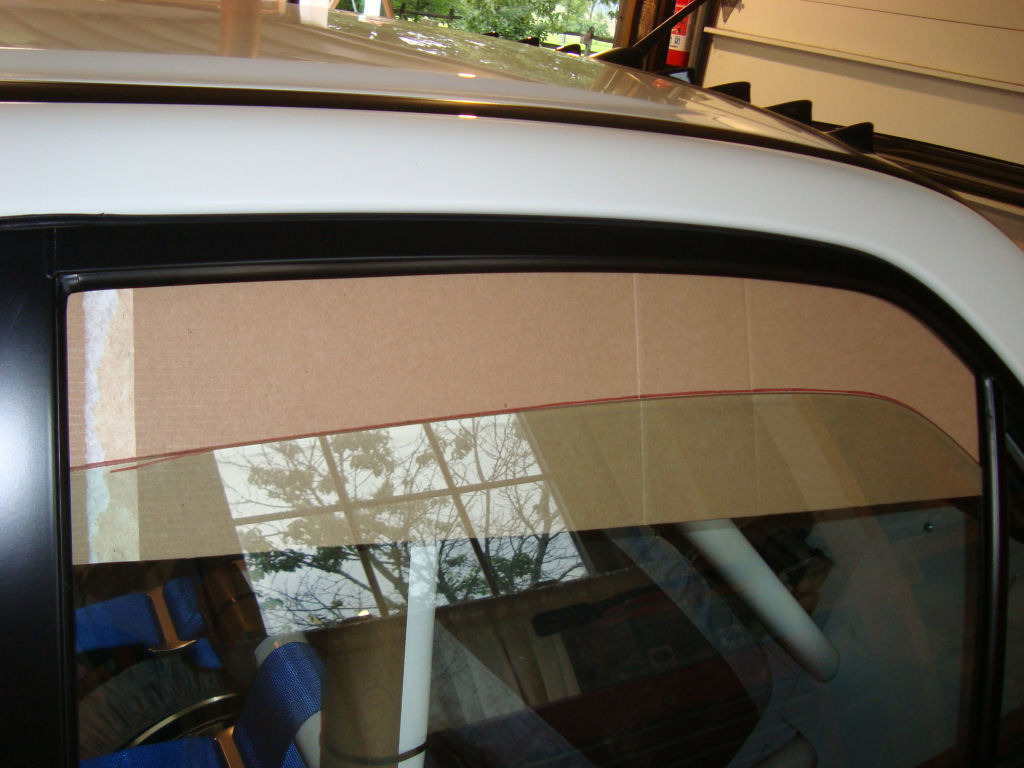
tracing window for template
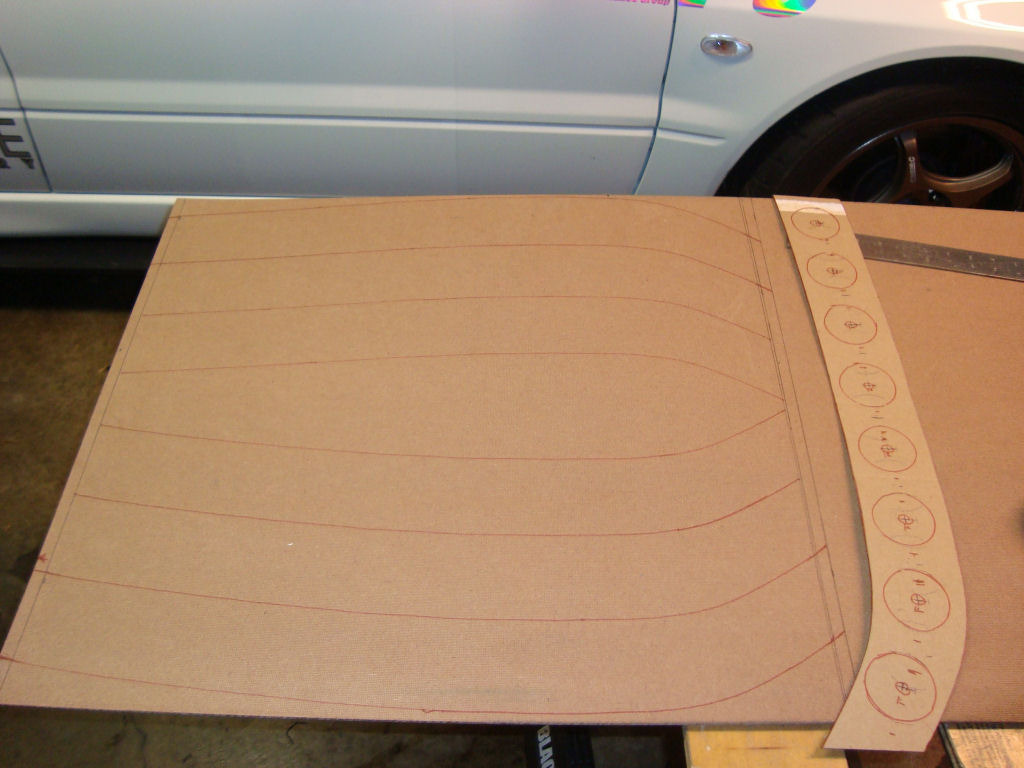
tracing template to hard board. i used 1/8 hardboard. was going to use plexiglass but Lowes wouldn't cut me a small piece because the cutter was broken. i didn't fell like waiting for a week. i think the hard board is easier to work with anyways. i might make a set out of plexiglass later.
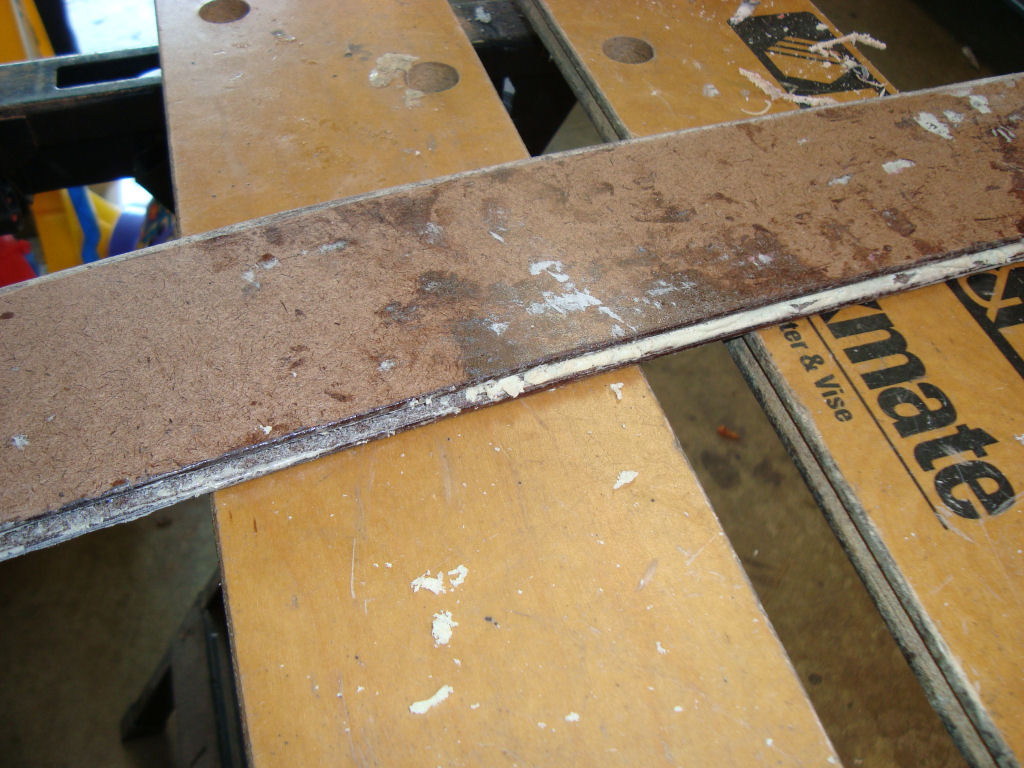
6 piece cut out
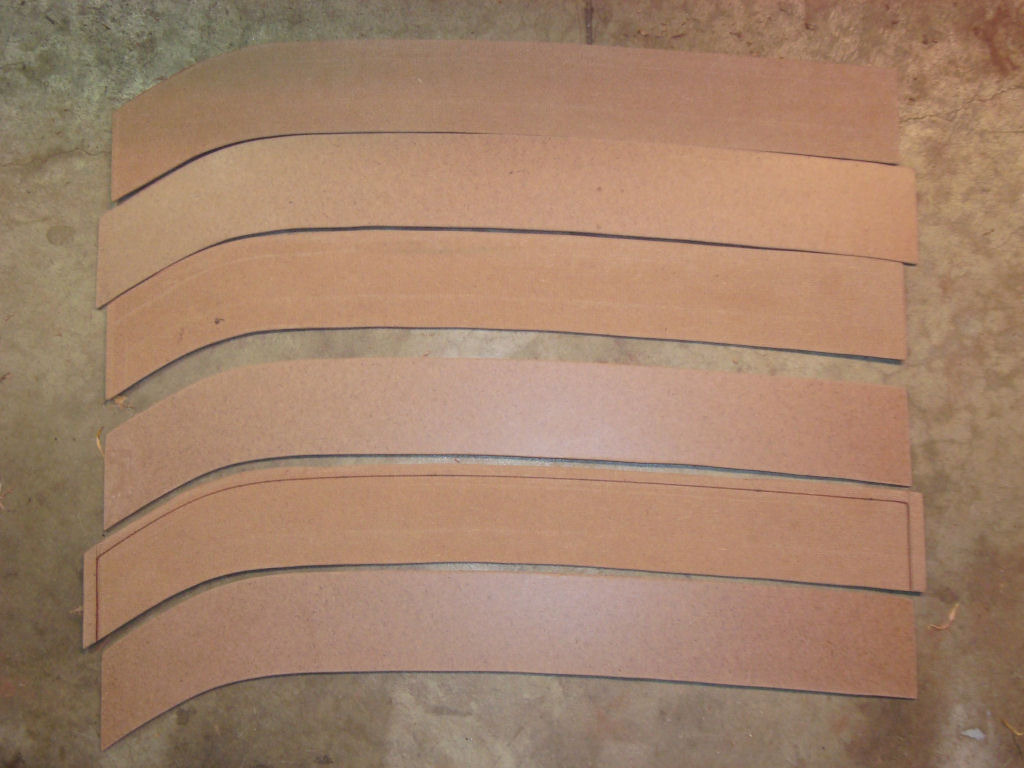
stack them stagger, middle piece is longer on the sides.
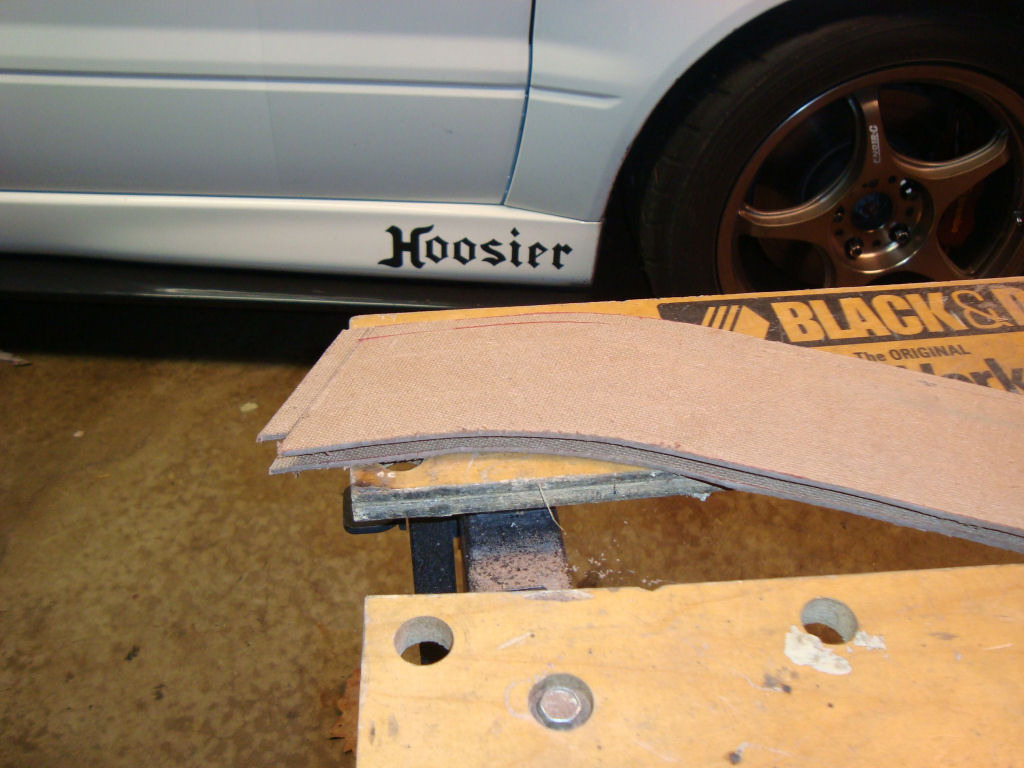
glued and clamped
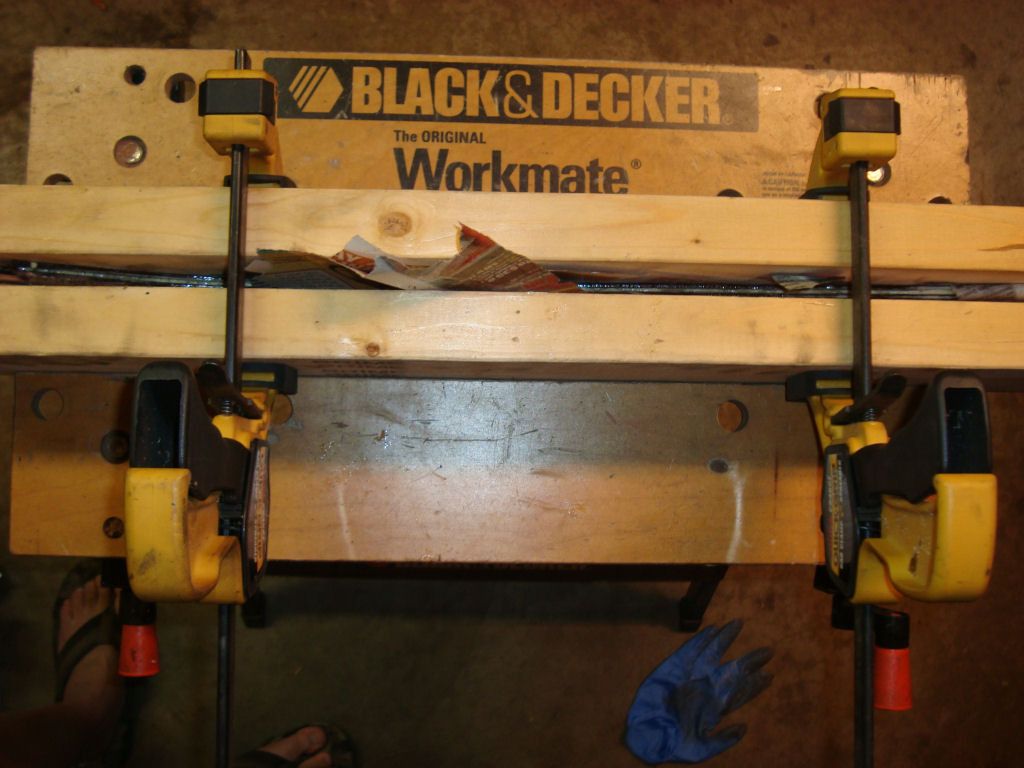
i used Gorilla glue, didn't know it would foam up like this. it was a pain to clean off and sand. would probably use waster proof wood glue if i have to do it again.
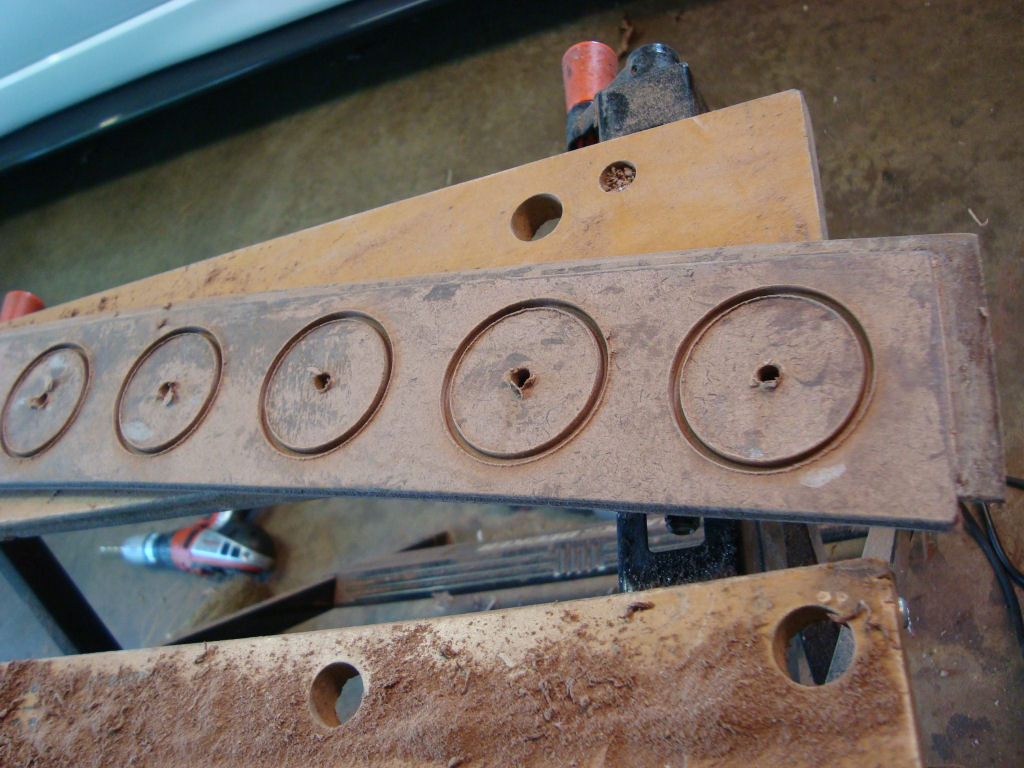
drill one side half way through, then flip over and drill the other side the whole way through. if you just drill one side the whole way through it will rip the edge on the other side. i found out after drilling the first hole. lol
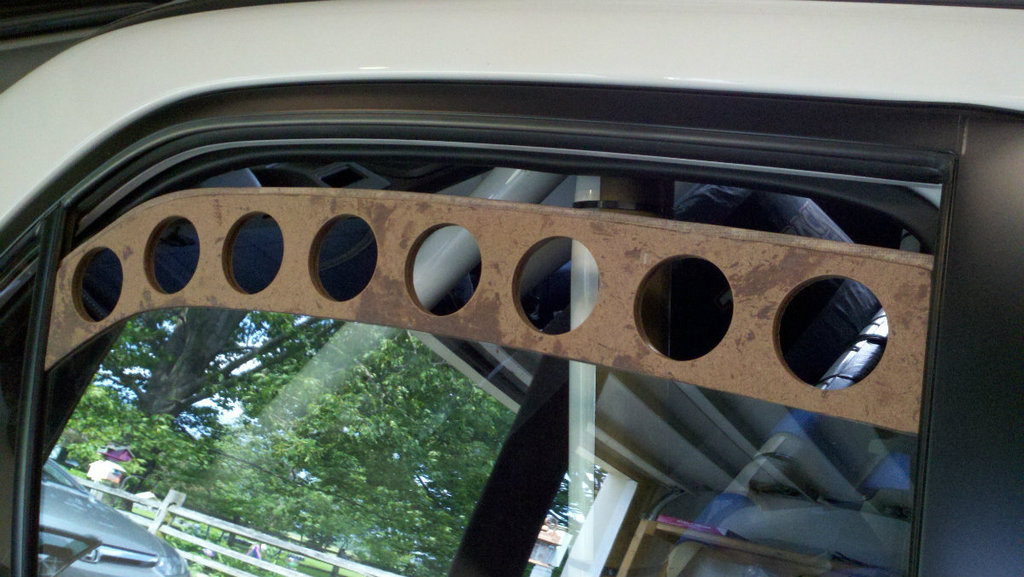
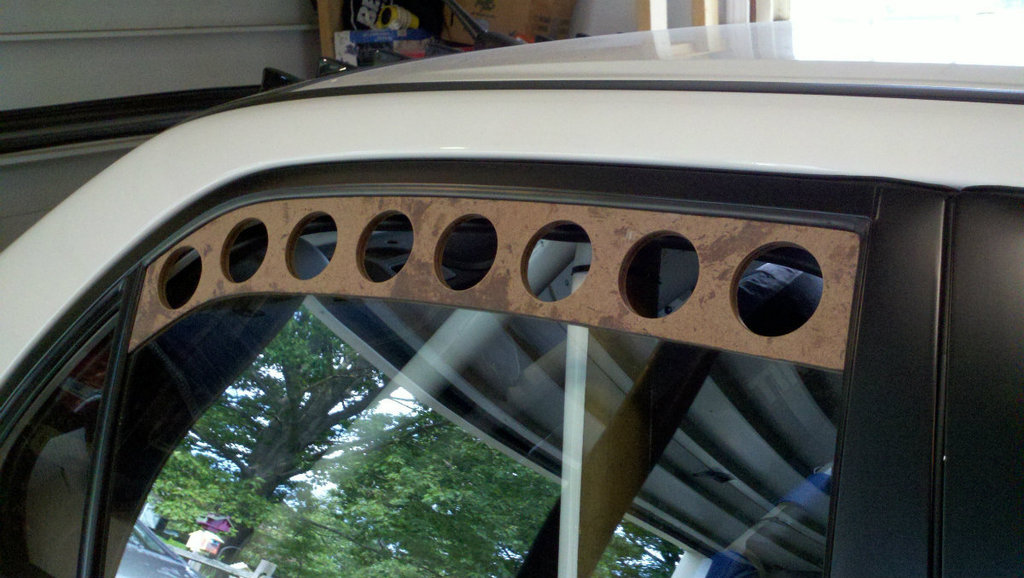
all sanded and test fit
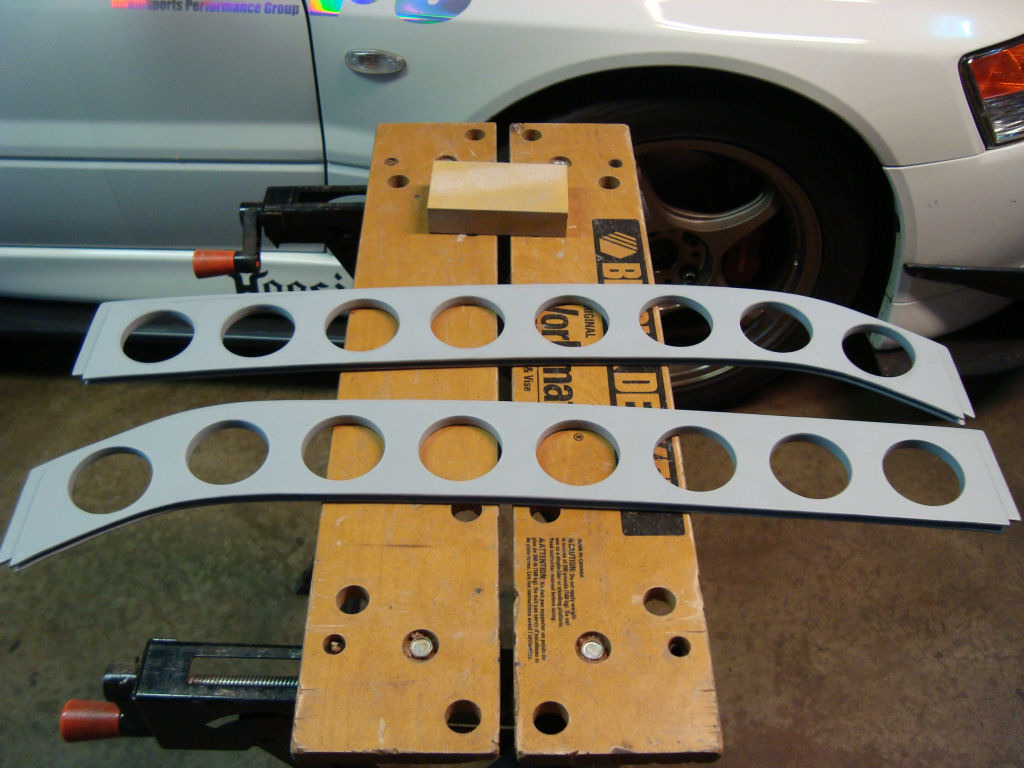
primered and ready for final paint. going to paint satin black for final coat.
thanks for looking
UPDATE: 6/3/12
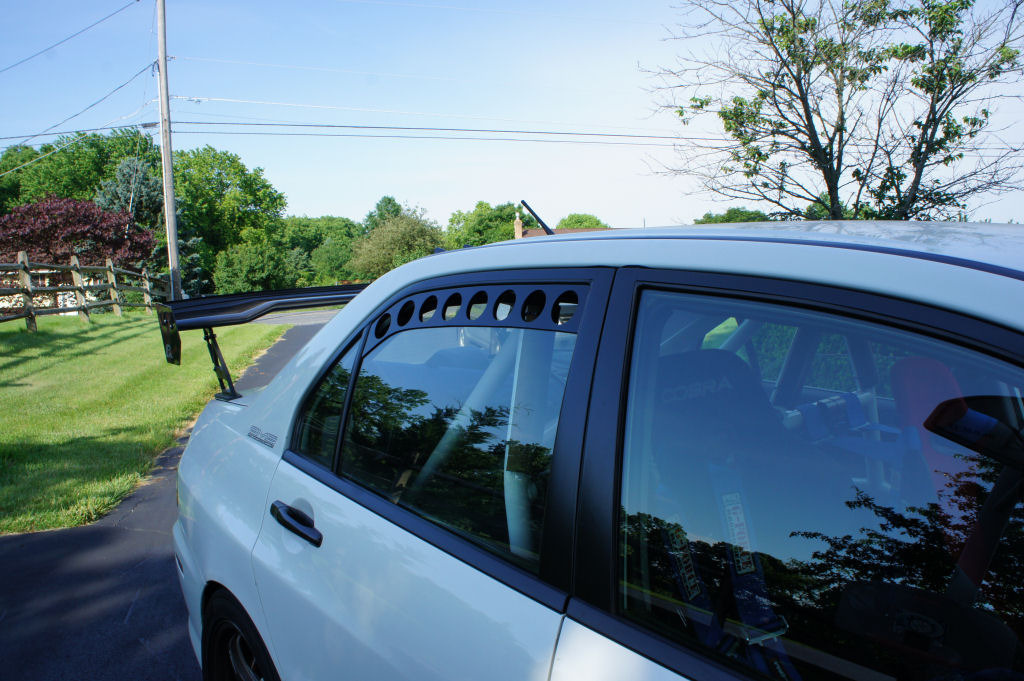
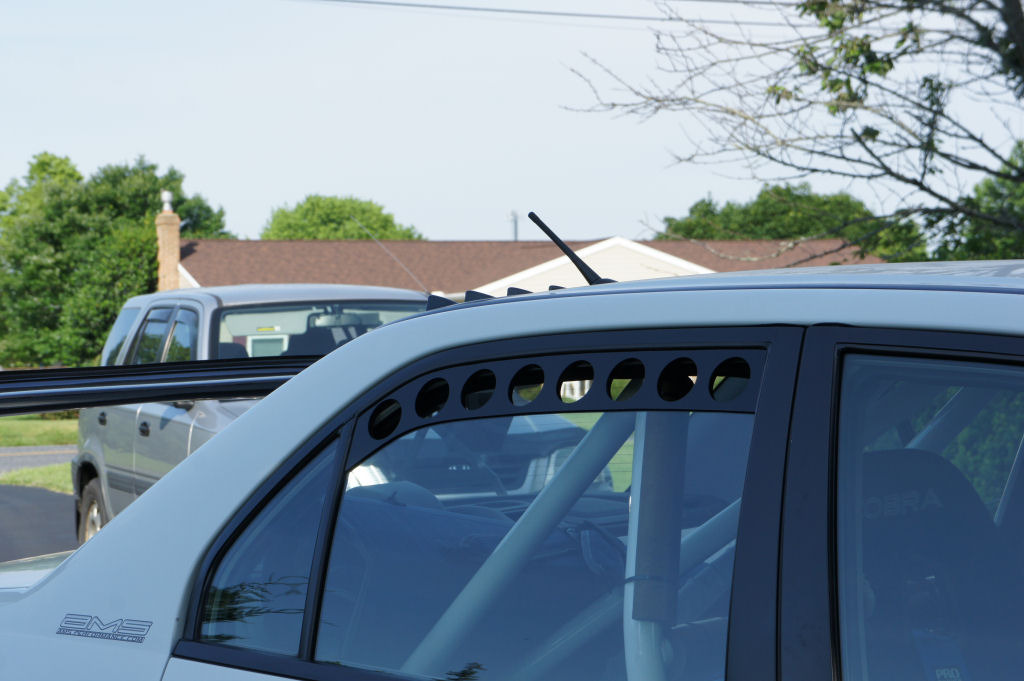
final coat painted, satin black
- 1/8" hardboard
- 2 1/8" hole saw
- final weight after paint, 11 oz
tracing window for template
tracing template to hard board. i used 1/8 hardboard. was going to use plexiglass but Lowes wouldn't cut me a small piece because the cutter was broken. i didn't fell like waiting for a week. i think the hard board is easier to work with anyways. i might make a set out of plexiglass later.
6 piece cut out
stack them stagger, middle piece is longer on the sides.
glued and clamped
i used Gorilla glue, didn't know it would foam up like this. it was a pain to clean off and sand. would probably use waster proof wood glue if i have to do it again.
drill one side half way through, then flip over and drill the other side the whole way through. if you just drill one side the whole way through it will rip the edge on the other side. i found out after drilling the first hole. lol
all sanded and test fit
primered and ready for final paint. going to paint satin black for final coat.
thanks for looking
UPDATE: 6/3/12
final coat painted, satin black
Last edited by honda-guy; Jun 3, 2012 at 02:11 PM.

The following users liked this post:
mspbarry (Feb 20, 2017)

 Jun 2, 2012, 07:27 PM
#5
Very nice indeed, may have to do this myself soon. One tip, to reduce or eliminate the material tearing out when you go through the bottom piece you can just put a piece of scrap mdf/wood/hardboard on the back side, clamp it well and that one will tear out and not your piece.


