MAK WRC - Evo 6.5
 Aug 10, 2014, 07:56 PM
#1
Newbie
Thread Starter
Join Date: Aug 2014
Location: Australia
Posts: 0
Likes: 0
Received 0 Likes
on
0 Posts
MAK WRC - Evo 6.5
Ive decided to Join EvoM today after years of viewing various threads on the site.
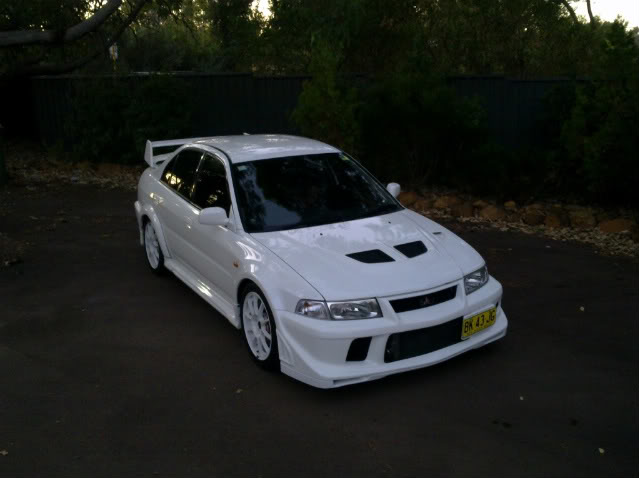
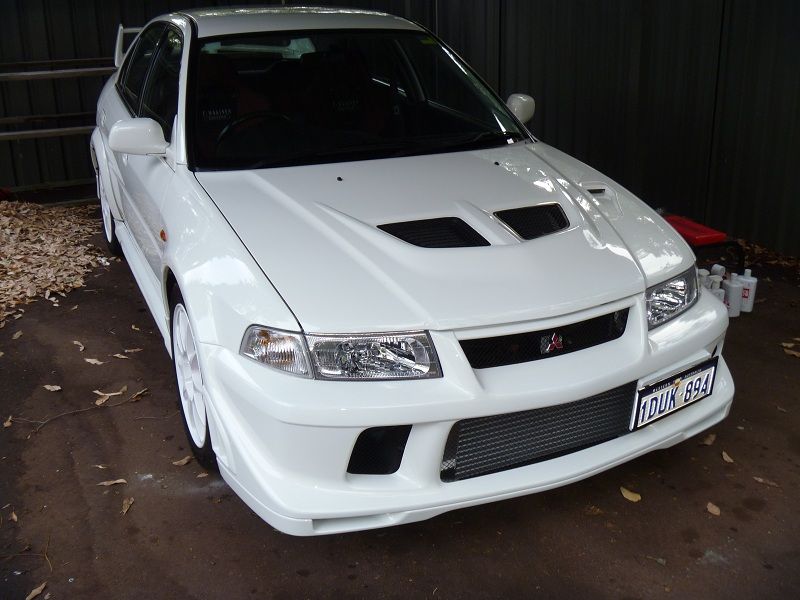
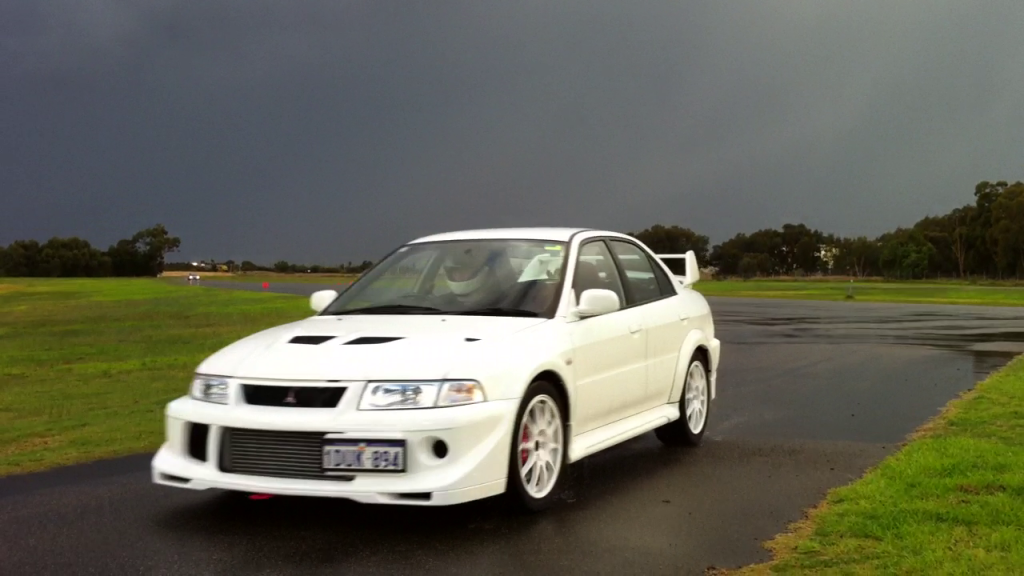
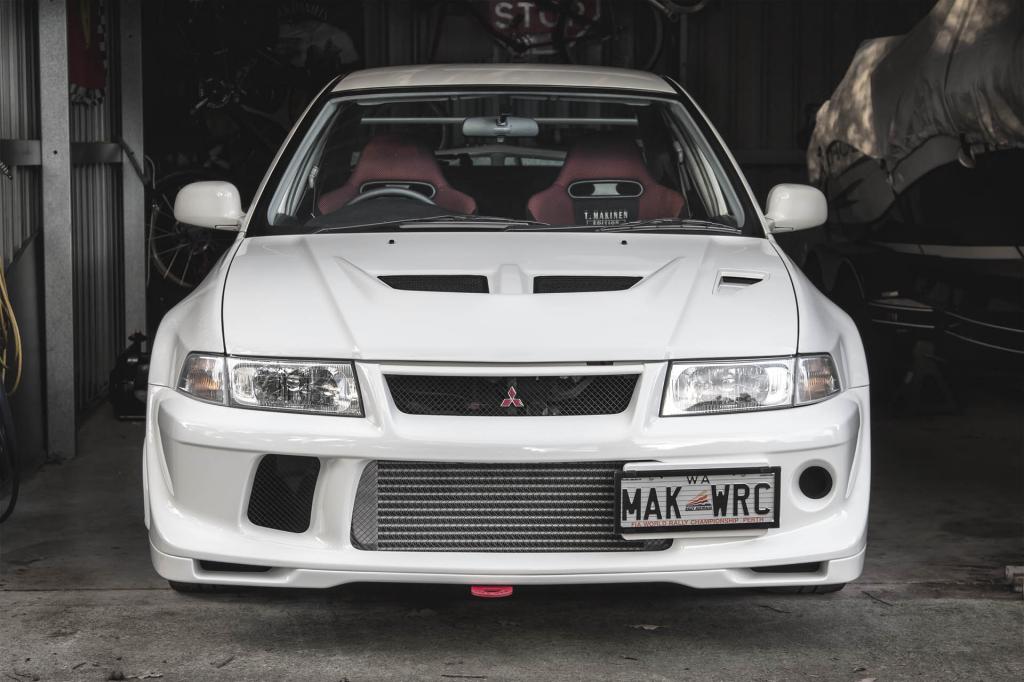
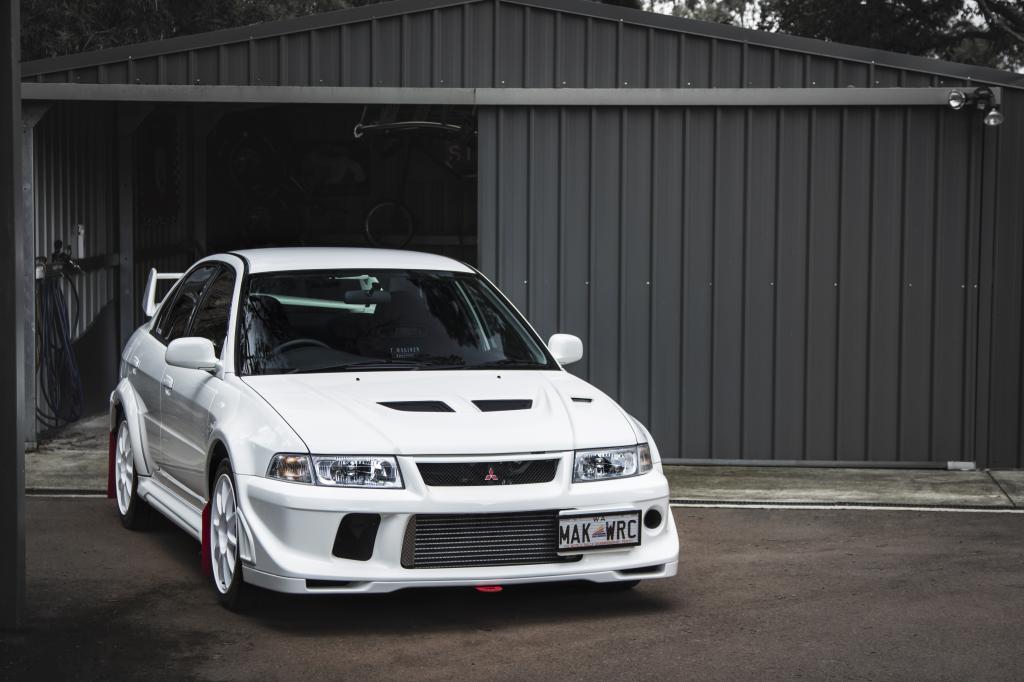
I wanted to put up a showcase of my Evo 6 TME which ive owned for about 3 years now.
The car has undergone a decent amount of work and restoration since i took ownership.
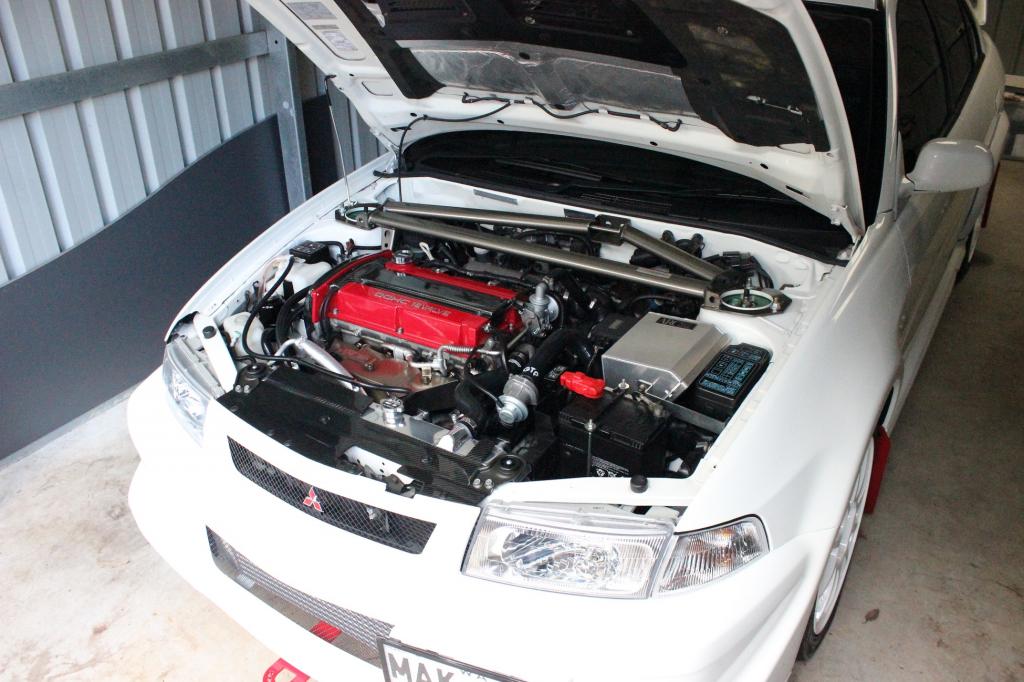
This is how it looked a few days after it arrived interstate.
added carbing bracing straight away
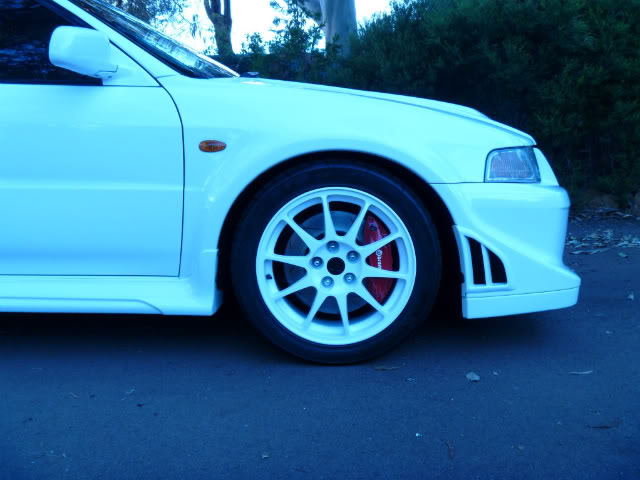
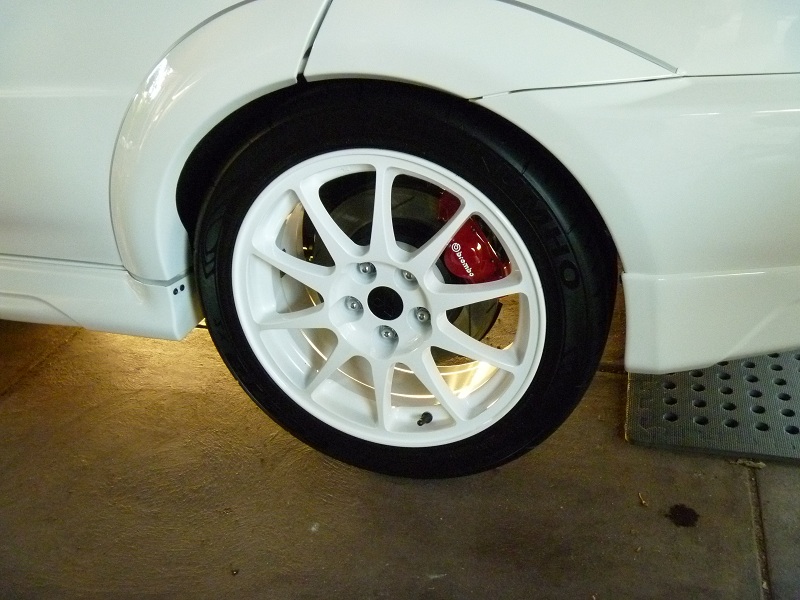
a few weeks later i had the wheels and brakes painted, new discs, pads and tyres and full service.
a few months past i finally had it registered for the right state, i also started to install some parts i had been collecting.
It wasnt long after this i decided to sink more time effort and money into the car to make it exactly how i wanted.
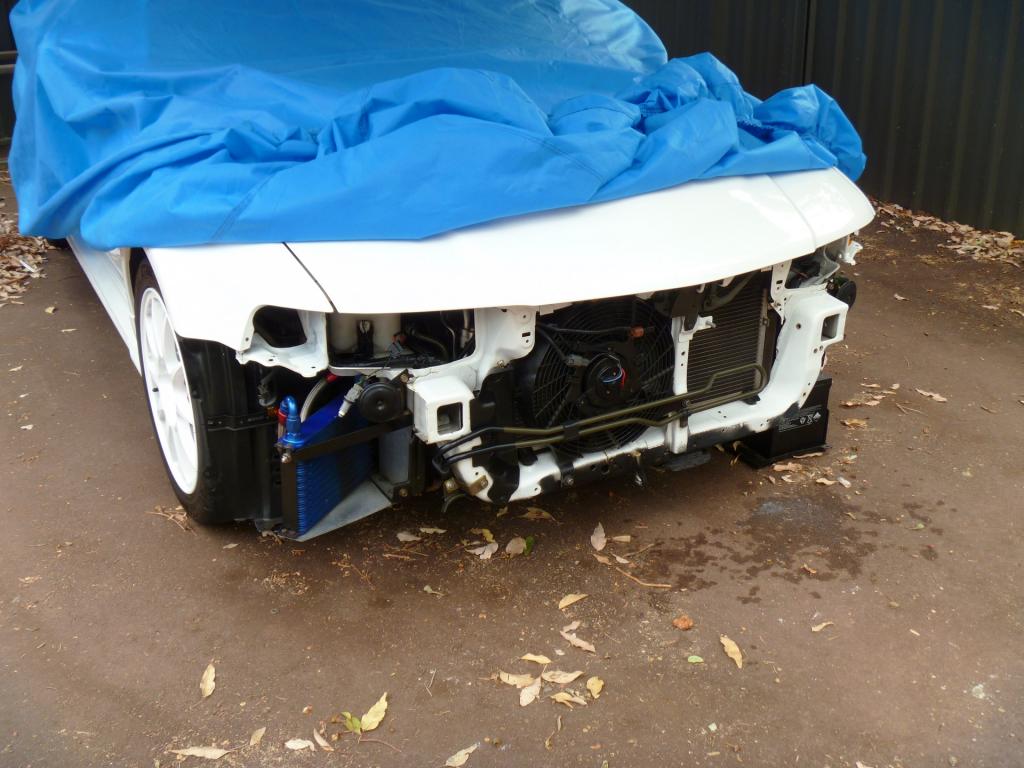
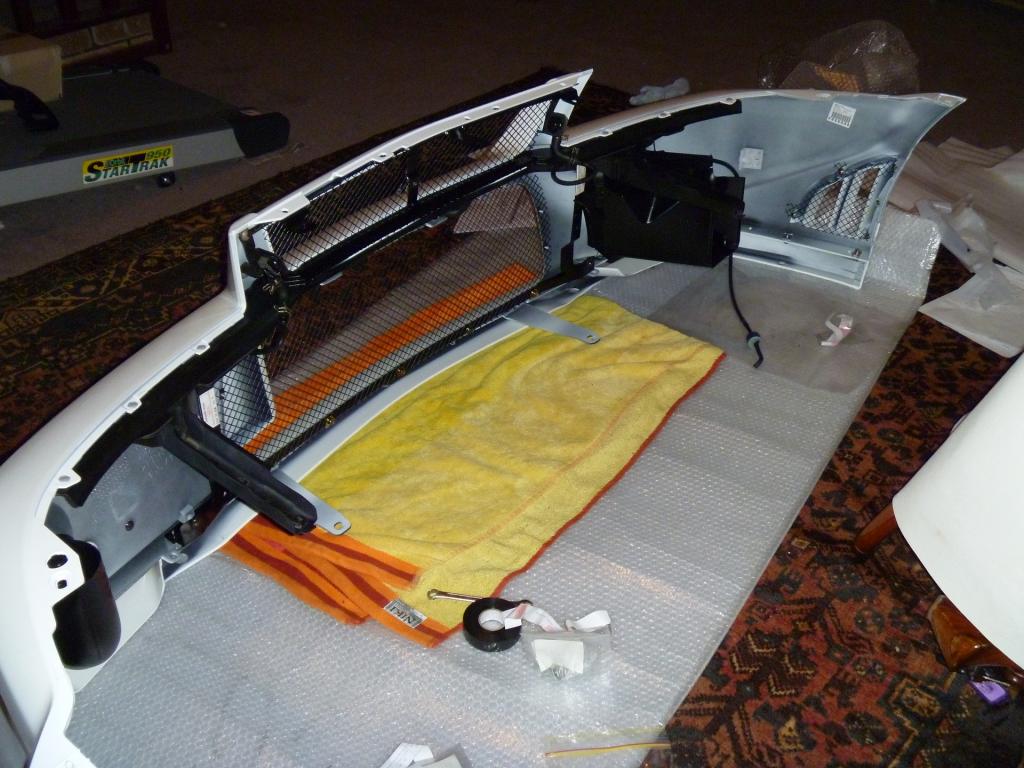
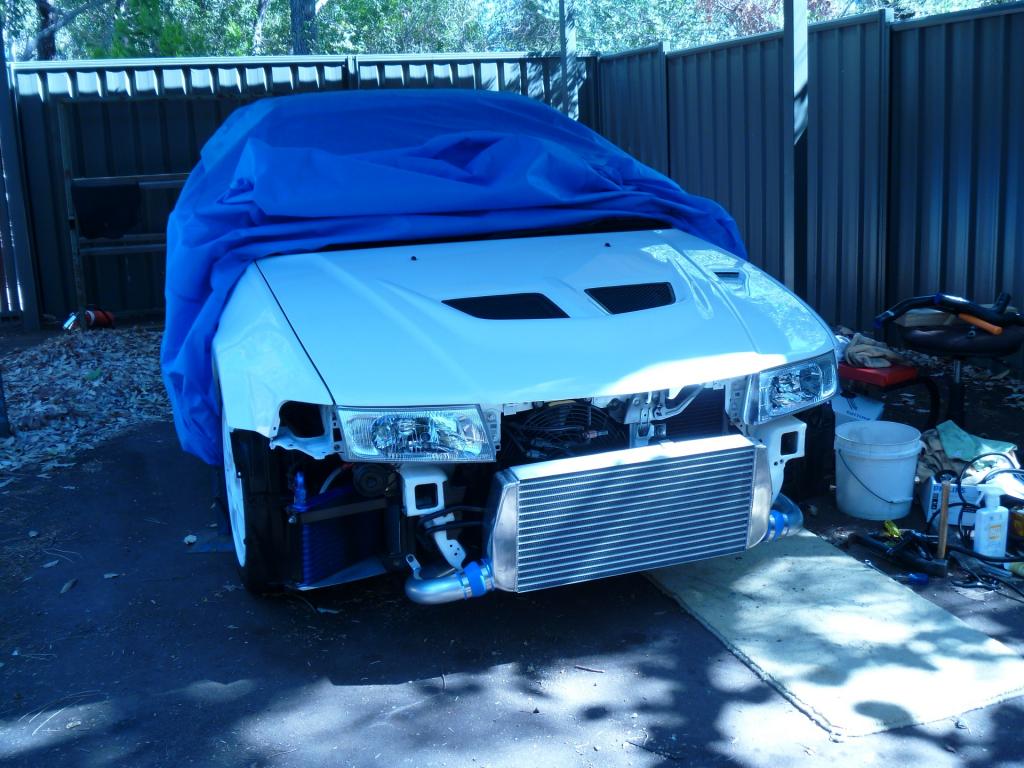
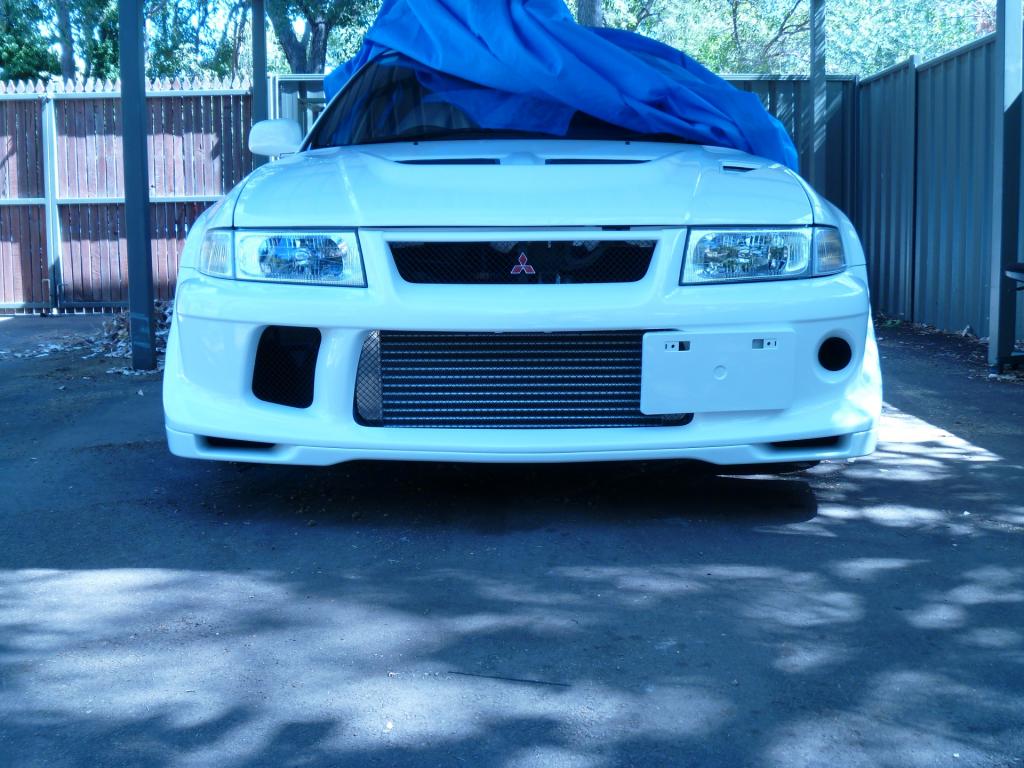
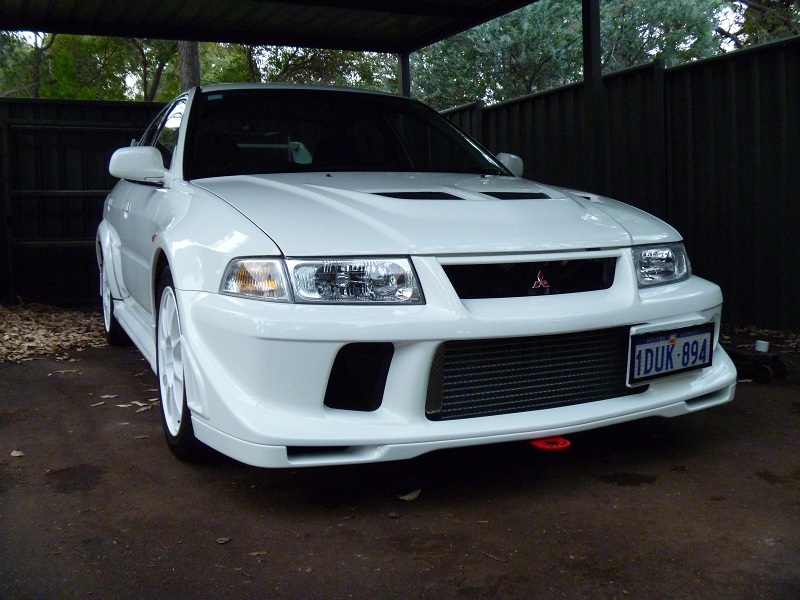
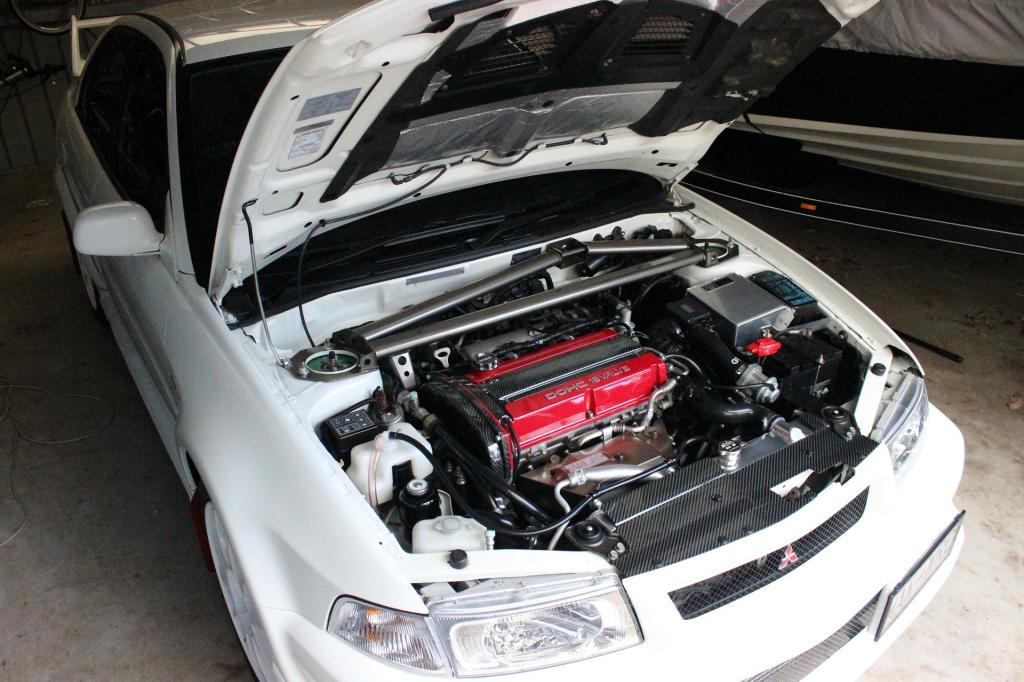
I replaced the intercooler to fill the mesh, whilst the bumper was off i took the opportunity to give the frame a detail.

Wheels and brakes after a detail.
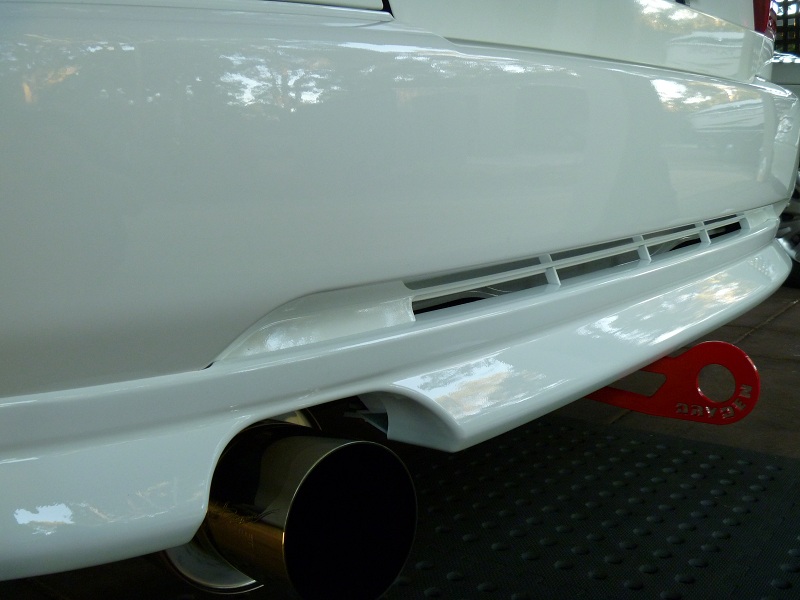
rear bar came off and everything was pulled apart and cleaned up.
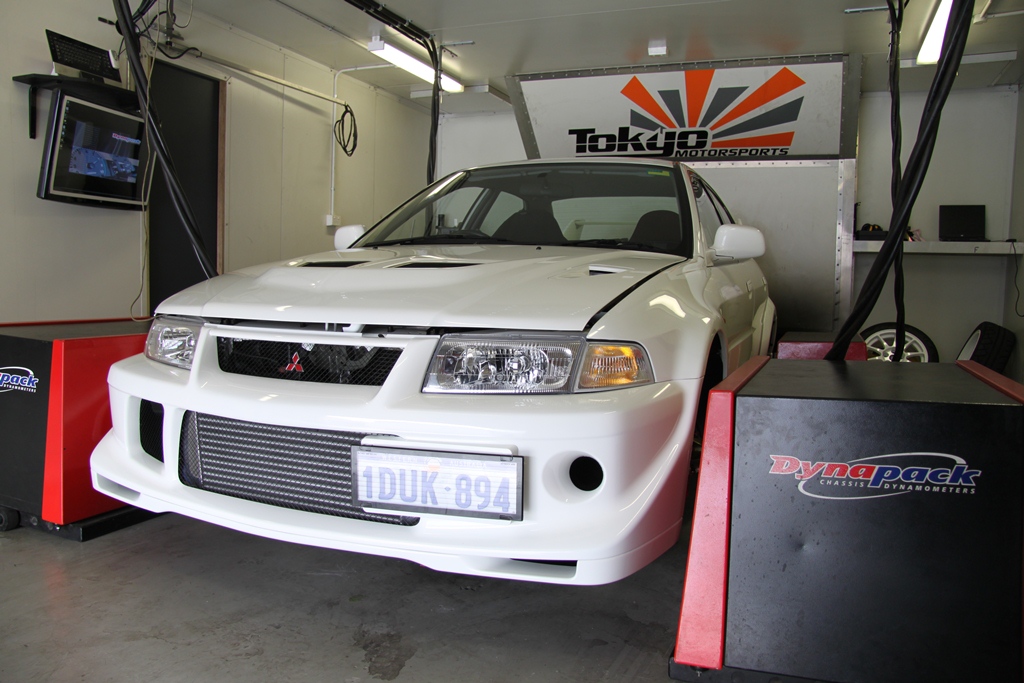
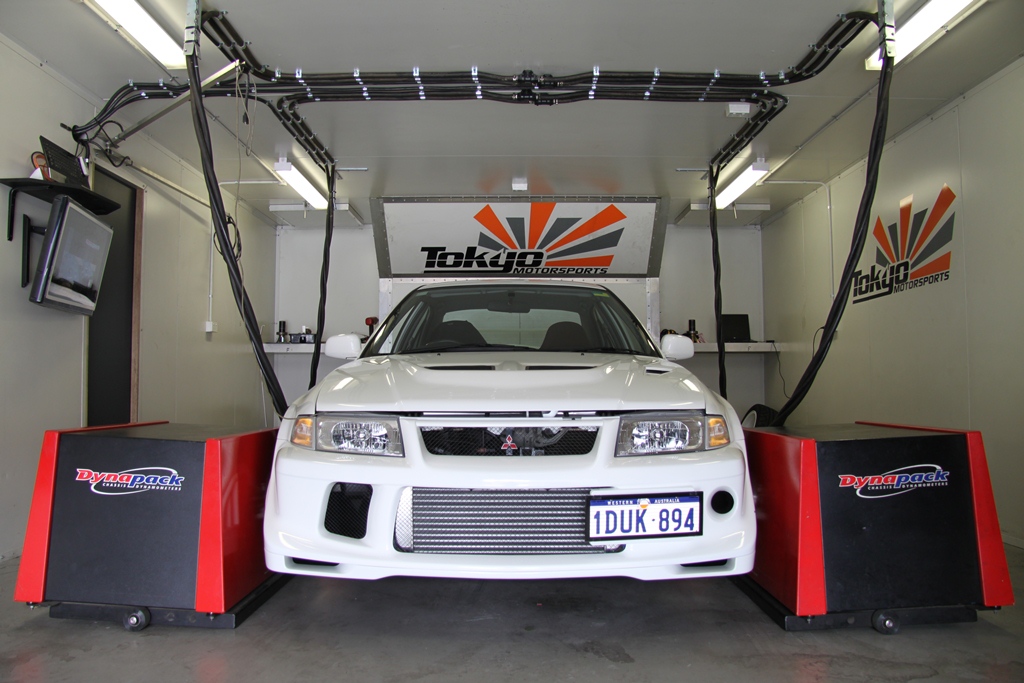
All back together then off for a tune before my first track day with the local Evo club, it ran 215kw at the hubs.
Tow hook on just incase
It ended up raining half way through the day which made it insanely fun!
After about a year of the same setup i decided to chase more power, i loved the sound of an evo chopping away with huge cams on idle and wanted it baddd!!!
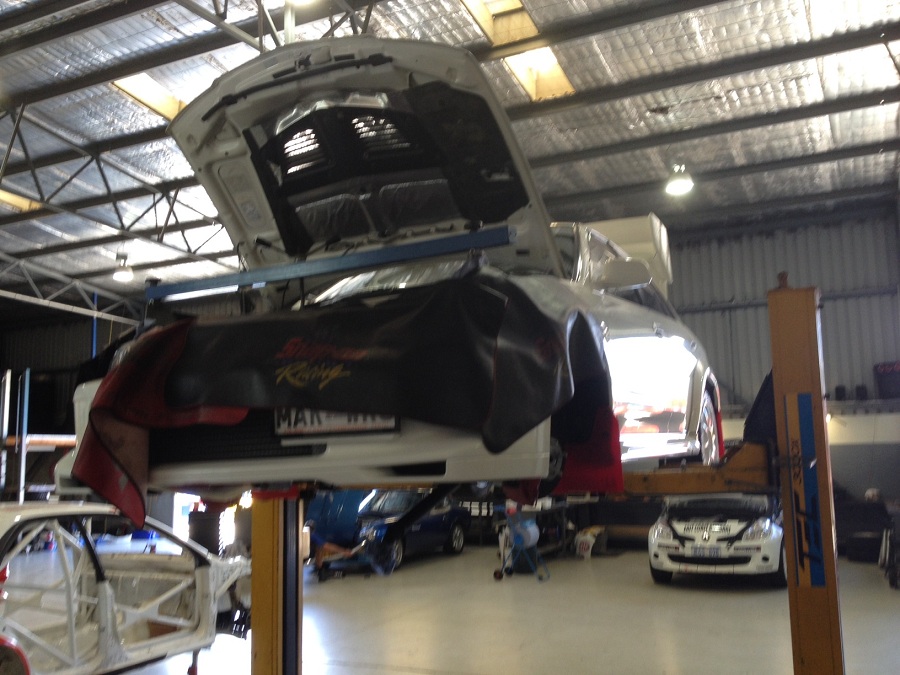
Went to my local Evo specialist to discuss the options, i ended up dropping the TME off for its next hit of upgrades.
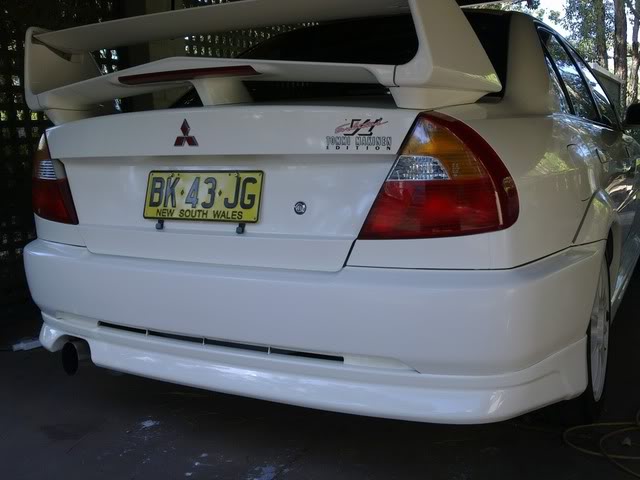
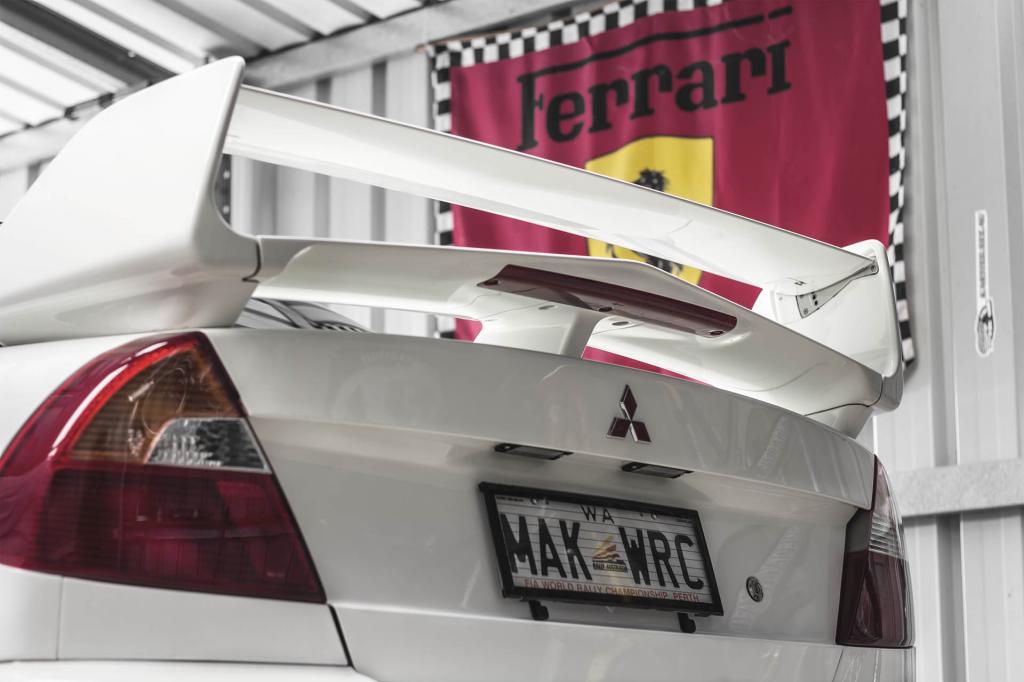
It was around this time i also purchased new plates.
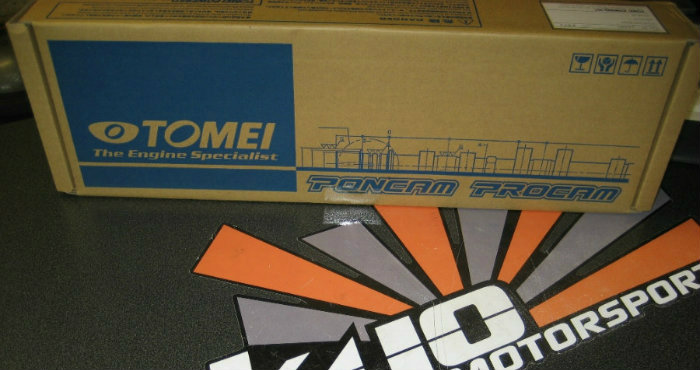
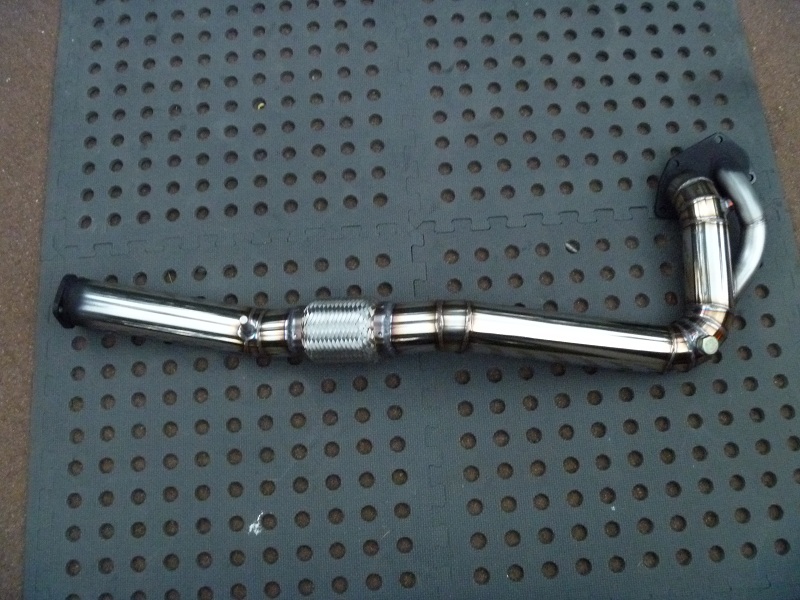
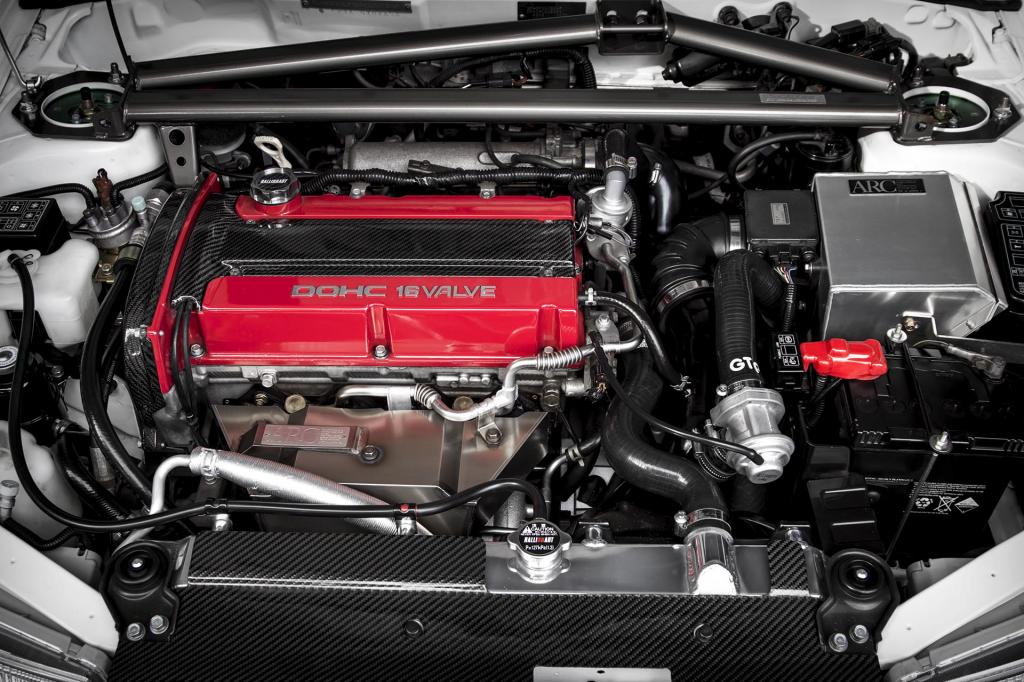
I picked up a brand new Evo 9 turbo, some Tomei cams Fitted a J-speed down pipe and got a custom intake pipe made.
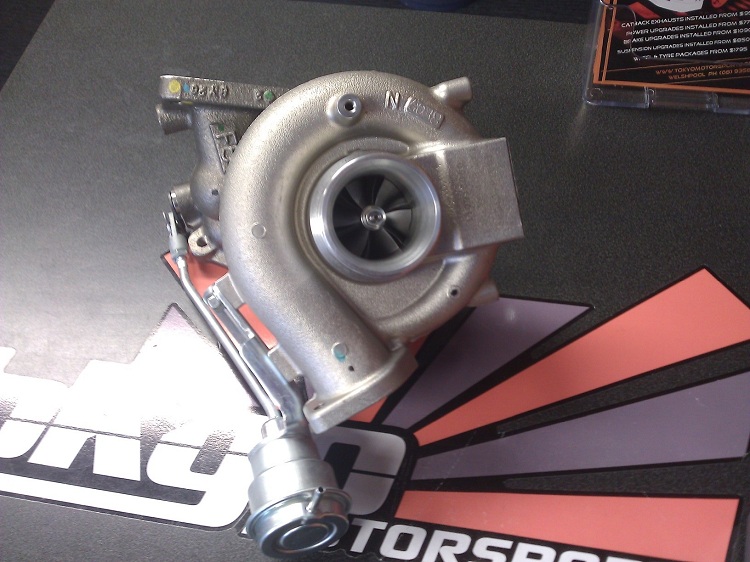
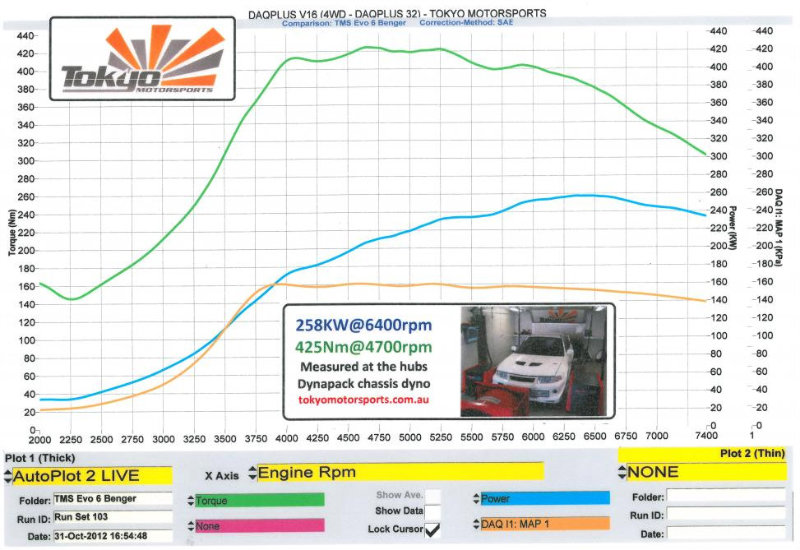
After the work it ended up pushing out just shy of 260kW and 425nM of torque on the hub dyno.
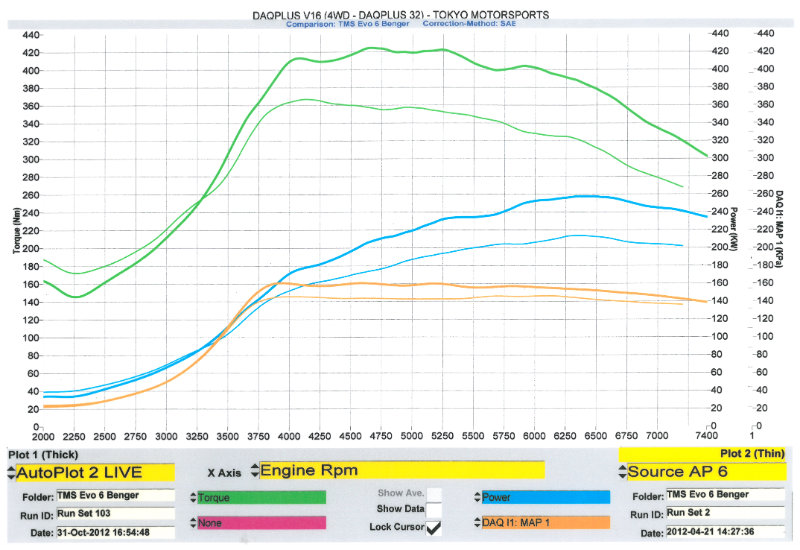
Comparison of the TME turbo vs the 9 turbo, 270 cams and more boost :P
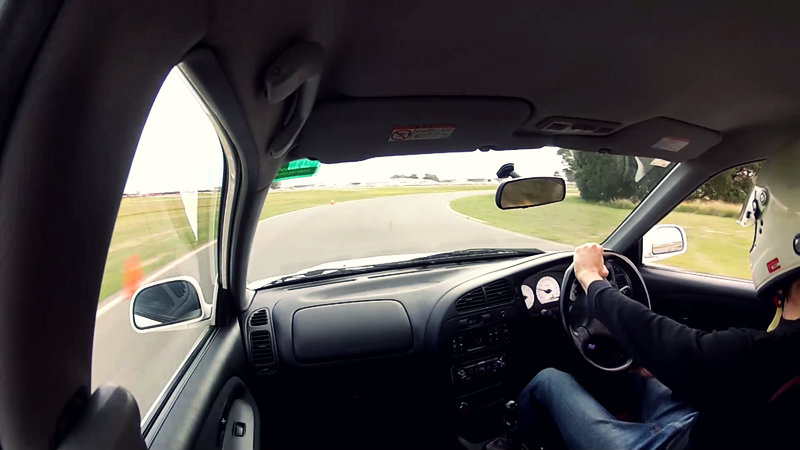
This vid was taken not too long ago but I finally have the agro idle ive always wanted (click pic for vid)

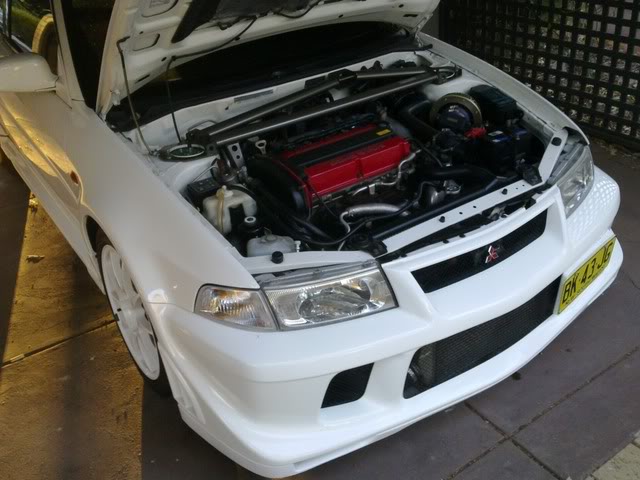
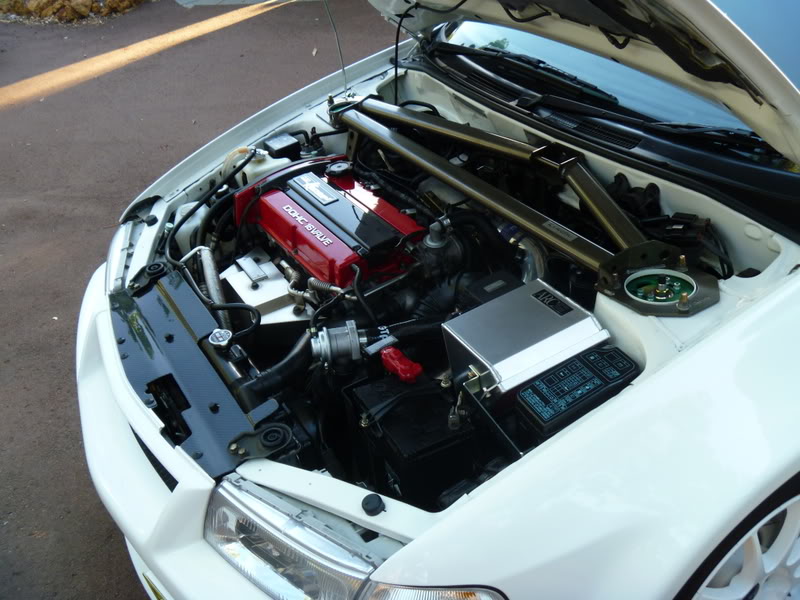
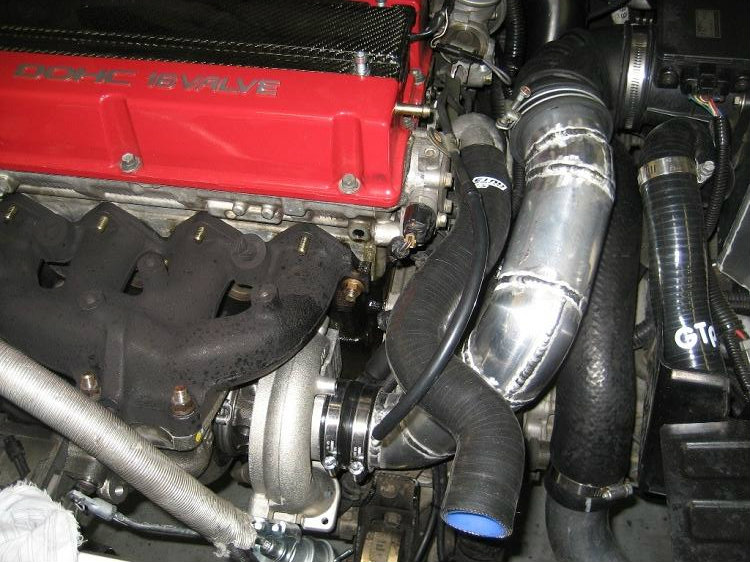
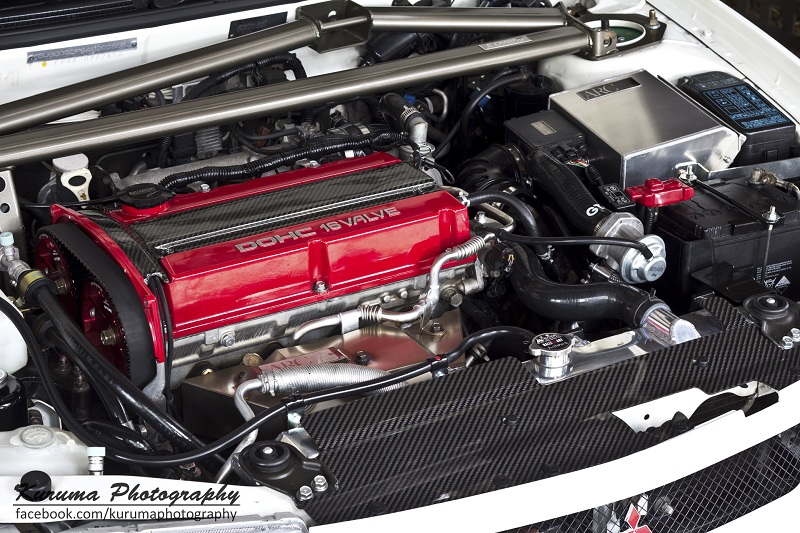
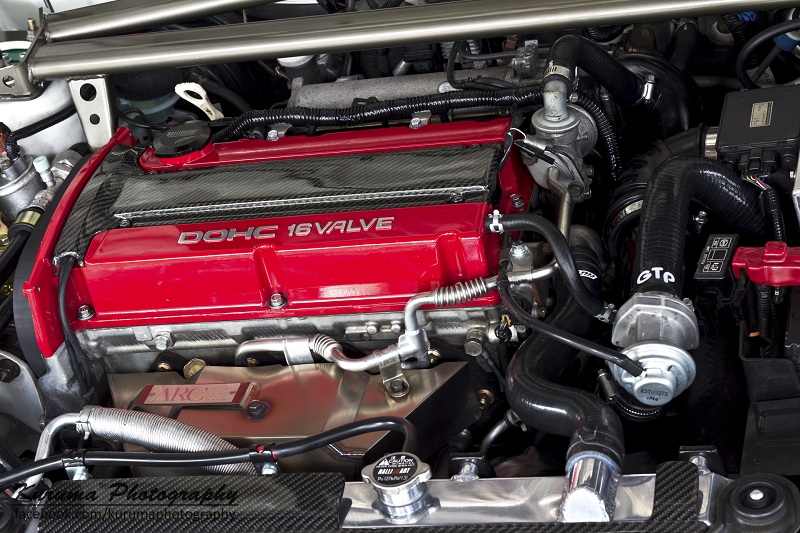
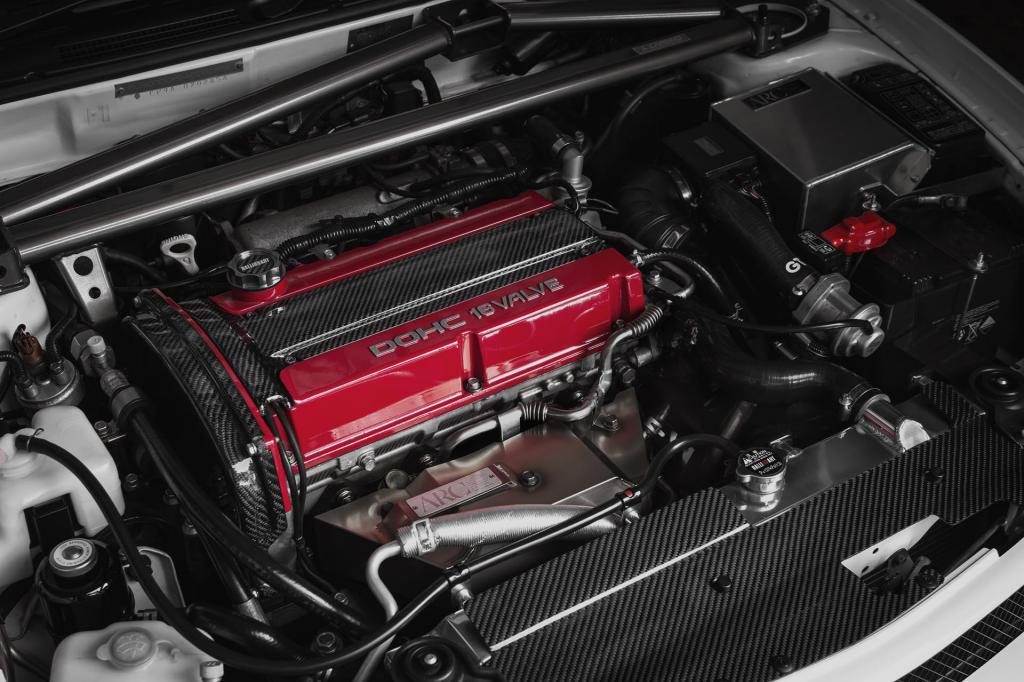
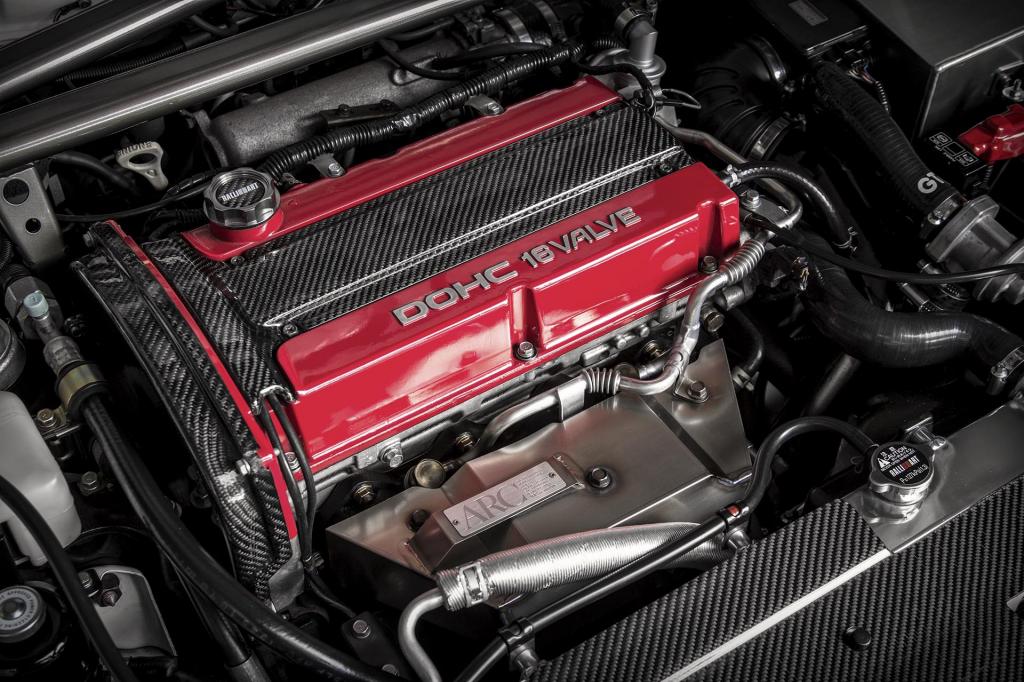
I had a friend come around after i got the car back from the workshop to take a few pics of the engine bay.
time to test the new power with another track day
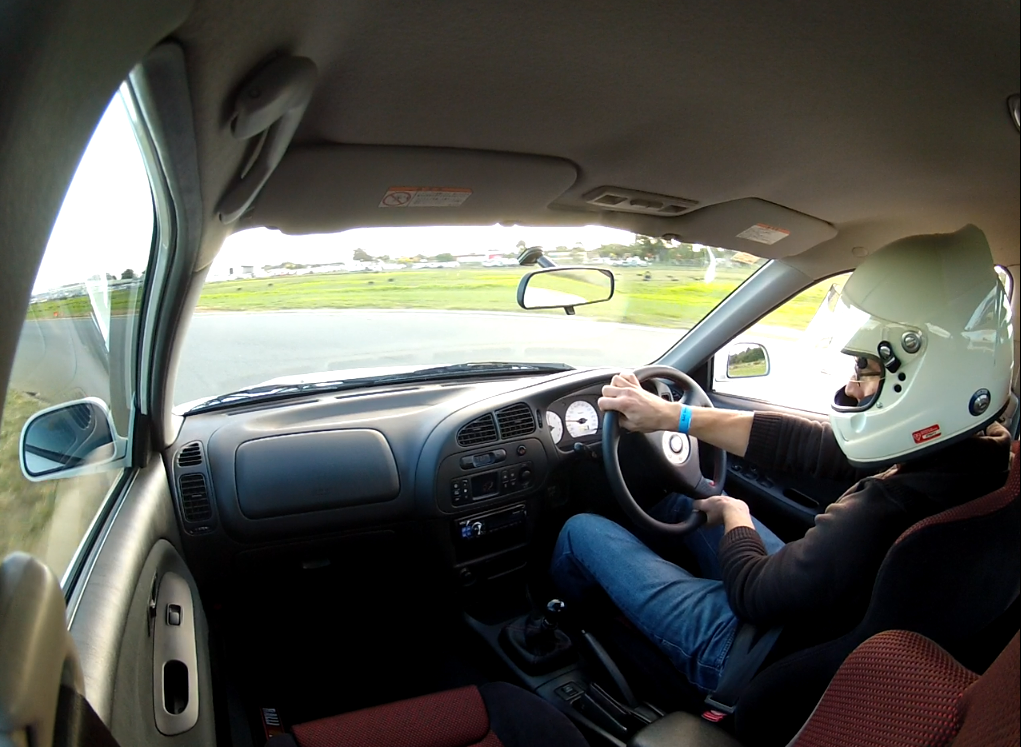
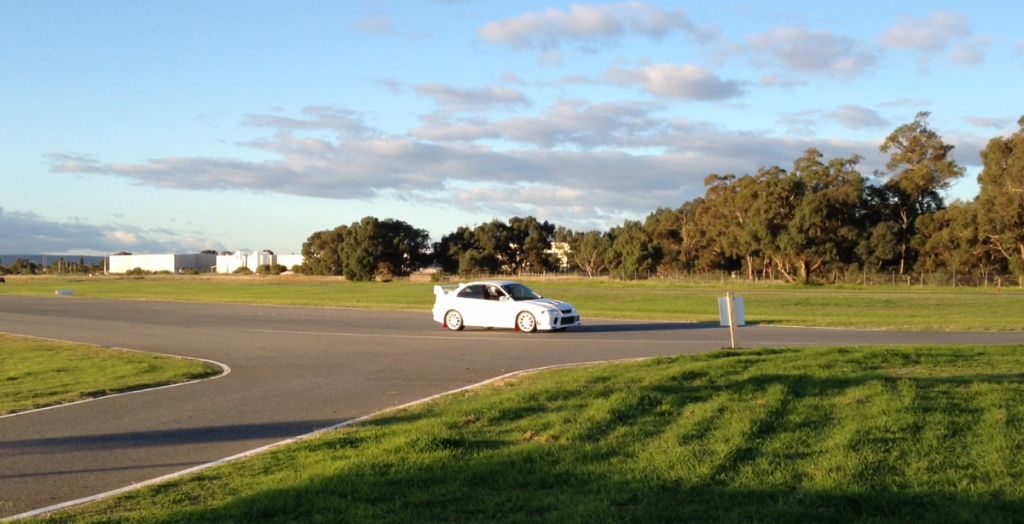
It made a huge difference in pull along the straights, was having to brake alot earlier into the corners.
With the engine work done and a nice power increase i was able to move onto more detailed aesthetics.
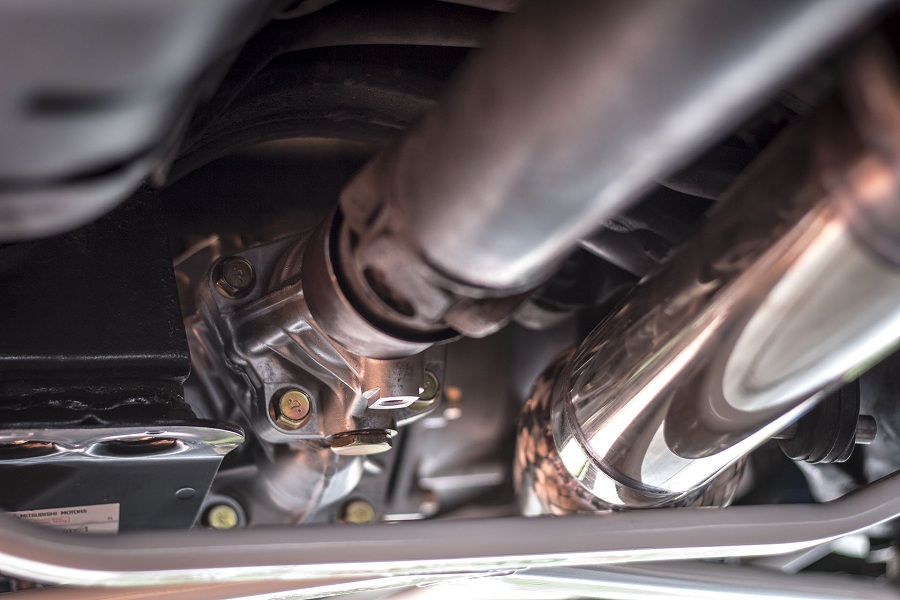
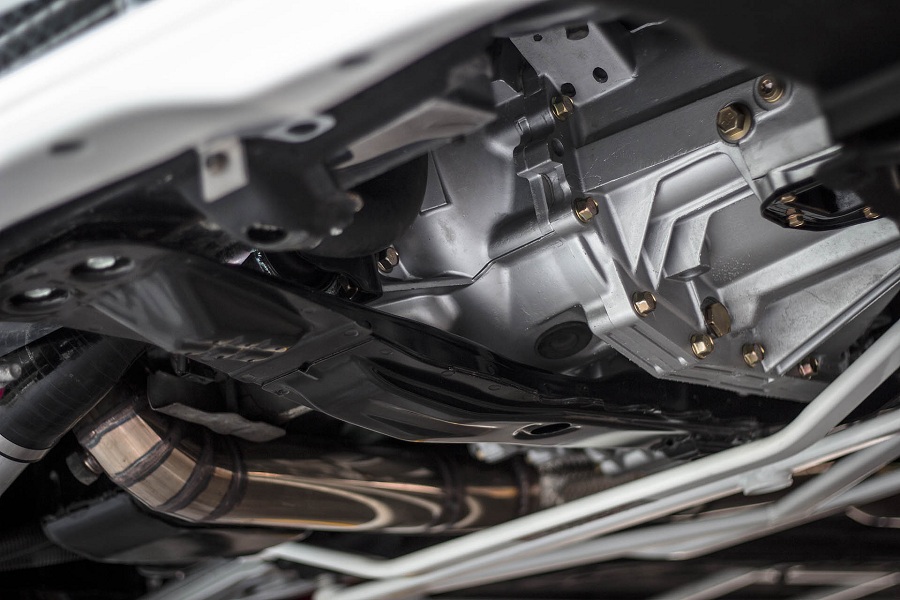
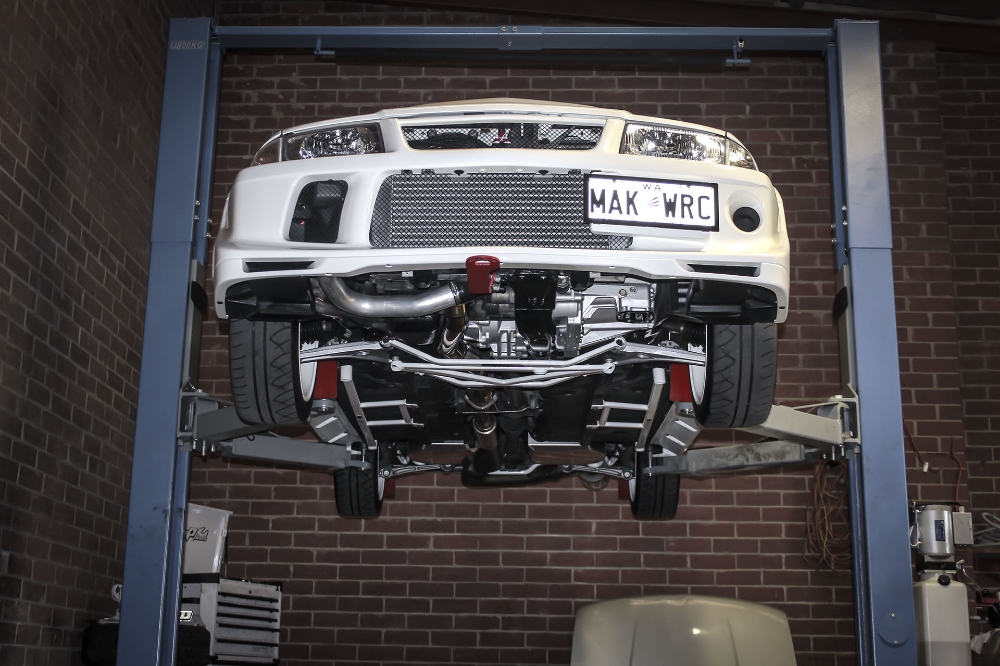
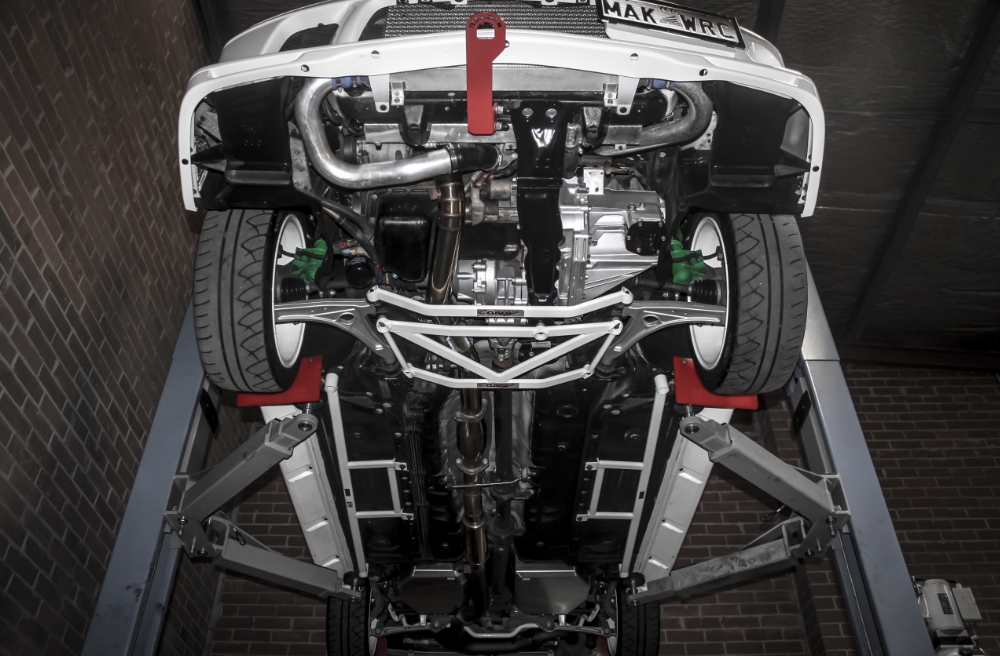
I decided to order all new wheel arch liners and every little plastic clip i could get my hands on for under the car, i also got tired of looking at a dull underside, so the arms and subframe was dropped and painted.
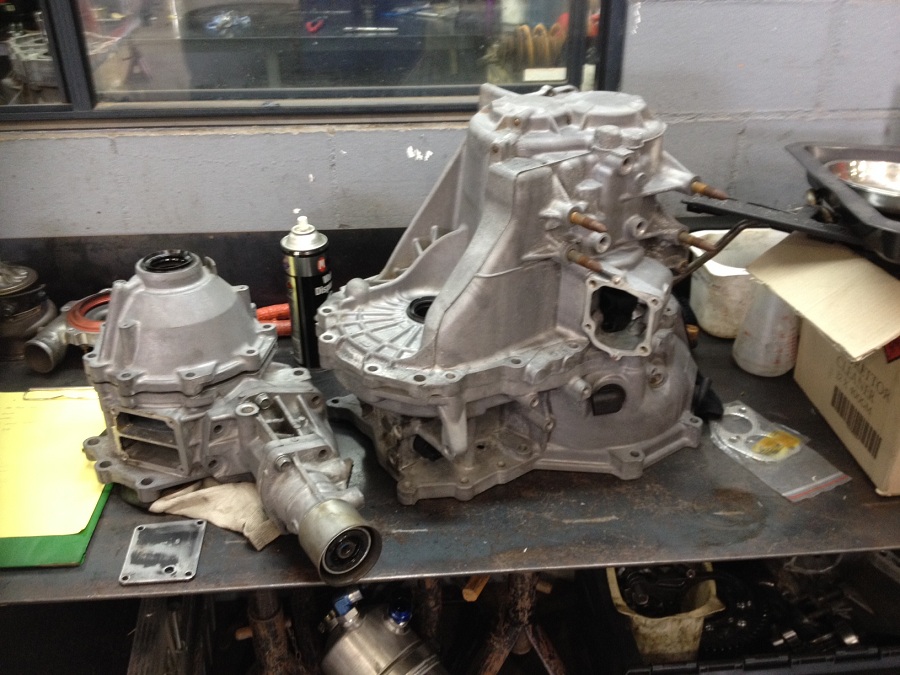
Not too long after i decided to refurbish the gearbox and transfer case as they were getting noticably louder...
New bearings and synchro's went in, i had the front diff bolts replaced as they are prone to cracking and finished both off with a fresh coat of paint and plated bolts.
I also had the front arms painted up and a couple of other parts replaced to bring it up to the same standard as the rear frame.

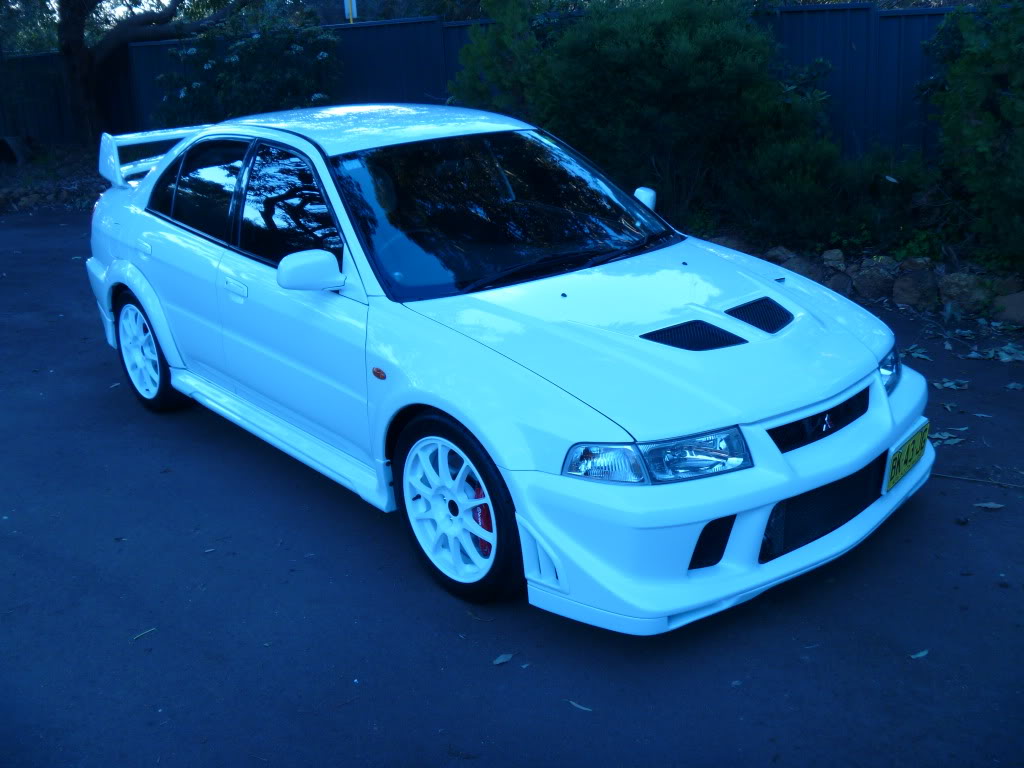
Ever since the gearbox work i have just been concentrating on detailing and cleaning up little bits and pieces to try and bring the car back to new.
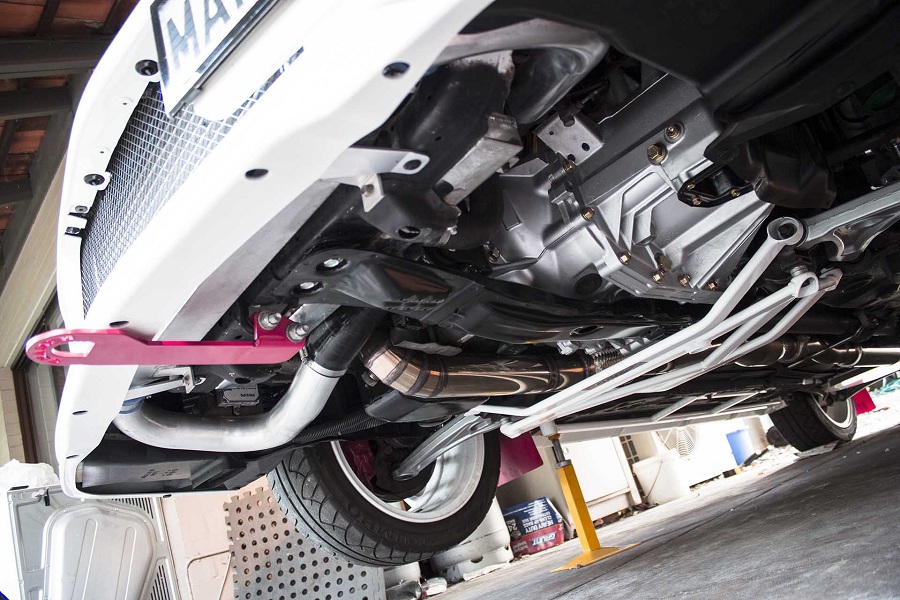
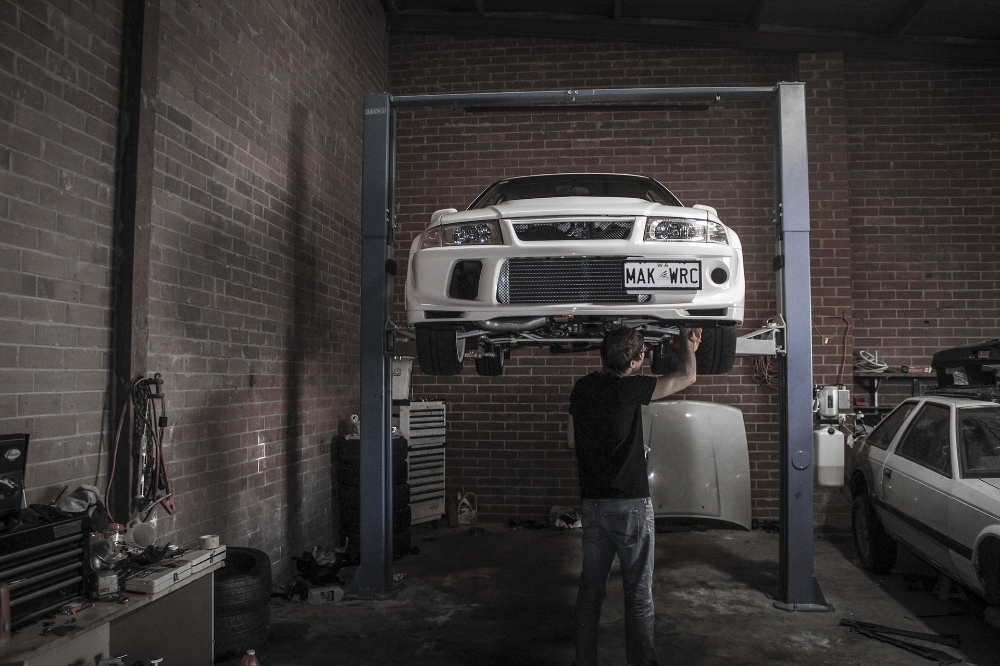
I was fortunate enough to have a friend lend me his hoist so i could get under the car for a massive cleanup and photo session following a huge paintwork detail i had just completed a few days prior.
The next week i replaced the rusty exhaust manifold bolts and got some new pics done.
ended up snapping a bolt on the manifold, tried drilling it out only to have the drill bit snap off.
Got it sorted in the end though.
These shots were taken with a potato as i wanted to get some from further away after the SLR battery died.
Some angles to show the results of the other weeks detail, **** quality through Photobucket, no justice done
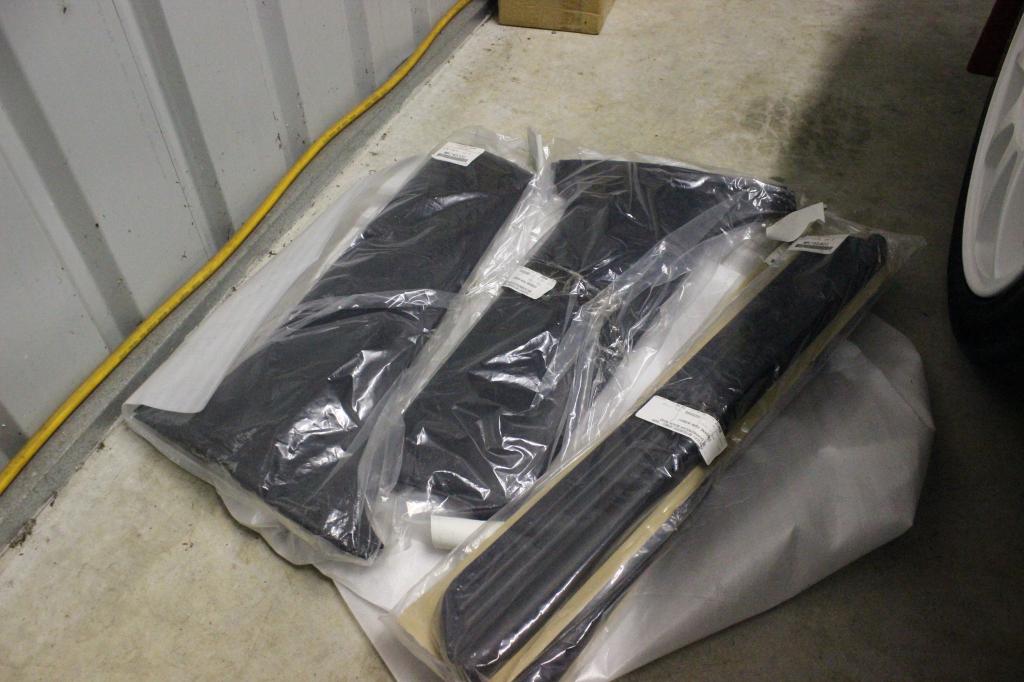
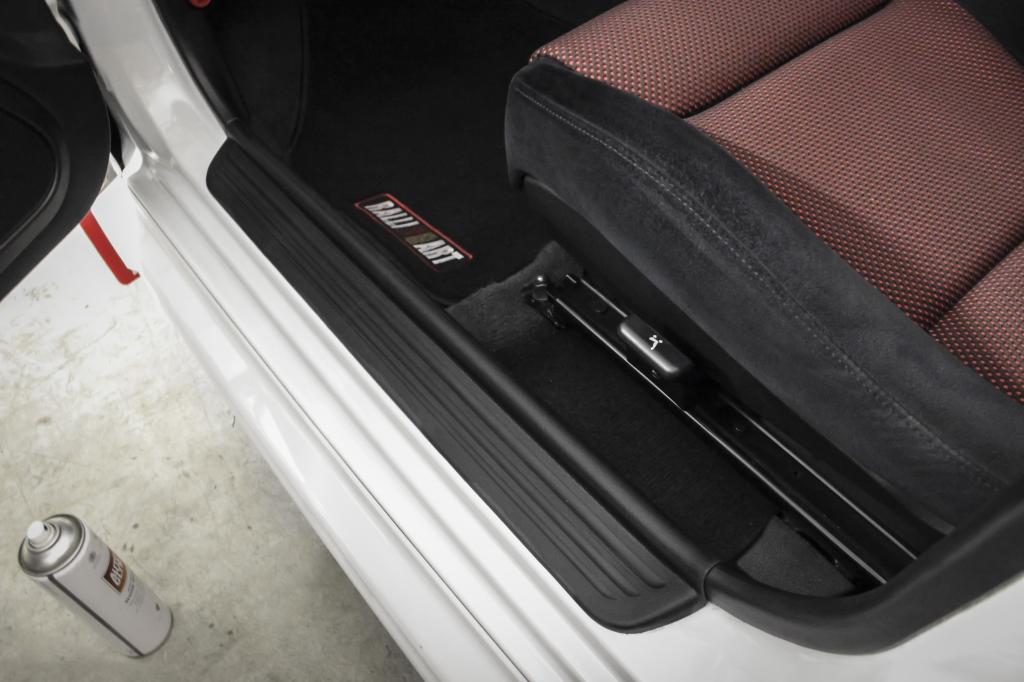
I came across some new interior parts whilst cleaning a shelf out in the shed, decided i'd put the parts on now that it wasn't in and out of work shops as frequent with most of the mods and engine work complete.
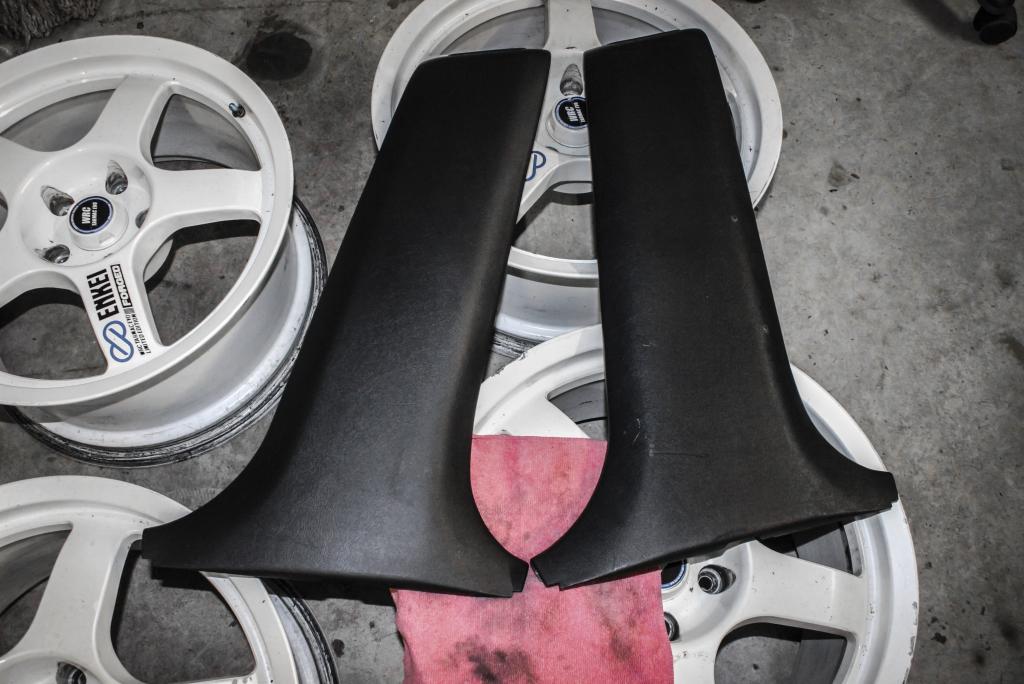
For some reason something had previously been screwed into the driver side b-pillar cover.
Nothing like new parts
old vs new
Kick panels on

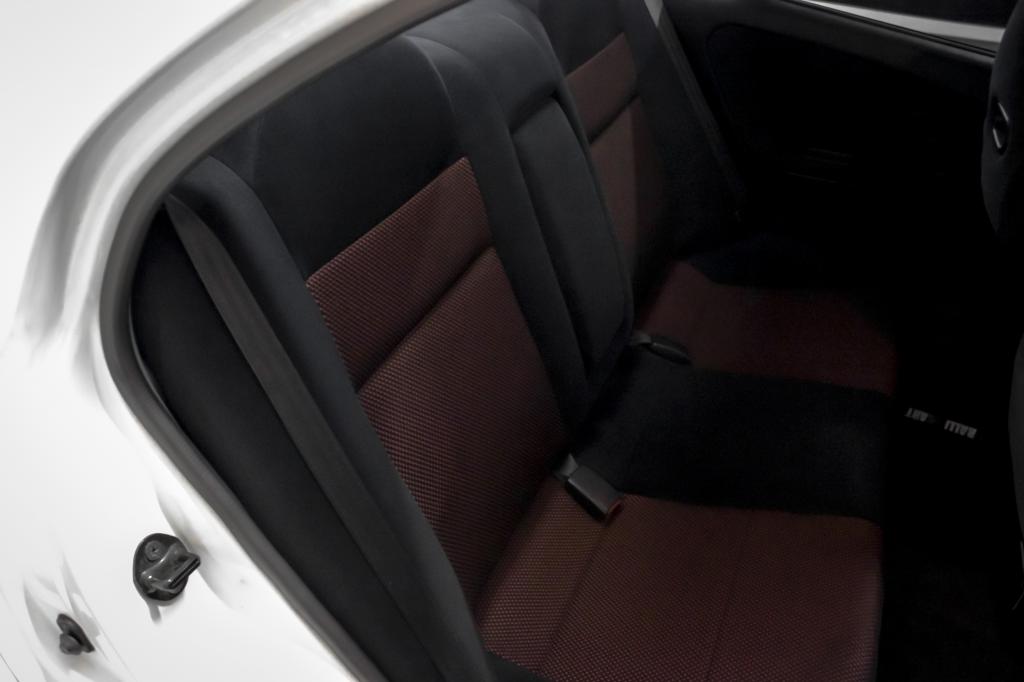
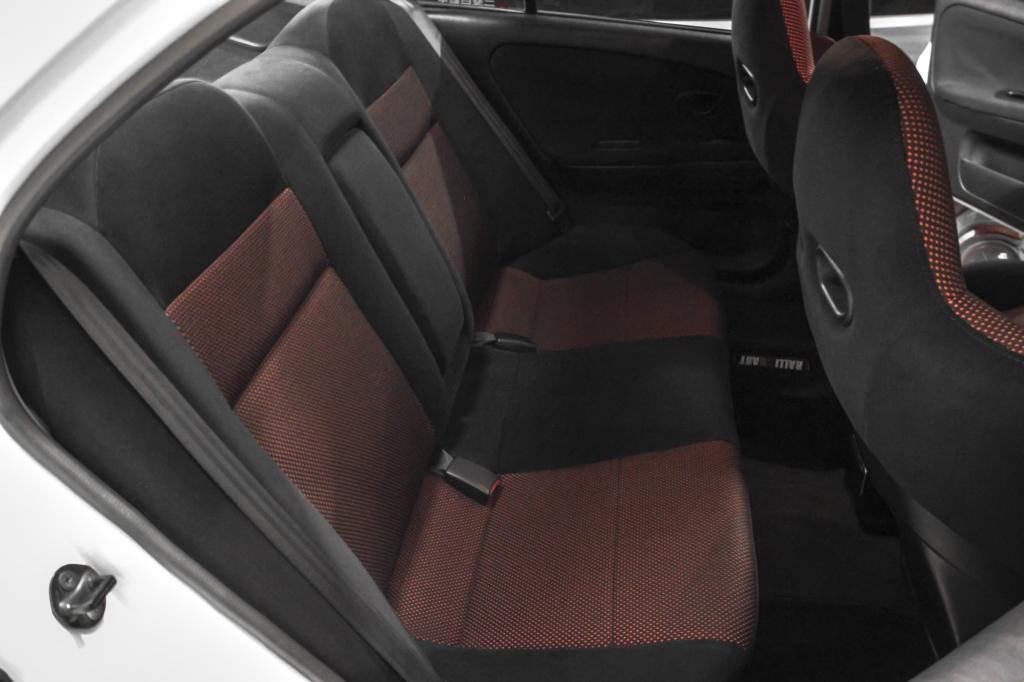
A few of the rear seats.
Various other pics.

So far these are the parts I have put on the car:
J-Speed 3� down pipe
Custom 3� mid pipe + 4� resonator
100 cell cat
HKS Hi-Power rear pipe and muffler
Custom aluminium intake pipe
Plazmaman hotside pipe
Greddy Intercooler
Greddy oil cooler
ARC air box (brand new hiding in some small shop in Japan)
ARC Titanium heat shield
Walbro 255 fuel pump
Grimmspeed 3-port boost solenoid
Brand New Evo 9 turbo
HKS LA Clutch
Koyo Radiator
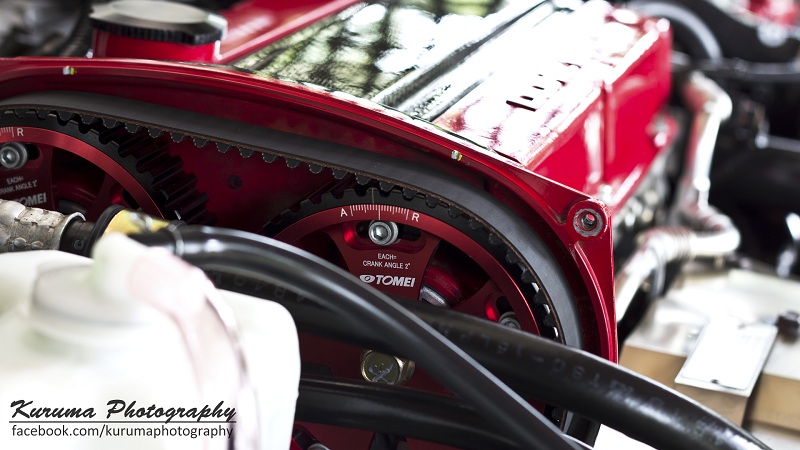
Tomei 270 Type-R cams
Tomei cam gears
Ralliart 300kmh gauges
Ralliart floor matts
Ralliart gear knob
Ralliart fuel tank guards
Ralliart spare tire well brace
Ralliart leads
Ralliart braided brake lines (not installed yet)
Ralliart radiator cap
Ralliart valve caps
Carbing 3-pt front brace
Carbing rear brace
Tien SS coilovers
Tien EDFC unit (fitted but not connected)
Whiteline Rear sway bar
Ultraracing sway bar bushings
Cusco chassis bracing
Ultraracing chassis bracing
Carbon plug cover and radiator panel
Full gearbox and transfer case overhaul
Some of those parts were extremely difficult to find considering they had been discontinued for a few years, but its all come together really well I believe.
Theres alot more i want to do with the car, potentially build the engine with a 2.2 Nitto stroker kit, but i'll see how that goes down with the wallet.
Thanks for looking
I wanted to put up a showcase of my Evo 6 TME which ive owned for about 3 years now.
The car has undergone a decent amount of work and restoration since i took ownership.
This is how it looked a few days after it arrived interstate.
added carbing bracing straight away
a few weeks later i had the wheels and brakes painted, new discs, pads and tyres and full service.
a few months past i finally had it registered for the right state, i also started to install some parts i had been collecting.
It wasnt long after this i decided to sink more time effort and money into the car to make it exactly how i wanted.
I replaced the intercooler to fill the mesh, whilst the bumper was off i took the opportunity to give the frame a detail.
Wheels and brakes after a detail.
rear bar came off and everything was pulled apart and cleaned up.
All back together then off for a tune before my first track day with the local Evo club, it ran 215kw at the hubs.
Tow hook on just incase
It ended up raining half way through the day which made it insanely fun!
After about a year of the same setup i decided to chase more power, i loved the sound of an evo chopping away with huge cams on idle and wanted it baddd!!!
Went to my local Evo specialist to discuss the options, i ended up dropping the TME off for its next hit of upgrades.
It was around this time i also purchased new plates.
I picked up a brand new Evo 9 turbo, some Tomei cams Fitted a J-speed down pipe and got a custom intake pipe made.
After the work it ended up pushing out just shy of 260kW and 425nM of torque on the hub dyno.
Comparison of the TME turbo vs the 9 turbo, 270 cams and more boost :P
This vid was taken not too long ago but I finally have the agro idle ive always wanted
(click pic for vid)I had a friend come around after i got the car back from the workshop to take a few pics of the engine bay.
time to test the new power with another track day
It made a huge difference in pull along the straights, was having to brake alot earlier into the corners.
With the engine work done and a nice power increase i was able to move onto more detailed aesthetics.
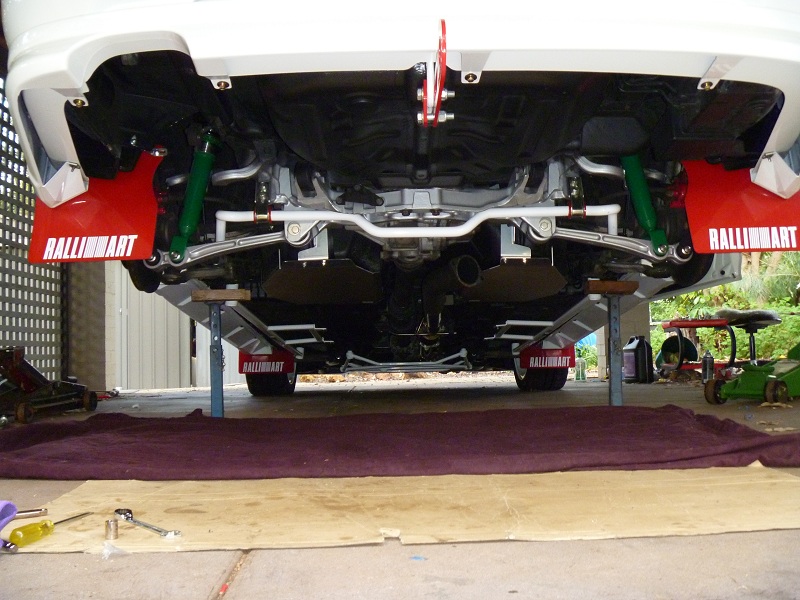
I decided to order all new wheel arch liners and every little plastic clip i could get my hands on for under the car, i also got tired of looking at a dull underside, so the arms and subframe was dropped and painted.
Not too long after i decided to refurbish the gearbox and transfer case as they were getting noticably louder...
New bearings and synchro's went in, i had the front diff bolts replaced as they are prone to cracking and finished both off with a fresh coat of paint and plated bolts.
I also had the front arms painted up and a couple of other parts replaced to bring it up to the same standard as the rear frame.
Ever since the gearbox work i have just been concentrating on detailing and cleaning up little bits and pieces to try and bring the car back to new.
I was fortunate enough to have a friend lend me his hoist so i could get under the car for a massive cleanup and photo session following a huge paintwork detail i had just completed a few days prior.
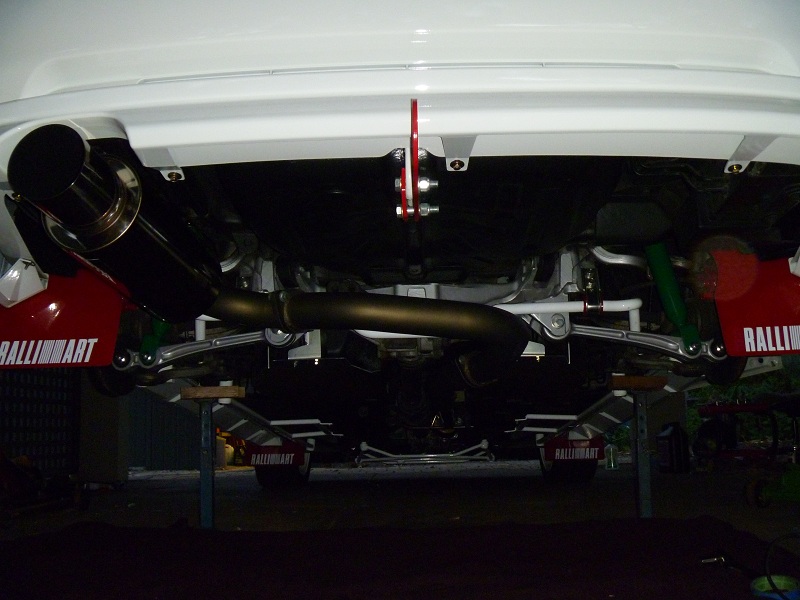
The next week i replaced the rusty exhaust manifold bolts and got some new pics done.
ended up snapping a bolt on the manifold, tried drilling it out only to have the drill bit snap off.
Got it sorted in the end though.
These shots were taken with a potato as i wanted to get some from further away after the SLR battery died.
Some angles to show the results of the other weeks detail, **** quality through Photobucket, no justice done
I came across some new interior parts whilst cleaning a shelf out in the shed, decided i'd put the parts on now that it wasn't in and out of work shops as frequent with most of the mods and engine work complete.
For some reason something had previously been screwed into the driver side b-pillar cover.
Nothing like new parts
old vs new
Kick panels on
A few of the rear seats.
Various other pics.
So far these are the parts I have put on the car:
J-Speed 3� down pipe
Custom 3� mid pipe + 4� resonator
100 cell cat
HKS Hi-Power rear pipe and muffler
Custom aluminium intake pipe
Plazmaman hotside pipe
Greddy Intercooler
Greddy oil cooler
ARC air box (brand new hiding in some small shop in Japan)
ARC Titanium heat shield
Walbro 255 fuel pump
Grimmspeed 3-port boost solenoid
Brand New Evo 9 turbo
HKS LA Clutch
Koyo Radiator
Tomei 270 Type-R cams
Tomei cam gears
Ralliart 300kmh gauges
Ralliart floor matts
Ralliart gear knob
Ralliart fuel tank guards
Ralliart spare tire well brace
Ralliart leads
Ralliart braided brake lines (not installed yet)
Ralliart radiator cap
Ralliart valve caps
Carbing 3-pt front brace
Carbing rear brace
Tien SS coilovers
Tien EDFC unit (fitted but not connected)
Whiteline Rear sway bar
Ultraracing sway bar bushings
Cusco chassis bracing
Ultraracing chassis bracing
Carbon plug cover and radiator panel
Full gearbox and transfer case overhaul
Some of those parts were extremely difficult to find considering they had been discontinued for a few years, but its all come together really well I believe.
Theres alot more i want to do with the car, potentially build the engine with a 2.2 Nitto stroker kit, but i'll see how that goes down with the wallet.
Thanks for looking
 Aug 10, 2014, 10:37 PM
#4
Newbie

Join Date: Aug 2014
Location: Melbourne
Posts: 9
Likes: 0
Received 0 Likes
on
0 Posts
wow. Super impressed, that's an inspiration for sure
Can I ask where did you buy the ralliart shifter and floormats from? I'm looking around for some for mine atm
Can I ask where did you buy the ralliart shifter and floormats from? I'm looking around for some for mine atm
Last edited by loslogo; Aug 10, 2014 at 10:56 PM.
Aug 11, 2014, 10:01 AM
#7
Newbie
Join Date: Oct 2013
Location: Iowa
Posts: 25
Likes: 0
Received 0 Likes
on
0 Posts
Wow, very nice. I like the fact that you have major attention to detail. Although not many will see the underside of the car, you took the time to make it clean. Very well done.
Trending Topics
Aug 11, 2014, 05:21 PM
#8
Newbie
Thread Starter
Join Date: Aug 2014
Location: Australia
Posts: 0
Likes: 0
Received 0 Likes
on
0 Posts
Thanks for the comments guys, its taken quite a while to get it to this stage
loslogo, The ralliart shifter knob was purchased online from a yahoo japan auction, it was the last one they had, its easy enough to find replicas but not too sure if there are any genuine ones left nowdays.
The floormats have been custom made as finding genuine ralliart ones wasnt going to happen.
czum09, its actually quite easy to see the rear arms and rear subframe if you drive behind the car, but other than that yeah you dont see much, its just nice being able to poke your head under there every so often and see all shiny bits.
The issue with cleaning it all up underneath is... where do you stop, so many things you can replace!
Aug 11, 2014, 10:26 PM
#11
Newbie
Thread Starter
Join Date: Aug 2014
Location: Australia
Posts: 0
Likes: 0
Received 0 Likes
on
0 Posts
Definitely, i had to see how well it holds on the track, nothing like being able to properly experience what its capable of, was surprised at how well they hold the road even in the wet.
Amazing cars!
Amazing cars!
Last edited by MAK WRC; Aug 11, 2014 at 10:39 PM.


