Evo 5.9 build from a mirage
 Oct 11, 2014, 07:55 AM
#31
Newbie

Join Date: Dec 2013
Location: Malaysia
Posts: 2
Likes: 0
Received 0 Likes
on
0 Posts
Was it 6 months? Felt like a year! In that past year, just about every free time I had from 6am to 10pm I would be working on it. Guess you can say 6 months.. the other half would be eat, sleep, and balancing a full time job.
Thanks for cheering me on, fans like you gave me more drive during the build!

Thanks for cheering me on, fans like you gave me more drive during the build!
really liking the workmanship you've gotten there.


 also confirmed a lot of ideas I've had about using evo 8/9 parts on my 5, so cheers for that too lol
 Mar 14, 2015, 02:07 PM
#38
Thanks guys!
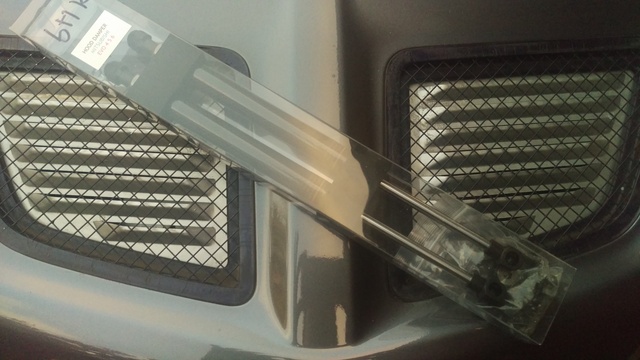
ACD pump and bottle all complete and working with snow, tarmac, and gravel functions.
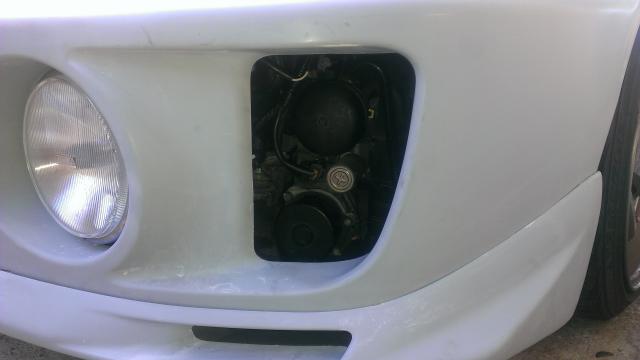
Looking through this vent in the bumper, you can see the pump located in the same area as a evo9.
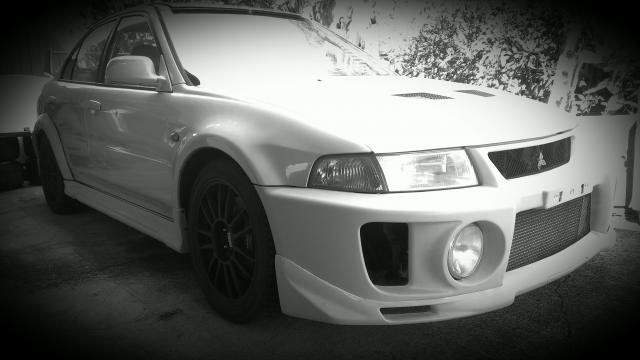
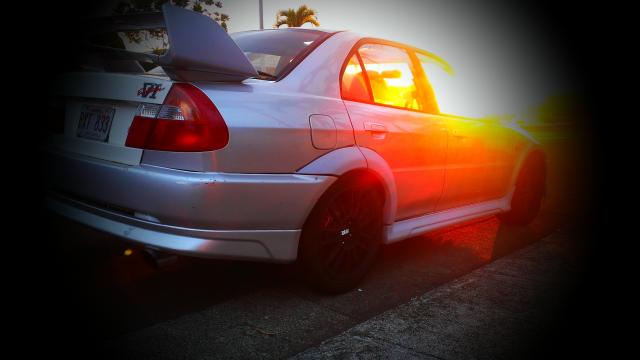
Some random shots with the BBS rims
Sunset to a new year and more progress soon.
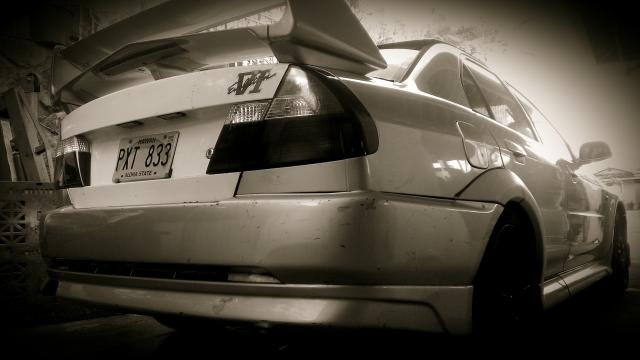
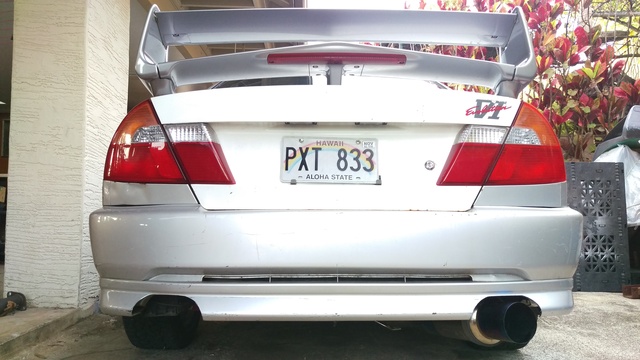
This didn't bother me until today. If you notice that the evo5/6 rear bumper has an exhaust cut out on the left side of the bumper. For the evo 8/9, its onthe right side. Possible reason why the newer evo runs the right side exit is because its a shorter route and saves almost a foot in exhaust piping and bends. With straighter and less bends, the more exhaust flow there will be.
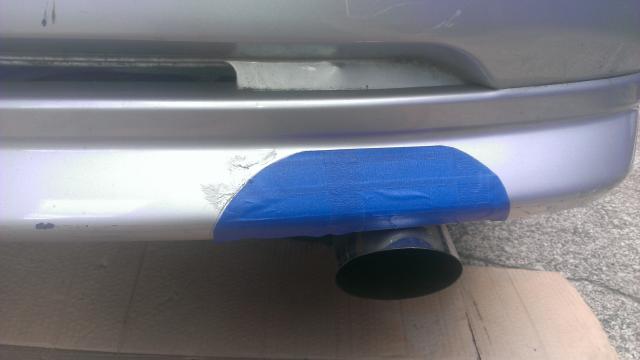
I started off with a template reverse of the left side to transfer the cut out shape using tape.
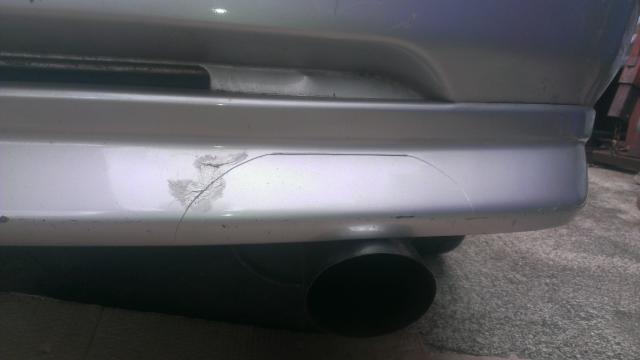
With a utility knife, I took my time slicing through the bumper so it leaves a nice edge. I also removed some material on the inner side of the bumper to match.
These exhaust cut outs kinda growing on me. Looks more balanced this way.
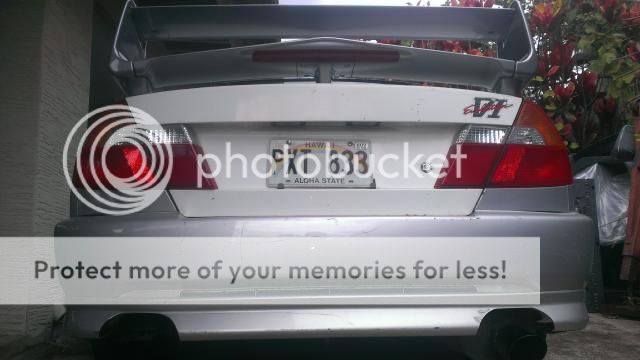
Since I'm using the OEM evo9 exhaust temporarily, the chrome tip sits a bit low for now. I will be replacing the entire exhaust system in the future and align it with the bumper as needed.
Building the drivers side rear lip as recorded earlier in previous posts. Makes a big difference in wheel clearance
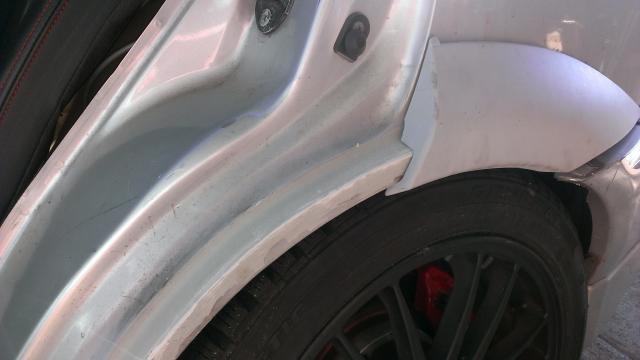
Light weight body filler to make it straight. Here you can see the lip align flush with the fender flair.
Ordered a Mishimoto EVO6 radiator, its well built and best money for the buck.
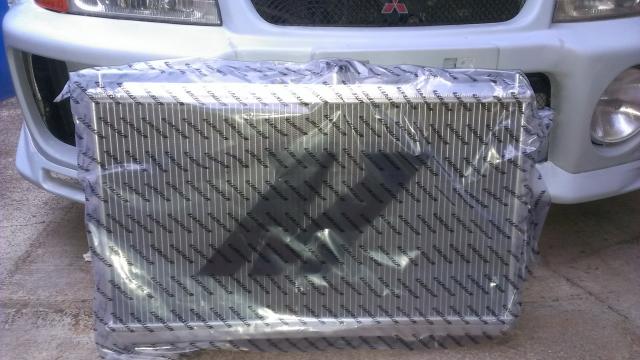
Looks like a newer design for the evo5/6 style. It has all the oem mounting points for the brackets and fan. It also has a auxiliary temperature sending bung welded into the upper neck for additional sensor in the future. They improved the design on the upper tank as well as upgrading the drain plug to their mishimoto black anodized logo bolt.
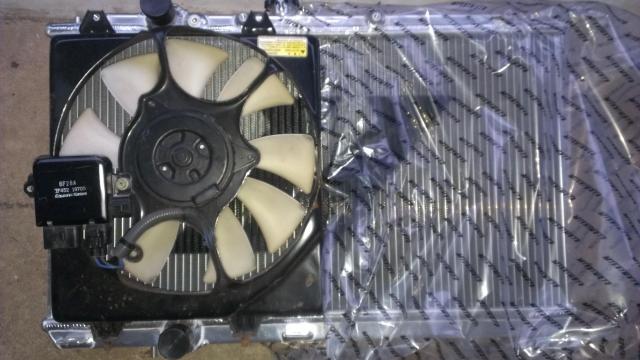
I was about to order a OEM 6 fan but seeing how I can modify the 9 fan to fit could be the best way. Since I'm already using the evo 9 harness, this fan will be a simple plug and play on the electrical side.
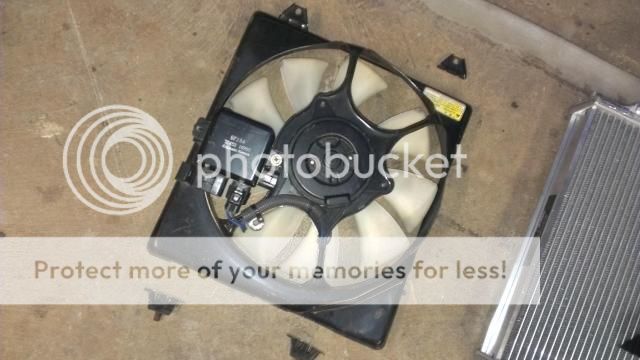
3 of the 4 tabs needed to be moved over to the outer edge so I just cut them off with a hack saw.
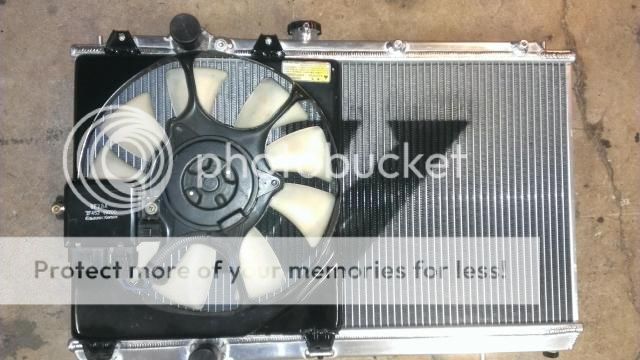
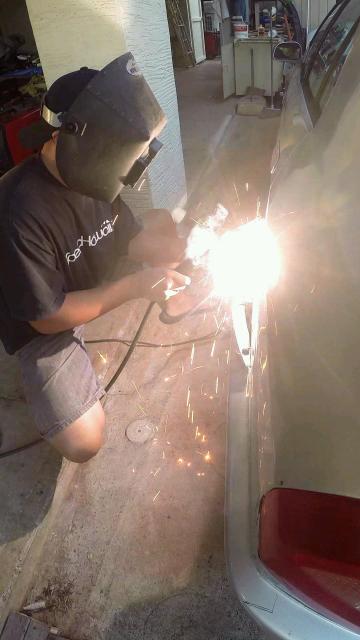
After aligning the tabs and a quick tack weld, I finished a full weld across the cut away from the radiator.
Looks promising and super sturdy. Since it will be a driver, I'd rather do it this way instead of the traditional aftermarket plastic tab which goes through the core. I've had a problem in the past which punctured a fin while in traffic using the aftermarket universal tabs.
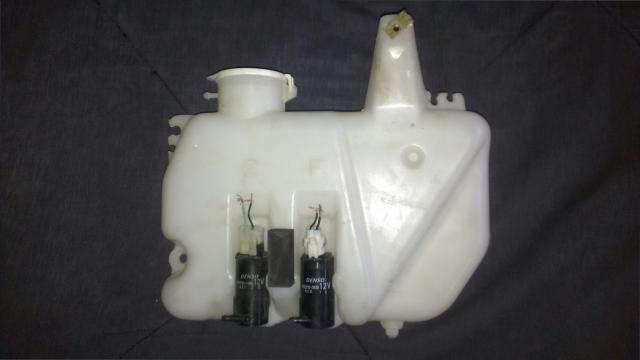
OEM evo6 gsr rear wiper washer bottle.
Part #MR490075 is discontinued so I spent months looking for it then finally found one in eBay Europe.
This is similar to the evo9 rear mounted system which has 2 pumps, one for the front wipers and the other for the rear. I like it because its completely out of the way. It gives me more room for the engine oil cooler where the mirage bottle usually mounts. This way both front and rear wiper sprayers are fully functional.
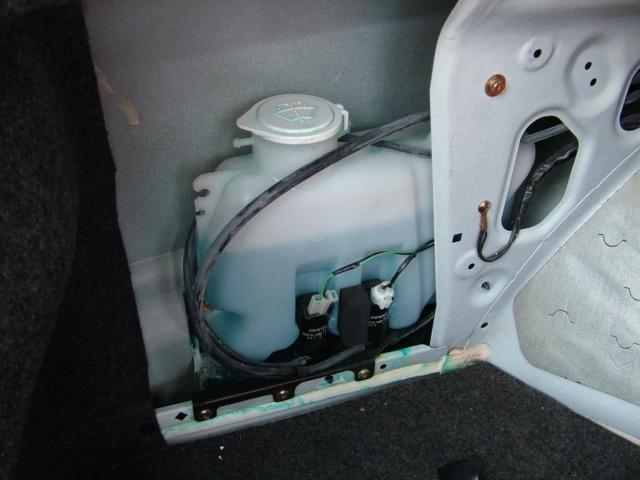
Here it is mounted in the trunk.
Here's a little video, test driving up the street, a view of Pearl Harbor during a sunset. Only in Hawaii!
Evo 5 build of a 99 mirage test drive low boost:
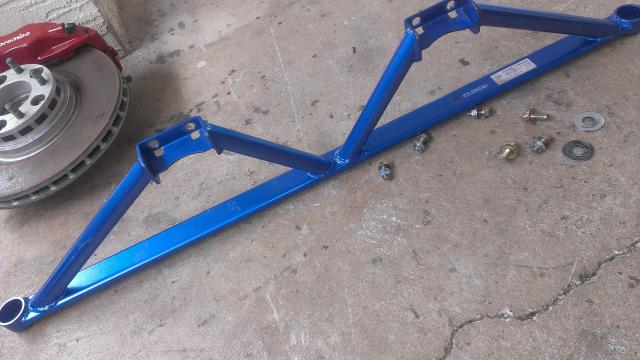
It won't fit without modifications as it was made to fit evo8/9. The width is on spot, the height is almost 3inches off.
So I cut it up so I can make it work.
All welded up and painted Cusco blue then installed using existing bolts and holes already there from factory. Just the way Cusco products are made to work.
I even trimmed the plastic cover to clear the Cusco mounting points same way installed in the evo8/9.
Good fit with a custom touch still keeping it Cusco but now made for my evo5/6
MINES JDM trunk cage.
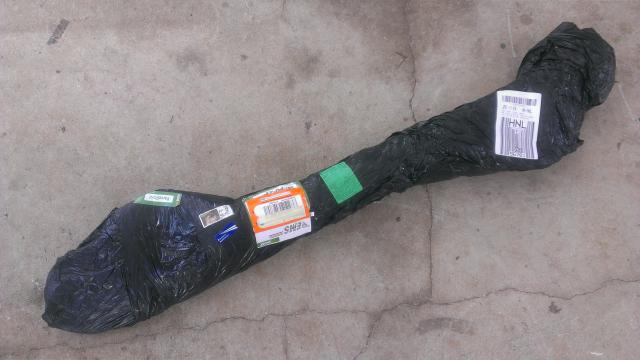
From Japan went through Europe and finally delivered to Hawaii. Wish thoes stickers made it faster being delivered.
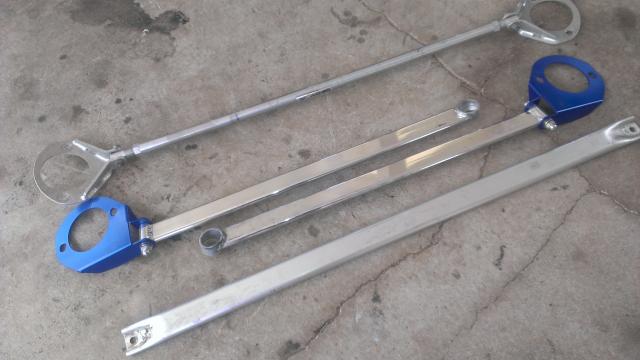
As soon as I unpacked it, I polished the bars and painted the bracket from silver to Cusco blue.
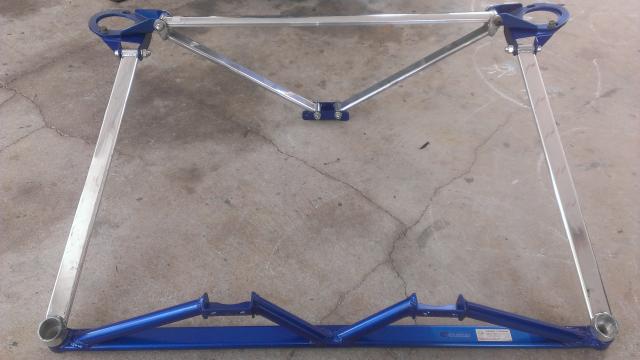
Here it is all mocked up as a full evo trunk cage using MINES and Cusco parts.
I'm only using the bar which ties in the Cusco 3 point stru brace to the cusco rear trunk brace. The MINES strut bar and rear trunk bar will not be used. All these parts can be used in evo 5 to 9 minus the rear trunk bar which I modified to fit only evo 4 to 6.
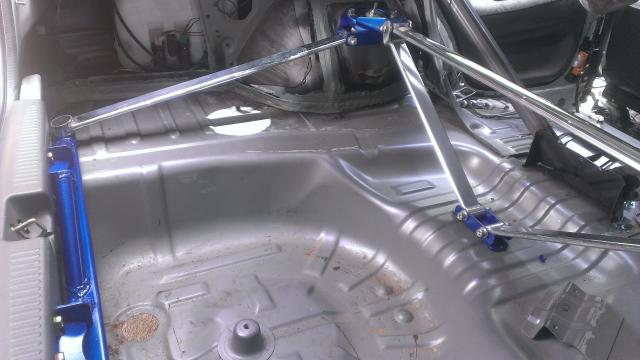
Drivers side rear tower.
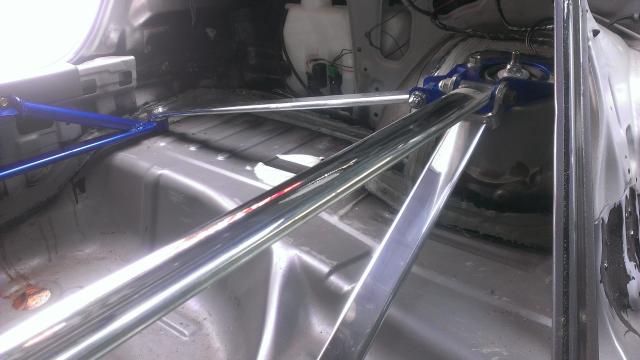
Drivers side rear tower looking in from the back seat.
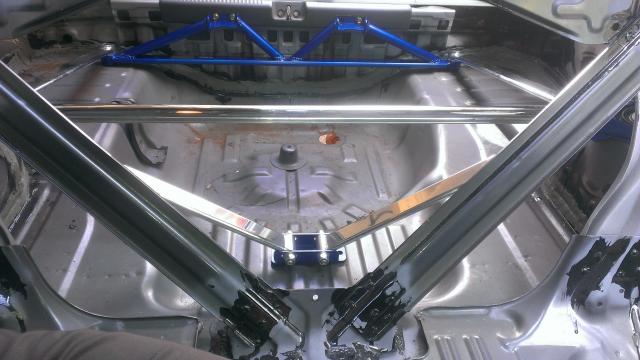
Full vew from the back see looking in.
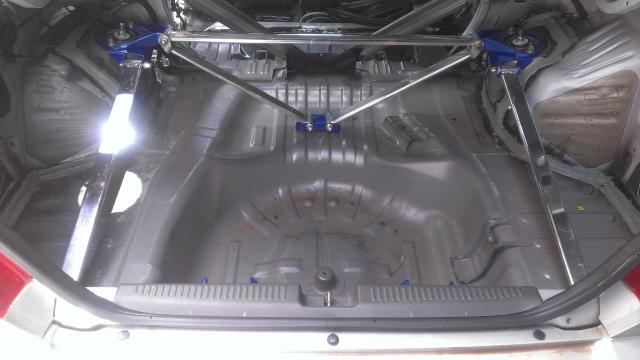
Full view looking in from outside into the trunk.
Final collection of the JDM trunk cage which should be it until I see something new!
ACD pump and bottle all complete and working with snow, tarmac, and gravel functions.
Looking through this vent in the bumper, you can see the pump located in the same area as a evo9.
Some random shots with the BBS rims
Sunset to a new year and more progress soon.
This didn't bother me until today. If you notice that the evo5/6 rear bumper has an exhaust cut out on the left side of the bumper. For the evo 8/9, its onthe right side. Possible reason why the newer evo runs the right side exit is because its a shorter route and saves almost a foot in exhaust piping and bends. With straighter and less bends, the more exhaust flow there will be.
I started off with a template reverse of the left side to transfer the cut out shape using tape.
With a utility knife, I took my time slicing through the bumper so it leaves a nice edge. I also removed some material on the inner side of the bumper to match.
These exhaust cut outs kinda growing on me. Looks more balanced this way.
Since I'm using the OEM evo9 exhaust temporarily, the chrome tip sits a bit low for now. I will be replacing the entire exhaust system in the future and align it with the bumper as needed.
Building the drivers side rear lip as recorded earlier in previous posts. Makes a big difference in wheel clearance
Light weight body filler to make it straight. Here you can see the lip align flush with the fender flair.
Ordered a Mishimoto EVO6 radiator, its well built and best money for the buck.
Looks like a newer design for the evo5/6 style. It has all the oem mounting points for the brackets and fan. It also has a auxiliary temperature sending bung welded into the upper neck for additional sensor in the future. They improved the design on the upper tank as well as upgrading the drain plug to their mishimoto black anodized logo bolt.
I was about to order a OEM 6 fan but seeing how I can modify the 9 fan to fit could be the best way. Since I'm already using the evo 9 harness, this fan will be a simple plug and play on the electrical side.
3 of the 4 tabs needed to be moved over to the outer edge so I just cut them off with a hack saw.
After aligning the tabs and a quick tack weld, I finished a full weld across the cut away from the radiator.
Looks promising and super sturdy. Since it will be a driver, I'd rather do it this way instead of the traditional aftermarket plastic tab which goes through the core. I've had a problem in the past which punctured a fin while in traffic using the aftermarket universal tabs.
OEM evo6 gsr rear wiper washer bottle.
Part #MR490075 is discontinued so I spent months looking for it then finally found one in eBay Europe.
This is similar to the evo9 rear mounted system which has 2 pumps, one for the front wipers and the other for the rear. I like it because its completely out of the way. It gives me more room for the engine oil cooler where the mirage bottle usually mounts. This way both front and rear wiper sprayers are fully functional.
Here it is mounted in the trunk.
Here's a little video, test driving up the street, a view of Pearl Harbor during a sunset. Only in Hawaii!
Evo 5 build of a 99 mirage test drive low boost:
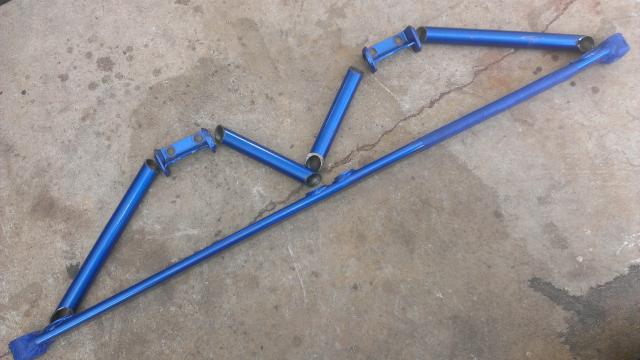
It won't fit without modifications as it was made to fit evo8/9. The width is on spot, the height is almost 3inches off.
So I cut it up so I can make it work.
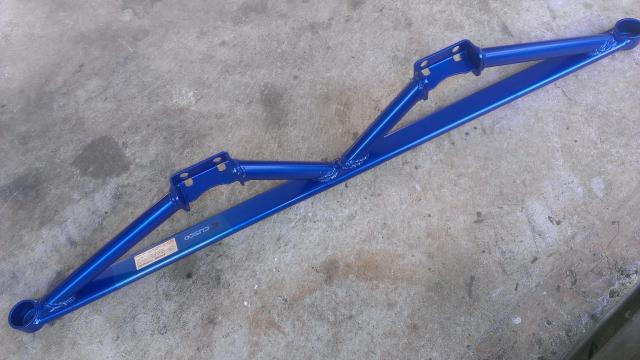
All welded up and painted Cusco blue then installed using existing bolts and holes already there from factory. Just the way Cusco products are made to work.
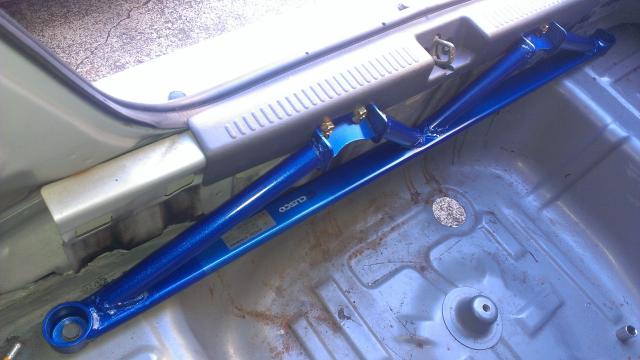
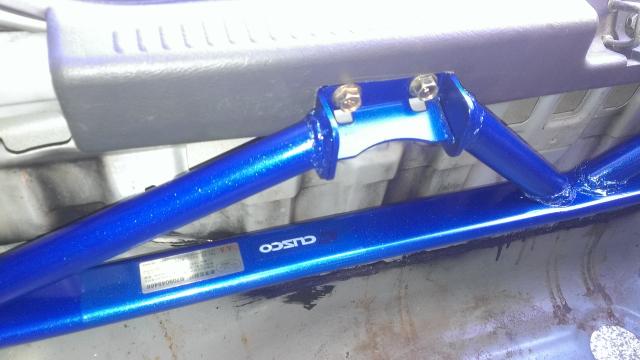
I even trimmed the plastic cover to clear the Cusco mounting points same way installed in the evo8/9.
Good fit with a custom touch still keeping it Cusco but now made for my evo5/6
MINES JDM trunk cage.
From Japan went through Europe and finally delivered to Hawaii. Wish thoes stickers made it faster being delivered.
As soon as I unpacked it, I polished the bars and painted the bracket from silver to Cusco blue.
Here it is all mocked up as a full evo trunk cage using MINES and Cusco parts.
I'm only using the bar which ties in the Cusco 3 point stru brace to the cusco rear trunk brace. The MINES strut bar and rear trunk bar will not be used. All these parts can be used in evo 5 to 9 minus the rear trunk bar which I modified to fit only evo 4 to 6.
Drivers side rear tower.
Drivers side rear tower looking in from the back seat.
Full vew from the back see looking in.
Full view looking in from outside into the trunk.
Final collection of the JDM trunk cage which should be it until I see something new!
Last edited by GraphiteMRevo; Mar 14, 2015 at 02:18 PM.
Aug 22, 2015, 02:17 PM
#39
Found this genuine Tomei titanium muffler up for sale in Canada of all places! Only way to get one is to buy a complete exhaust system. This was off a Evo 9.
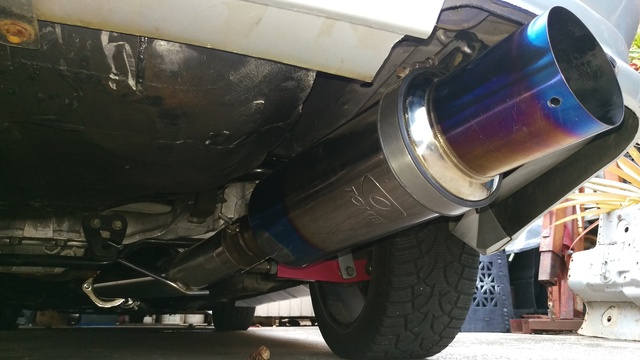
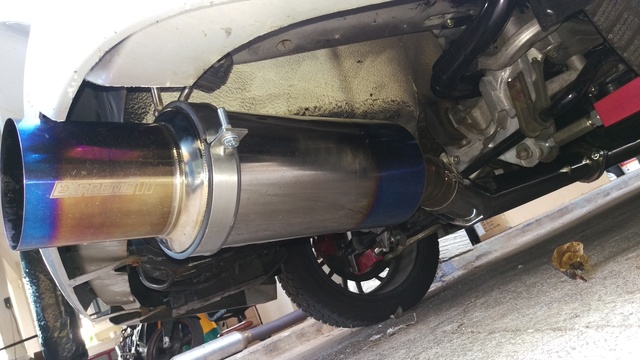
3 inch system with ETS performance cat gives it a low rumble. Matching downpipe to be installed later.
I will have a video sound clip also on another day!
3 inch system with ETS performance cat gives it a low rumble. Matching downpipe to be installed later.
I will have a video sound clip also on another day!
Aug 22, 2015, 02:37 PM
#41
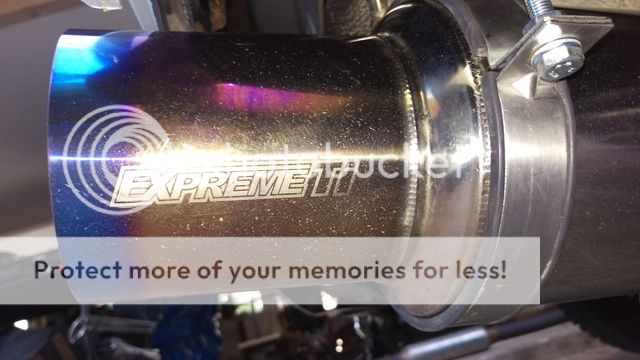
Picked up some stainless V band clamps and flanges for the exhaust to make more clearance near the gas tank and driveshaft.
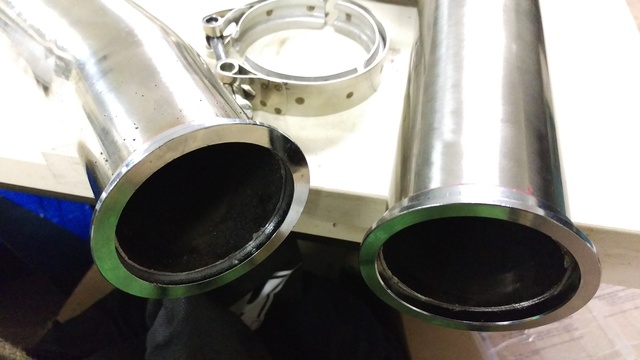
This is before I welded it up. I just need to pick up some stainless gaskets later.
I also went online and found a genuine Tomei titanium silencer from Rally Sports only made for the Tomei muffler.
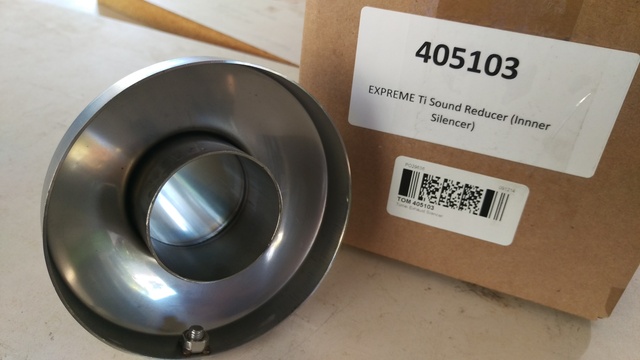
Here it is in plain titanium.
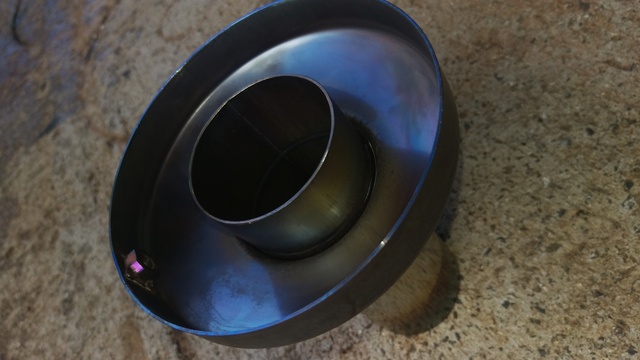
After a wash with some brake clean and heated with a torch, I finally got to the blue color to match.
Reason why I got this is there are days when I want to enjoy driving without beating my ears and I don't want to keep pissing off my neighbors!! All it takes is a alen wrench to remove to turn it up!!
This is before I welded it up. I just need to pick up some stainless gaskets later.
I also went online and found a genuine Tomei titanium silencer from Rally Sports only made for the Tomei muffler.
Here it is in plain titanium.
After a wash with some brake clean and heated with a torch, I finally got to the blue color to match.
Reason why I got this is there are days when I want to enjoy driving without beating my ears and I don't want to keep pissing off my neighbors!! All it takes is a alen wrench to remove to turn it up!!
Aug 22, 2015, 02:40 PM
#42
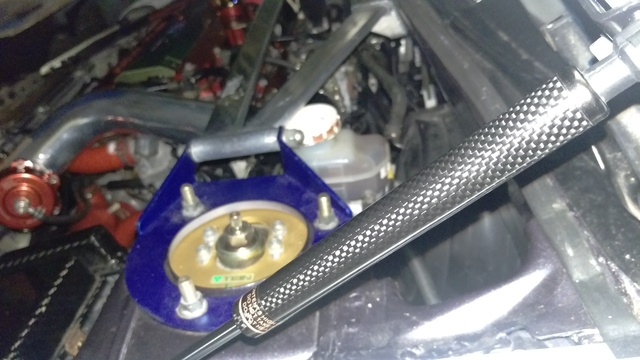
So I finally found time and a break in the weather to swap out the Tein top-mounts
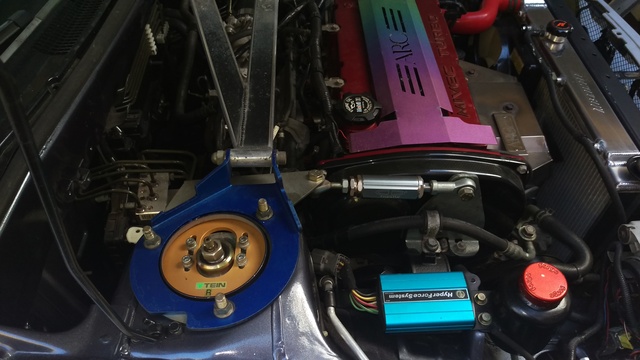
The swap wasn't as bad as I thought it would be. Three bolts a side plus the center nut, lifted up the front and out they dropped. Not bad for a 20min job using my impact wrench!
Not much but just went out for a cruise
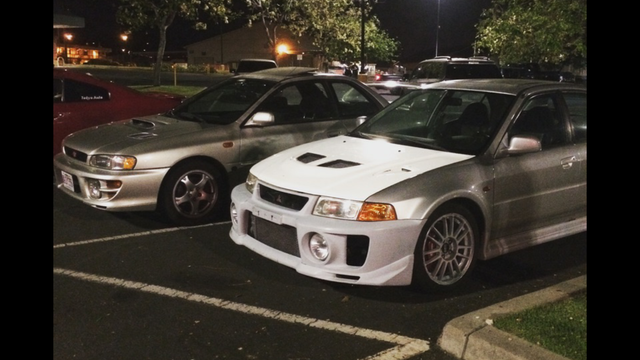
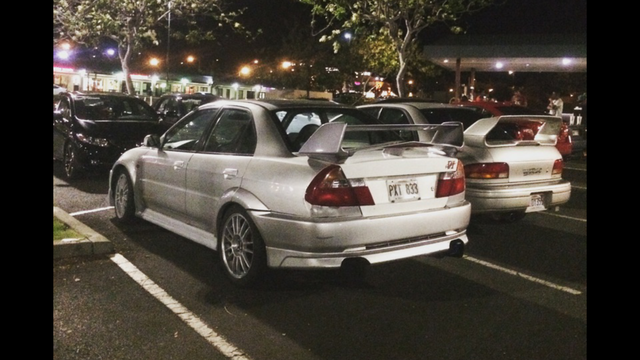
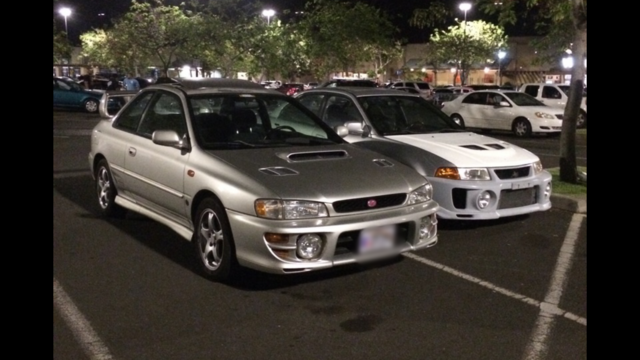
Rivals but friends!
The swap wasn't as bad as I thought it would be. Three bolts a side plus the center nut, lifted up the front and out they dropped. Not bad for a 20min job using my impact wrench!
Not much but just went out for a cruise
Rivals but friends!
Aug 22, 2015, 02:44 PM
#43
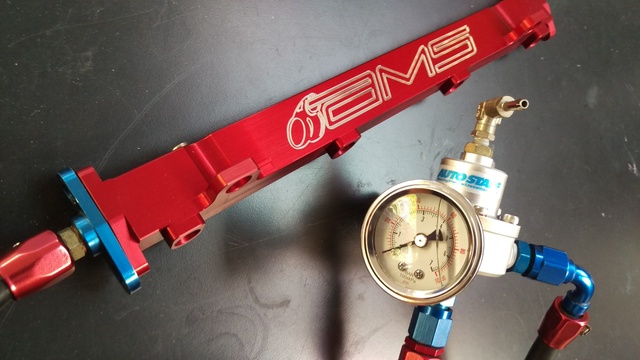
Just a little bling to add for performance gains in the future. Auto Staff fuel regulator with fittings and hoses from Japan and AMS fuel rail from the states..
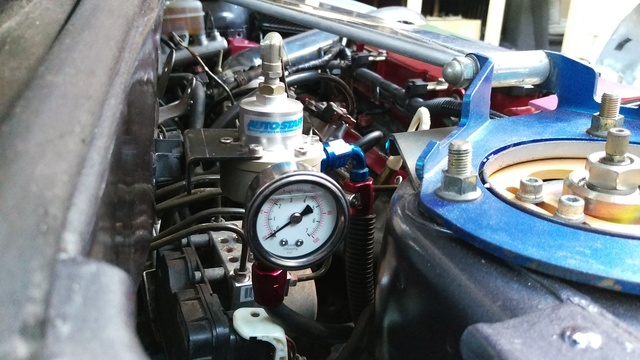
Installed fuel pressure regulator and AMS fuel rail to check working condition. Happy with the results as it seems to have better response and faster boost.
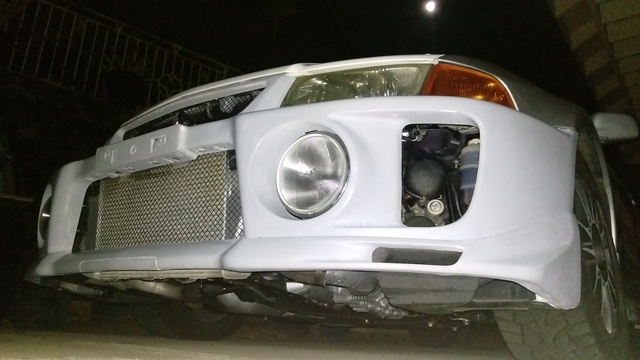
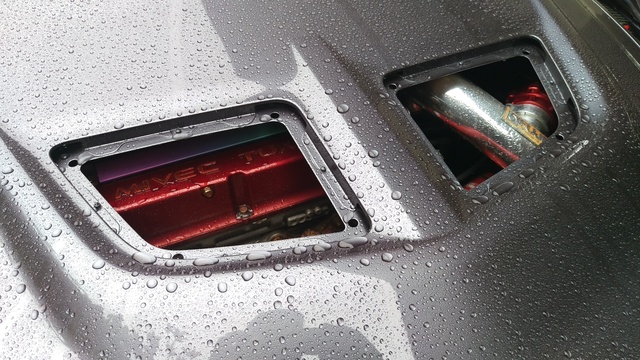
Last time with the bumper being primer..
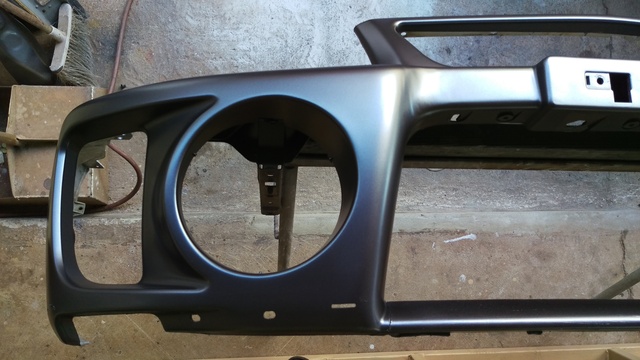
Color is from 06 evo9. After wet sanding the primer with 1000 grit, I sprayed 3 coats of base color dusting the last coat to help the flakes stand.
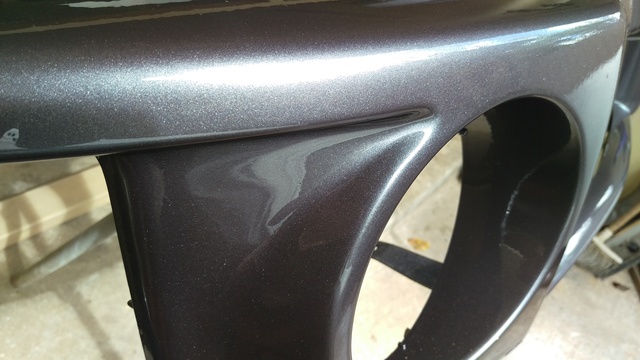
3 heavy coats of PPG clear should do it as I'm happy with the results giving it that wet look.
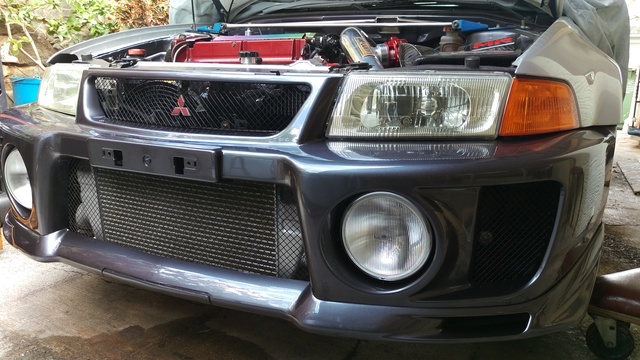
Temporarily mounted to get a idea of what it will look like. Looks like I will be going Graphite Grey :thumbsup:
Aug 22, 2015, 02:47 PM
#44
Just a little rain..
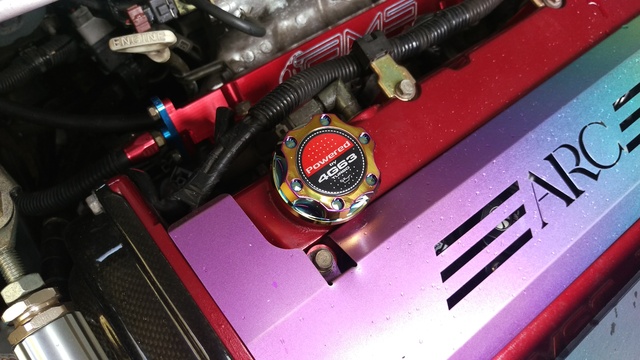
Some generic eBay oil filler cap for now until I locate another ARC one. Not bad, its a generic version of burnt titanium. I might attach the MPF titanium sprocket later..
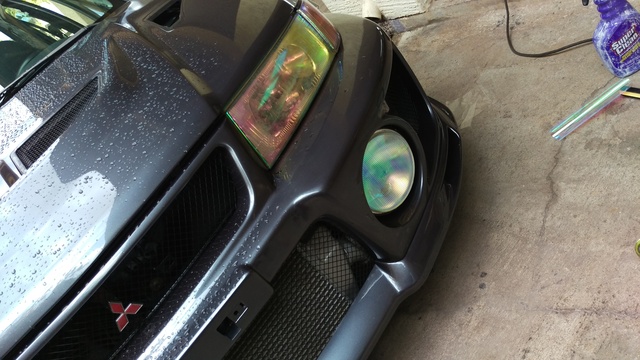
Experimenting with headlight tints applied the same as vinyl. Not something I would use on the road because it turns purple when the lights are on. Maybe find another vender or just apply for show purposes
Got some extreme rare JDM parts on the way from Japan being shipped! Stay tuned for more JDM
Some generic eBay oil filler cap for now until I locate another ARC one. Not bad, its a generic version of burnt titanium. I might attach the MPF titanium sprocket later..
Experimenting with headlight tints applied the same as vinyl. Not something I would use on the road because it turns purple when the lights are on. Maybe find another vender or just apply for show purposes
Got some extreme rare JDM parts on the way from Japan being shipped! Stay tuned for more JDM
Aug 22, 2015, 02:50 PM
#45
Just some JDM parts again
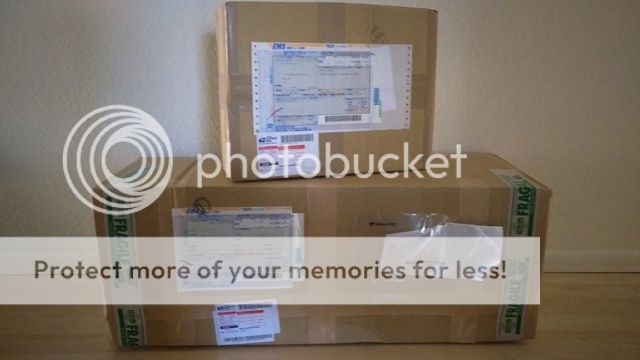
Got some OEM replacement parts from Japan. Rear washer botle bracket MR469957 to hold it in place in the trunk and body panel MR208827 for the damaged rear part under the tail light.
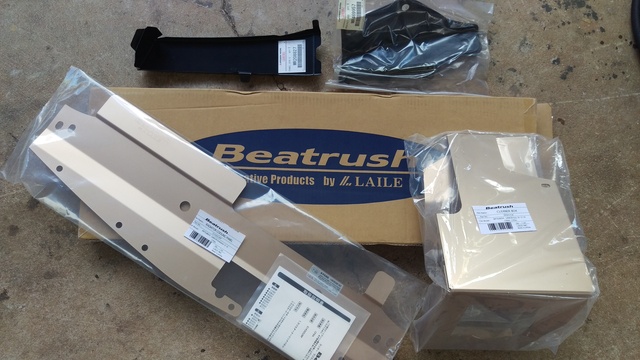
For the JDM candy parts I found a brand new set from Beatrush which is made for the evo5. Radiator cooling panel and cold air filter box made out of aluminum
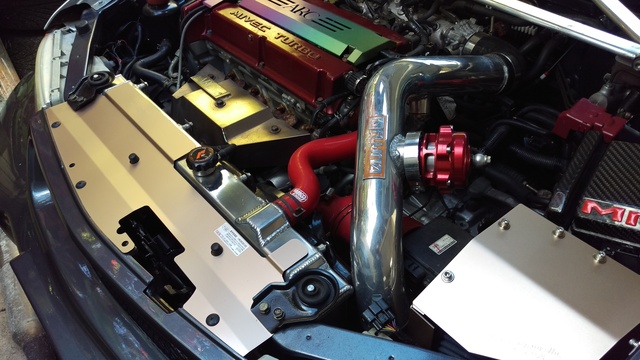
It sure cleans up the front of the radiator as well as keep the air flow straight. You can't see it from here but the air box goes into the fender and extends behind the blinker housing to grab fresh air.


The braket for the trunk mounted bottle goes under like this for extra support. It will also eliminate a clunking sound when making sharp turns.
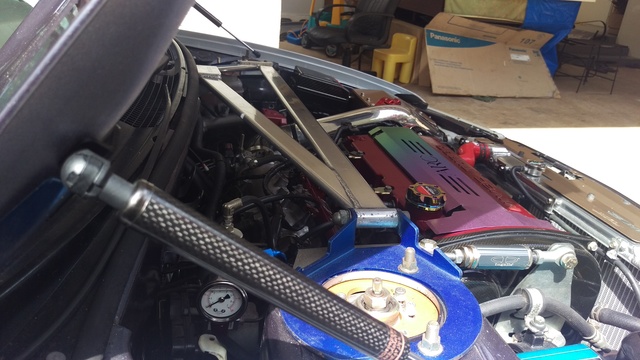
Got these carbon fiber hood struts from eBay!
They do the job and look good too!
These are evo6 spec, not a universal sets that most sell. The bolt in install was less than 10min and works great! It's a must for me since I will always be working under the hood and opening it up for show. No regrets and glad to toss the metal hood prop. Investment well worth it!
Got some OEM replacement parts from Japan. Rear washer botle bracket MR469957 to hold it in place in the trunk and body panel MR208827 for the damaged rear part under the tail light.
For the JDM candy parts I found a brand new set from Beatrush which is made for the evo5. Radiator cooling panel and cold air filter box made out of aluminum
It sure cleans up the front of the radiator as well as keep the air flow straight. You can't see it from here but the air box goes into the fender and extends behind the blinker housing to grab fresh air.
The braket for the trunk mounted bottle goes under like this for extra support. It will also eliminate a clunking sound when making sharp turns.
Got these carbon fiber hood struts from eBay!
They do the job and look good too!
These are evo6 spec, not a universal sets that most sell. The bolt in install was less than 10min and works great! It's a must for me since I will always be working under the hood and opening it up for show. No regrets and glad to toss the metal hood prop. Investment well worth it!