HDVR-200 Dash Cam Install
 Aug 29, 2014, 12:41 PM
#1
HDVR-200 Dash Cam Install
HDVR-200 Dash Camera Install
This is a dash camera that is integrated into a rear view mirror unit that attaches over top of your existing mirror. I’ve had a HDVR-150 for the last two years in my Acura and then the Evolution. The 150 is a very solid unit that is basically been a “set it and forget it” item. The 200 has an input for a second camera for rear video and a different interface when pulling files off the card. I expect it will be as reliable. I put the 150 in the wife’s GTI.
A couple of pro-tips about the camera.
-The power cable disconnects from the unit, so you can remove the camera from the vehicle but not have to pull the cable out, or you can buy another power cable and have it set up in multiple vehicles.
-The lens can be moved on the unit to aim towards the center of the vehicle.
-Once the SD card is filled, the video will start overwriting the existing files, if you have the G lock on, and bad road conditions cause files to lock, you will get a full card error and will need to format the card.
-The SD card that ships with the unit is small; it’s worth investing in a 32 or 64 GB card.
-You can turn the audio recording off.
-Once you turn your ignition off the camera continues to record for 20 or so seconds, the unit has an internal battery for this.
This is a pretty basic installation, just like hard wiring a radar detector.There is obviously a few ways you could do this; I am just going over how I did it. You could skip the add-a-circuit or socket plug adapter, this was just the way I felt would be best for my set up and ease of installation/un-installation.
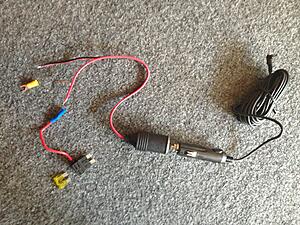
Supplies:
HDVR-200 Camera Kit (I purchased mine from KiWAV on Amazon)
Large fuseAdd-A-CircuitKit
Female Car Cigar Cigarette Lighter Socket Plug Connector Adapter
Motorola Right Angle Charger Adapter Mini-USB - SKN6182
Ring Terminal for ground on lighter socket plug
Wire Butt Splice Connector (to attach the socket plug to the add-a-circuit)
32-64GB SD Card (optional)
Electrical Tape
10 or 20 amp large(maxi) auto fuse http://en.wikipedia.org/wiki/Fuse_(automotive)
Some kind of wire sleeve and heat shrink (optional)

Tools Needed
-something to help tuck the wires into the head liner (plastic door panel removal tools work nicely).
-10mm socket with extension
-Wire crimper or vice grips
Install
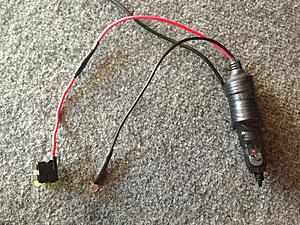
Crimp the Ring terminal on the black wire on the socket plug adapter.
Crimp the butt splice on the red wire of the socket plug adapter.
Crimp the other end of the butt splice on the red wire of the add-a-circuit kit.
Wrap crimps and connections with electrical tape.
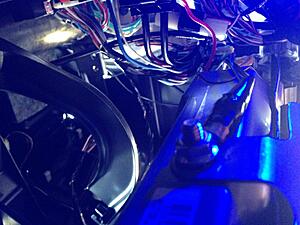
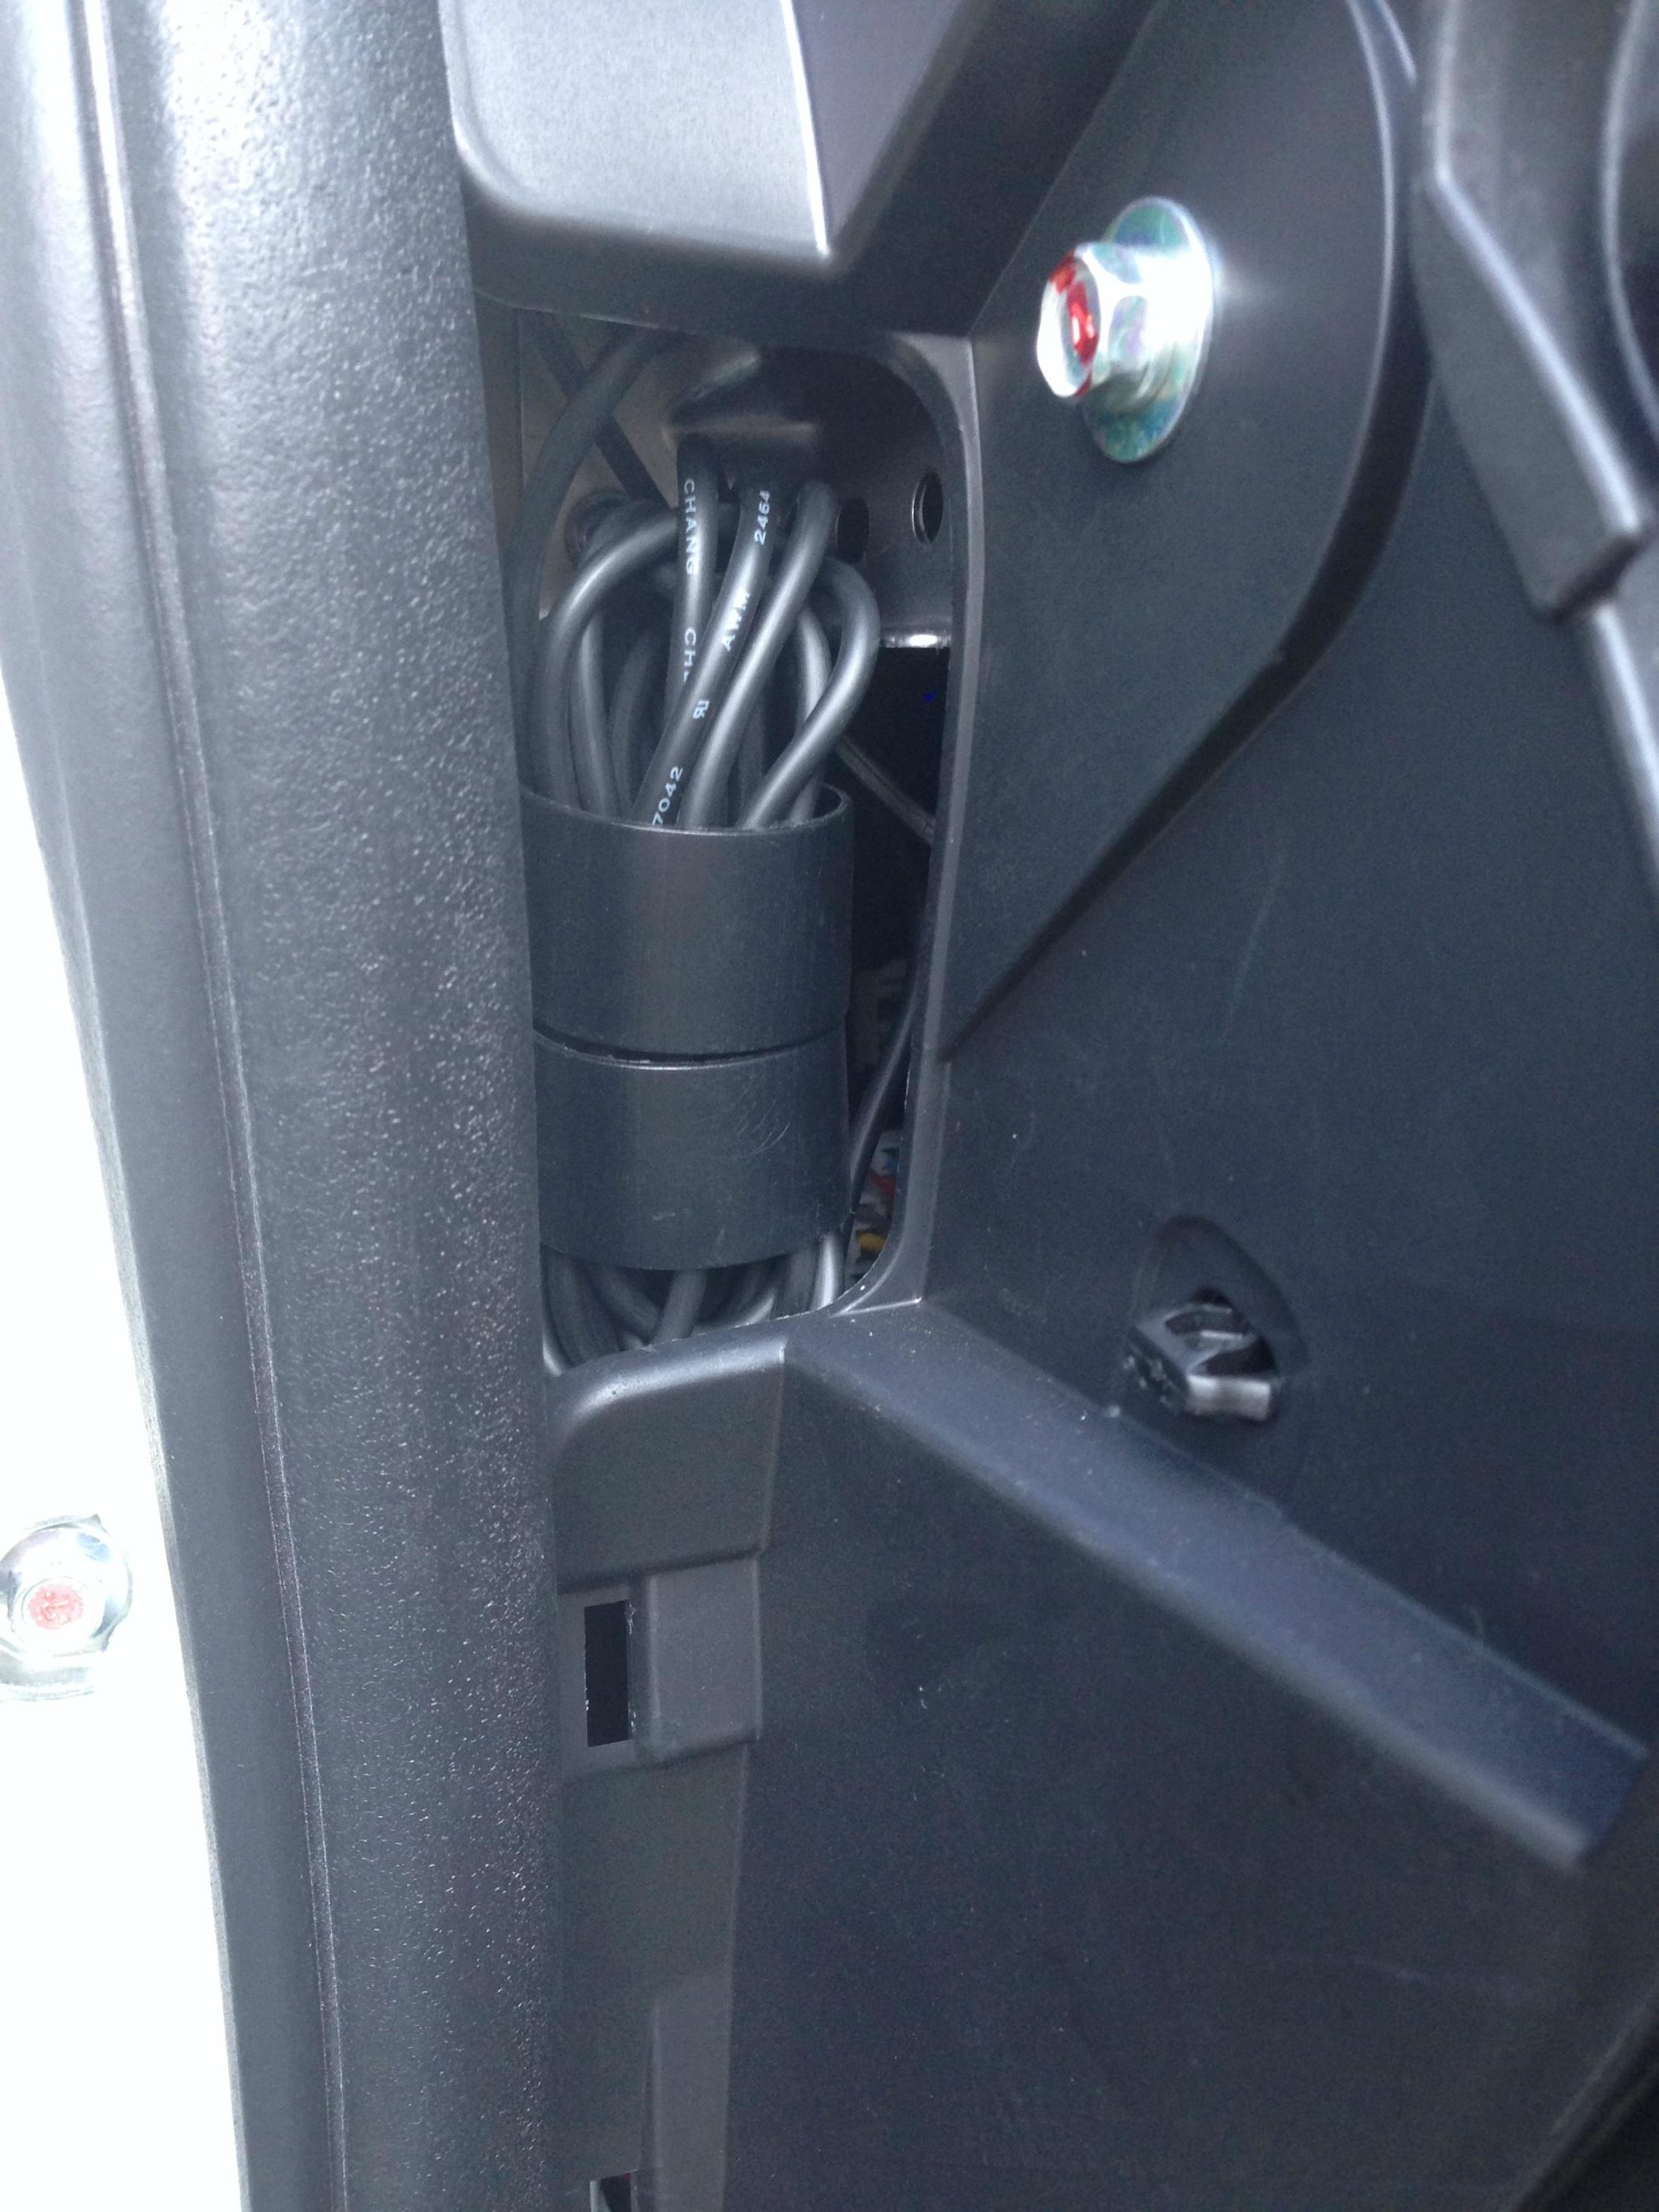
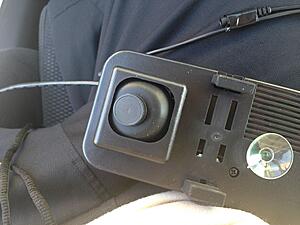
Attached the ring terminal on a good ground location under the dash. You can kind of see where I grounded mine in the below photo.
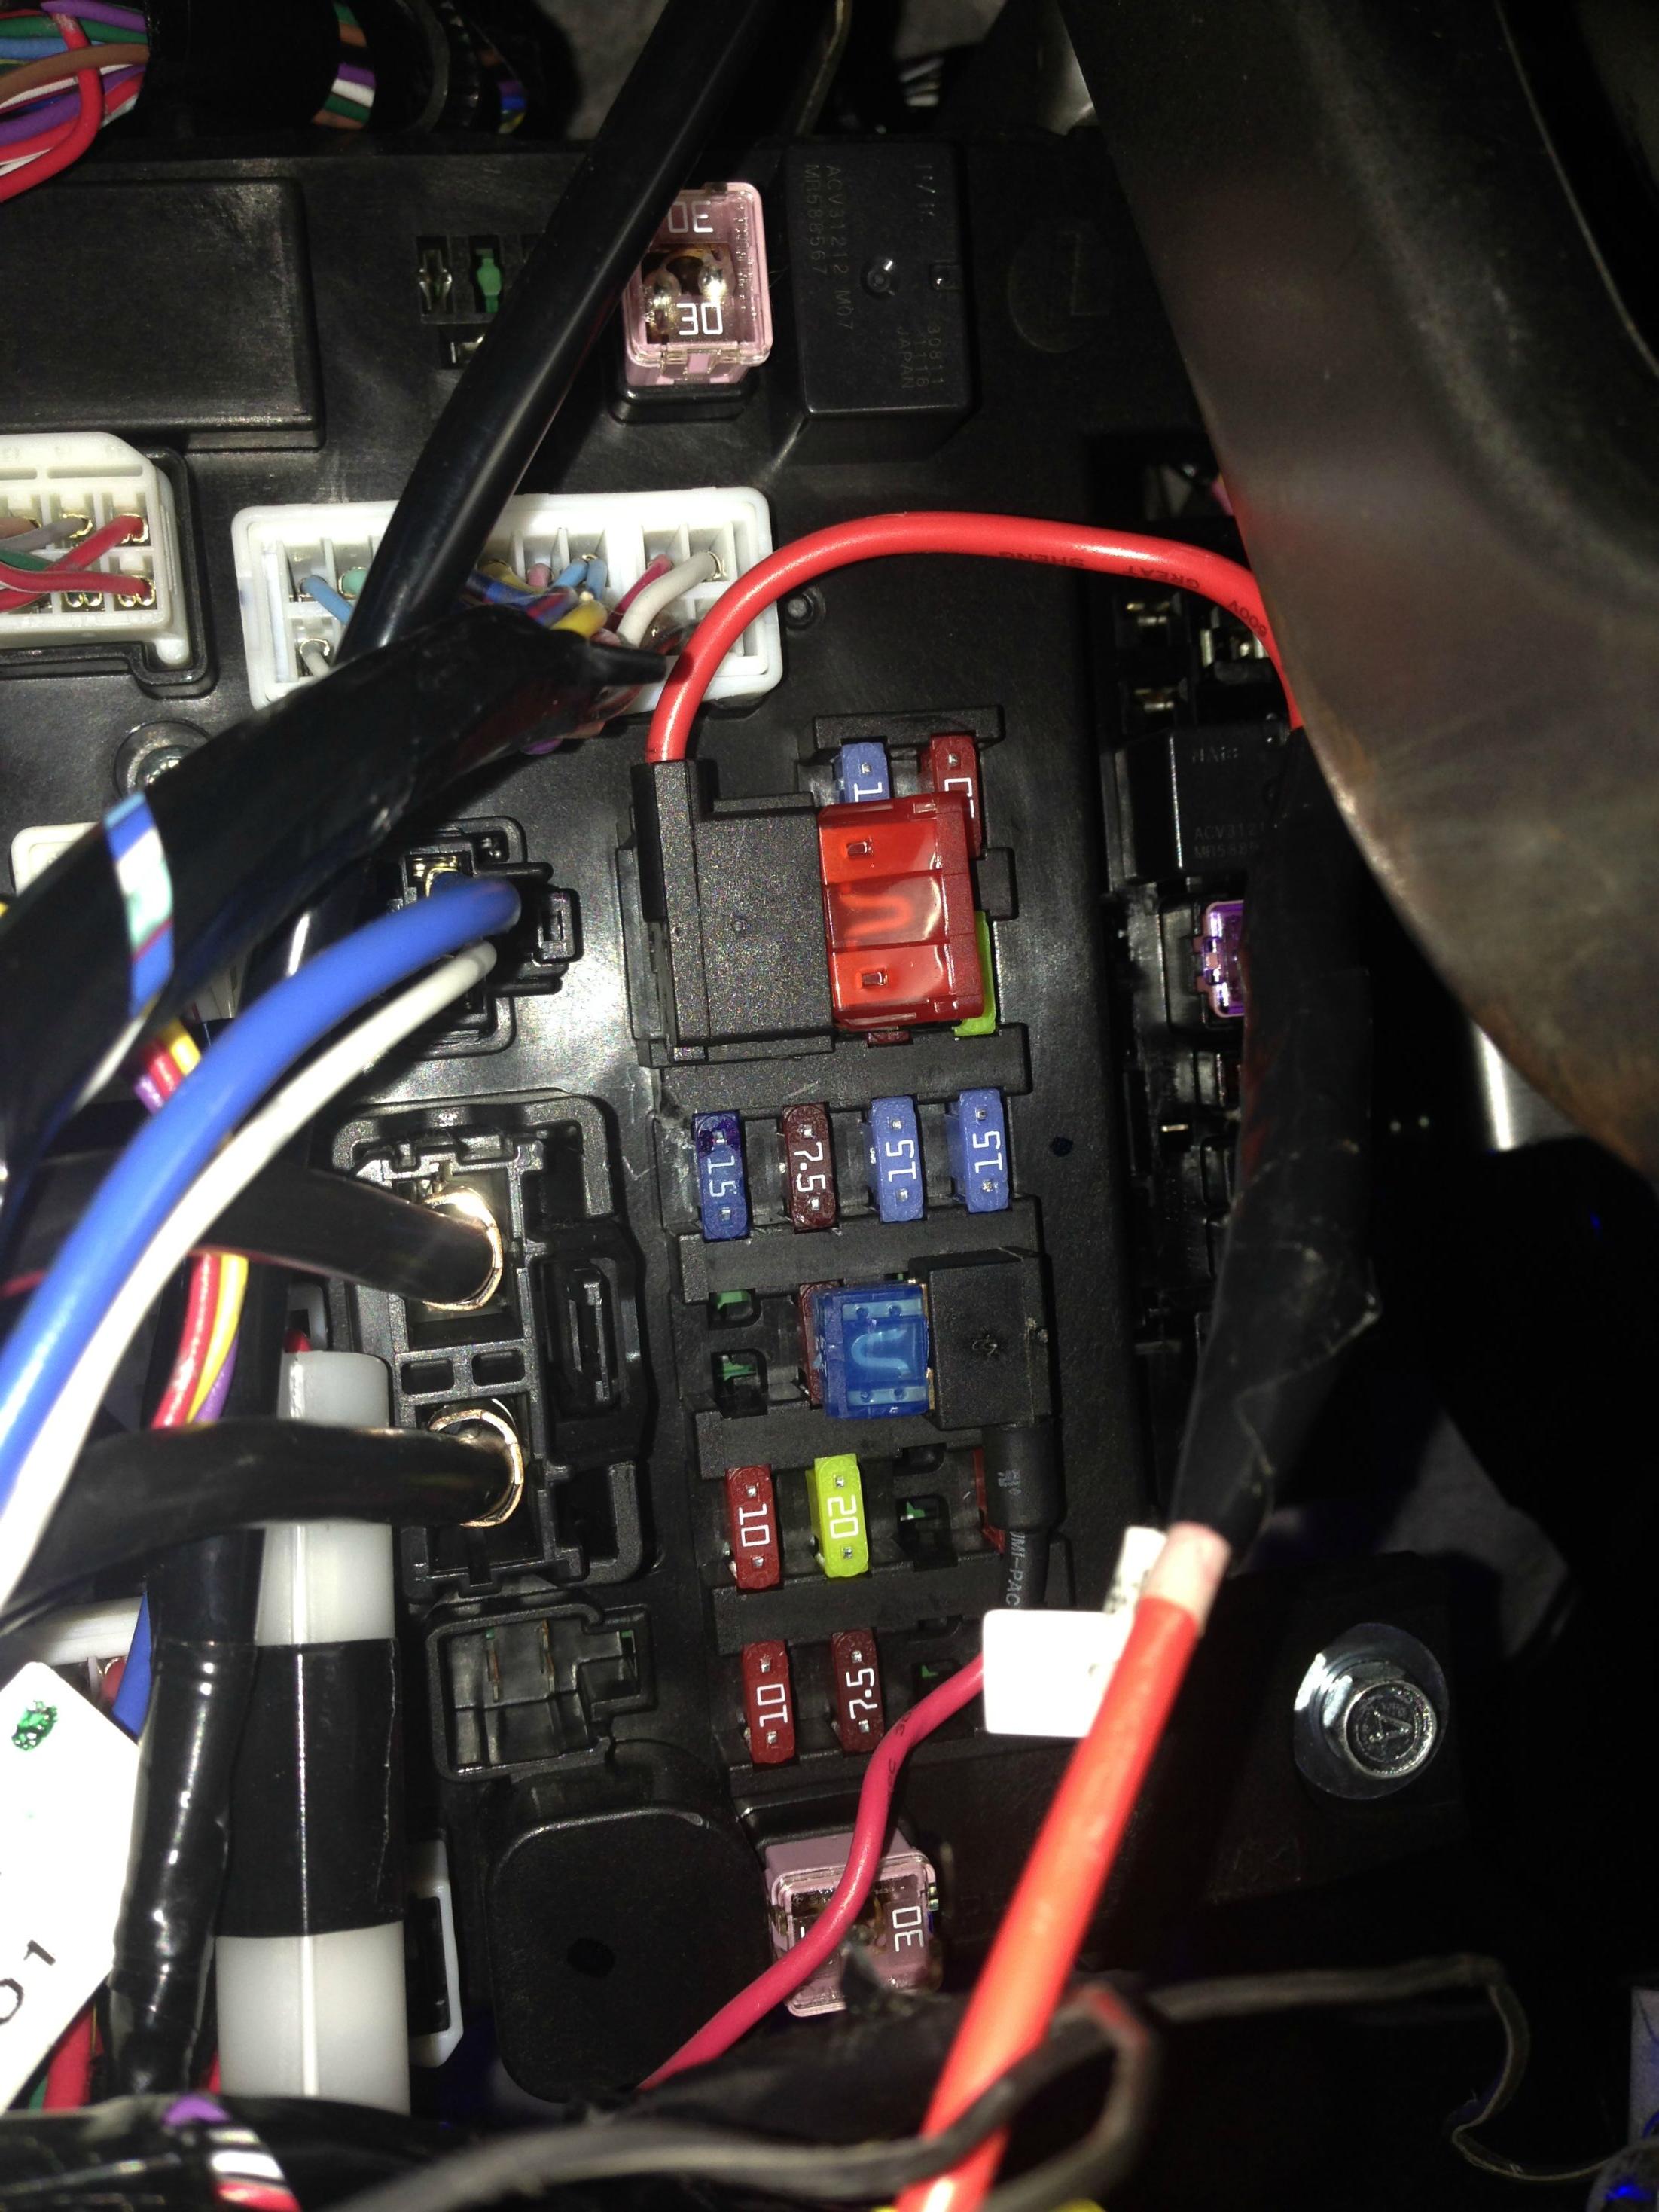
Insert the add-a-circuit in the XXX number fuse. I used the windshield wiper fuse (the cigarette lighter fuse was being used for radar detector).
Plug the power cord into the socket plug, run all the excess cord out the side of the dash, once you get your length dialed in bundle the extra.
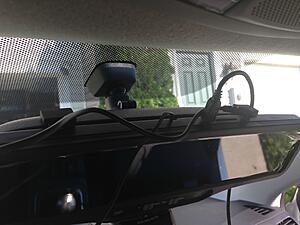
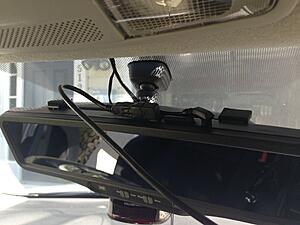
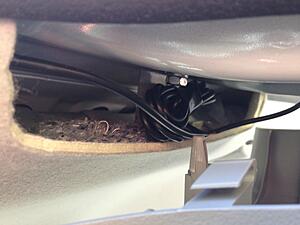
Loosely run the cable up to the mirror and plug it in, then get your length dialed in so you can bundle the excess lower by the dash like in the photo. Run the cable up behind A pillar. I attached the cable to the existing wire harness there with some twist ties. I would recommend following the existing harness and staying either behind or away from the air bag. Then run the cable along the front of the head liner.
Now you’ll take the MINI B USB plug and plug it into the Right Angle Charger Adapter. The reason I went this route is because the cameras USB connector sticks up high, and if you want to put a wire cover on it hits the head liner.(ignore the smaller wire, that’s for my radar)


Route this USB cable to the passenger side (You can do driver side, but that side of my head liner already had the power cord for the mirror and radar detector tucked). I had to trim down the Y splice on the cable so it would fit into the head liner. I didn’t take any photos but you can cut away the excess plastic with some side cutters and it will fit. The black extension wire plugs into the SHORT plug of the Y plug (the long plug will give you just a blue screen).
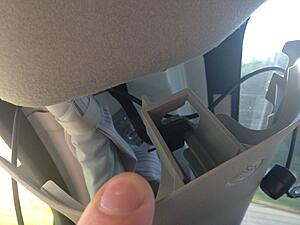
Next you’ll pop out the bolt cover on your B panel and undo the bolt with a 10mm socket and pull it away from the headliner.
Continue to loosely run the cable to the back of the car. I left all my slack in the B pillar for this length of cable.
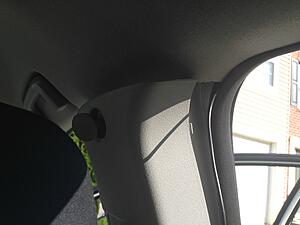
Careful with the C pillar because that has more airbag material, so you’ll want to run the cable behind the airbag and out of its way.
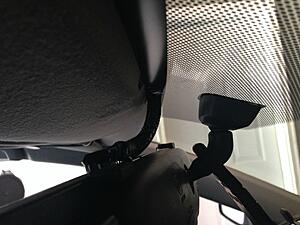
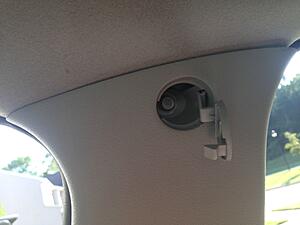
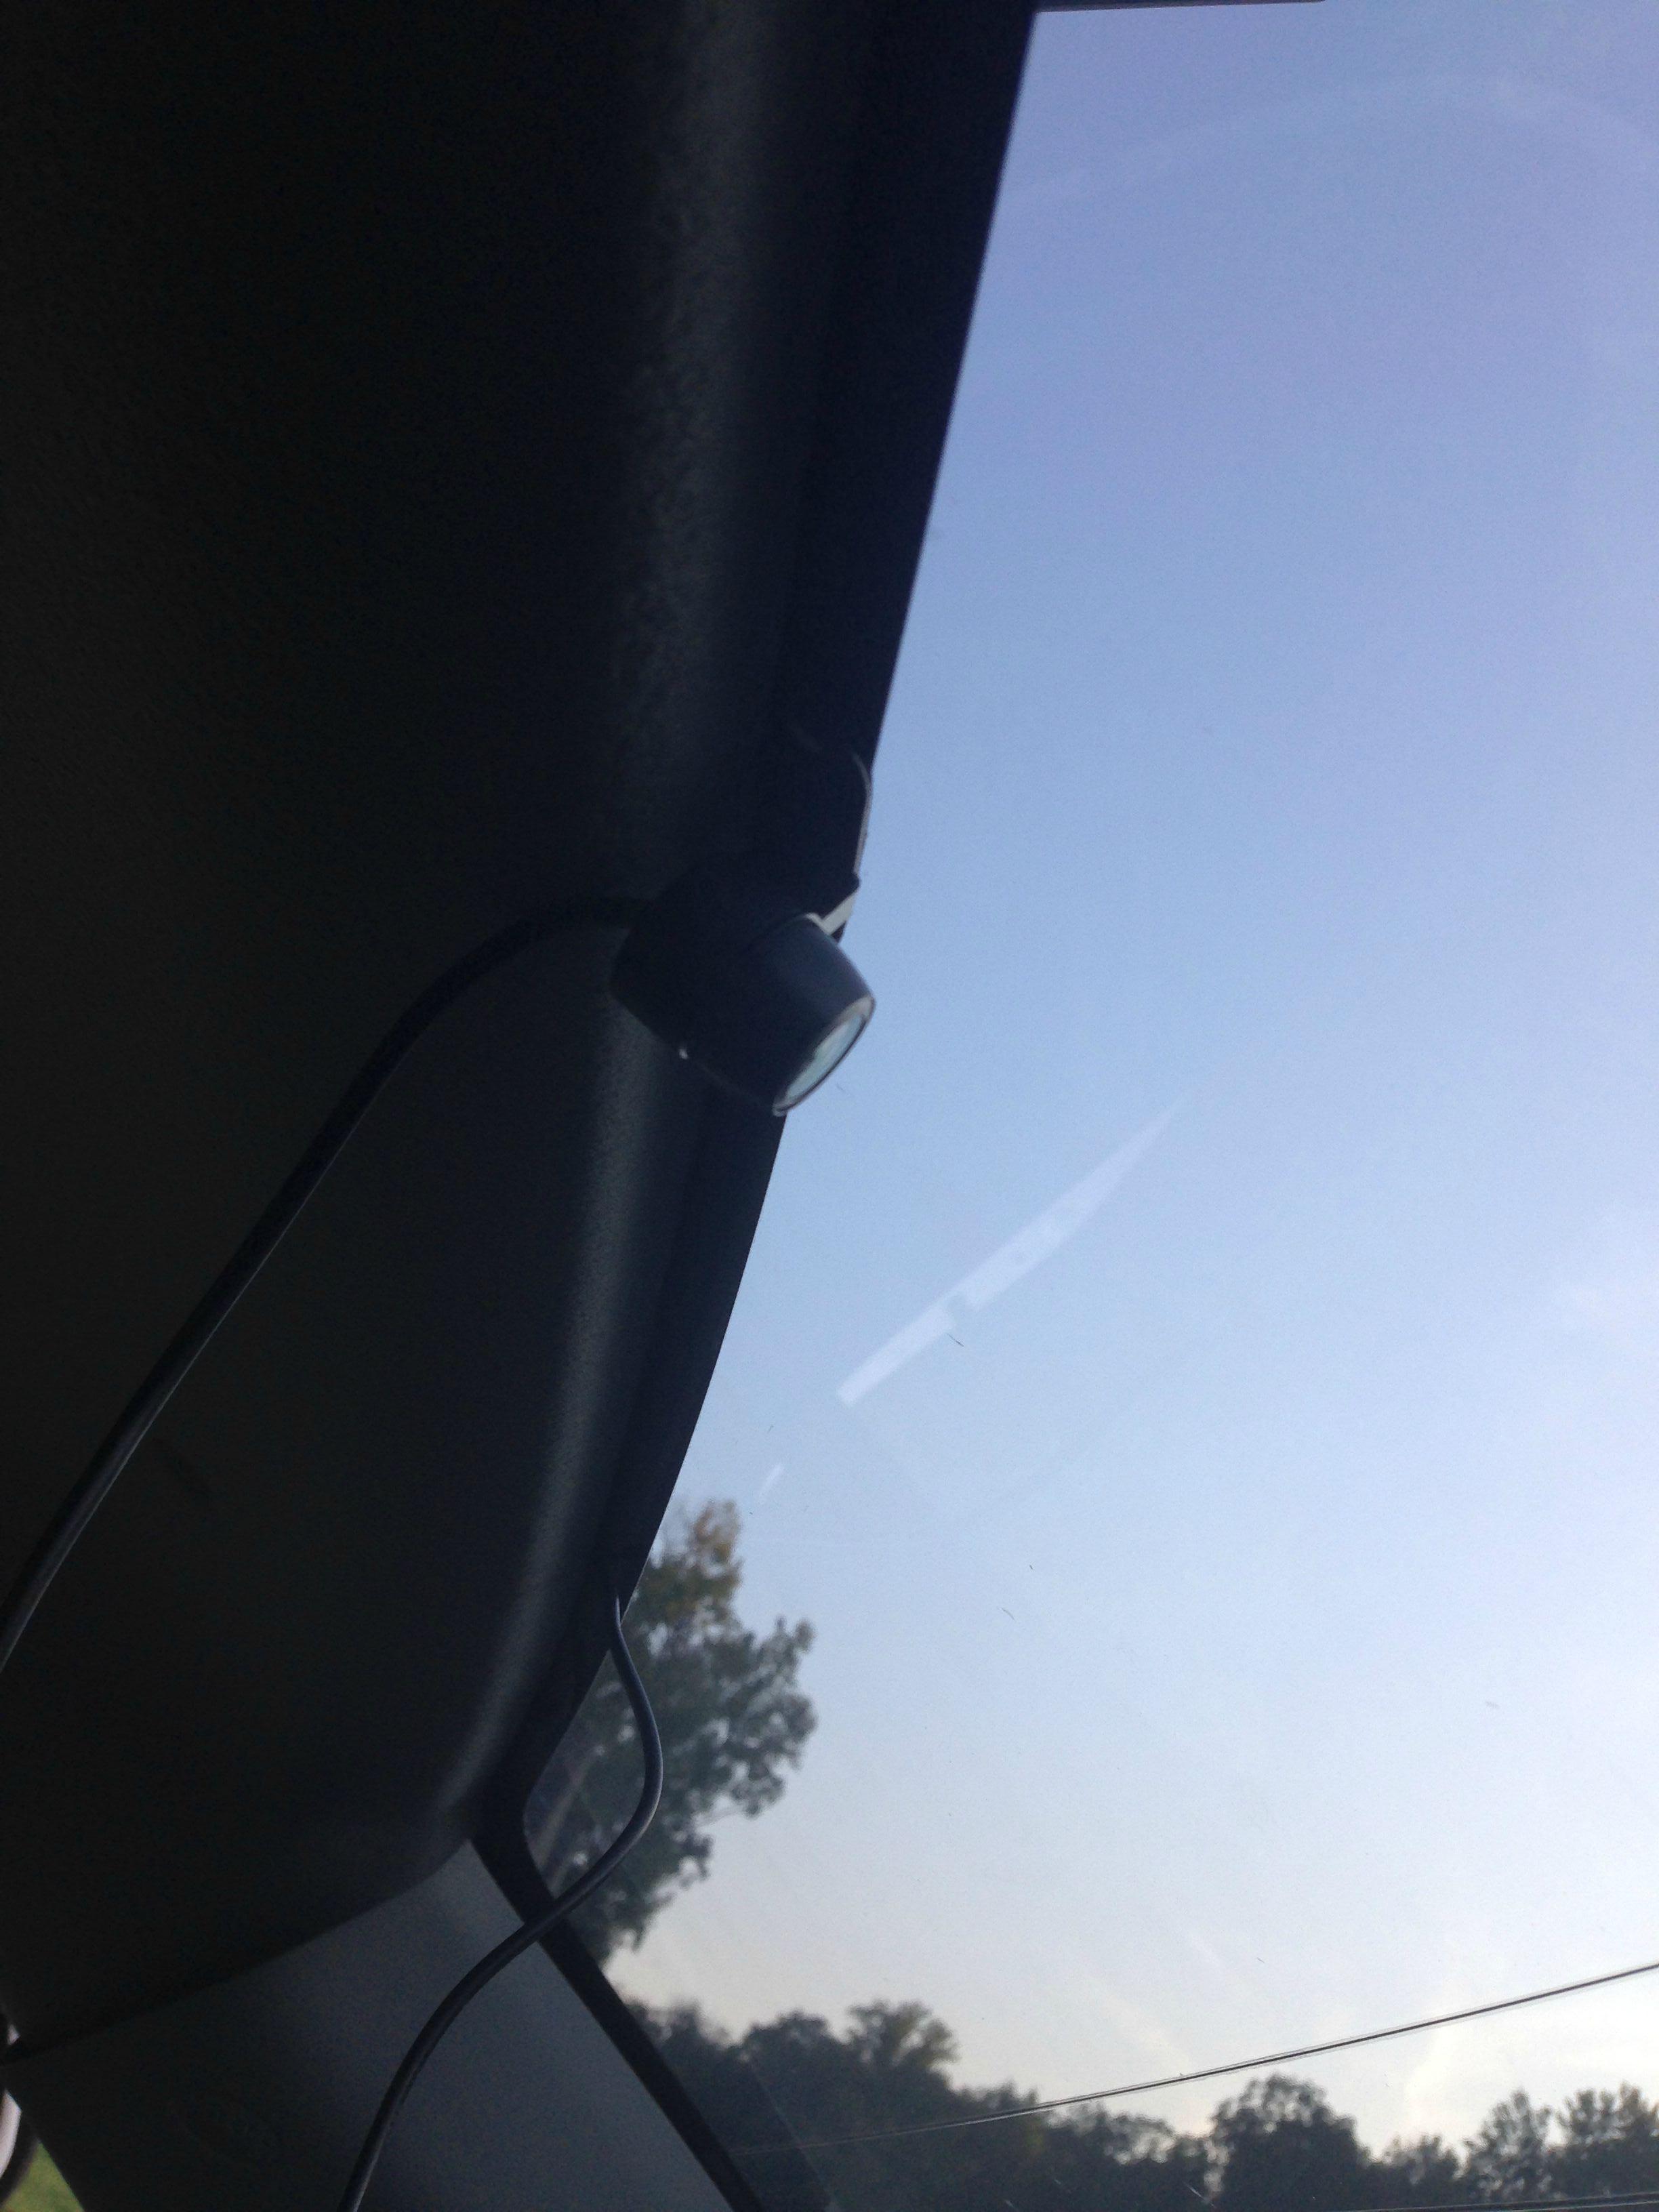
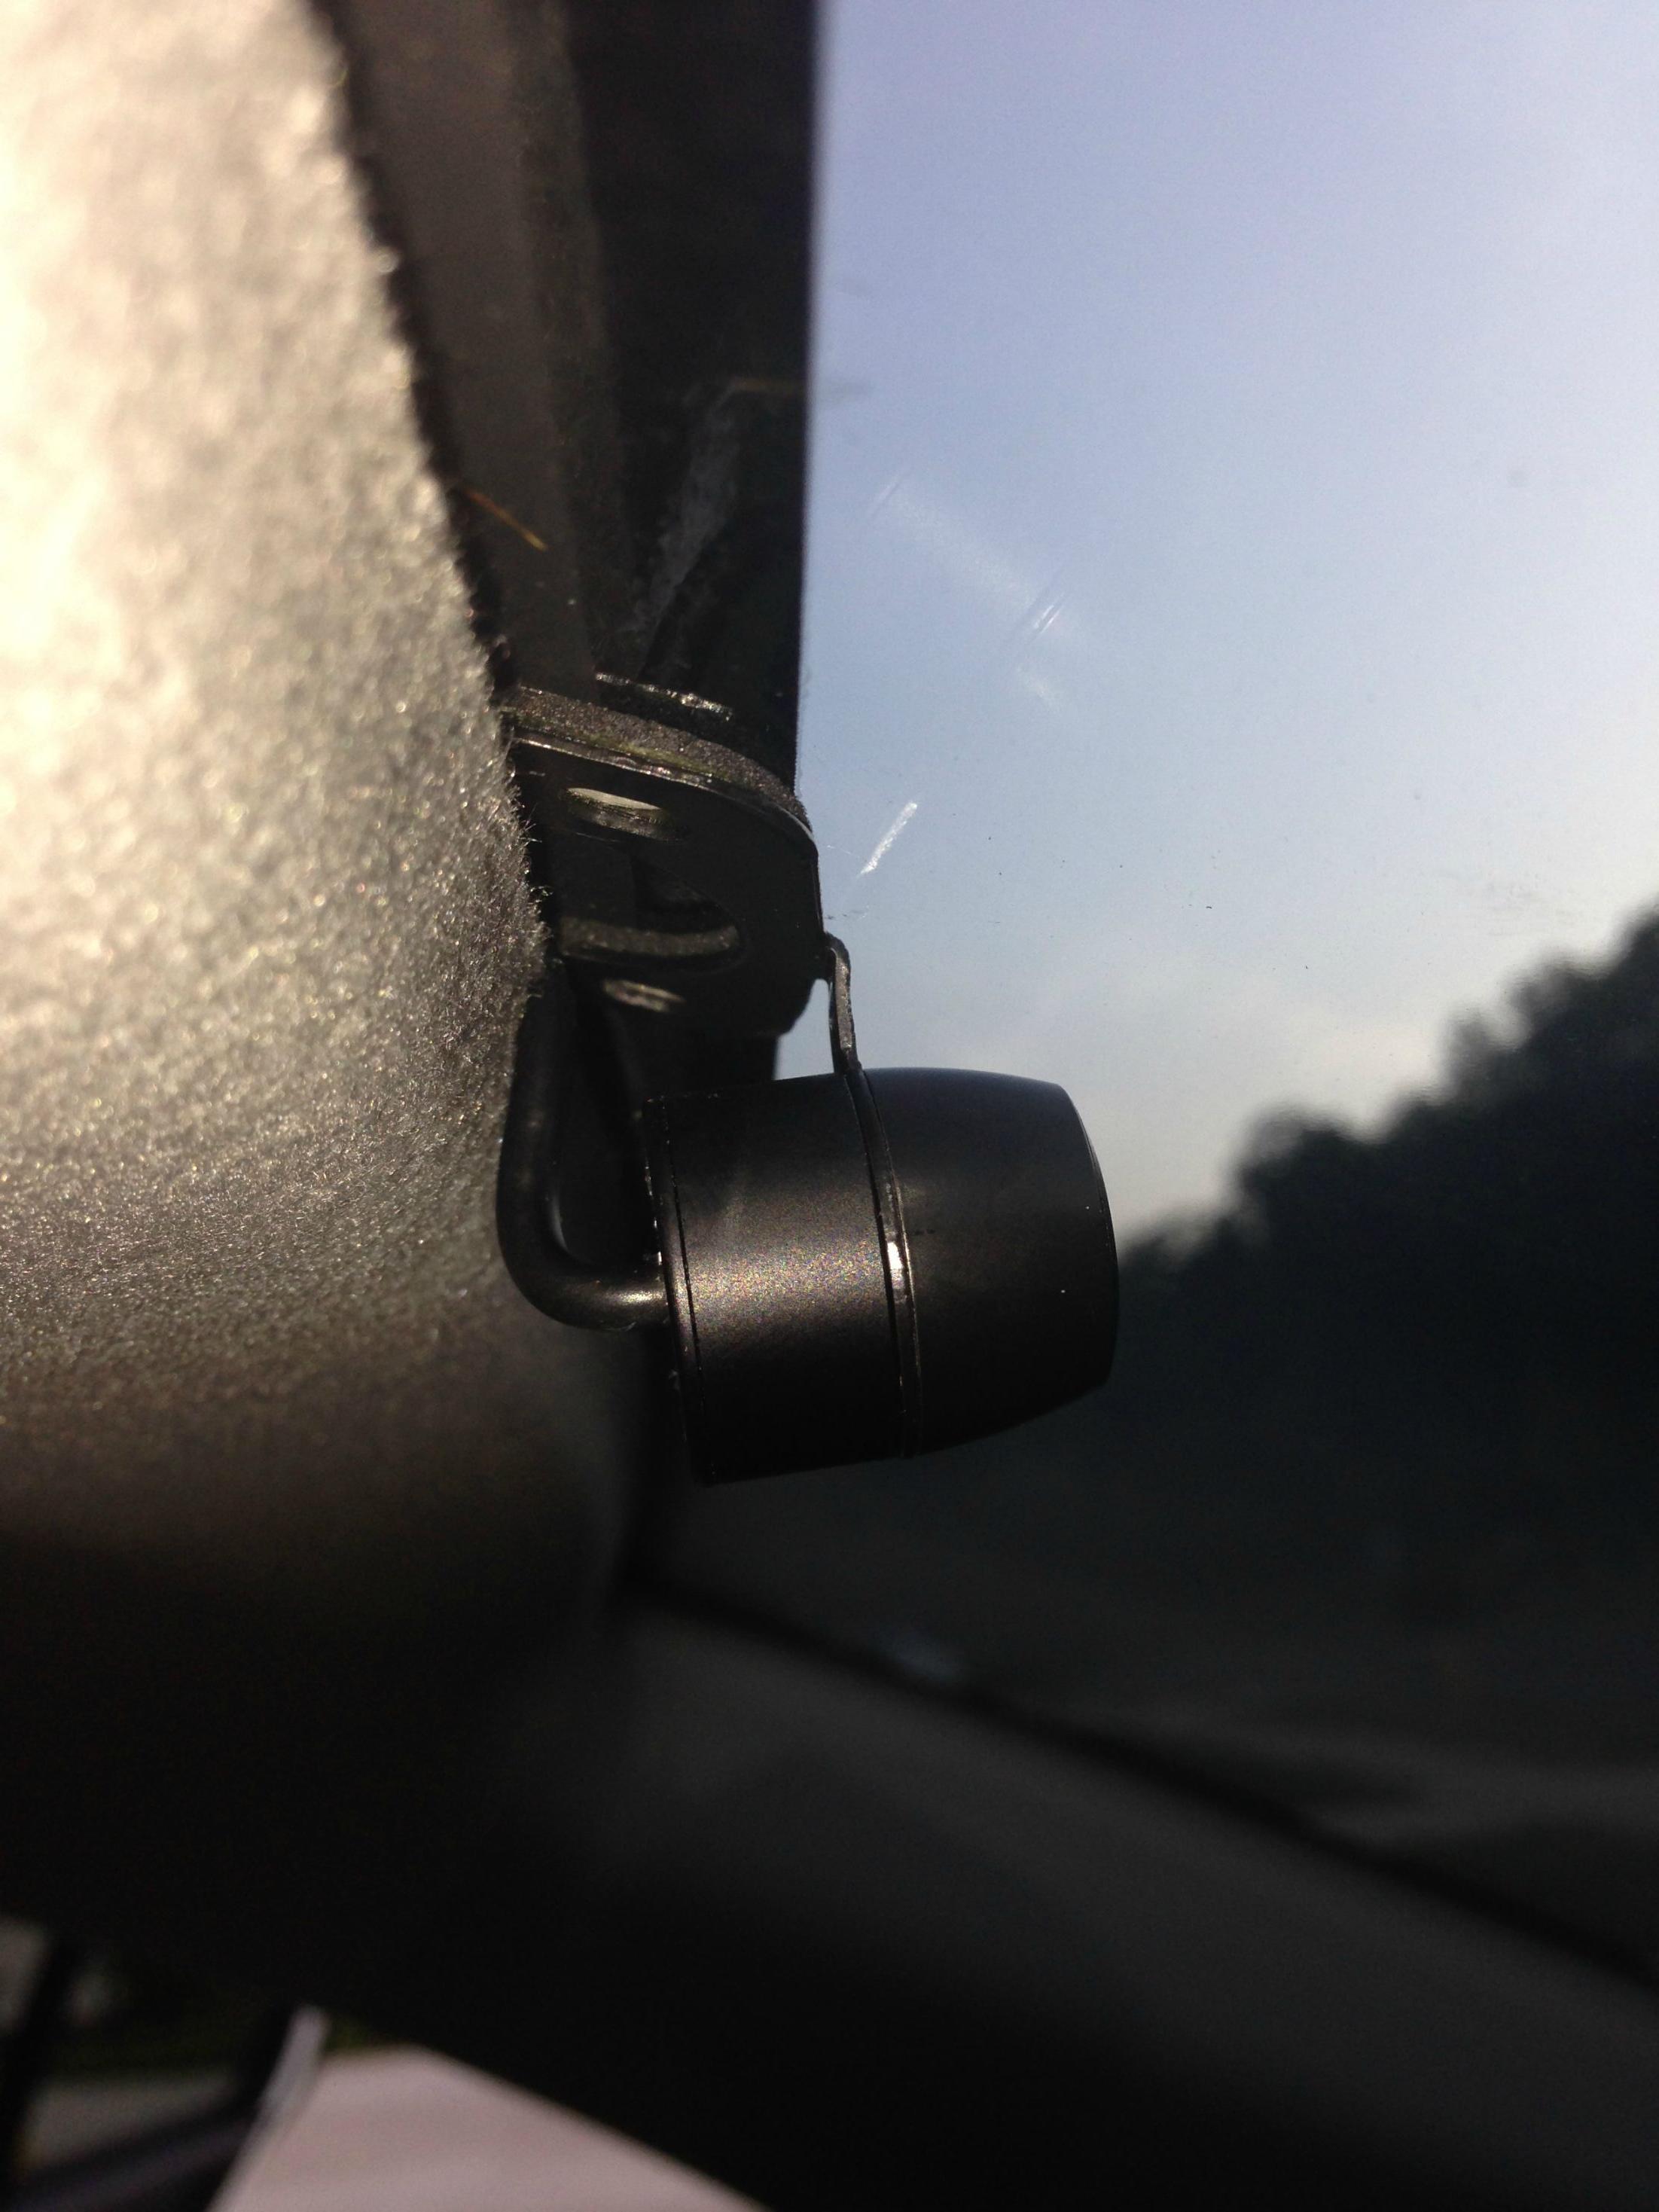
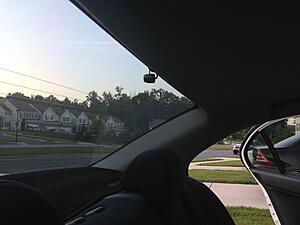
This is a good time to use the sticky material and attach it to the bracket for the camera. You’ll probably have to unscrew the front of the camera and re-position the bracket. Then stick the camera dead center and at the top of the roofline as pictured.
Once you have the camera in place you can dial in the length of wire you need and leave the excess at the B pillar. Tuck everything tight, put your panels back in place, insure all the weather seal are on the outside, wrap up the excess and stick it in the top part (you’ll see a nice spot to tuck the bundle) then bolt the B pillar back in place.
Then bend the bracket for the rear cable up a bit so the camera points out straight. Turn on your ignition, let the camera format the SD card, aim your cameras, set your preferences as you like (timing the LCD out for one, I keep mine on for 30 seconds), and take it for a drive.After the drive and when the camera is powered down completely, pop the SD card out put it in your computer, double click the .exe file, and play with the video program.When you open it in the program you can use it to export the raw AVI files,it will make a separate file for the front cam and the rear cam.
Dont forget the lens cap!
Here is a screen capture of the program. When you save the videos from the program it will create two separate .avi files, so you won't get to watch them in sync. The larger exported files are higher quality. I'm having some quality issues with the rear cam that I contacted customer support about, the tint also doesn't help. Note - I sped the video up at a few points.
Response from customer service about the rear camera quality issue --- 2nd camera is 640 x 480, it's not the same performance as the built in one. The main reason is the long cable, it's analog cable, only takes analog signals.
( starts about 0:53 )
This is a dash camera that is integrated into a rear view mirror unit that attaches over top of your existing mirror. I’ve had a HDVR-150 for the last two years in my Acura and then the Evolution. The 150 is a very solid unit that is basically been a “set it and forget it” item. The 200 has an input for a second camera for rear video and a different interface when pulling files off the card. I expect it will be as reliable. I put the 150 in the wife’s GTI.
A couple of pro-tips about the camera.
-The power cable disconnects from the unit, so you can remove the camera from the vehicle but not have to pull the cable out, or you can buy another power cable and have it set up in multiple vehicles.
-The lens can be moved on the unit to aim towards the center of the vehicle.
-Once the SD card is filled, the video will start overwriting the existing files, if you have the G lock on, and bad road conditions cause files to lock, you will get a full card error and will need to format the card.
-The SD card that ships with the unit is small; it’s worth investing in a 32 or 64 GB card.
-You can turn the audio recording off.
-Once you turn your ignition off the camera continues to record for 20 or so seconds, the unit has an internal battery for this.
This is a pretty basic installation, just like hard wiring a radar detector.There is obviously a few ways you could do this; I am just going over how I did it. You could skip the add-a-circuit or socket plug adapter, this was just the way I felt would be best for my set up and ease of installation/un-installation.
Supplies:
HDVR-200 Camera Kit (I purchased mine from KiWAV on Amazon)
Large fuseAdd-A-CircuitKit
Female Car Cigar Cigarette Lighter Socket Plug Connector Adapter
Motorola Right Angle Charger Adapter Mini-USB - SKN6182
Ring Terminal for ground on lighter socket plug
Wire Butt Splice Connector (to attach the socket plug to the add-a-circuit)
32-64GB SD Card (optional)
Electrical Tape
10 or 20 amp large(maxi) auto fuse http://en.wikipedia.org/wiki/Fuse_(automotive)
Some kind of wire sleeve and heat shrink (optional)

Tools Needed
-something to help tuck the wires into the head liner (plastic door panel removal tools work nicely).
-10mm socket with extension
-Wire crimper or vice grips
Install
Crimp the Ring terminal on the black wire on the socket plug adapter.
Crimp the butt splice on the red wire of the socket plug adapter.
Crimp the other end of the butt splice on the red wire of the add-a-circuit kit.
Wrap crimps and connections with electrical tape.


Attached the ring terminal on a good ground location under the dash. You can kind of see where I grounded mine in the below photo.

Insert the add-a-circuit in the XXX number fuse. I used the windshield wiper fuse (the cigarette lighter fuse was being used for radar detector).
Plug the power cord into the socket plug, run all the excess cord out the side of the dash, once you get your length dialed in bundle the extra.
Loosely run the cable up to the mirror and plug it in, then get your length dialed in so you can bundle the excess lower by the dash like in the photo. Run the cable up behind A pillar. I attached the cable to the existing wire harness there with some twist ties. I would recommend following the existing harness and staying either behind or away from the air bag. Then run the cable along the front of the head liner.
Now you’ll take the MINI B USB plug and plug it into the Right Angle Charger Adapter. The reason I went this route is because the cameras USB connector sticks up high, and if you want to put a wire cover on it hits the head liner.(ignore the smaller wire, that’s for my radar)


Route this USB cable to the passenger side (You can do driver side, but that side of my head liner already had the power cord for the mirror and radar detector tucked). I had to trim down the Y splice on the cable so it would fit into the head liner. I didn’t take any photos but you can cut away the excess plastic with some side cutters and it will fit. The black extension wire plugs into the SHORT plug of the Y plug (the long plug will give you just a blue screen).
Next you’ll pop out the bolt cover on your B panel and undo the bolt with a 10mm socket and pull it away from the headliner.


Continue to loosely run the cable to the back of the car. I left all my slack in the B pillar for this length of cable.

Careful with the C pillar because that has more airbag material, so you’ll want to run the cable behind the airbag and out of its way.

This is a good time to use the sticky material and attach it to the bracket for the camera. You’ll probably have to unscrew the front of the camera and re-position the bracket. Then stick the camera dead center and at the top of the roofline as pictured.

Once you have the camera in place you can dial in the length of wire you need and leave the excess at the B pillar. Tuck everything tight, put your panels back in place, insure all the weather seal are on the outside, wrap up the excess and stick it in the top part (you’ll see a nice spot to tuck the bundle) then bolt the B pillar back in place.
Then bend the bracket for the rear cable up a bit so the camera points out straight. Turn on your ignition, let the camera format the SD card, aim your cameras, set your preferences as you like (timing the LCD out for one, I keep mine on for 30 seconds), and take it for a drive.After the drive and when the camera is powered down completely, pop the SD card out put it in your computer, double click the .exe file, and play with the video program.When you open it in the program you can use it to export the raw AVI files,it will make a separate file for the front cam and the rear cam.
Dont forget the lens cap!

Here is a screen capture of the program. When you save the videos from the program it will create two separate .avi files, so you won't get to watch them in sync. The larger exported files are higher quality. I'm having some quality issues with the rear cam that I contacted customer support about, the tint also doesn't help. Note - I sped the video up at a few points.
Response from customer service about the rear camera quality issue --- 2nd camera is 640 x 480, it's not the same performance as the built in one. The main reason is the long cable, it's analog cable, only takes analog signals.
Last edited by Psybin; Sep 2, 2014 at 09:34 AM.


Thread
Thread Starter
Forum
Replies
Last Post
Psybin
Evo X Electrical / Audio / Security
8
Jul 8, 2014 08:32 PM
JDavenport
Vendor Service / Parts / Tuning Review
15
Nov 25, 2013 07:03 PM