How-to- Change outer tie rod for 02-03 Lancer OZ Rally
 Feb 2, 2011, 05:23 PM
#1
Newbie
Thread Starter
Join Date: Jan 2007
Location: Houston
Posts: 51
Likes: 0
Received 0 Likes
on
0 Posts
How-to- Change outer tie rod for 02-03 Lancer OZ Rally
This is a How-To-Change your outer tie rod for 02-03 Lancer OZ-Rally. Other models maybe similar.
While I was doing my brakes I discovered my passenger side tie rod was busted.
Parts List:
Outer Tie rod
Tie Rod Remover (Optional)
Rubber Mallet
Liquid wrench
Wrench
17mm Socket Wrench
14mm Wrench
Vise grip or 12mm wrench
Ruler or Measuring tape
Grease (Optional)
Jack
Floor jack stand
Safety eyeglasses
Mechanic gloves
Safety---Wear proper safety gear before doing any mechanical work. Don�t lose an eye!
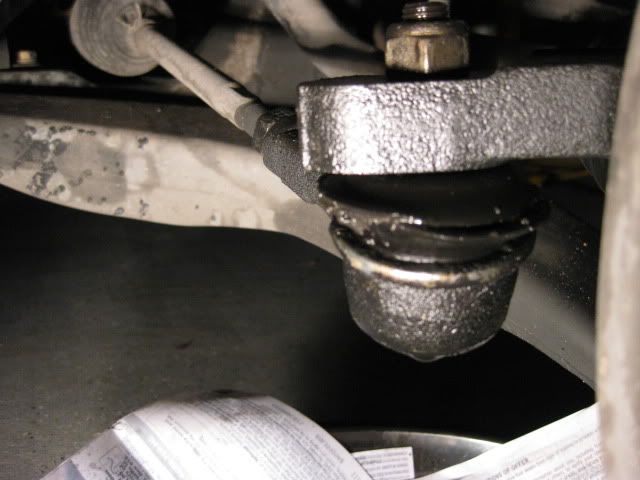
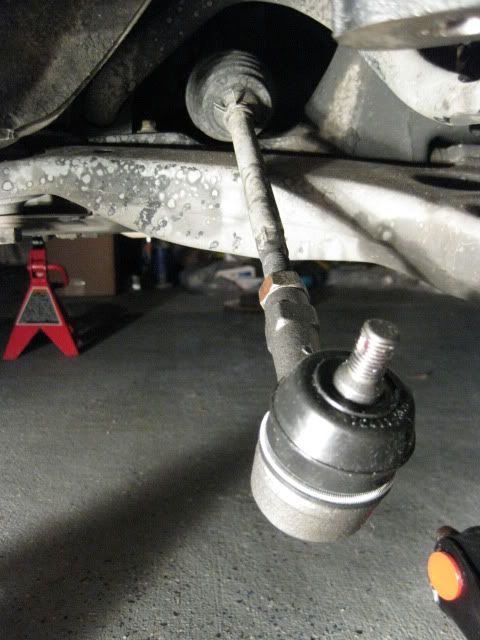
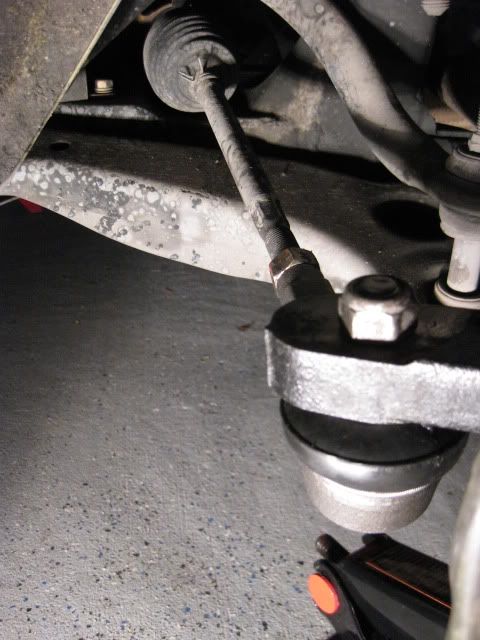
As you can see the outer tie rod joint is busted and needs to be replaced. Every time I hit a bump, I would here this clank which explains the problem here.
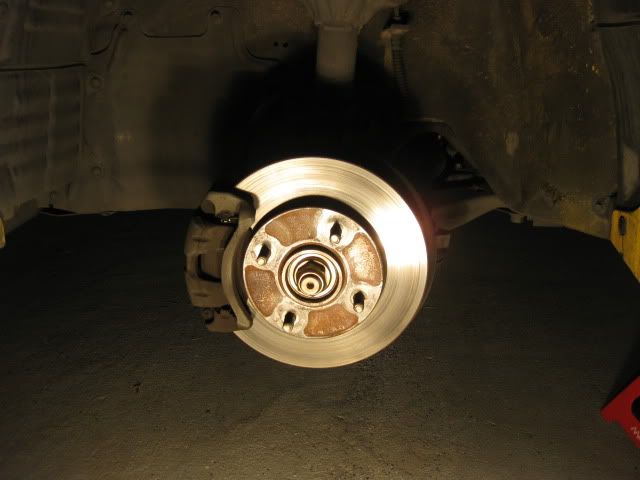
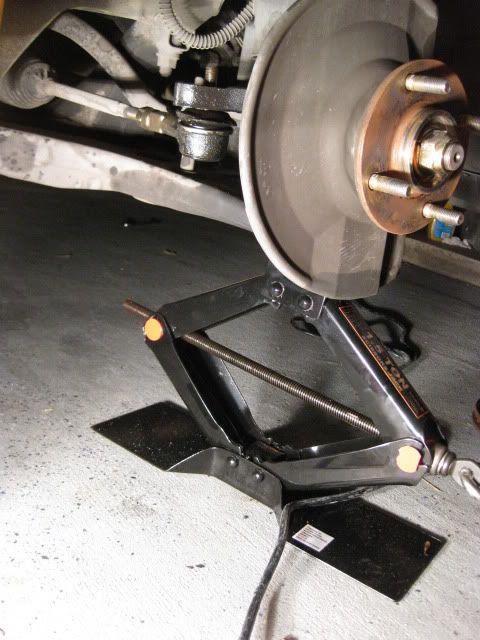
Step 1: Loosen the lug nuts of your car. Then raise the car using the car jack and place the stands stabilizing the points of the car. Then remove the wheels of the car.
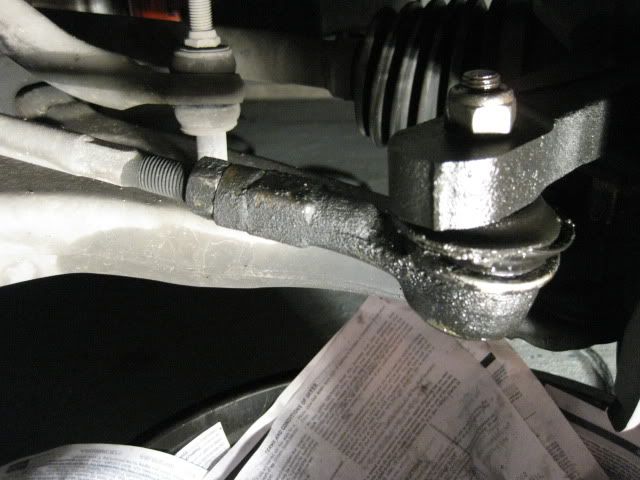
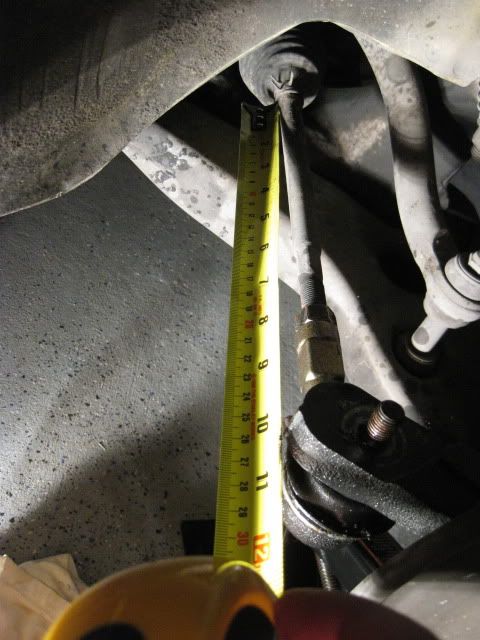
Step 2: Turn the steering wheel to the opposite direction to make room. Fortunately, I have the rotors are out so I did not have to resort to this step. Measure the whole arm and find reference point. (Tip: Measure from the boot to the jam nut and record it. When you re-install the new part that measurement is needed again to make sure that you keep that alignment of the car. It is also recommended that you get an alignment done after you finish the project.)
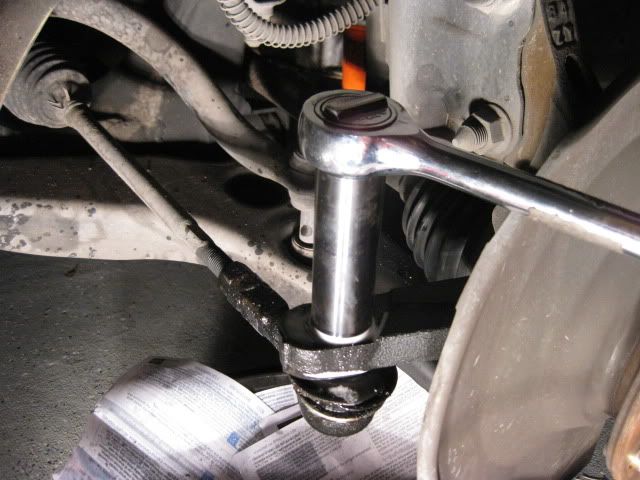
Step 3: Soak the bolt with Liquid wrench to ease the removal of the nut. Loosen the jam nut with 17mm wrench for later removal of the tie rod piece. Then use your 17mm socket wrench to remove the nut that holds rod to the suspension. (Tip: The bolt for soaked for about 2 hours, so the removal was a piece of cake.)
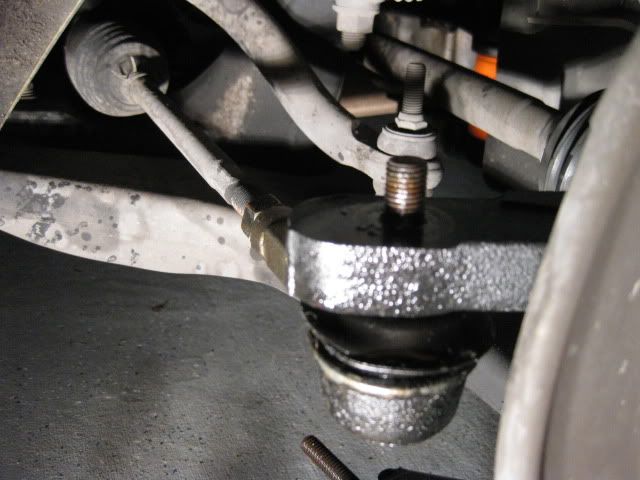
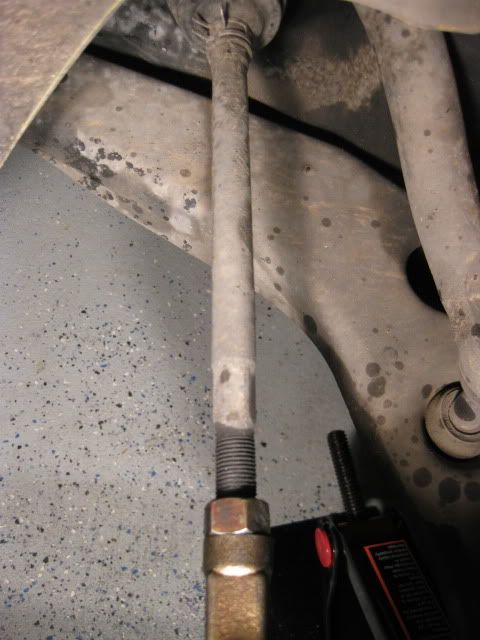
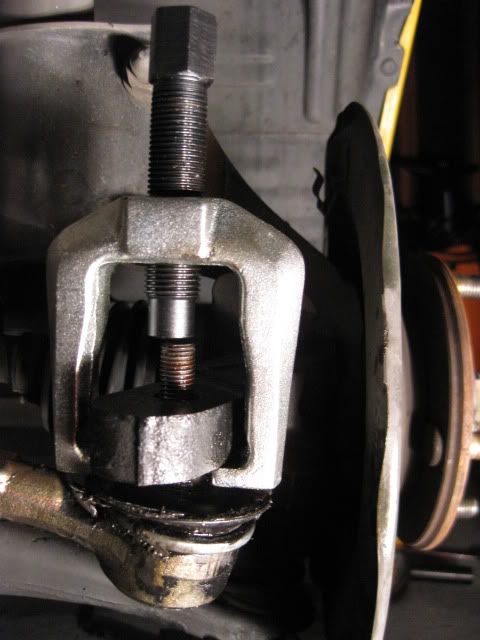
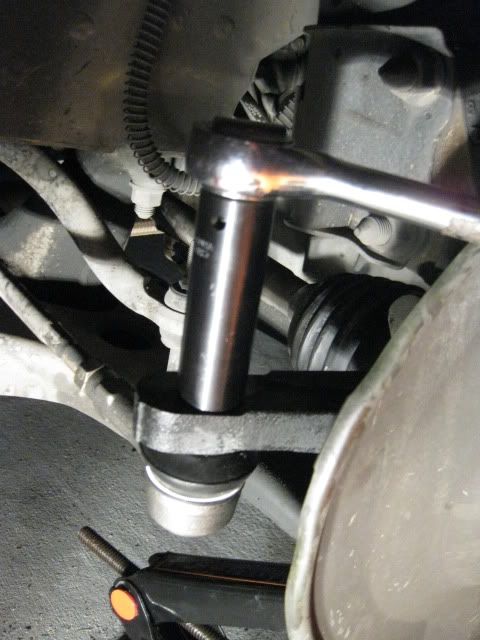
Step 4: Jack the suspension to get some movement of the joint. This was the hardest part of the project. I pounded it several times and no luck. So I bought a tie rod removal kit and took me 10 mins. to do it vs. 40 mins. of pounding with the mallet with no success.
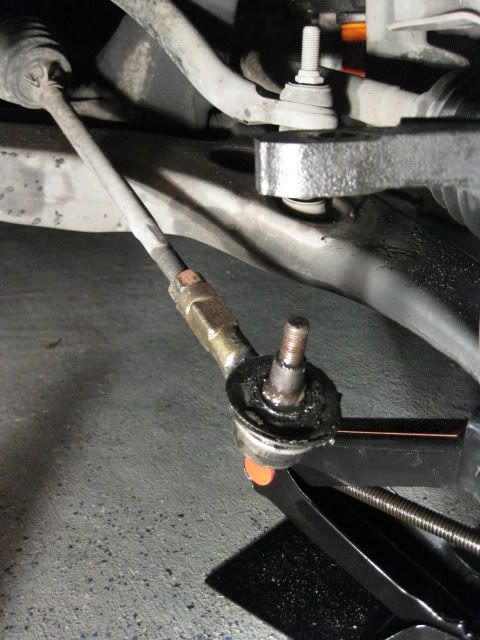
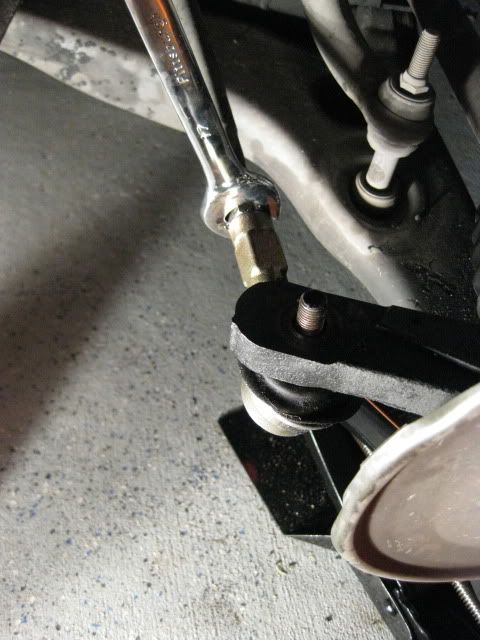
Step 5: Spray more Liquid wrench on the jam nut and tie rod. Then use the 17mm wrench and 12mm wrench to rotate the tie rod off. (Tip: You can use a vise grip also to hold the whole rod tight while you rotate the tie rod piece.)

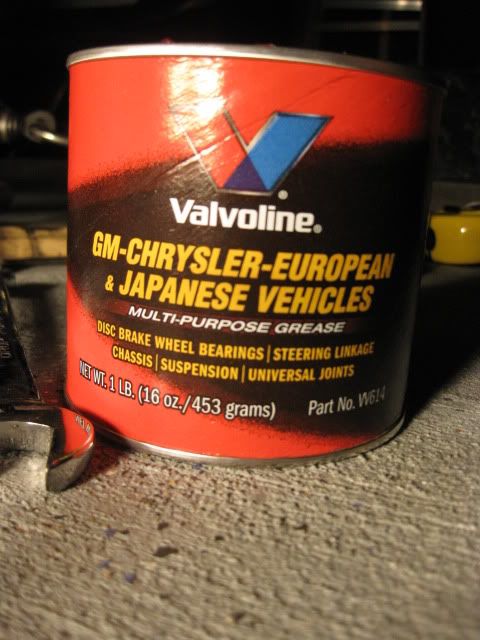
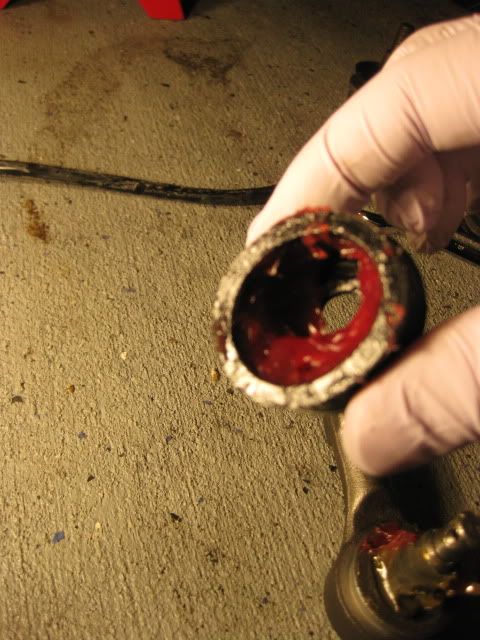
Step 6: Compare the new and old tie rods to check length and height. (Tip: I put extra grease inside the new tie rod because there was little inside. This is an optional step but I recommend it.)
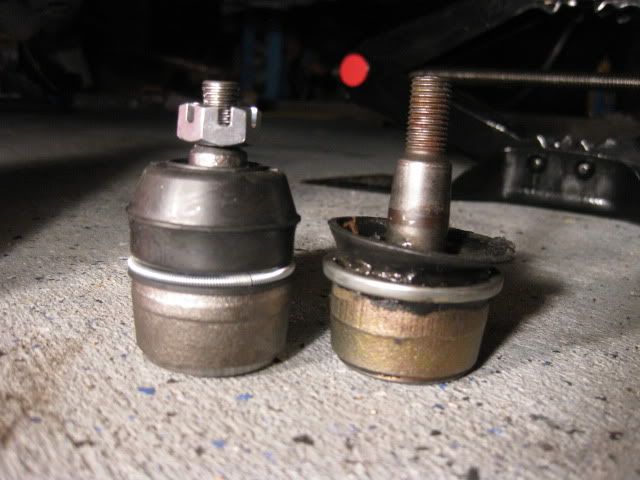

Optional Grease, but recommended.
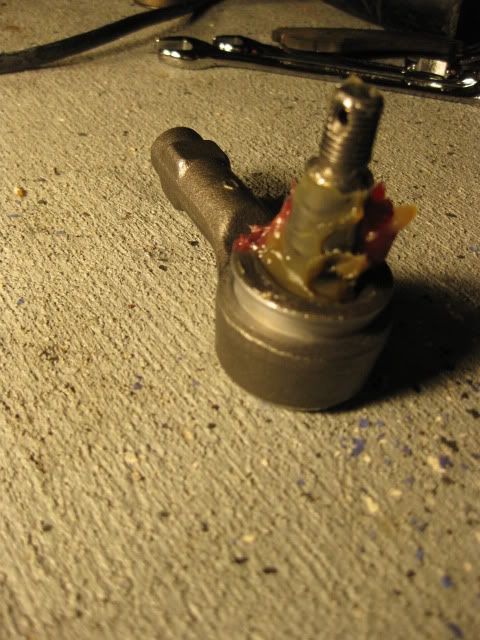
Step 7: Install the outer tie rod piece back to the arm. Then use the 17mm wrench to lock the tie rod piece. From the previous measurement, compare, and adjust accordingly.
As you can see there are some lubricant leaks. That�s okay. Wipe the excess off. Let the tie rod piece sit and adjust to the suspension.

Step 8: Assemble the wheel back to place. (Tip: Apply Anti-seize lube on the lugs to prevent seizing in the future.)
You are done! You can get an alignment or not, but it is recommended. I wish I had torque wrench to properly torque the bolt.
Tests drive the car and check for the feel. You just saved yourself $250.00.
While I was doing my brakes I discovered my passenger side tie rod was busted.
Parts List:
Outer Tie rod
Tie Rod Remover (Optional)
Rubber Mallet
Liquid wrench
Wrench
17mm Socket Wrench
14mm Wrench
Vise grip or 12mm wrench
Ruler or Measuring tape
Grease (Optional)
Jack
Floor jack stand
Safety eyeglasses
Mechanic gloves
Safety---Wear proper safety gear before doing any mechanical work. Don�t lose an eye!
As you can see the outer tie rod joint is busted and needs to be replaced. Every time I hit a bump, I would here this clank which explains the problem here.
Step 1: Loosen the lug nuts of your car. Then raise the car using the car jack and place the stands stabilizing the points of the car. Then remove the wheels of the car.
Step 2: Turn the steering wheel to the opposite direction to make room. Fortunately, I have the rotors are out so I did not have to resort to this step. Measure the whole arm and find reference point. (Tip: Measure from the boot to the jam nut and record it. When you re-install the new part that measurement is needed again to make sure that you keep that alignment of the car. It is also recommended that you get an alignment done after you finish the project.)
Step 3: Soak the bolt with Liquid wrench to ease the removal of the nut. Loosen the jam nut with 17mm wrench for later removal of the tie rod piece. Then use your 17mm socket wrench to remove the nut that holds rod to the suspension. (Tip: The bolt for soaked for about 2 hours, so the removal was a piece of cake.)
Step 4: Jack the suspension to get some movement of the joint. This was the hardest part of the project. I pounded it several times and no luck. So I bought a tie rod removal kit and took me 10 mins. to do it vs. 40 mins. of pounding with the mallet with no success.
Step 5: Spray more Liquid wrench on the jam nut and tie rod. Then use the 17mm wrench and 12mm wrench to rotate the tie rod off. (Tip: You can use a vise grip also to hold the whole rod tight while you rotate the tie rod piece.)
Step 6: Compare the new and old tie rods to check length and height. (Tip: I put extra grease inside the new tie rod because there was little inside. This is an optional step but I recommend it.)
Optional Grease, but recommended.
Step 7: Install the outer tie rod piece back to the arm. Then use the 17mm wrench to lock the tie rod piece. From the previous measurement, compare, and adjust accordingly.
As you can see there are some lubricant leaks. That�s okay. Wipe the excess off. Let the tie rod piece sit and adjust to the suspension.
Step 8: Assemble the wheel back to place. (Tip: Apply Anti-seize lube on the lugs to prevent seizing in the future.)
You are done! You can get an alignment or not, but it is recommended. I wish I had torque wrench to properly torque the bolt.
Tests drive the car and check for the feel. You just saved yourself $250.00.


Thread
Thread Starter
Forum
Replies
Last Post
OZ_kidd
Lancer How Tos / Installations
21
Jul 7, 2014 01:50 PM
railgunner50
04-06 Ralliart Tires/Wheels/Brakes/Suspension
14
Jul 25, 2013 09:41 AM
OZ_kidd
Lancer How Tos / Installations
9
Jul 10, 2013 09:28 AM
OZ_kidd
Lancer Tires, Wheels, Brakes & Suspension - Sponsored by The Tire Rack
14
Mar 7, 2011 08:33 PM