My 04 Thunder Grey SQ Competition Ralliart


 May 28, 2013, 07:57 PM
#47
Great work man!
I love seeing projects where people arent afraid to cut/weld/customize parts of their ride to get a job done.
You know a lot more about this than I do. But in my old Jeep Grand Cherokee I had tweeters installed in the vents in the middle of the dash. The higher frequencies came through very clear from there. Just something to think about maybe. May not be worth thinking about. LOL IDK.
Jun 25, 2013, 08:29 PM
#49
Newbie
Thread Starter

Join Date: Oct 2008
Location: USA
Posts: 44
Likes: 0
Received 0 Likes
on
0 Posts
Hey guys, here's some more updates:
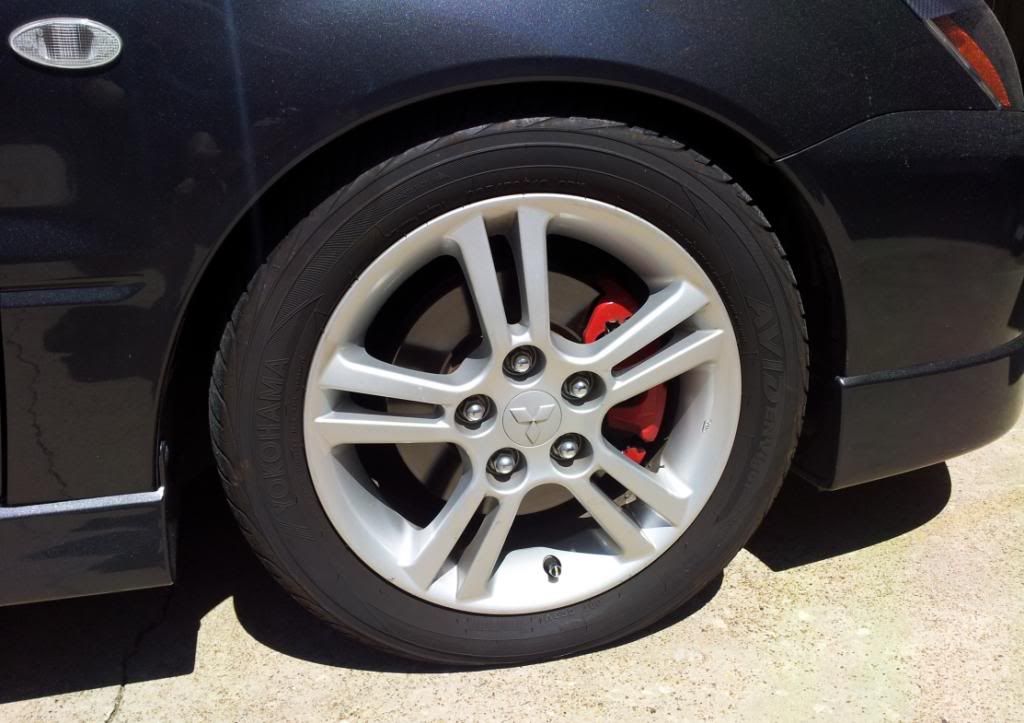
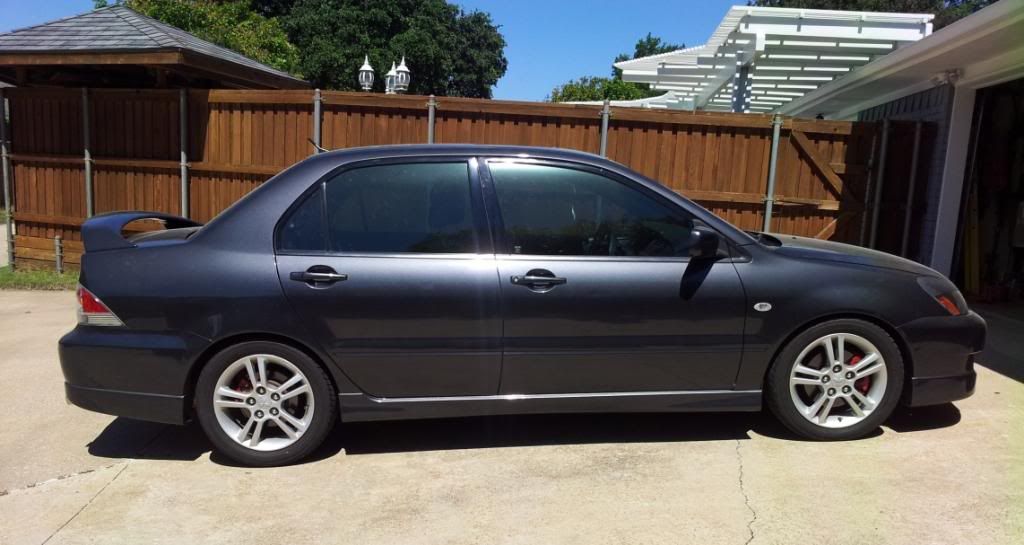
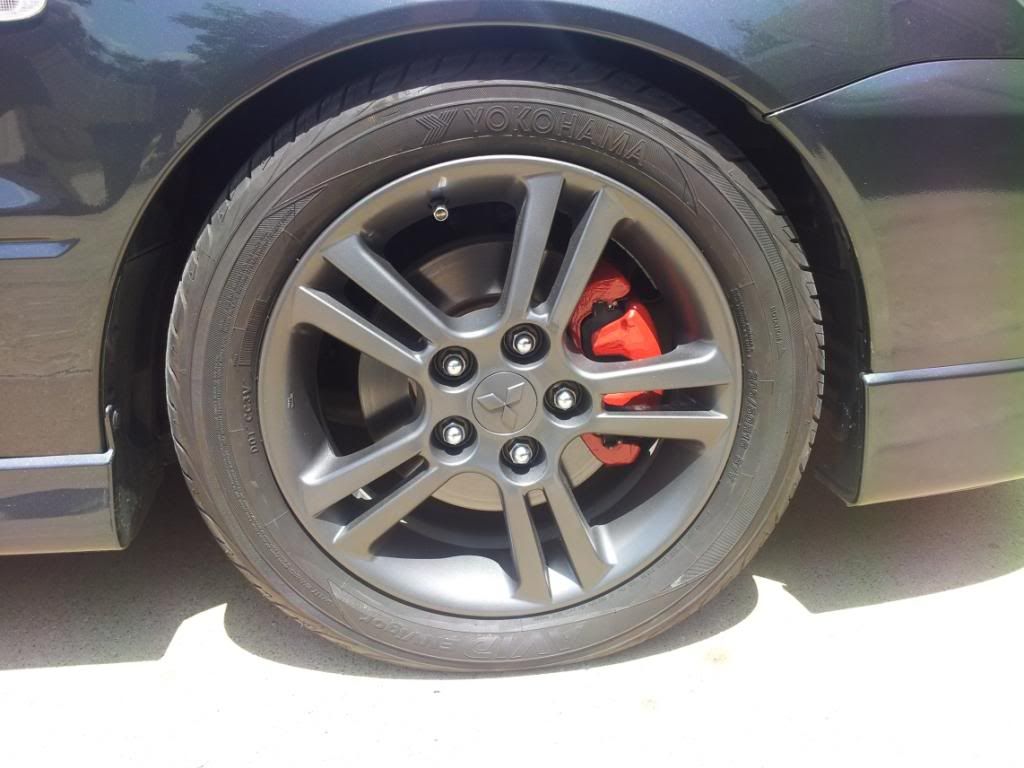
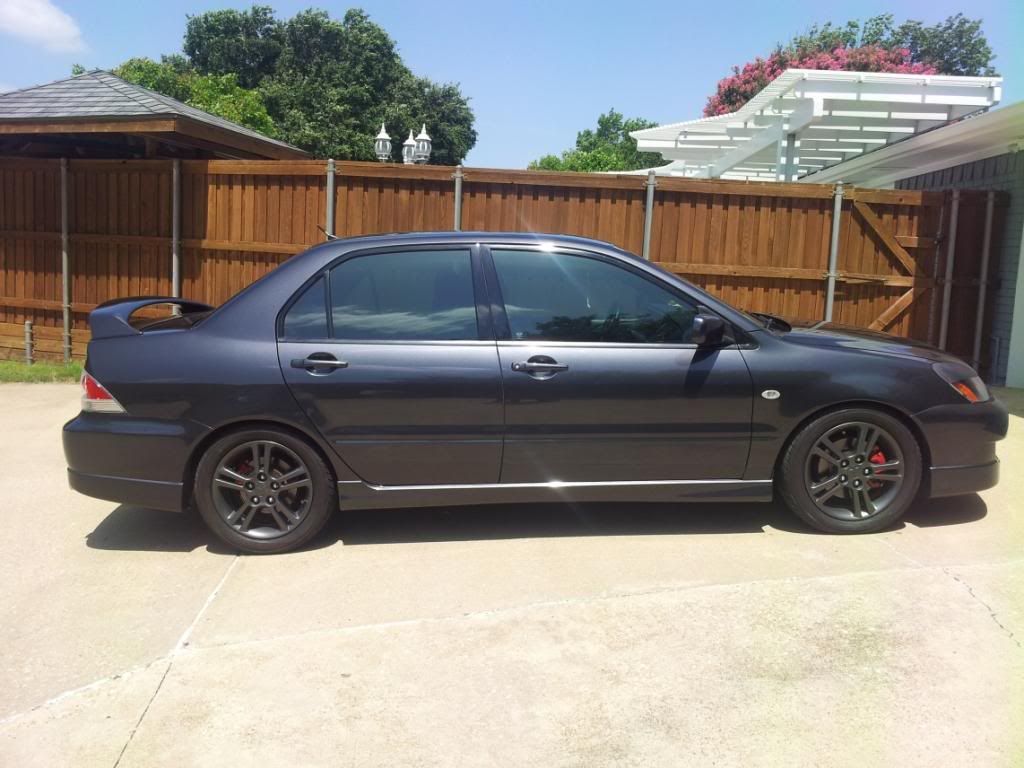
- Got the stone chips in the bumper fixed and painted the wheels anthracite metallic
Before:
After:
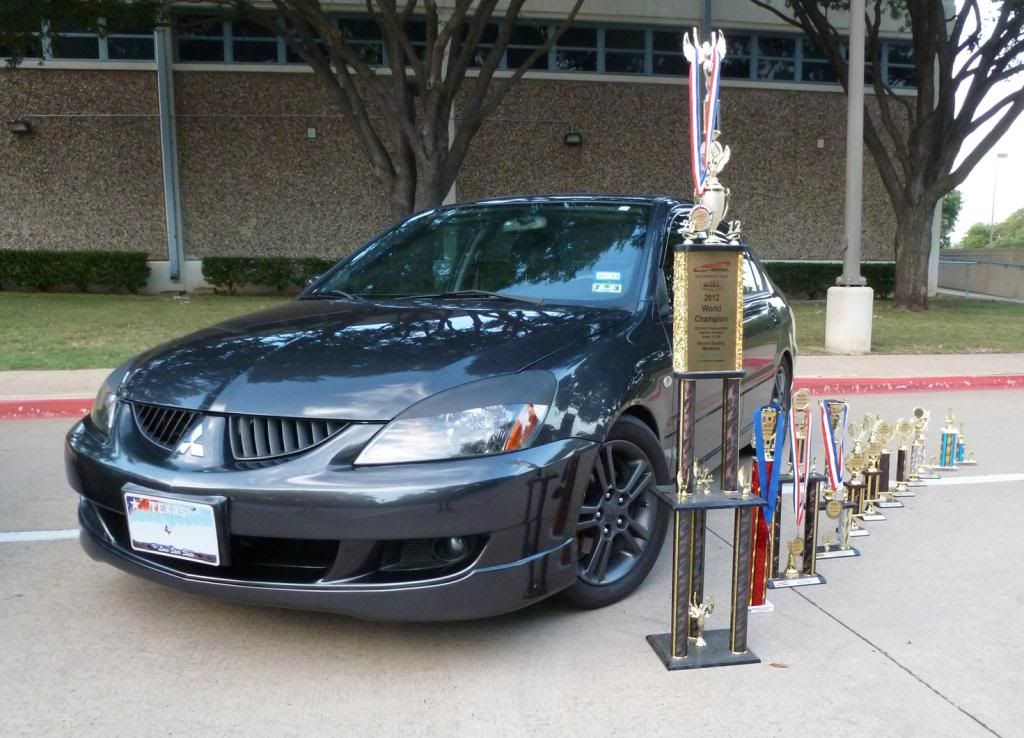
With some trophies from the audio competitions
Couple shots with my girlfriend's Monte Carlo:
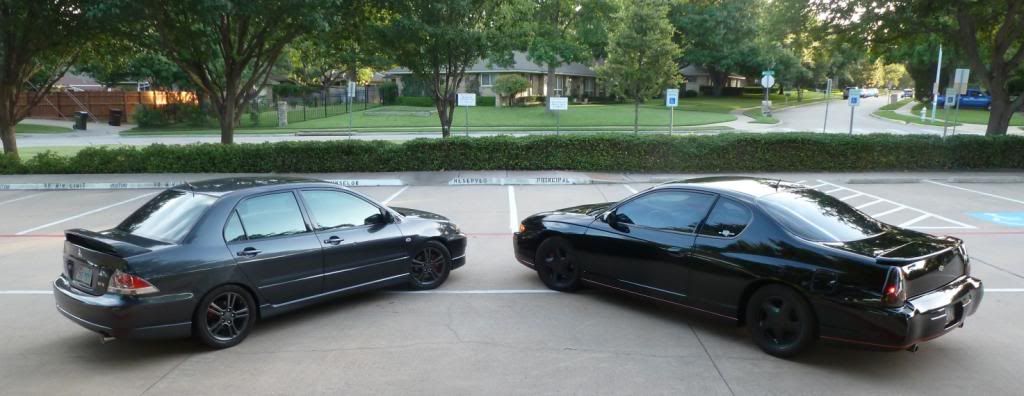
She's also into audio and modding in general

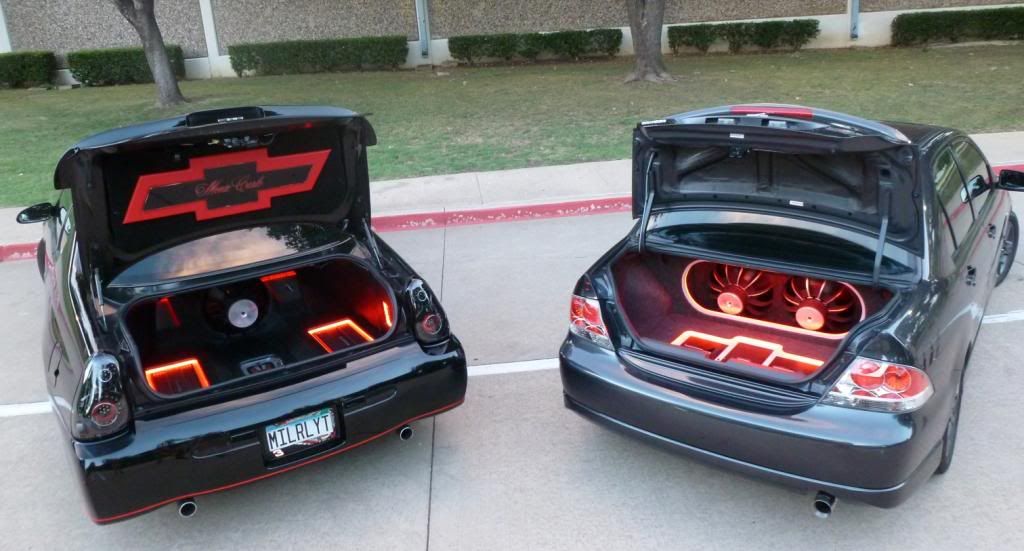
Trunk build we just finished in her car.
Just got a can of 3M Paint Defender for the front bumper. Anyone used it?
- Got the stone chips in the bumper fixed and painted the wheels anthracite metallic
Before:
After:
With some trophies from the audio competitions
Couple shots with my girlfriend's Monte Carlo:
She's also into audio and modding in general
Trunk build we just finished in her car.
Just got a can of 3M Paint Defender for the front bumper. Anyone used it?
Last edited by strakele; Jun 25, 2013 at 08:40 PM.
 The wheels set it off darkened like that.
Jun 26, 2013, 02:06 PM
The wheels set it off darkened like that.
Jun 26, 2013, 02:06 PM
#51
Newbie
Thread Starter
Join Date: Oct 2008
Location: USA
Posts: 44
Likes: 0
Received 0 Likes
on
0 Posts
Depo carbon fiber tails are next on the list. Will probably order them soon. Hoping to be able to sell the current ones. I've never seen a pic of a car with them... only the black ones. I wish I could see first, but I might just have to do it.
Anyway, here's some more audio stuff.
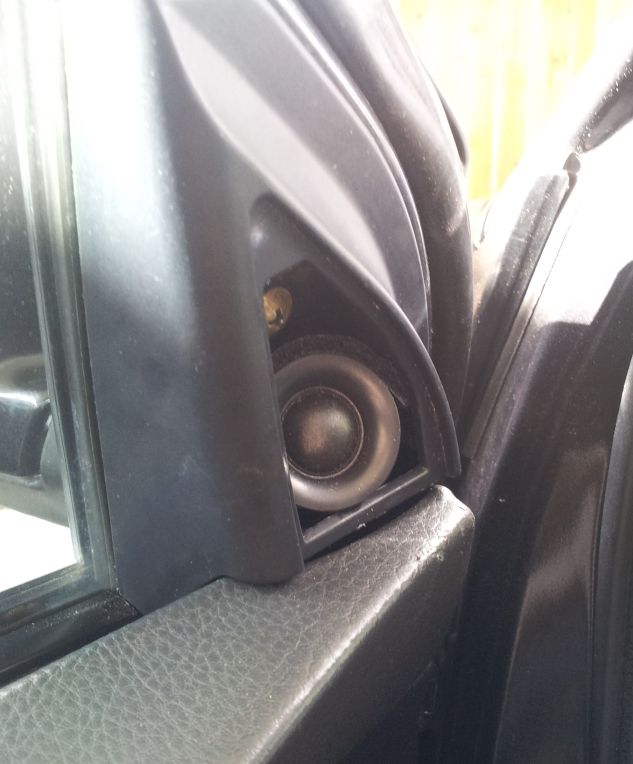
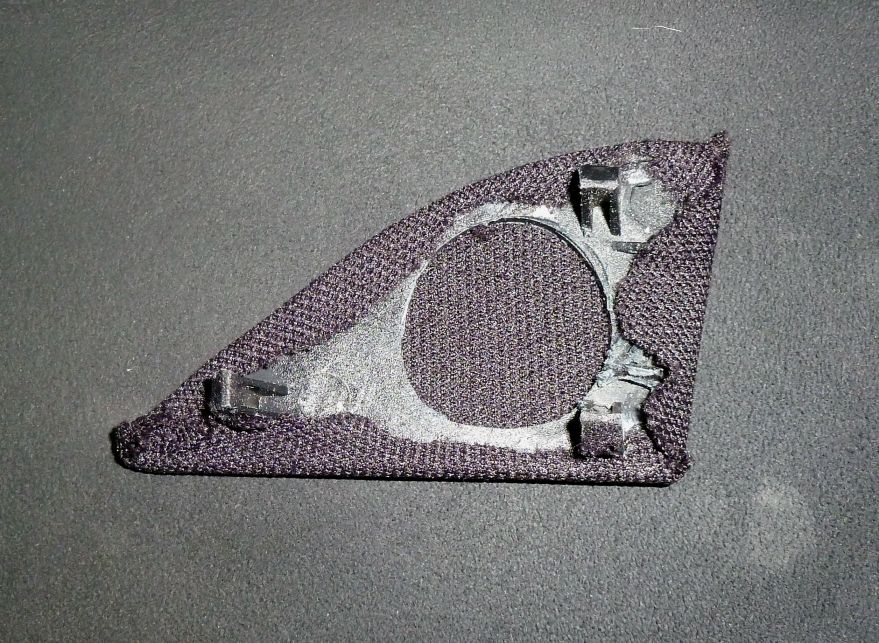
As mentioned I wasn't really happy with the gain to loss ratio of putting the speakers behind the pillars, so I went back to the old install for a bit, with some tweets in the sail panels. These Dayton ND16s fit perfectly.
Hole cut and grill cloth applied to the cover:
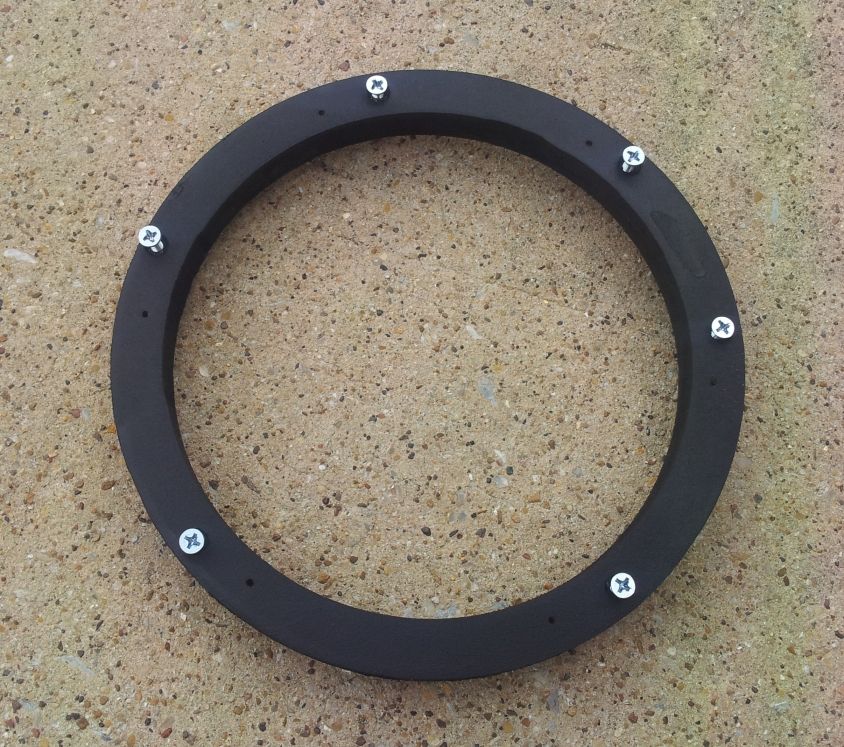
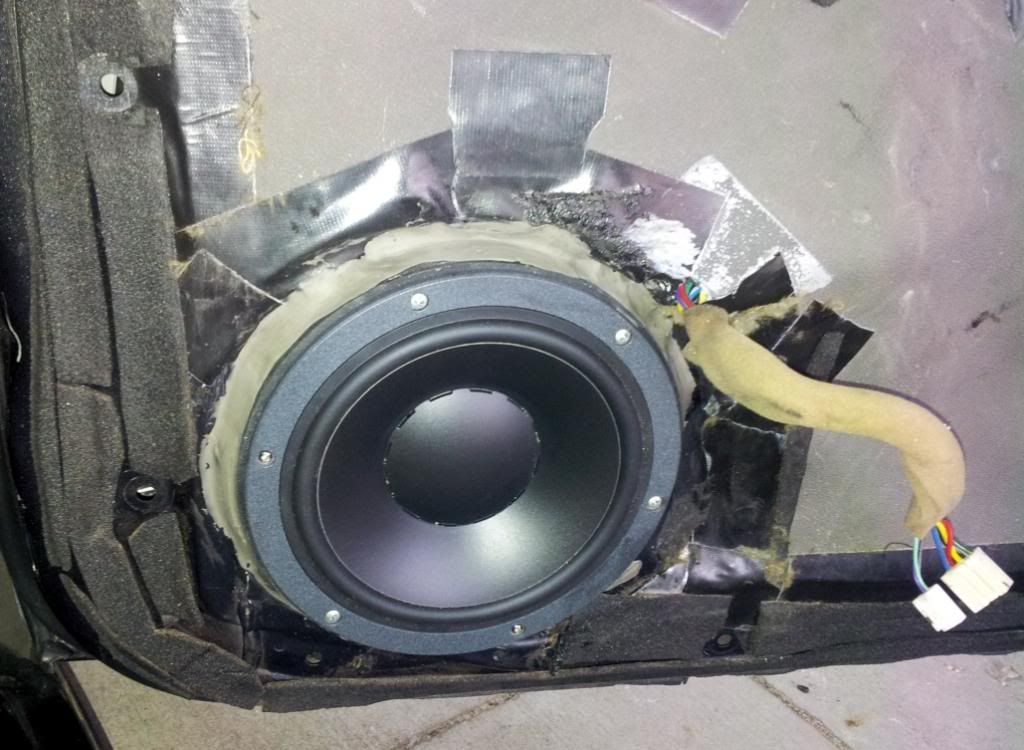
Dynaudio MW172's replaced the previous door speakers and are about the biggest you can fit without building out the door panel:
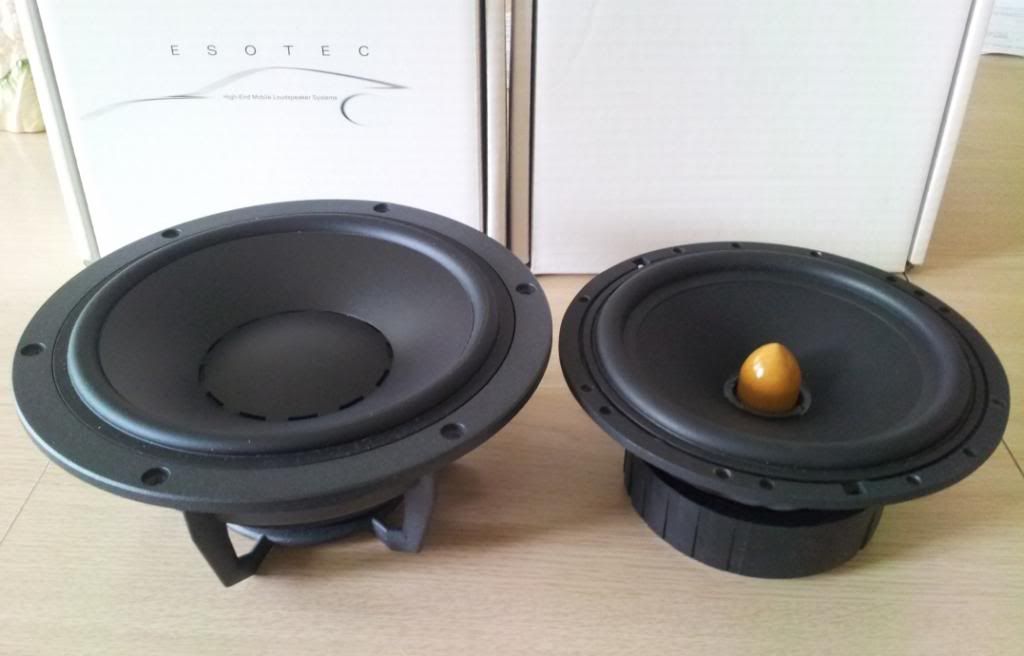
Mounted on a 5/8" baffle with machine screws after cutting about 1/4" of metal around the speaker opening:
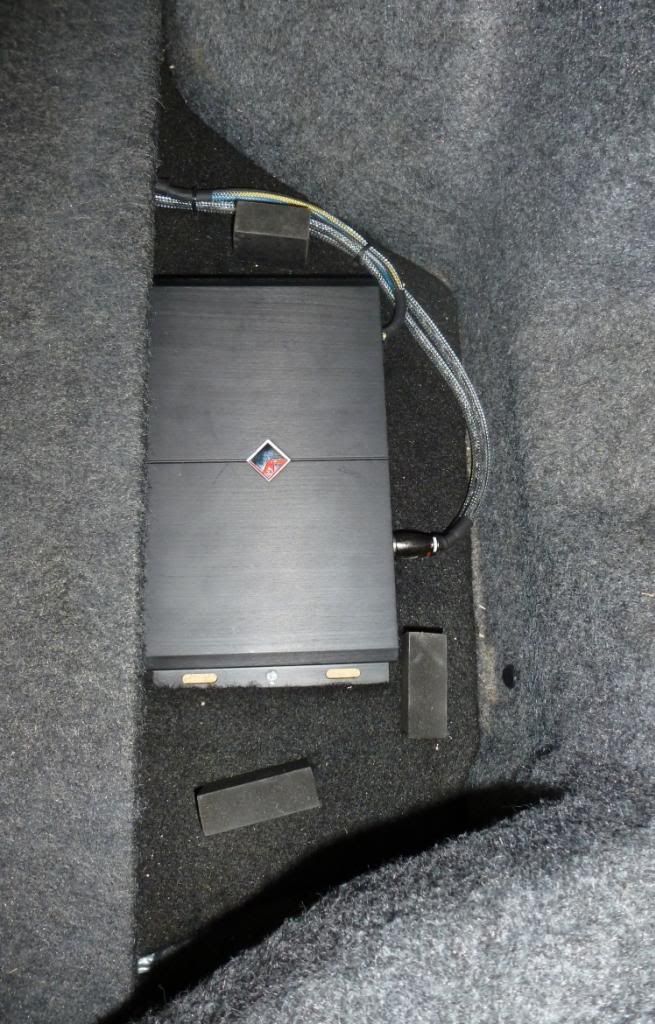
Changed to a Rockford Fosgate 3sixty.3 processor:
With the controller mounted in the ash tray:
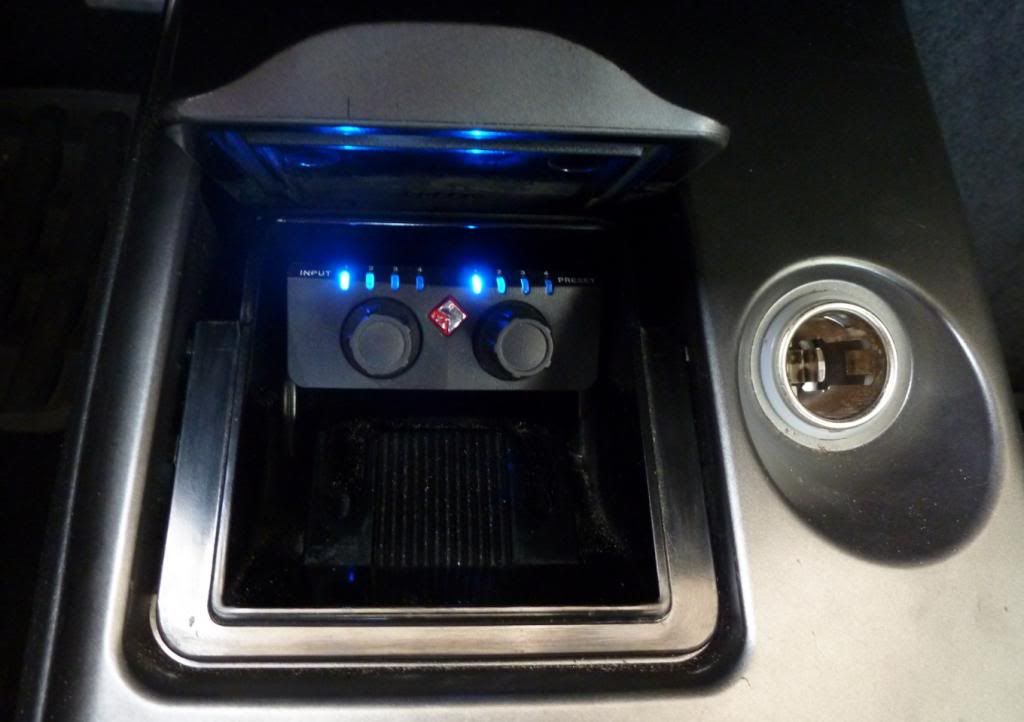
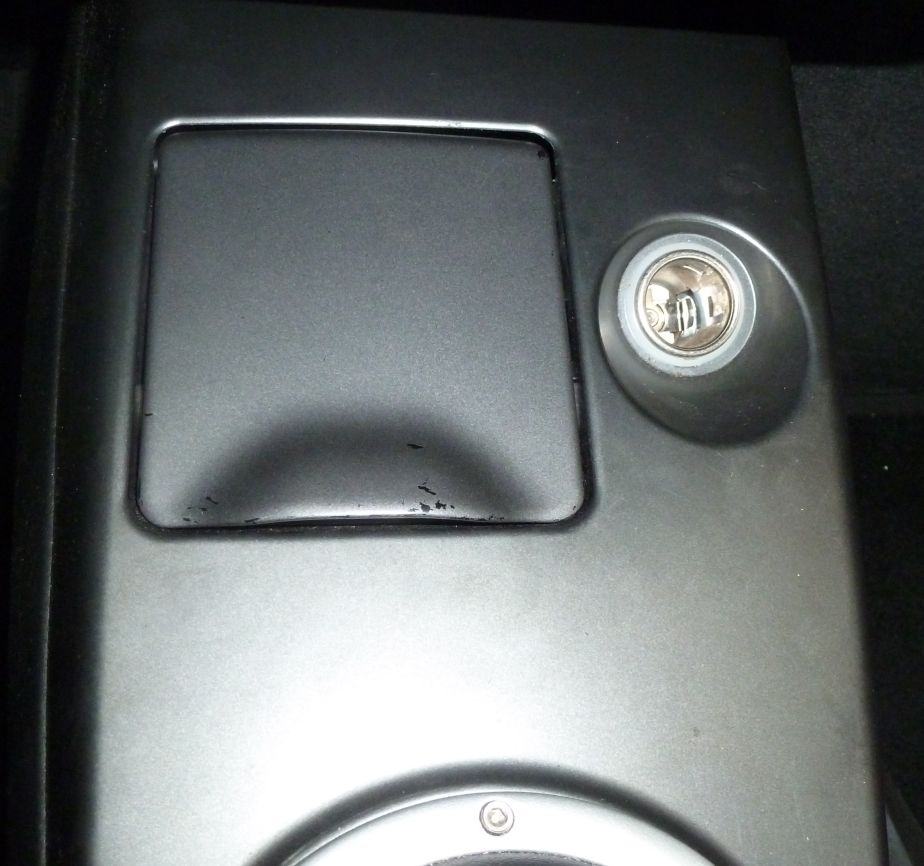
Cover still closes so it can be completely hidden:
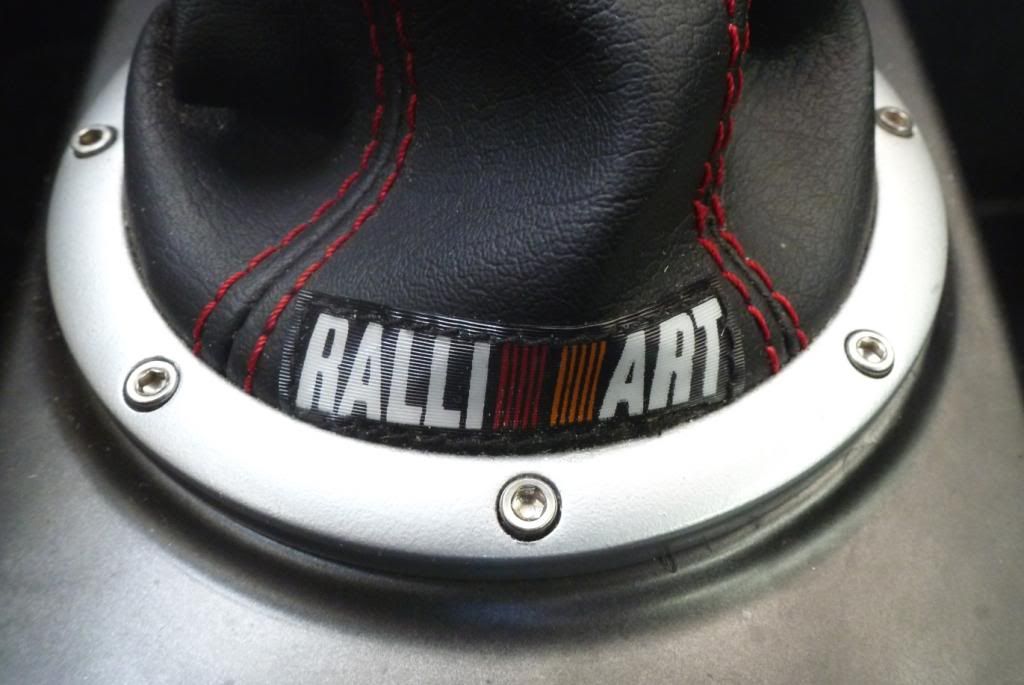
And random close up of the shift boot and custom trim ring cause I didn't have a very good one on here before:
Anyway, here's some more audio stuff.
As mentioned I wasn't really happy with the gain to loss ratio of putting the speakers behind the pillars, so I went back to the old install for a bit, with some tweets in the sail panels. These Dayton ND16s fit perfectly.
Hole cut and grill cloth applied to the cover:
Dynaudio MW172's replaced the previous door speakers and are about the biggest you can fit without building out the door panel:
Mounted on a 5/8" baffle with machine screws after cutting about 1/4" of metal around the speaker opening:
Changed to a Rockford Fosgate 3sixty.3 processor:
With the controller mounted in the ash tray:
Cover still closes so it can be completely hidden:
And random close up of the shift boot and custom trim ring cause I didn't have a very good one on here before:
Jun 27, 2013, 01:48 PM
#54
Newbie
Thread Starter
Join Date: Oct 2008
Location: USA
Posts: 44
Likes: 0
Received 0 Likes
on
0 Posts
I actually just picked up a pair of the carbon tails off Amazon.
Spent the morning applying 3M Paint Defender to the front bumper. Didn't go so well This stuff is difficult to work with. I hope it comes off as easy as they say without taking off the paint.
Spent the morning applying 3M Paint Defender to the front bumper. Didn't go so well
This stuff is difficult to work with. I hope it comes off as easy as they say without taking off the paint.
Jul 2, 2013, 02:57 PM
#55
Newbie
Thread Starter
Join Date: Oct 2008
Location: USA
Posts: 44
Likes: 0
Received 0 Likes
on
0 Posts
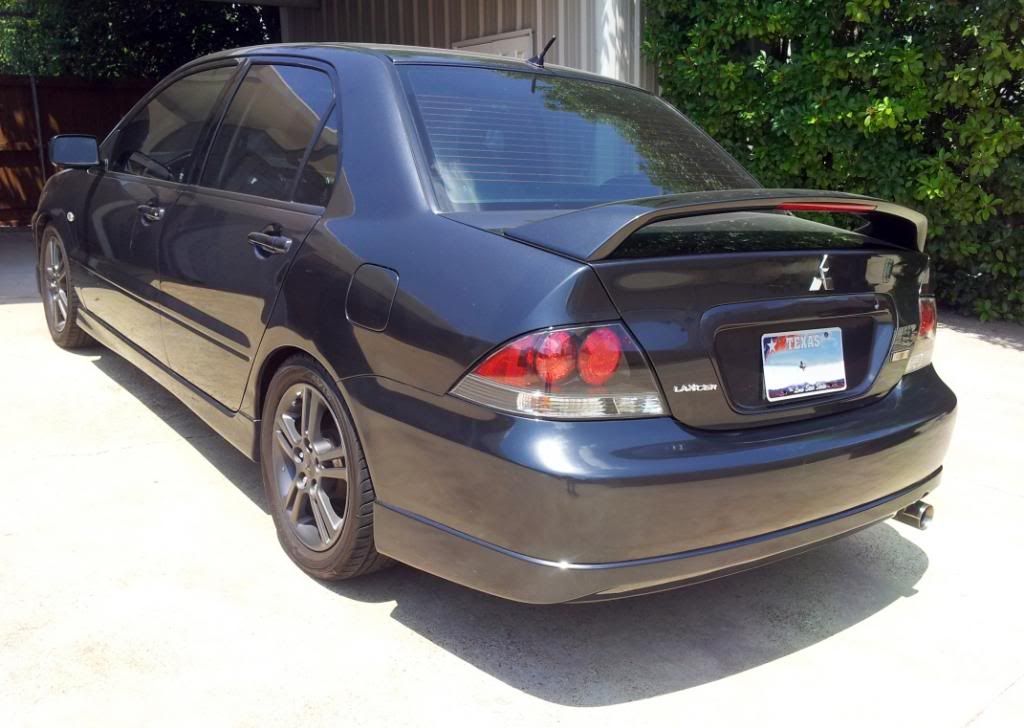
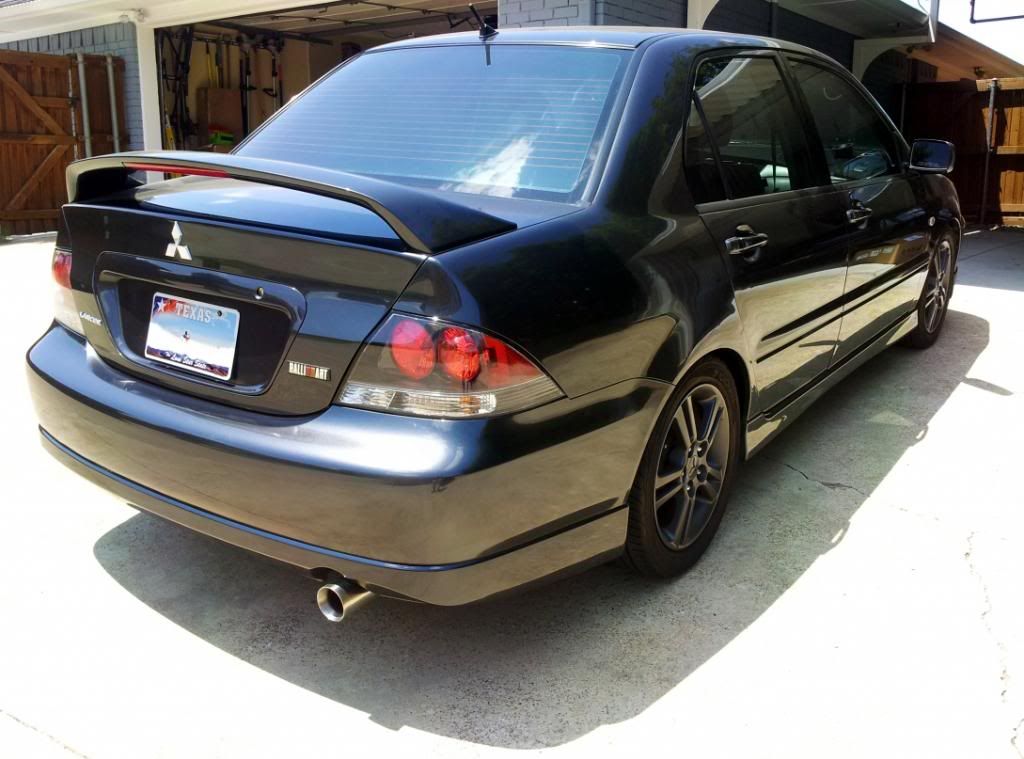
Tail lights are in 
I'm liking them. I think the carbon matches the car color better than regular black.
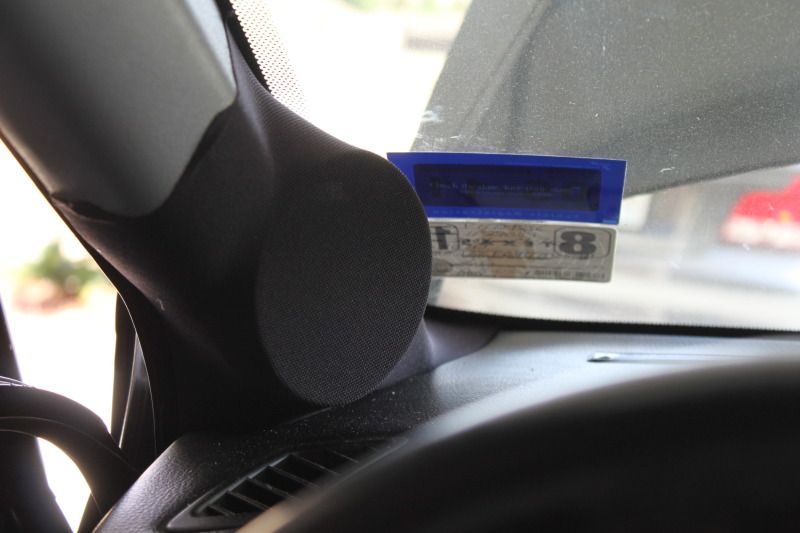
New tweeters in the sail panels, and new mids back in the old pillars:
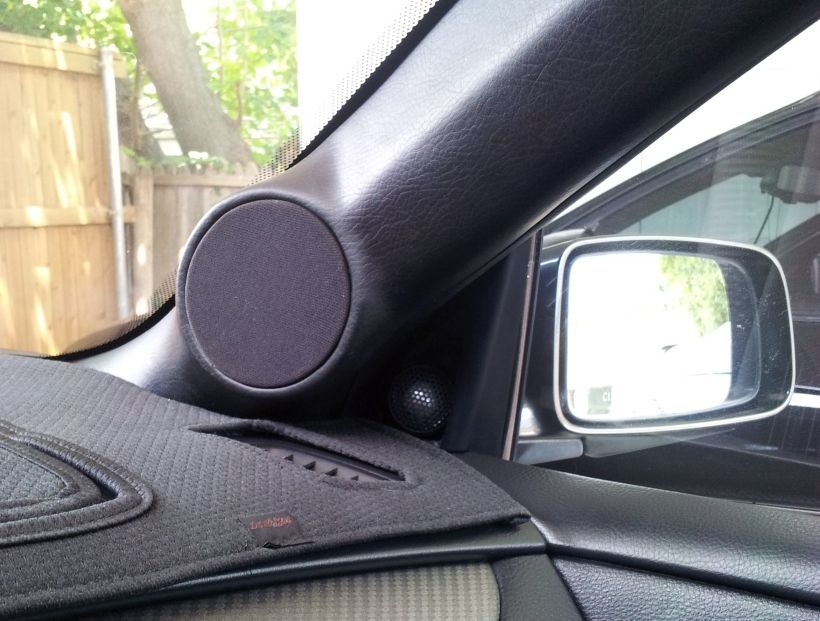

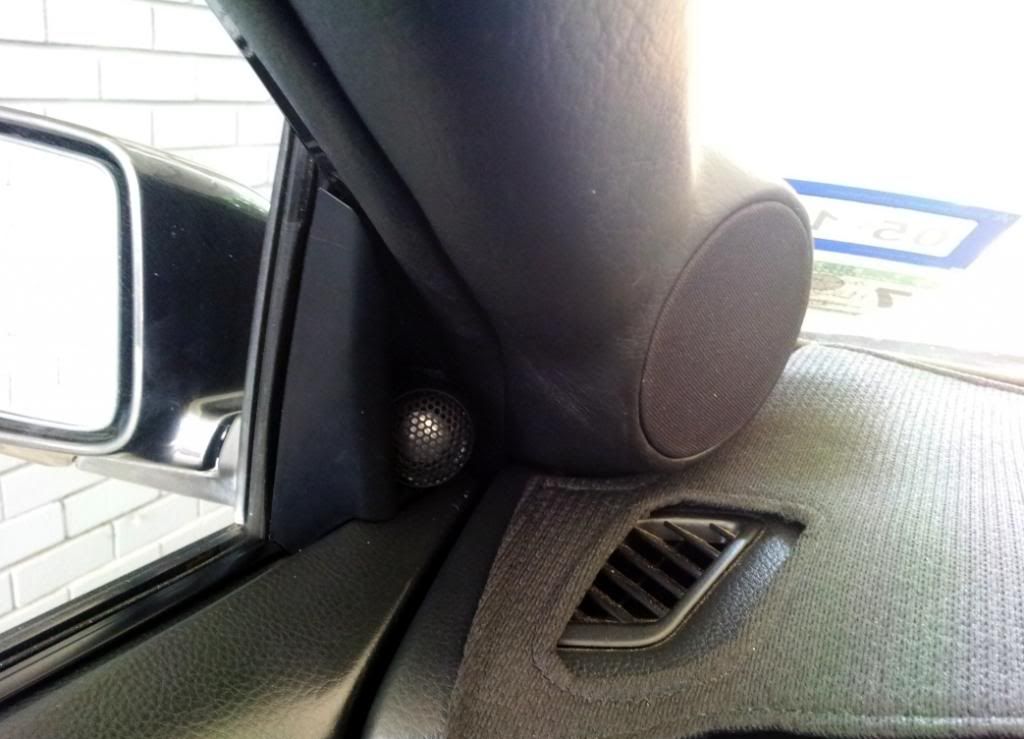
Sounding really good again!
I'm liking them. I think the carbon matches the car color better than regular black.
New tweeters in the sail panels, and new mids back in the old pillars:
Sounding really good again!
 Jul 2, 2013, 04:51 PM
#57
Newbie
Thread Starter
Join Date: Oct 2008
Location: USA
Posts: 44
Likes: 0
Received 0 Likes
on
0 Posts
Thanks, I'm liking the new tails. Fairly subtle, but makes a nice difference.
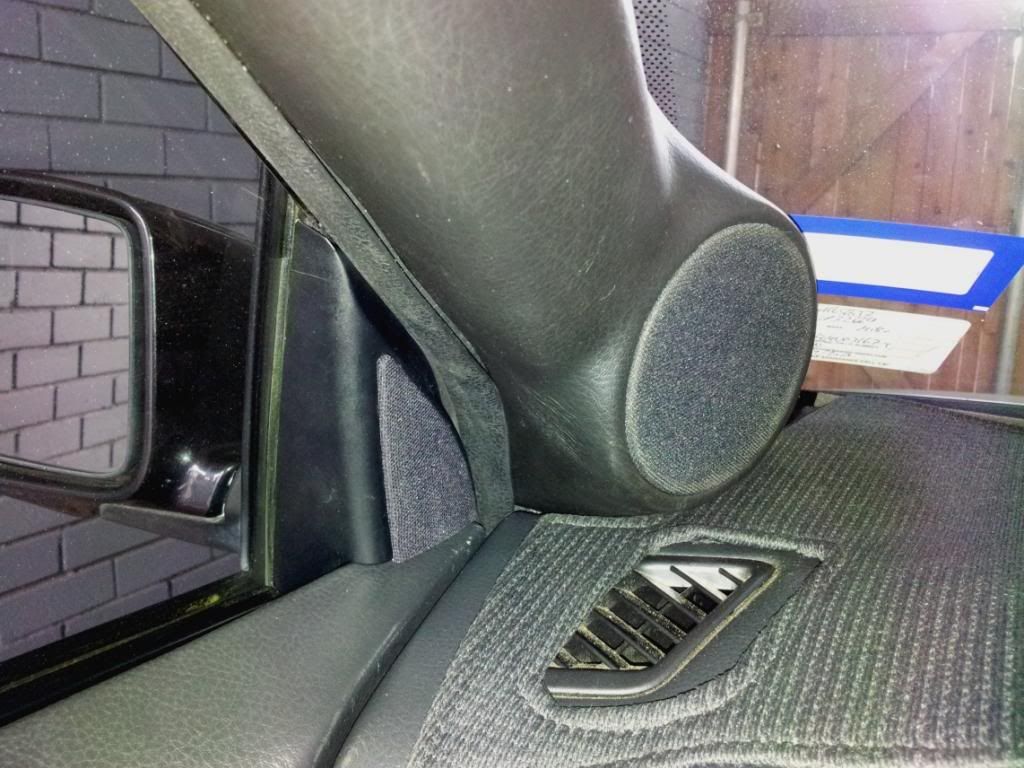
The little ambient transducers were sold along with the old midbass and midrange speakers. The new tweeters are bigger and better than those and the Daytons that were in there previously. At first I thought they weren't going to fit and I was going to have to build the sail panel out and glass them in which I really didn't want to do, but I was able to remove enough material inside the sail panel and from the little cover piece to get them to fit at the angle I wanted them.
Here's the build pics for the pillars:
Speaker mock up and mounting ring made:
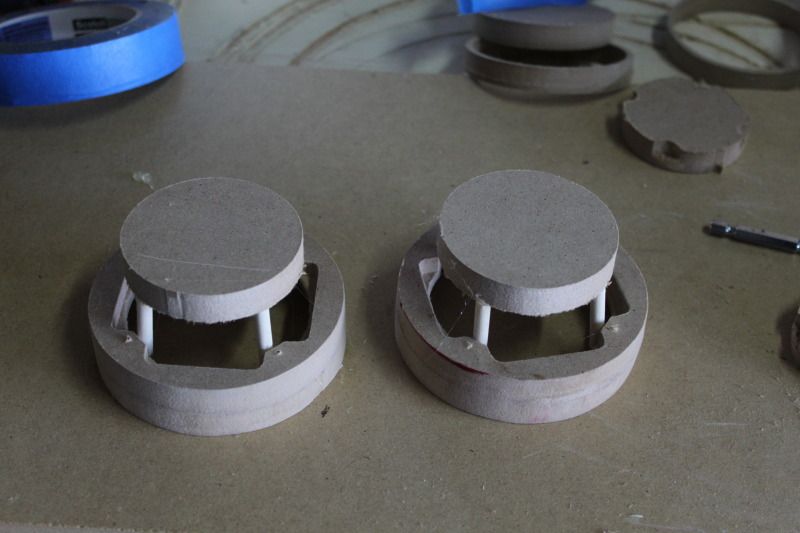
Pillars cut and rings installed:
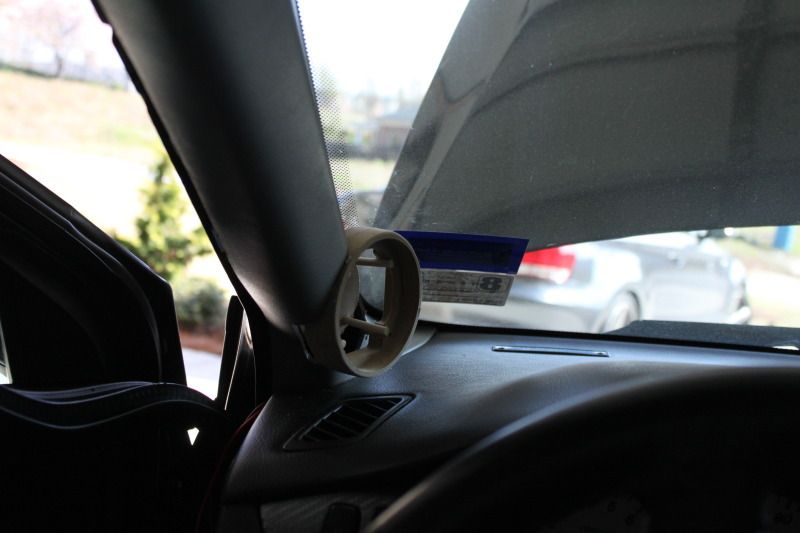
Cloth stretched to form shape:
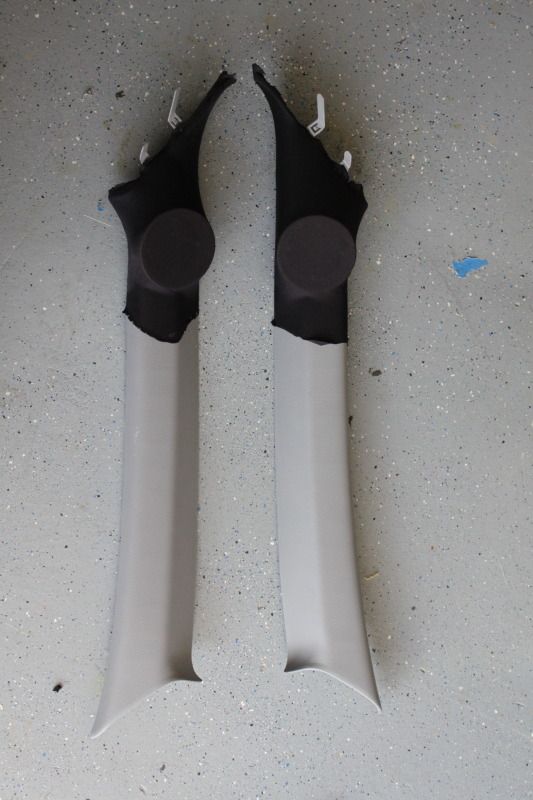
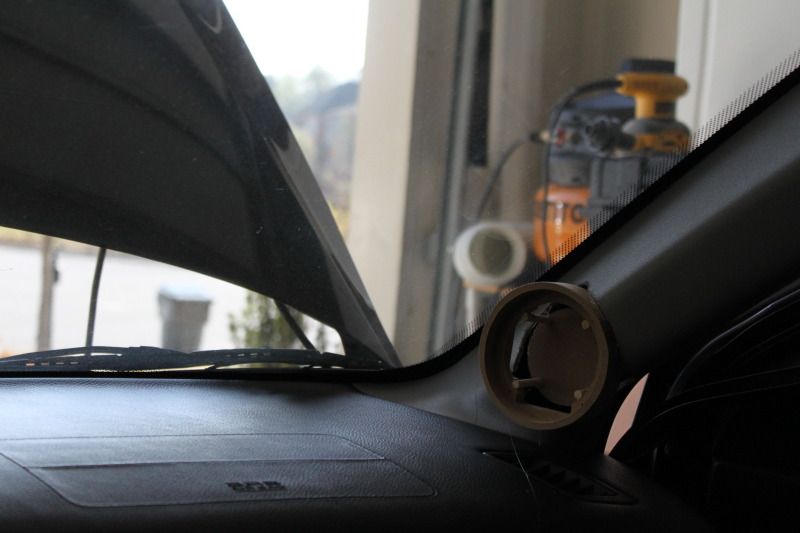
Test fit:
Resin added:
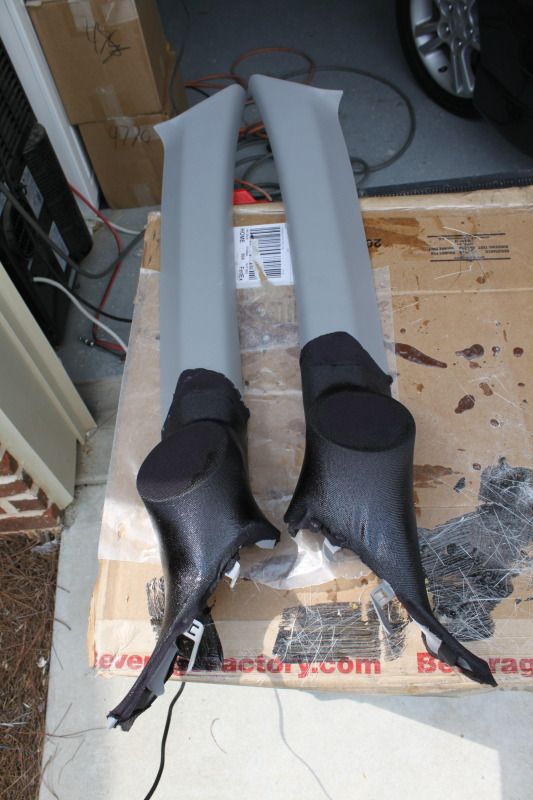
Fiberglass cloth added:

Hole cut out and trimmed:
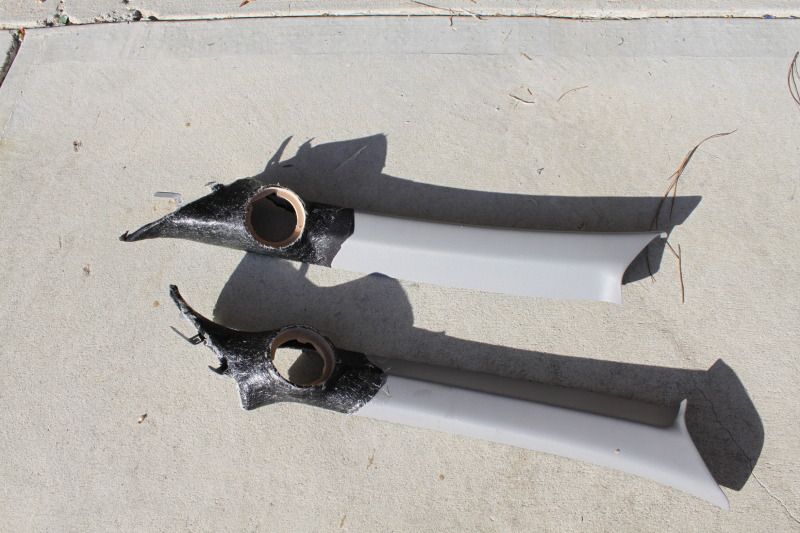
Filled from the back for added strength and mass:
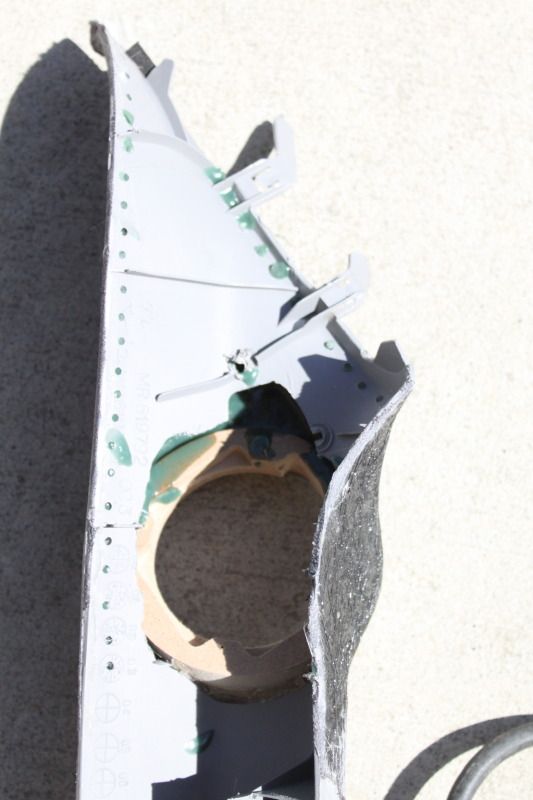
Body filler added, sanded, and smoothed:
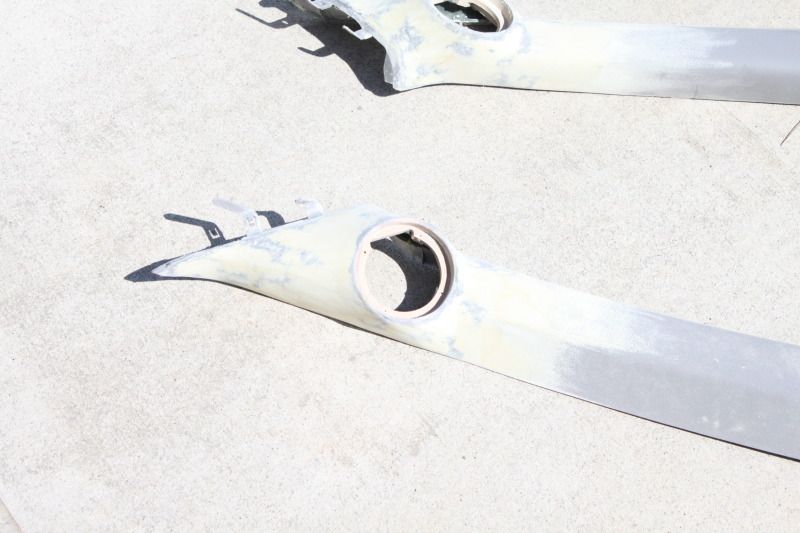
And then just black vinyl added to get them to what they look like now.
No problem asking questions. I'm here to learn and also contribute what I know. Most of what I've posted has been completion pics. I have hundreds more of the build process of pretty much everything if there's something you want to see.
The little ambient transducers were sold along with the old midbass and midrange speakers. The new tweeters are bigger and better than those and the Daytons that were in there previously. At first I thought they weren't going to fit and I was going to have to build the sail panel out and glass them in which I really didn't want to do, but I was able to remove enough material inside the sail panel and from the little cover piece to get them to fit at the angle I wanted them.
Here's the build pics for the pillars:
Speaker mock up and mounting ring made:
Pillars cut and rings installed:
Cloth stretched to form shape:
Test fit:
Resin added:
Fiberglass cloth added:
Hole cut out and trimmed:
Filled from the back for added strength and mass:
Body filler added, sanded, and smoothed:
And then just black vinyl added to get them to what they look like now.
No problem asking questions. I'm here to learn and also contribute what I know. Most of what I've posted has been completion pics. I have hundreds more of the build process of pretty much everything if there's something you want to see.
Jul 6, 2013, 04:42 PM
#58
Newbie
Thread Starter
Join Date: Oct 2008
Location: USA
Posts: 44
Likes: 0
Received 0 Likes
on
0 Posts
In order to actually use tweeters, I had to run a third set of speaker wire to each side.
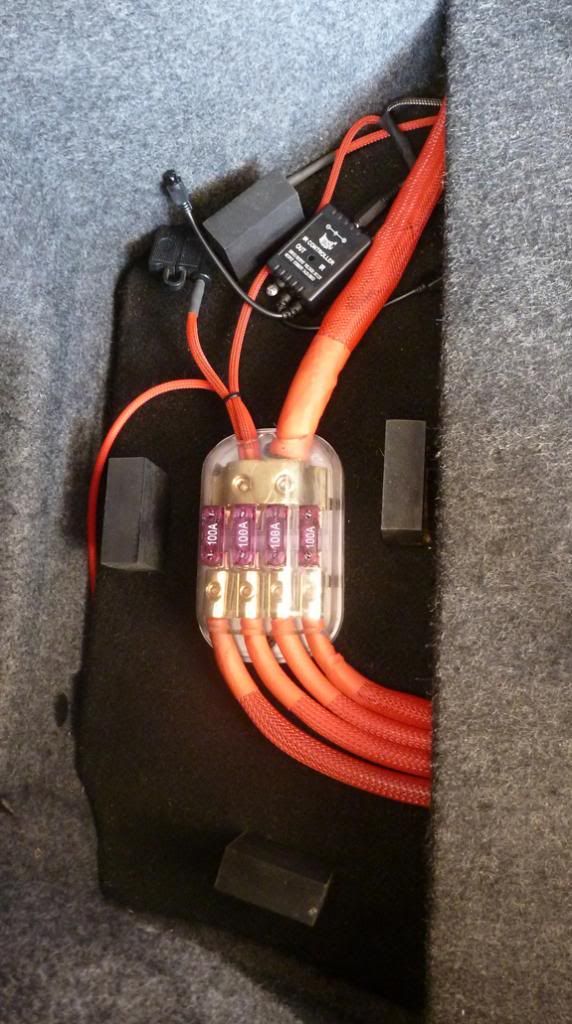
So here's some wires, wrapped in carbon Techflex and secured with zip ties.
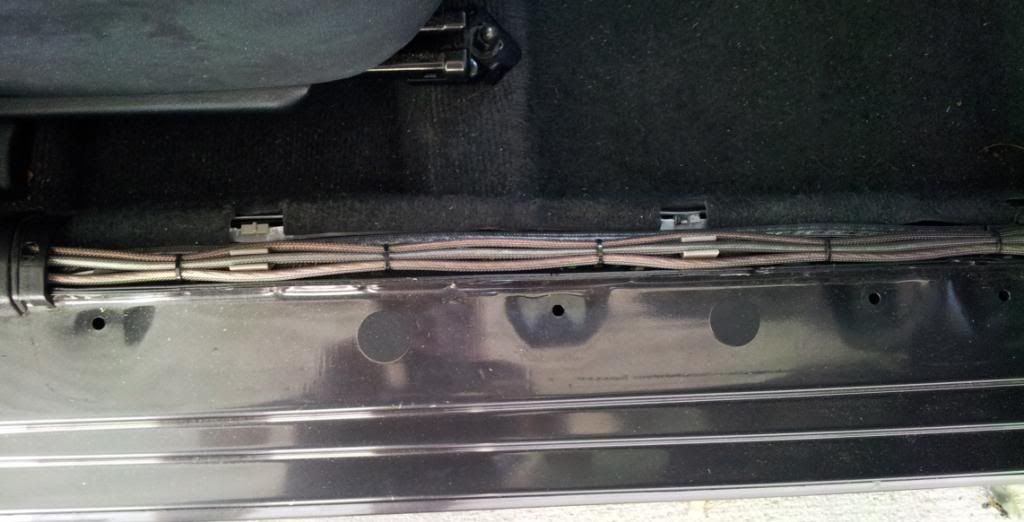
3rd set of speaker wire running to amps now - mids and tweets on front outputs, midbass still bridged on rear of each amp.
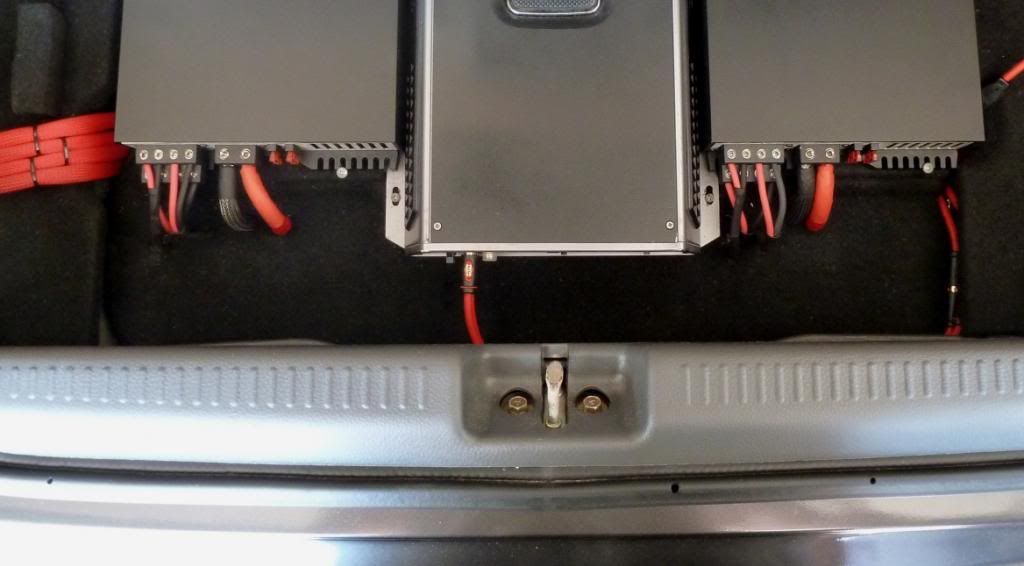
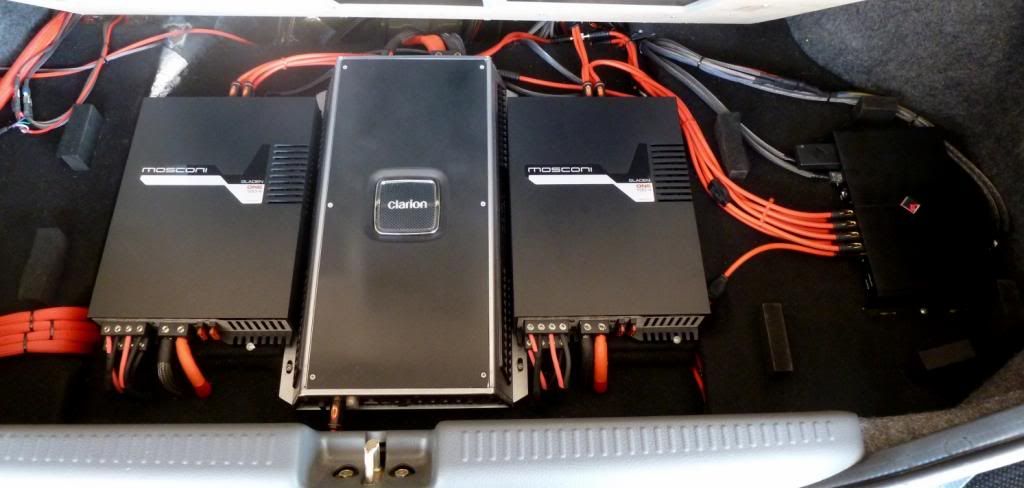
New red Ixos RCA300 cables for the trunk. Also the entire amp rack is carpeted now... not sure if I ever showed pics of that before. But here's what it looks like under the false floor now:
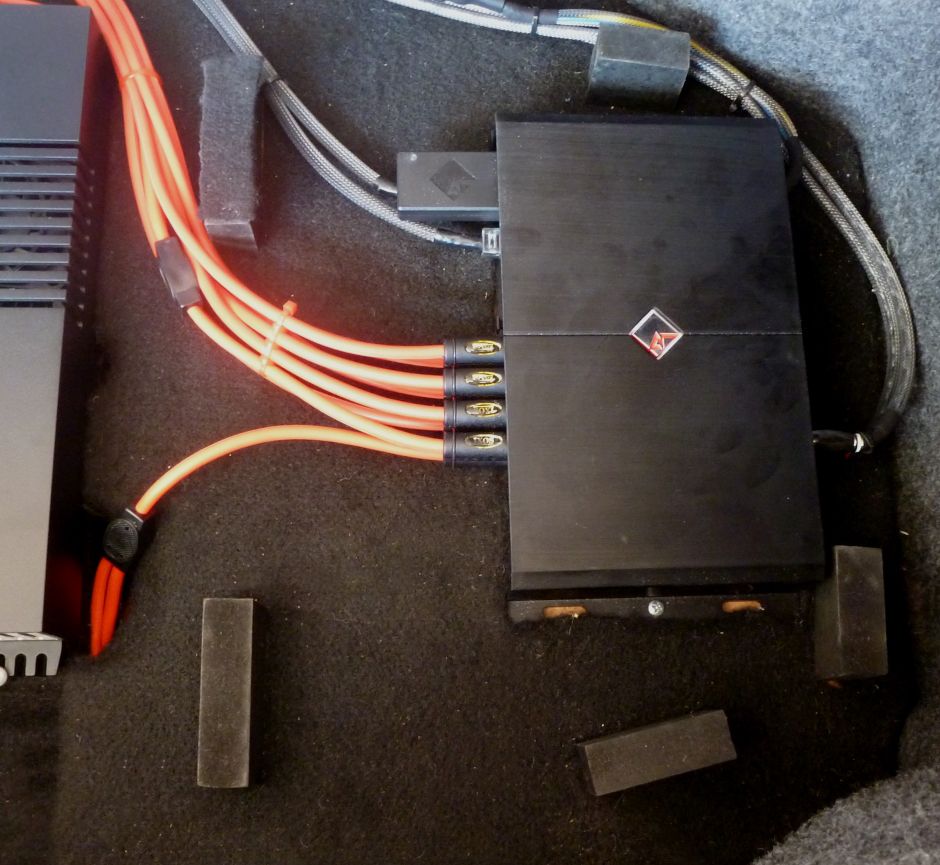
Also got a new LED control module (that's black this time) that can also make the LEDs pulse to music, because why not.
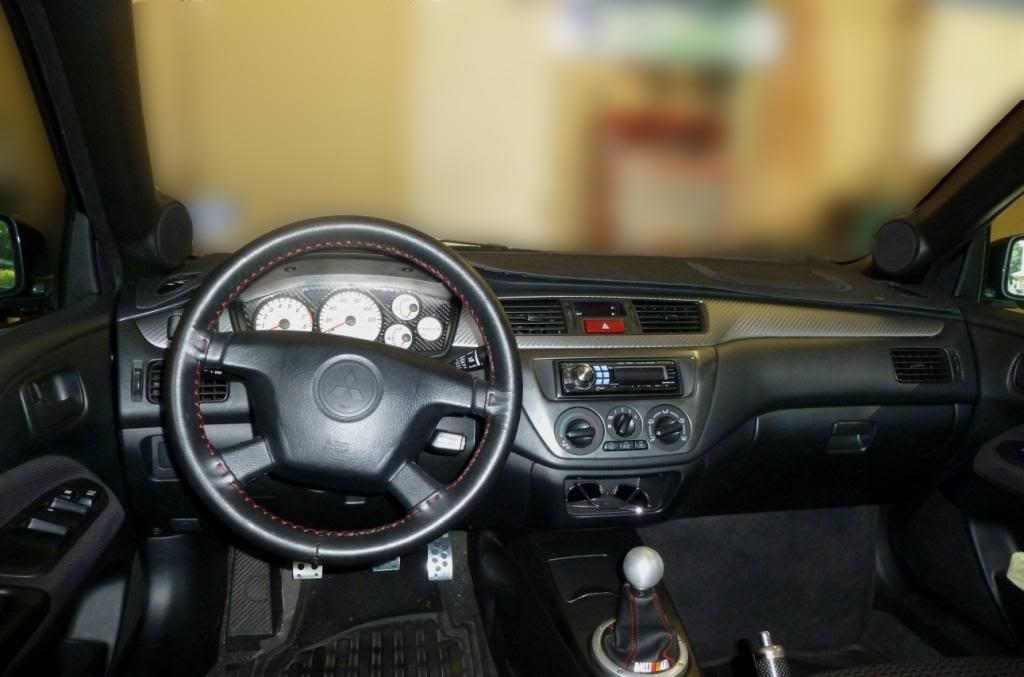
And the last piece for what will hopefully be a while... a nice carbon fiber trim piece for the gauge cluster:
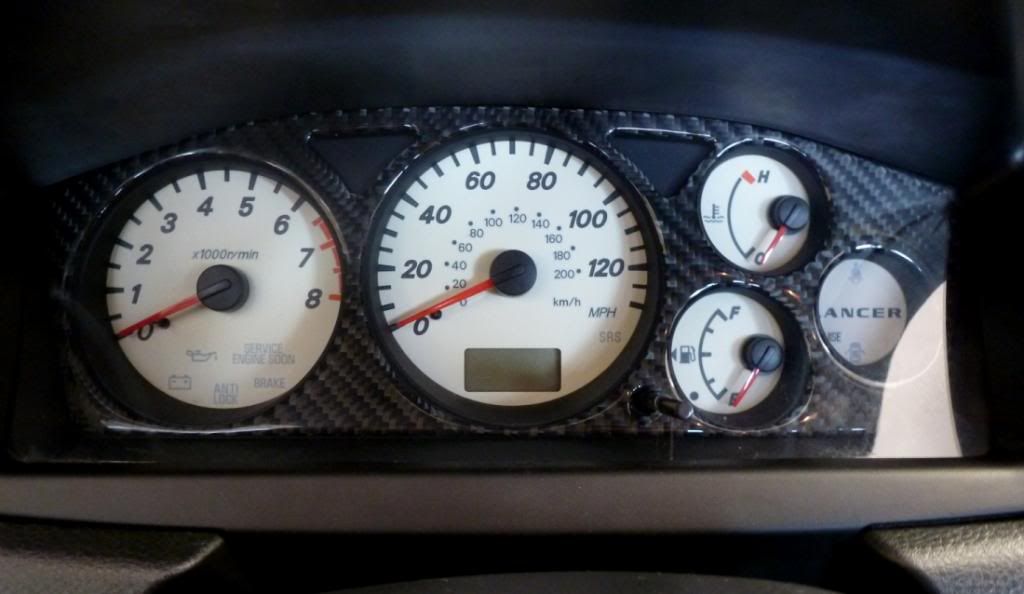
Current view from the driver's seat:
So here's some wires, wrapped in carbon Techflex and secured with zip ties.
3rd set of speaker wire running to amps now - mids and tweets on front outputs, midbass still bridged on rear of each amp.
New red Ixos RCA300 cables for the trunk. Also the entire amp rack is carpeted now... not sure if I ever showed pics of that before. But here's what it looks like under the false floor now:
Also got a new LED control module (that's black this time) that can also make the LEDs pulse to music, because why not.
And the last piece for what will hopefully be a while... a nice carbon fiber trim piece for the gauge cluster:
Current view from the driver's seat: