My 04 Thunder Grey SQ Competition Ralliart


 Sep 8, 2015, 11:04 AM
#94
Newbie
Thread Starter

Join Date: Oct 2008
Location: USA
Posts: 44
Likes: 0
Received 0 Likes
on
0 Posts
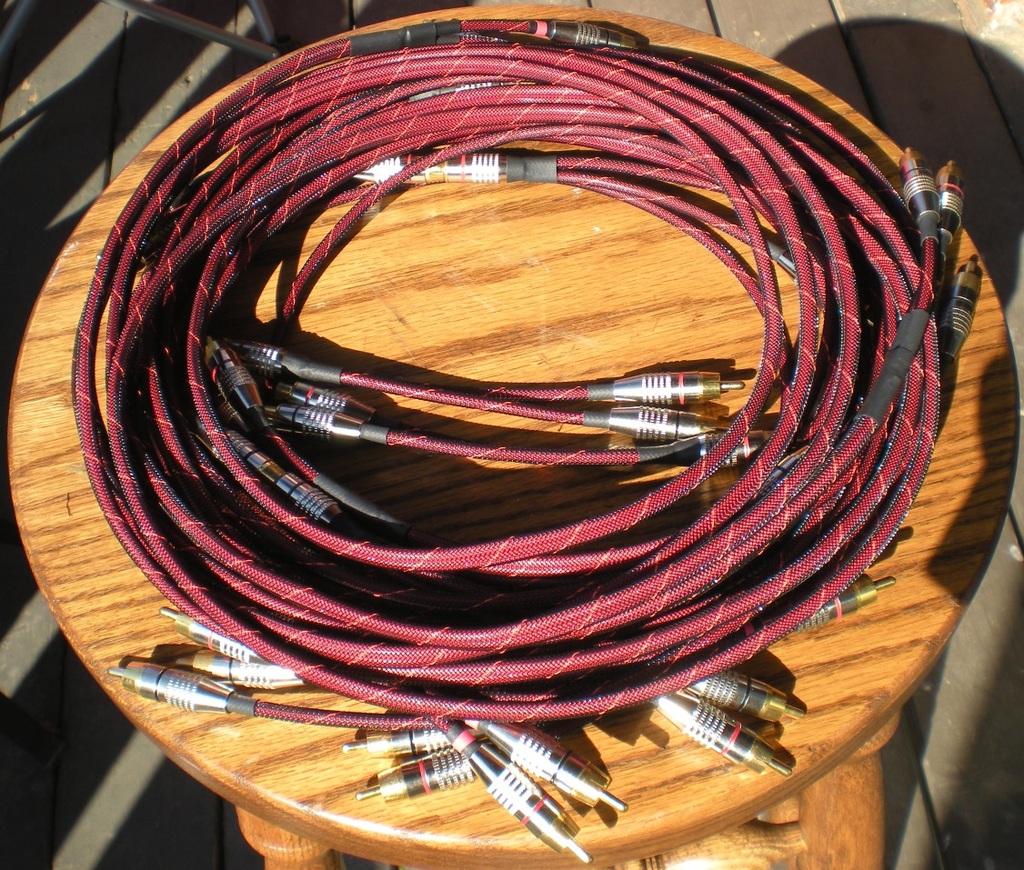
Now that I'm done flying for a little while I have a bit of time on my hands to do something I have wanted to do for a while but never had the time - make my own RCAs. I currently have some pretty nice IXOS cables but to get everything wired the way I needed required a couple different product lines. I want to make everything matching and I can't find any that I like that had all the lengths and necessary Y cables to do everything I need. Doing so also allows me to make them in the length and configuration I need rather than having extra wire to tuck away somewhere.
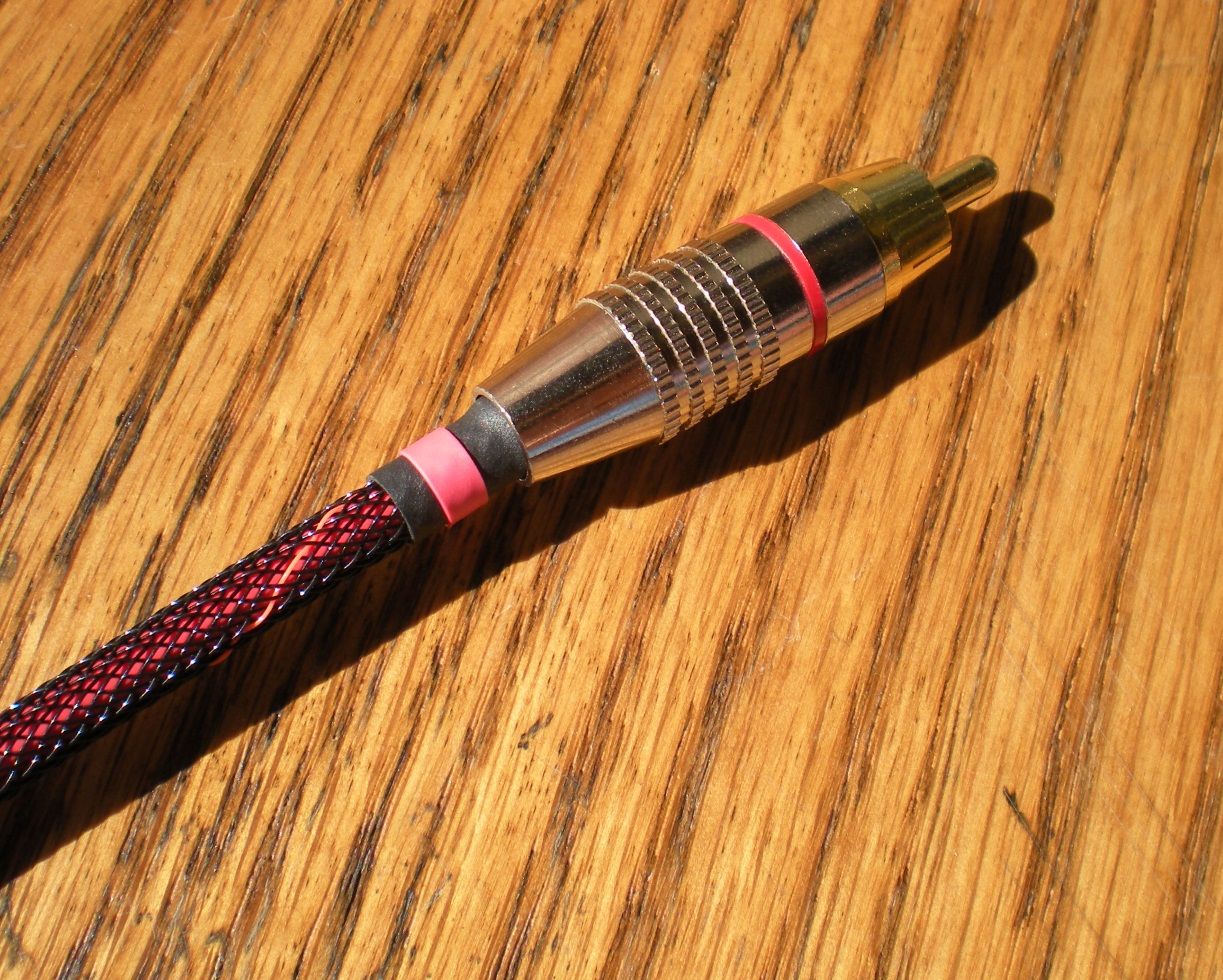
So after some research and talking to a few guys I ended up with red Gepco 61801EZ cable, some eBay RCA ends that I was able to find matching male/female versions of, red with black spiral Techflex, and some solder and heat shrink.
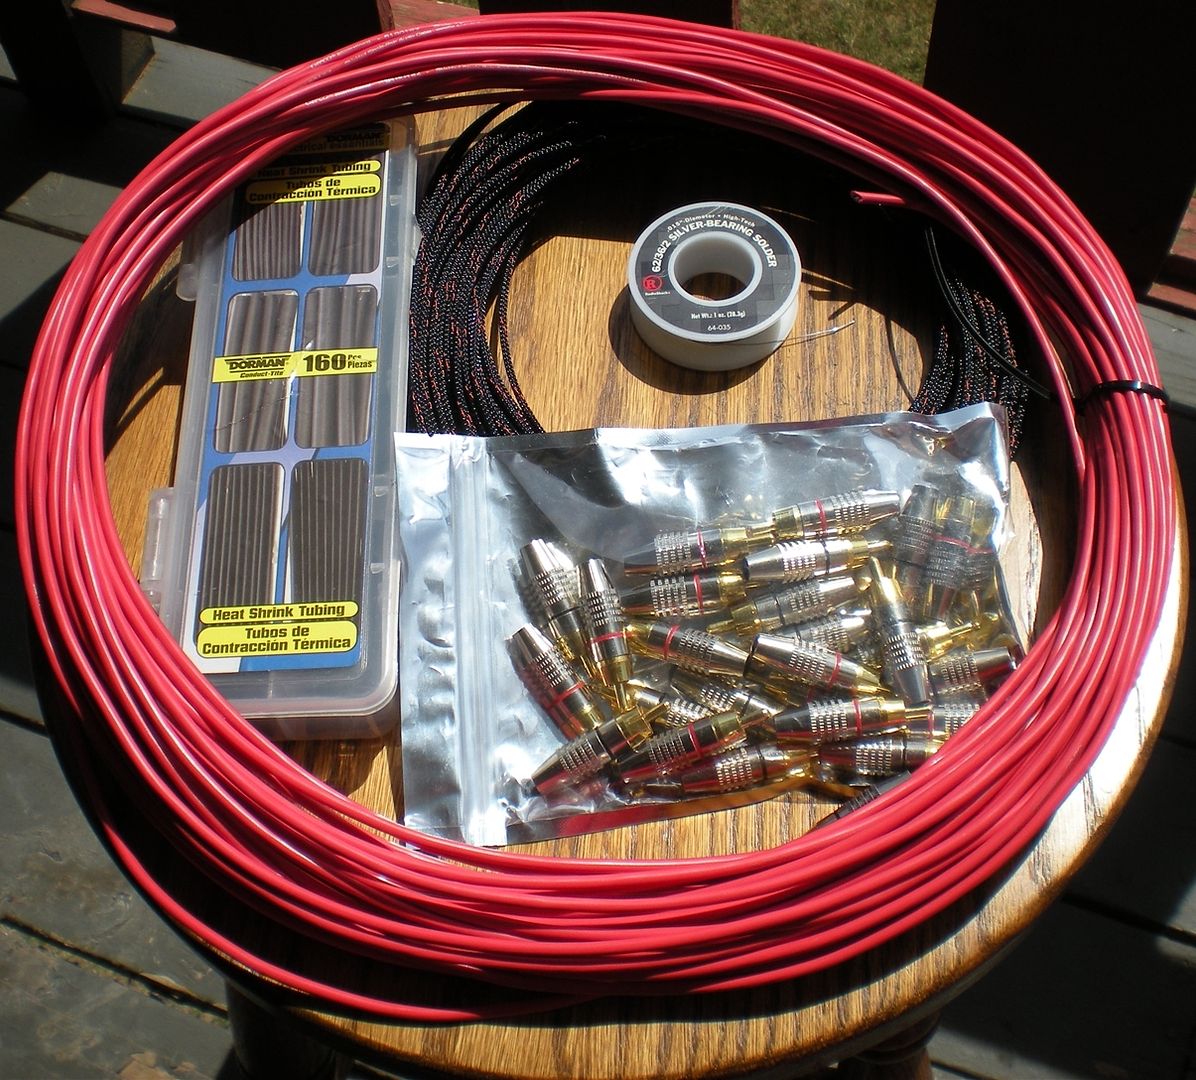
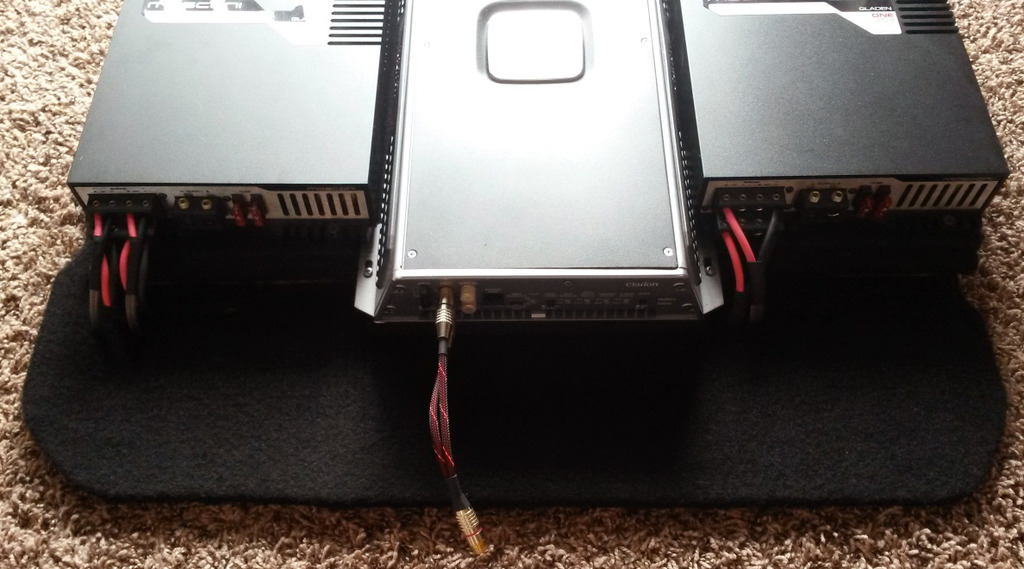
Made a 1F-2M Y adapter first to test out stripping/soldering/shrinking techniques and now have a way to do everything that I'm happy with. So here's an example of how the rest of them will look.

Here's my process:
Carefully strip the end
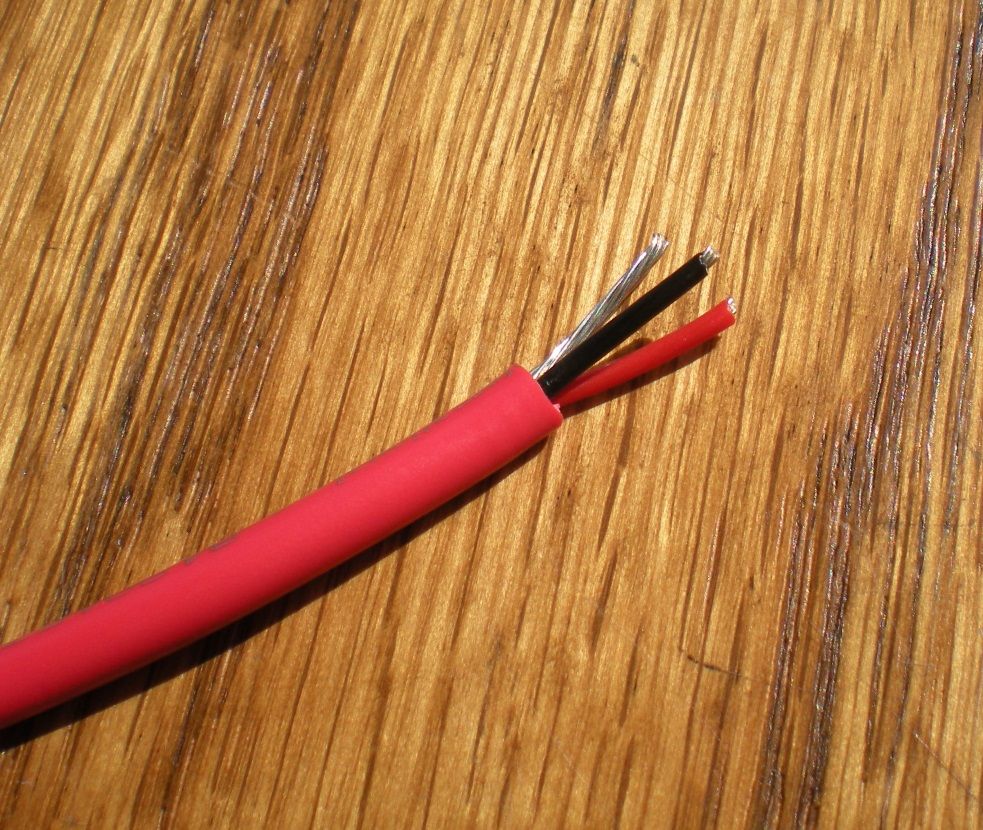
Twist together black and shield (source end)
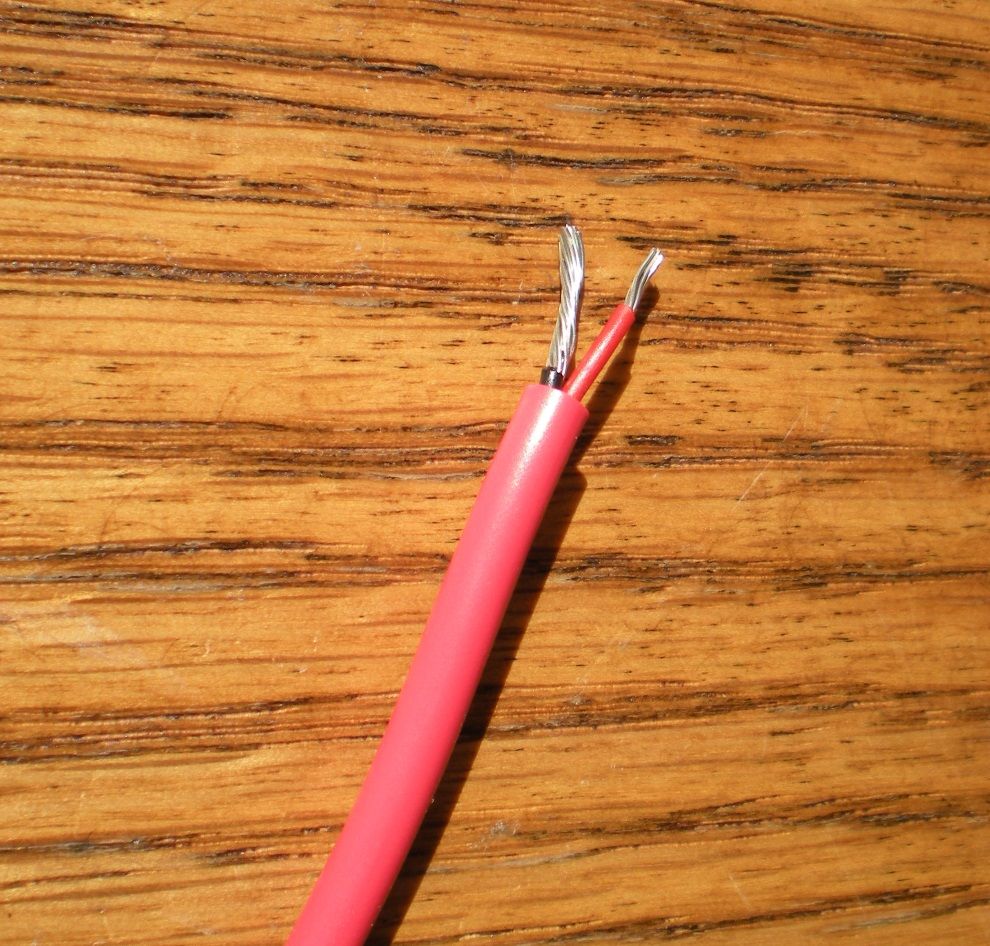
Add Techflex, insert into RCA end, screw down positive, clamp down wire
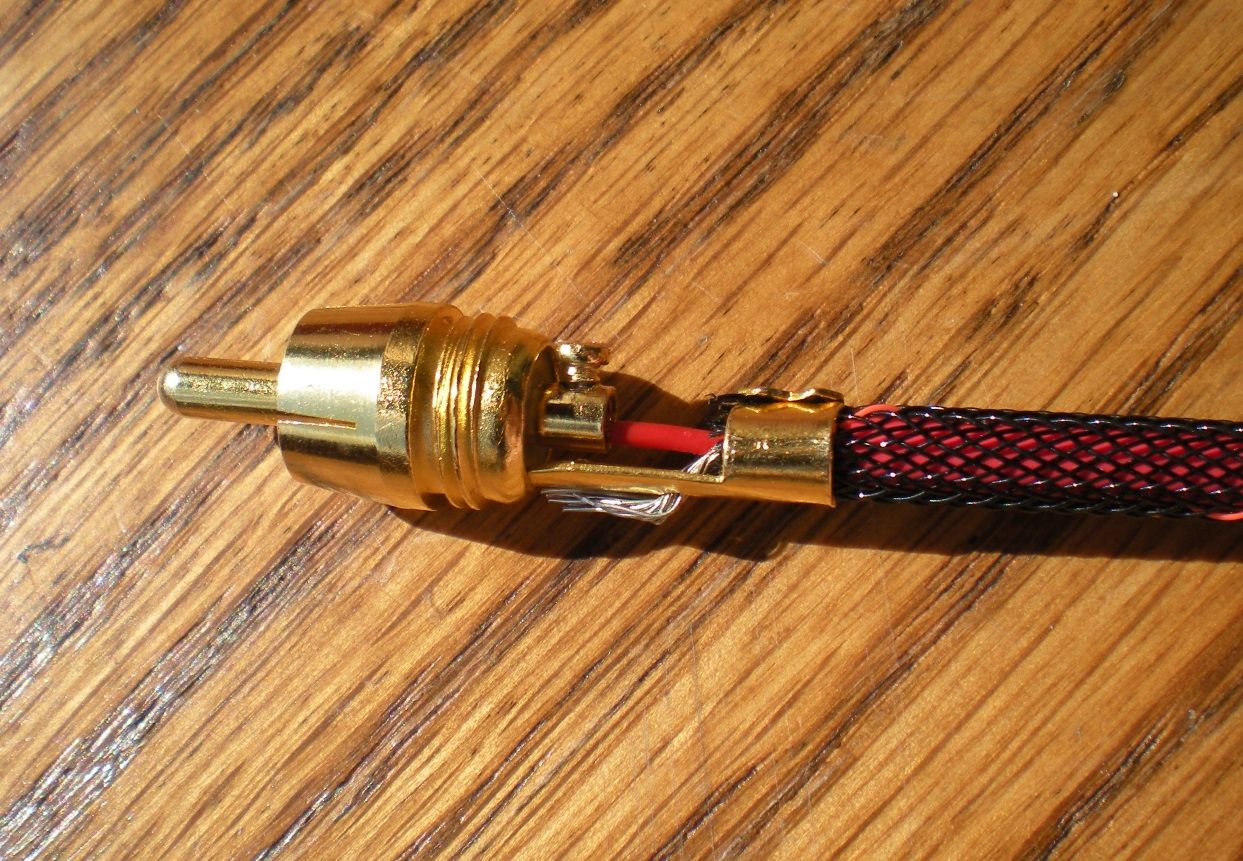
Solder ground/shield with a bead of solder running from the hole where the wire goes through all the way up to where it touches the main body to help guarantee connectivity and add strength. When soldering, I'd also plug them into a female end to keep everything perfectly centered just in case the heat made the plastic soft or something.
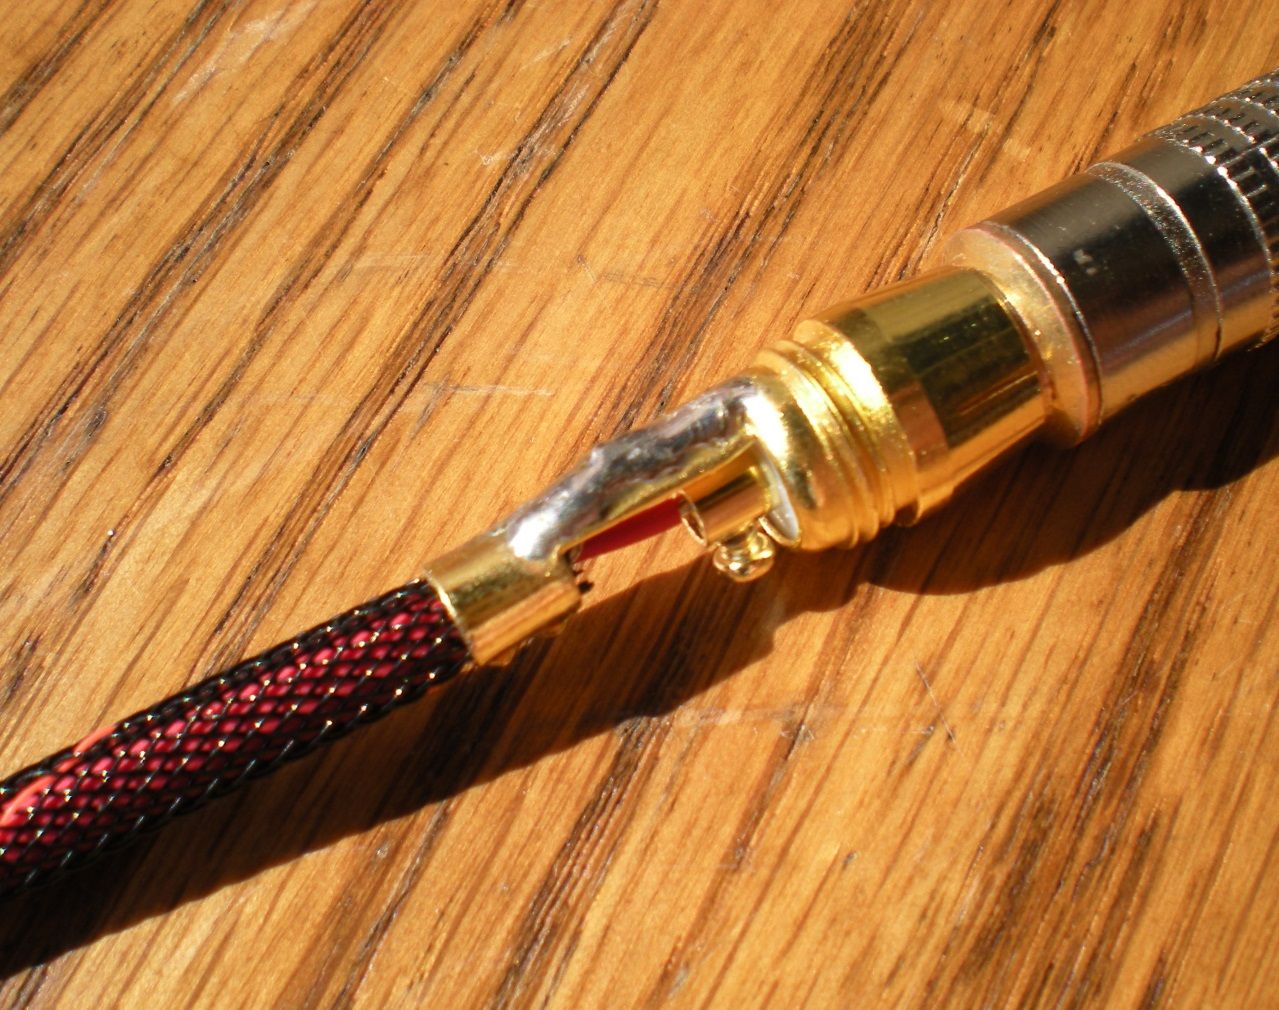
Solder the positive as well
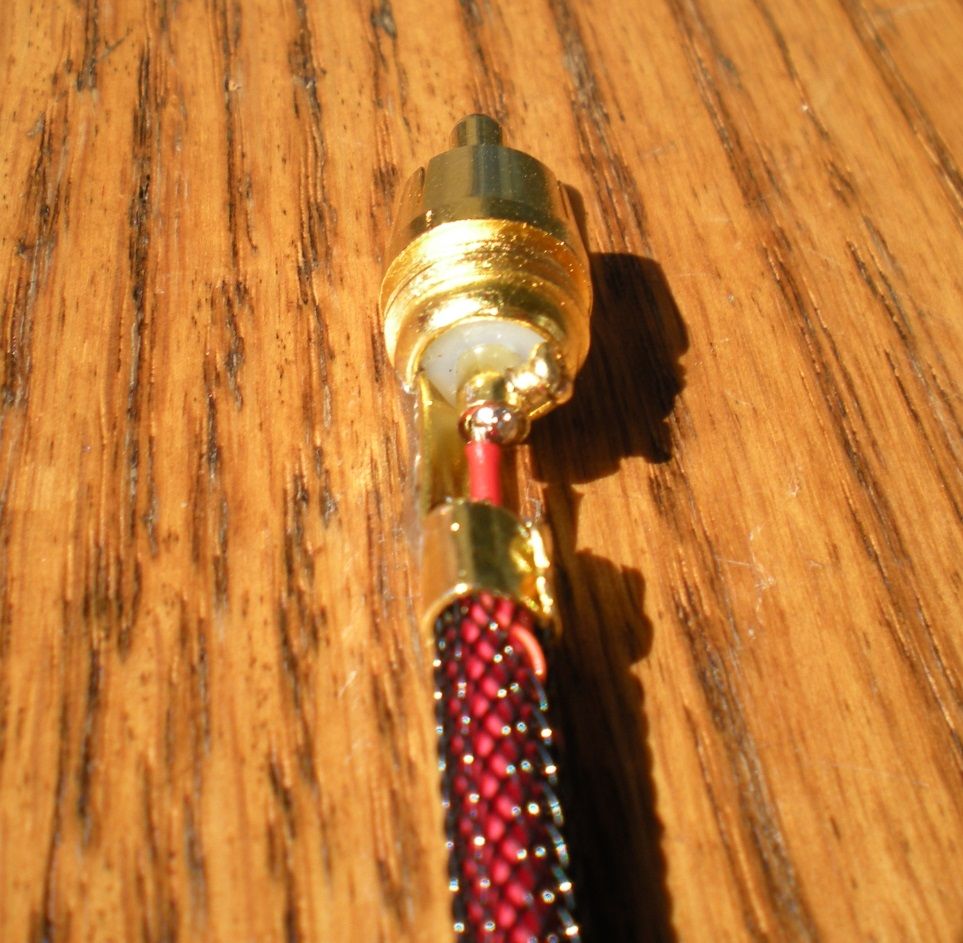
Add hot glue inside most of the plug, so nothing can move around
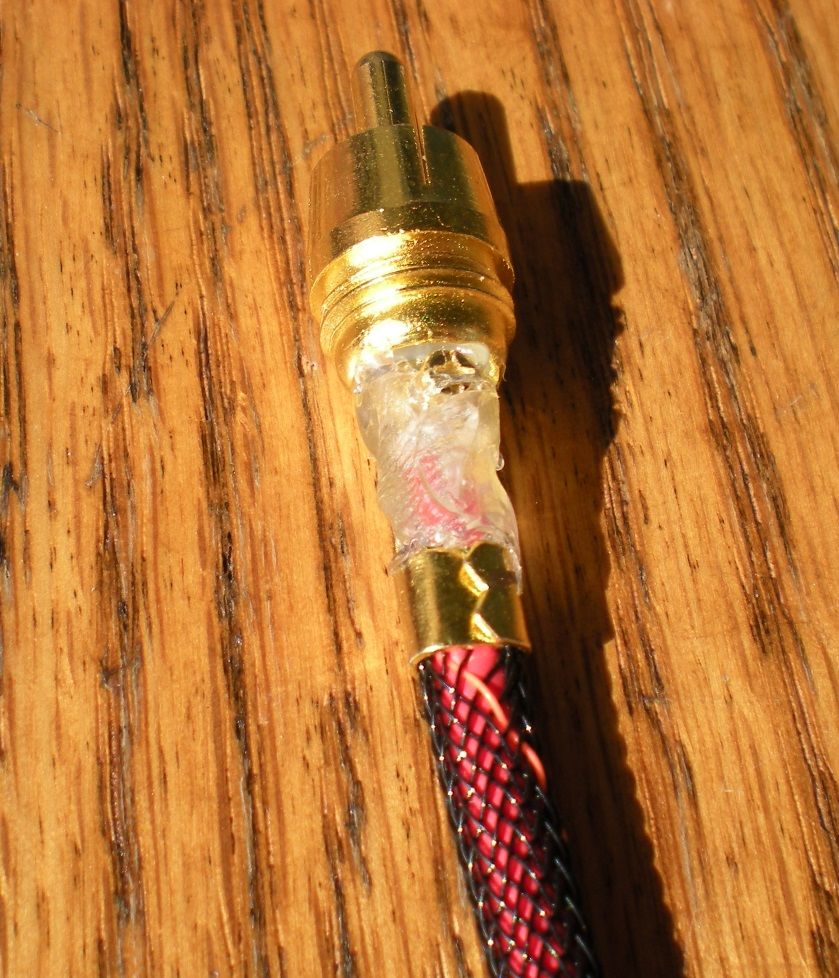
Heat shrink over it
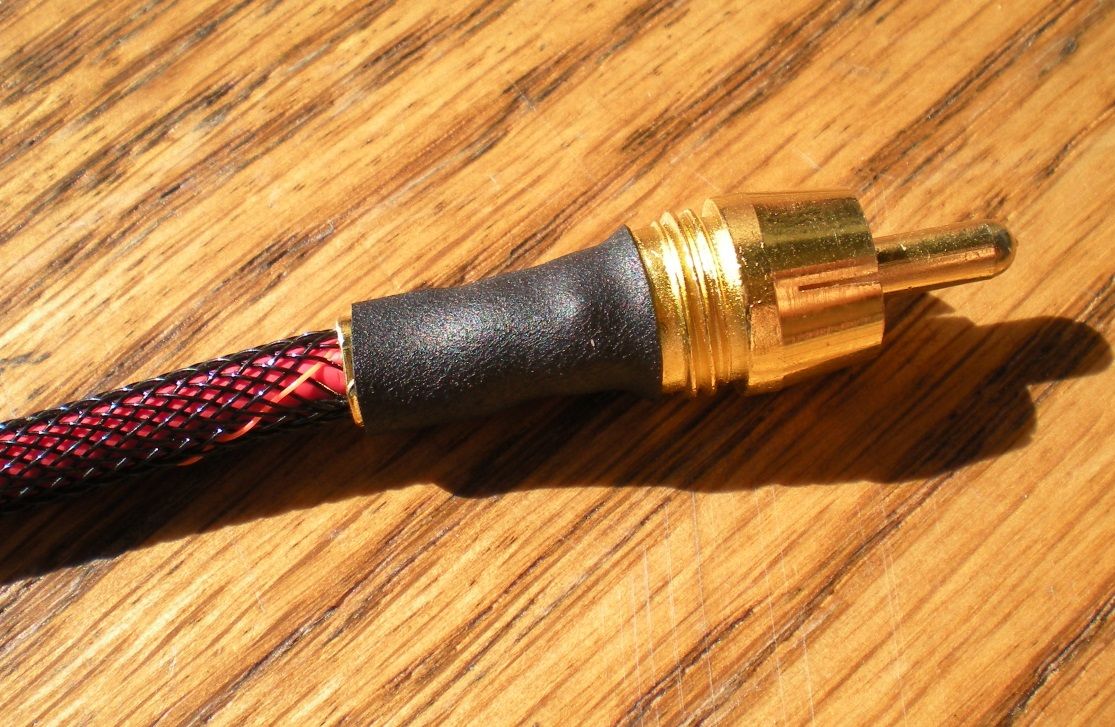
Then screw the shell of the plug on with a trail of heat shrink with extra red ring to denote source end
So after some research and talking to a few guys I ended up with red Gepco 61801EZ cable, some eBay RCA ends that I was able to find matching male/female versions of, red with black spiral Techflex, and some solder and heat shrink.
Made a 1F-2M Y adapter first to test out stripping/soldering/shrinking techniques and now have a way to do everything that I'm happy with. So here's an example of how the rest of them will look.
Here's my process:
Carefully strip the end
Twist together black and shield (source end)
Add Techflex, insert into RCA end, screw down positive, clamp down wire
Solder ground/shield with a bead of solder running from the hole where the wire goes through all the way up to where it touches the main body to help guarantee connectivity and add strength. When soldering, I'd also plug them into a female end to keep everything perfectly centered just in case the heat made the plastic soft or something.
Solder the positive as well
Add hot glue inside most of the plug, so nothing can move around
Heat shrink over it
Then screw the shell of the plug on with a trail of heat shrink with extra red ring to denote source end
 Sep 11, 2015, 08:21 PM
#97
Newbie
Thread Starter
Join Date: Oct 2008
Location: USA
Posts: 44
Likes: 0
Received 0 Likes
on
0 Posts
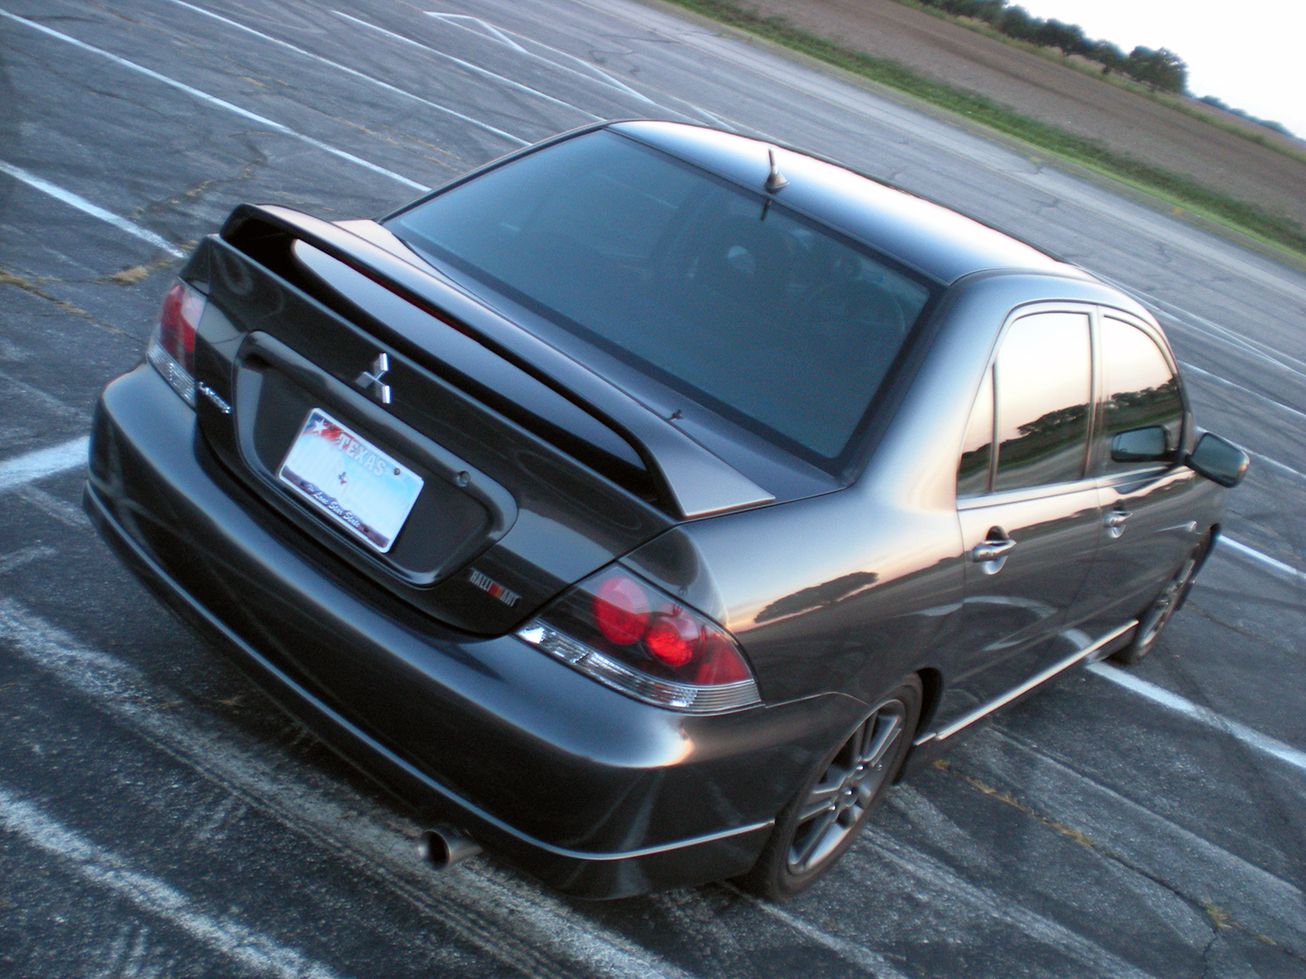
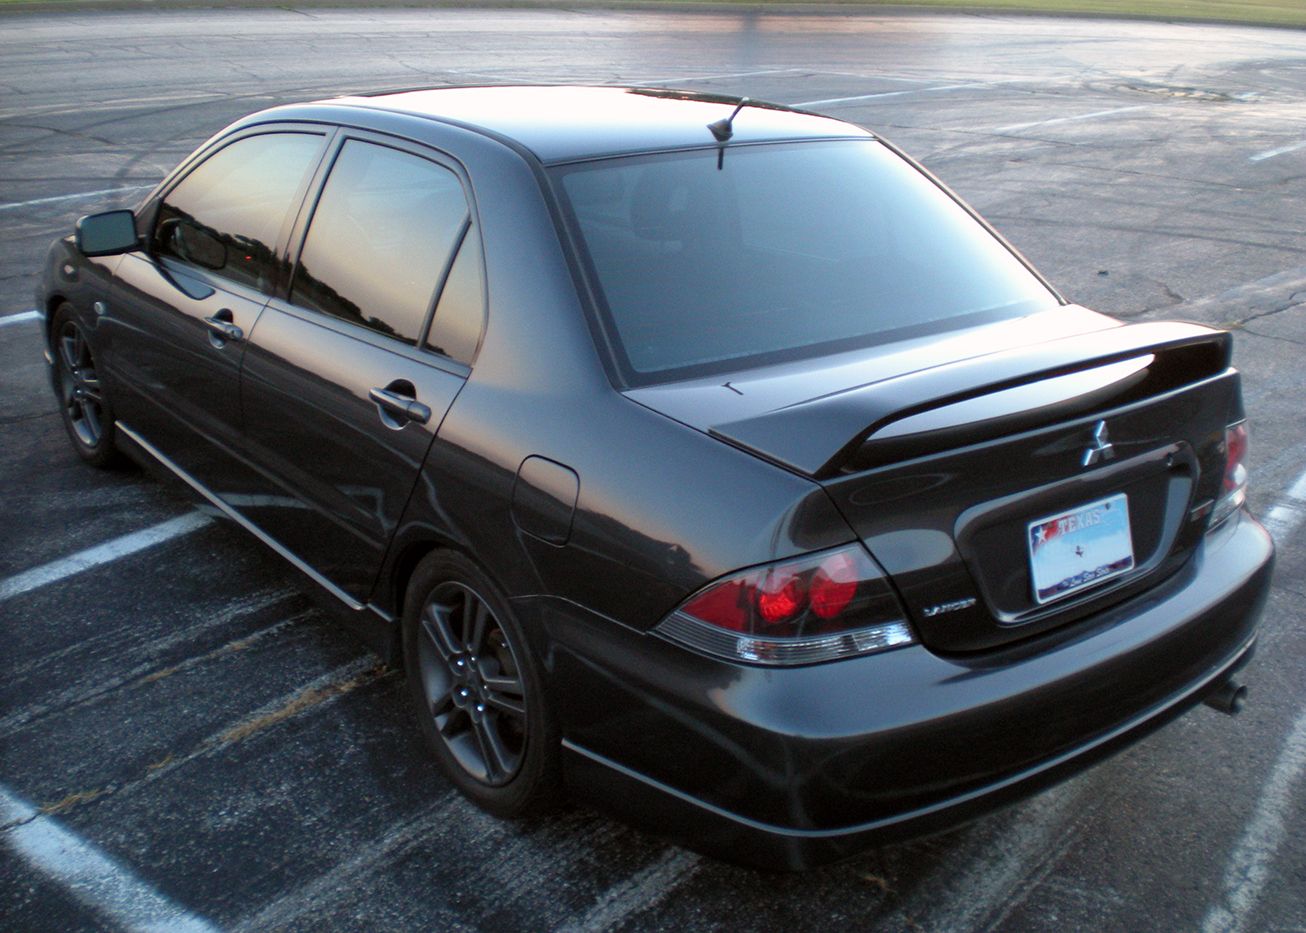
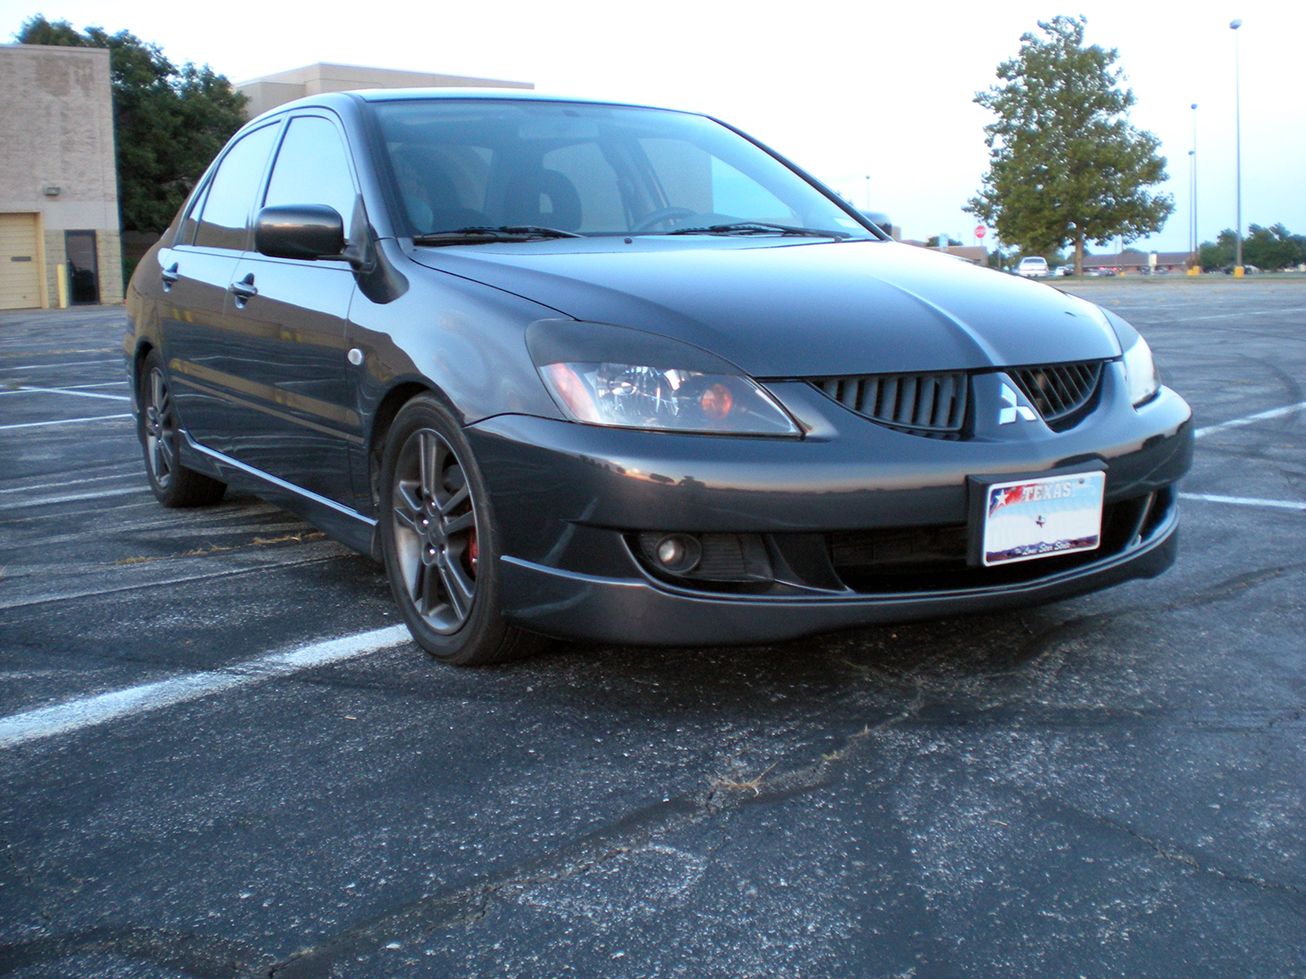
Took some pictures after a wash but I guess it was just a bit too dark for my little camera - they didn't come out as nice as I was hoping but here's a couple that didn't suck too bad. Of course it rained the next day...

Sep 23, 2015, 06:46 PM
#98
Newbie
Thread Starter
Join Date: Oct 2008
Location: USA
Posts: 44
Likes: 0
Received 0 Likes
on
0 Posts
More updates.
Got the RCAs done.
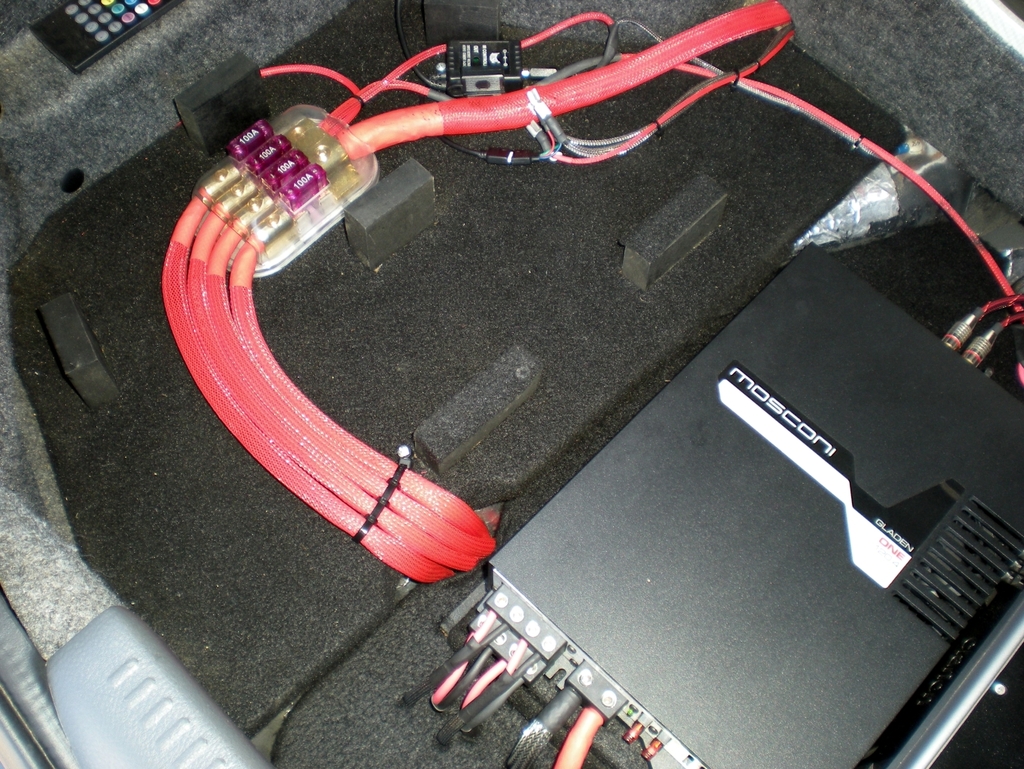
Along with the RCAs, I'm also doing some work to tidy up more of the wiring in the trunk. Screw down zip ties, barrier strips, etc.
Next up, new front sub. I had the Alpine Type R.
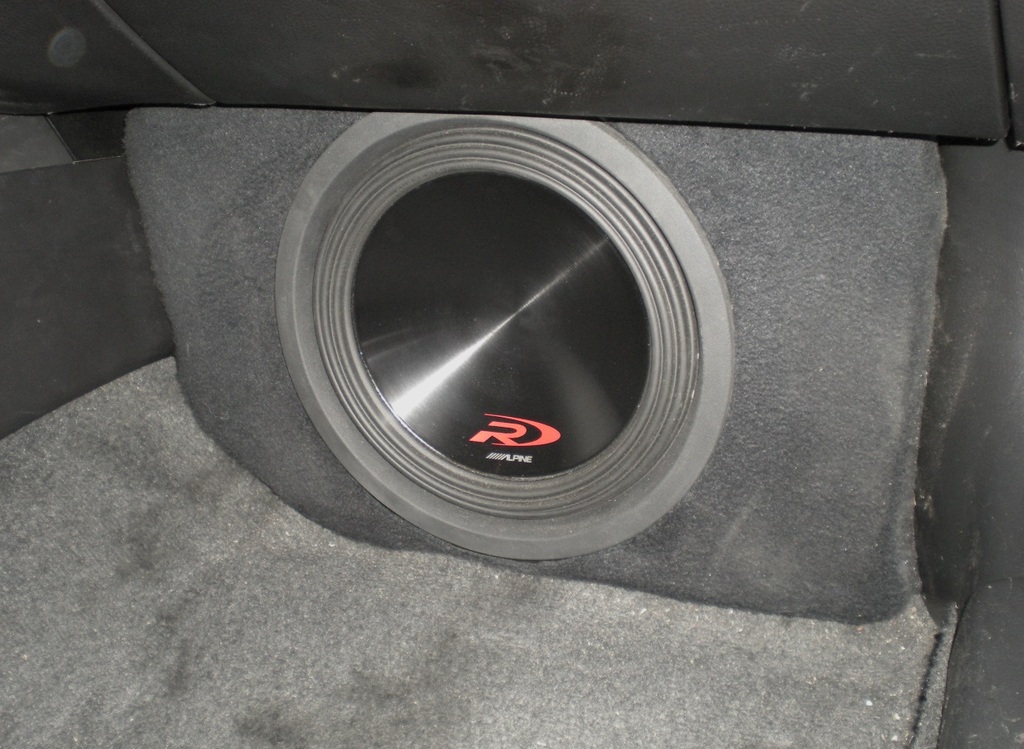
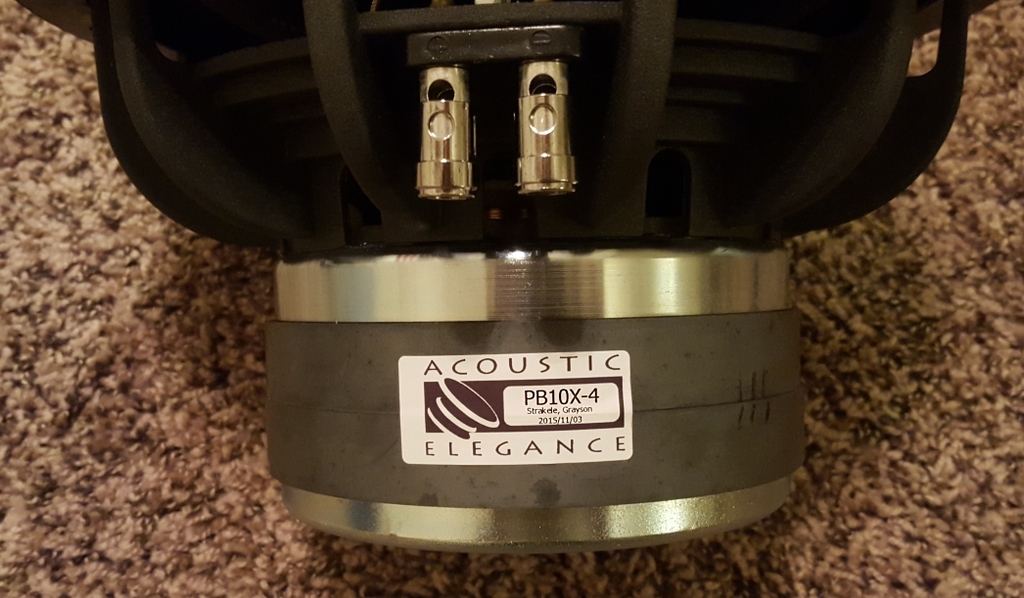
Out with the old, in with the new. Acoustic Elegance TD10X-4.
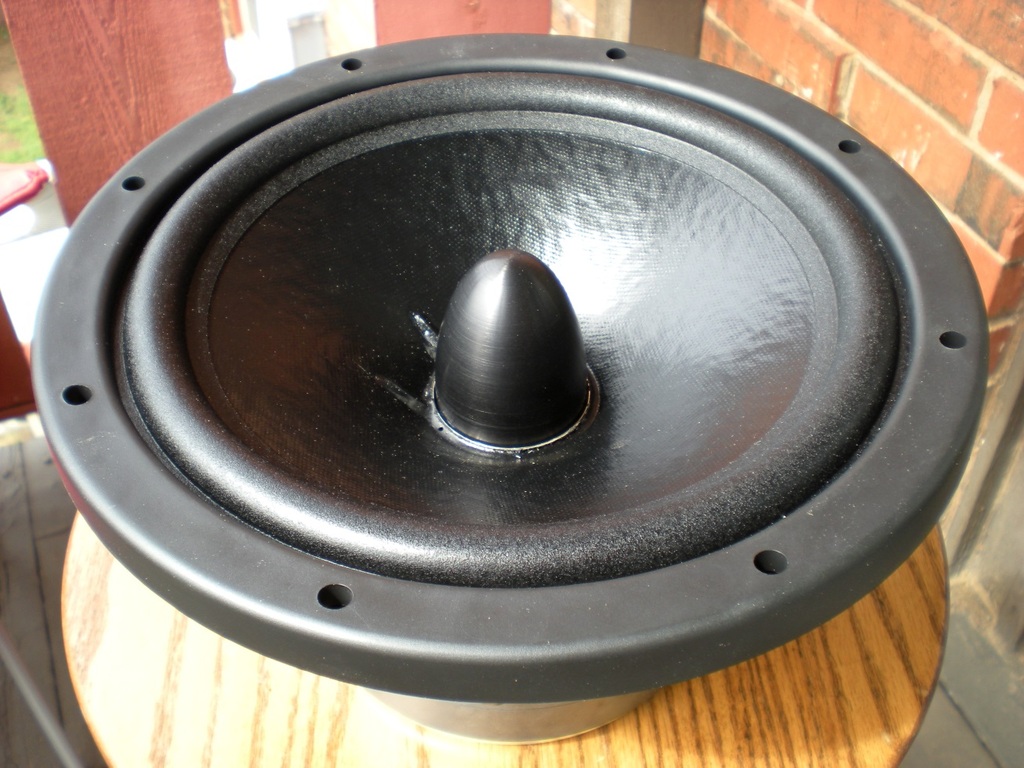
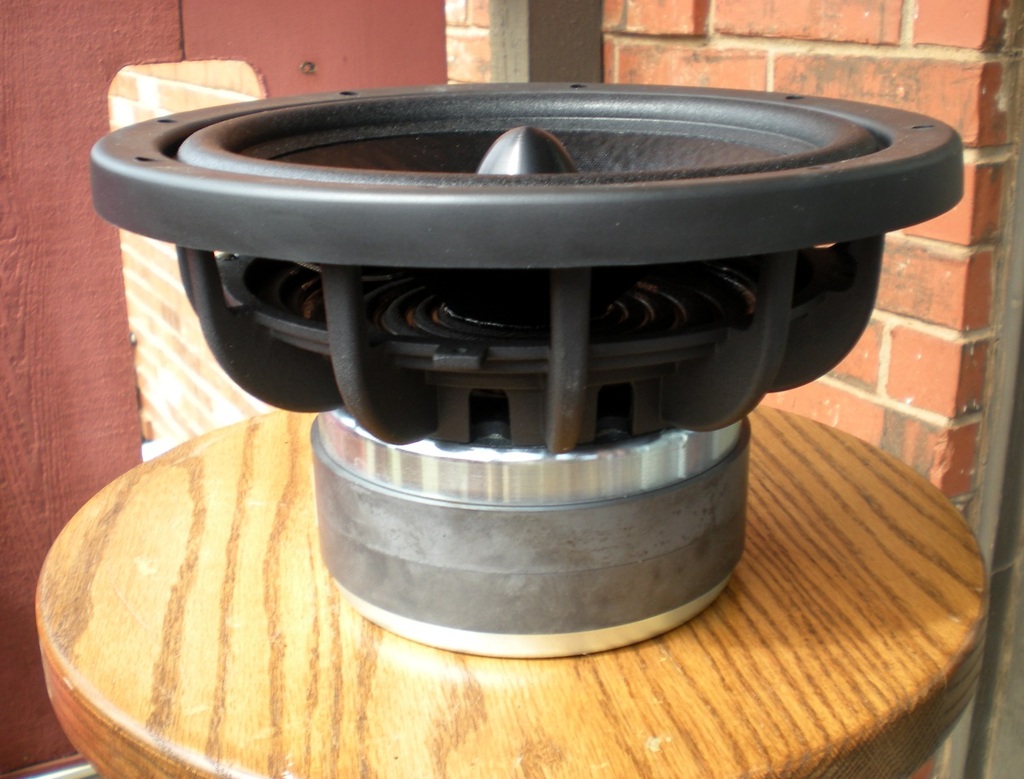
With the direction I'm going with the system now, I'm less concerned with being able to get under 20Hz from the front sub enclosure and am instead looking for more detail/attack/impact and a higher efficiency, higher energy type sound. This sub, while providing just a hair less output in the low bass, is nearly a full 10 dB more efficient than the Alpine. And in the enclosure I have, has a lower qtc. All of which I'm hoping will provide the sound I'm looking for. The Alpine was a beast. It could get looow and loud and pound. No EQ necessary to get 20Hz flat. But the box was a bit too small for it so it could be a bit muddy in the midbass.
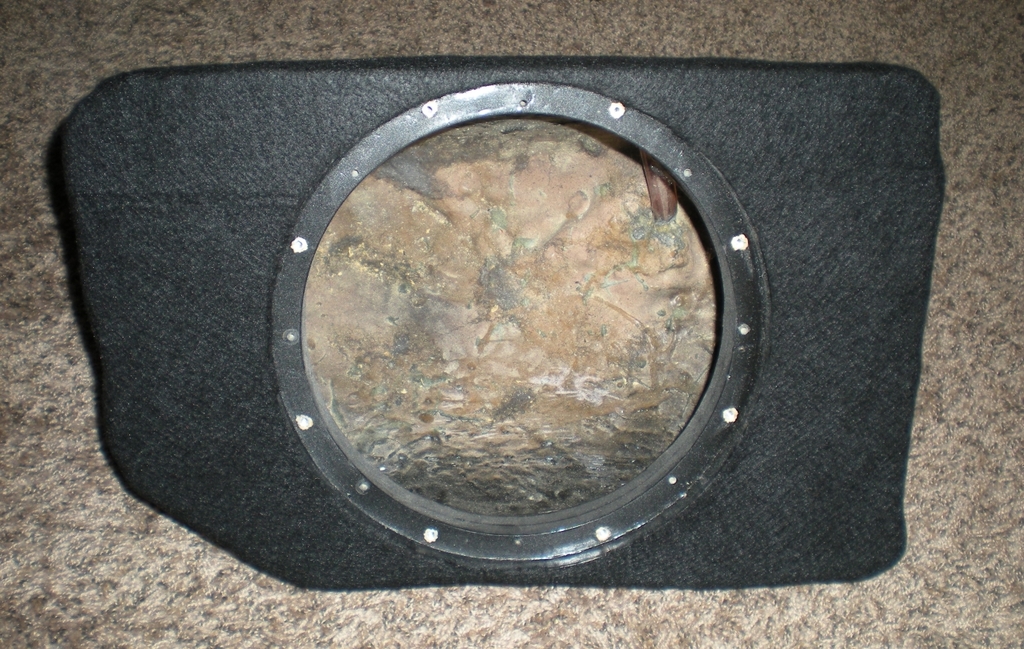
So, pulled the old sub out and all the carpet and stuffing as well and gave it a quick sand. I had to enlarge the mounting hole by 1/8 inch for the new sub to fit.
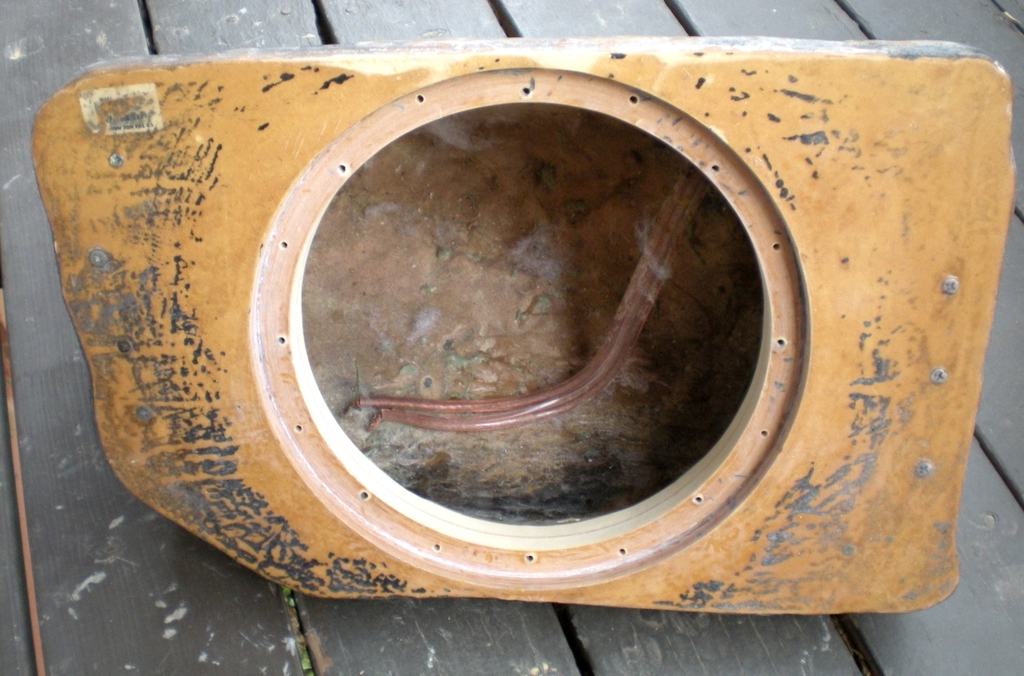
Shot it with some random black spray just to keep it dark.
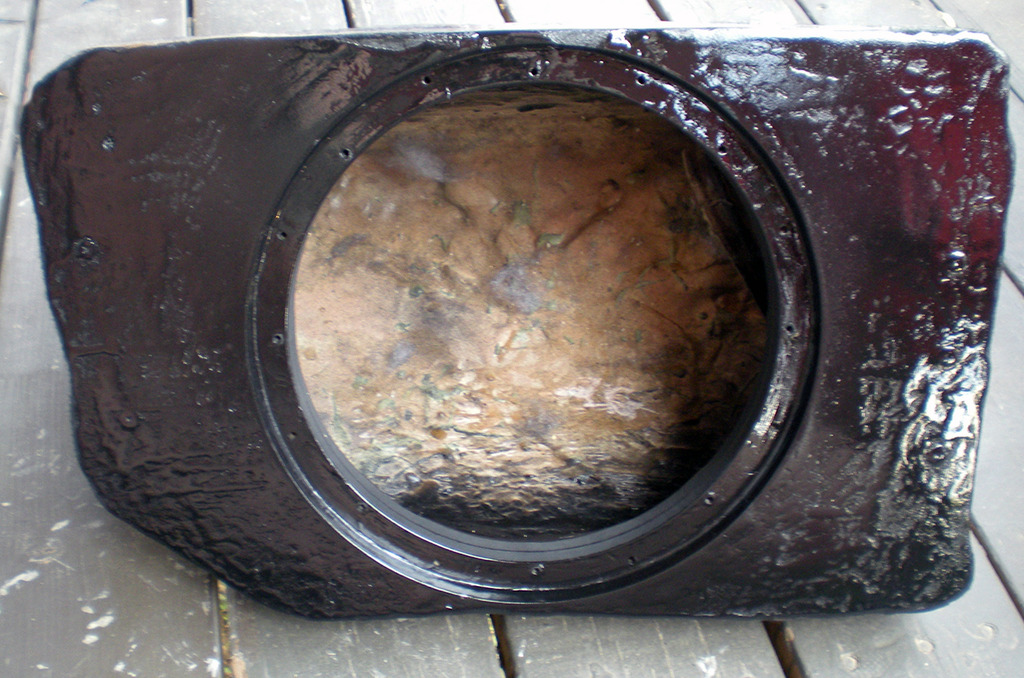
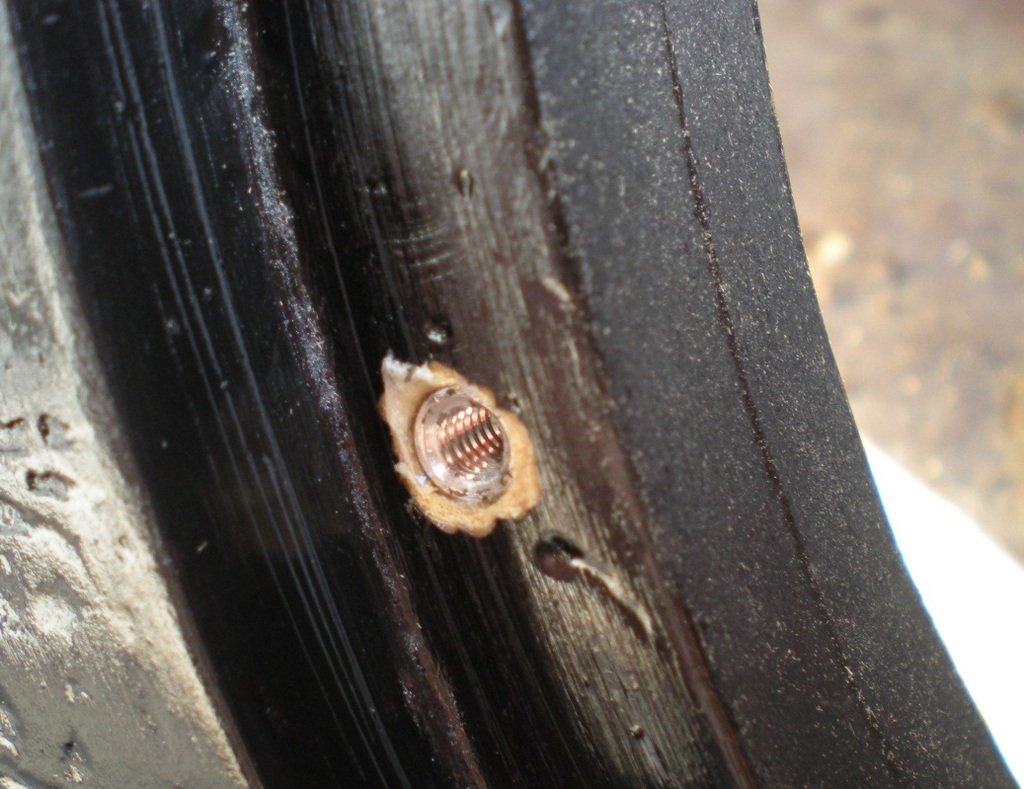
Hammered in some threaded inserts so I can use machine screws to mount the subs.
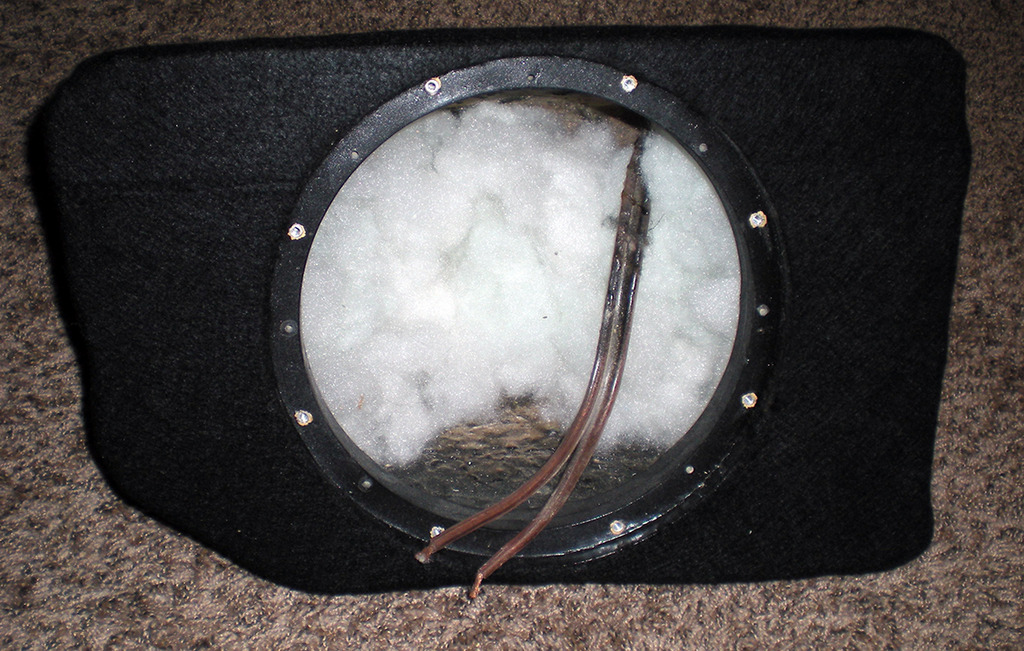
Re-carpeted
And stuffed with some polyfill
Gonna free air test the new sub then get it mounted and installed after I run the new RCAs.
Hoping to be done with everything by tomorrow.
Got the RCAs done.
Along with the RCAs, I'm also doing some work to tidy up more of the wiring in the trunk. Screw down zip ties, barrier strips, etc.
Next up, new front sub. I had the Alpine Type R.
Out with the old, in with the new. Acoustic Elegance TD10X-4.
With the direction I'm going with the system now, I'm less concerned with being able to get under 20Hz from the front sub enclosure and am instead looking for more detail/attack/impact and a higher efficiency, higher energy type sound. This sub, while providing just a hair less output in the low bass, is nearly a full 10 dB more efficient than the Alpine. And in the enclosure I have, has a lower qtc. All of which I'm hoping will provide the sound I'm looking for. The Alpine was a beast. It could get looow and loud and pound. No EQ necessary to get 20Hz flat. But the box was a bit too small for it so it could be a bit muddy in the midbass.
So, pulled the old sub out and all the carpet and stuffing as well and gave it a quick sand. I had to enlarge the mounting hole by 1/8 inch for the new sub to fit.
Shot it with some random black spray just to keep it dark.
Hammered in some threaded inserts so I can use machine screws to mount the subs.
Re-carpeted
And stuffed with some polyfill
Gonna free air test the new sub then get it mounted and installed after I run the new RCAs.
Hoping to be done with everything by tomorrow.
Last edited by strakele; Sep 24, 2015 at 07:02 AM.
Sep 24, 2015, 03:05 PM
#100
Newbie
Thread Starter
Join Date: Oct 2008
Location: USA
Posts: 44
Likes: 0
Received 0 Likes
on
0 Posts
Hadn't really thought about it, but now that you mention it, spacing them out a bit to be a little more flush with the fenders would look good.
Is there a common size/brand that's recommended for the stock wheels?
Is there a common size/brand that's recommended for the stock wheels?
Oct 28, 2015, 02:53 PM
#101
Newbie
Thread Starter
Join Date: Oct 2008
Location: USA
Posts: 44
Likes: 0
Received 0 Likes
on
0 Posts
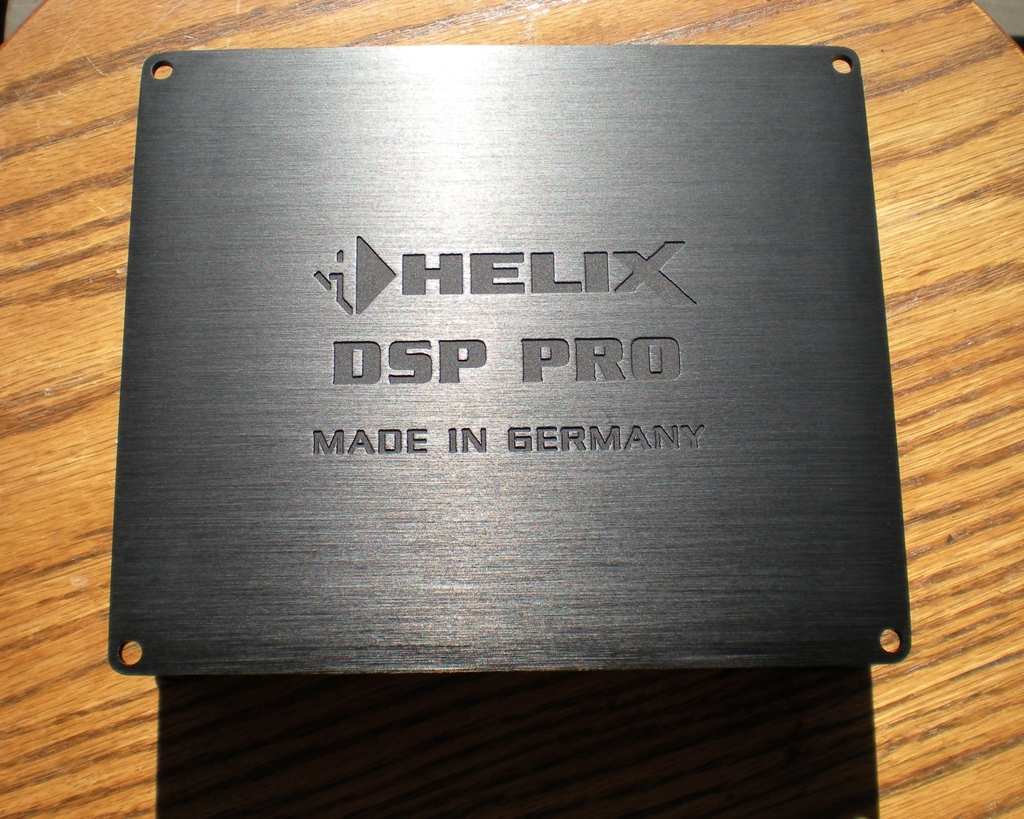
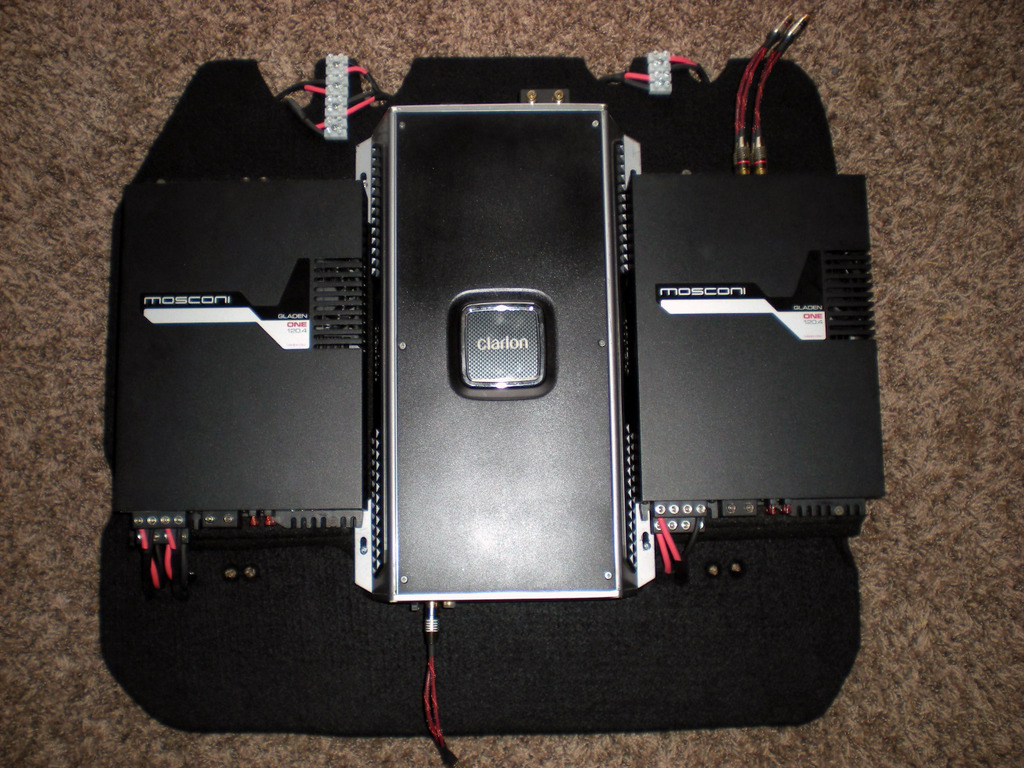
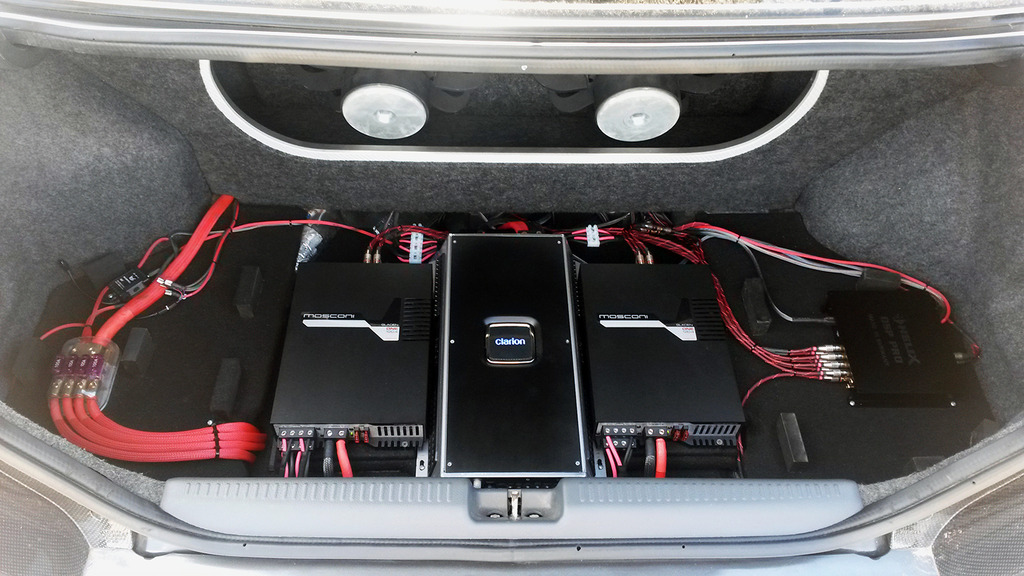
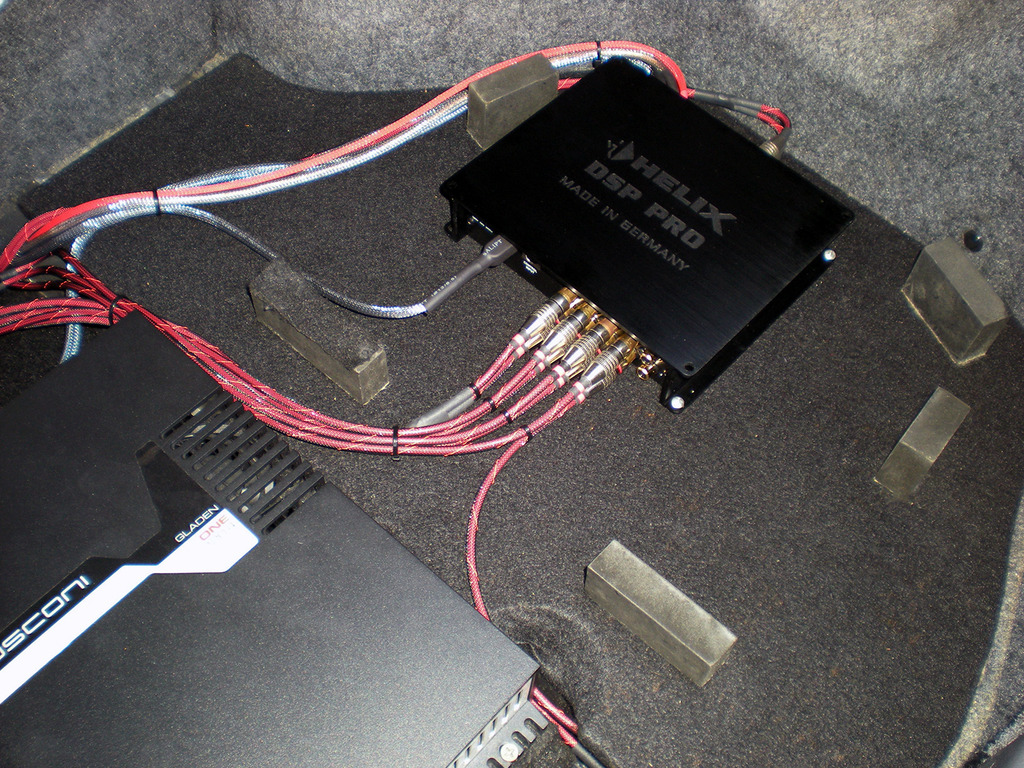
Finally got the wiring finished up! All new matching RCAs, barrier strips for speaker wire, zip ties, etc. Also, new Helix DSP Pro is replacing the Mosconi 6to8.
The AE sub with the phase plug had some air noise so it's being replaced with a custom dust cap version.
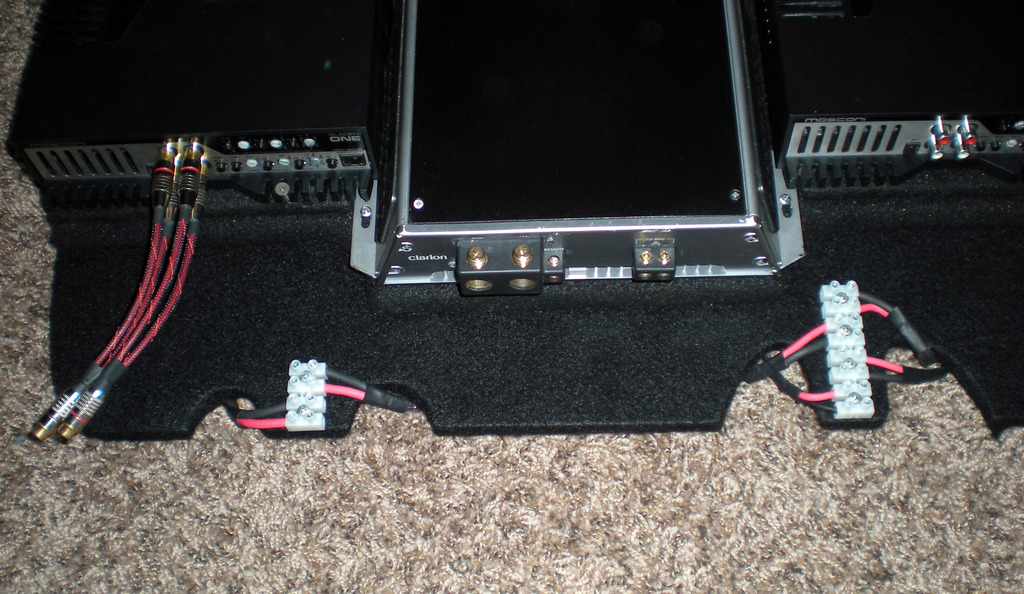
Post barrier strip speaker wire ran under amp platform with screw down zip ties.
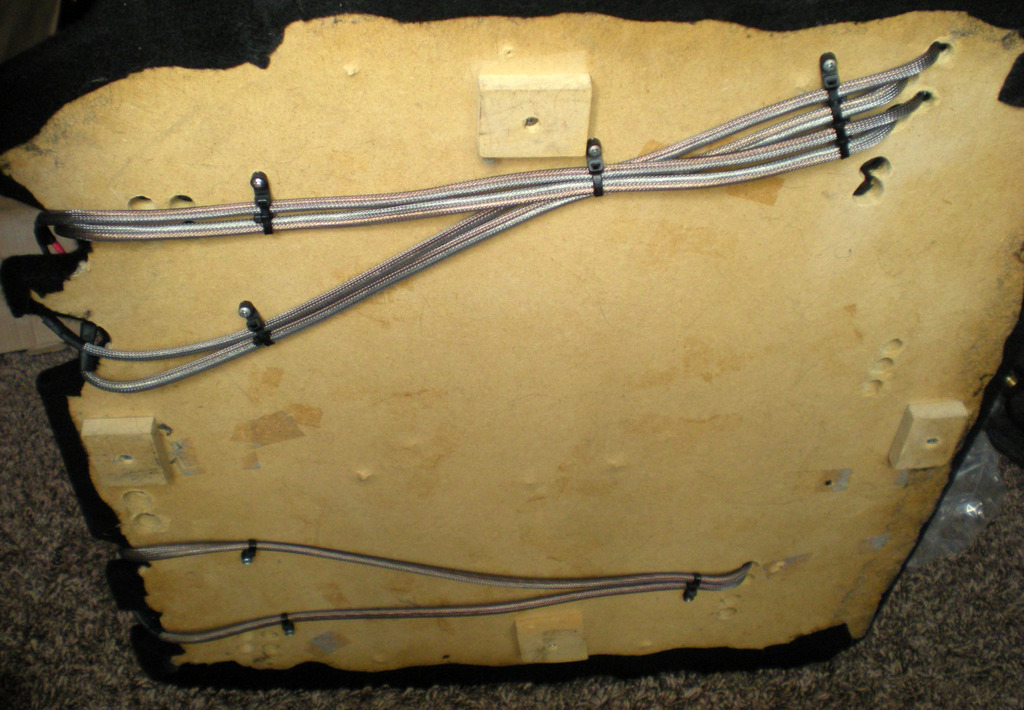
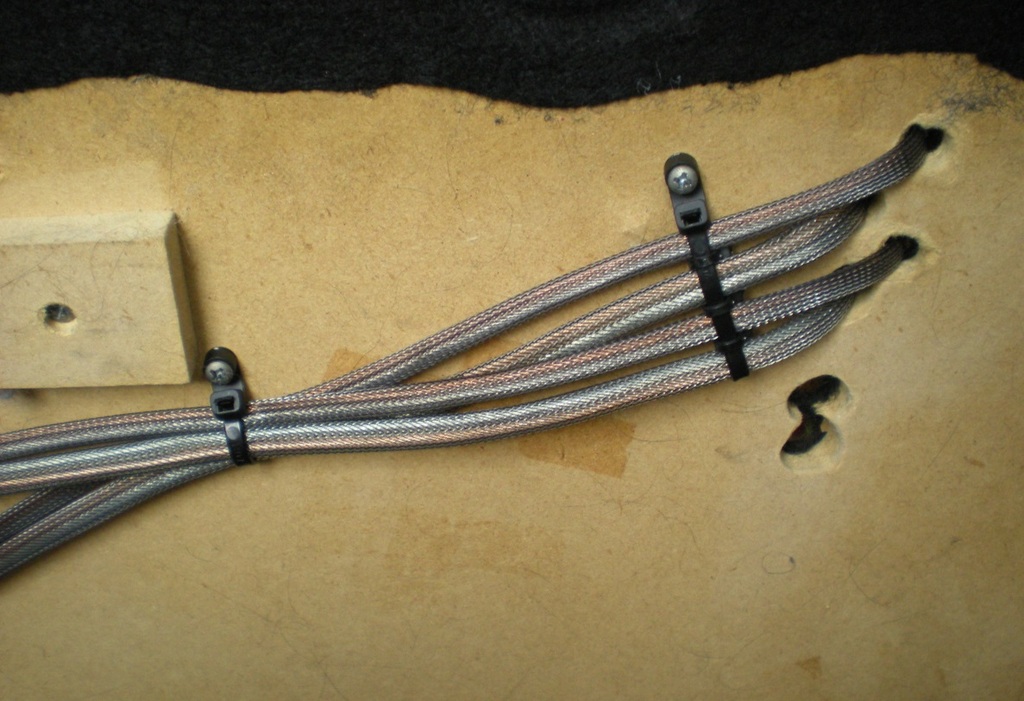
Platform pre-wired as much as possible:
And then back in the car.
Before:
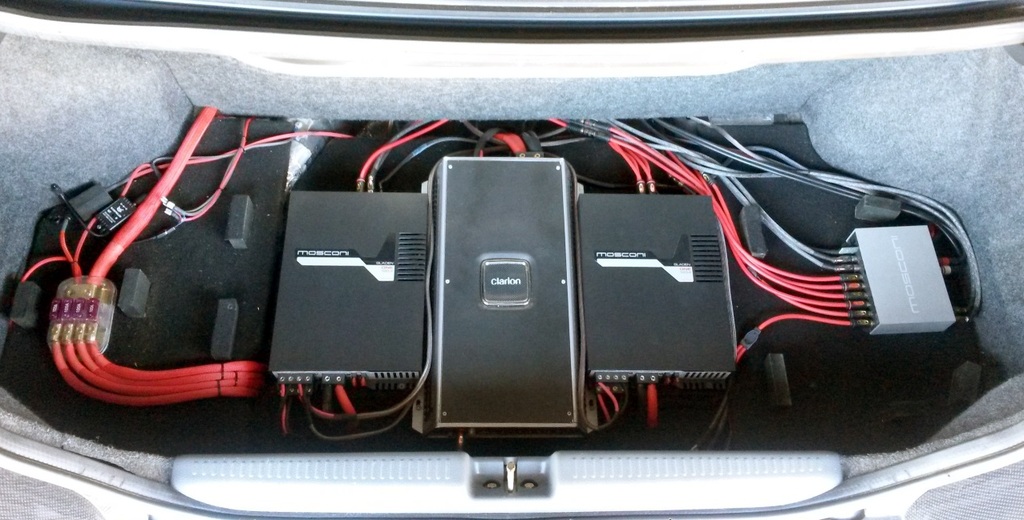
After:

The AE sub with the phase plug had some air noise so it's being replaced with a custom dust cap version.
Post barrier strip speaker wire ran under amp platform with screw down zip ties.
Platform pre-wired as much as possible:
And then back in the car.
Before:
After:
 Nov 9, 2015, 07:46 PM
#103
Newbie
Thread Starter
Join Date: Oct 2008
Location: USA
Posts: 44
Likes: 0
Received 0 Likes
on
0 Posts
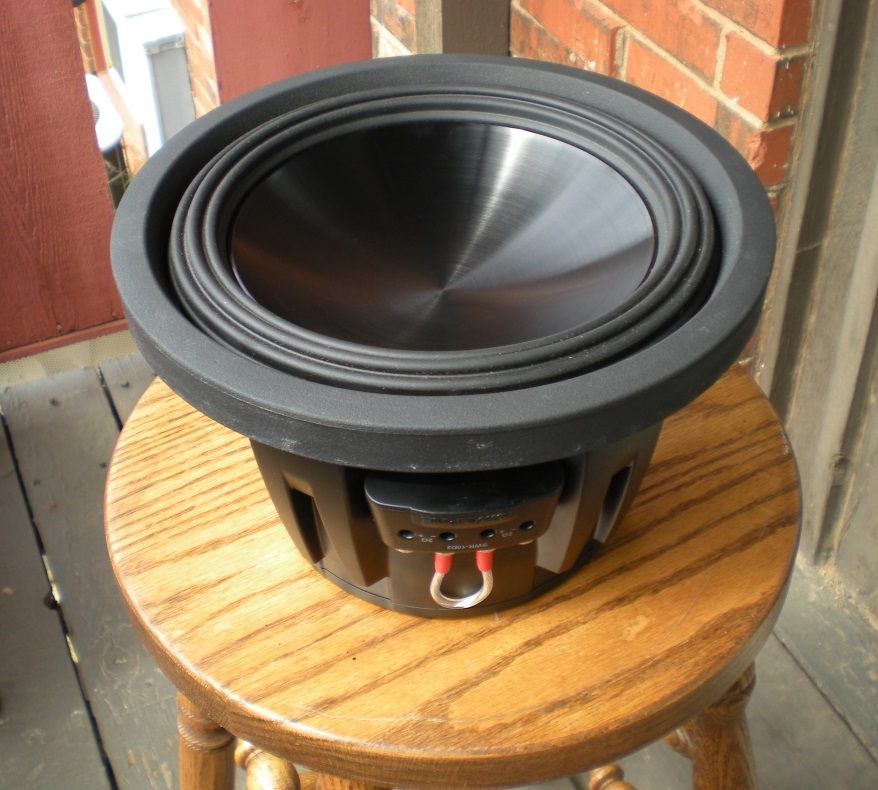
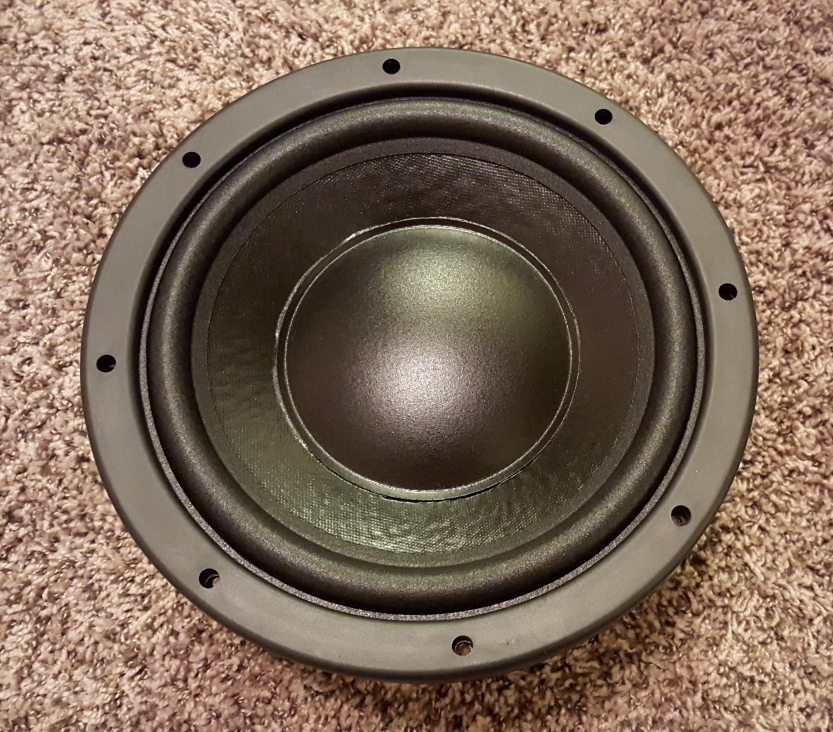
Finally got the replacement front sub in.
This is a more or less custom speaker that I spec'd so that it will work in the relatively small sealed enclosure that I have without the air compression causing leaks around the phase plug. Dust cap with vented motor instead of phase plug with non vented motor.
Here it is:
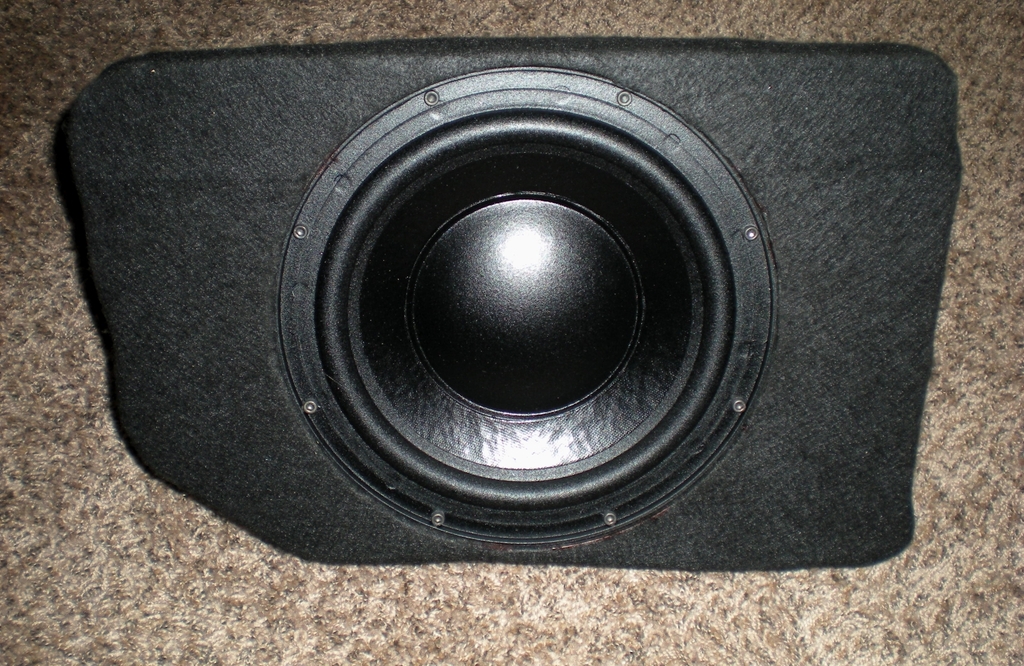
And in the box. Black socket head screws this time instead of the crappy stainless ones I had used before that strip if you look at them wrong.
I'll probably post a pic or two when it's light outside but I put it in the car and I think it's going to do just what I want. This thing sure is efficient! Much quicker and more detailed than the Alpine 40Hz and above. Less output below 40ish Hz as expected. I'm happy. System still needs a full on retune, but I like where this is going.
This is a more or less custom speaker that I spec'd so that it will work in the relatively small sealed enclosure that I have without the air compression causing leaks around the phase plug. Dust cap with vented motor instead of phase plug with non vented motor.
Here it is:
And in the box. Black socket head screws this time instead of the crappy stainless ones I had used before that strip if you look at them wrong.
I'll probably post a pic or two when it's light outside but I put it in the car and I think it's going to do just what I want. This thing sure is efficient! Much quicker and more detailed than the Alpine 40Hz and above. Less output below 40ish Hz as expected. I'm happy. System still needs a full on retune, but I like where this is going.

