Notices
Evo Dyno Tuning / Results Discuss vendor and member dyno tuning techniques, results and graphs.

Stepping my IX up for 91/E85, looking for final preparation suggestions

Thread Tools
 
Search this Thread
 
Old Jun 3, 2018, 09:08 AM
  #286  
EvoM Staff Alumni
iTrader: (3)
 
MinusPrevious's Avatar
 
Join Date: May 2008
Location: So.Cal
Posts: 7,704
Received 1,384 Likes on 1,317 Posts
Excellent job there Don. Looks like a tidy re-build. Keep up the good work
The following users liked this post:
2006EvoIXer (Jun 3, 2018)
Old Jun 3, 2018, 01:42 PM
  #287  
Evolved Member
Thread Starter
iTrader: (1)
 
2006EvoIXer's Avatar
 
Join Date: Jul 2012
Location: California
Posts: 3,294
Received 194 Likes on 182 Posts
I can't BELIEVE how much easiler this simple device made setting timing belt! I got it with 2 tries and it took less than 1 minute because I saw the oil sprocket was off 1 tooth right away. Turn the engine over to line up timing again waited 30 minutes and pin slides in an out like butter. I highly recommend one if these!

Old Jun 4, 2018, 10:00 AM
  #288  
Evolved Member
Thread Starter
iTrader: (1)
 
2006EvoIXer's Avatar
 
Join Date: Jul 2012
Location: California
Posts: 3,294
Received 194 Likes on 182 Posts
Timing Belt Installation Recommendations

There are lots of great info on installating timing belts online. I just want to give recommendations to help reduce chances of errors.
1) set crank at 90° before TDC so your pistons give your valves as much clearance as possible.
2) install head and torque studs down (if any of the valve springs get in the way if stud washers, do not force it in, take out the stud and install washer first and thread stud through washer and mounting hole. Forcing washer in can damage spring and you don't want that!).
3) install lifters (make sure they are bled).
4) install rockers.
5) install cams (without cam gears).
6) install cam gear oil rings and use oil gasket glue around outside edge that touches cam cap and head.
6) install cam gears.
7) install cam sensor housing(s) with oil gasket glue.
8) install HLA
9) install valve cover
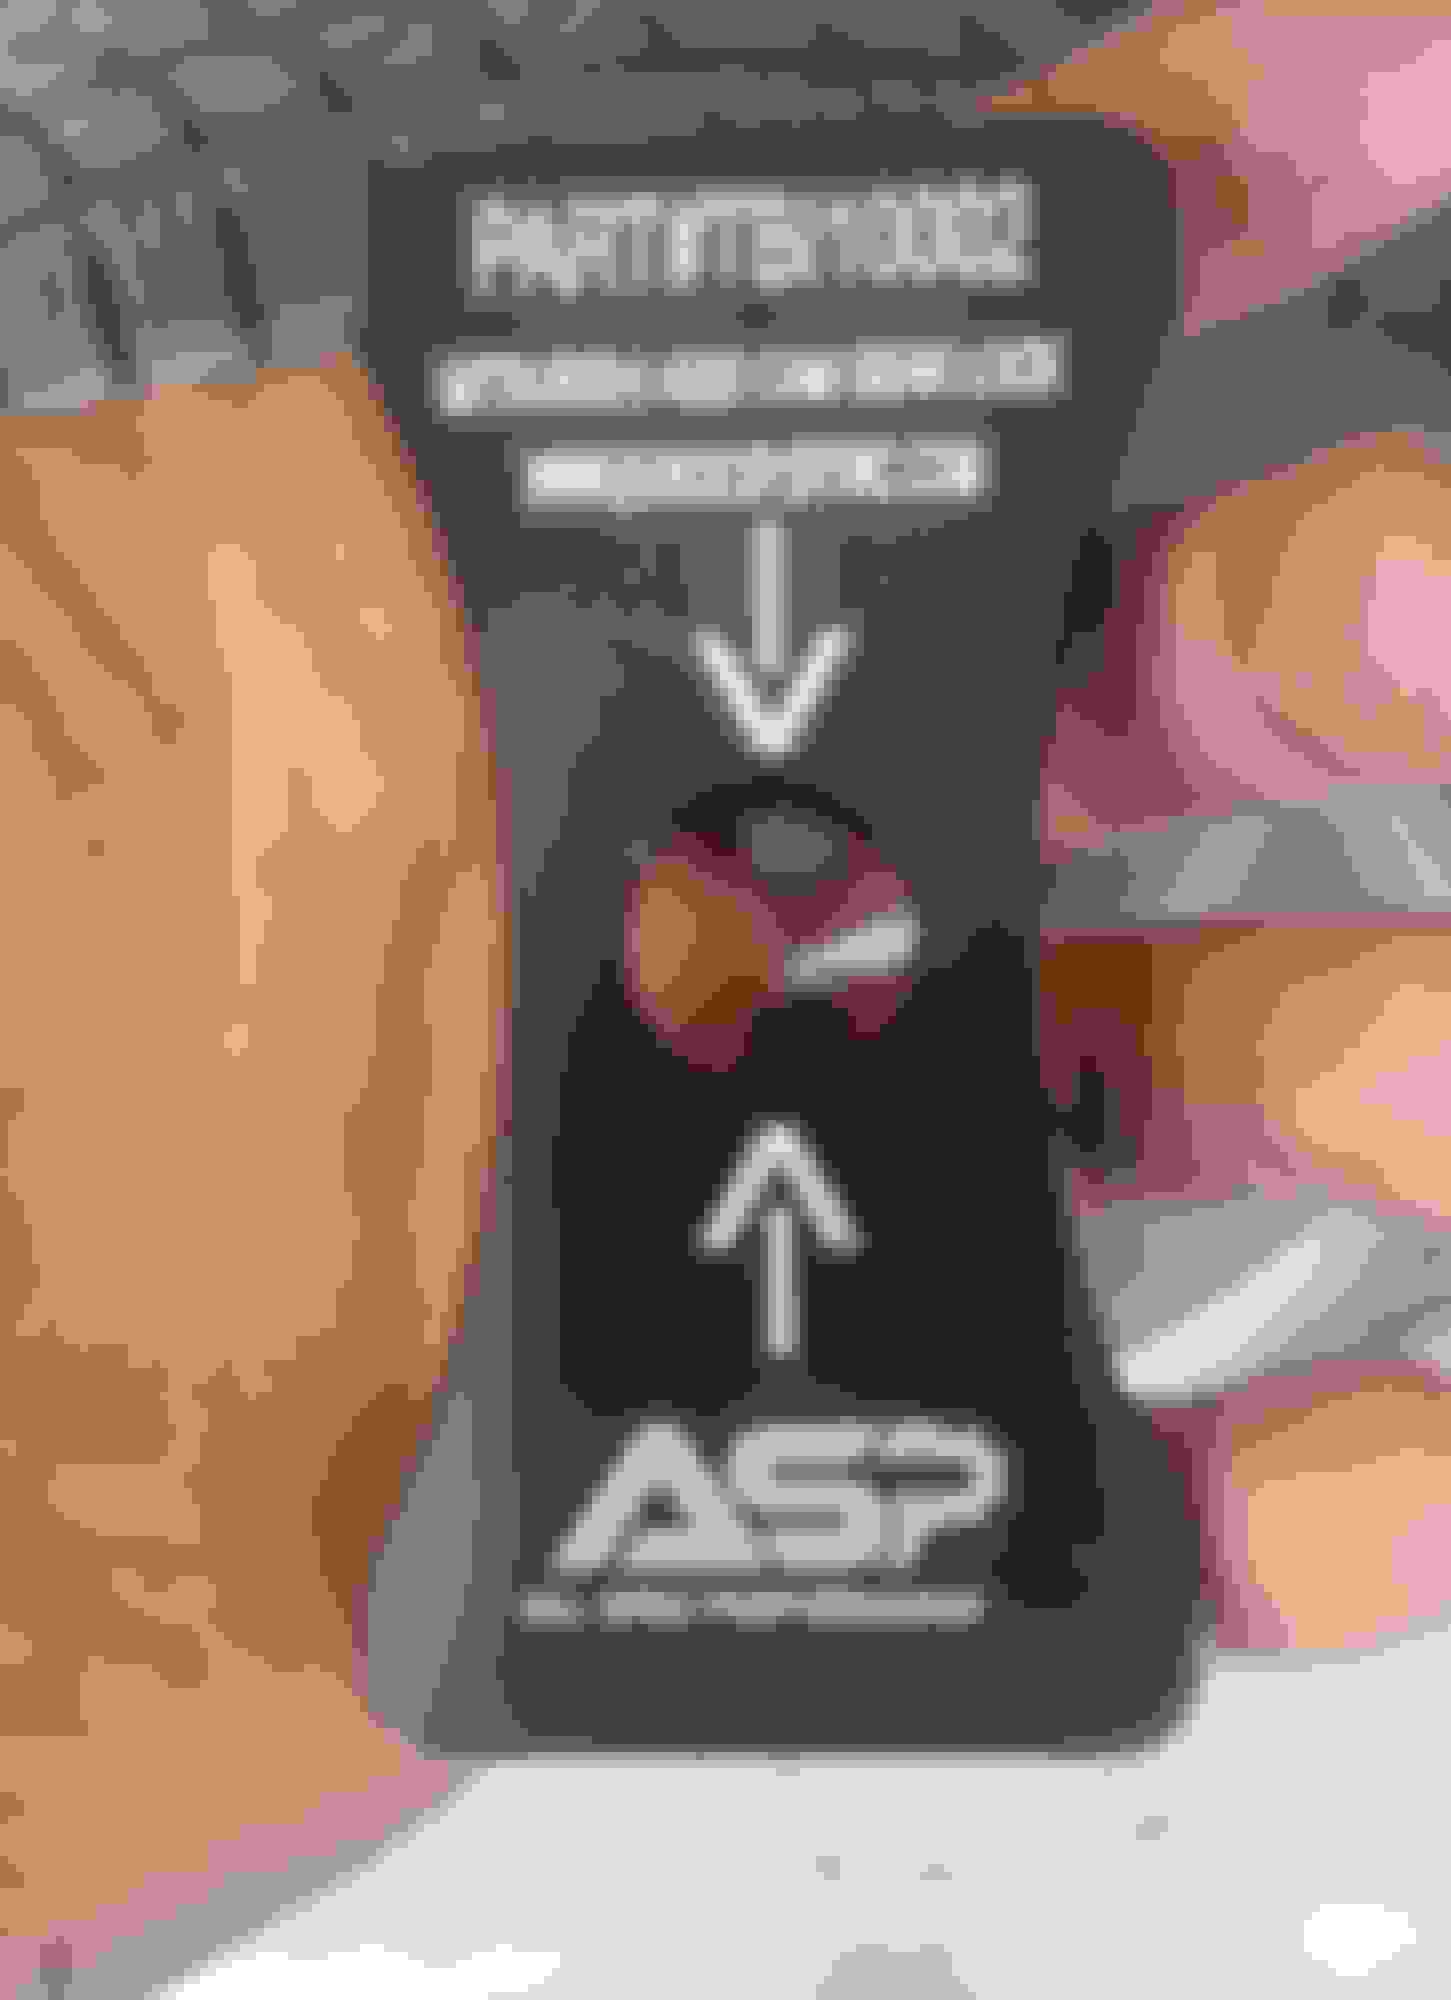
10) install cams lock (see picture above) with both set at timing makes.
11) NOW turn crank to TDC (DO NOT do this until cam gears are locked on timing marks) and make sure oil sprocket is in correct cycle.
12) install timing belt.
13) use torque wrench and tool to find position of where 31#-in is and lock that bearing in place. I did this separately because I didn't have room to hold torque wrench in place while locking bearing. Also, you need to have a torque wrench that clicks at preset in both directions. I found out that my new digital torque wrench only worked clockwise, so I pull out my old one that worked in both directions (SO happy I didn't sell this!).
14) verify the grenade pin slides freely. Release timing belt tool holding tensioner compressed and pull off the timing gears lock (which should easily slide out). Turn crank 6 revs and check pin. Turn 6 more revs and take a long break. Recheck pin still slides smoothly. If it doesn't, redo #13 (don't forget to reinstall cam gears lock first!).
15) install lower timing belt cover. Do yourself a favor and figure out which bolt goes where and set those bolts in order on ground BEFORE putting cover in place.
16) Install idler pulley next to AC pump. If you forget this, you will have to drop your engine again to install.
17) use block of wood and jack to raise engine to install engine mount.
18) install water pump pulley, serpentine belt tensioner, and crank pulley.
19) install top timing belt cover and serpentine belt.
20) install everything above valve cover, intake pipes, and battery.
21) pray that engine will run and try to start engine.
Old Jun 9, 2018, 11:39 AM
  #289  
Evolved Member
Thread Starter
iTrader: (1)
 
2006EvoIXer's Avatar
 
Join Date: Jul 2012
Location: California
Posts: 3,294
Received 194 Likes on 182 Posts
Hopefully, it will fire up with base tune for these new FIC1650 injectors Tuesday. Until then, I'm waiting for FP oil line turbo feed from oil filter housing since I broke my banjo bolt and don't want to spend $20 for a new bolt. That $20 went towards the oil line (which didn't make much of a dent in savings). Lol


The following users liked this post:
Is2scooby (Jun 13, 2018)
Old Jun 9, 2018, 12:46 PM
  #290  
EvoM Staff Alumni
iTrader: (3)
 
MinusPrevious's Avatar
 
Join Date: May 2008
Location: So.Cal
Posts: 7,704
Received 1,384 Likes on 1,317 Posts
Looks great Don. The fuel rail, clear cam gear cover & the damper & of course all the machine work to the head

Thanks again for stopping by to listen to my motor
Old Jun 9, 2018, 01:17 PM
  #291  
Evolved Member
Thread Starter
iTrader: (1)
 
2006EvoIXer's Avatar
 
Join Date: Jul 2012
Location: California
Posts: 3,294
Received 194 Likes on 182 Posts
Originally Posted by MinusPrevious
Looks great Don. The fuel rail, clear cam gear cover & the damper & of course all the machine work to the head

Thanks again for stopping by to listen to my motor
Any time Joe.
Old Jun 14, 2018, 12:04 AM
  #292  
Evolved Member
Thread Starter
iTrader: (1)
 
2006EvoIXer's Avatar
 
Join Date: Jul 2012
Location: California
Posts: 3,294
Received 194 Likes on 182 Posts
Update: engine runs. But I can't find my 4 crank pulley bolts. Guess I'll need to search tomorrow when there's more light. I know it's in a ziplock bag.

Update 2 hours later: I found them!

Last edited by 2006EvoIXer; Jun 14, 2018 at 01:41 AM.
Old Jun 19, 2018, 05:18 PM
  #293  
Evolved Member
Thread Starter
iTrader: (1)
 
2006EvoIXer's Avatar
 
Join Date: Jul 2012
Location: California
Posts: 3,294
Received 194 Likes on 182 Posts
Here you go. New head, same boost, about 10hp more. Not bad for 91 **** gas.

Old Jun 19, 2018, 05:37 PM
  #294  
EvoM Staff Alumni
iTrader: (3)
 
MinusPrevious's Avatar
 
Join Date: May 2008
Location: So.Cal
Posts: 7,704
Received 1,384 Likes on 1,317 Posts
It was all that head work. That head is flowing

Real curious about the E85 results

Don. What was the issue w/the intake not connected when i saw it?
Old Jun 19, 2018, 05:40 PM
  #295  
Evolved Member
Thread Starter
iTrader: (1)
 
2006EvoIXer's Avatar
 
Join Date: Jul 2012
Location: California
Posts: 3,294
Received 194 Likes on 182 Posts
Originally Posted by MinusPrevious
It was all that head work. That head is flowing

Real curious about the E85 results

Don. What was the issue w/the intake not connected when i saw it?
No idea. I'll ask when I get there.
Old Jun 19, 2018, 06:13 PM
  #296  
EvoM Staff Alumni
iTrader: (3)
 
MinusPrevious's Avatar
 
Join Date: May 2008
Location: So.Cal
Posts: 7,704
Received 1,384 Likes on 1,317 Posts
Originally Posted by 2006EvoIXer
No idea. I'll ask when I get there.

LOL, thought you were already there
Old Jun 19, 2018, 06:16 PM
  #297  
Evolved Member
Thread Starter
iTrader: (1)
 
2006EvoIXer's Avatar
 
Join Date: Jul 2012
Location: California
Posts: 3,294
Received 194 Likes on 182 Posts
Originally Posted by MinusPrevious
LOL, thought you were already there
Sam said my LICP blew off at the FMIC. I see that it blew off at 375 hp at 3500rpm.
Old Jun 19, 2018, 07:10 PM
  #298  
EvoM Community Team Leader
 
Biggiesacks's Avatar
 
Join Date: Aug 2005
Location: West Coast
Posts: 5,688
Received 704 Likes on 592 Posts
congrats on getting her to the dyno. Pretty good numbers for the boost level and 91
The following users liked this post:
2006EvoIXer (Jun 19, 2018)
Old Jun 19, 2018, 09:58 PM
  #299  
Evolved Member
Thread Starter
iTrader: (1)
 
2006EvoIXer's Avatar
 
Join Date: Jul 2012
Location: California
Posts: 3,294
Received 194 Likes on 182 Posts
Here you go. Maxed out 71HTA with HFC.
The following users liked this post:
Is2scooby (Jun 21, 2018)
Old Jun 19, 2018, 10:49 PM
  #300  
EvoM Community Team Leader
 
Biggiesacks's Avatar
 
Join Date: Aug 2005
Location: West Coast
Posts: 5,688
Received 704 Likes on 592 Posts
Wow very nice. That 100lbft E85 bump is crazy


Quick Reply: Stepping my IX up for 91/E85, looking for final preparation suggestions


All times are GMT -7. The time now is 08:29 AM.