DIY Demon eyes, amber corner, blackout housings, super detailed, lots of pics.
 Sep 27, 2015, 04:29 PM
#1

DIY Demon eyes, amber corner, blackout housings, super detailed, lots of pics.
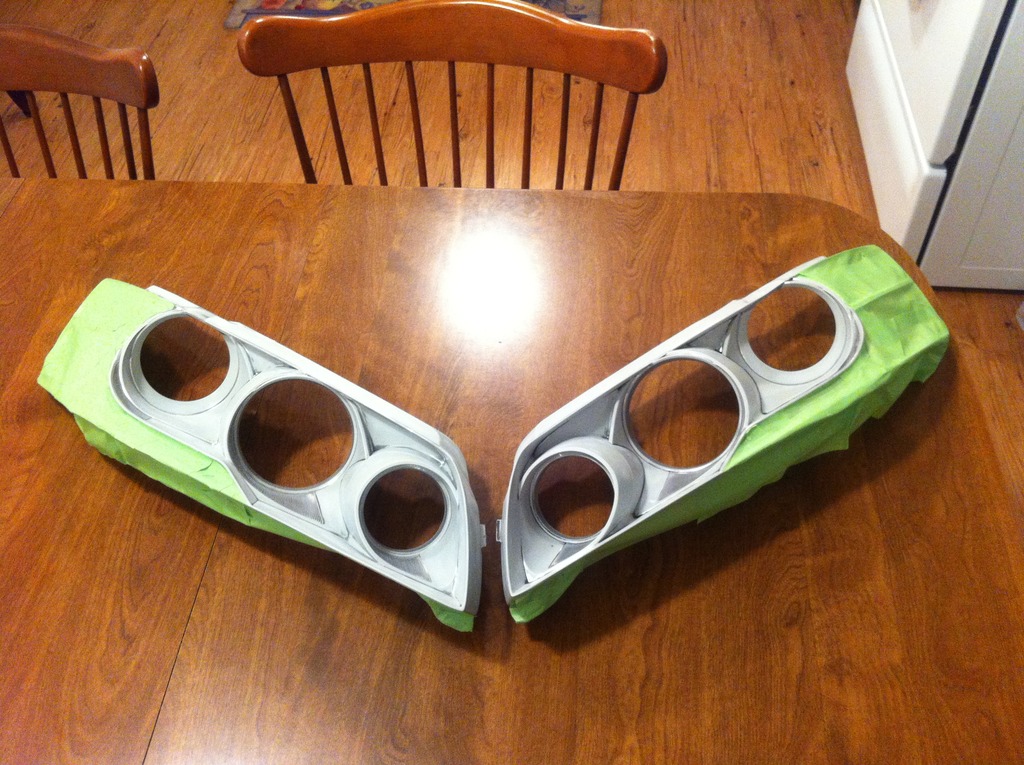
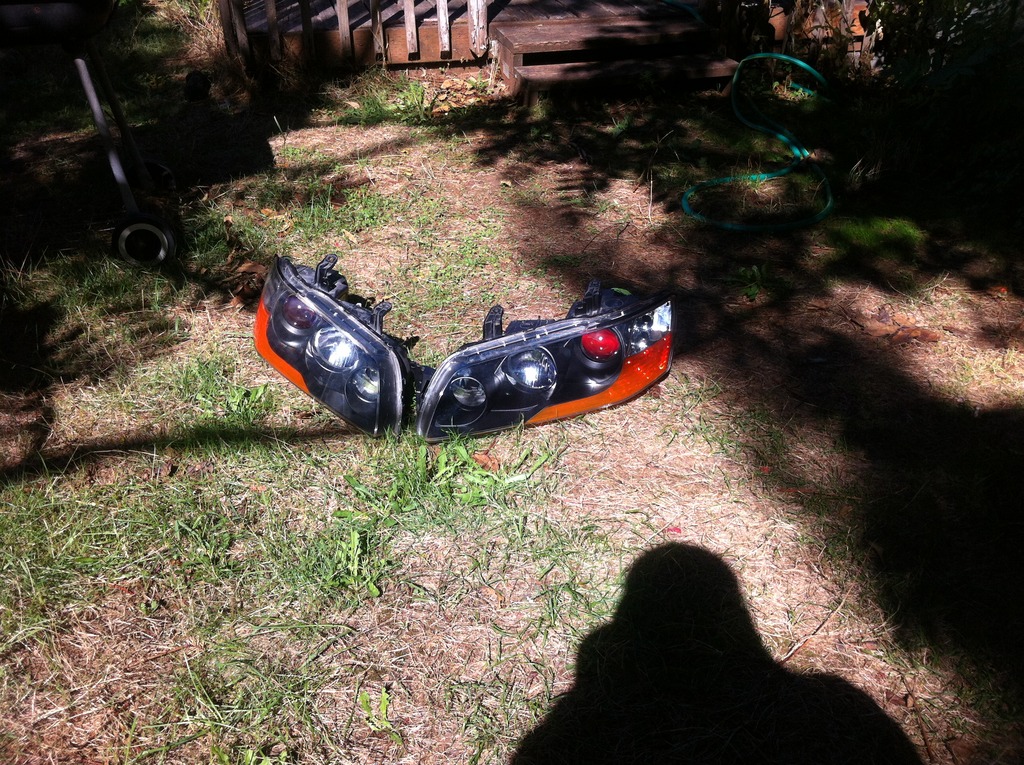
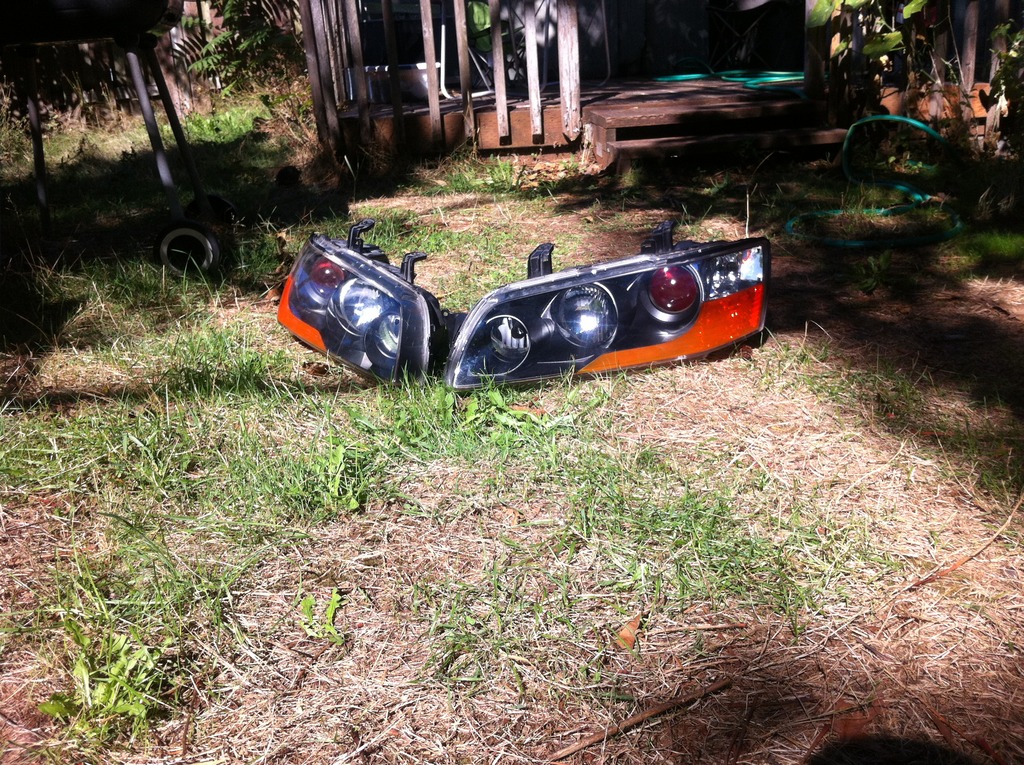
Whats up guys, wanna share my experience with jdmifying my evo 8/9 headlights. The reason I modded these headlights is because i'm in the middle of restoring a wrecked evo 8 and ended up purchasing mismatched headlights.
Just like most people to open these headlights I baked them in the oven @ 200*F for about 15 minutes which I will never do again if I have to split them in the future because I warped one of the corners on the housing(the outside housing that seals the lens). From my experience I would recommend using a heat gun or a good hair dryer(which I used when sealing the lenses).
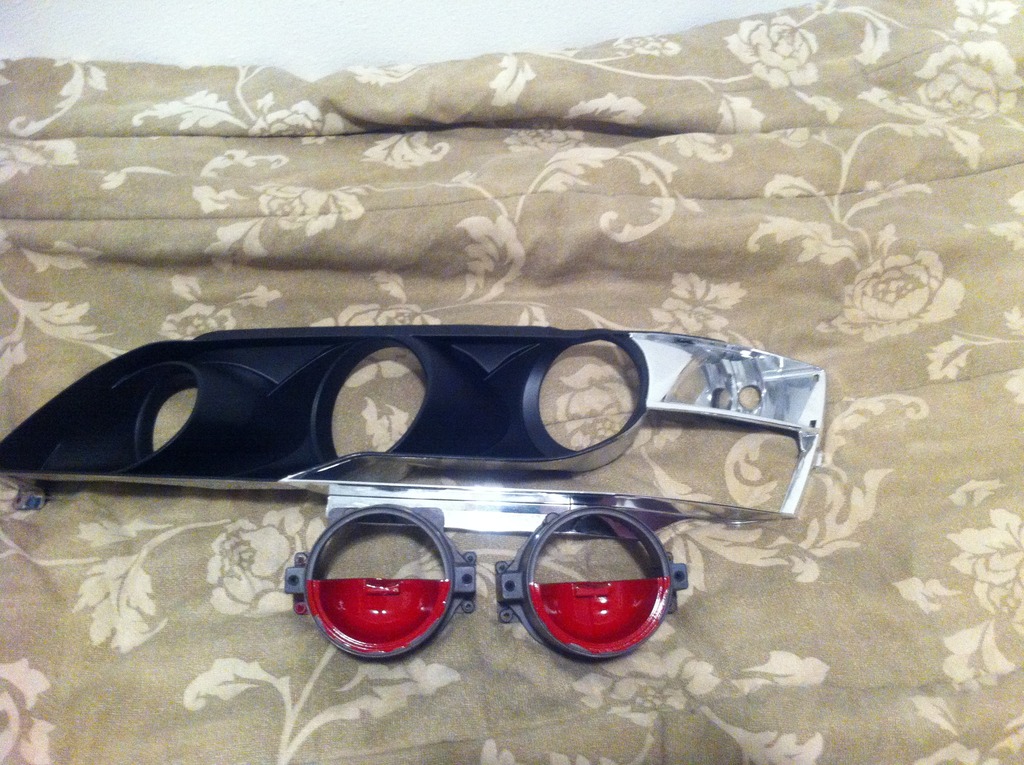
Next I wet sanded the housings using 400 grit sandpaper and finished them off with 1000 grit. I got as much of the chrome as I could but its really hard to get in between the ribs on the housings. So this is what the housings ended up looking like after wet sanding.
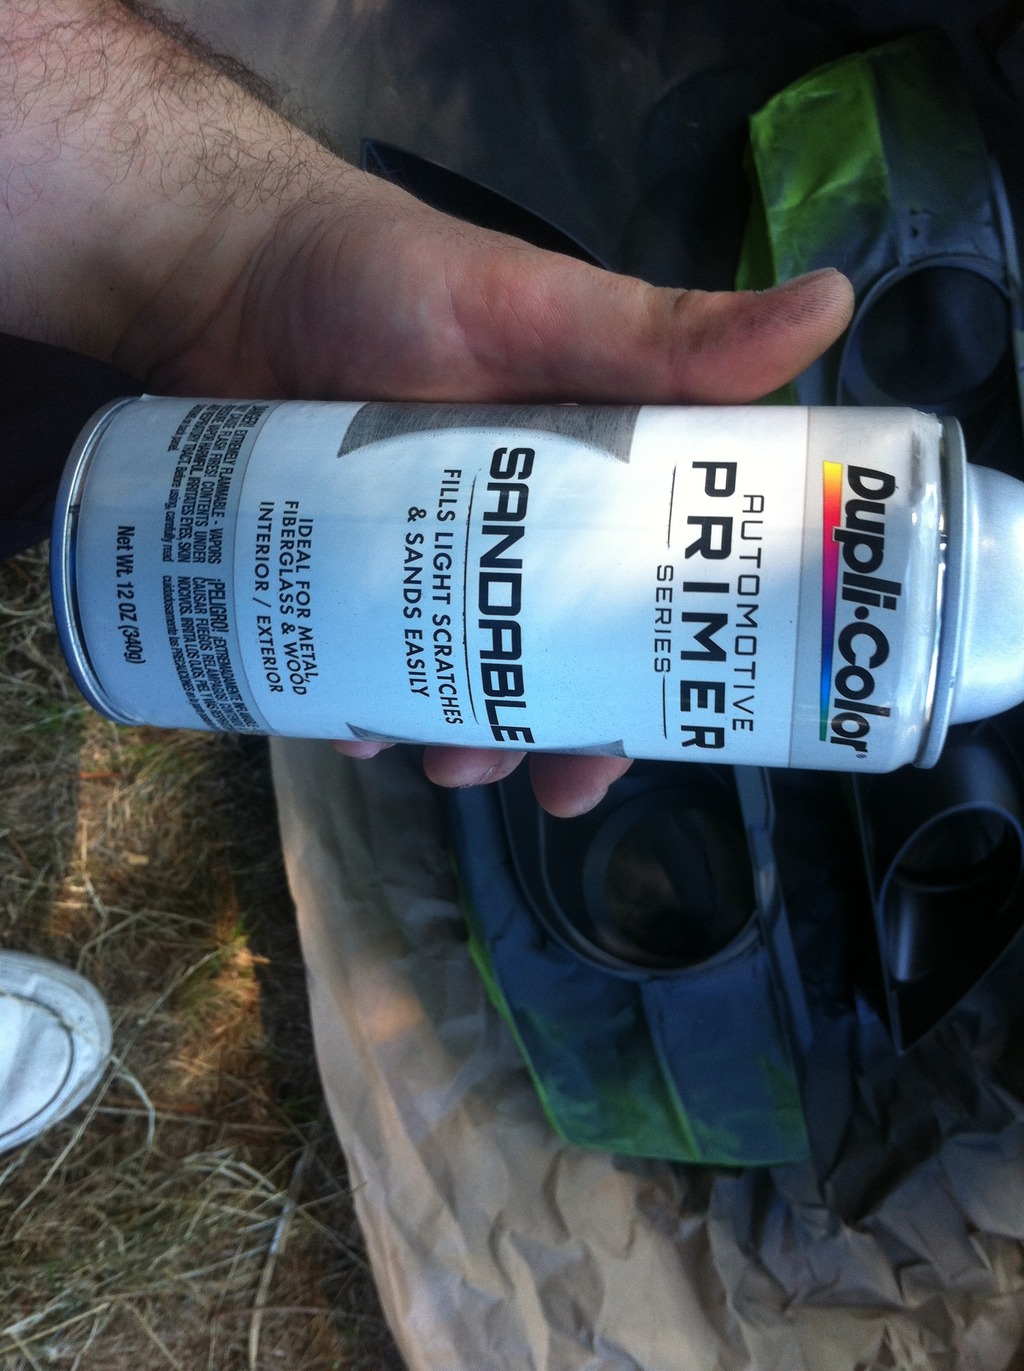
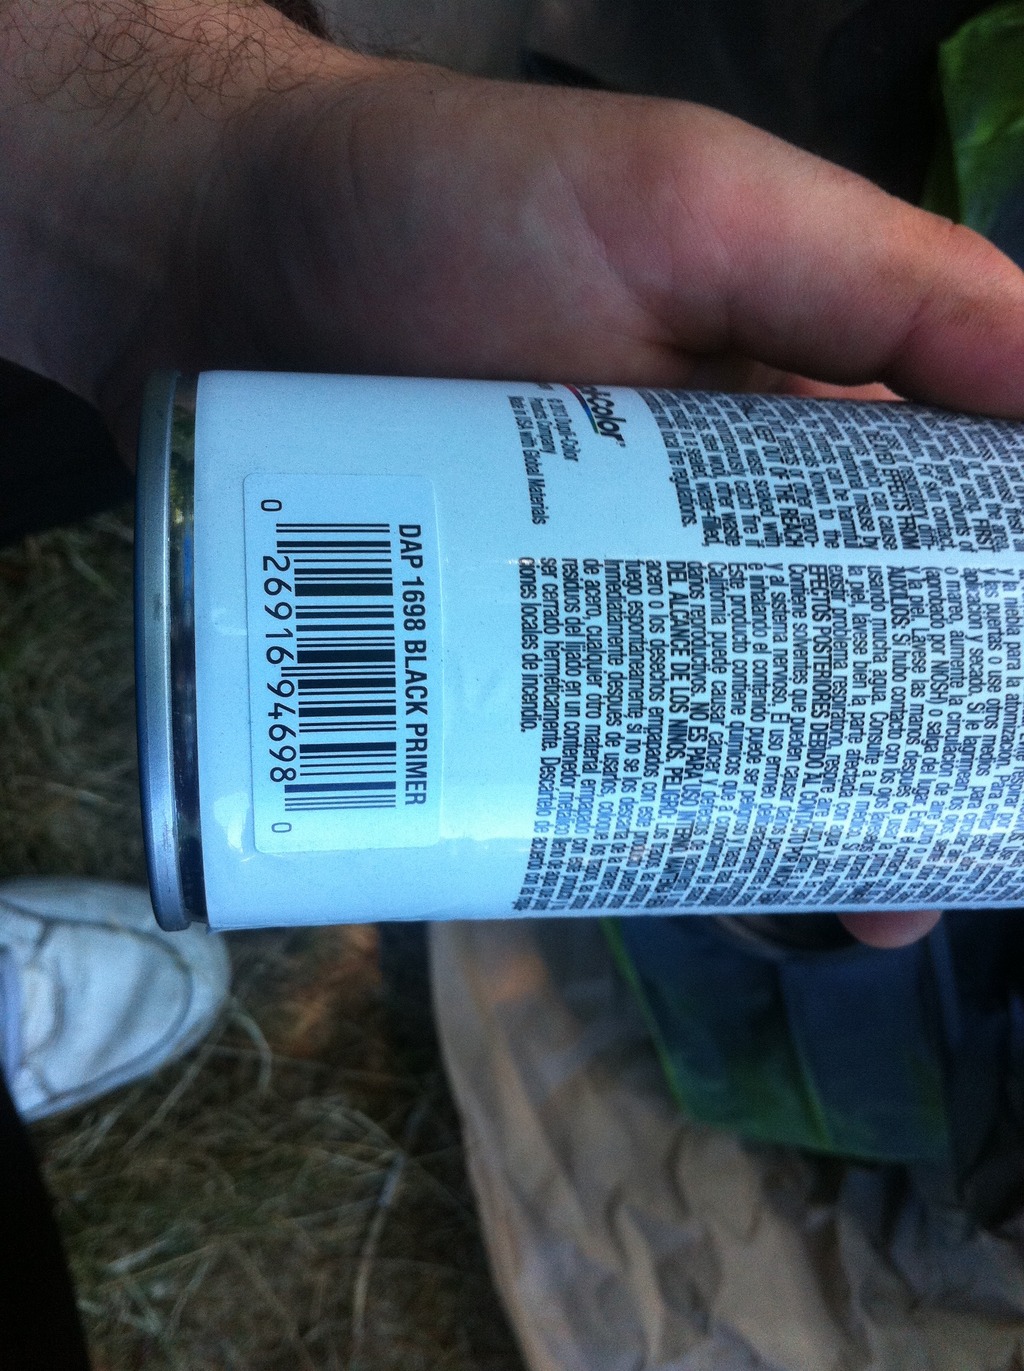
I then primered the housings using duplicolor black primer, it might be a good idea to use adhesion promoter before using the primer but I skipped that step. I think I put 3-4 coats of primer then wetsanded the housings again with 1000 grit. I forgot to take a picture of what the housings looked like after. Here is the primer and the starting phase of spraying the housing with primer
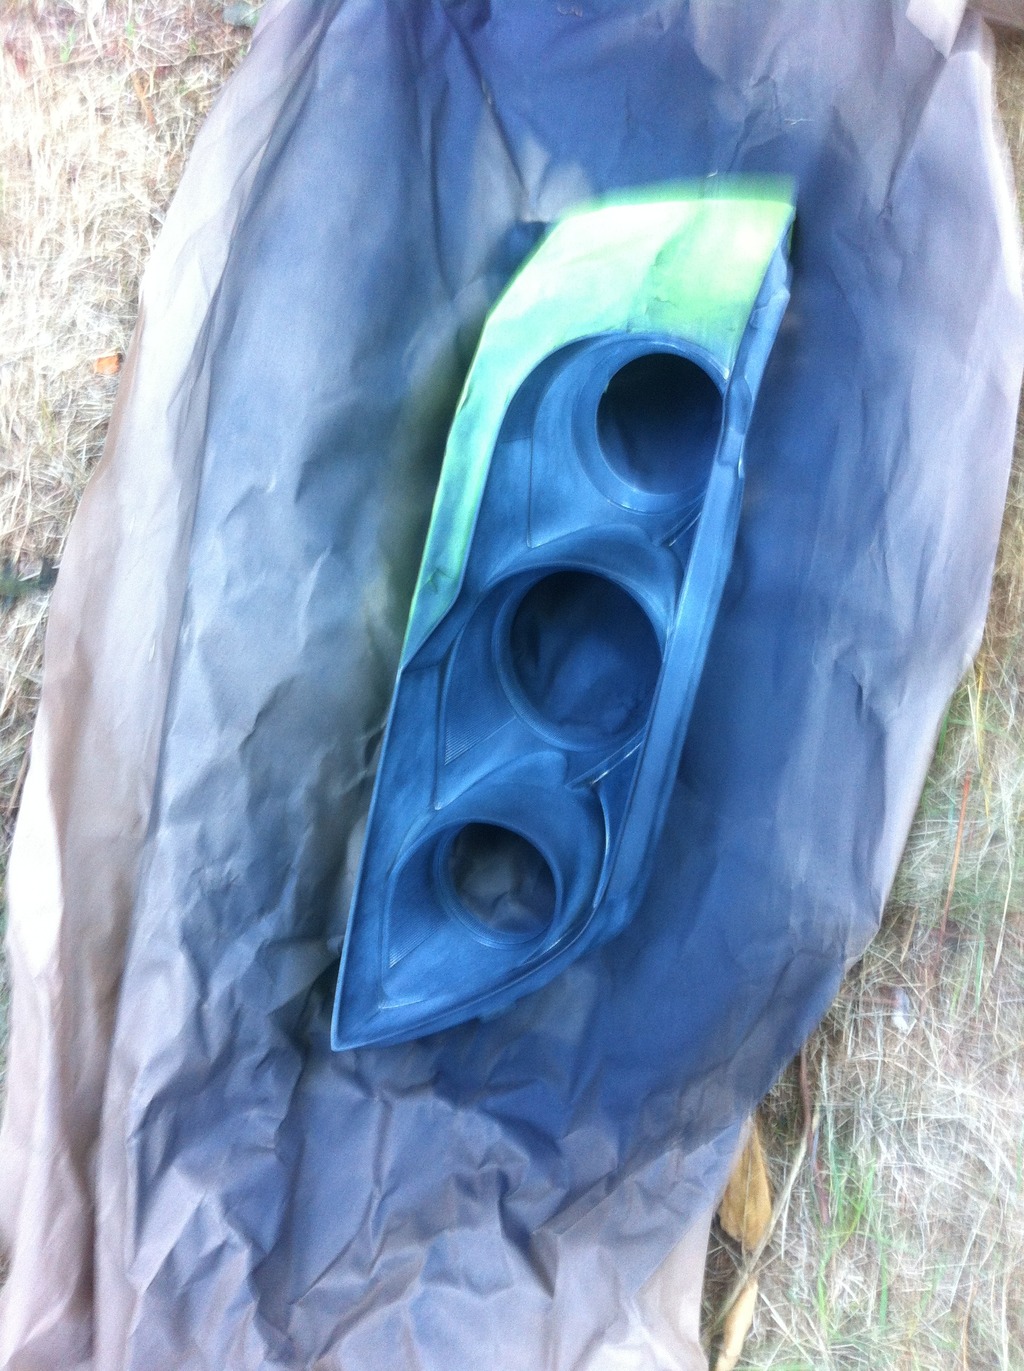
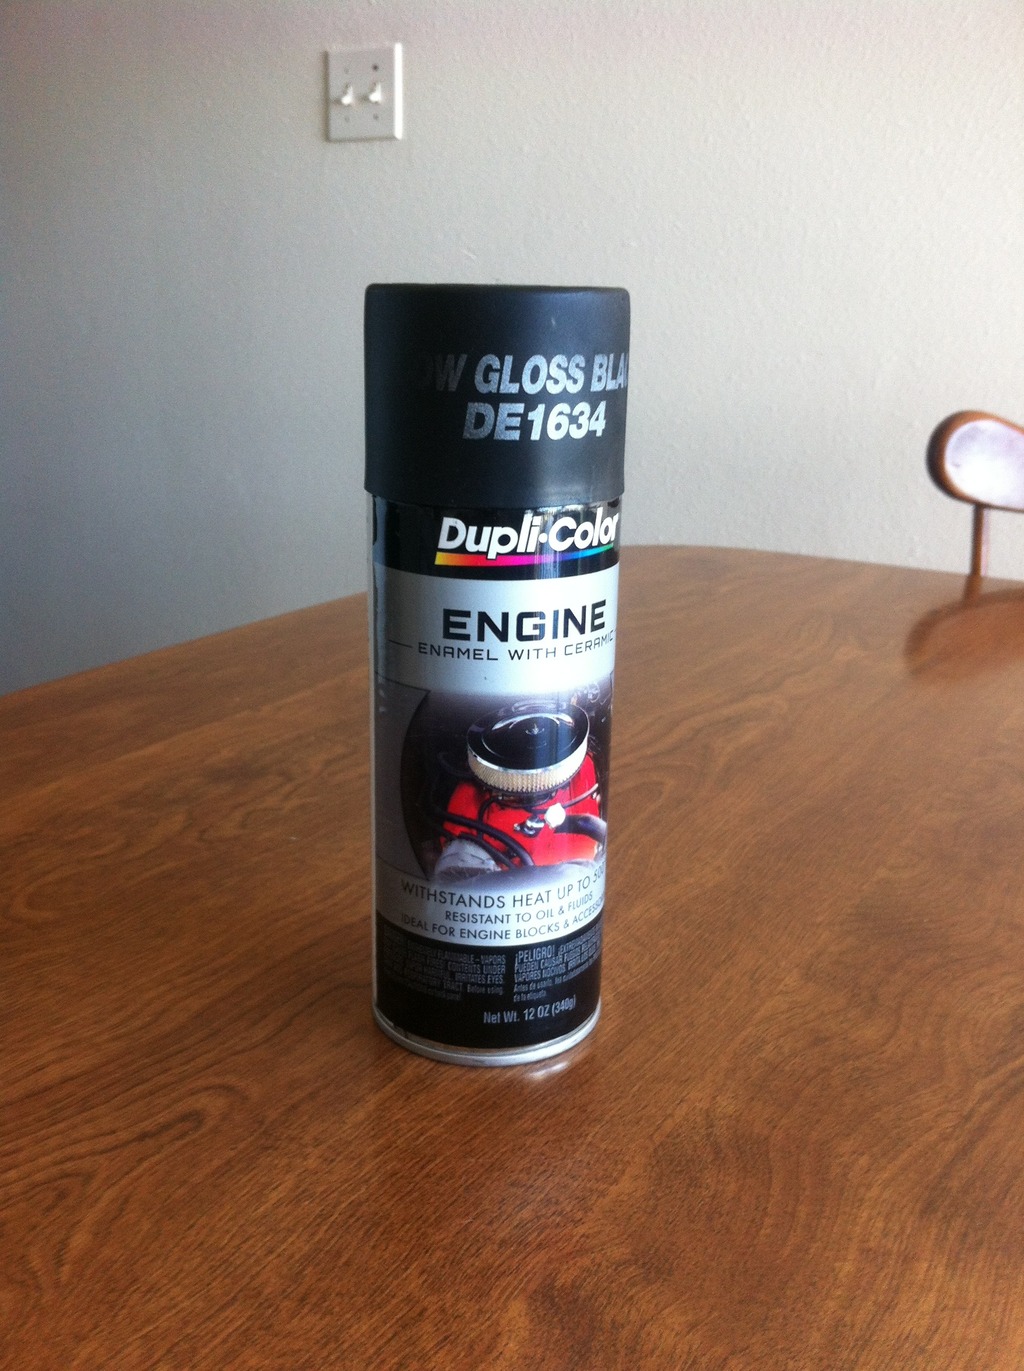
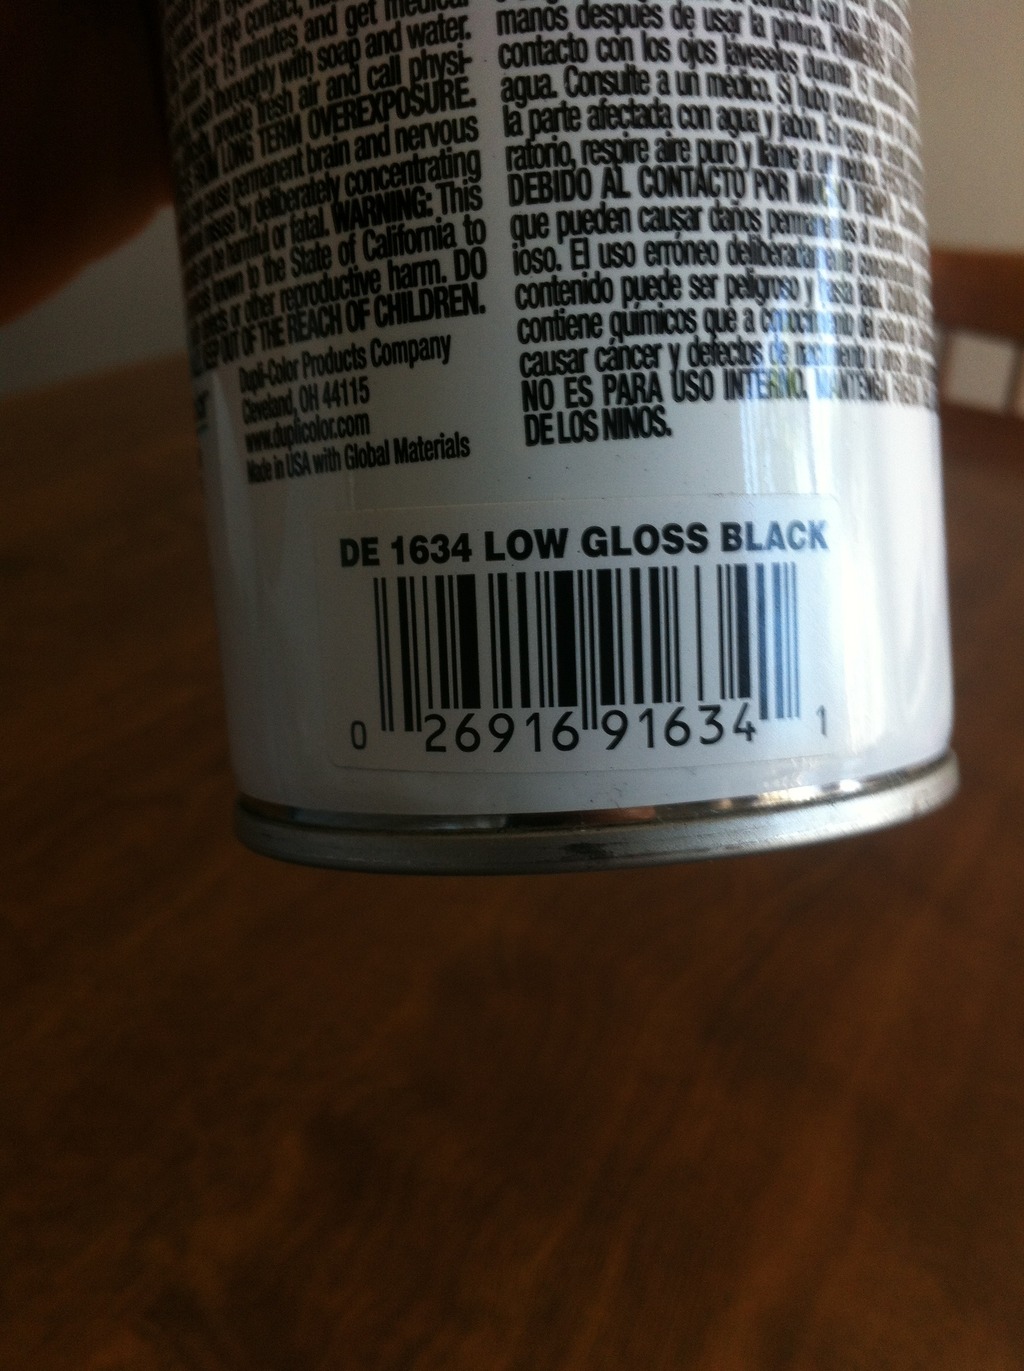
Final 3 coats of paint were sprayed with duplicolor low gloss engine paint, I like how they turned out.

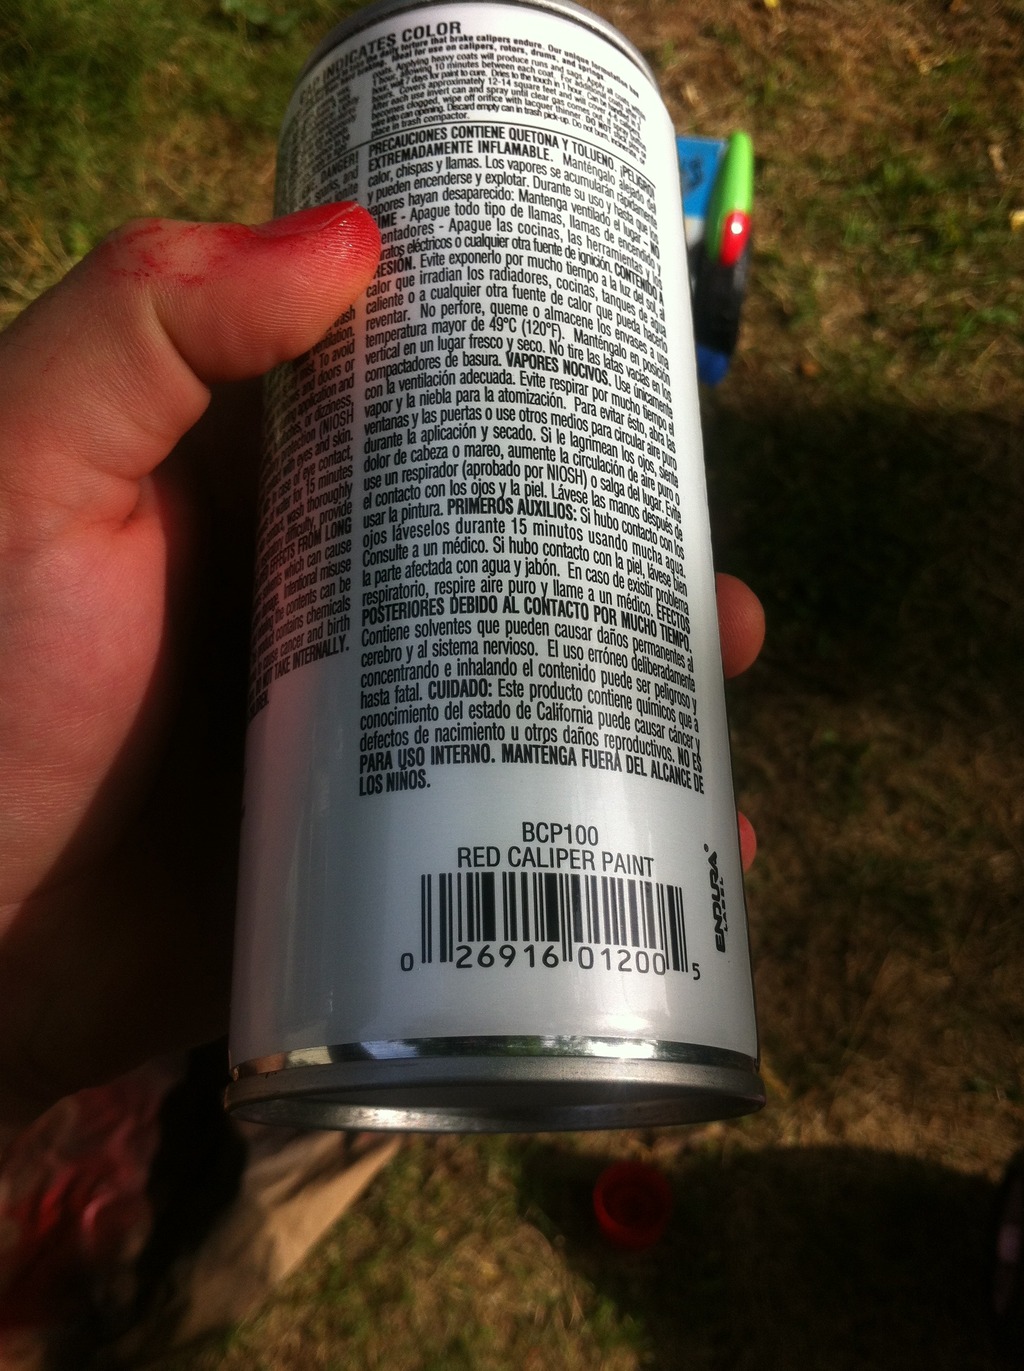
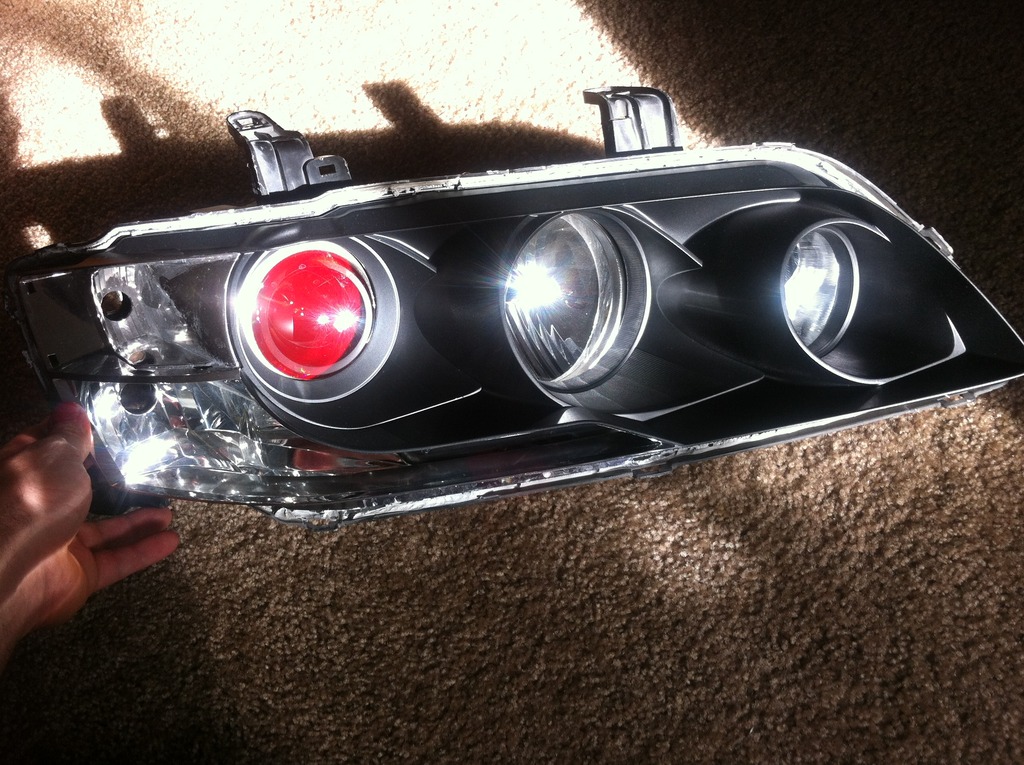
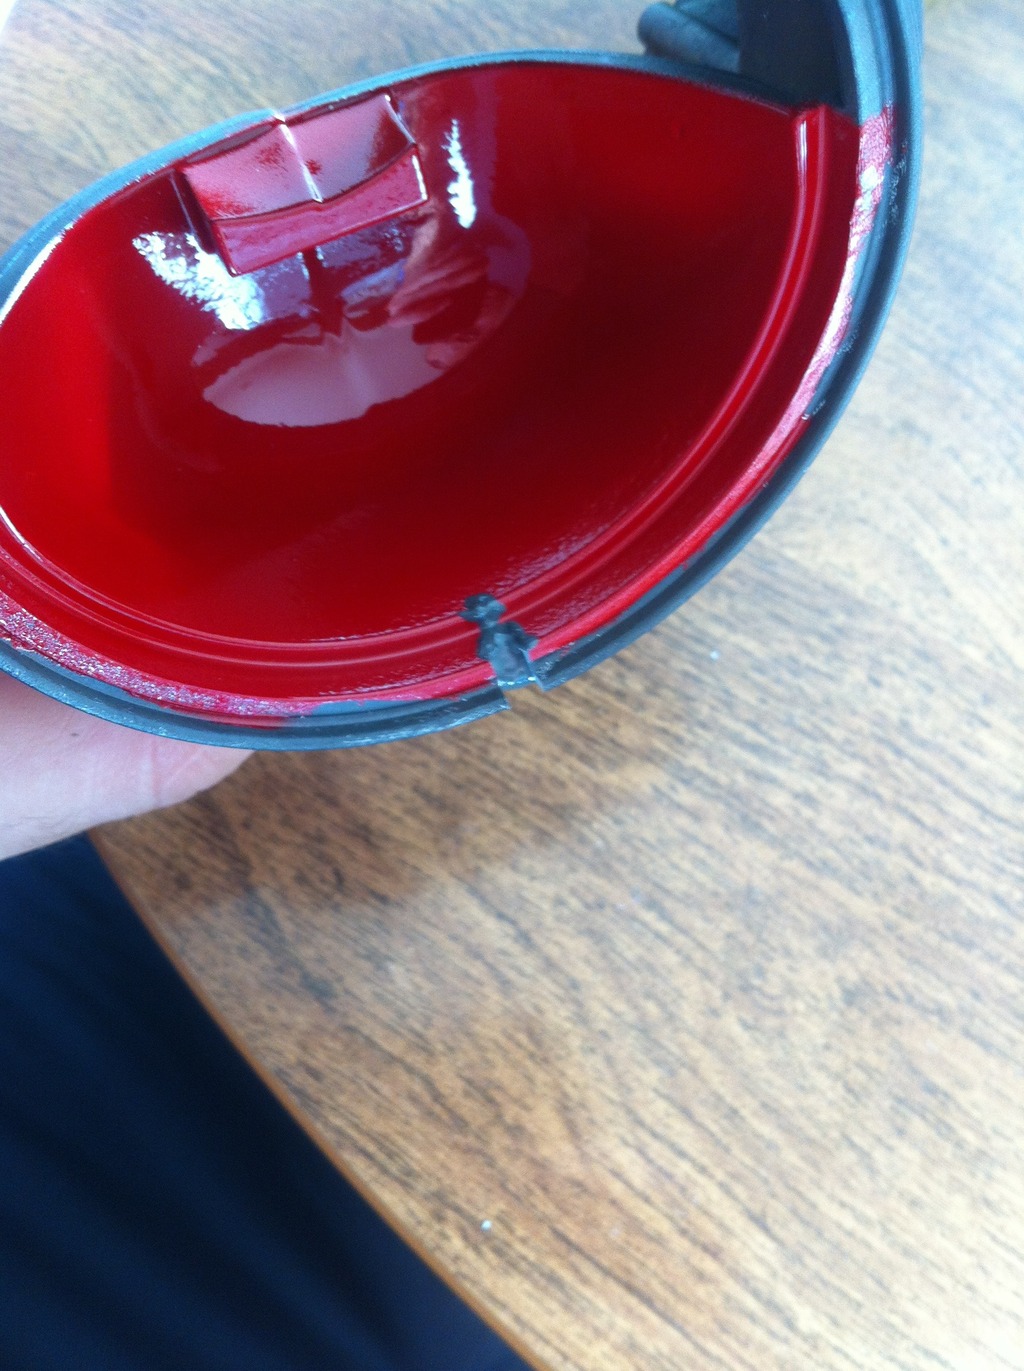
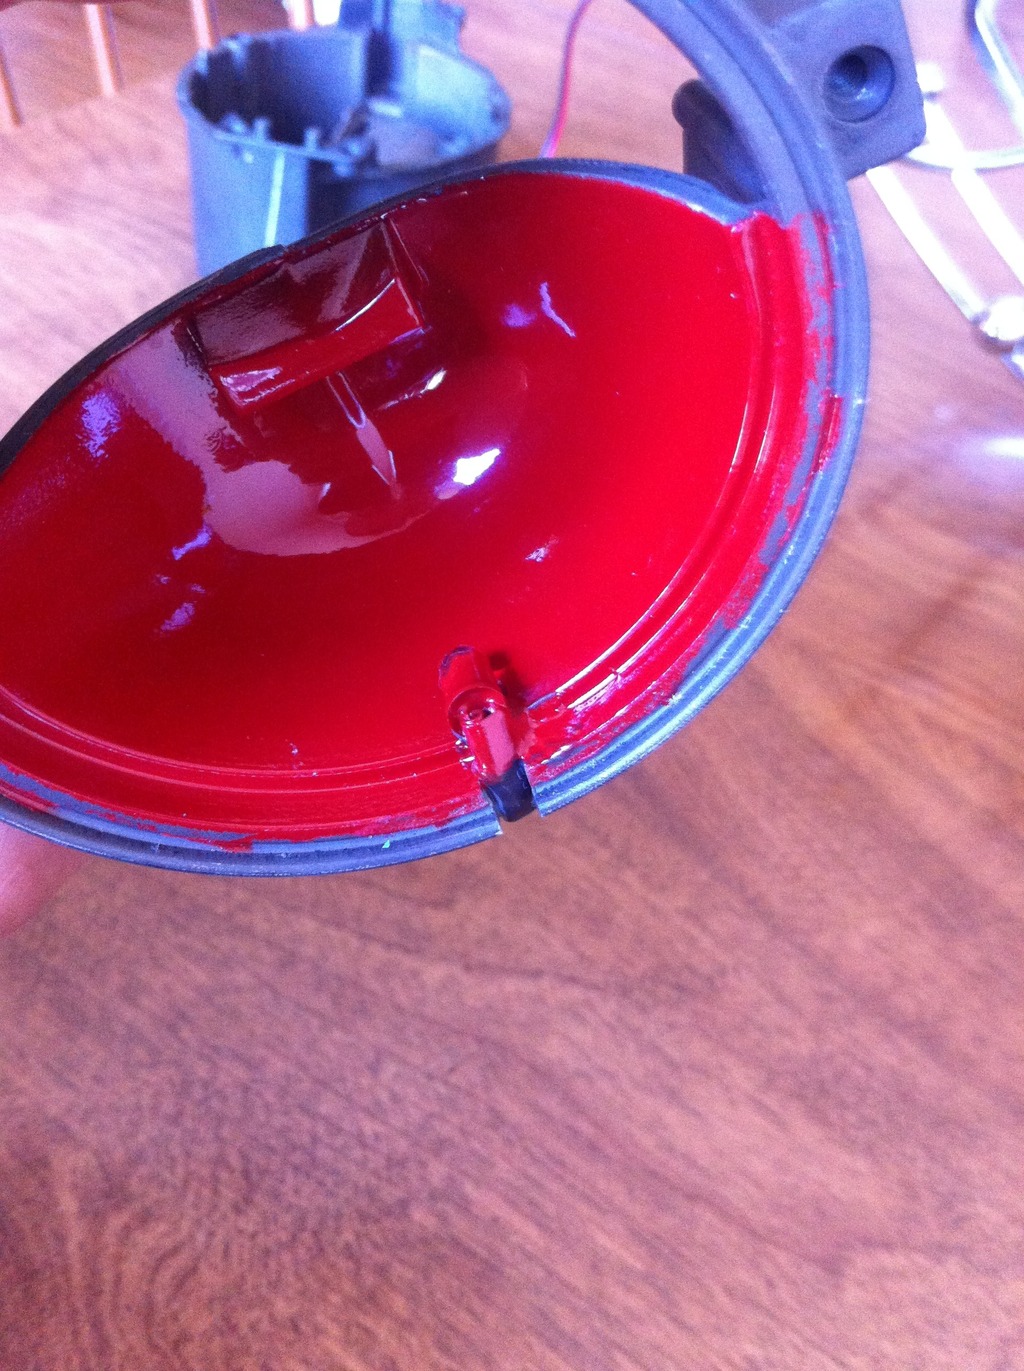
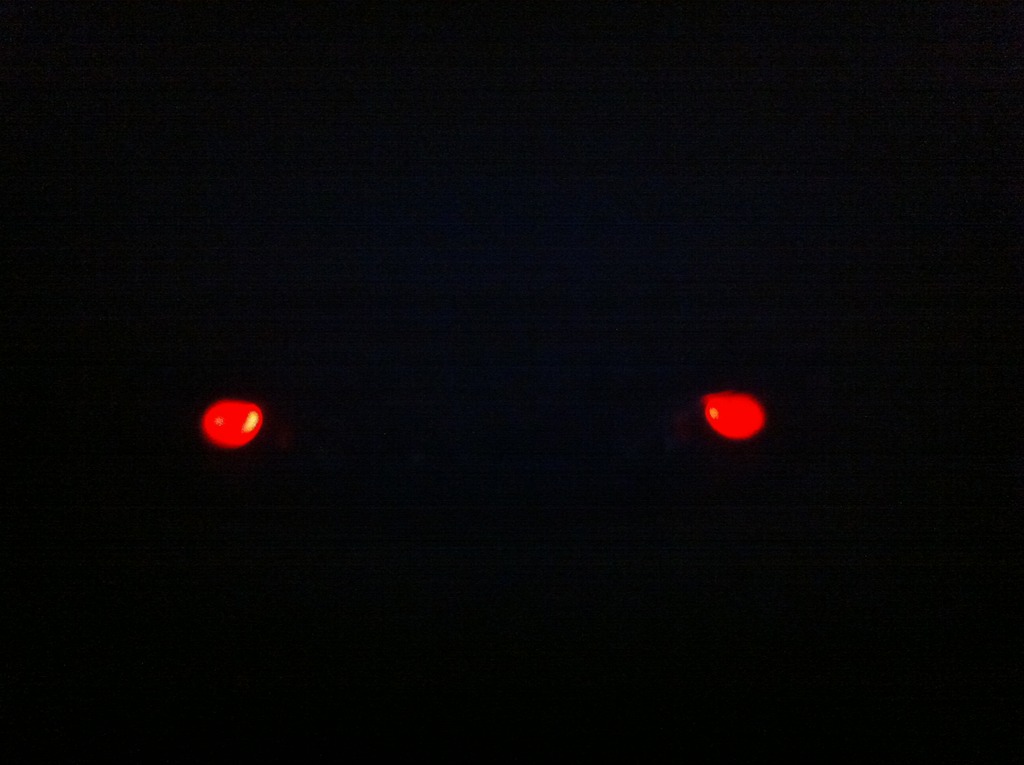
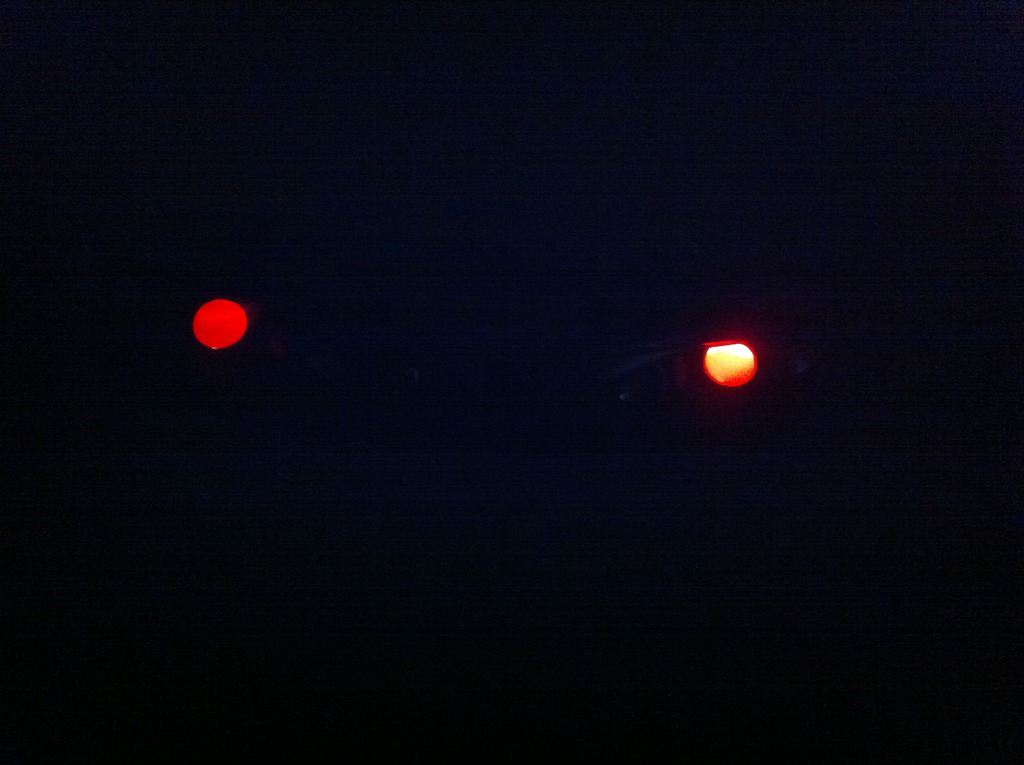
During this project I stumbled upon a video on youtube of some evo 9 headlights and demon eyes, and another thread that someone painted the front of the cutoff red to give a terminator eye like effect in the sunlight. since I already had the headlights apart I dissassembled the projectors wet sanded the front face of the cutoff with 1000grit and used red duplicolor caliper paint.

terminator eye like effect under proper lighting conditions
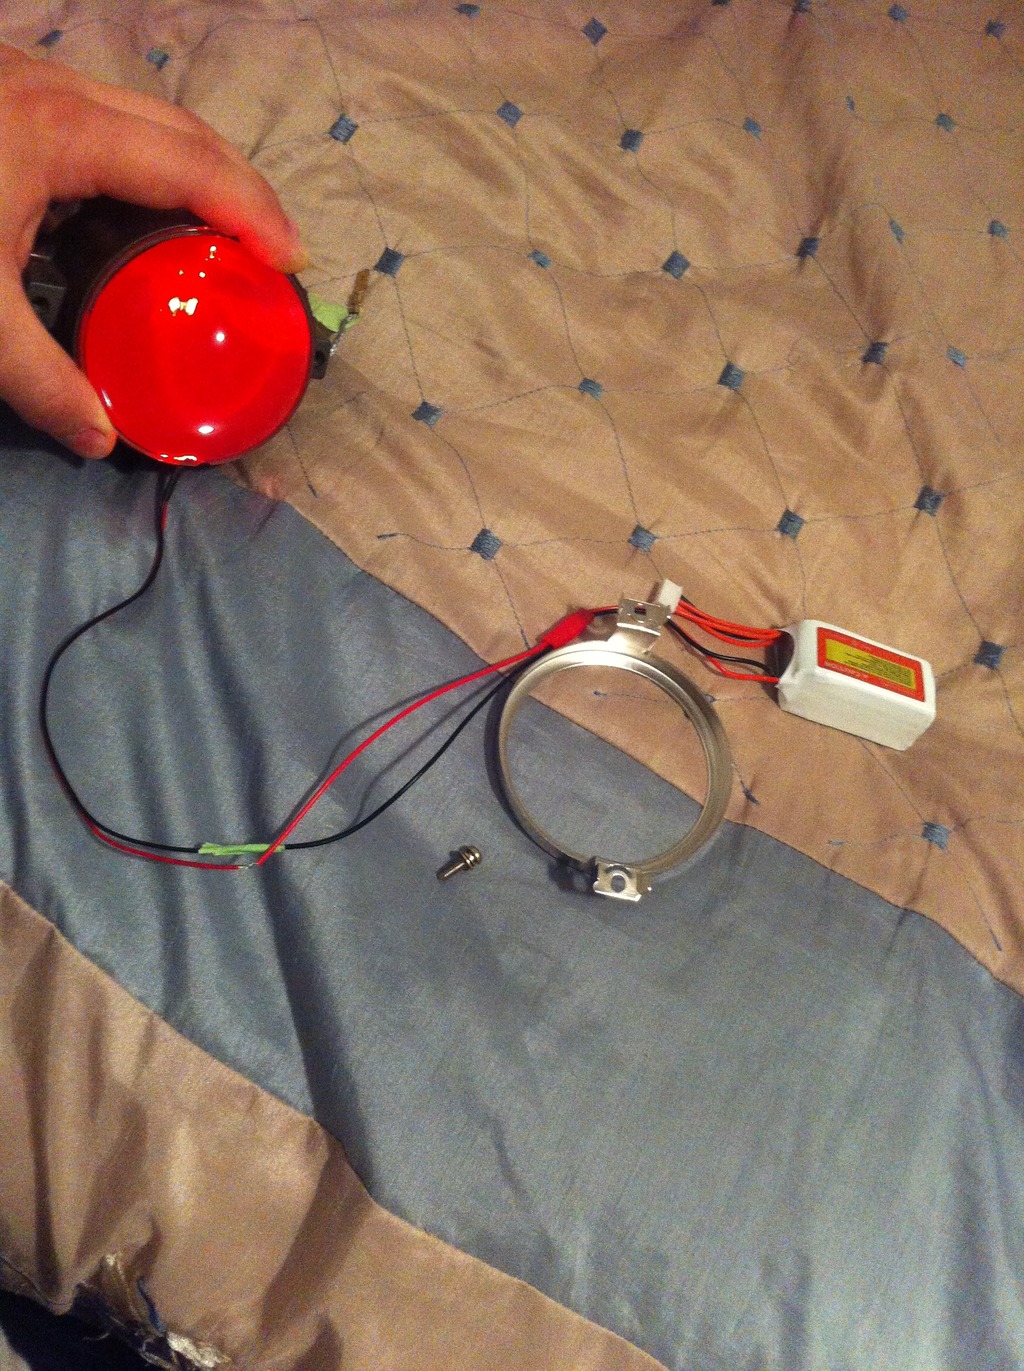
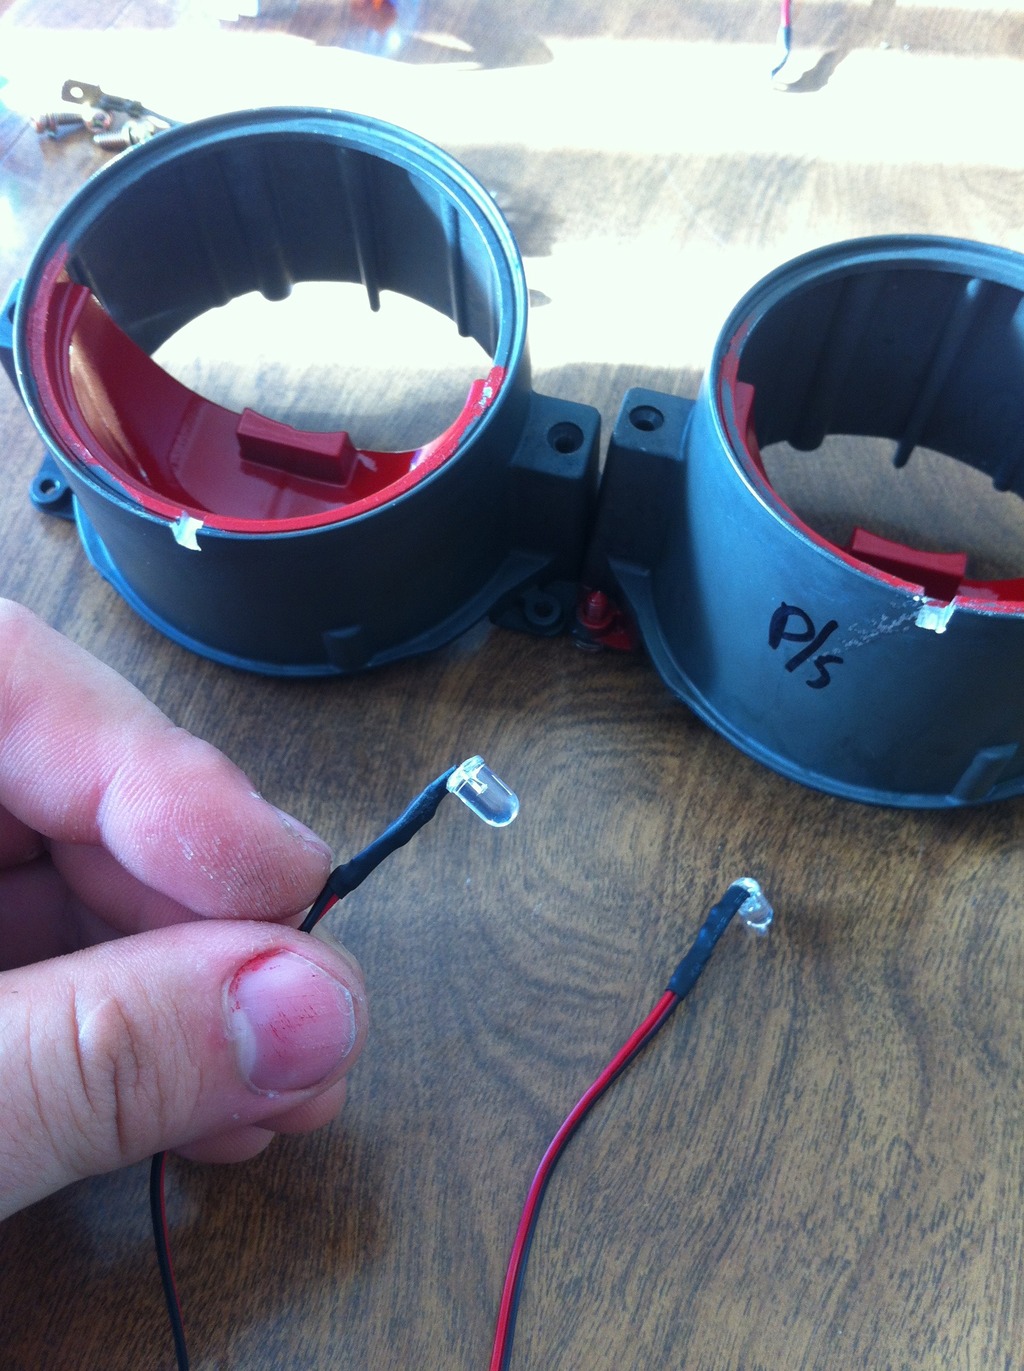
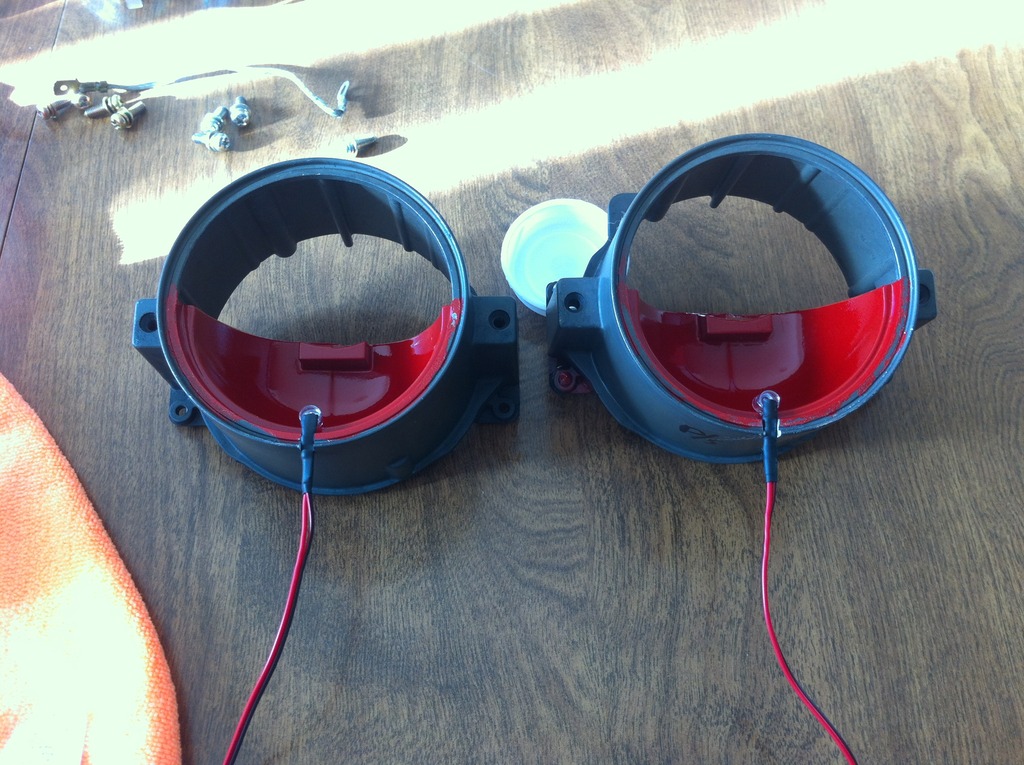
After the paint was dry I experimented with led placement and found that having them placed low on the projector cutoff shroud (facing away from the lens) properly illuminates the lens. I used a dremel to put a notch on the bottom of the projector housing and then used jbweld to glue the leds in place. After the jbweld was cured I used a cotton swab to put some paint over the back of the led so it doesn't make a hot spot on the lens during operation.

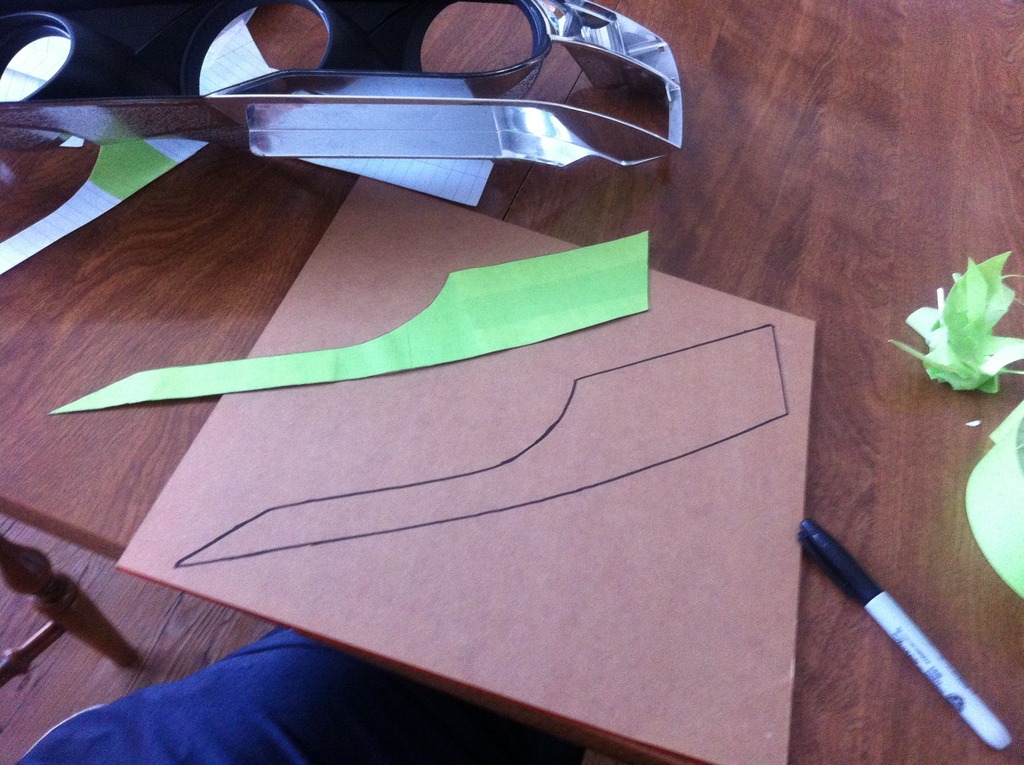
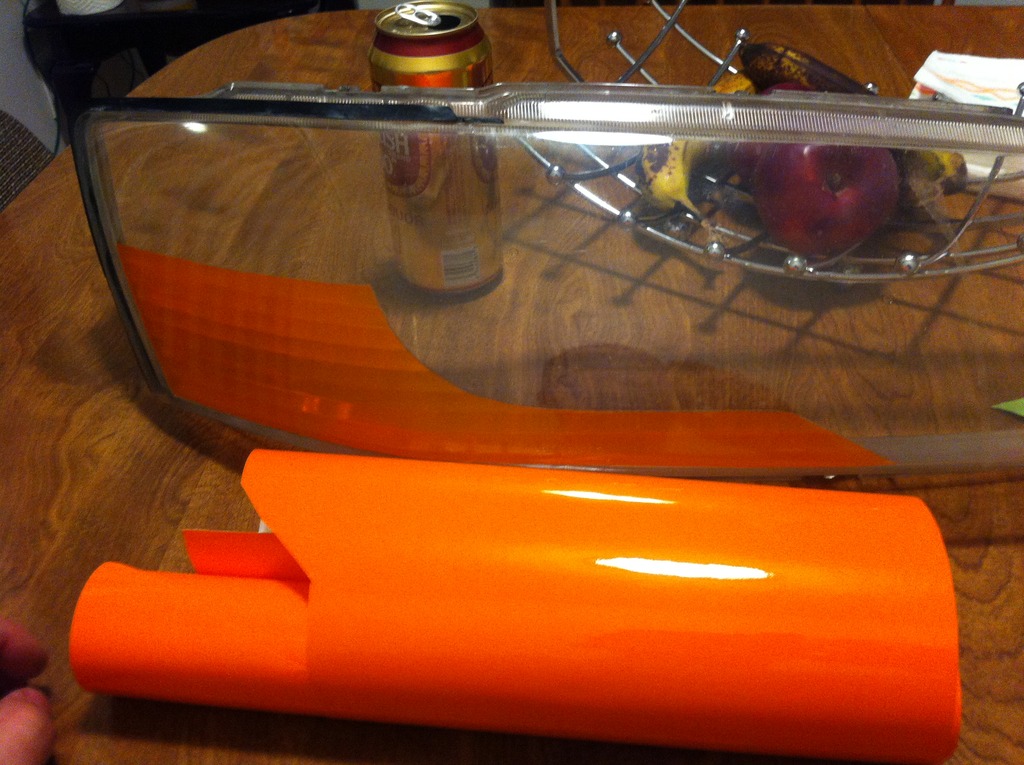
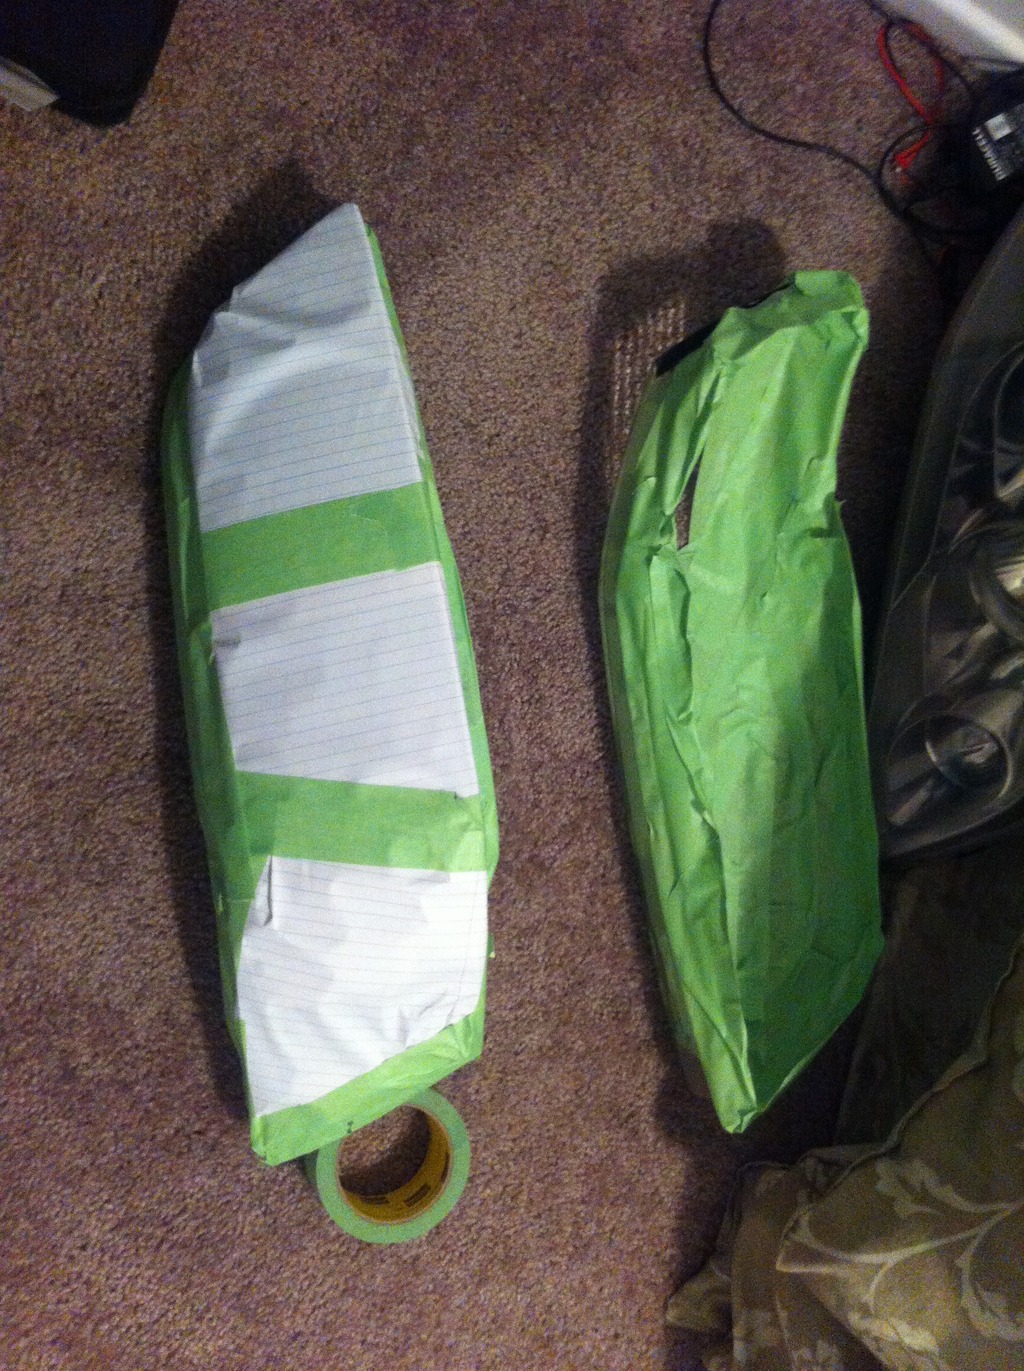
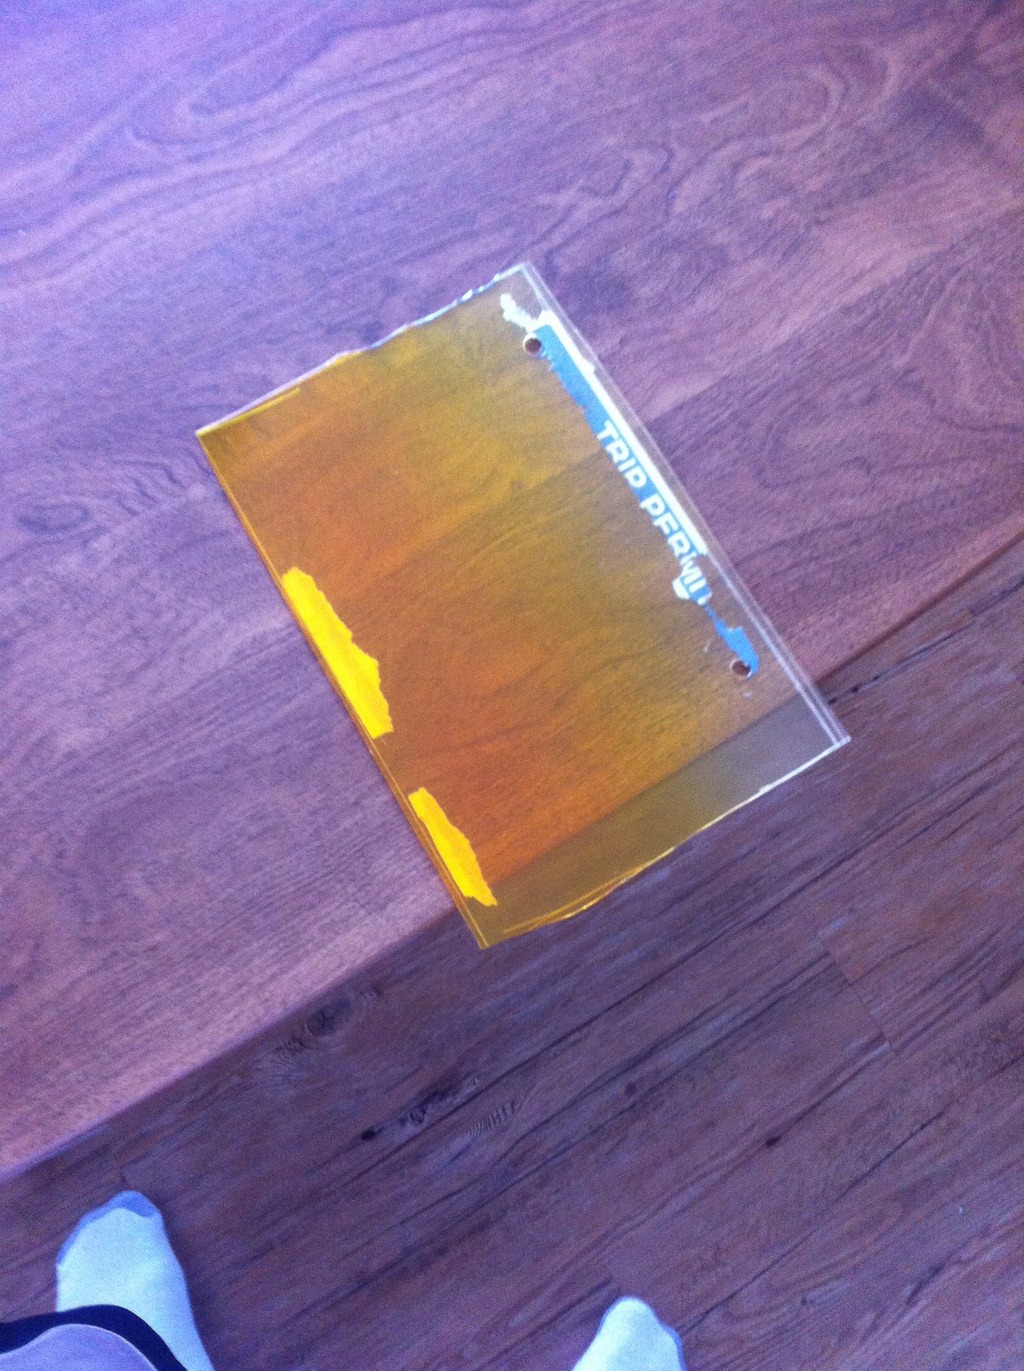
Before sealing the headlights I wanted to make my own amber corners using some amber plexiglass but I was unable to properly cut the plexiglass, I used various cutting methods but the plexiglass kept cracking so after wasting 2 sheets I gave up and decided to use tinting film.
attempting to trace/cut plexiglass
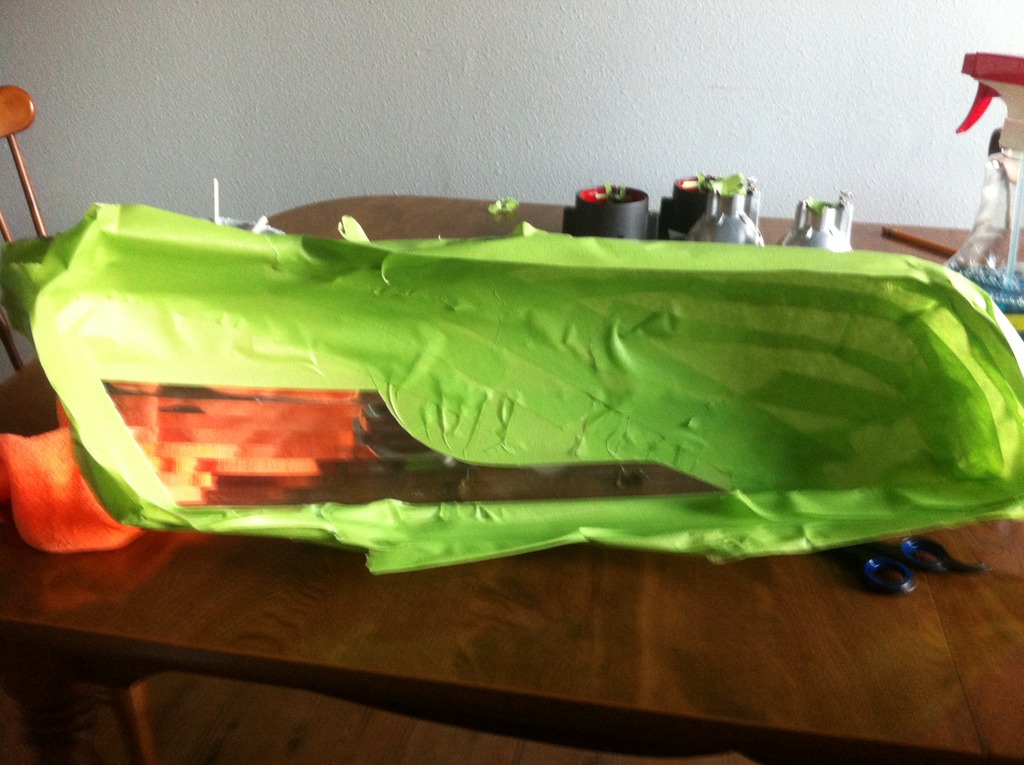
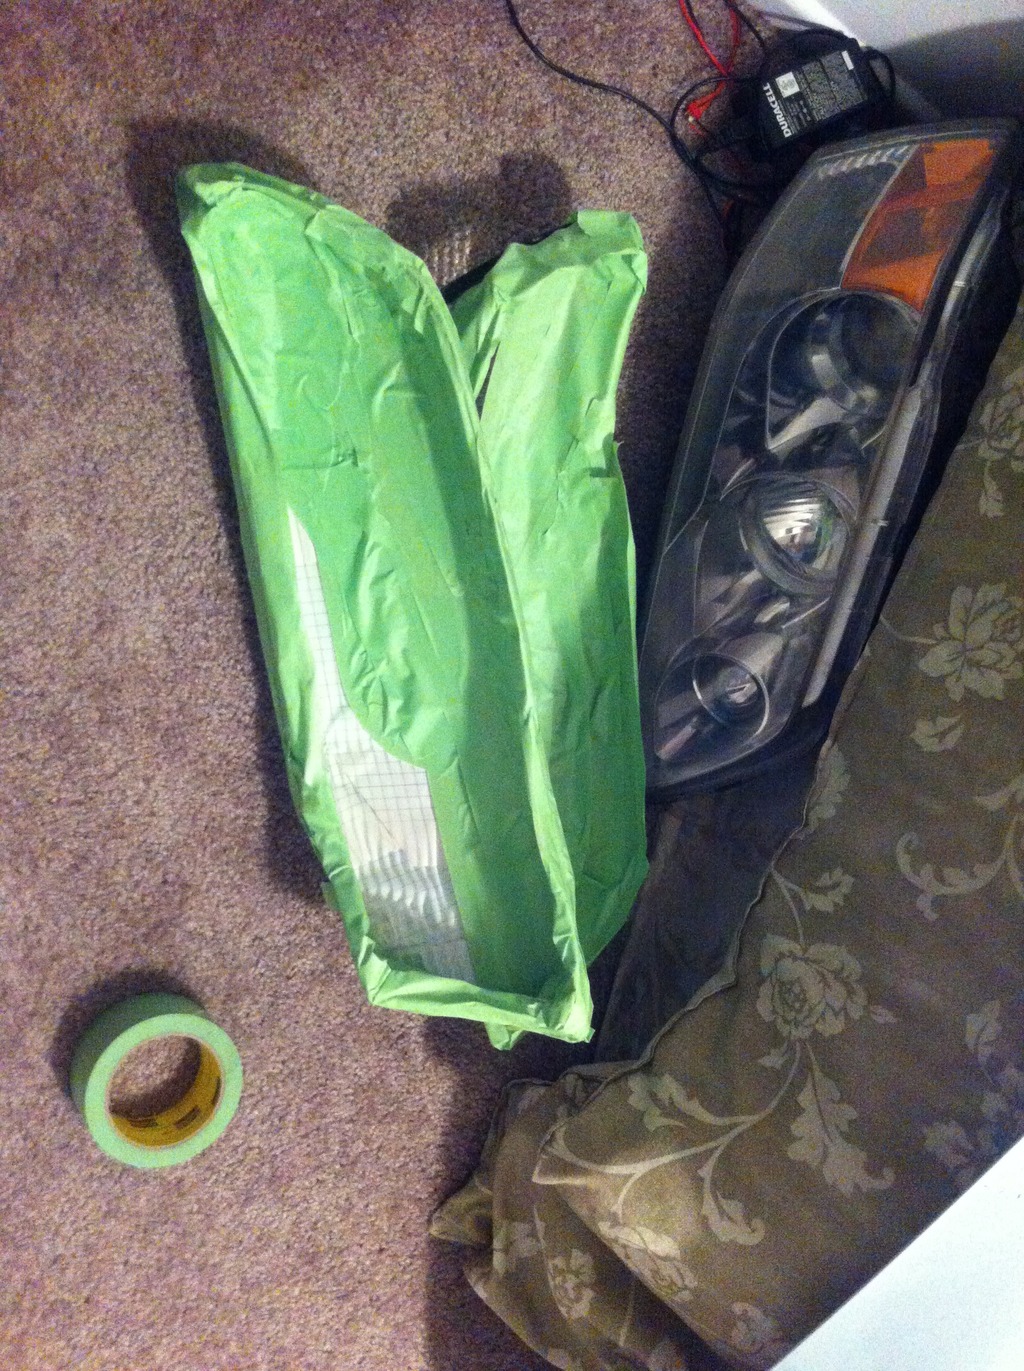
tint film
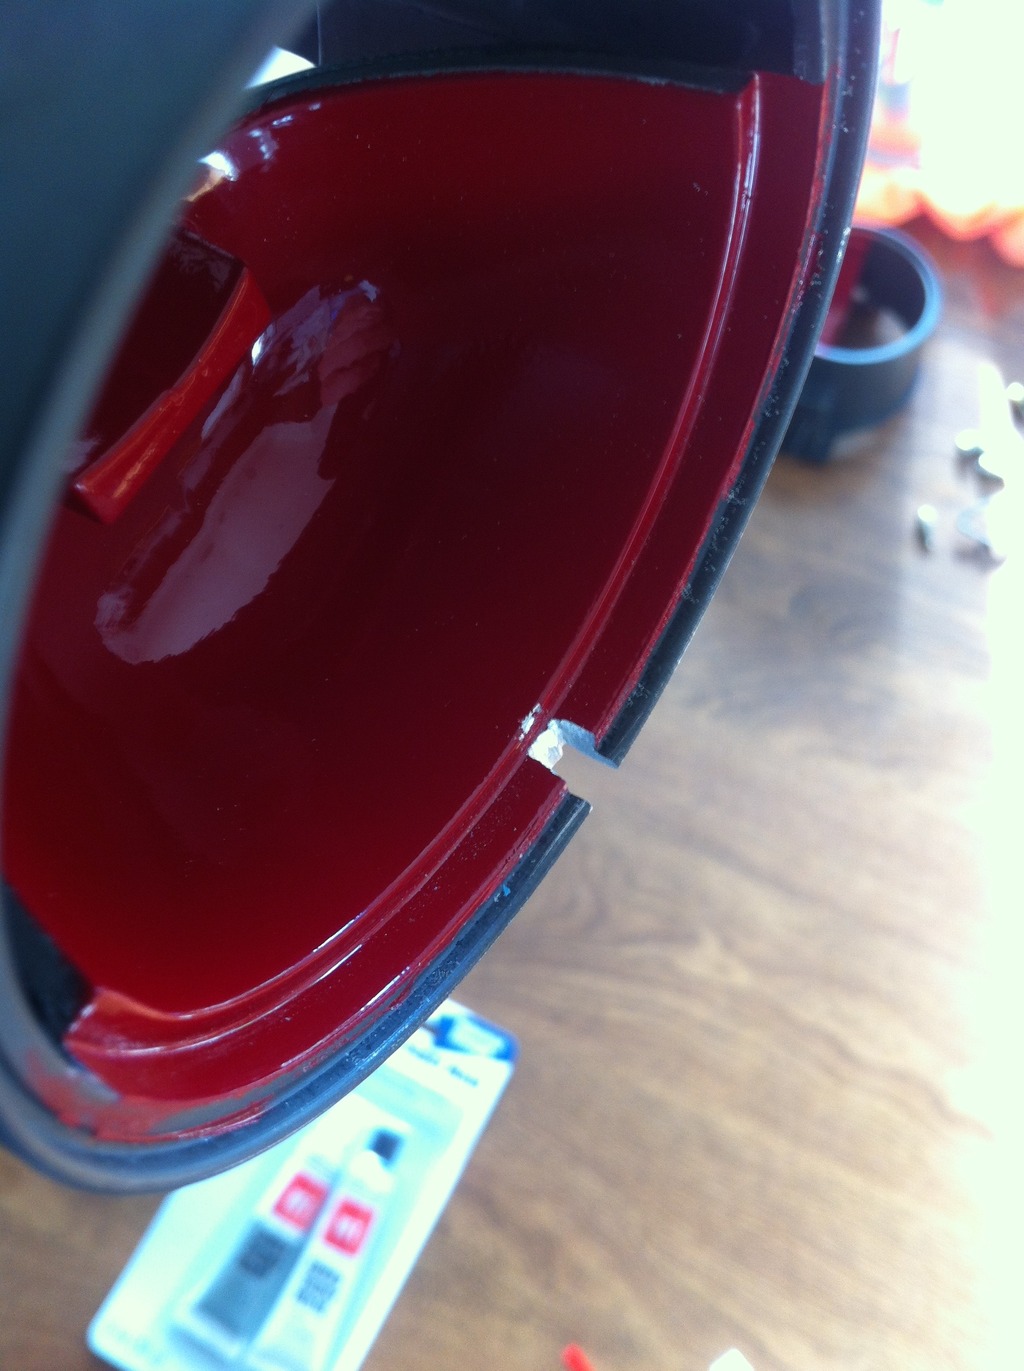
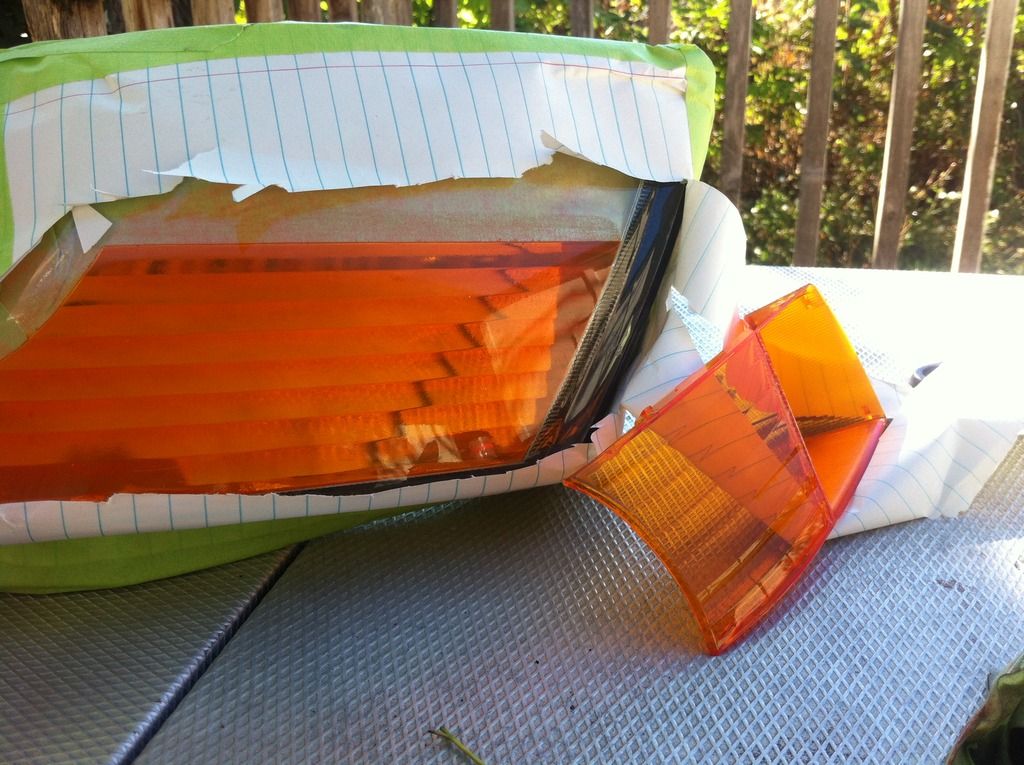
After installing the film I didn't like how it wasn't always transparent and wasn't always amber but yellow instead so I removed it and ended up using some transparent model paint meant for painting plastics. Before painting the lenses I wiped them off with rubbing alcohol and sprayed the inside with tamiya ts73 clear orange. I must also add if someone is gonna try to use this paint to do what I did if you follow the directions on the can it tells you to spray like 18" away or something, if you do spray it from that far away it will make the lens really foggy or hazy looking, I would recommend that after a few coats instead spray about three inches away and you will end up with a clear looking lens in amber.
clear plexiglass used for testing purposes
finished lens next to oem amber parking light lens
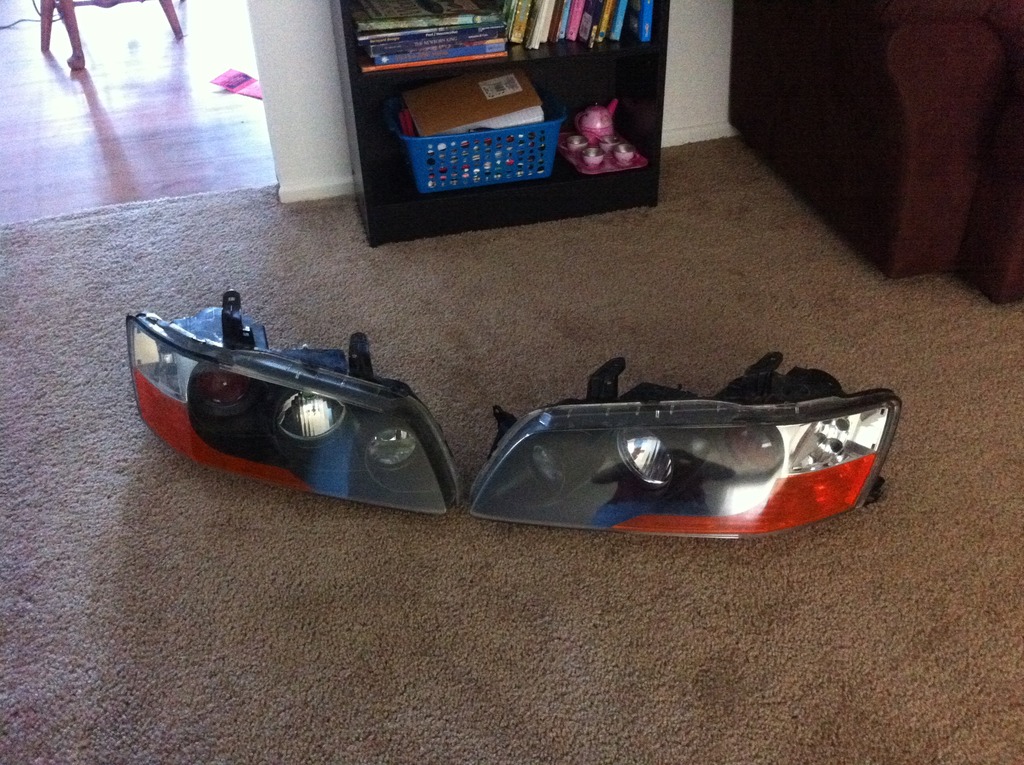
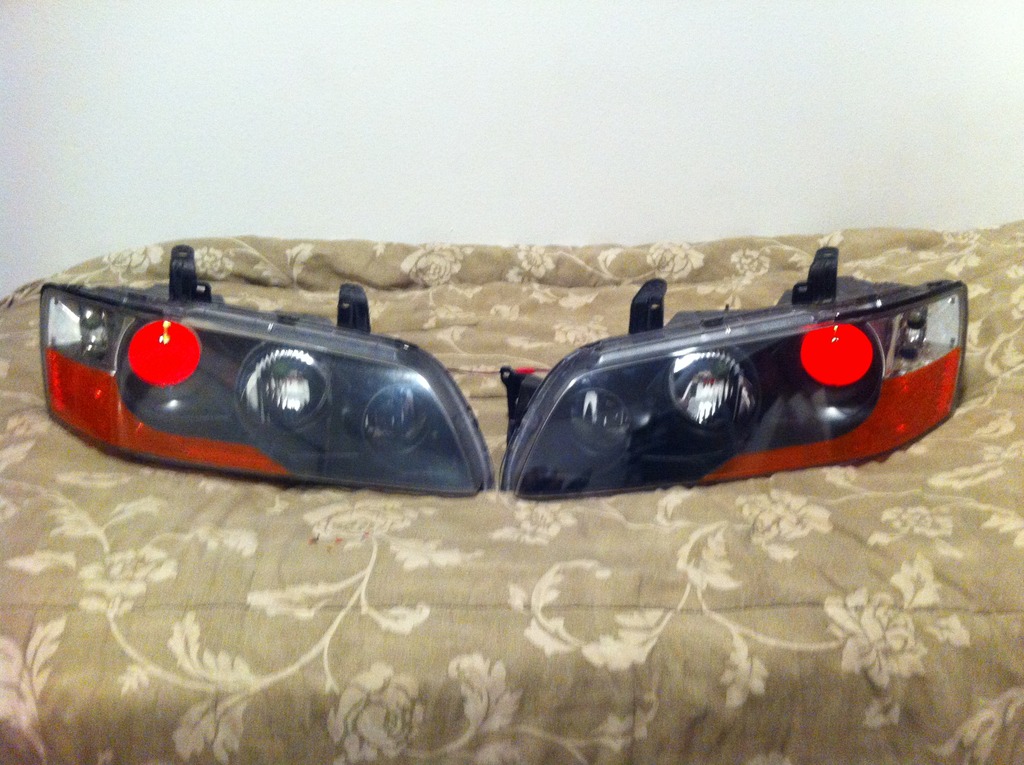
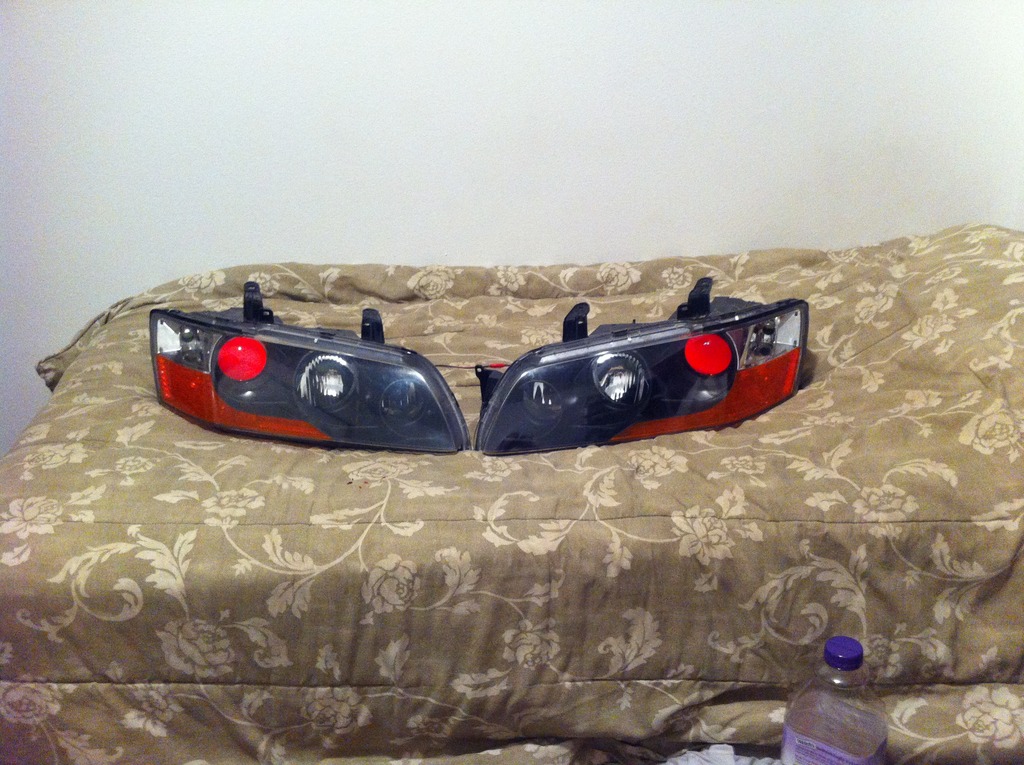
The final product

Just like most people to open these headlights I baked them in the oven @ 200*F for about 15 minutes which I will never do again if I have to split them in the future because I warped one of the corners on the housing(the outside housing that seals the lens). From my experience I would recommend using a heat gun or a good hair dryer(which I used when sealing the lenses).
Next I wet sanded the housings using 400 grit sandpaper and finished them off with 1000 grit. I got as much of the chrome as I could but its really hard to get in between the ribs on the housings. So this is what the housings ended up looking like after wet sanding.

I then primered the housings using duplicolor black primer, it might be a good idea to use adhesion promoter before using the primer but I skipped that step. I think I put 3-4 coats of primer then wetsanded the housings again with 1000 grit. I forgot to take a picture of what the housings looked like after. Here is the primer and the starting phase of spraying the housing with primer


Final 3 coats of paint were sprayed with duplicolor low gloss engine paint, I like how they turned out.


During this project I stumbled upon a video on youtube of some evo 9 headlights and demon eyes, and another thread that someone painted the front of the cutoff red to give a terminator eye like effect in the sunlight. since I already had the headlights apart I dissassembled the projectors wet sanded the front face of the cutoff with 1000grit and used red duplicolor caliper paint.


terminator eye like effect under proper lighting conditions

After the paint was dry I experimented with led placement and found that having them placed low on the projector cutoff shroud (facing away from the lens) properly illuminates the lens. I used a dremel to put a notch on the bottom of the projector housing and then used jbweld to glue the leds in place. After the jbweld was cured I used a cotton swab to put some paint over the back of the led so it doesn't make a hot spot on the lens during operation.


Before sealing the headlights I wanted to make my own amber corners using some amber plexiglass but I was unable to properly cut the plexiglass, I used various cutting methods but the plexiglass kept cracking so after wasting 2 sheets I gave up and decided to use tinting film.
attempting to trace/cut plexiglass

tint film

After installing the film I didn't like how it wasn't always transparent and wasn't always amber but yellow instead so I removed it and ended up using some transparent model paint meant for painting plastics. Before painting the lenses I wiped them off with rubbing alcohol and sprayed the inside with tamiya ts73 clear orange. I must also add if someone is gonna try to use this paint to do what I did if you follow the directions on the can it tells you to spray like 18" away or something, if you do spray it from that far away it will make the lens really foggy or hazy looking, I would recommend that after a few coats instead spray about three inches away and you will end up with a clear looking lens in amber.


clear plexiglass used for testing purposes

finished lens next to oem amber parking light lens

The final product


Last edited by SnailSpeed; Sep 27, 2015 at 04:33 PM. Reason: forgot to add a pic


 Sep 27, 2015, 05:14 PM
#4
Great job on posting this write up! I like the attention to detail.
In the past I have also used engine enamel paint to paint the cutoffs. There are more colors to choose from if you use those and they hold up well.
Yea I would also agree that the TAMIYA orange clear paint is a good match to the JDM amber turn signal however do not wipe the back of the lense with rubbing alcohol. Depending on the concentration of alcohol the coating on the back of the lense might be rubbed off. This will leave a haze that is tedious to remove. I would only use water and compressed air to clean the back of the lense.
Sep 27, 2015, 05:24 PM
#5
Great job on posting this write up! I like the attention to detail.
In the past I have also used engine enamel paint to paint the cutoffs. There are more colors to choose from if you use those and they hold up well.
Yea I would also agree that the TAMIYA orange clear paint is a good match to the JDM amber turn signal however do not wipe the back of the lense with rubbing alcohol. Depending on the concentration of alcohol the coating on the back of the lense might be rubbed off. This will leave a haze that is tedious to remove. I would only use water and compressed air to clean the back of the lense.
In the past I have also used engine enamel paint to paint the cutoffs. There are more colors to choose from if you use those and they hold up well.
Yea I would also agree that the TAMIYA orange clear paint is a good match to the JDM amber turn signal however do not wipe the back of the lense with rubbing alcohol. Depending on the concentration of alcohol the coating on the back of the lense might be rubbed off. This will leave a haze that is tedious to remove. I would only use water and compressed air to clean the back of the lense.
Nov 3, 2015, 08:31 AM
#7

Great write up! What did you use to seal you lens and what is the setup for the LEDs wiring for power and where to get what looks like a resistor pack of some sort in one of your pics?
Trending Topics
Nov 3, 2015, 11:36 AM
#8

I use http://www.theretrofitsource.com/acc...l#.VjkMorerRhE for sealing any headlights I touch
really though, any sort of butyl glue will probably do just fine
really though, any sort of butyl glue will probably do just fine
Nov 4, 2015, 12:59 PM
#9
I reused the sealant on the lens, I purchased the LEDs through ebay, not sure what u mean by resistor pack. I used a battery pack from one of my quadcopters to power the leds. The LEDs came presoldered with resistors in the wires. I haven't wired them in yet to anything but as soon as I do I will update the theead.
Nov 4, 2015, 06:46 PM
#11
I'm aware of that lol, rc stuff is another one of my hobbies so I know all about them. I don't plan on using the lipo in the car, I only used it to test the LEDs during the project at room temperature and fully charged as well. Sorry for not clarifying that.
Nov 10, 2015, 09:12 PM
#13
Evolved Member
any other colour then light blue or white in the headlights would be an instant fine over here is Aus, that includes blue lights under the car, need for speed style