When you click on links to various merchants on this site and make a purchase, this can result in this site earning a commission. Affiliate programs and affiliations include, but are not limited to, the eBay Partner Network.
My jdm rear fascia install (welding/painting/fabrication inside)
Evo How Tos / InstallationsPost or link to your detailed how to / installation articles in here. If you have any questions regarding the how tos, feel free to post them in the Request sub-forum.
My jdm rear fascia install (welding/painting/fabrication inside)
Last July I took delivery of a rear jdm fascia for the CT9A but I did not have time to install it. I've finally gotten around to working on this.
My original concern was that I could not use a crash beam. I have since seen that one of the vendors offers a tube-crash beam which is I believe made of chromemoly. I wanted to have something underneath there.
I took some measurements, and with some luck I things are going out well. I enjoy tig-welding so I have been making this bumper out of aluminum. I am welding it with AC current. I am no expert but I am trying to learn more by doing.
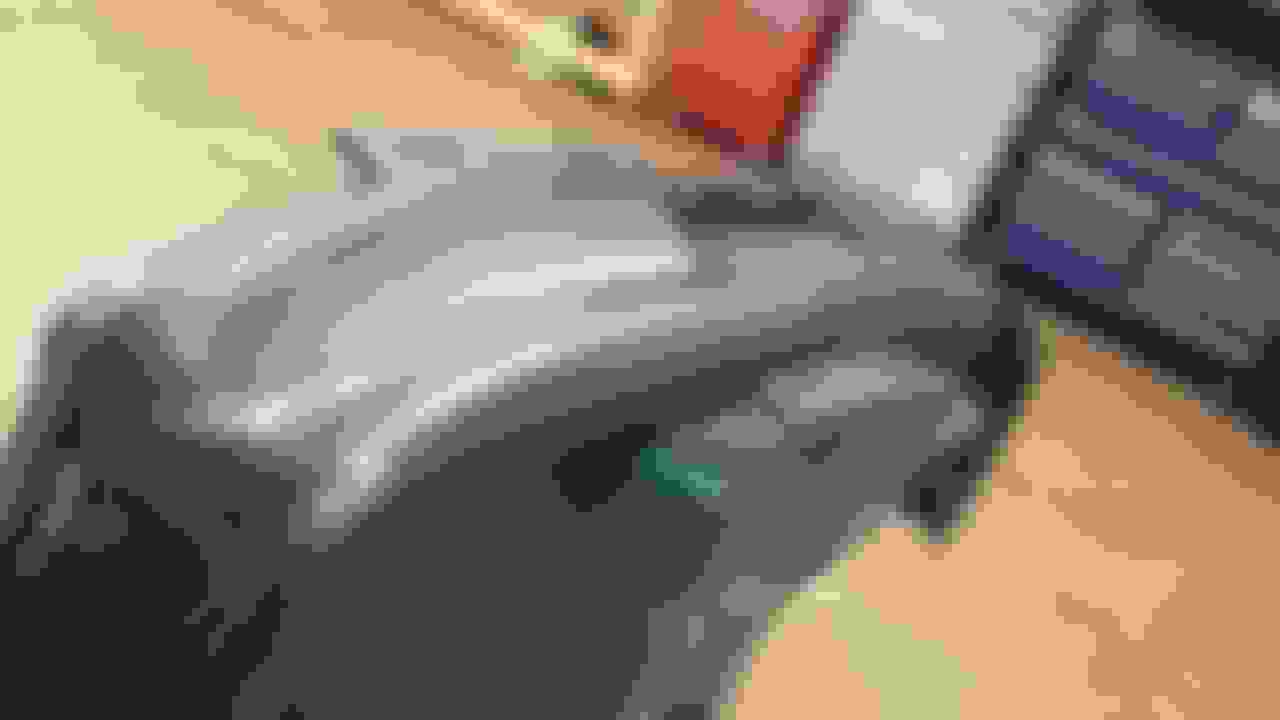
This shows the factory bumper from the bottom
The factory bumper sticks back about 4 inches.
This shows the clearances underneath.
Factory USDM bumper fit
This is the clearance between the original USDM rear fascia and the end of my megan racing exhaust.
Rear fascia removed
Crash beam removed
rear fascia
Testing the fit of the JDM rear
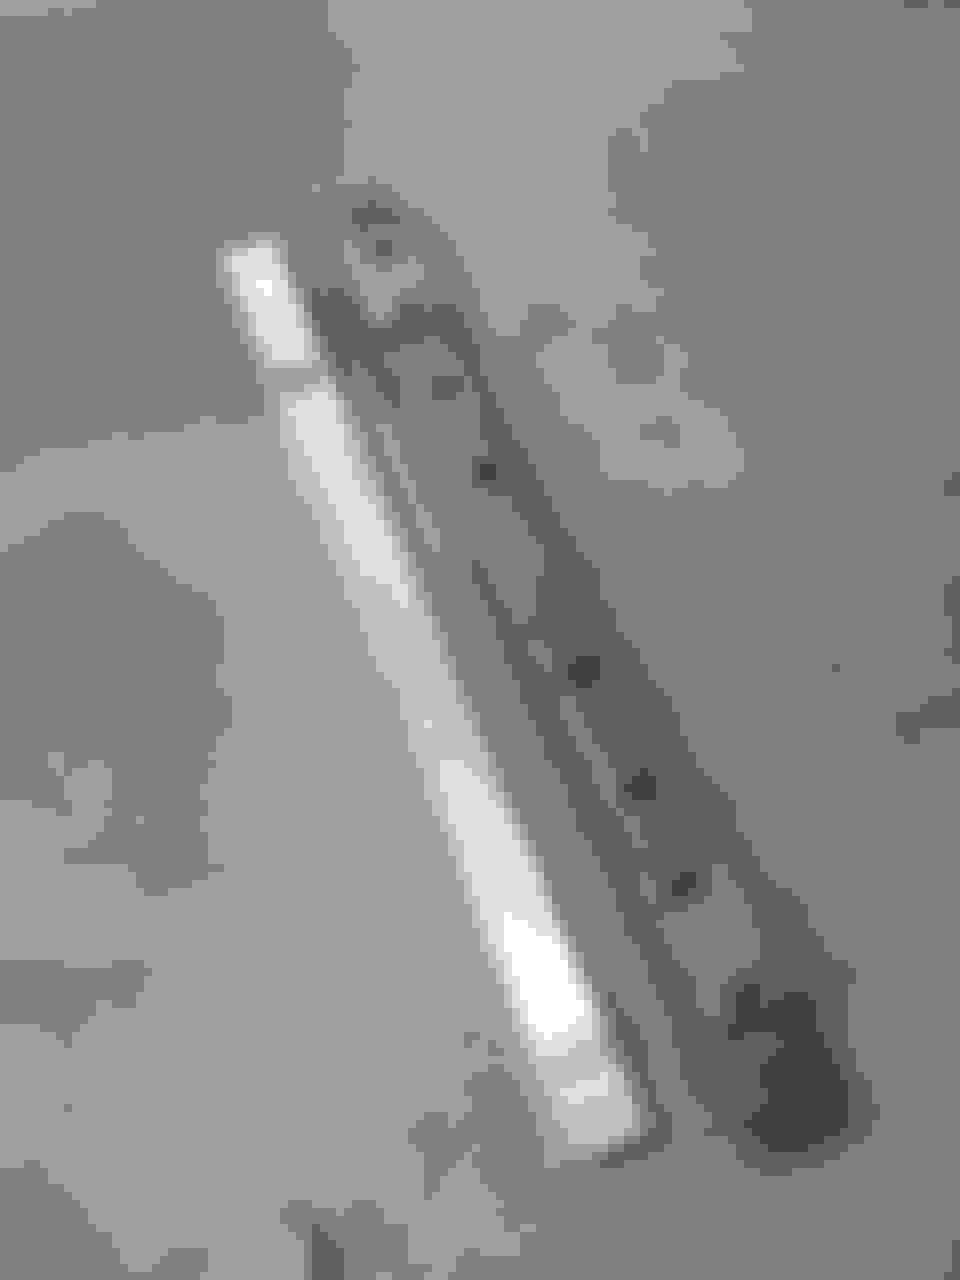
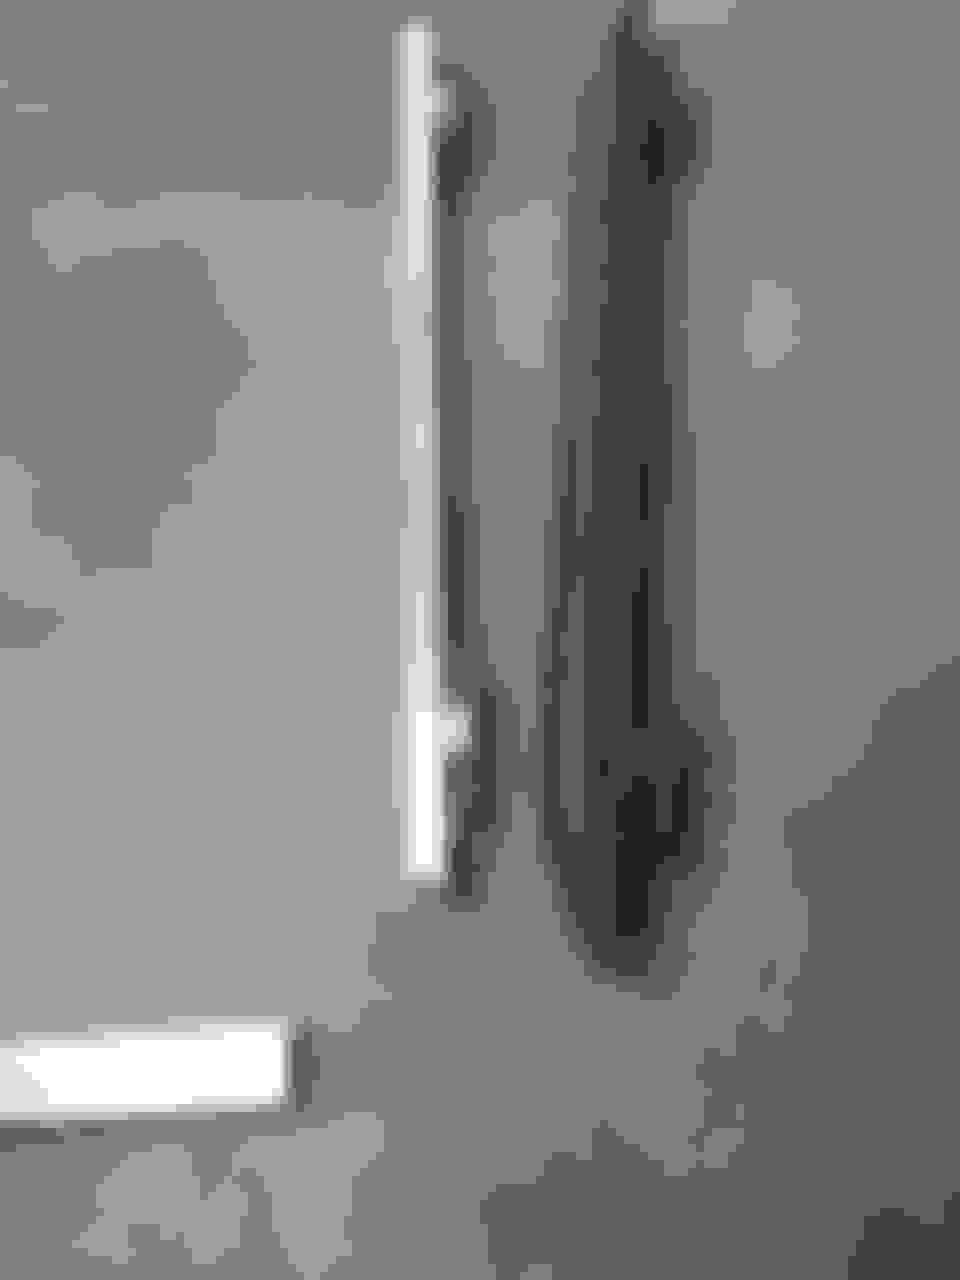
The USDM crash beam really sticks out far.
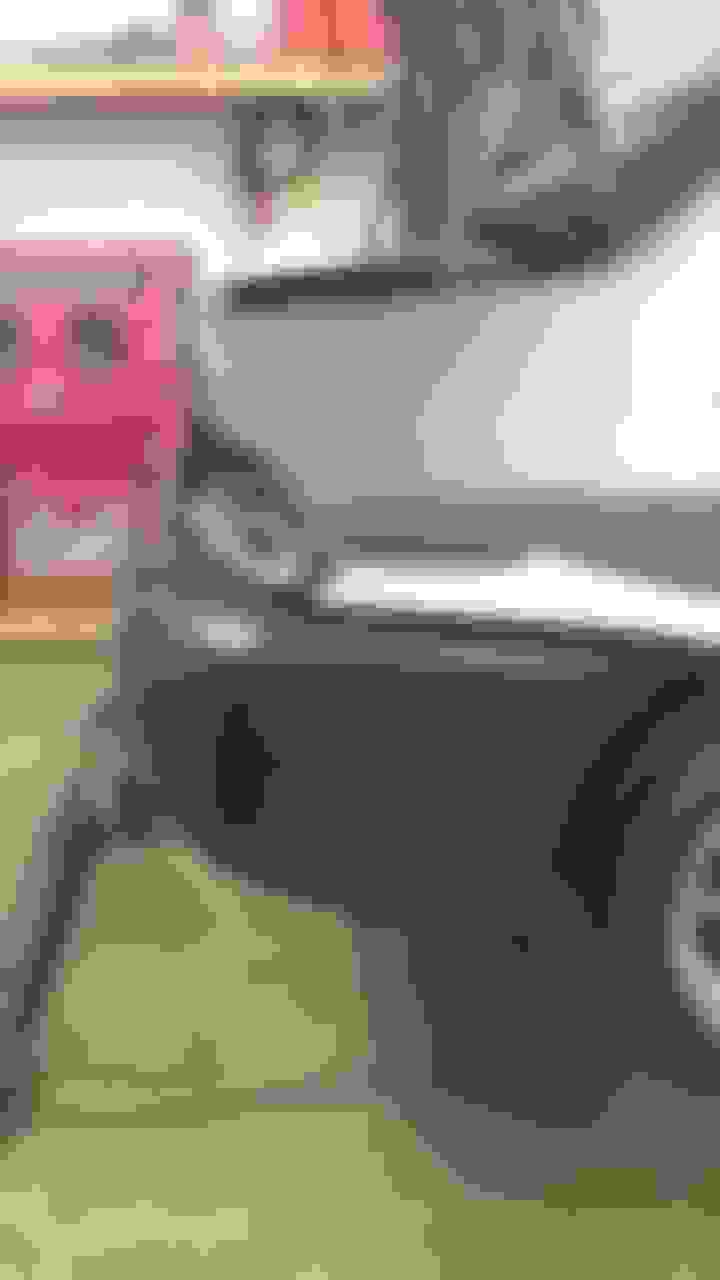
Testing the fit with the jdm rear fascia and no crash beam
The JDM rear fascia does contact the exhaust. It will need to be shortened.
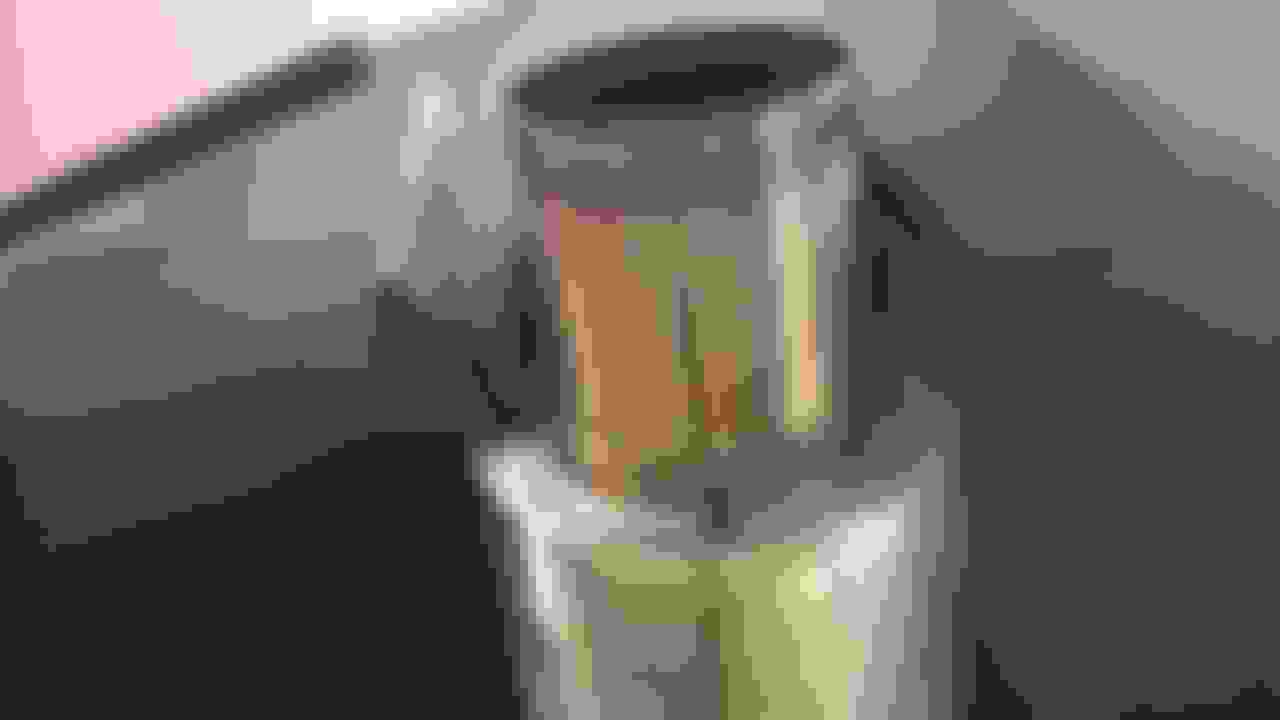
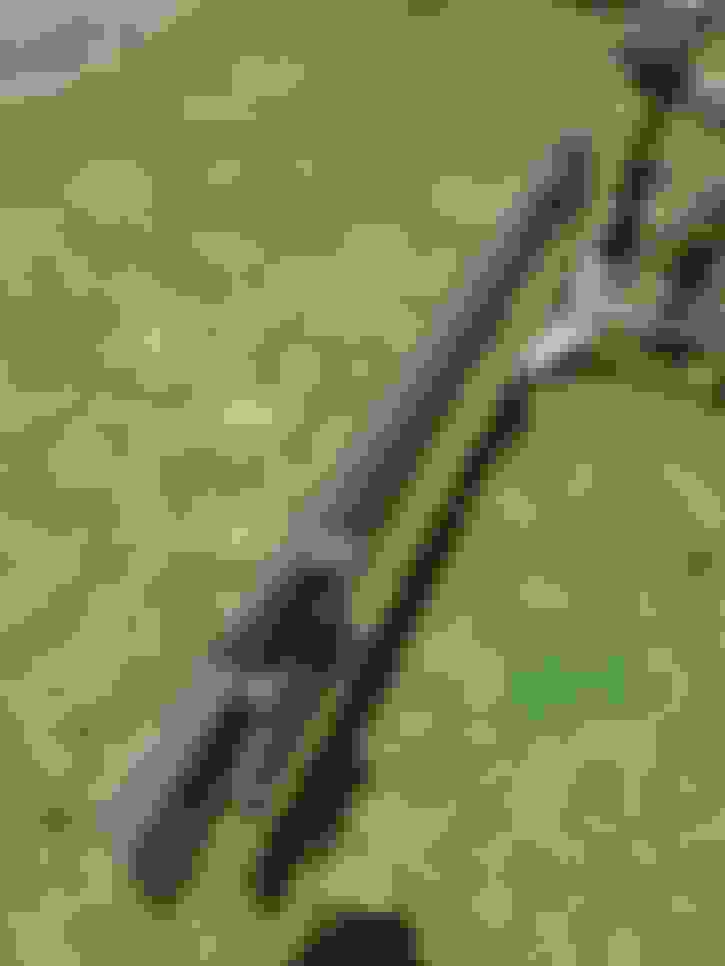
I went to purchase material for the new crash beam. I made this out of aluminum. It weighs 11 pounds less than the original one. it is 1/8th inch thick material.
needed a 1 inch drill bit to make holes so I could get a socket in there
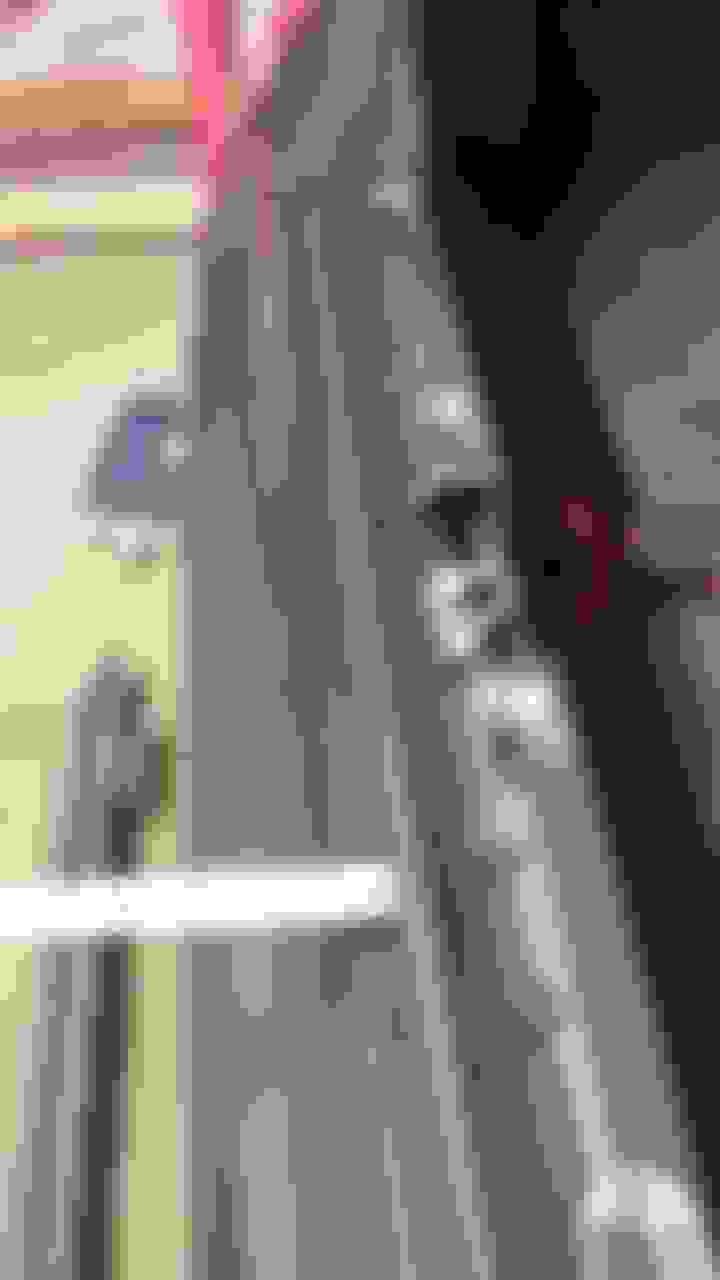
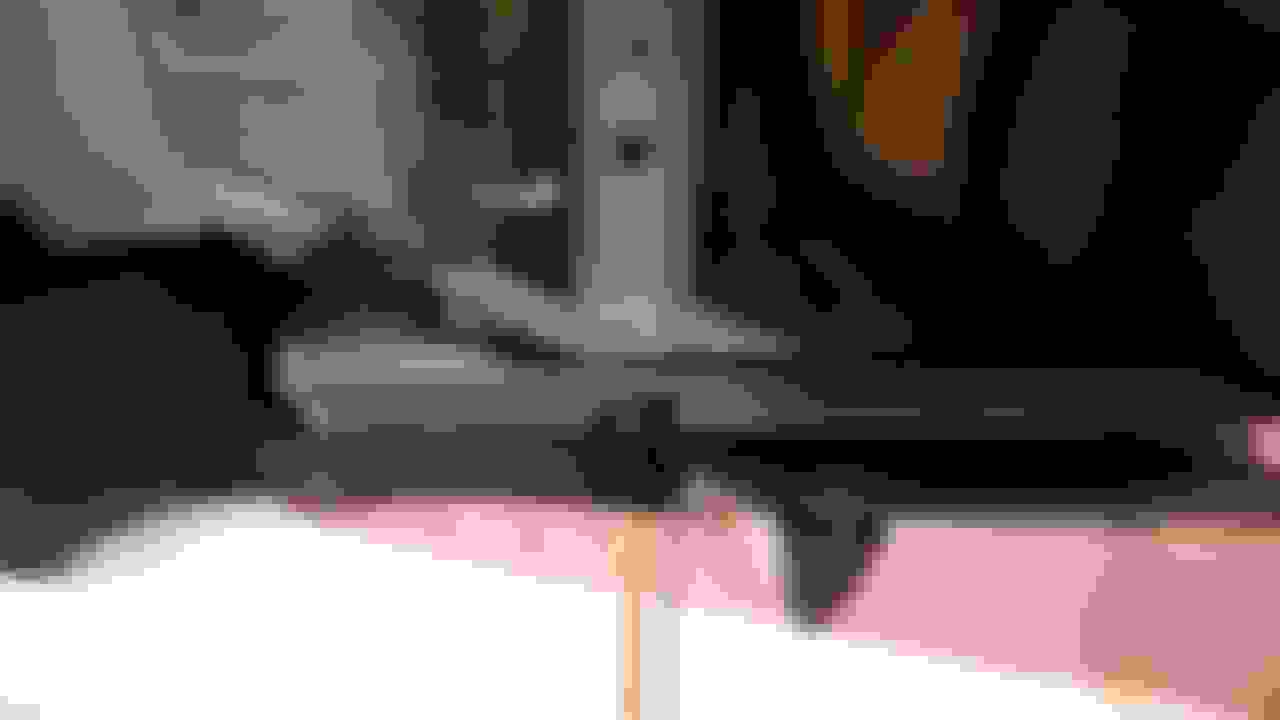
it is really tight on the edge, there is only about 1/8 inch of clearance
Very tight fit back here too not much room
very tight in he
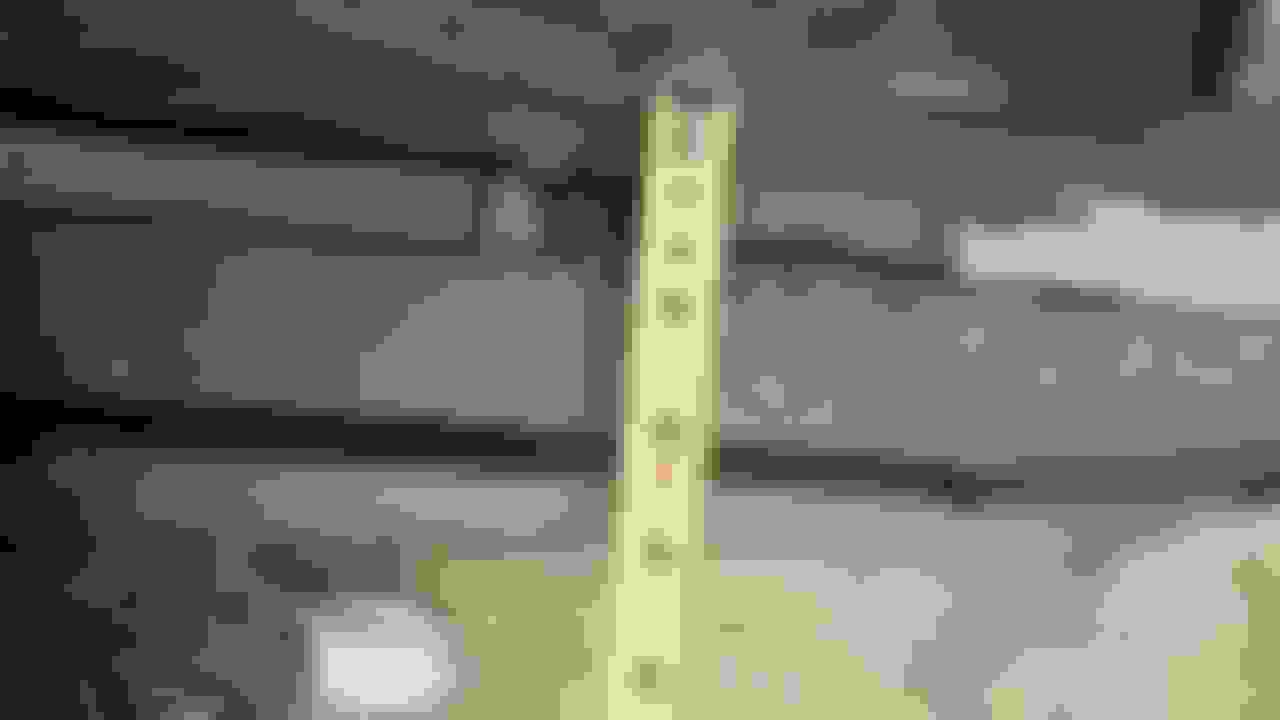
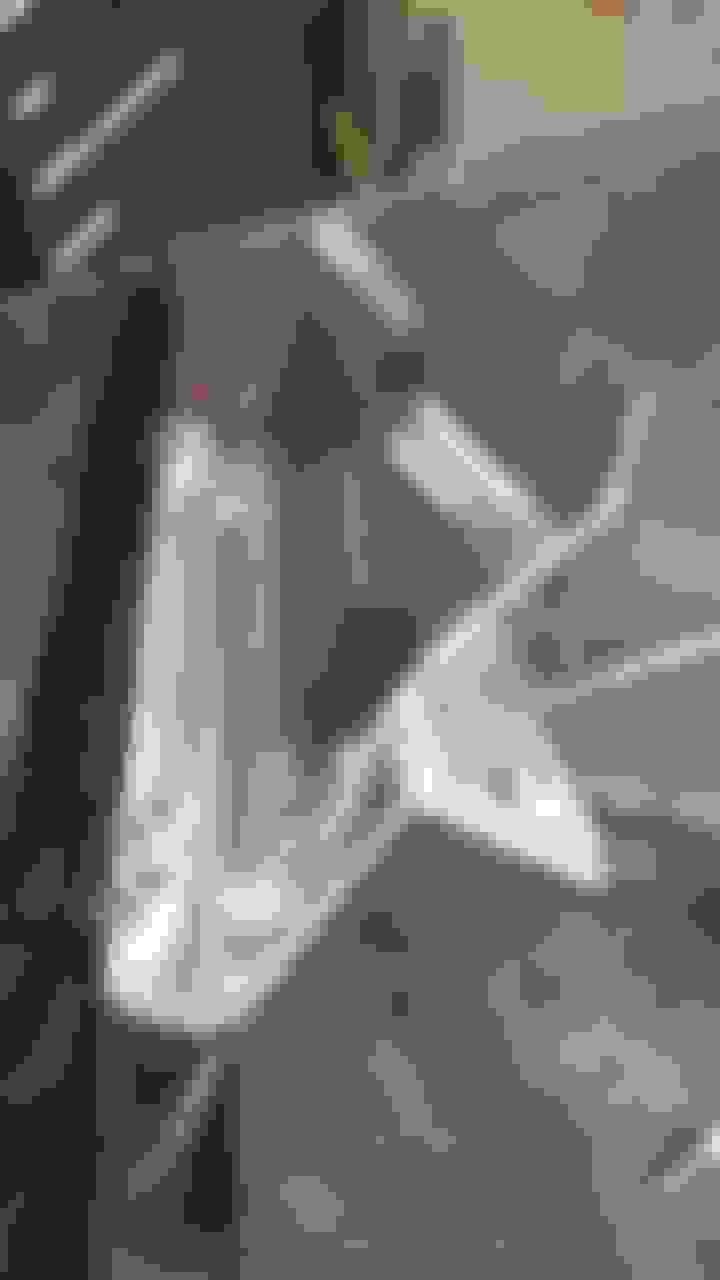
I need to build some sort of support bracket to take advantage of the factory push-pin location that holds the bottom up? See the plastic hole?
I need to build some sort of support bracket to take advantage of the factory push-pin location that holds the bottom up? See the plastic hole?
I need to build some sort of support bracket to take advantage of the factory push-pin location that holds the bottom up? See the plastic hole?
I need to build some sort of support bracket to take advantage of the factory push-pin location that holds the bottom up? See the plastic hole?
I need to build some sort of support bracket to take advantage of the factory push-pin location that holds the bottom up? See the plastic hole?
how are other people with the jdm rear attaching the 2 bottom pushpins like that? I am referring to the one on the exhaust hole, and the other one far over on the drivers side.
Sorry your picture's aren't loading or at least not for me what push pins are you talking about?
There are 2 spots on the bottom of the JDM that look like they would originally snap into the crash beam. Since I don't have an authentic crash beam, I will make brackets for these.
Pictures load fine for me, they are hosted on evom- not sure why it is not showing up for you.
Yeah they load now fine it might have been cause I was on the work computer...went and looked what I did with mine they just aren't attached to anything at least the tabs by the exhaust cutout and the charcoal box the center ones I fixed to the mounting points there just with zip ties planning to take it back off after I get the stock crash beam shortened or I may just get the stm one haven't fully decided yet..but I've had it one a while like that with no issues at all maybe if you wanted you could just attach some mount points to your improvised crash bar if you want the extra support.
maybe if you wanted you could just attach some mount points to your improvised crash bar if you want the extra support.
yes I plan on making a small bracket on each side. I already have it in my imagination what I want to do. I am really enjoying tig welding. Once I get everything fabricated to my satisfaction I will be bringing the bumper into my paint booth for some graphite grey spray =)
I painted this outside. I didn't think it mattered if I got a little dirt, or a bug in the paint. Whenever I paint in my booth I have to clean up the overspray, and it's really clean right now since I prepared it for painting the fascia skin itself.
Looking good! Here's how Afterhours braced the JDM rear. They used an aluminum mounting bracket. The hole under the tow hook cover gets fastened into an oem location, but the one next to the exhaust tip is hard to address....
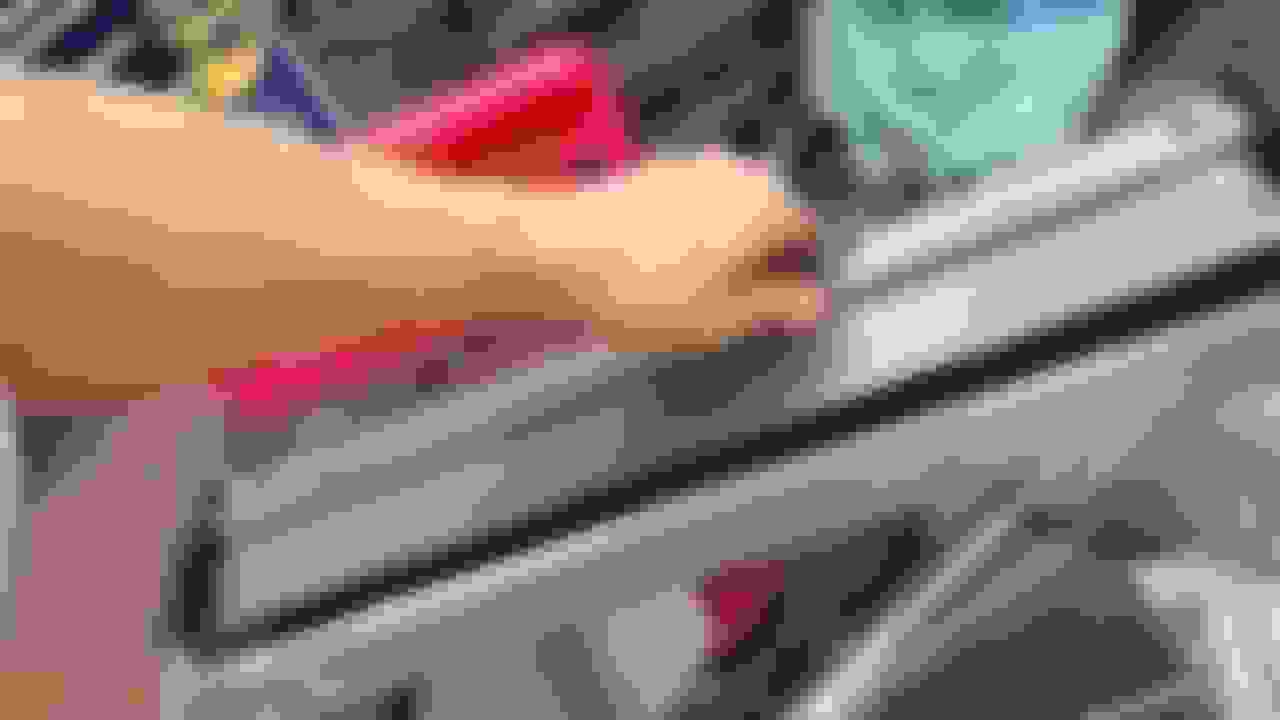
I tried making a bracket with my welder and some thin aluminum. I had to learn a little bit on 1/16th aluminum to get the heat right. I was burning through. The first attempt was a train wreck. But I got better. I ended up going with a simpler design by bending some metal.
 May 3, 2018, 02:58 PM