Evo Hood Damper Kit (Nitrogen-filled) for Evo 8-10
 Jun 27, 2008, 08:09 PM
#1
Account Disabled
Thread Starter
iTrader: (64)

Join Date: Feb 2006
Location: Mesa, AZ
Posts: 396
Likes: 0
Received 0 Likes
on
0 Posts
Evo Hood Damper Kit (Nitrogen-filled) for Evo 8-10
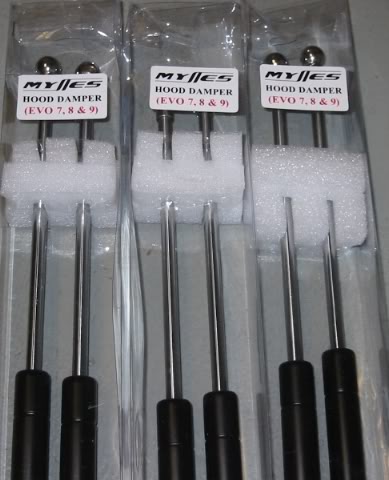
[SIZE="2"]Mynes Performance has received our latest batch of Gas hood damper kits for the Evo 7, 8 & 9. Our kit has been redesigned to have stronger gas shocks than our competitors and it eliminates the "lazy" hood opening... This kit can be installed in about 10 minutes.
VIDEO Demo Added: http://www.youtube.com/watch?v=b2bvyj0Mam0
It's Carbon Hood safe !!!
!!!
Kit Contents:
- Gas Damper w/ Ball Stud & fastening clips (2)
- "Long" Brackets for fender (2)
- "Short" Brackets for hood (2)
- Lock washers (4)
- Washers (4)
Instruction updated on Dec 24, 2008!!!
Tools needed:
One rachet with a 10mm socket and a 12mm socket.
Method #1
Method #2
================================================== ========
Method #1 - For Evo 7, 8 & 9 models
Installation Instructions:
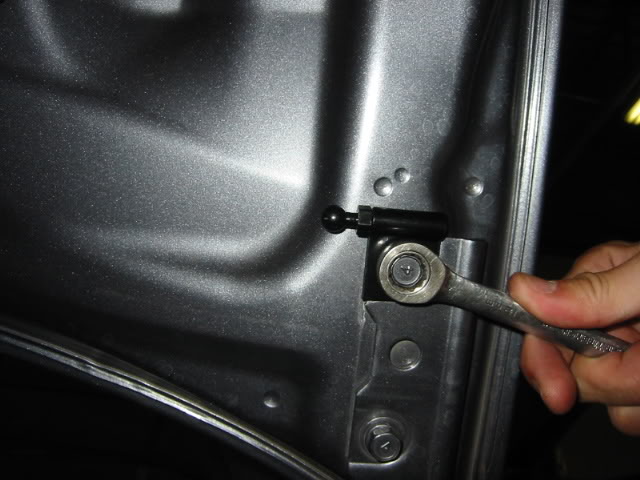
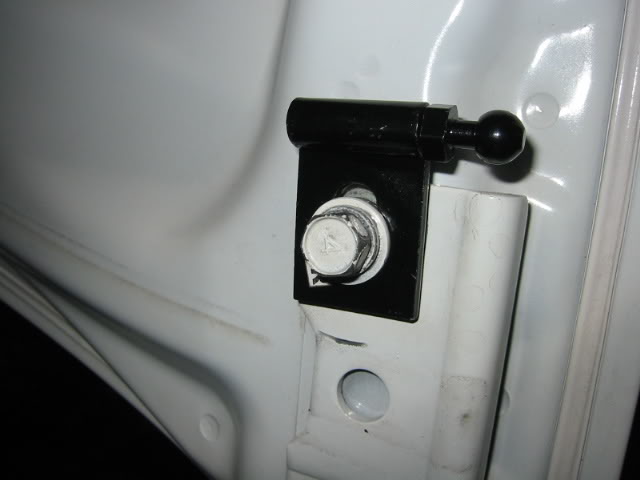
1. Remove screw from middle of fender on Driver side.
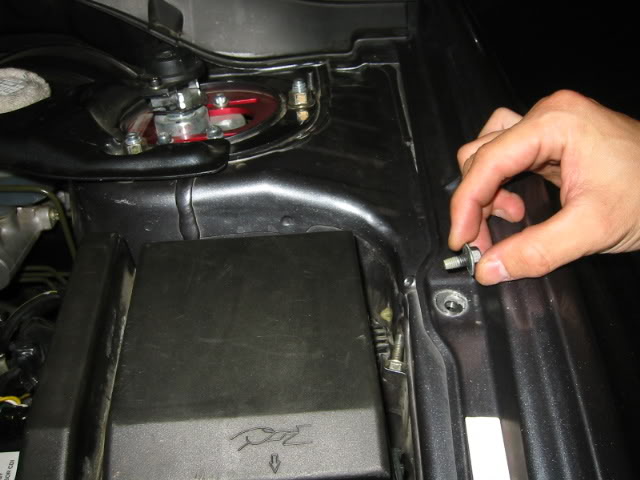
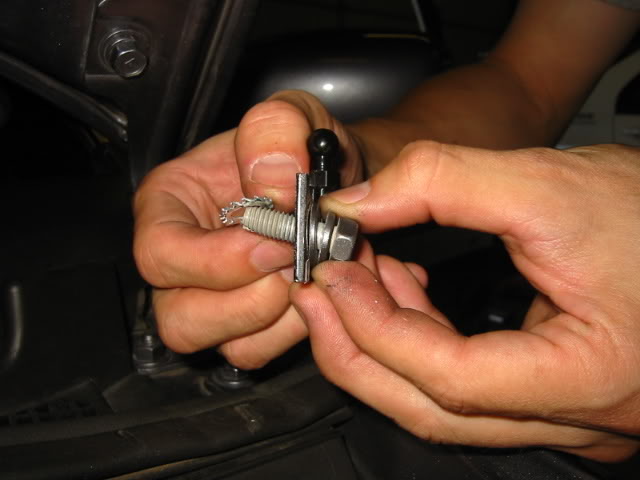
2. Insert screw through the Long bracket (labeled "L") and attach lock washer behind the bracket.
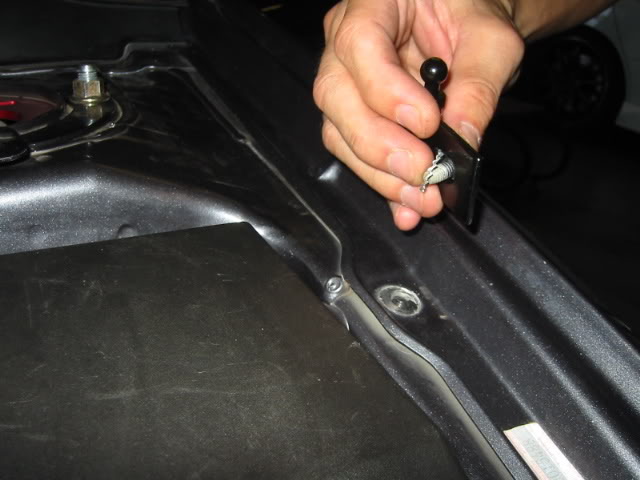
3. Tighten screw back on to Fender - make sure the ball screw end is pointing towards the driver seat.
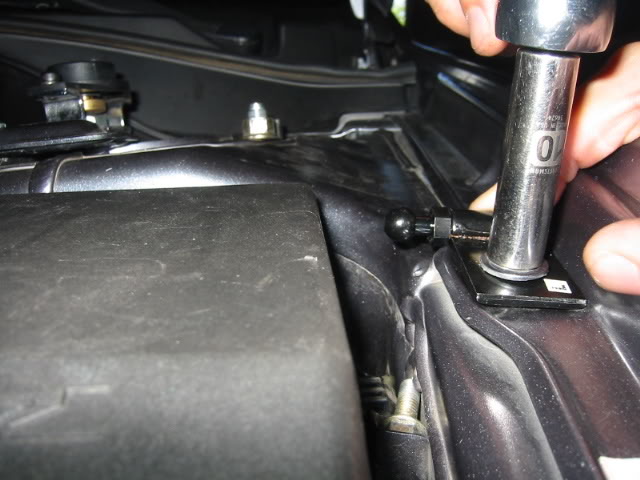
4. Remove the screw on the outer edge of the hood bracket with 12mm socket
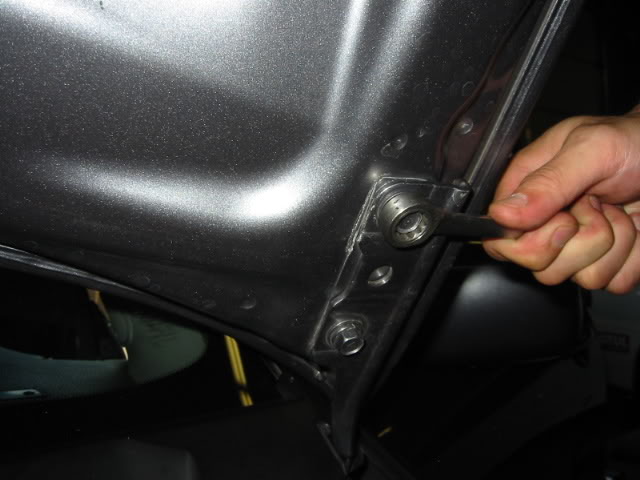
5. Insert screw through the "L"-labeled short bracket and attach lock washer behind the bracket.
6. Tighten screw back on to hood - make sure the ball screw end is pointing upward.
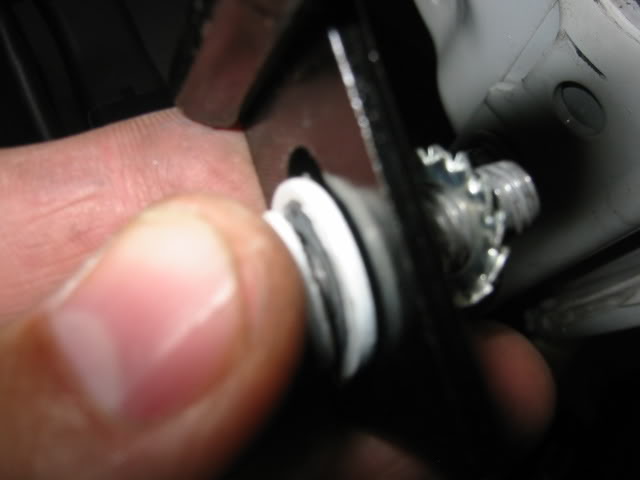
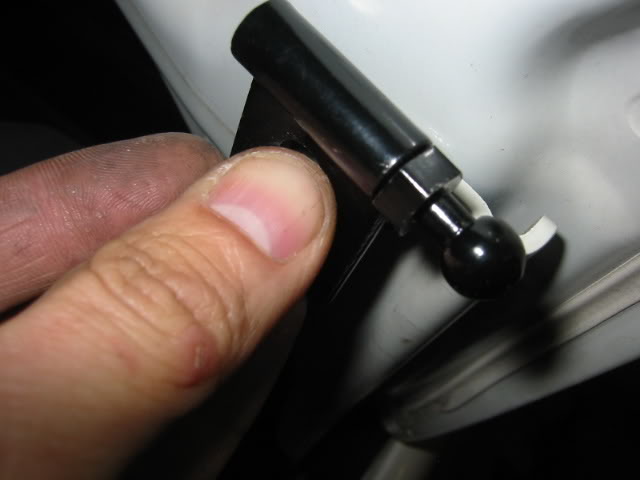
7. Remove "fastening clip" from the skinny end of the damper.
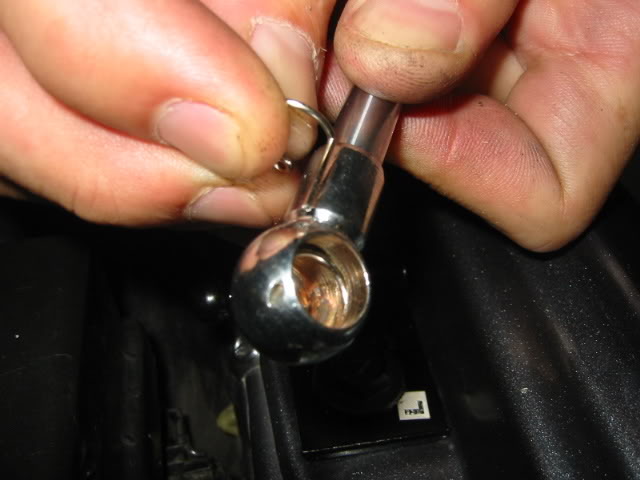
8. Affix Ball Stud to the ball screw on the fender bracket, make sure the fitment is tight.
9. Insert the "fastening clip" back into the ball screw and rotate the clip until it snaps back into the body.
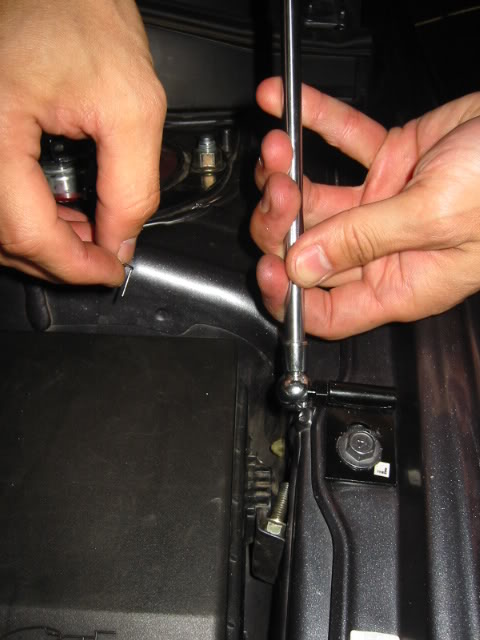
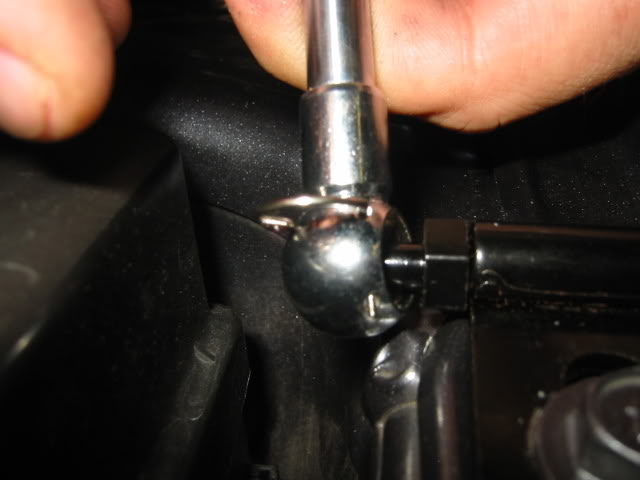
10. Remove the "fastening clip" from the other end. Compress the shock and affix the Ball Stud to the ball screw on the Hood Bracket. Rotate the shock (if needed) so the Ball stud & Ball Screw are in perfect alignment.
11. Insert the "fastening clip" back into the ball screw and rotate the clip until it snaps back into the body.
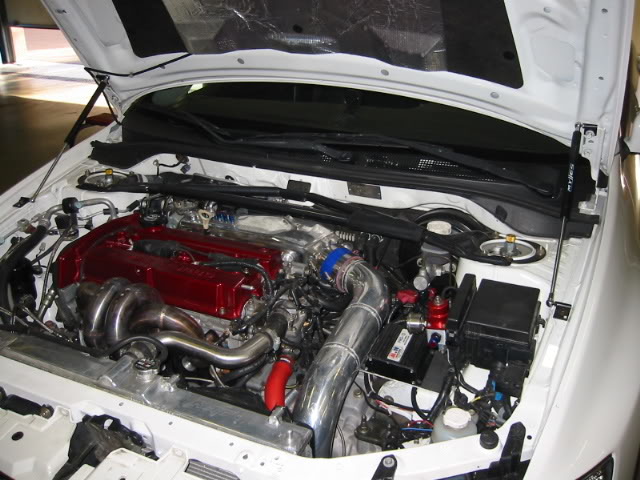
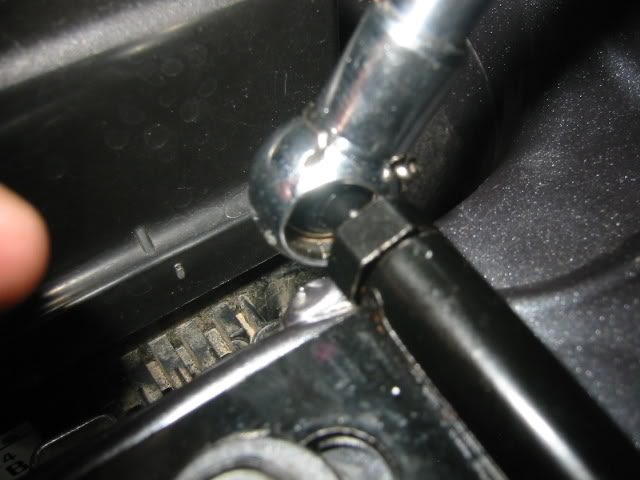
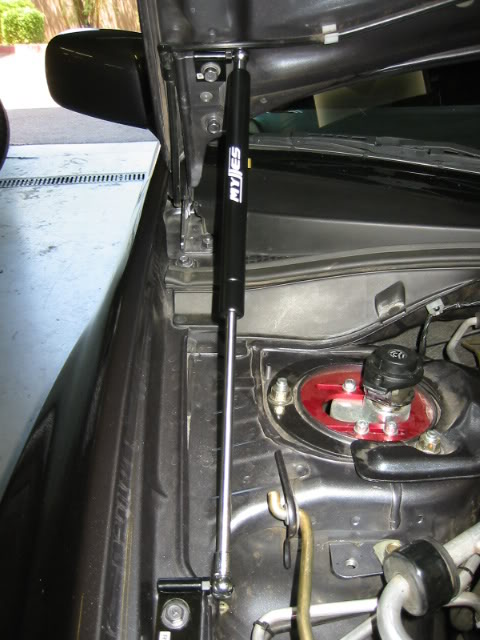
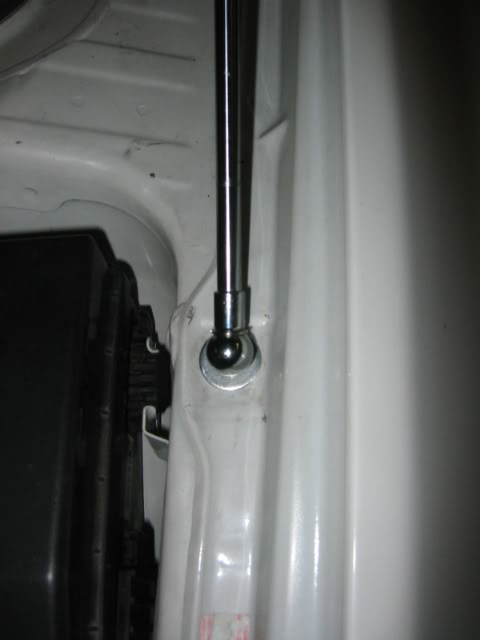
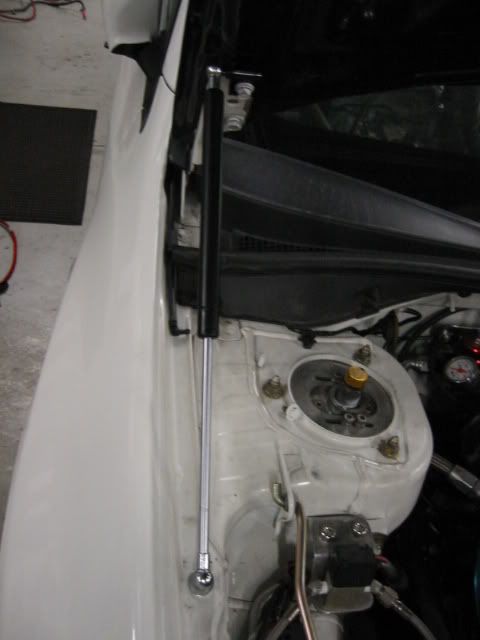
12. This is how it looks when properly installed.
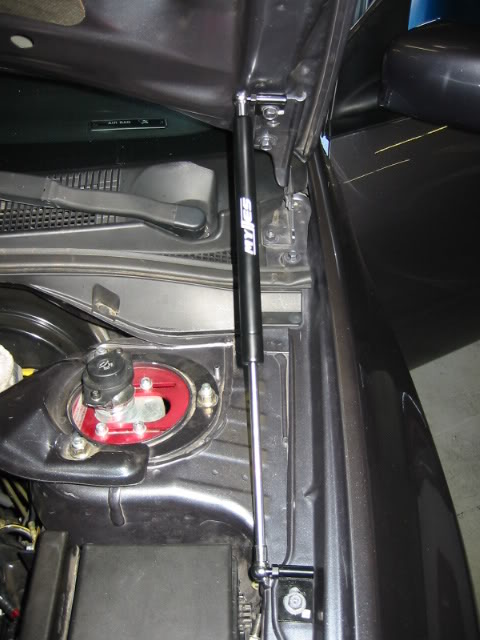
13. Repeat the above steps on the passenger side; when done, this is how it should look
================================================== ========
Method #2 - alternative method for Evo 8 & 9.
1. Remove screw from middle of fender on Driver side.
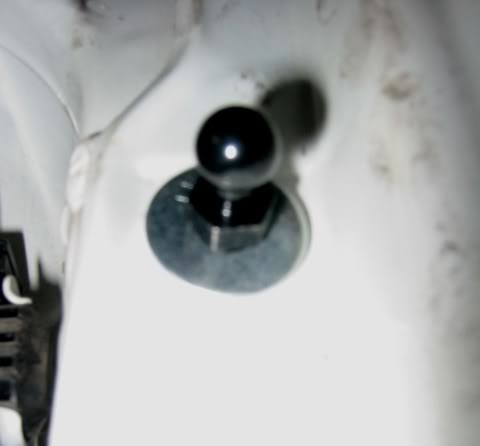
2. Remove the ball-screw from the SHORT black brackets and affix it directly to the fender with the large washer.
3. Remove the screw on the outer edge of the hood bracket with 12mm socket or wrench
4. Insert screw through the "R"-labeled LONG bracket and attach "lock washer" and "small washer" and tighten the screw; the "L" Long bracket should go on the passenger side.
5. Tighten screw back on to hood - make sure it's nice and TIGHT & the ball screw end is pointing upward.
6. Make sure the bracket is pulled all the way up to allow enough clearance between the stud screw and the hood bracket.
7. Remove "fastening clip" from the skinny end of the damper.
8. Affix Ball Stud to the ball-screw on the fender.
9. Insert the "fastening clip" back into the ball screw and rotate the clip until it snaps back into the body.
10. Remove the "fastening clip" from the other end. Compress the shock and affix the Ball Stud to the ball screw on the Hood Bracket. Rotate the shock (if needed) so the Ball stud & Ball Screw are in perfect alignment.
11. Insert the "fastening clip" back into the ball screw and rotate the clip until it snaps back into the body.
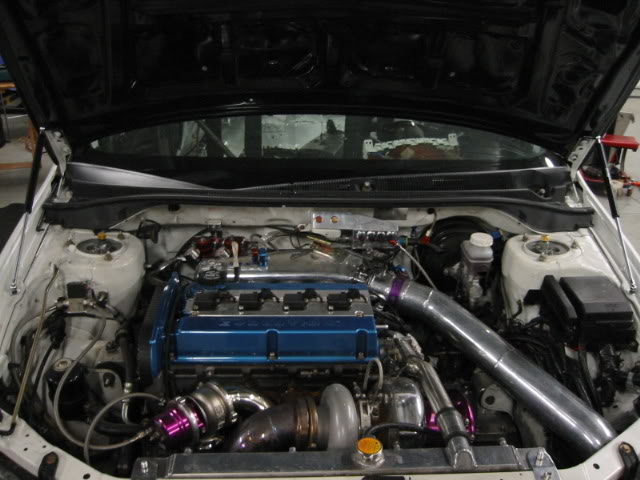
12. Repeat the above steps on the passenger side; when done, this is how it should look when it's installed.
13. Congratulations!!! You have successfully installed the Mynes Hood Damper Kit for your beautiful Evo!!!
VIDEO Demo Added: http://www.youtube.com/watch?v=b2bvyj0Mam0
It's Carbon Hood safe
!!!Kit Contents:
- Gas Damper w/ Ball Stud & fastening clips (2)
- "Long" Brackets for fender (2)
- "Short" Brackets for hood (2)
- Lock washers (4)
- Washers (4)
Instruction updated on Dec 24, 2008!!!
Tools needed:
One rachet with a 10mm socket and a 12mm socket.
Method #1
Method #2
================================================== ========
Install Instructions:
Method #1 - For Evo 7, 8 & 9 models
Installation Instructions:
1. Remove screw from middle of fender on Driver side.
2. Insert screw through the Long bracket (labeled "L") and attach lock washer behind the bracket.
3. Tighten screw back on to Fender - make sure the ball screw end is pointing towards the driver seat.
4. Remove the screw on the outer edge of the hood bracket with 12mm socket
5. Insert screw through the "L"-labeled short bracket and attach lock washer behind the bracket.
6. Tighten screw back on to hood - make sure the ball screw end is pointing upward.
7. Remove "fastening clip" from the skinny end of the damper.
8. Affix Ball Stud to the ball screw on the fender bracket, make sure the fitment is tight.
9. Insert the "fastening clip" back into the ball screw and rotate the clip until it snaps back into the body.
10. Remove the "fastening clip" from the other end. Compress the shock and affix the Ball Stud to the ball screw on the Hood Bracket. Rotate the shock (if needed) so the Ball stud & Ball Screw are in perfect alignment.
11. Insert the "fastening clip" back into the ball screw and rotate the clip until it snaps back into the body.
12. This is how it looks when properly installed.
13. Repeat the above steps on the passenger side; when done, this is how it should look
================================================== ========
Method #2 - alternative method for Evo 8 & 9.
1. Remove screw from middle of fender on Driver side.
2. Remove the ball-screw from the SHORT black brackets and affix it directly to the fender with the large washer.
3. Remove the screw on the outer edge of the hood bracket with 12mm socket or wrench
4. Insert screw through the "R"-labeled LONG bracket and attach "lock washer" and "small washer" and tighten the screw; the "L" Long bracket should go on the passenger side.
5. Tighten screw back on to hood - make sure it's nice and TIGHT & the ball screw end is pointing upward.
6. Make sure the bracket is pulled all the way up to allow enough clearance between the stud screw and the hood bracket.
7. Remove "fastening clip" from the skinny end of the damper.
8. Affix Ball Stud to the ball-screw on the fender.
9. Insert the "fastening clip" back into the ball screw and rotate the clip until it snaps back into the body.
10. Remove the "fastening clip" from the other end. Compress the shock and affix the Ball Stud to the ball screw on the Hood Bracket. Rotate the shock (if needed) so the Ball stud & Ball Screw are in perfect alignment.
11. Insert the "fastening clip" back into the ball screw and rotate the clip until it snaps back into the body.
12. Repeat the above steps on the passenger side; when done, this is how it should look when it's installed.
13. Congratulations!!! You have successfully installed the Mynes Hood Damper Kit for your beautiful Evo!!!
Last edited by Mike@Mynes; Aug 11, 2009 at 08:46 AM.


 Yep! On my STi I just took the hood prop totally off when I had dampers
 Trending Topics
 Jun 30, 2008, 10:55 PM
#11
Account Disabled
Thread Starter
iTrader: (64)
Join Date: Feb 2006
Location: Mesa, AZ
Posts: 396
Likes: 0
Received 0 Likes
on
0 Posts
Video Demo here: http://www.youtube.com/watch?v=b2bvyj0Mam0
This set has been on our Shop 9 for the past 7 months, and it's still working like a champ.
We know that things break and we are willing to stand behind our product with a ONE YEAR Exchange warranty (free exchange, excluding shipping) from the date of purchase. Pls keep your invoice for your record.


