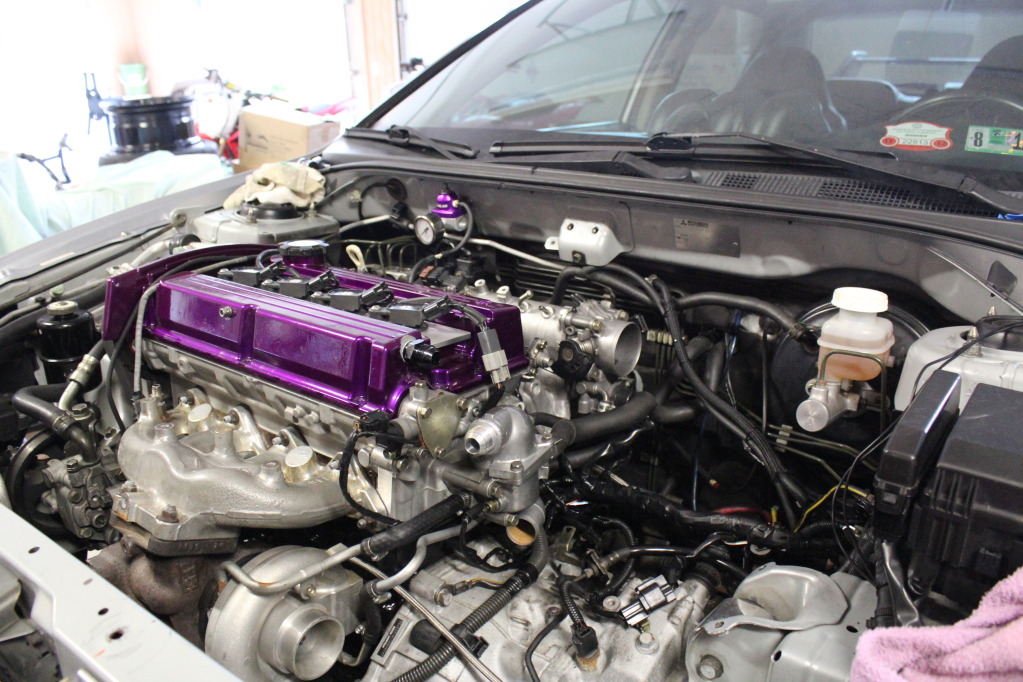
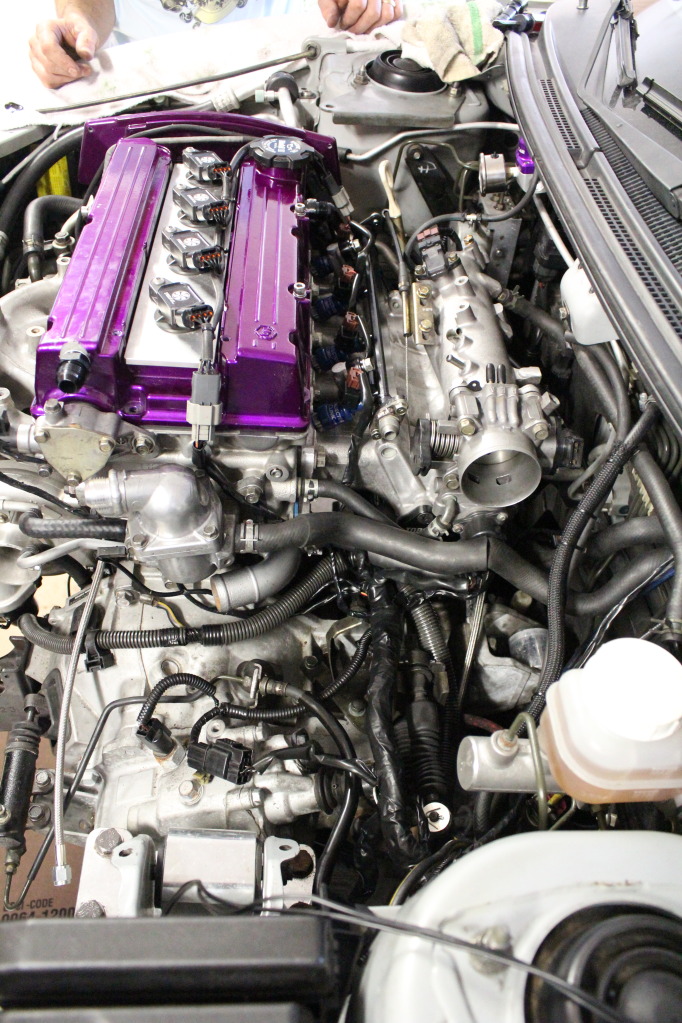
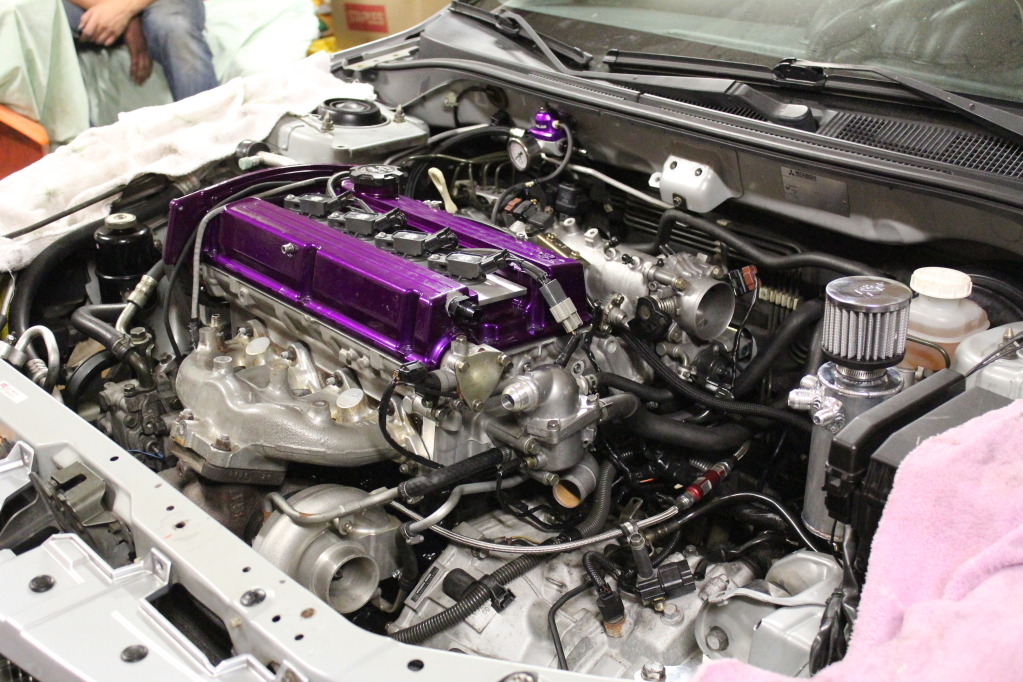
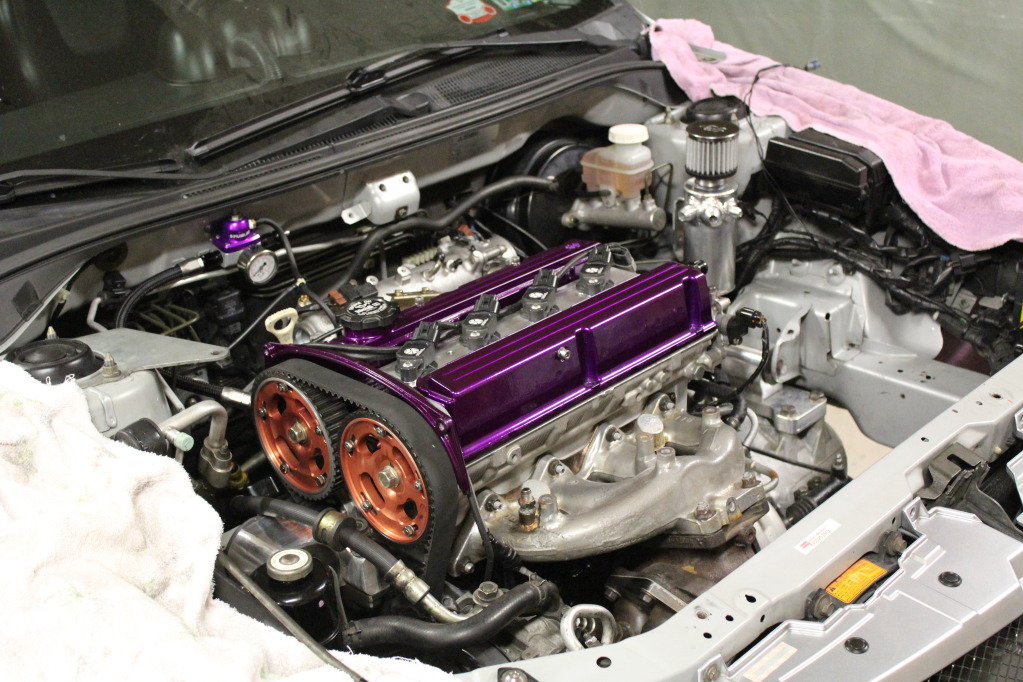
EvoM's First Wire Tuck How To
#34
Evolving Member
iTrader: (2)
Pushing the two wires together is not a good idea. you should use the western union joint and then solder it. The solder is not the main thing that keeps the two wires together it's the twisting of the wires that gives it straingth. After you have the union you heat up the wire and touch the solder to the wire and let it get sort of sucked into the joint. Try on a wire you have that you dont need off the car. http://constructionmanuals.tpub.com/...4027_122_2.jpg
#35
Pushing the two wires together is not a good idea. you should use the western union joint and then solder it. The solder is not the main thing that keeps the two wires together it's the twisting of the wires that gives it straingth. After you have the union you heat up the wire and touch the solder to the wire and let it get sort of sucked into the joint. Try on a wire you have that you dont need off the car. http://constructionmanuals.tpub.com/...4027_122_2.jpg
I know that in the end of this I will at least have some damn good soldering skills due to all of this advice
 .
.Keep it up!
#37
Evolved Member
iTrader: (8)
Not to make this a bigger issue or anything, just clarifying what the actual problem is with soldering.
Solder will wick it's way up the wire underneath the insulation. Give it a shot, solder 2 wires together, then carefully flex (not bend) the wire and you will most likely see the actual wire is stiffer surrounding the joint as well as the the joint itself. The solder has wicked it's way up the wire and basically changed it from stranded to solid core wire.
If I'm not mistaken, I think boostzealot is talking about shrink tubing with a solder ring in it? I've had sporadic results with those and we never noticed until pulling things apart to see when they broke. Some would be rock solid, others fell right apart. It made me not trust them.
#38
Evolving Member
iTrader: (21)
Join Date: Jan 2006
Location: LAS VEGAS
Posts: 239
Likes: 0
Received 0 Likes
on
0 Posts
cool write up. Gets people thinking about doing this kinda stuff when they would normally stay clear of such a project. I might have to go back into my bay and try some of this stuff. I might even consider de-pinning each harness clip as i go to individually sleeve the set of wires. similar to the chase bays harness.
#39
 .
.Not to make this a bigger issue or anything, just clarifying what the actual problem is with soldering.
Solder will wick it's way up the wire underneath the insulation. Give it a shot, solder 2 wires together, then carefully flex (not bend) the wire and you will most likely see the actual wire is stiffer surrounding the joint as well as the the joint itself. The solder has wicked it's way up the wire and basically changed it from stranded to solid core wire.
If I'm not mistaken, I think boostzealot is talking about shrink tubing with a solder ring in it? I've had sporadic results with those and we never noticed until pulling things apart to see when they broke. Some would be rock solid, others fell right apart. It made me not trust them.
cool write up. Gets people thinking about doing this kinda stuff when they would normally stay clear of such a project. I might have to go back into my bay and try some of this stuff. I might even consider de-pinning each harness clip as i go to individually sleeve the set of wires. similar to the chase bays harness.
The following users liked this post:
hokiruu (Nov 13, 2019)


