Evo 5.9 build from a mirage

 Sep 1, 2015, 11:14 PM
#47

Somehow I stumbled upon this ARC intercooler online and had to have it for a price that couldnt be beat! It really took me 4 years to find one for a good price but it was mostly time spent looking for other parts also that I stumbled upon it. Quite surprised to even find one for sale since they are super rare now days.
This ARC intercooler is a direct bolt on for the Evo 7/8/9. I had no way of proven fitment to a Evo 5/6 before purchasing but what the hell, chance um! I guess I could be the one to find out if it fits or not!
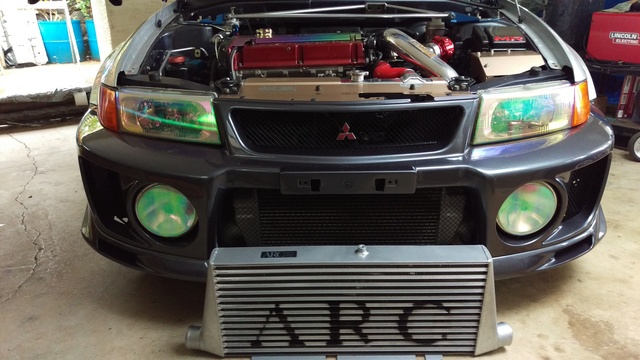
Upon arrival I couldnt wait to hold it up to the car to see if it could fit. The intercooler opening in the evo5 bumper looks promising so work must begin
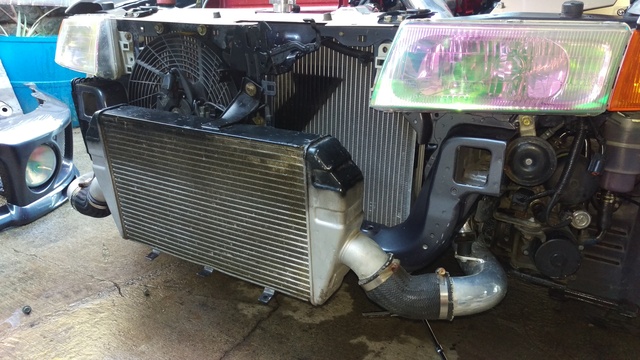
So off with the front bumper again to remove and replace the stock evo9 intercooler. The OEM intercooler does the job but why not go for the total JDM collection!
In this photo on the right you can also see the ACD pump and hidden resivoir whch was modified to fit hidden behind the bumper.
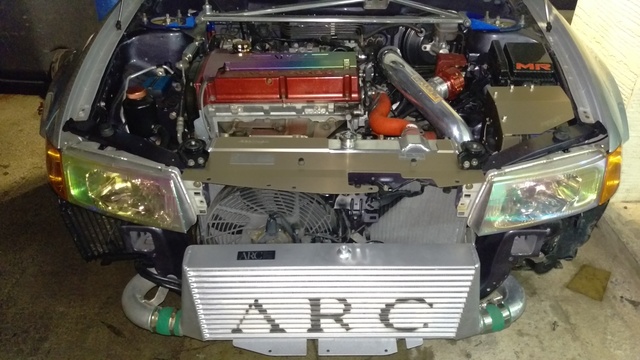
Got the ARC green intercooler silicone hoses to attach perfectly to the Fujita piping. Still need to fab up the brackets but live or die a test fit is much needed.
With the bumper back on, there is lots of clearance all around the intercooler and no interference with the crash bar and fogs. Theres a slight lean to it because of missing bracets that still need to be fabed up. So happy that it fits perfectly like it was just meant to be!
Last edited by GraphiteMRevo; Apr 4, 2016 at 01:49 AM.

The following users liked this post:
GraphiteMRevo (Apr 4, 2016)
The following users liked this post:
GraphiteMRevo (Apr 4, 2016)

The following users liked this post:
GraphiteMRevo (Apr 4, 2016)


 Apr 4, 2016, 01:55 AM
#54
Direct shipped from Japan...

Rays Volks CE28N gold 18x9.5 +15 17.6lb each. Bigger and wider for the about the same weight as OEM BBS 17
Volk TE37SL (18x9.5) weighs 18lb
Stock Evo9 BBS 17" weight 17.7lb
Stock Evo8 Enkei 17" weight 20.5lb
All weights are without tires
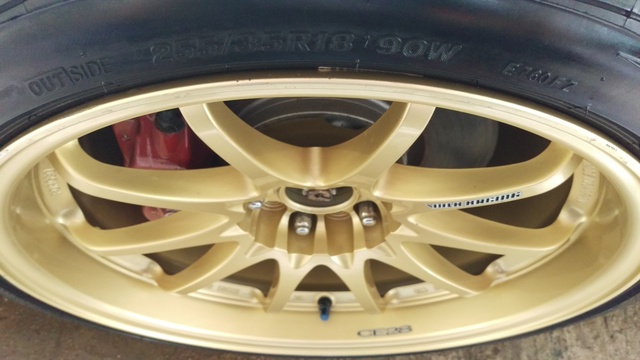
Wrapped in 255/35 Bridgestone RE760 (Japan is the founder for Bridgestone)
Uni directional tires so I can run different sets on either side and not worry about dismounting tires for rotation.
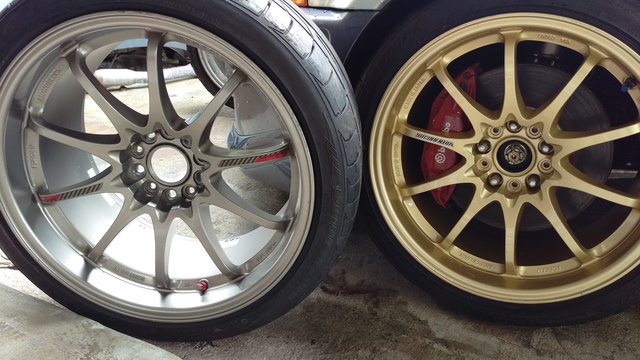
CE28 Genisis and CE28N gold.
No fakes here! :thumbsup:
Rays Volks CE28N gold 18x9.5 +15 17.6lb each. Bigger and wider for the about the same weight as OEM BBS 17
Volk TE37SL (18x9.5) weighs 18lb
Stock Evo9 BBS 17" weight 17.7lb
Stock Evo8 Enkei 17" weight 20.5lb
All weights are without tires
Wrapped in 255/35 Bridgestone RE760 (Japan is the founder for Bridgestone)
Uni directional tires so I can run different sets on either side and not worry about dismounting tires for rotation.
CE28 Genisis and CE28N gold.
No fakes here! :thumbsup:
Apr 4, 2016, 01:55 AM
#55
Yes I'm still working on this project but it's going to slow down a bit since I'm getting more picky on rare items and searching just about the entire internet!
I've stumbled upon a rare find but not 100% sure if it's JDM as I do see it on the Varis time attack evo (CyberEvo 6) in Japan.
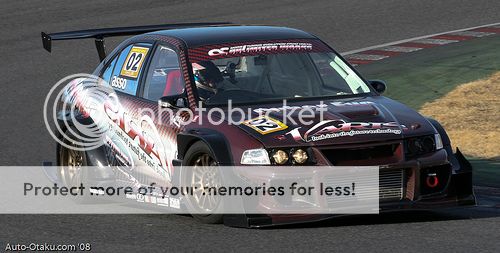
Cyber evo using dual headlights on the drivers side and utilising the housing on the passengers side as dual ram air intakes during a race.
I have seen it mostly in Europe and one topic was that it was made in France.. Rare, super expensive, true projector HID with a cut off line, fully adjustable, and made to fit the evo5/6 perfectly. They were once sold on Japanparts.com but has since been discontinued. There's other examples of them sold for different cars if you want to check it out. Either way, these were also sold in Japan with Japanese installation materials.
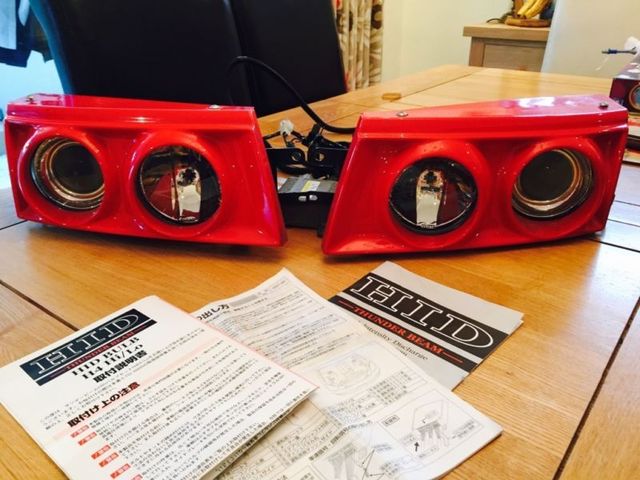
Cebie Cp9a dual headlight/projector with JDM HID system for evo5/6
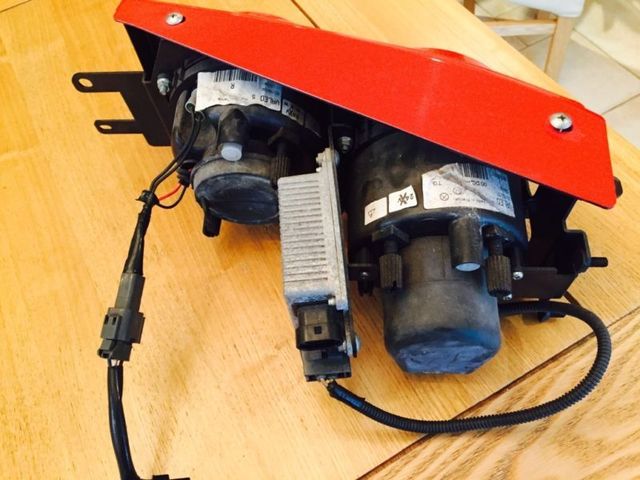
It's a good piece of engineering and not the usual hack job as everything is made to fit like OEM. The housing was painted red which usually comes black but I hope to have it metal coated black chrome in the future.
It is truly a steal for what I got them for and I can't wait to get them shipped in!!
I've stumbled upon a rare find but not 100% sure if it's JDM as I do see it on the Varis time attack evo (CyberEvo 6) in Japan.
Cyber evo using dual headlights on the drivers side and utilising the housing on the passengers side as dual ram air intakes during a race.
I have seen it mostly in Europe and one topic was that it was made in France.. Rare, super expensive, true projector HID with a cut off line, fully adjustable, and made to fit the evo5/6 perfectly. They were once sold on Japanparts.com but has since been discontinued. There's other examples of them sold for different cars if you want to check it out. Either way, these were also sold in Japan with Japanese installation materials.
Cebie Cp9a dual headlight/projector with JDM HID system for evo5/6
It's a good piece of engineering and not the usual hack job as everything is made to fit like OEM. The housing was painted red which usually comes black but I hope to have it metal coated black chrome in the future.
It is truly a steal for what I got them for and I can't wait to get them shipped in!!
Apr 4, 2016, 02:00 AM
#56
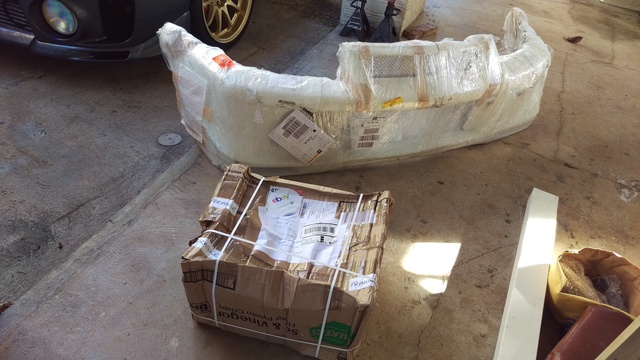
So I got some fresh JDM just in! :twisted:
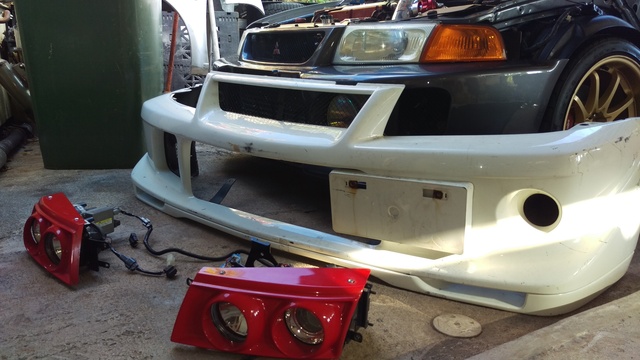
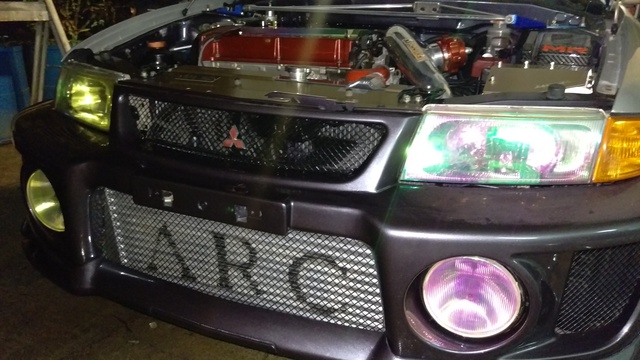
Finally a real deal JDM Tommi Makinen evo6 bumper!
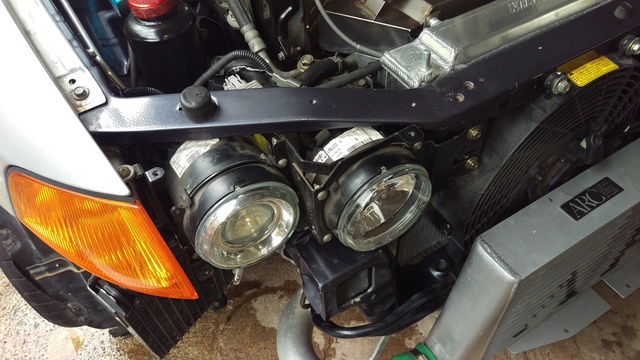
Cibie projector headlights installed on existing bolts and wires were just a simple plug and play!
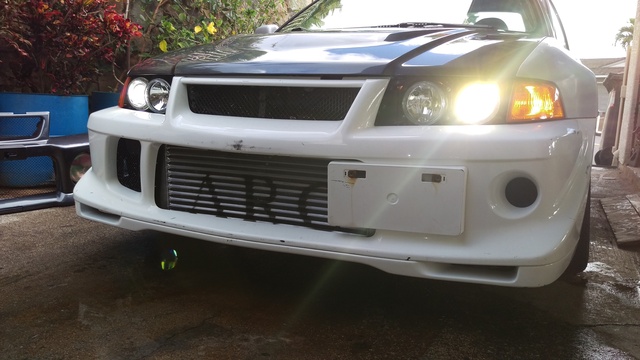
Projectors and high beams are fully adjustable left, right, up and down and come complete with HIDs built in.
Here's the projector cut off line three feet away. Not bad even with a 6k hid system the color is bright and clear with very little blue.
Apr 4, 2016, 02:01 AM
#57
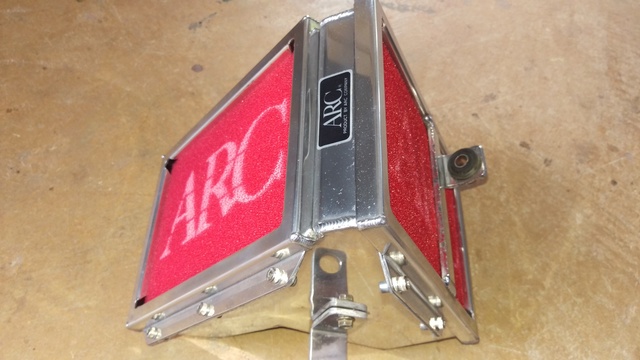
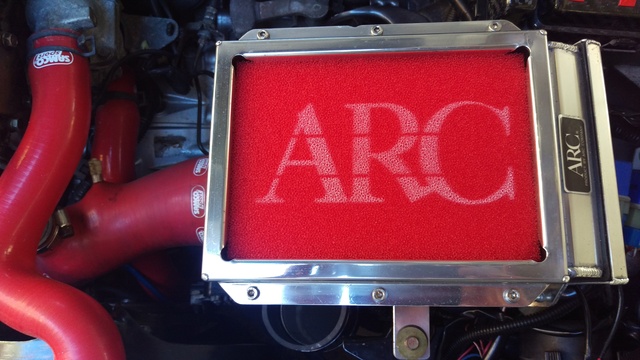
Straight from Japan, probably cheaper than getting it here, paid less than a Benjamin... ARC induction box for CT9A chassis. Looks like I'll be replacing the Beatrush box I got earlier with this one.
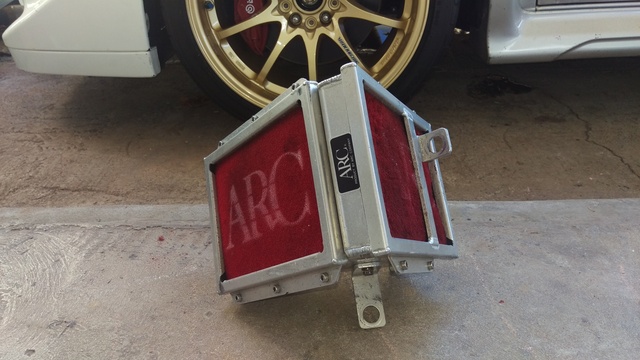
Not bad for what I got it for, just needs new filters and some good polishing.
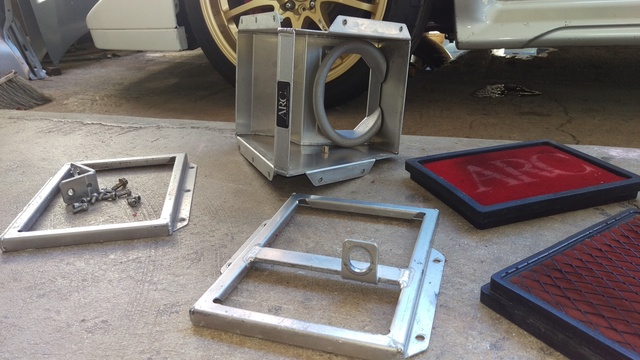
Disassembly is needed to start the polishing process and to remove any dust grease and oxidation. Upon inspection I have noticed that one of the filters were replaced and the other one could be the original as it was falling apart like dust.
The box itself seems to be in great shape and it's really interesting to see the engineering they put into making a velocity stack. That's JDM at its best, no corners cut short.
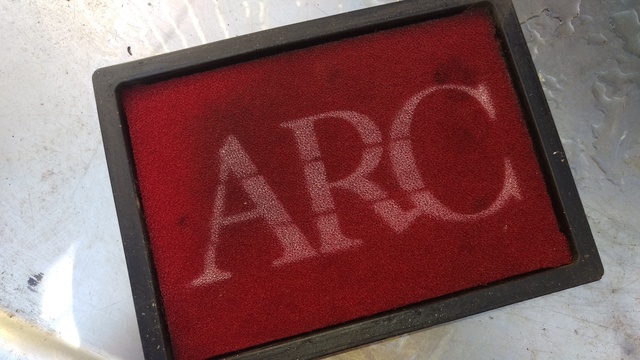
This is one of the two filters that appeared to be the replacement. So why not try to experiment and see if I can clean it. I use a mild soap at first with no luck then I upgraded with dish detergent and warm water which proved to be the trick. Although I lost some of the brightness in the ARC lettering, its nice to have a clean reusable filter.
Slight discoloration from the stains I've still managed to get it cleaner than before. I will be using this again and will be mounted on the underside where its barely visible. 2 more replacements are already ordered and is on the way.
For now, I'll work on polishing the rest of the box.
Not bad for what I got it for, just needs new filters and some good polishing.
Disassembly is needed to start the polishing process and to remove any dust grease and oxidation. Upon inspection I have noticed that one of the filters were replaced and the other one could be the original as it was falling apart like dust.
The box itself seems to be in great shape and it's really interesting to see the engineering they put into making a velocity stack. That's JDM at its best, no corners cut short.
This is one of the two filters that appeared to be the replacement. So why not try to experiment and see if I can clean it. I use a mild soap at first with no luck then I upgraded with dish detergent and warm water which proved to be the trick. Although I lost some of the brightness in the ARC lettering, its nice to have a clean reusable filter.
Slight discoloration from the stains I've still managed to get it cleaner than before. I will be using this again and will be mounted on the underside where its barely visible. 2 more replacements are already ordered and is on the way.
For now, I'll work on polishing the rest of the box.
Apr 4, 2016, 02:02 AM
#58
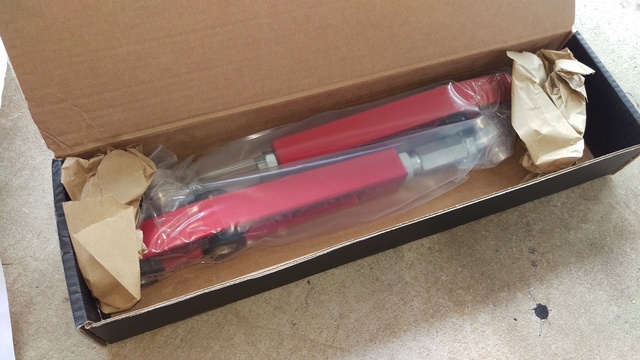
In stumbled upon a new company which CNCs and does their own CAD drawings for designing suspension parts and other specialty parts. Just by looking at their products it was the quality of design and price I wanted for the part I needed.
Although this isn't quite JDM, I needed it because the last piece of **** set wasn't up to standards.
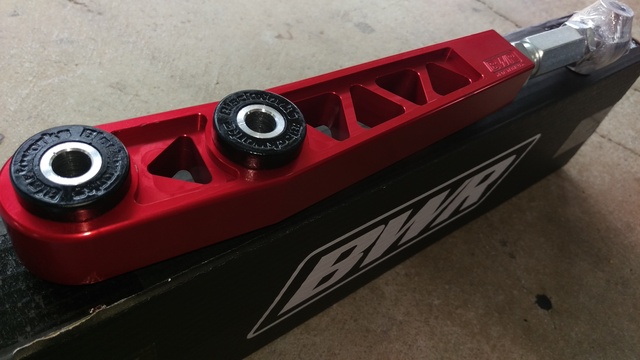
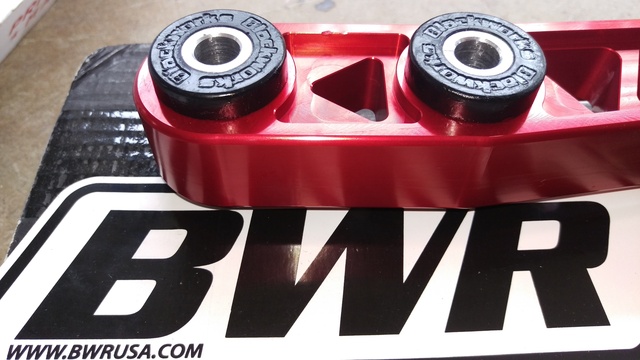
Blackworks Racing attention to detail even on the urithane bushings even tho it will be covered up after install.
Billet Lower Control Arms Blackworks Racing lower control arms are manufactured from solid 6061-T6 (solutionized and artificially aged), pre-tempered aircraft grade aluminum, utilizing CNC mills and CAD software in the engineering process. All design and manufacturing takes place in house, allowing for tighter tolerances, greater process control, and elimination of defects.
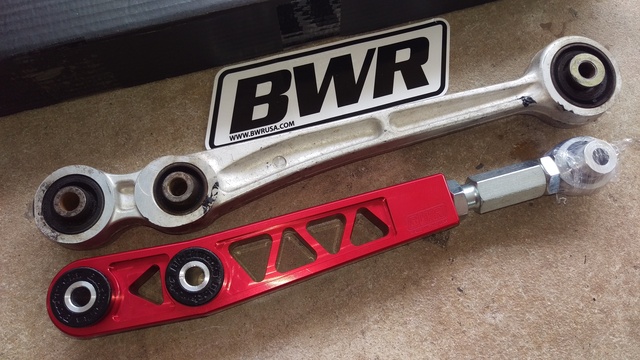
Comparing the difference between the evo9 arm and BWR parts. Both arms weigh about the same but BWR arms have more adjustability than stock.
Each control arm is laser engraved with a unique serial number ensuring that each piece is a genuine Blackworks Racing component. Lifetime Warranty on all Lower Control Arms
Made in the USA, I'm quite pleased with it. They do come in multiple anodized colors at no extra charge.
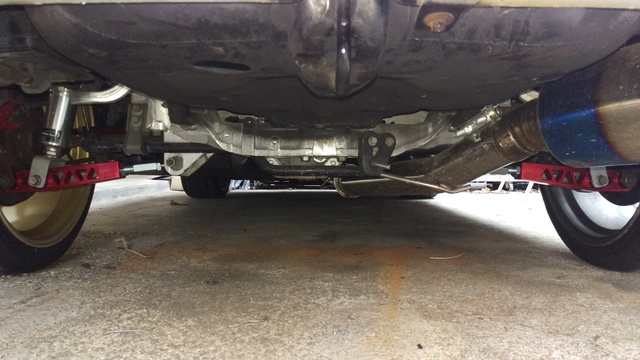
This swap took me 45 min. being careful not to ruin the finish.
Although this isn't quite JDM, I needed it because the last piece of **** set wasn't up to standards.
Blackworks Racing attention to detail even on the urithane bushings even tho it will be covered up after install.
Billet Lower Control Arms Blackworks Racing lower control arms are manufactured from solid 6061-T6 (solutionized and artificially aged), pre-tempered aircraft grade aluminum, utilizing CNC mills and CAD software in the engineering process. All design and manufacturing takes place in house, allowing for tighter tolerances, greater process control, and elimination of defects.
Comparing the difference between the evo9 arm and BWR parts. Both arms weigh about the same but BWR arms have more adjustability than stock.
Each control arm is laser engraved with a unique serial number ensuring that each piece is a genuine Blackworks Racing component. Lifetime Warranty on all Lower Control Arms
Made in the USA, I'm quite pleased with it. They do come in multiple anodized colors at no extra charge.
This swap took me 45 min. being careful not to ruin the finish.
Apr 4, 2016, 02:03 AM
#59
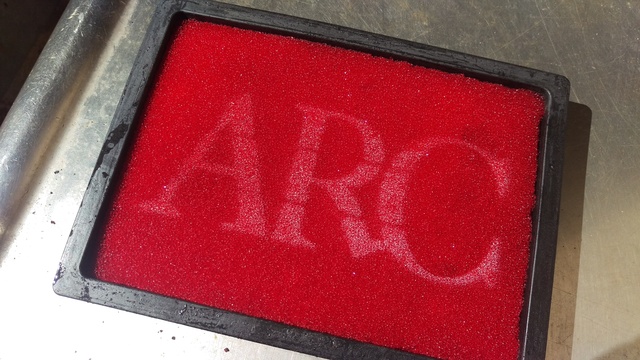
I finally got that rare ARC new old stock filter replacement from japan
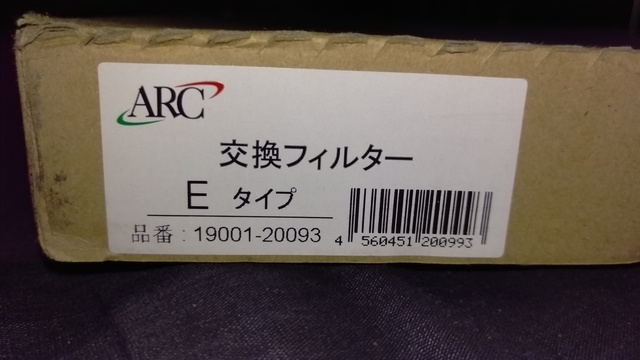
JDM fresh still new in the box!
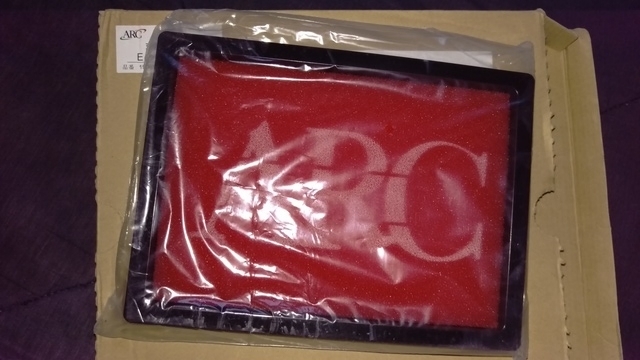
Still sealed in plastic!
Just about done with polishing which came out really good considering it was scratched up and oxidized
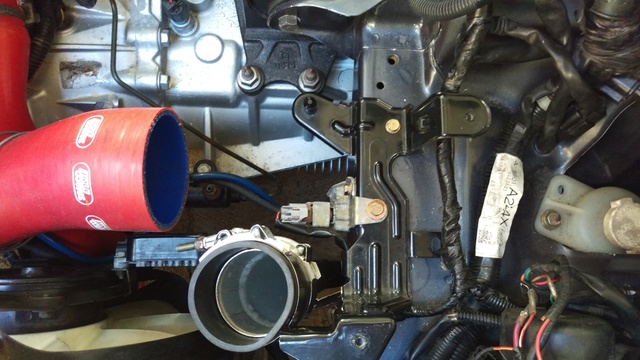
I'm using the OEM evo9 air box bracket (in black) which is needed to have the filter box mounted securely in position. I then drilled and rivnut 2 more areas to hold the bracket down. Fitment is quite good.
Placement was just spot on! When I got the box bolted to the bracket, everything just lined up like it was ment to be. Even the Samco turbo suction pipe was just perfect in length.
Next issue is to re-route the upper intercooler pipe, custom make it or get another rare ARC part. I'm also waiting on the Beatrush mini battery relocation kit to fill in the hole above the filter box. Since there's no room in the trunk from the Cusco trunk cage and barely any inside, I'll be installing the battery under the hood.
JDM fresh still new in the box!
Still sealed in plastic!
Just about done with polishing which came out really good considering it was scratched up and oxidized
I'm using the OEM evo9 air box bracket (in black) which is needed to have the filter box mounted securely in position. I then drilled and rivnut 2 more areas to hold the bracket down. Fitment is quite good.
Placement was just spot on! When I got the box bolted to the bracket, everything just lined up like it was ment to be. Even the Samco turbo suction pipe was just perfect in length.
Next issue is to re-route the upper intercooler pipe, custom make it or get another rare ARC part. I'm also waiting on the Beatrush mini battery relocation kit to fill in the hole above the filter box. Since there's no room in the trunk from the Cusco trunk cage and barely any inside, I'll be installing the battery under the hood.
Apr 4, 2016, 02:04 AM
#60
Yes I polished it by hand, first wet sanded with 1000grit sand paper to knock down the oxidation and hand polished the best I could.
The trunk is gonna be too tight and I'm not too comfortable with using a mini battery way back there just to fit it in. I'm gonna go with a reliable setup using a Beatrush battery relocation kit for a evo6. It uses a standard 38B19 battery size which is smaller and more compact but reliable.
On with the build!
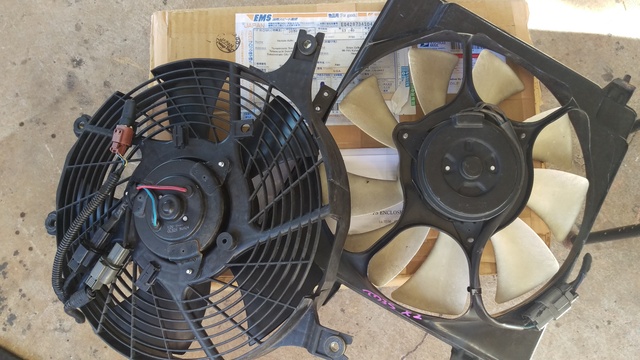
I found these OEM fans in Japan from a genuine Tommi Makenin evo6. I needed the pusher fan because my original setup wasn't to my standards plus the puller fan (white blades) was included in the price.
Compaired side by side with the Evo9 fan on the left and the evo6 fan on the right. As you can see that evo9 fan on the left has seven fins compared to the other which has only 5 fins. It's obvious that the evo9 fan has more CFM of air than the 5 blade design. I will be attempting to combine the Evo9 fan blades and motor into the evo6 shroud as the motor bolt holes look the same.
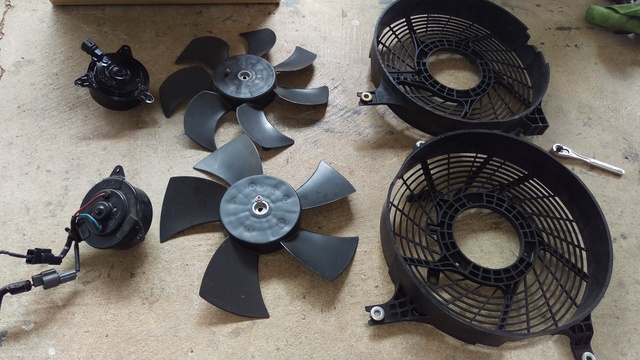
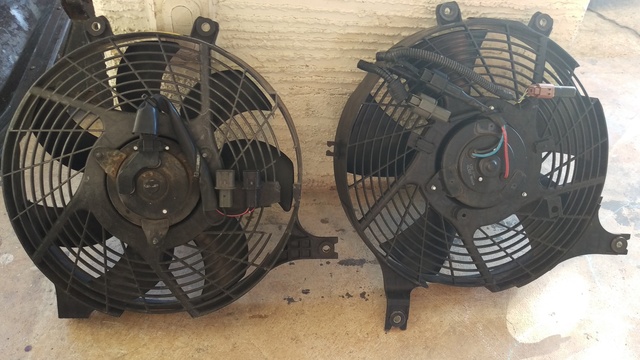
With both fans apart they are basically the same minus the fan blade count and shroud bolt on points. The upper shroud from the evo9 won't fit good without slight modification to the lower bracket compromising its anchor points to 3 instead of 4. The tab which was cut from the evo9 shroud could be seen in the pic next to the ratchet above.
As I thought what would happen because it's all genuine Mitsubishi products, the fan assembled as if it was meant to be with the 7 blade and Evo9 motor in the Evo6 fan shroud. Now without worry, the fan clears the shroud and radiator whyle bolted on and performs flawlessly. I've also left the exterior air temperature thermostat on the fan for a future mod.
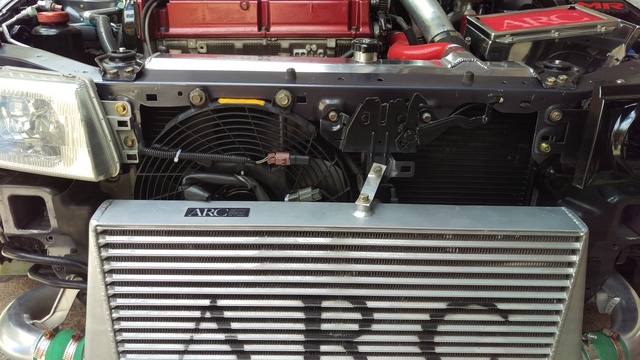
With the intercooler also able to clear the fan, I'm quite pleased with the outcome. Sometimes these small things make a huge difference in reliability, performance, and looks.
The OEM puller fan (white blades) will be installed as soon as I get my other radiator in from Japan!
The trunk is gonna be too tight and I'm not too comfortable with using a mini battery way back there just to fit it in. I'm gonna go with a reliable setup using a Beatrush battery relocation kit for a evo6. It uses a standard 38B19 battery size which is smaller and more compact but reliable.
On with the build!
I found these OEM fans in Japan from a genuine Tommi Makenin evo6. I needed the pusher fan because my original setup wasn't to my standards plus the puller fan (white blades) was included in the price.
Compaired side by side with the Evo9 fan on the left and the evo6 fan on the right. As you can see that evo9 fan on the left has seven fins compared to the other which has only 5 fins. It's obvious that the evo9 fan has more CFM of air than the 5 blade design. I will be attempting to combine the Evo9 fan blades and motor into the evo6 shroud as the motor bolt holes look the same.
With both fans apart they are basically the same minus the fan blade count and shroud bolt on points. The upper shroud from the evo9 won't fit good without slight modification to the lower bracket compromising its anchor points to 3 instead of 4. The tab which was cut from the evo9 shroud could be seen in the pic next to the ratchet above.
As I thought what would happen because it's all genuine Mitsubishi products, the fan assembled as if it was meant to be with the 7 blade and Evo9 motor in the Evo6 fan shroud. Now without worry, the fan clears the shroud and radiator whyle bolted on and performs flawlessly. I've also left the exterior air temperature thermostat on the fan for a future mod.
With the intercooler also able to clear the fan, I'm quite pleased with the outcome. Sometimes these small things make a huge difference in reliability, performance, and looks.
The OEM puller fan (white blades) will be installed as soon as I get my other radiator in from Japan!