Evo X Front Mount Intercooler (FMIC) Installation Howto (Illustrated)


 May 16, 2010, 06:16 AM
#65
Newbie
Join Date: Mar 2008
Location: Singapore
Posts: 64
Likes: 0
Received 0 Likes
on
0 Posts
First of all, excellent writeup!! I've used it to install my own Perrin i/c this weekend.
Could have done without the writeup, but I'm sure it would have taken a lot longer to try to figure things out.
Just to add some missing stuff that I found on my install that're not in the OP:
1. There is a metal tab on the bottom of the Perrin intercooler... I figured it out, but here's what it looks like anyway:
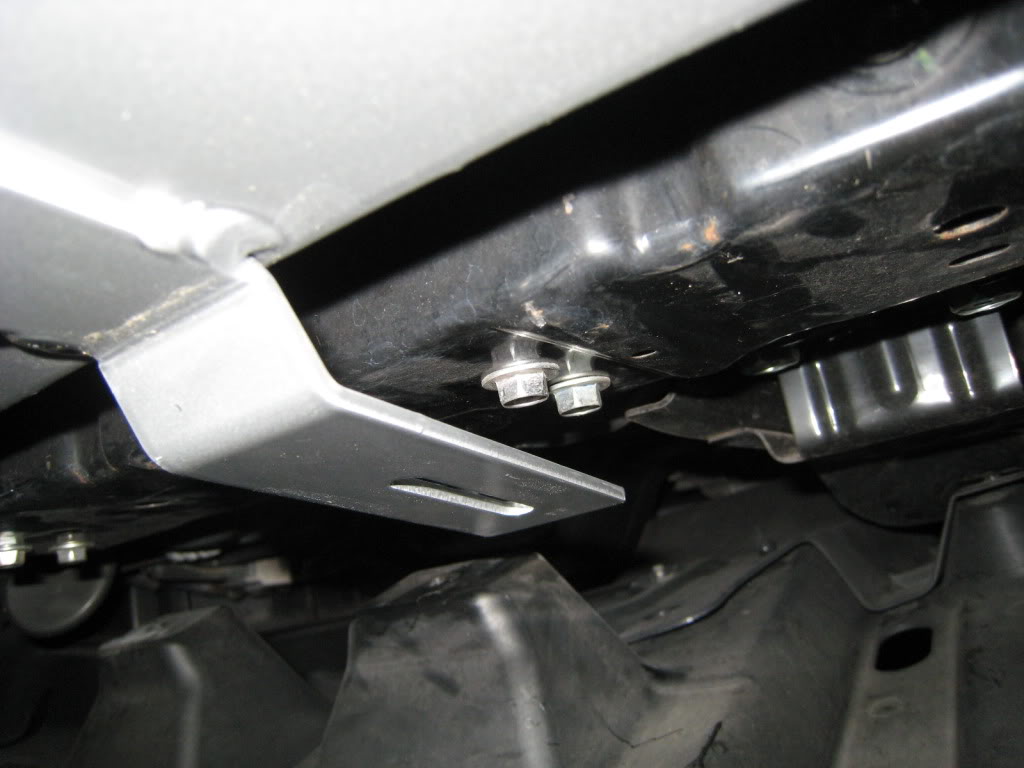
Remove the 2 bolts that are on the metal bracket, line up the metal tab of the new I/C, and secure. Voila!
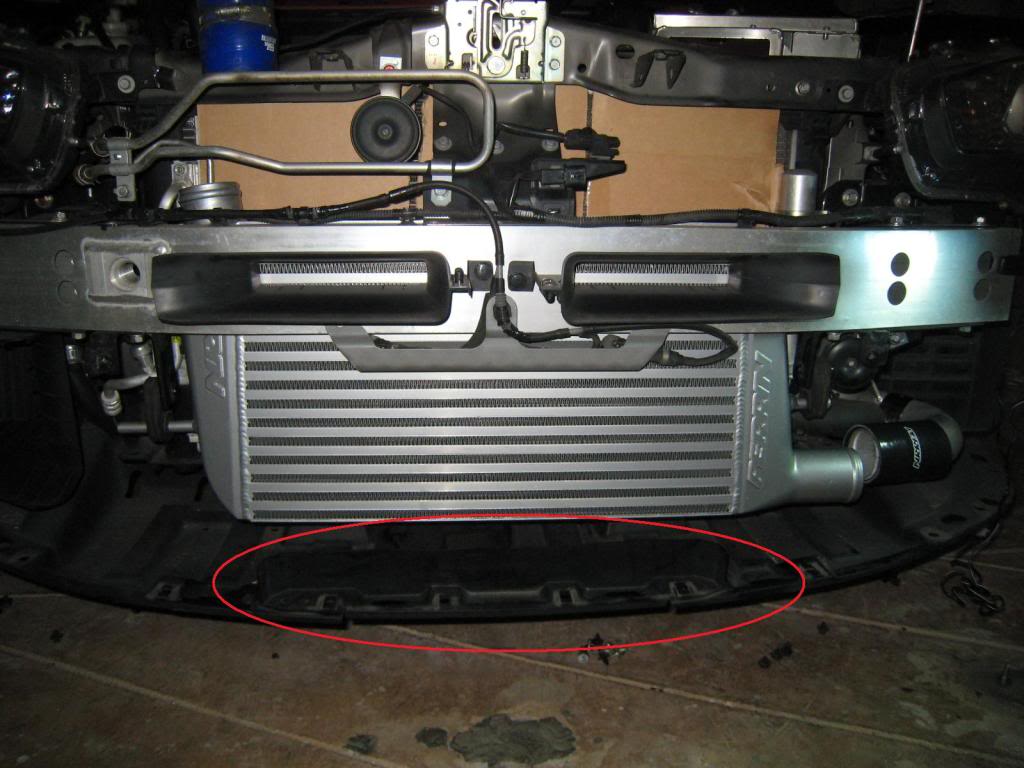
2. Since the Perrin is also a bit taller, there's a tab on the bottom plastic panel that will not fit back with the front bumper, because it's hitting on the bottom of the intercooler. Can't really see the vertical tab due to the lousy photography (mine), but you'll know when u see it. All you have to do is trim it by about 0.5" from the top.
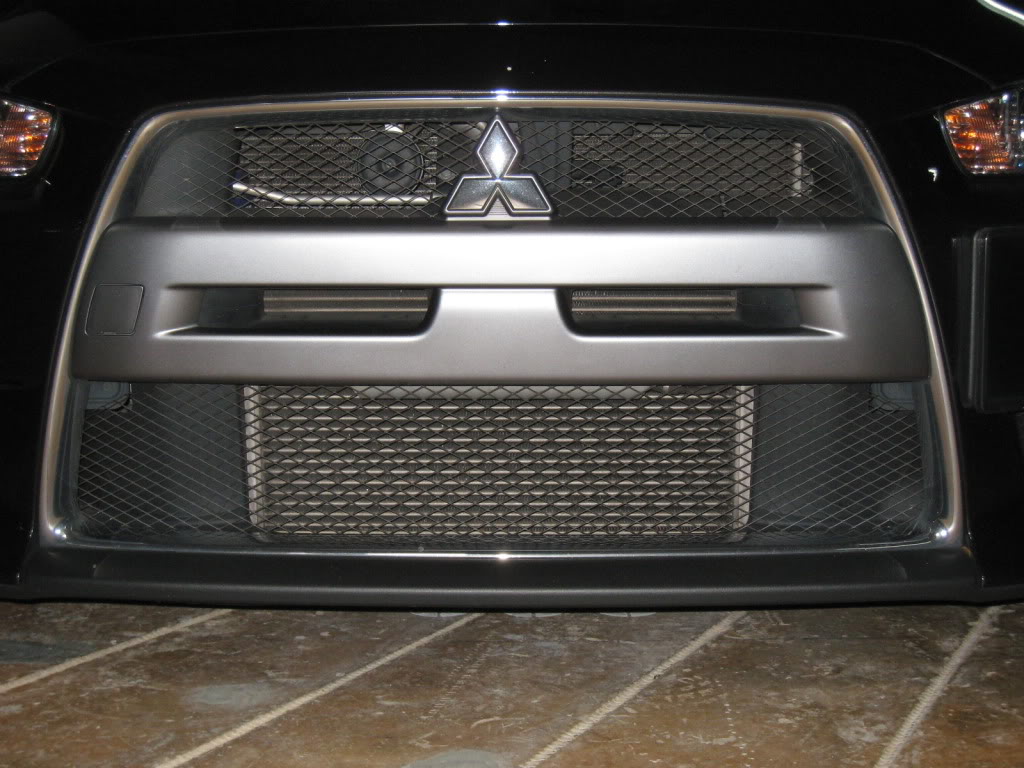
3. finally the before and after pics!!!!!
BEFORE :
AFTER:
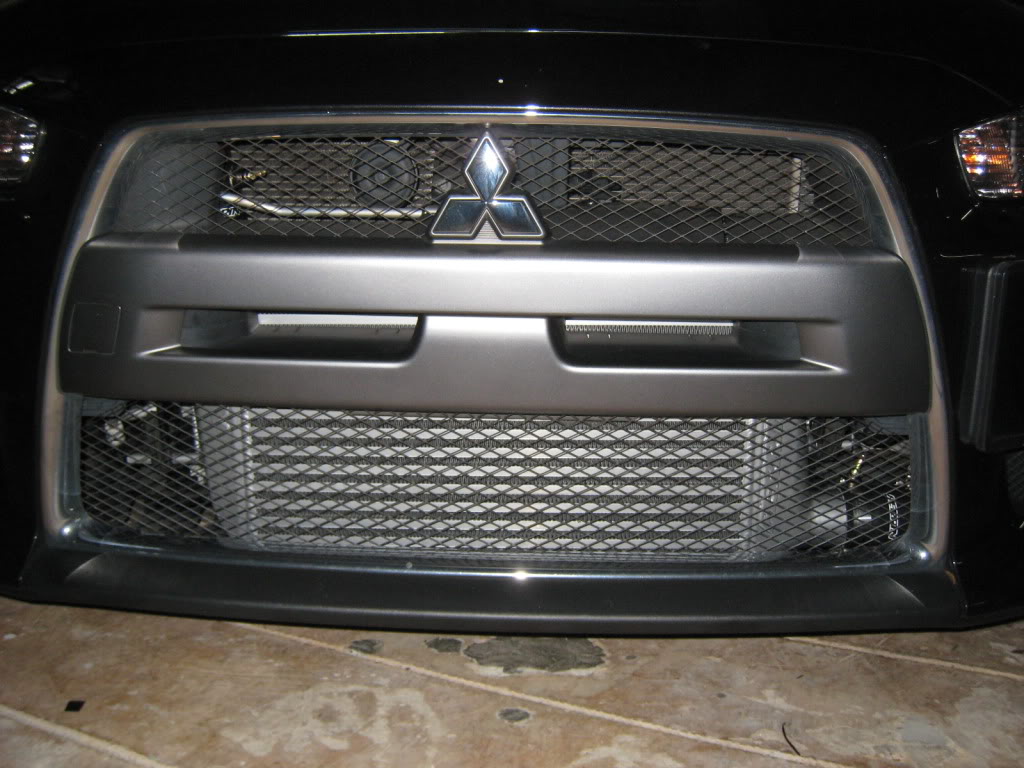
I happen to take out the side panel on each side of the intercoolers coz they just look weird with the bigger i/c.
Could have done without the writeup, but I'm sure it would have taken a lot longer to try to figure things out.
Just to add some missing stuff that I found on my install that're not in the OP:
1. There is a metal tab on the bottom of the Perrin intercooler... I figured it out, but here's what it looks like anyway:
Remove the 2 bolts that are on the metal bracket, line up the metal tab of the new I/C, and secure. Voila!
2. Since the Perrin is also a bit taller, there's a tab on the bottom plastic panel that will not fit back with the front bumper, because it's hitting on the bottom of the intercooler. Can't really see the vertical tab due to the lousy photography (mine), but you'll know when u see it. All you have to do is trim it by about 0.5" from the top.
3. finally the before and after pics!!!!!
BEFORE :
AFTER:
I happen to take out the side panel on each side of the intercoolers coz they just look weird with the bigger i/c.

 Jul 7, 2010, 03:42 PM
#70
Evolving Member
Thread Starter
Thanks for the additional clarification vrrroommm. By the end of the night I was being eaten up by mosquitoes and just wanted to get back inside. :-) I didn't have to trim the splash guard for mine at all though.
I'm glad this is helping a lot of you out. DIY FTW. Cheers guys.
I'm glad this is helping a lot of you out. DIY FTW. Cheers guys.
