
Installing the "EvolutionX" Trunk Badge


If you read the whole post you would see that the OP mentions that during research it showed to line the E up like that. Nice work by the way. Too flashy for me though. I prefer the stock USDM look.

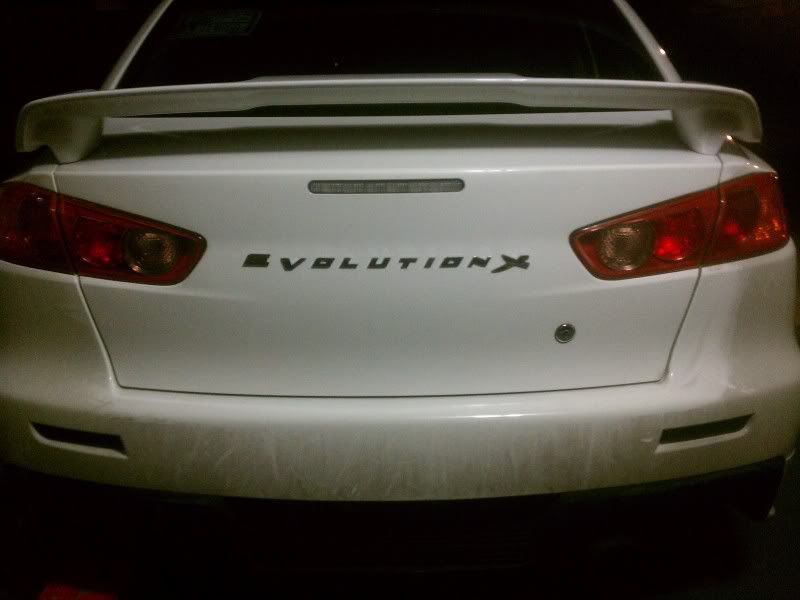
So the OP is correct, other people with this badge, the E and the V are actually "crooked" like this..
Is this a real OEM badge from the UK? Or is it just a fancy aftermarket "idea" someone came up with? I can't get any hard evidence that this is something Mitsu actually made.
I like it, but I want to make sure it's a Mitsu made item..
Is this a real OEM badge from the UK? Or is it just a fancy aftermarket "idea" someone came up with? I can't get any hard evidence that this is something Mitsu actually made.
I like it, but I want to make sure it's a Mitsu made item..
It seems to be an aftermarket throwback, loosely based on the badging style of the UK Evo 8/9..


Newbie
Joined: Sep 2012
Posts: 5
Likes: 0
From: Wv
So yesterday after work I picked up an eBay style "EvolutionX" trunk emblem from a local guy who had an extra. My plan was to wash the car on the way home and then install the emblem, but the carwash was closed by the time I got back to my side of the town.
So I opted to wash the trunk in the garage and do it anyways...
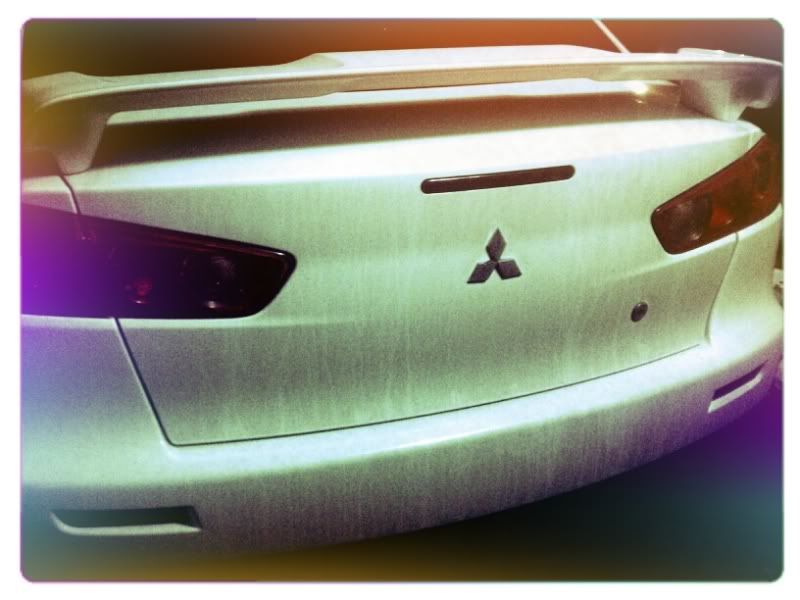
1. I started by removing the Mitsu emblem. To do this I warmed up the trunk with a heat gun being careful to keep moving around and not melt the badge. Then I took dental floss and slid it under the emblem to remove it.
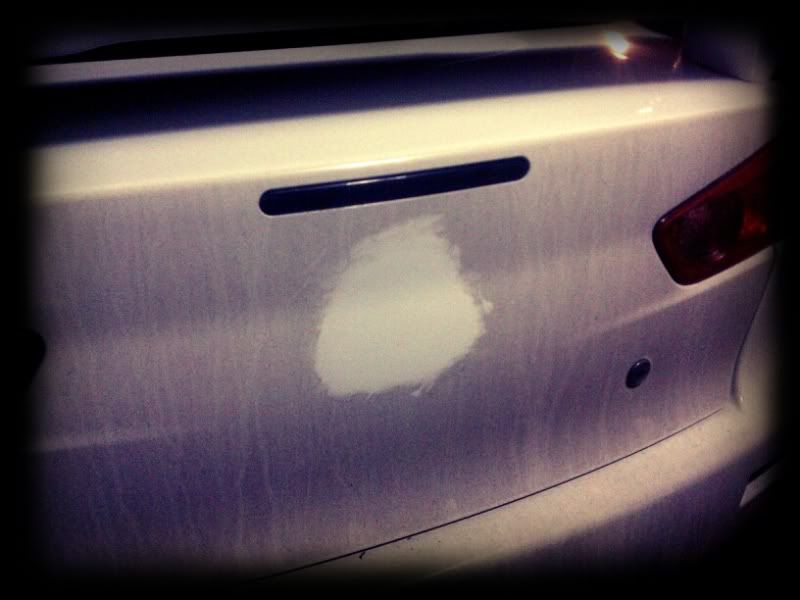
2. With that removed, I cleaned the trunk. I used a squirt bottle with some soap/water in it to wash it and then used goo gone to remove the adhesive residue from the old emblem. Then I used some polish wax and a buffer to remove any ghosting from the old emblem.
With the trunk all clear, I then used Acetone to clean it and remove any wax that was on the car.

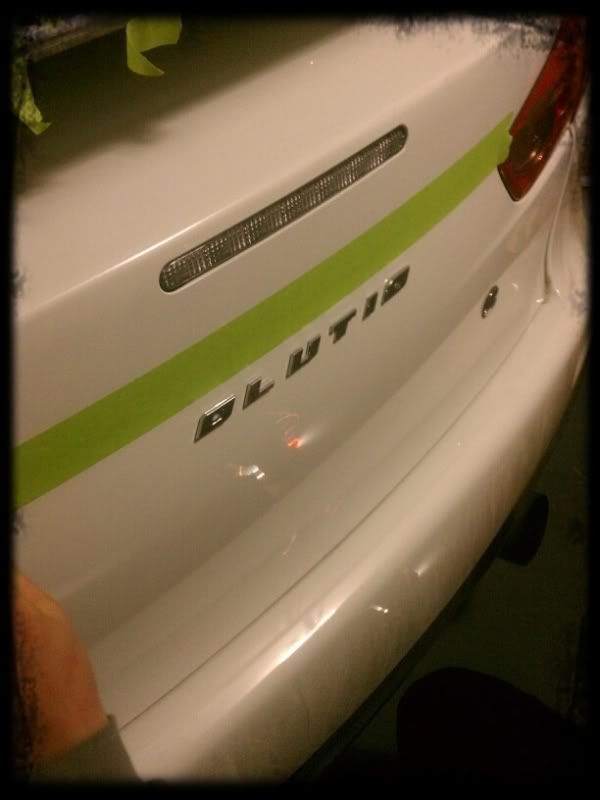
3. Next step was to begin placing the letters. These came on a backer, but were cut into 3 pieces, and none of the letters were straight, so with the eBay ones, you're forced to do it one by one. I should also note that as I did these, I used the heat gun to warm the trunk. Since it was cold outside, I figured having a warm surface would help the tape bond.
I did some hunting around alot of threads and basically everything I could find on the OEM UK badge and google image searches and found that the outside edges of both of the O's matched up pretty well with the edges of the third brake light.
I taped some height lines above and below where the letters would sit and placed vertical tape at the edges of the third brake light to create a box where the letters OLUTIO would sit.
I then placed the two O's at the far edges of the box I created with tape. After alot of attempts at doing the math, and eyeballing the spacing, I figured out that the spacing for how I had set it up was about 21/32" (just over 5/8" by a 32nd). I continued and placed the LUTI based on that spacing.
3. Now it was time to install the EV on the front. These two letters are taller than the rest of the emblem as if to be tall caps letters.
I did some looking and found out online that the V is supposed to line up so that the top of the V and the Top of the O are on the same line, so that the V hangs lower than everything else.
I also found that the E went the other way, so that it lined up with the O's bottom edge, and stuck up higher than the rest. I matched the spacing and applied those
4. The N installs just as the OLUTIO did, match the spacing and stick it on.
5. The X is a little more tricky. I re-applied my top edge tape line across the top of the letters and over to the tail light. I notched the tape so that the tip of the X had room to be installed.
If I measure from the tip of the E to the tail light, I was measuring around 3.25", so I chose to use that as my reference and put the X about 3.25" from the other tail light, to finish with an even/centered look. The spacing between the N and the X worked out well because of this.
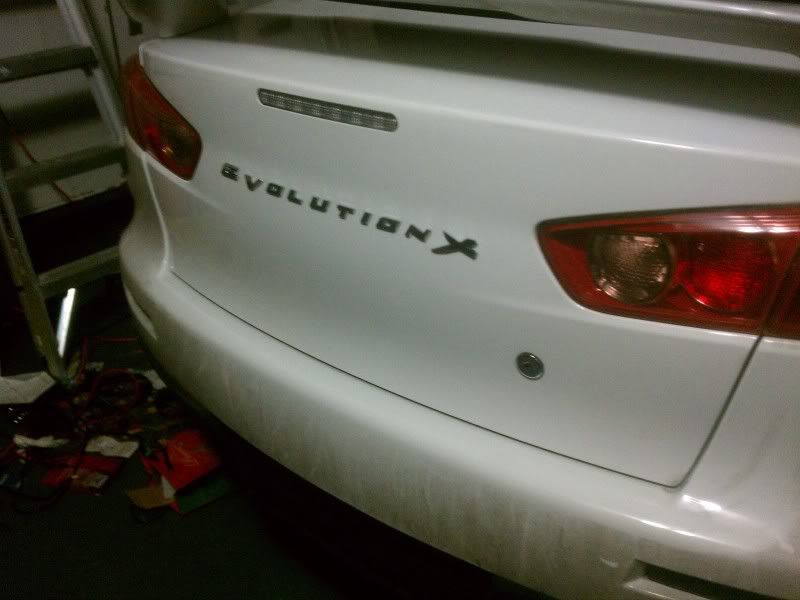
Finishing step was heating everything with the heat gun lightly just to make sure the adhesive was grabbing nicely.
Here are a few shots of it finished. I found that I fudged the L a little and might move that later on, it just needs to shift to the right slightly.
So I opted to wash the trunk in the garage and do it anyways...
1. I started by removing the Mitsu emblem. To do this I warmed up the trunk with a heat gun being careful to keep moving around and not melt the badge. Then I took dental floss and slid it under the emblem to remove it.
2. With that removed, I cleaned the trunk. I used a squirt bottle with some soap/water in it to wash it and then used goo gone to remove the adhesive residue from the old emblem. Then I used some polish wax and a buffer to remove any ghosting from the old emblem.
With the trunk all clear, I then used Acetone to clean it and remove any wax that was on the car.
3. Next step was to begin placing the letters. These came on a backer, but were cut into 3 pieces, and none of the letters were straight, so with the eBay ones, you're forced to do it one by one. I should also note that as I did these, I used the heat gun to warm the trunk. Since it was cold outside, I figured having a warm surface would help the tape bond.
I did some hunting around alot of threads and basically everything I could find on the OEM UK badge and google image searches and found that the outside edges of both of the O's matched up pretty well with the edges of the third brake light.
I taped some height lines above and below where the letters would sit and placed vertical tape at the edges of the third brake light to create a box where the letters OLUTIO would sit.
I then placed the two O's at the far edges of the box I created with tape. After alot of attempts at doing the math, and eyeballing the spacing, I figured out that the spacing for how I had set it up was about 21/32" (just over 5/8" by a 32nd). I continued and placed the LUTI based on that spacing.
3. Now it was time to install the EV on the front. These two letters are taller than the rest of the emblem as if to be tall caps letters.
I did some looking and found out online that the V is supposed to line up so that the top of the V and the Top of the O are on the same line, so that the V hangs lower than everything else.
I also found that the E went the other way, so that it lined up with the O's bottom edge, and stuck up higher than the rest. I matched the spacing and applied those
4. The N installs just as the OLUTIO did, match the spacing and stick it on.
5. The X is a little more tricky. I re-applied my top edge tape line across the top of the letters and over to the tail light. I notched the tape so that the tip of the X had room to be installed.
If I measure from the tip of the E to the tail light, I was measuring around 3.25", so I chose to use that as my reference and put the X about 3.25" from the other tail light, to finish with an even/centered look. The spacing between the N and the X worked out well because of this.
Finishing step was heating everything with the heat gun lightly just to make sure the adhesive was grabbing nicely.
Here are a few shots of it finished. I found that I fudged the L a little and might move that later on, it just needs to shift to the right slightly.

Measure Twice, Apply Once. Double check all your measurements and check the alignment of the letters before you peel off the adhesive backs and stick the letters on.
By the way this thread was six months old
Try not to link the original posters whole post when you reply as well, it fills up a thread reaaaal quick.
By the way this thread was six months old
Try not to link the original posters whole post when you reply as well, it fills up a thread reaaaal quick.


Thread
Thread Starter
Forum
Replies
Last Post
FS[Northeast]: EVOLUTION MR Aluminum decal emblem
fugiwara
For Sale - Interior / Exterior / Sound / Styling
13
Dec 18, 2015 01:08 AM
Chaz17
09+ Lancer Ralliart General
11
Aug 9, 2011 03:58 PM
LancerShop.com
Evo 'For Sale' Exterior Styling
37
May 9, 2008 01:36 PM