When you click on links to various merchants on this site and make a purchase, this can result in this site earning a commission. Affiliate programs and affiliations include, but are not limited to, the eBay Partner Network.
I apologize up front for the bad photo quality. My Canon SX40HS camera is now officially broken and my cellphone is my only backup.
My car is driven in the North East. Two winters ago the record low I saw on the dash leaving work one morning was -8F . That is friggin cold. Even when it is only just freezing, the SST can never get up to temp in a reasonable amount of time. I am making around 387hp/322lb-ft to the wheels (virtual dyno ~220hp baseline), and am on stock clutches. If the transmission is not up to temp, I have felt the clutches slip ONE time. I am not going to let it happen again. That is how you kiss your stock clutch pack goodbye. The car has 38kmi on it, and the SST fluid was changed at 27kmi. I bought my MR new in 2012.
My car is my daily. I also do 1-4 quarter passes a year to settle arguments with my brother. I would like to get back into road/race events (I used to do HPDE @Watkins Glen with my Z06), and so I know the SST OEM cooling solution is not going to cut it.
For the SST I have a temp gauge tapped into the line going TO the OEM cooler. This same line also controls a SPAL fan mounted on the OEM cooler. The fan activates around 190F.
DISCLAIMER:
Up front I have to say that from an engineering perspective the Dodson Heated Sump Kit is probably the BEST bet with only one minor tweak (IMO). I would use a thermostat control to bypass the coolant to the pan until the engine is up to temp. If money is no object, this is the best solution. NO additional MOVING parts
My requirements:
1.) Cool the SST transmission for road/race track events
(the SPAL fan keeps up on public roads even when very spirited mountain runs @90F are done).
2.) Heat the SST transmission while the car is not moving (waiting to do 1/4mile pass).
3.) Do not delay heating the engine or cabin when it is frigid AF outside.
If your only requirement is #1, I would look to SSP solutions. They have the SST covered for cooling.
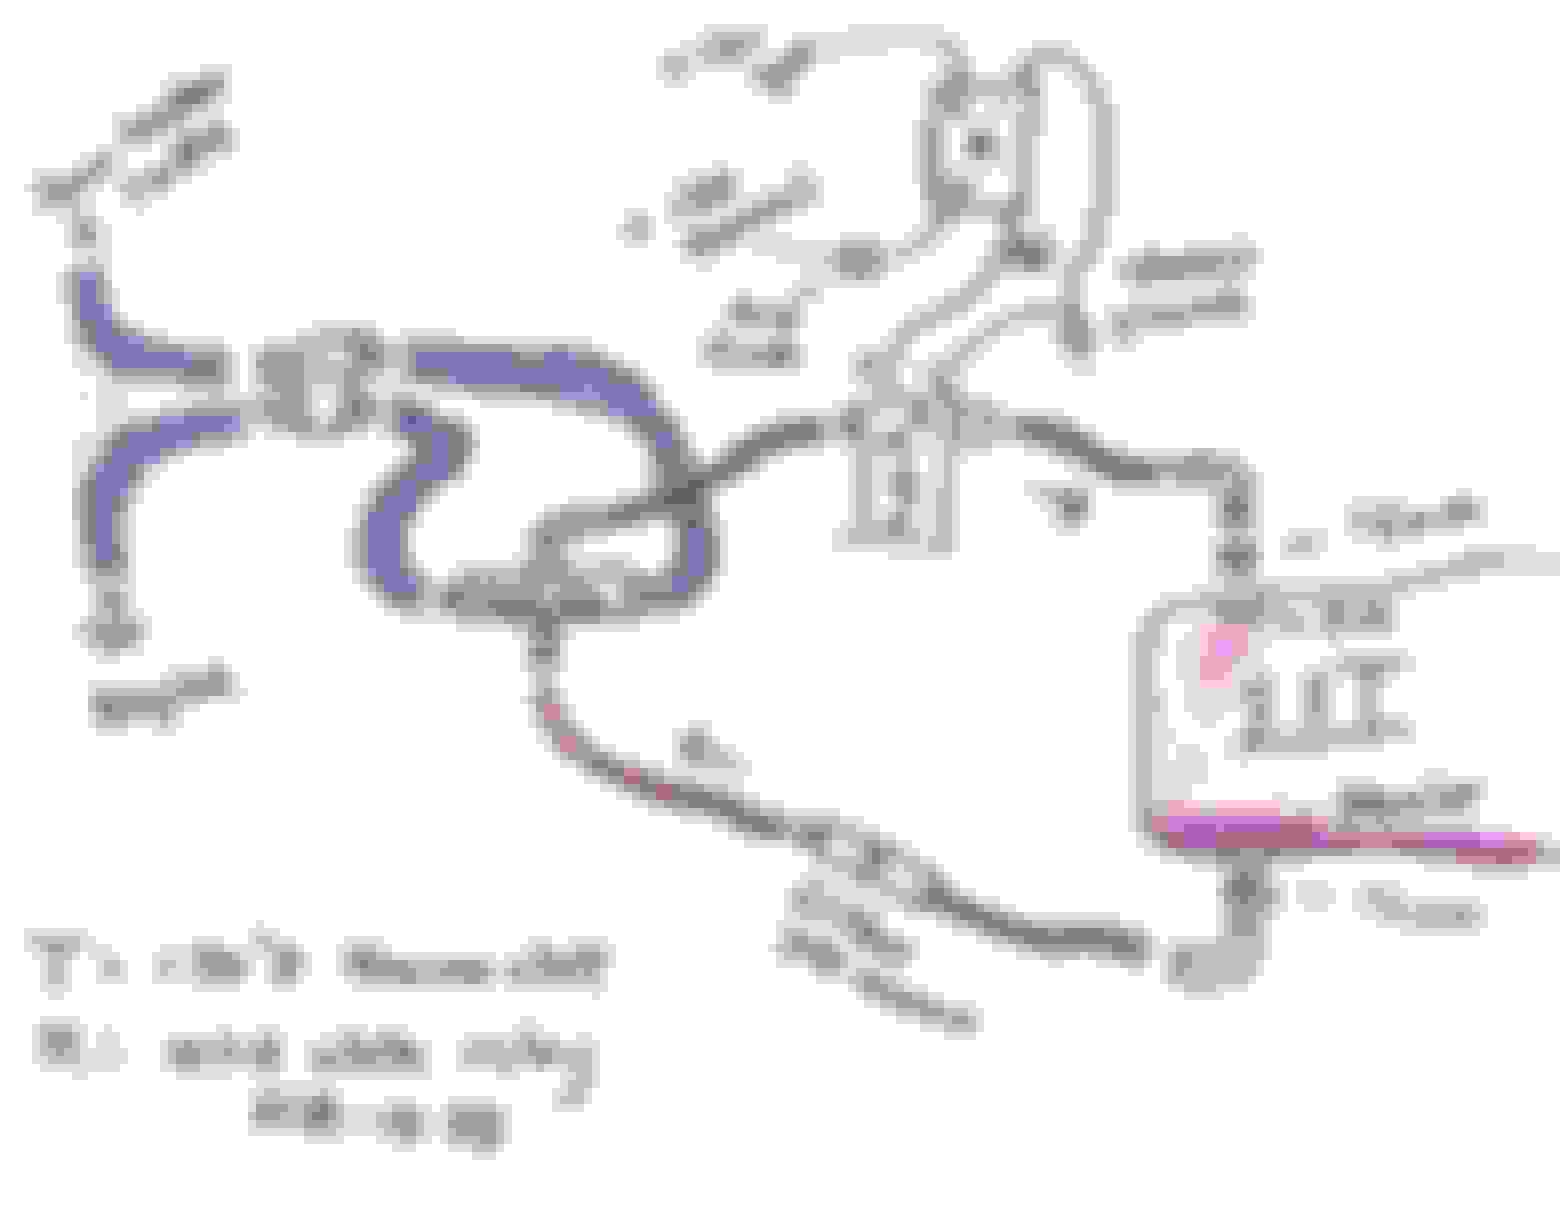
For my build, I decided to use a MOCAL liquid/liquid heat exchanger with thermostat bypass by improved racing.
When the return coolant from the heater core is below 147F the heat from the engine is used solely for heating the cabin and the engine itself. Once 147F coolant temperature is reached then the SST transmission fluid is heated. The SST will continue to be heated until the temperature matches the coolant. Around 185-190F the SPAL fan on the SST OEM cooler will activate. Hopefully the fan won't turn on all the time, but rather only when the SST temperature begins to elevate (and therefore being cooled by coolant).
I will list every part I use in the build. I did NOT go for bling, but rather function over form. So I did not use fancy hose (there is no need), and instead used vibrant AN push lock fittings. The pressure of the coolant is low, and the transmission is nearly zero. There is NO NEED for high pressure fancy hoses. It is a waste of money.
So I started by installing the SST fluid return line. Like most kits for the SST I used the fill hole in the top of the case. The plug is 16mm, and the adapter is listed in my parts list. This is located under the airbox, so my AEM intake had to come out.
Under the knife she goes while the family sleeps.
Now we jump to where the MOCAL pump is bolted in and wired. I tapped off of an ignition source and wired a solid state relay (10A) to the pump. The power to the pump is 10A fused and is directly connected to the (+) terminal that is provided to us (since the battery is in the trunk). I actually located the relay IN the airbox. All the wires are hidden and soldered. The pump in this location fits fine, and it won't see SALT and slop and heat. However, because it is bolted to a BOX it is noisy. I am unsure at this time if this is going to be TOO noisy, or if the sound will be drown-out by the normal engine noise. You could NOT do this with previous Evos or DSM due to the karman vortex MAF !
I borrowed a cup of my sons playdough. Made a big fat snake and put it ON the pump head then shut the hood. Open the hood and wallah.... you know how much space you have between the pump and the hood by inspecting the now squashed playdough. I am close, but no contact.
The MOCAL heat exchanger is just laying there. Trying to figure out where to put it (might be right there). The hoses to/from the pump are also just barely on there. The hose on the bottom is done however, and goes under the airbox inlet to the fill port.
Pump mounted and wired. Figuring out placement.
Still waiting on some parts, but here is a shot of the NASA quality heat exchanger and the improved racing thermostat bypass that will be installed. I found a good spot for that guy and will be making a bracket to bolt to the firewall.
So to get the dual clutch fluid in and out your going to need two of these two fittings:
One is 16mm to -8an and other is a -8an to -8an barb (push lock):
MOCAL recommends their filter for the input to the pump. It is a 240 micron filter with -8an fittings, to which I added -8an to -8an push lock.
I made a bracket from steel to mount the actual liquid/liquid heat exchanger:
Here is a pic of the solid state relay hidden in the air box. No wires can be seen controlling the pump when the lid is on:
Lastly here is the thermostat to control heat flow with 5/8" hose to -10an ORB. This is a solid piece by Improved Racing:
All the parts are here now, the pump is done from a mounting and wiring perspective. The bracket for the heat exchanger was made today, and I am hoping to make more progress this weekend.
Mocal Laminar Flow Oil to Water Heat Exchanger- Medium with
Push-on Water Connections 2 Water Side Connections: 16mm Push-On Hose,
2 Oil Side Connections: -8 AN Thread-on
Part #MOC-A43-180
Sweet Performance
-10 O Ring Boss to 5/8" Hose Barb Adapter AN Fitting ORB (x4)
Part #4604-08-10
[For inlet/outlet ports on thermostat to match coolant lines]
5/8" Barb union (also known as hose mender) (x2)
Any hardware store
[For connecting to existing coolant lines from heater core)
Worm-gear stainless clamps for 5/8" hose (x10) yes TEN
Any hardware store (or Lowes)
[For union to coolant lines, thermostat and inlet/oulet of cooler]
90Degree 5/8" hose elbow
Any Auto store (or pepboys)
[For coolant inlet bend to cooler]
3-32VDC / 5-110VDC SSR 10A DC-DC Solid State Relay
[To control power to pump]
10A inline relay with screw lead
[Full power to pump must be fused]
Any auto-store
Fuse-tap
[To control on/off of relay via ignition]
Any auto-store
Not listed: Making the bracket for the heat exchanger, stainless screws/bolts, sticky tape to mount relay, zip ties, etc. ... the little things that just slow you down!
This is the bracket for the thermostat which I mounted to the strut bar. There is a piece of sliced open rubber hose on the 1" bracket (from home depot electrical aisle) to prevent scratching of the paint on the strut bar. The small L brackets and screws come with the improved racing thermostat so all that was needed was to cut, paint and drill a piece of steel. This is the same steel that was used for the bracket to mount the heat exchanger itself. The flat steel is from Lows (or HD).
Last edited by Jaraxle; Oct 24, 2016 at 04:49 PM.
Reason: adding information
Since the SST already has two filters for transmission fluid that's way better than 240 microns that additional filter is imho unnecessary
I recently got my dodson heated sump installed so i'm curious to see how things warm up in winter also.
I do agree with you, and probably would have left it out if I had not already scratched it. So I threw it in there because I didn't want the hassle of a return gone wrong.
So I have been running the system for a week without issue. I added a -8an coupling on the output side of the pump. Why? Now I can drain and fill my SST using the pump (just turn on ignition) by disconnecting either the -8an section after the pump or the 90-degree one before the pump (coming out of the cooler). Here is a picture of the setup as it has been for a week now. The pump is not noisy and with the car running you do not even notice it at idle. Due to the fuse that I tapped off of for the relay, the pump runs a few seconds after the car is turned off. We had an Indian summer day here in the NE (87F outside) and I was able to get the trans up to 185F. At this time the SPAL fan that I have on the OEM cooler kicked on. Obviously the pump was running too, and there were no electrical issues during this test. On a drive to work with the temp at say 45F outside the line going TO the cooler is reading 150F. This is 20min of stop/go at maybe 45MPH. I really need to move the gauge probe from the line to the line I just made coming from the drain port so I actually know the temperature of the fluid.
Maybe it is psychological, but it seems that the transmission is smoother and less clunky at low speeds after this modification was completed. I really don't think it is in my head! Hardly any new SST fluid was added (I reused what was there), so it wouldn't be because it just received a transfusion or something. How did I reuse the fluid? Doesn't this stuff splash all over!? Not if you use a deep brand new home depot (or whatever) bucket. I drove the front up on ramps, then used stone blocks and scissor jacket (with safety stands) to raise the car enough to fit (plus some) a 5 gallon bucket under there. No MESS at all since the bucket is so deep:
Where to go from here? If I find that this does not keep up with the SST on a summer road/race track event (with radiator upgrade), then it is really easy to then add another heat exchanger. I would simply use ANOTHER thermostat to send SST fluid to a setrab heat exchanger mounted the same as the SSP kits do (on the crash bar). The thermostat is to make sure I do not undo the heating effects that I wanted in cold weather with the mocal unit. According to MOCAL the liquid/liquid heat exchanger is equivalent to a 19-row air cooler. So I may be just fine with it as is, especially since I have the fog-delete JDM kit on the factory air-sst cooler and also a SPAL puller fan with thermostat switch pulling air when the fluid is over 185F.
Well I hope all this information, pics, and parts list help someone with an SST project. I wish I had this kind of information when I started this little project.
Have you tested your system on a hot technical track yet? I have the following SST cooler upgrades, and without everything listed I would still get overheat on some very hot days at twisty tracks here in California. Because I'm in so Cal I have no issues/requirements for trans heat-up, only overheat prevention on track.
Big RRE (no-name) cooler upgrade on OEM location cooler, with big SPAL fan
2nd pump circuit with dual Setrab coolers on crash beam (max size)
RB Racing 2.6 GPM heavy duty gear pump
2 SPAL fans: OEM and 1 of 2 Setrab coolers
Setrab 190 degree thermostat switch triggers 2nd pump circuit, and both fans (OEM and Setrab coolers)
Toggle switch to bypass thermostat switch at track--I always manually turn it on entering pits before session
2nd RBR pump draws from 2 of 3 M16 SST drain ports (2 highest ports for better 8 AN fitting clearance), connecting into Y block (8AN/8AN/8AN) and sending coolant through 2 Setrabs and back through single 8 AN hose into M16 SST fill port
With these mods my SST does not overheat in summer at Buttonwillow, Sonoma, Fontana ACS ROVAL, etc.
Also worth noting my built motor, built trans GTX3576 Evo X SE makes ~550 WHP DJ on E85, 26 PSI peak track map, no knock and no coolant overheat (CBRD rad and RRE oil cooler). So I'm sending a lot of power through the trans and generating a lot of heat in the engine bay, especially in the summer.
It's making enough power to chase down and pass 991 GT3 RSs, and run neck and neck with new Vipers and Z06s, on the front straight at Fontana.
I'd be surprised and impressed if your setup will keep SST cool on a hot twisty track. It seems like a great setup for cold weather heat up and will help cooling for canyon driving, but the SST is so hard to keep cool under hard driving on a hot day, technical track.
The MOCAL diaphram pump is a good unit, but not super heavy duty for high heat, high flow or extended use
If you overheat at the track try the RBR 2.6 or 3.0 GPM pump and add 2 Setrabs to your crash beam.
I used 16" wide 20 row and 15 row: 1) 50-920-7612, required some die-grinder clearancing of upper inside metal bumper frame, and 2) 50-915-7612, used to allow more airflow to radiator
If I could do anything over again I might use -10AN fitting and hose
Good luck, took me awhile to fully solve but it was an interesting project.
Since I am in the NE my #1 priority was to address warm-up of the transmission, and that is all I have been able to verify given the time of year. However, it is now really easy to add a SETRAB cooler on the crash beam (or two) by just tying into the fluid loop. Your setup of 550 WHP is no joke!, especially given the warm temps that CA experiences.
50-915-7612 is sized 15.94x4.53
and sounds like it doesn't require any grinding. Perhaps I will start with one of those, and then add another if I have any issues. Would you start with the passenger side or drivers side for the 1st crash beam mounted cooler?
Yeah, the 15 row makes sense and won't require grinding. Can't remember which side had less stuff in the way, and I can't easily remove bumper anymore now that I have a splitter installed with heavy duty brackets. Take off the bumper and look, no advantage I think as far as airflow one side vs. other. Hoses will be shorter to the driver side.
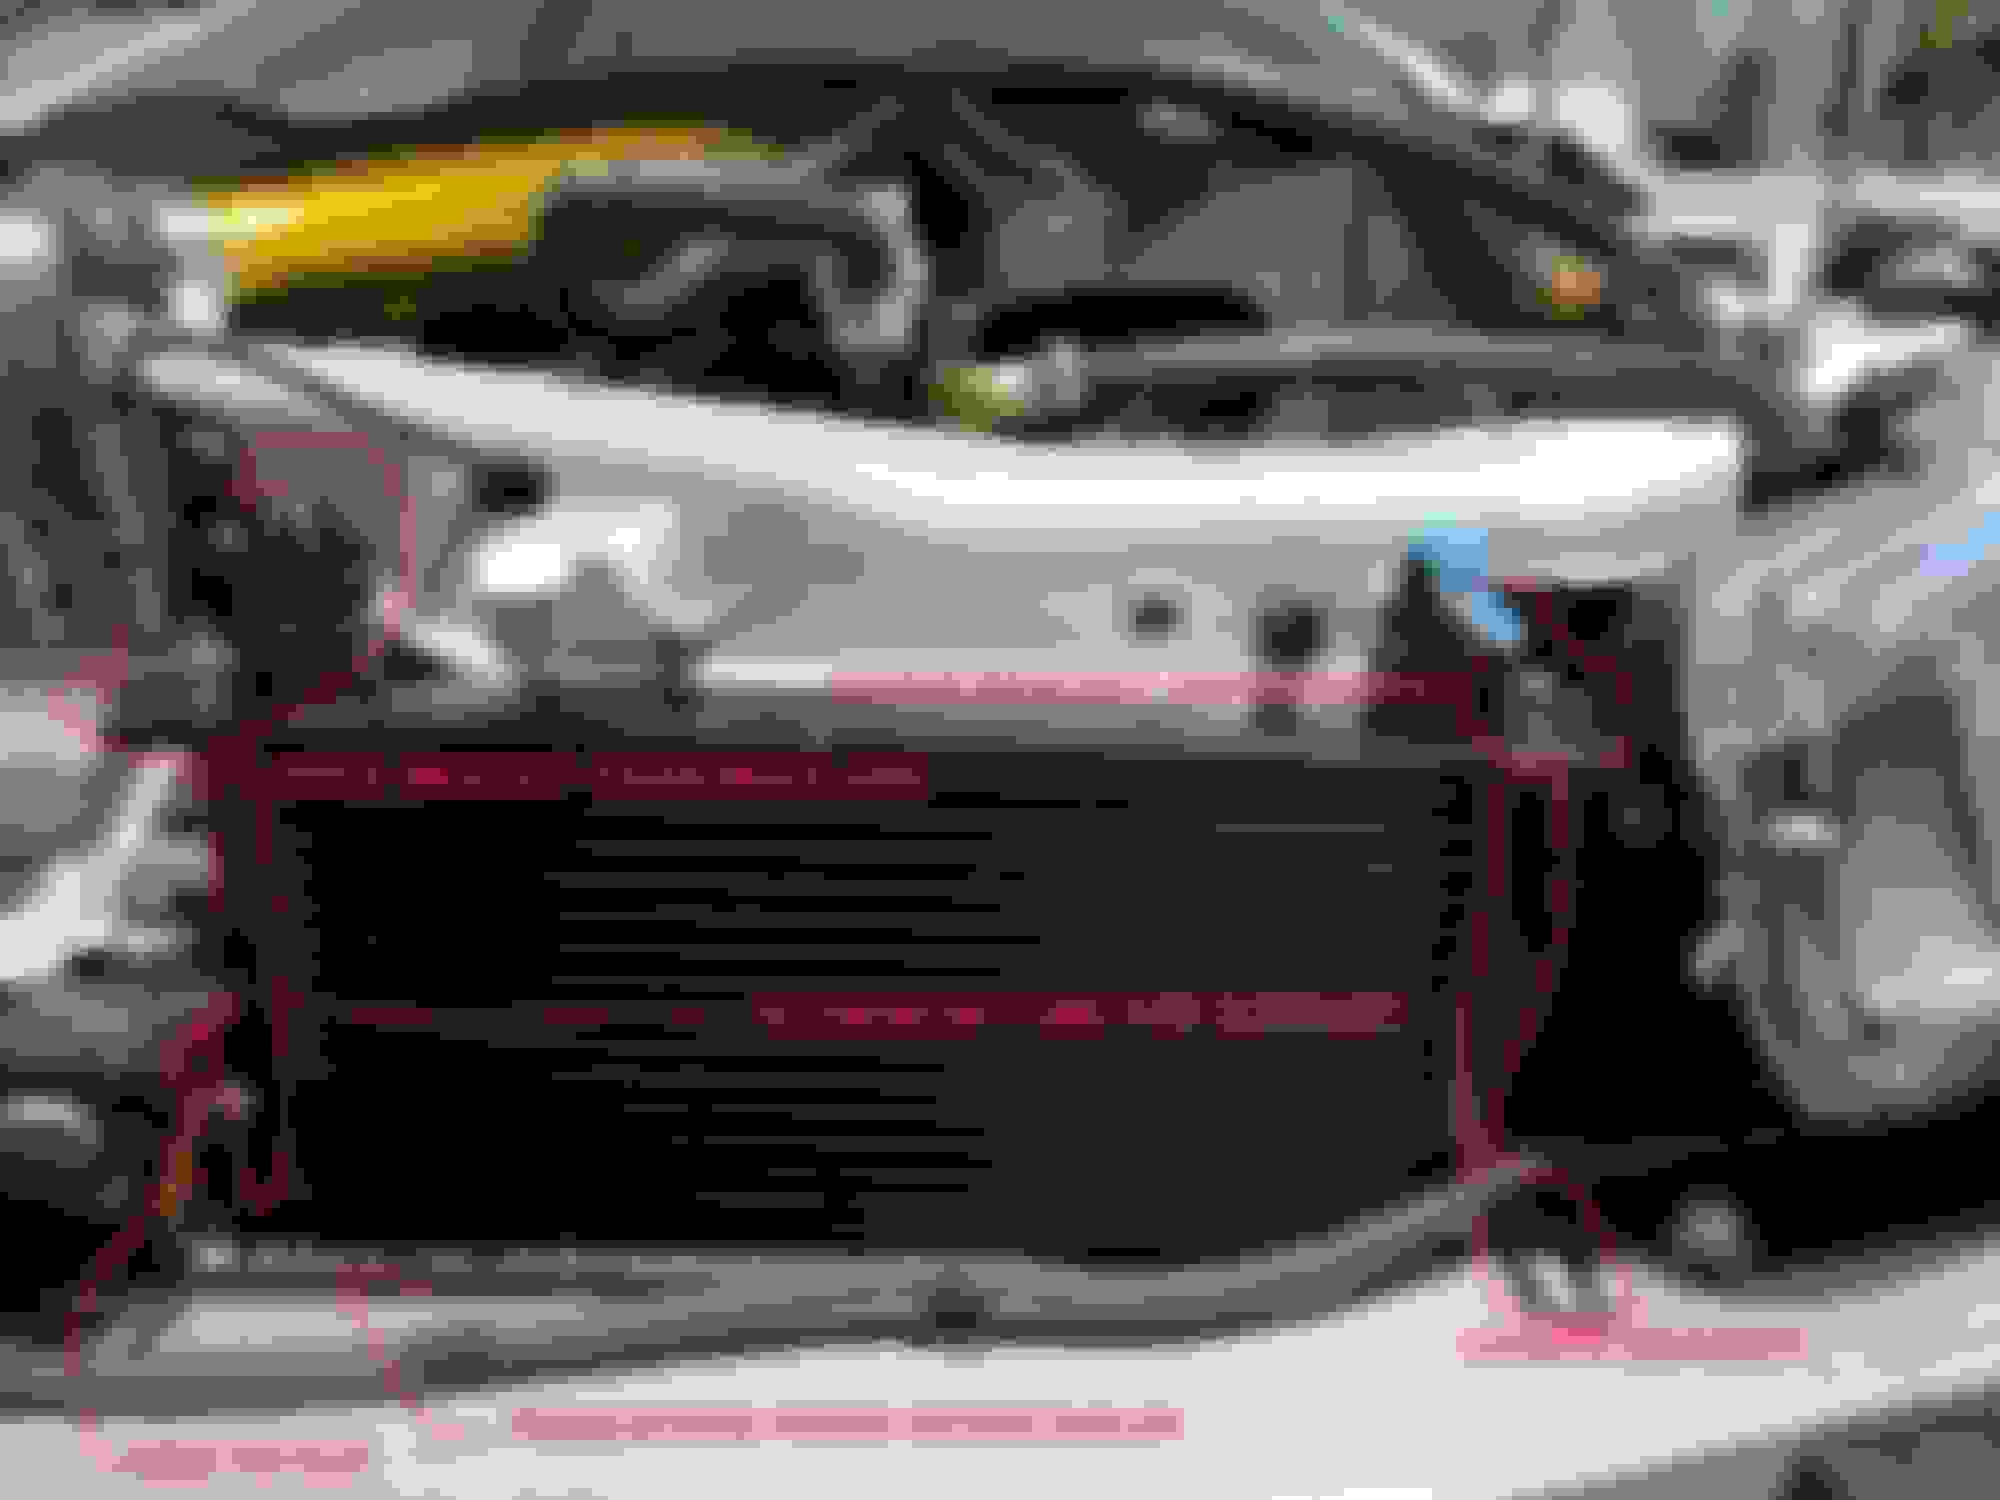
So I decided to add another cooler. A preventative measure after listening to guys who have run the SST on a road/race track. For cost efficiency I went with a derale heat exchanger instead of setrab. I don't want to overcool (push fluid below 180F) the SST transmission, so to plumb this guy into the loop I needed to add a thermostat. For the engine coolant on the liquid/liquid heat exchanger I previously used an improved racing model which is super slick with NO restriction in flow. For this thermostat I don't need it to be so fancy so I also went with derale (180F full open).
Apparently this cooler is going to be a TIGHT FRIGGIN FIT
Trying to fit another SST heat exchanger (total 3)
It wasn't so easy getting this guy to fit. The cooler is the derale 51608.
Specs:
Overall Height (in): 6.563 in.
Overall Width (in): 13.000 in.
Overall Thickness (in): 2.000 in.
Cooler Construction: Plate
Cooler Material: Aluminum
Inlet Size: -8 AN
Inlet Attachment: Male threads
Outlet Size: -8 AN
Outlet Attachment: Male threads
Number of Cooling Rows: 16
Core Height (in): 4.875 in.
Core Width (in): 10.000 in.
Core Thickness (in): 2.000 in.
Cooler Finish: Black powdercoated
Installed. Tight fit !
Since one of my requirements was to HEAT the transmission I had to install a thermostat to make sure this cooler is bypassed below 180F.
@jamdread I inspected the 240micro filter element while I was re-routing everything and it was completely free of debris. So I did remove it from this system.
 Oct 3, 2016, 05:28 PM
 . That is friggin cold. Even when it is only just freezing, the SST can never get up to temp in a reasonable amount of time. I am making around 387hp/322lb-ft to the wheels (virtual dyno ~220hp baseline), and am on stock clutches. If the transmission is not up to temp, I have felt the clutches slip ONE time. I am not going to let it happen again. That is how you kiss your stock clutch pack goodbye. The car has 38kmi on it, and the SST fluid was changed at 27kmi. I bought my MR new in 2012.