When you click on links to various merchants on this site and make a purchase, this can result in this site earning a commission. Affiliate programs and affiliations include, but are not limited to, the eBay Partner Network.
The rear bumper and tire carrier are nearly complete! This picture is from last week. It has since been painted and a latch has been made. I also welded on an upper stabilizer to eliminate any movement from the carrier! All I need to do now is ad a few more braces for the bumper itself. I also did a charcoal canister delete and added some more garage to the roof rack. Full tool box and a 2 gallon gas can along with a small axe.
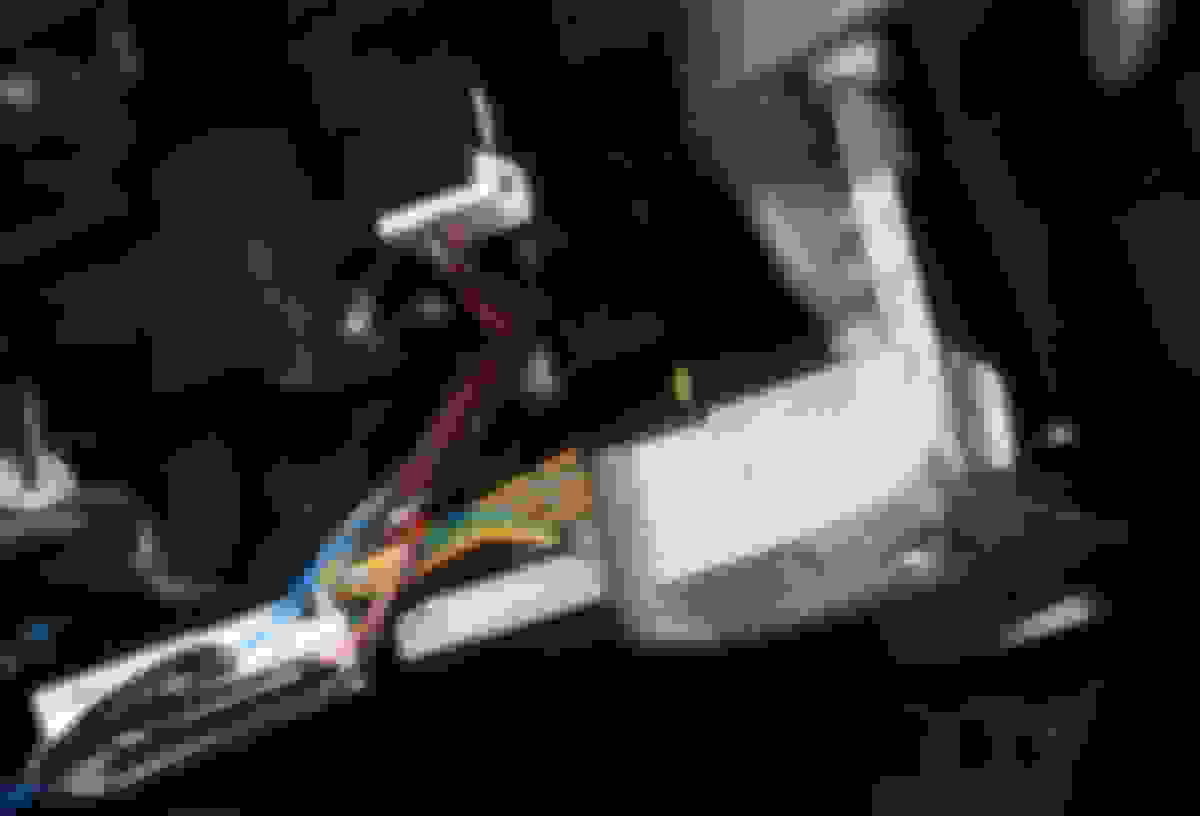
Nice. Did you wire (the white emission) to DRL or to low beam? The reason I am asking is because I am contemplating to wire the fog lamps or something else as DRL and have LED bulbs installed as low beam without flickering (in DRL mode) or reducing the life of the LED bulbs. Apparently, the fog lights in the SE trim have been supplied with a GT-like double fog harness, labeled as A-46 and A-56 in the attached wiring scheme (one for the regular fog bulb the other for the DRL separate bulb in the same house for the GT trim only). If this is true all one has to do is to enable "independent DRL" in the ETACS (now it is coded as "normal" with dimming function of the low beam by using a FET) and connect the second harness to the desired DRL (like your switchback LED strip). Since the fog lamps and the DRLs are never on the same time by default, one can even use the ordinary fog light bulbs as DRLs with this method.
As the DRL is only on daytime even with full intensity the fogs are not blinding the incoming vehicles.
Im actually planning to do changes with my wiring. I just used fuse tap on the engine fuse box (1 strip to 1 fuse) that supplied 12V when you turn the engine ON but I noticed a flickering and I think that is something with power distributions. Im actually thinking of using a empty fuse slot to use it as my power source and I know that you cannot just use an empty slot and use it as your 12V source. I think your wiring scheme will be better than mine if you wanting to go that route. Unfortunately I didn't check if I have a double fog harness. Mine only turn on when you switch it.
Last edited by DhiJay23; Aug 22, 2018 at 07:36 AM.
Im actually planning to do changes with my wiring. I just used fuse tap on the engine fuse box (1 strip to 1 fuse) that supplied 12V when you turn the engine ON but I noticed a flickering and I think that is something with power distributions. Im actually thinking of using a empty fuse slot to use it as my power source and I know that you cannot just use an empty slot and use it as your 12V source. I think your wiring scheme will be better than mine if you wanting to go that route. Unfortunately I didn't check if I have a double fog harness. Mine only turn on when you switch it.
I have checked the fog light wiring on my car (2012 Canadian SE model without HID with OEM fog lights) and I do not have both harnesses at the fog lights as shown in the posted configuration diagram. That wiring may be specific to the Canadian GT spec (with HID headlights) only with two bulbs in the fog light assembly (the smaller one for DRL). I suspect most US models with OEM fog lights are wired just like mine as DRL is not mandated in the States.
Paddle shifter install for few bucks (plus few hours of time)
Although there is little sportiness in the OS/RVR I admit ocasionally it could be convenient to have paddle shifters during merging into highway. My Canadian SE AWC model did not come with this amenity from the factory. I picked up a paddle shifter from a 2nd generation Outlander XLS (Canadian model, a close cousin of the US GT version) the only Outlander from this era in Canada that comes with paddle shifters. My investment including the steering column covers (that I ended up not being able to use) was $10 Canadian at my favorite junk yard, where I go often for ideas. It turned out that this paddle shifter (part No 2401A004) is not a plug-and-play item for the OS. The paddle shifters from the 2nd generation Outlanders are compatible with the Lancers (also Ralliart and EVO) including the plastic steering column covers. The paddle shifters for the OS/RVR ( part No; 2401A008) are compatible with the 3rd gen (current) Outlander. See the differences in the first two attached images.
Obviously, the steering column plastic garnishes are also different. Therefore, intensive sculpting was required to make both the shifter and the plastic cover to fit. I also had to make a steel attachment bolted on to provide means for fixing the shifter to the platform that hold the combination switch for the turn signals and the widshield washer. The benefit of my method is that neither I needed to disconnect the battery and the steering wheel airbag nor I had to remove the steering wheel itself. I was able to slide the paddle shifter from underneath and simple turning of the steering wheel allowed me to bolt on the shifter in both sides using self tapping screws..
The electrical connection is found under the steering column ( and it is enabled by the ETACS) with three wires (black=ground; red=upshift, blue=downshift). However, the connectors were not matching either so I had to rewire them (using heat shrink and electric tape. In the Outlander connection the grey wire replaces the red one, the other two are color matched (blue-to-blue, black-to-black):
At this point the paddle shifter was functional but had to sculpt extensively both the plastic cover (+add the scavenged rubber insert from the Outlander part) and the underside of the aluminium bottom of the paddle shifter with precision saw and grinder, respectively, to cover the wires and give close to factory look ( a bit later on that). Note that the ribs from the bottom of the plastic cover should also be ground off to be able to put back the plastic.
The final product is decent (please note the slightly different angle of the shifter that is only noticeable from certain angles and it does not influence the functionality). I could not grind off sufficient matter from the bottom of the aluminium pieces without damaging the electrical circuit board housed in the two small boxes.
The entire project took me several hours, the a plug-and-play direct fit install would have taken half an hour max. There is no fun building LEGO structures by following direct instructions made by others. Figuring out your own strategy using only the LEGO bricks is much more rewarding.
The paddle shifters for Lancers and Outlander IIs are much more readily available and for way more decent prices than those for Outlander IIIs and OS. I admit, someone with a faint heart should not even start such a project but if you have some courage go for it.
I have just found a thread in the Outlander forum, where someone installed the exact same paddle shifters on the Outlander II with the standard method using OEM parts. DIY Paddle Shift on my 07 LS Outlander
It appears that the Outlander II paddle shifter (the one I also used above) when installed has also a slight off angle with the steering wheel as seen from the side view.
Kind of pointless with a CVT, but for the price you got the parts for, and a little time, why not? nice job.
i think i used the paddle shifters once on my wife's GT. LOL
Thanks and you are correct in both accounts.
1. The use of paddle shifter on an every day use defeats the purpose of the CVT. I also believe that it shortens its lifespan. Manual mode makes it (at least my 2012 2.0L) more dynamic though. Mitsubishi has programmed every year the CVT and even introduced a new version in 2016, so I cannot comment on the dynamism of the versions for all years. People, who own them can comment on the usefulness or the lack thereof of the paddle shifters. Like any mod this one brings also questionable benefits.
2. I would not have paid the $US 208 for the paddles and $US 41 for the lower column cover for this questionable amenity. But for $ 5 and my work (rather passion) not counted I am OK to have this to be used once in a while. Paddle shifter from Mitsubiushi parts Lower column cover from Mitsubishi Parts
It is interesting to note that they list the paddle shifters under part No. 2401A006 and claim that this item is not compatible for example with the 2014 versions onward (only 2011-2013).
i do use the paddle shifters in my Infiniti G37 - it rev-matches downshifts and gives a nice growl.
at least Mitsu continues to offer the nice metal column-mounted shifters (my mom has them on her new Eclipse Cross). Infinity changed from those to plastic steering wheel mounted paddles on the newer Q50/Q60's ... that's on a $40k+ - $60k+ car!
Haven't been on here in a minute but I I've done a few more changes to Olivia so I have successfully installed EVO gsr stock springs I've debadged it and installed a universal muffer with a resignator delete.
i got the tema 4x4 40mm strut spacers installed today. lovin em! also installed the 08-14 lancer megan strut tower bar. this is a 2018 sel. the 2018 strut towers do have some extra structure around the bolts closer to the firewall, so the rings of the megan tower bar deflect a little bit around that when torqued down. initial handling feels the same, so i'm thinking the tower bar nullifies any extra roll that would've come from the lift. i didn't get an alignment yet because i'm thinking of getting rims and tires soon-ish. but i'll keep u guys updated if i notice anything with mpg's and a followup on handling as i live with it more.
my tuner mechanic loves mitsubishis, especially off road
i think the back looks a lil lower in this pic because the parking lot has some slope
i'm very happy with how understated the megan bar looks. my other mitsubishi is pretty loud, i want this one to be the boring and comfy ride.
Hi! Can someone please explain 'Plastidip'? I have a 2018 'Sport Limited Edition, and want to eliminate all the chrome trim pieces. I know I can get it wrapped, but that's so expensive! I understand that Plastidip can be removed. How? And, can you please recommend a good brand to use? Many THANKS!
 Aug 20, 2018, 09:20 AM