When you click on links to various merchants on this site and make a purchase, this can result in this site earning a commission. Affiliate programs and affiliations include, but are not limited to, the eBay Partner Network.
Shaved a paltry 4lbs off the dash bar. You can get more depending on what you want and need to keep in the area. I left the section going down to driveshaft tunnel for wiring and a place to mount gauges in the dash. But from what I've found a lot of drag guys delete that as well. There is also a company called Voodo Racing that makes a light weight chromoly dash bar and other evo stuff. Here is the thread about em:
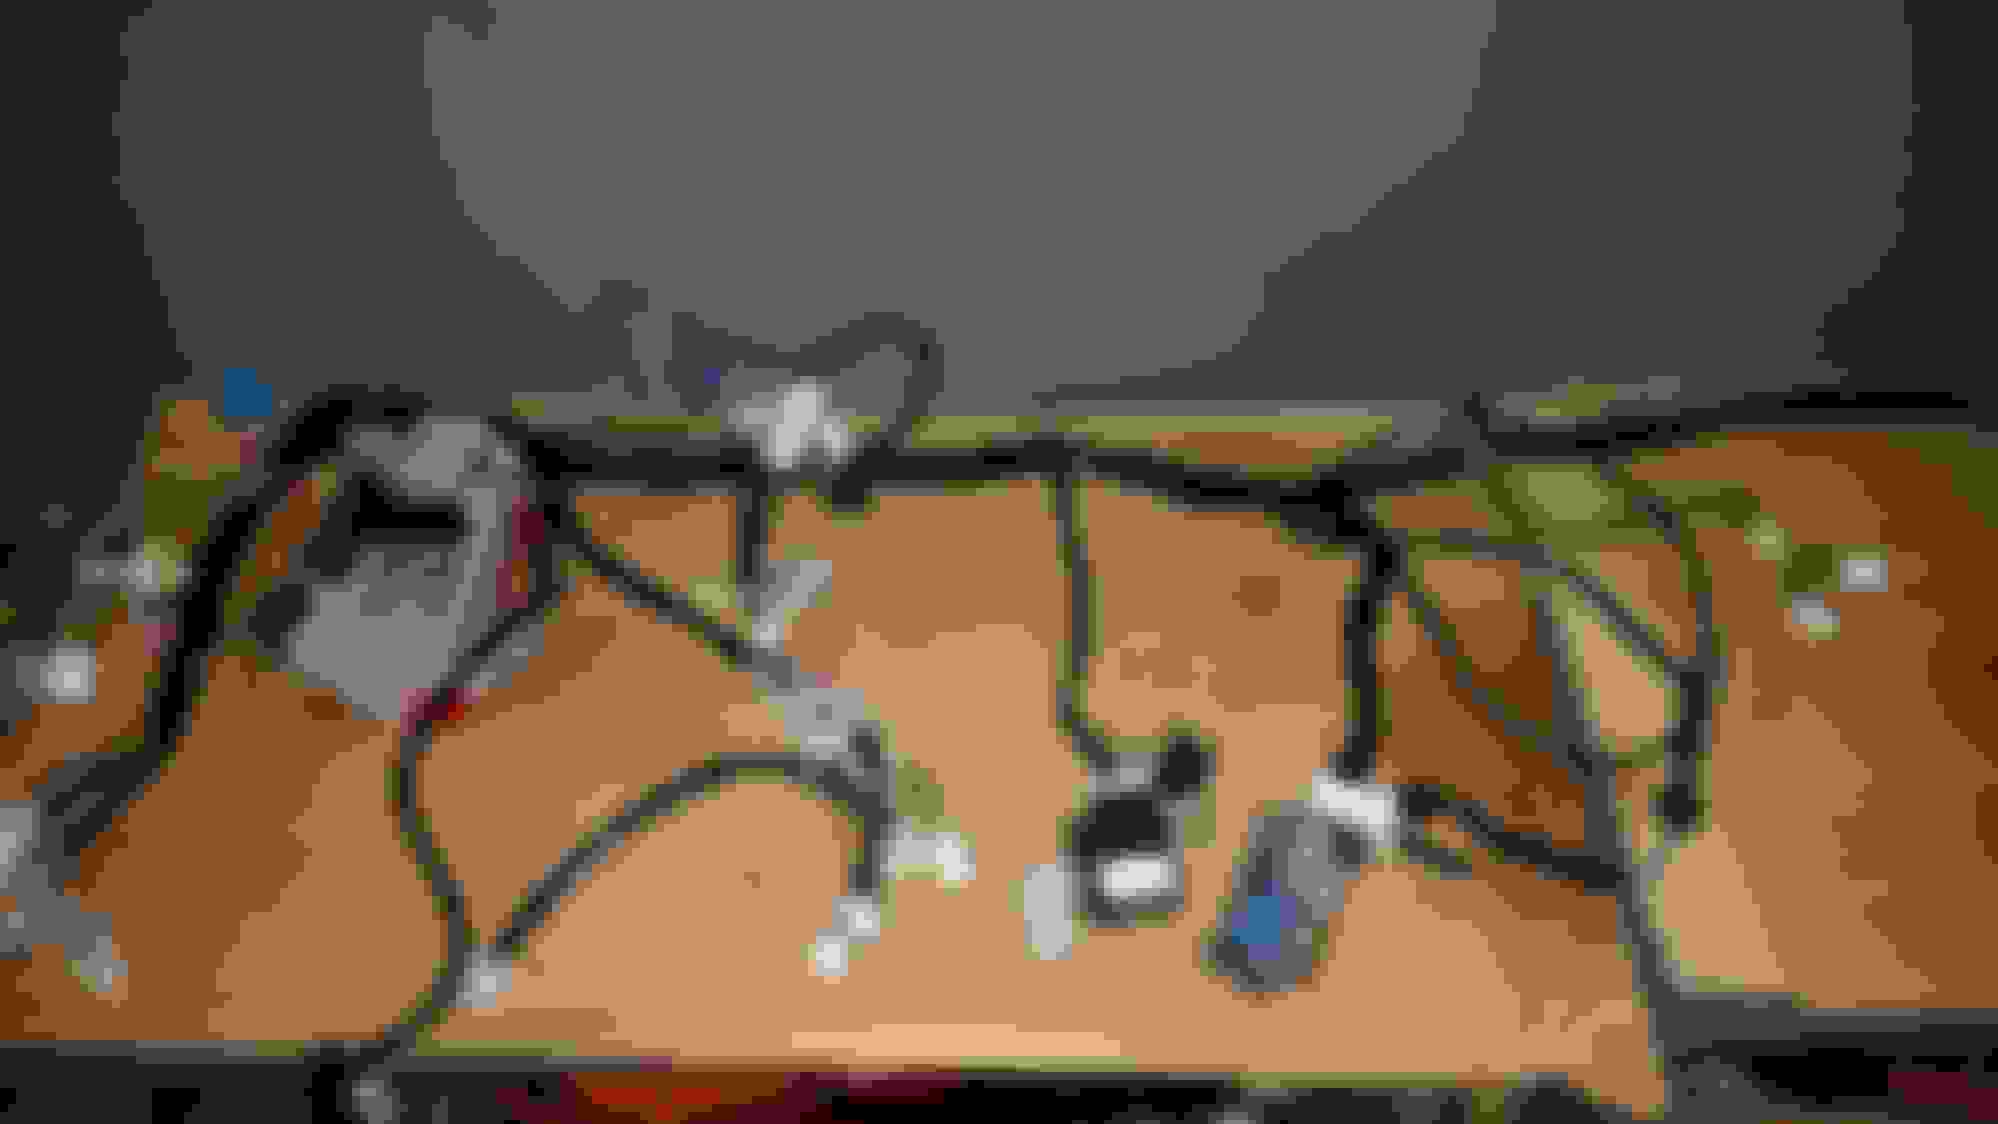
Getting dash harness taped up. Going to keep it simple, the time/work investment is too high with wiring. I got some good weight out of it and the floor harness. Will just trim down the engine harness and leave it where it is.
What all did you delete? And how'd you mount the harness in the car, I'm curious. Feel free to add pics here if you are so inclined!
I deleted the HVAC plugs, blower motor plug, drivers seat and crash sensors under the center console,and the SRS ECU plugs and Drivers/Passengers airbag plugs. I mounted mine against the firewall because I have the Voodoo dash bar. I didn't chase any wires/plugs after the connection points in the drivers/passengers footwells towards the back of the car. I could still delete the speed sensor plugs.
I deleted the HVAC plugs, blower motor plug, drivers seat and crash sensors under the center console,and the SRS ECU plugs and Drivers/Passengers airbag plugs. I mounted mine against the firewall because I have the Voodoo dash bar. I didn't chase any wires/plugs after the connection points in the drivers/passengers footwells towards the back of the car. I could still delete the speed sensor plugs.
Those sensors just behind the shifter, under the center console are g-sensors for ABS and ACD. FYI if you plan to keep ABS and ACD you will need those. I know some guys delete ACD and ABS so maybe a non-issue for you.
I actually mistakenly did the same thing until I looked at the wiring diagram. So I had to add them back.
If you have an ABS issue It will also disable ACD from what I understand.
I know no one cares about this, and frankly its boring tedious work even for me. But I'm getting there. Also spoke to Jon and my transfer-case is done. Will probably just have him ship it back to me.
I mocked up wiring and dash (after having already taped it), and found more connectors going nowhere that I somehow missed(Door/window/mirror stuff). So now after removing all of that, I've shaved a little over 6lbs of wiring and connectors from the dash and floor harnesses. On top of the 4lbs for the door harnesses, and 4lbs of steel from the dash bar. 14/15lbs of weight in free weight savings on top of the big stuff I've already removed. Mostly all on the front of the car besides the floor and rear door harnesses which is minimal compared to dash. Not bad weight savings! Still need to do engine bay harness to delete EGR/EVAP/AC stuff so we'll see what that wiring ends up weighing. That should also facilitate relocating the ACD since I'll be in the harness anyway. Hopefully the car starts and everything I want to work does. Wont know until I get motor back in lol. I even bought an 05 dash harness for cheap on ebay just in case.
Need to get some mirrors though since I deleted all the wiring. Might save a few more pounds from the front with light weight mirrors.
Finally all trimmed down.
Bag of unused wiring and connectors not including tape or door harnesses
Keep at it man. Looks great. I'm doing the same thing while I'm waiting on parts. I'm trying to learn how to wire lace so I can keep it all tight. I'll probably loom mine afterwards though.
Got the LC Fabrications battery mount I ordered. Its a nice piece and very light, made in USA!
Also pulled the engine harness from the car. Successfully pulled all the ACD wiring back into the cabin. All the wiring besides power and ground originate at the ACD ECU connectors. The only wire which will originate in the engine bay is the red power wire. This goes to the relay panel on the passenger side Firewall. The panel I previously removed and painted black.
I also removed ACD pump and line. Gotta try and figure out how to mount it in the rear. Maybe use/modify the original bracket. I want to try and use the tube previously for evap to get fluid front to back. Will need to figure out how to cut and flare it. Made sense to me to get this done before installing motor/trans/TC. Since I'll have to fill and bleed everything several times.
Today I am going to stare at the elec manual and confirm which plugs and wires I can remove from this harness. Should be EGR/EVAP stuff. Then put it back in the car. There are to front chassis harnesses behind either fender that I'll have to get at next. Have to remove the front crash sensor wiring and AC stuff which seems to go into those harnesses.
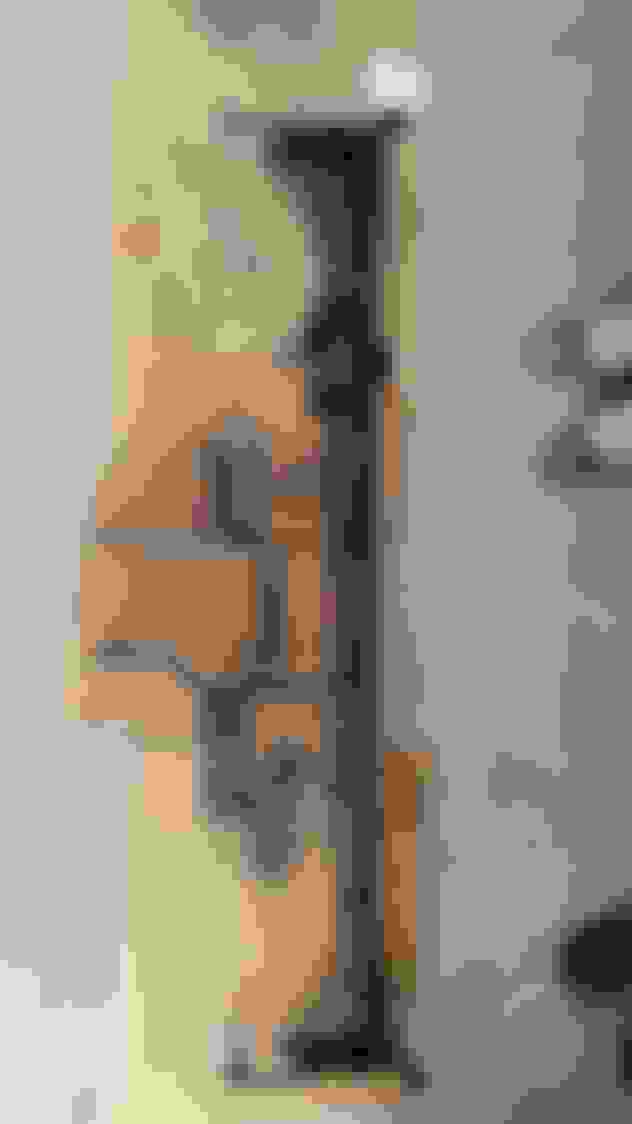
Wiring still on the engine side.
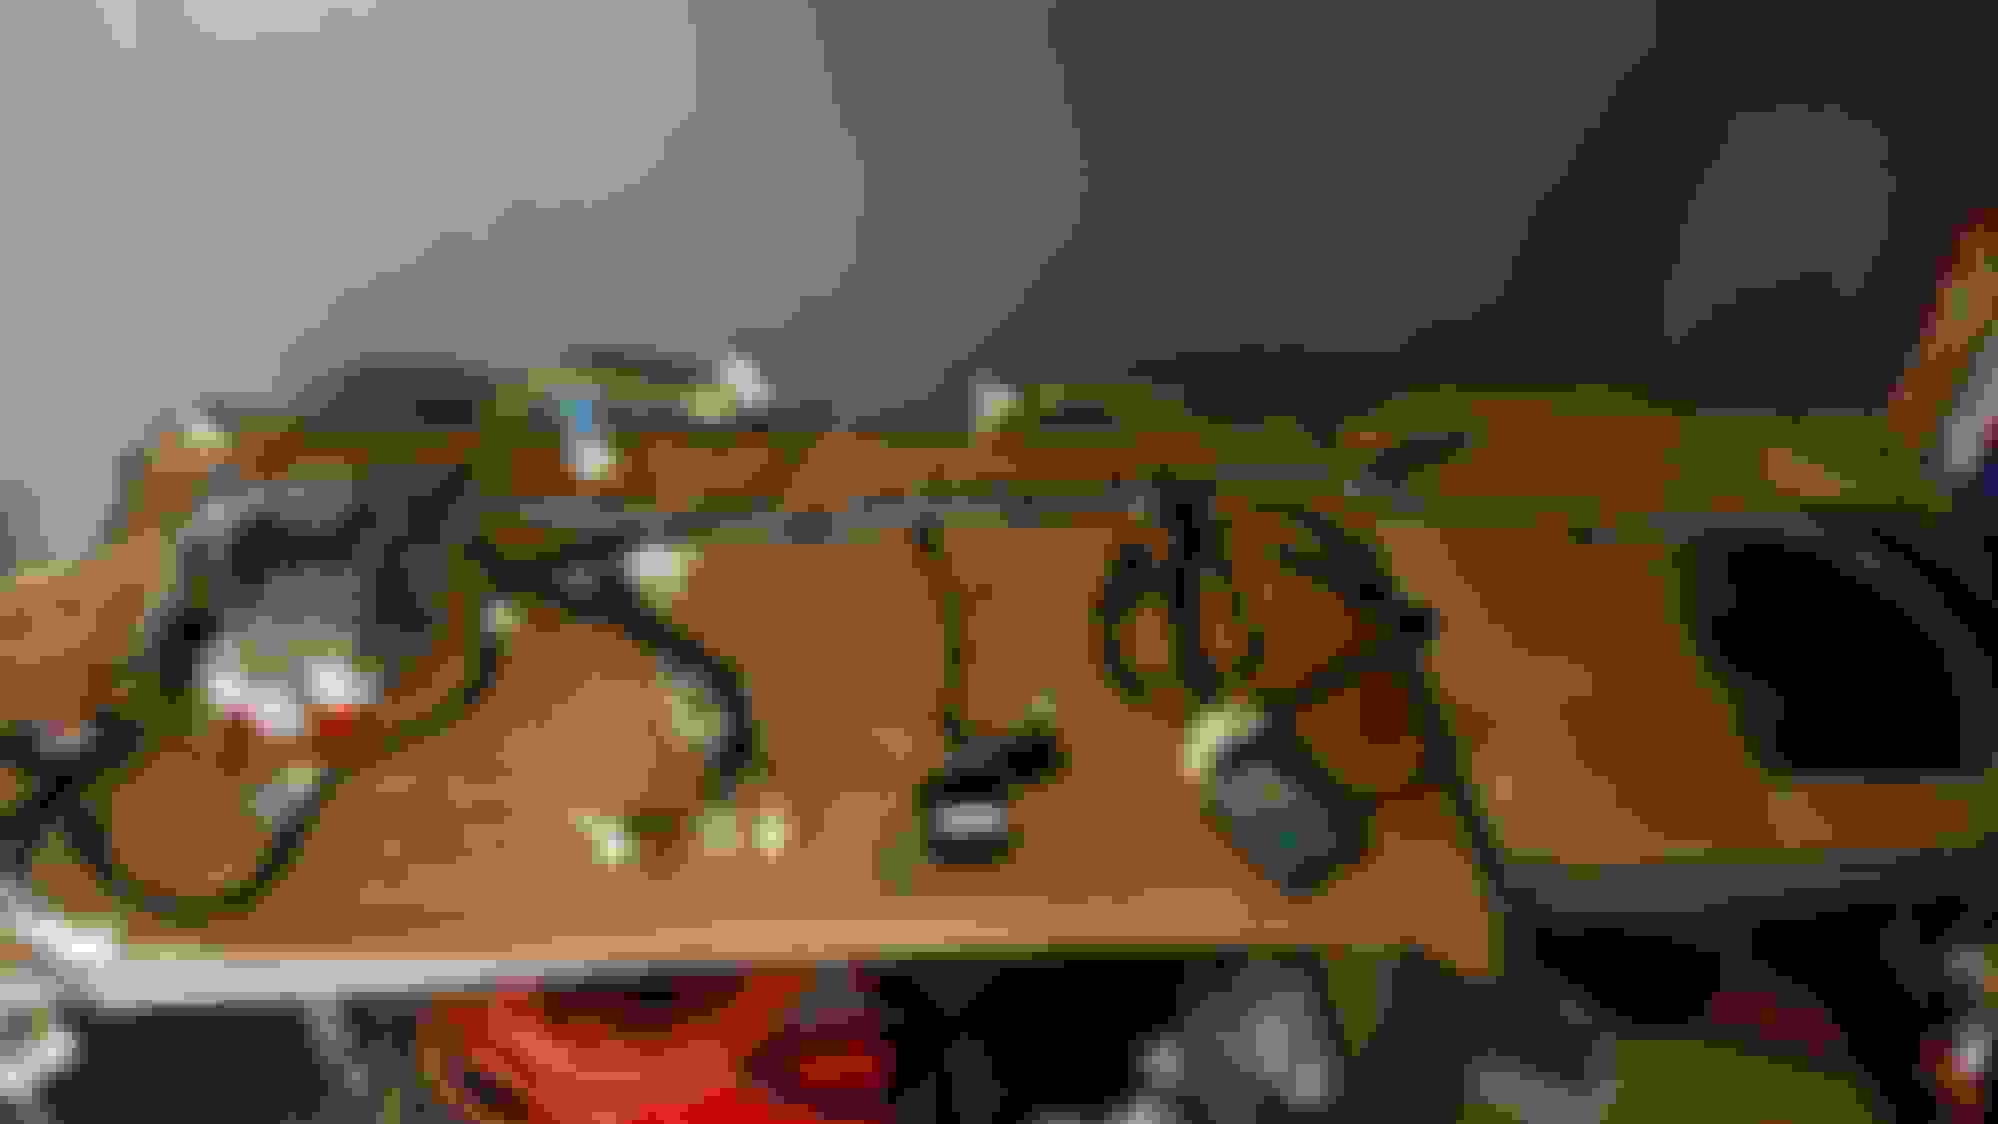
Wiring pulled through firewall. Ready to get lengthened to the trunk. Notice red wire which comes from the engine side relay panel. Now pulled into cabin.
ACD pump removed from car. Later removed line as well.
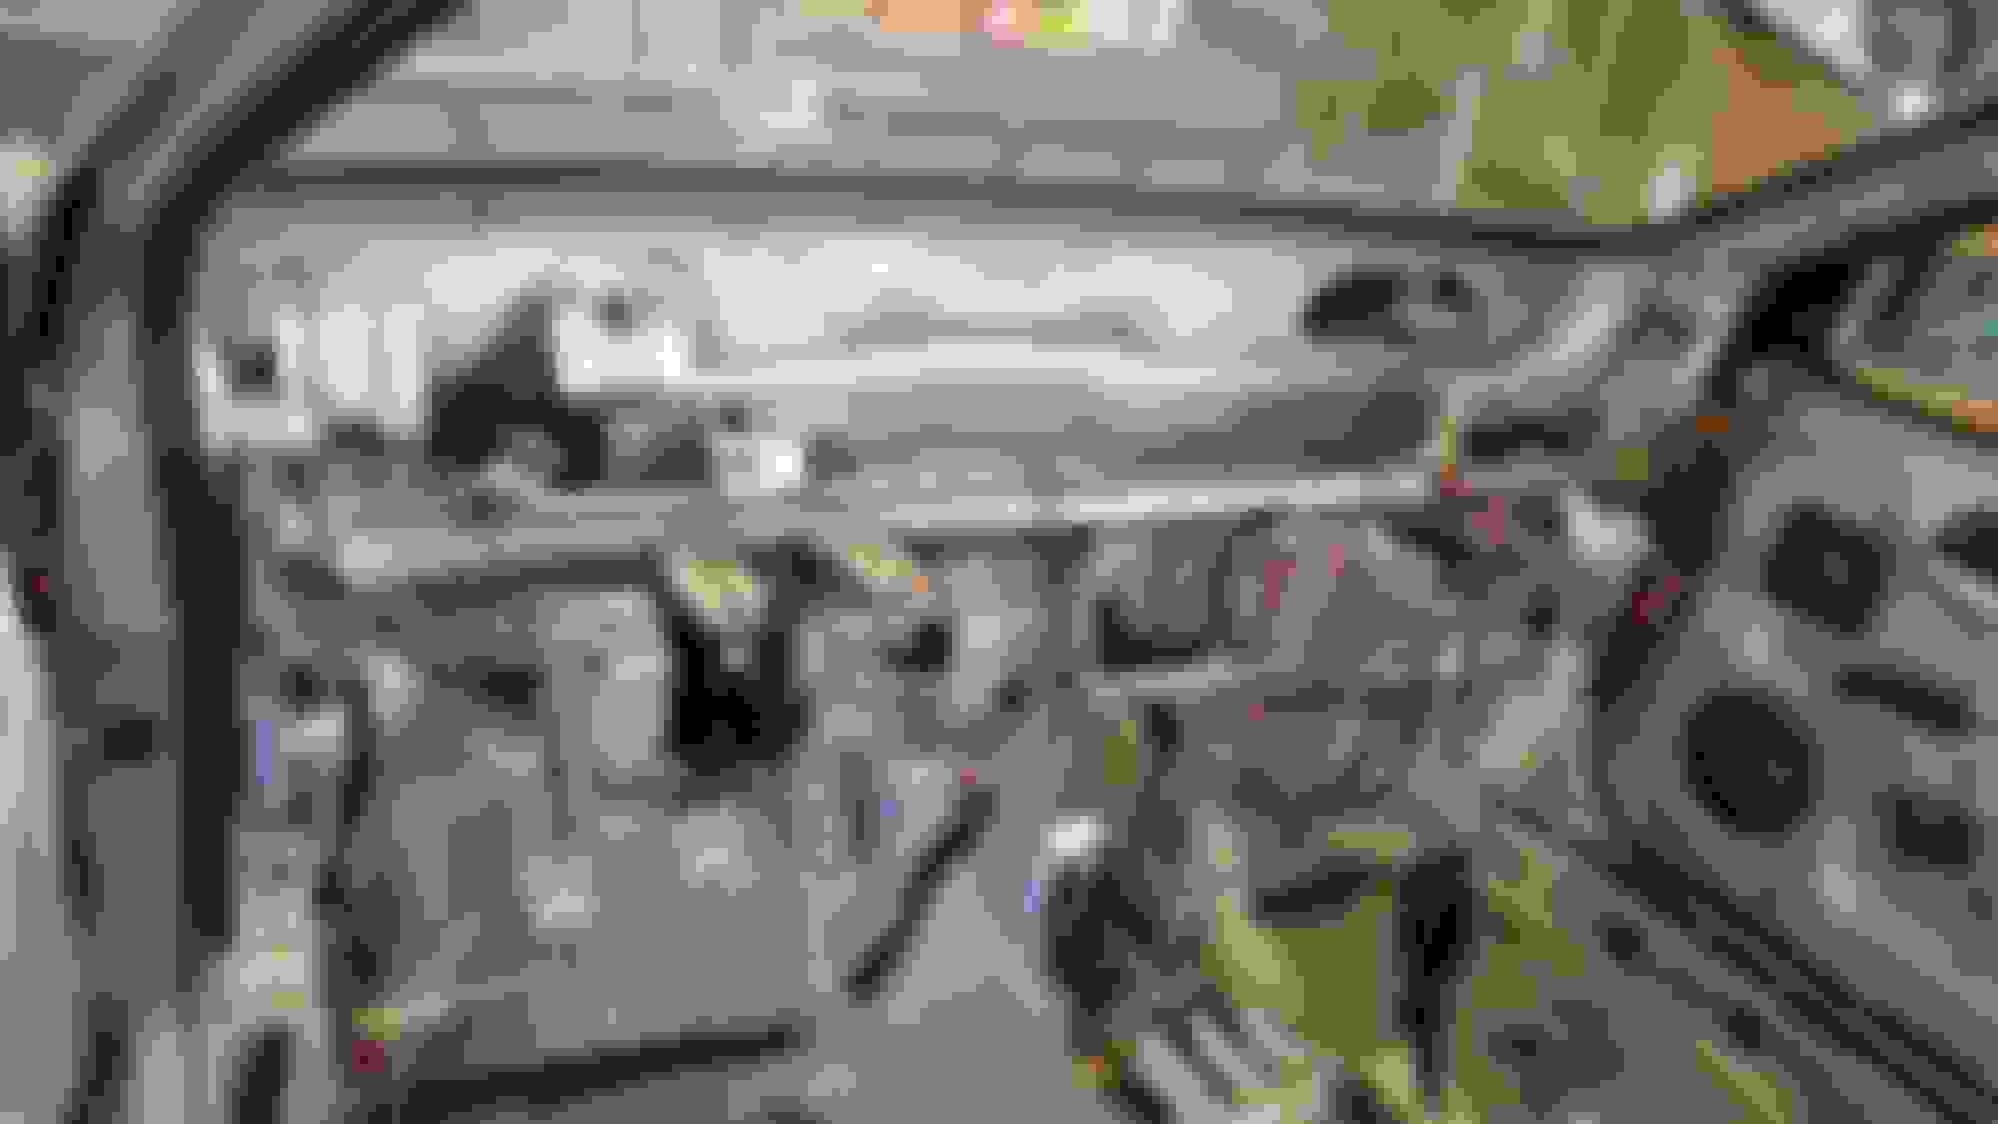
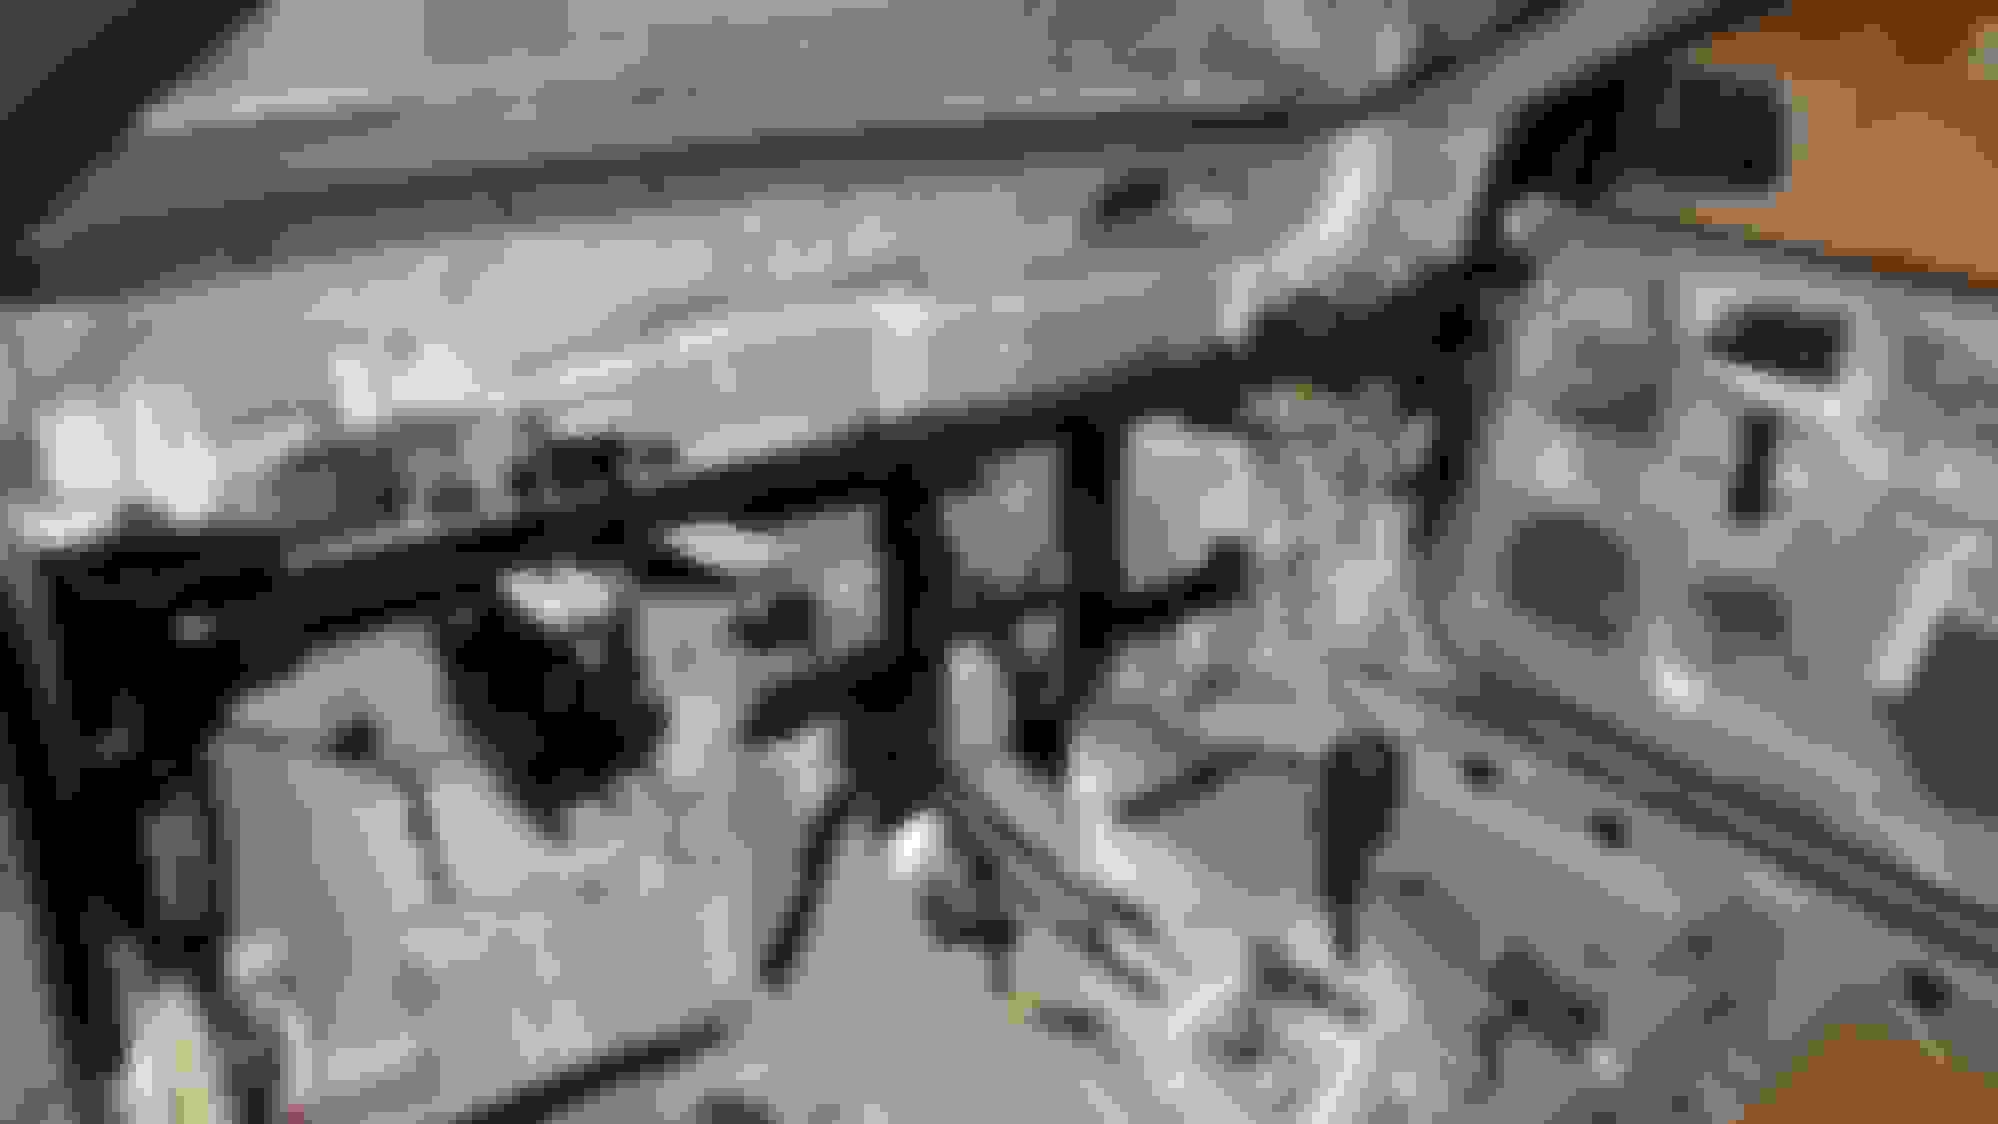
Got the wiring back in rough. Need to clean it up and finish some loose ends.
Also got started on the ACD relocation. Cut the OE bracket and welded some flat steel on both sides.
There are 2 bolt holes with nuts welded already on the passenger side frame rail. So by adding that piece of flat steel I can use both of those holes with the original fasteners. Just barely got to mock it up today. Still need to grind the welds and trim off some material. Going for what RT Ernie did. Even found the Evo X grommet for the ACD lines he used to pass through the trunk. Just waiting on it to arrive. Also picked up some harbor freight single/double flare kits and tubing bender. Going to try and use the evap line which is the same size as the original ACD line.
Not sure how this is going to affect the AMS exhaust. I always wanted to just delete the muffler and run a straight pipe where ever it works. We'll cross that bridge when the times right.
Made a mess...
Added piece of flat steel for bolt hole on the left.
Looking good! If youre not concerned about corosion then that is absolutely a good stealth spot and nice to keep the weight out back and down low. But for me getting it off the front was part of why I wanted mine relocated but the other motivator was keeping it protected from the elements.
As far as flaring the lines, Im not sure the HF kit will be up to the task of producing a good flare for that size line. Not bashing HF but from my experience with the bare bones tubing flare kits, I tired using one I rented from AZ just bc it was zero risk and the flare no matter how many times I tried it, it never came out satisfactory.
The process is simple but it never worked for me. Id imagine the HF quality is right on par with the kit at AZ. Luckily one of my buddies had a similar kit in terns of style that he picked up off a tool truck years ago and wow what a difference. The first flare I did with it came out perfect.
There are some really nice kits out there but it was hard for me to justify the price for a couple silly flares. But you gotta do what you gotta do to get the job done. If you're willing to spend the money the Eastwood kit is supposedly really nice. The best one is by far the Mastercool hydraulic kind but its something like $400.
If I owned one I'd ship it out to you to borrow but unfortunately I do not so sorry!
I am going to give it the old college try using just hard-line and try and use the evap line already present. If it does not work out, or leaks, I'll try AN stuff (which I've never used before)
I also am revising the ACD mount. After putting in the axle back exhaust, if I move the pump outboard an inch I wont have any clearance issues with the muffler. Will also need to add another support to stabilize the pump laterally. The 2 bolts alone I dont think offer enough rigidity. I suspect RT Ernie had to do something similar and he mentions he doesn't trust just the 2 bolts.


 Apr 29, 2017, 12:55 PM