When you click on links to various merchants on this site and make a purchase, this can result in this site earning a commission. Affiliate programs and affiliations include, but are not limited to, the eBay Partner Network.
There is nothing like hearing your build fire up for the first time. You say a prayer and turn the key with the belief that you did everything right, but it comes with humbling self doubt that at some point in those late night hours you f^!#ed something up. So far, that is not the case!
After much cleaning, hanging the engine onto its motor mounts, reinstalling the transmission and transfer case, bleeding the clutch, the ACD, topping off fluids.....I upgraded a few items.
1. TScomptuned 4" intake pipe instead of trying to make the stock MAF housing work.
2. Grimspeed EBCS. I just like the way it uses a factory mounting location.
3. Radium sealed catch can. This was a great upgrade. The radium catch can has a web of wires in the inlet port that convert oil blow by into a liquid that accumulates and drips down into one side of the catch can. The vacuum side of the can stays much cleaner so the intake does too.
4. Blox Magnetic engine oil drain plug. I used to be afraid of these because I thought the magnet would break off, then I realized that it would just stick to the oil pan and not do anything stupid.
5. MAP manifold heat sheild (To cover the rust of the FP MANI)
6. AEM Digital 50 PSI boost gauge to match wideband and i'm boosting more than 30 psi lol. AEM has excellent customer service.
7. Megan resonated test pipe to quiet things down a little bit during cruise.
8. Energy Suspension Poly mustache bar bushings instead of solid, also to quiet things down a little bit during cruise.
Done.
Drink up.
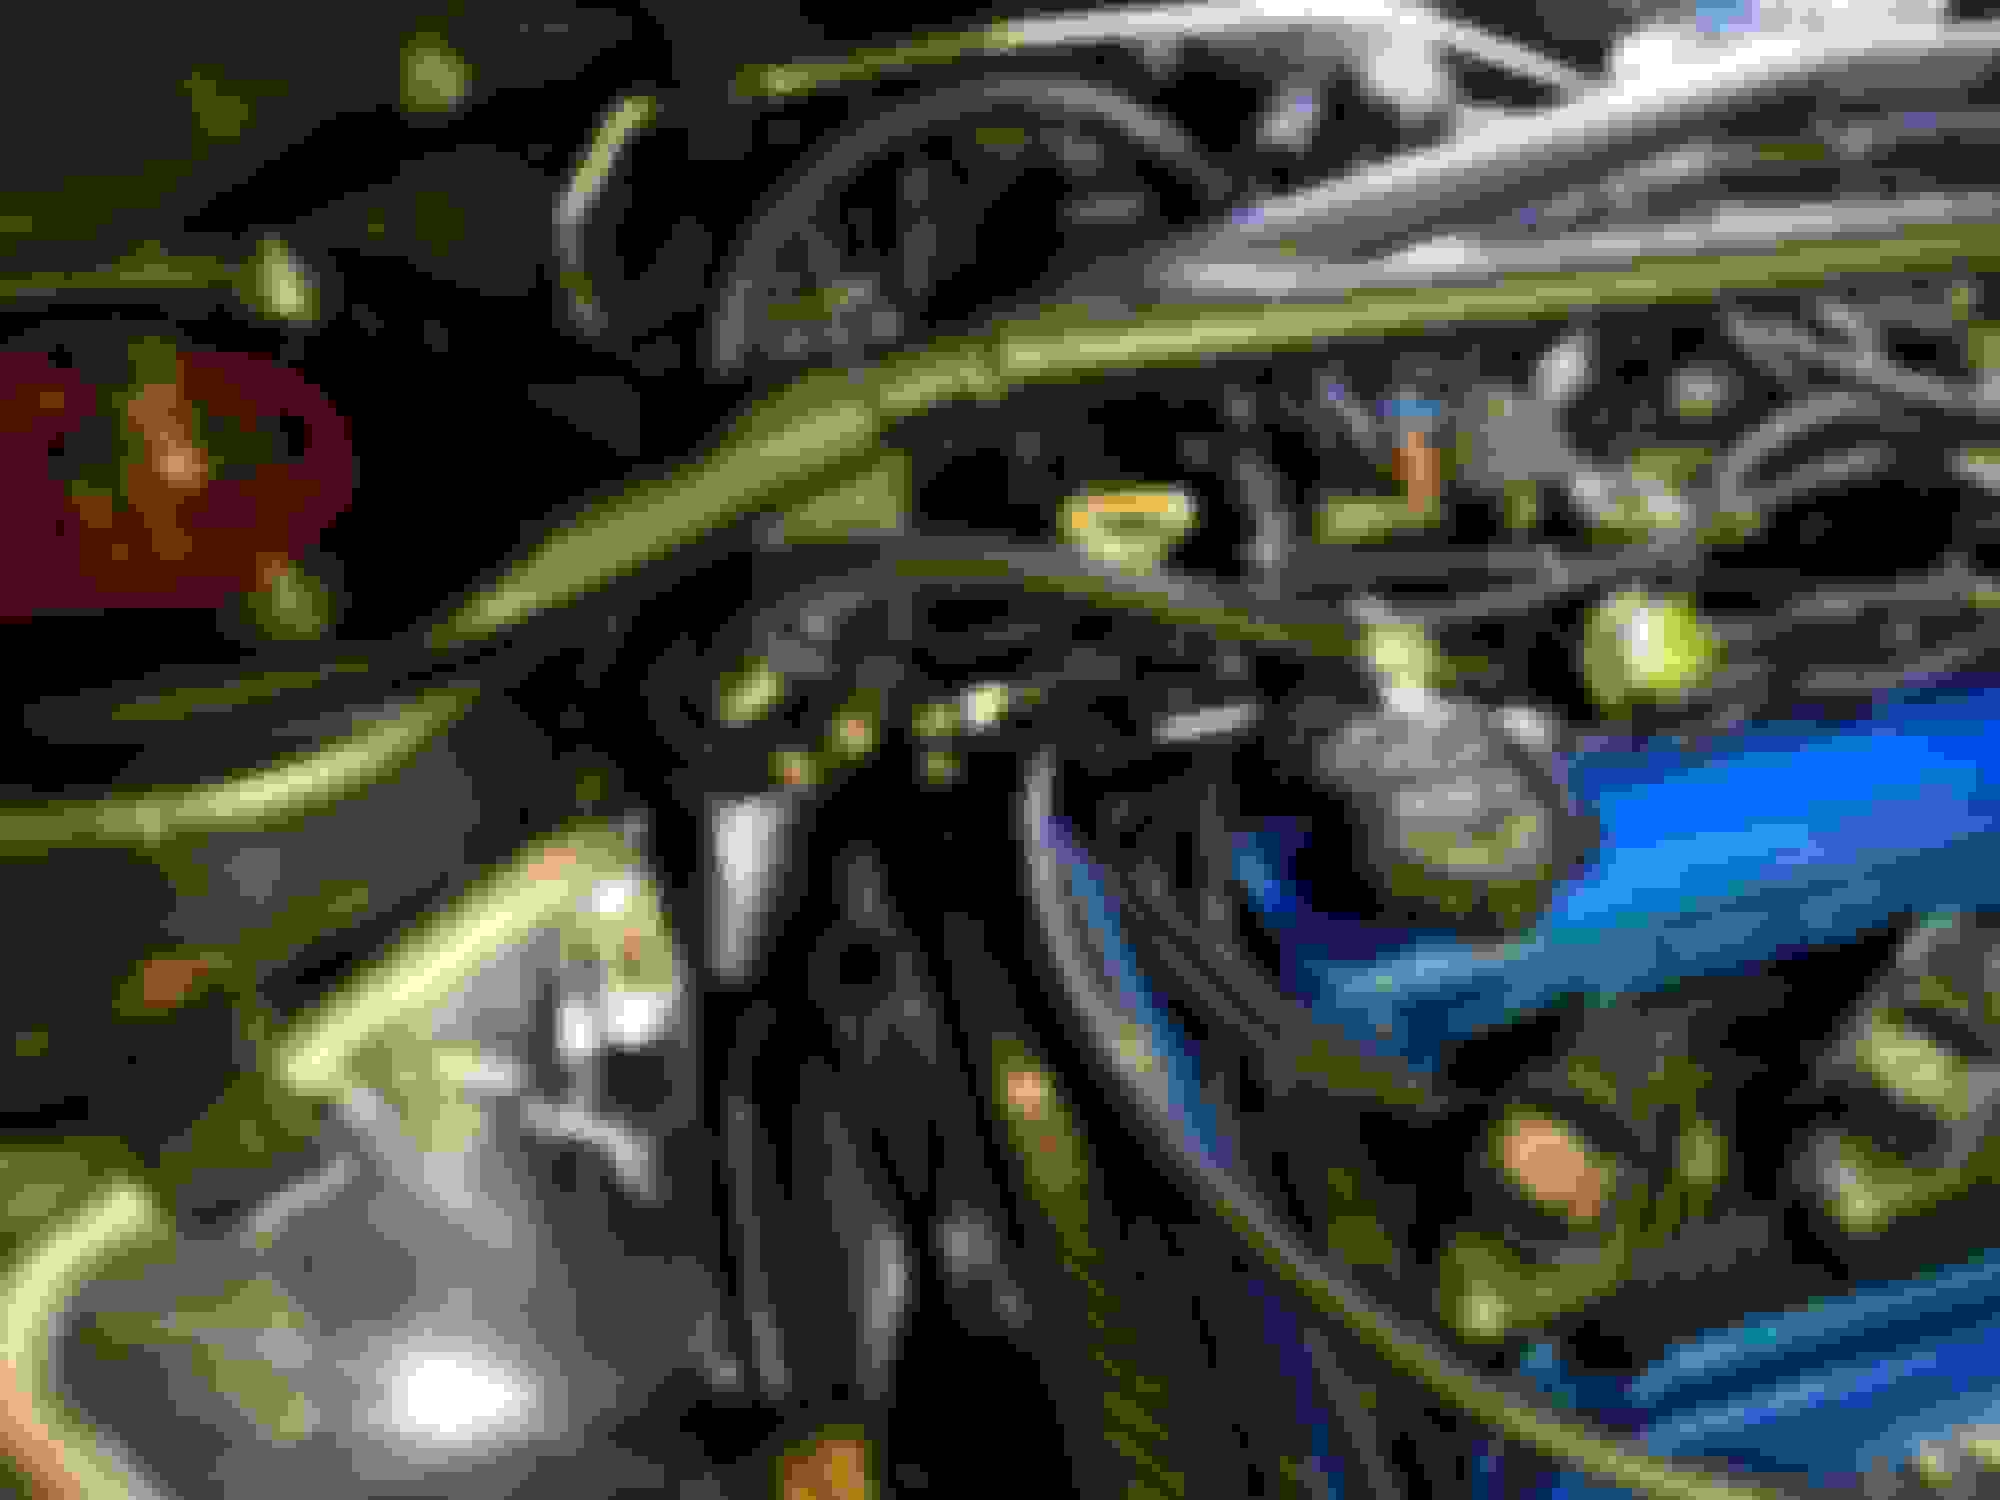
Sealed catch can with T-fitting, new oem pcv valve going to intake manifold to provide vacuum under no boost conditions. Shuts under boost.
Sorry for the really bad picture of the 1/2" Boomba check valve. This is the other end of the T, shuts when no boost is present, but opens for crank case ventilation under boost because the oem PCV valve shuts.
It started up without any issues. Oil pressure is great, fuel pressure looks good. After 30 miles I performed several 10 to 20 psi pulls to seat the rings with some decel. Will continue to update as the days go by, but it's looking, sounding, and smelling much better!
NICE! The Radium catch-can is a solid unit, love mine. Be prepared, people will ask you why you are running your valve cover vent open, I get that question all the time.
NICE! The Radium catch-can is a solid unit, love mine. Be prepared, people will ask you why you are running your valve cover vent open, I get that question all the time.
Thanks , yeah i'm going to have to be prepared for that. After following some of TSComp's builds I think it's a good idea. With this I can have a hybrid crank case ventilation system. The oil cap still gets pulled down and if you place your finger over the driver side valve cover fitting you feel vacuum too.
Oil changed tonight. I cut up the oil filter and found no metal or shavings of any sort which made me happy (I did manage to slice open my finger though lol). Switched from Amsoil break in SAE 30 to Valvoline VR1 20W50. I'm going to keep driving the car as if i'm breaking it in for 1,000 miles, then i'm going to change to VR1 Synthetic 10W30. I think 20w50 is too thick. It's the oil I have, not the oil I want.
I started to swap my buschur mustache bar back to the oem one with Energy suspension bushings. This is just to quiet things down a little bit as I want to daily the car again. The buschur mustache bar is still epic! Everything was going smooth until I went to slide the bar in. Turns out Energy suspension made the metal part of the bushings 0.060" too big! I'm going to bust out the angle grinder tomorrow since it's too late to be grinding metal at this time. I don't want to **** off the neighbors.
Your rod bearings have 20w50 clearance, and your mains have 10w30 clearance. I'd run 20w50.
You could have some real fun (prob not what you want to hear ) and drop the girdle in the car, and put ACL +.001" clearance shells in the girdle (leaving the standard clearance shells in the block). This will open your main clearance up about .0005" and everything will be happy with 20w50.
Maybe I missed it but if he still has the same clearances as when he tore it apart he's fine to run 20w50 (technically you could run it on factory clearances but your pressure would be pretty high). .0025" on the rods and .002" on the mains is totally normal, you almost always go looser on the rods than the mains.
OP if I wasn't broke I'd offer to take that mustache bar off your hands lol.
That's why the first part of my post say to run 20w50...
However, the main journal is larger than the rod, so the standard theory of .001" clearance per 1" of journal diameter dictates larger main clearance. Now, to go along with theory, you can run .0005" tight to run thinner oil, or .0005" loose and run thicker oil depending on the needs of the engine. So, the mains should really be .0022-.0023 following the "rule". Where they are is fine, that's factory spec and it falls within the .0005" tight range.
Eyes glanced over that second sentence, my bad.
You are right about rule of thumb and there are other small things to consider as well such as localized flex areas in the crank and more importantly the fact that rod bearings must deal with compressive, tensile and rotational forces, whereas the mains only have to deal with compressive and rotational forces. This means that the rod bearings will take a much harder beating so running them a bit looser than the mains despite being smaller is the norm. Also, mains tend to be thicker journals so they have a greater surface area to bear load so they can get away with a tighter clearance.
I'm sure you're well familiar with most of that, I'm mostly saying it to help answer questions someone may have as to why it is this way.
Very good info here guys! Thanks to your contributions, I feel like this has become one of the more technical threads on evom.
The car is doing fantastic so far. Last night I freaked out because I was locked out of 1st and 2nd. It felt linkage related..and so it was. My plastic shift selector shoe came loose on top of the trans when I installed it back into the car. Initial signs were poping out of second during decel, then total stupidity. After unbolting 2 12mm bolts and placing back, everything is perfect again.
They sell an aftermarket one that looks tighter, but it don't know if that would fall within Mitsu requirements for the available selector play, if there is any.
 Nov 17, 2017, 02:11 PM


 , I should have it running by tomorrow night if no surprises pop up.