Evo IX GT Wagon. a JDM car in Australia


 Nov 10, 2017, 10:19 PM
#137
Evolving Member
Thread Starter
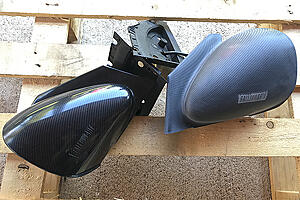
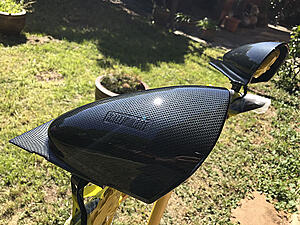
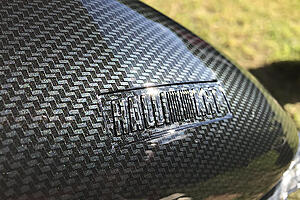
Ralliart "Shrek Ears"
Part No. RAY67001CM
I've had these Ralliart mirrors for ages and have been undecided if I like them or not but as the exterior of the car is being modified lately with more carbon aero parts (and more to come soon) I decided to refurbish them and put them on.
I've seen Ralliart mirrors badly effected by the sun's UV rays so before I installed them I wanted to add some UV protection.
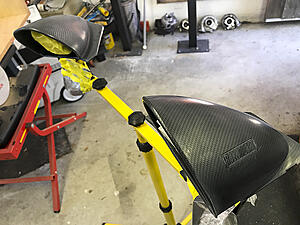
I scuffed up the original gloss with grey scotchbrite so the new paint would stick better.
Gave them a good clean with Metho (as a cleaner/Anti static) and blew them clean with air gun.

I popped the actual mirrors out of the housing and masked up the internals.

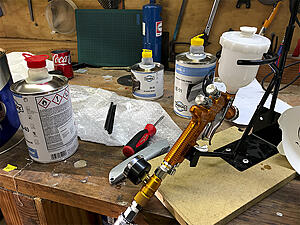
I modified an old work light stand to be my painting tripod stand.
Mixed up a bit of Baslac 2K clear
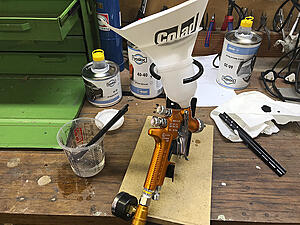
One final blast of air to remove dust whilst wiping down with a tack rag. I gave them 2 medium wet coats at about 36psi. i got a good finish straight out of the gun, no orange peel.
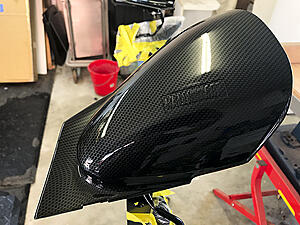
I let them sit for 2 hours in my shed then put them under the sun.
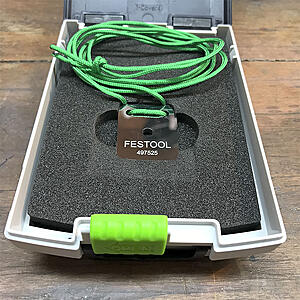
I noticed a couple of specs of dust so after a week or so I knock them off with a Festool tungsten block and polished up the scar with some Juice "Super C" compound.
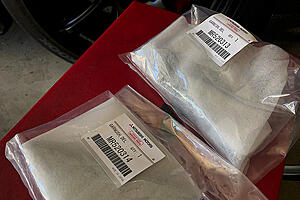
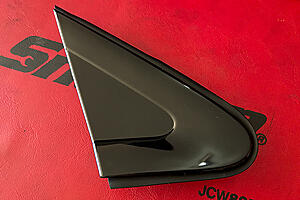
My J-Panels in front of the OEM mirrors are quite new but it didn't take long for them to look a bit dull. I bought some brand new Evo 7 J-Panels as I had noticed they were gloss black compared to the flat black on the Evo IX. They should stay fresh for longer and being glossy they might match the new Ralliart mirrors better. The old setup:

New J-Panels.
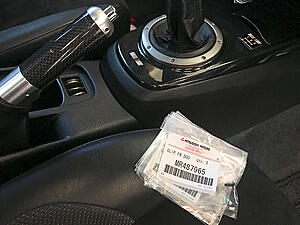
Part No. MR520314
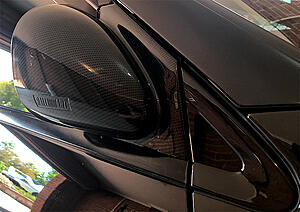
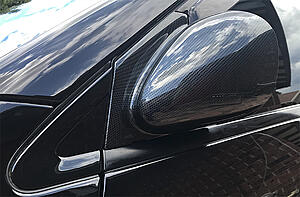
I installed the Ralliart door mirrors, new glossy J-Panels and replaced 2 push-in clips on each door that attaches the door's rubber seal to the door mirror housing.
The final photos don't do them justice but they look pretty great in the flesh.
DIY FTW!
Part No. RAY67001CM
I've had these Ralliart mirrors for ages and have been undecided if I like them or not but as the exterior of the car is being modified lately with more carbon aero parts (and more to come soon) I decided to refurbish them and put them on.
I've seen Ralliart mirrors badly effected by the sun's UV rays so before I installed them I wanted to add some UV protection.
I scuffed up the original gloss with grey scotchbrite so the new paint would stick better.

Gave them a good clean with Metho (as a cleaner/Anti static) and blew them clean with air gun.

I popped the actual mirrors out of the housing and masked up the internals.

I modified an old work light stand to be my painting tripod stand.

Mixed up a bit of Baslac 2K clear

One final blast of air to remove dust whilst wiping down with a tack rag. I gave them 2 medium wet coats at about 36psi. i got a good finish straight out of the gun, no orange peel.

I let them sit for 2 hours in my shed then put them under the sun.


I noticed a couple of specs of dust so after a week or so I knock them off with a Festool tungsten block and polished up the scar with some Juice "Super C" compound.
My J-Panels in front of the OEM mirrors are quite new but it didn't take long for them to look a bit dull. I bought some brand new Evo 7 J-Panels as I had noticed they were gloss black compared to the flat black on the Evo IX. They should stay fresh for longer and being glossy they might match the new Ralliart mirrors better. The old setup:

New J-Panels.
Part No. MR520314


I installed the Ralliart door mirrors, new glossy J-Panels and replaced 2 push-in clips on each door that attaches the door's rubber seal to the door mirror housing.

The final photos don't do them justice but they look pretty great in the flesh.


DIY FTW!
Nov 22, 2017, 03:25 PM
#138
Evolving Member
Thread Starter
This next mod has been a real test of my patience and dedication. I hope by venting this frustration I can recover and move on... haha
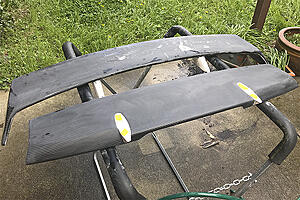
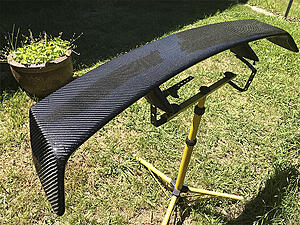
Ralliart Rear Wing
Part number: RA630813P1
It was early May this year when I ordered a Ralliart wing from JapanParts. A few days later I receive an email saying the wing needs to be made for me so it will take 1 month extra before it ships. Great, glad I paid extra for fast shipping.
It finally gets to Sydney where Customs decide to hold it as it was worth just over $1000 inc shipping from Japan. So a further 3 weeks delay and all the associated Customs Fees, taxes, broker fees etc FML. again, glad I paid extra for fast shipping.
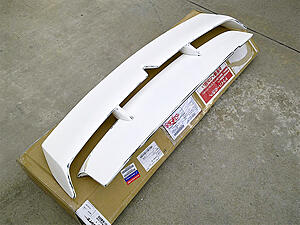
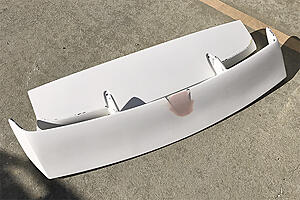
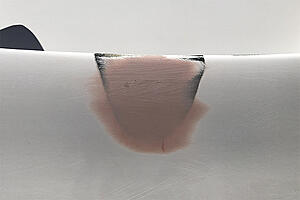
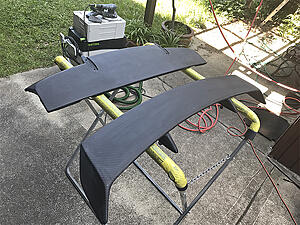
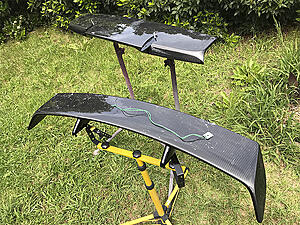
It arrives finally but has some damage. Damn it! Also see the V cutout in the top wing, that is there for OEM long aerial clearance. I don't like it.
I ask my mate, who makes most of the carbon fibre parts for our WTAC car, to cover it in carbon and match the weave of my rear diffuser. I suggested he firstly apply black epoxy to the whole wing so no white gel coat shows thru the carbon weave, or on the risers or the wing edges.
I also asked him to fill the "V cutout" and repair the shipping damage before laying the carbon
Then he got too busy making Carbon Kevlar parts for Neal Bates, so my job was on hold for about 2 months.
Ralliart Rear Wing
Part number: RA630813P1
It was early May this year when I ordered a Ralliart wing from JapanParts. A few days later I receive an email saying the wing needs to be made for me so it will take 1 month extra before it ships. Great, glad I paid extra for fast shipping.
It finally gets to Sydney where Customs decide to hold it as it was worth just over $1000 inc shipping from Japan. So a further 3 weeks delay and all the associated Customs Fees, taxes, broker fees etc FML. again, glad I paid extra for fast shipping.
It arrives finally but has some damage. Damn it! Also see the V cutout in the top wing, that is there for OEM long aerial clearance. I don't like it.

I ask my mate, who makes most of the carbon fibre parts for our WTAC car, to cover it in carbon and match the weave of my rear diffuser. I suggested he firstly apply black epoxy to the whole wing so no white gel coat shows thru the carbon weave, or on the risers or the wing edges.
I also asked him to fill the "V cutout" and repair the shipping damage before laying the carbon


Then he got too busy making Carbon Kevlar parts for Neal Bates, so my job was on hold for about 2 months.
Nov 22, 2017, 03:25 PM
#139
Evolving Member
Thread Starter
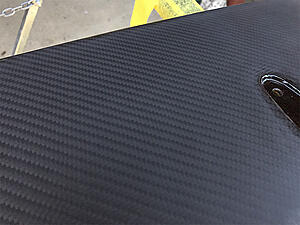
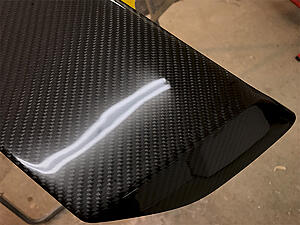
I finally get it home and try to figure out how to actually make it look nice cause its pretty rough now.
First I wet sand it down flat with 600 on a block
Next I mixed black tint with polyester flow coat resin and hand paint it on all the edges that need to be rounded smooth and to cover the original white gel-coat.
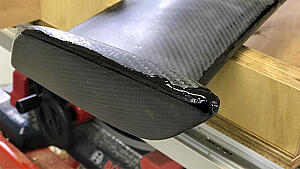
Then I wet sanded it down again to make the wing edges round and smooth. But more white gel coated showed through.
So I used a two layer "soft edge" masking techniques to cover the carbon fibre areas, applied some Transtar black primer, removed 1 layer of masking tape, mixed up some base coat
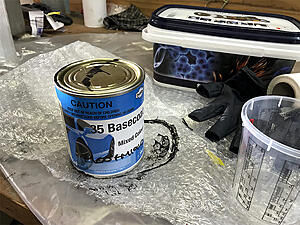
After spraying the base coat on edges and risers I tore off the remaining masking tape and 2K clear the whole job.
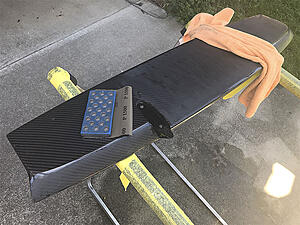
A lot of tiny pin holes came up thru the clear so I dry sanded it flat with p800 grit DA Sander
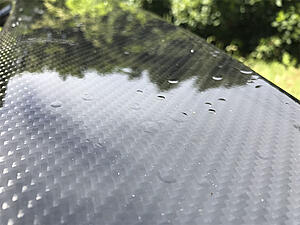
I sprayed a single coat of the clear and then by hand with a piece of wire dabbed extra 2k clear into each pin hole, then I sprayed another coat of clear.
My pin holes were now raised lumps that looked like rain drops.
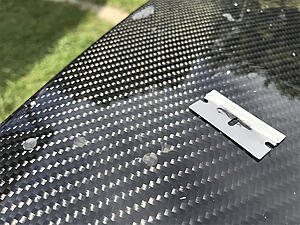
But I have two techniques to fix this by using either a re-honed razor blade or my Festool tungsten block.
Followed by another P800 dry sand on the DA Sander
And another 2 coats of clear. And a few more pin hole fixes.
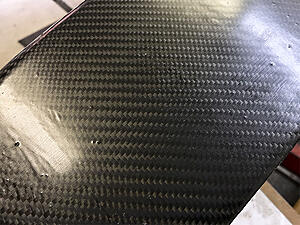
I want the finish to be super flat and give the carbon some depth.


First I wet sand it down flat with 600 on a block

Next I mixed black tint with polyester flow coat resin and hand paint it on all the edges that need to be rounded smooth and to cover the original white gel-coat.

Then I wet sanded it down again to make the wing edges round and smooth. But more white gel coated showed through.
So I used a two layer "soft edge" masking techniques to cover the carbon fibre areas, applied some Transtar black primer, removed 1 layer of masking tape, mixed up some base coat


After spraying the base coat on edges and risers I tore off the remaining masking tape and 2K clear the whole job.

A lot of tiny pin holes came up thru the clear so I dry sanded it flat with p800 grit DA Sander

I sprayed a single coat of the clear and then by hand with a piece of wire dabbed extra 2k clear into each pin hole, then I sprayed another coat of clear.
My pin holes were now raised lumps that looked like rain drops.

But I have two techniques to fix this by using either a re-honed razor blade or my Festool tungsten block.


Followed by another P800 dry sand on the DA Sander
And another 2 coats of clear. And a few more pin hole fixes.
I want the finish to be super flat and give the carbon some depth.
 Nov 22, 2017, 03:26 PM
#140
Evolving Member
Thread Starter
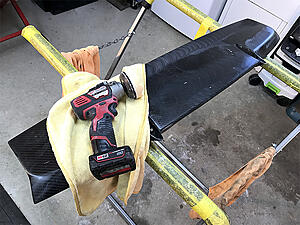
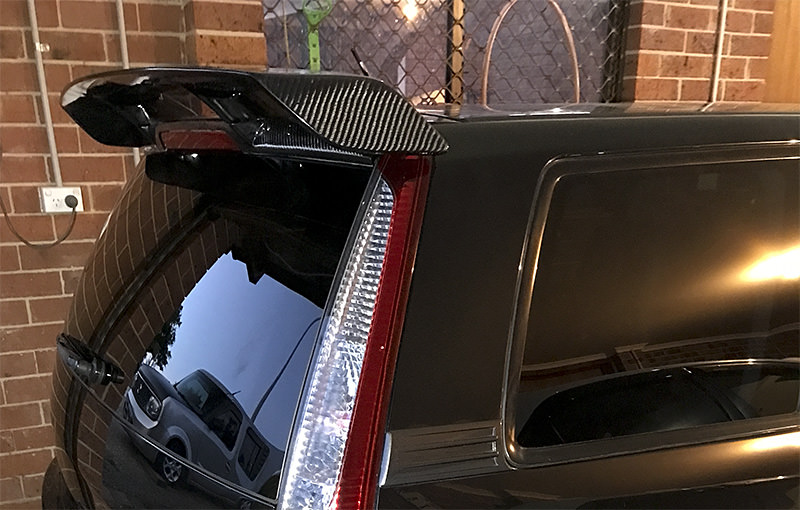
After a week of waiting patiently for it to thoroughly dry I used the Tungsten on the pin hole lumps and then P1500 wet and dry on a hard block, followed by p2000, P2500 and P3000.
checking for sanding scratches…
I choose JUICE Super C and a range of 75mm polishing pads
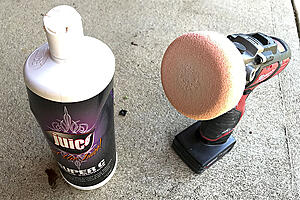
Followed by a soft "waffle" 75mm polishing pad with JUICE Swirl remover which does not container fillers.
And the final test of my sanity was understanding the Japanese language installation instructions.
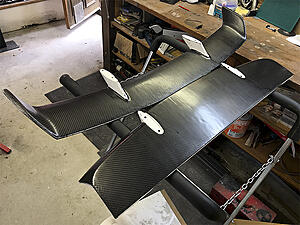
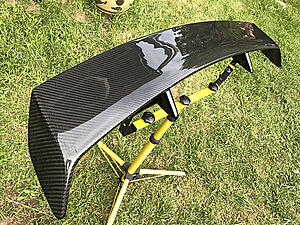
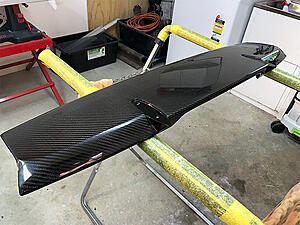
so 6.5 months after ordering the wing it is finally modified and installed. It matches the other external carbon fibre parts really well


checking for sanding scratches…

I choose JUICE Super C and a range of 75mm polishing pads


Followed by a soft "waffle" 75mm polishing pad with JUICE Swirl remover which does not container fillers.


And the final test of my sanity was understanding the Japanese language installation instructions.
so 6.5 months after ordering the wing it is finally modified and installed. It matches the other external carbon fibre parts really well
The following users liked this post:
uzumaki (Nov 28, 2017)

The following users liked this post:
uzumaki (Nov 28, 2017)


 Jan 5, 2018, 07:01 PM
#145
Evolving Member
Thread Starter
Thanks guys.
Maybe I have been spending too much time in LightRoom and Photoshop because my exported for Web photos now look terribly blurry. Or maybe as its a cropped JPEG instead of Raw photo???
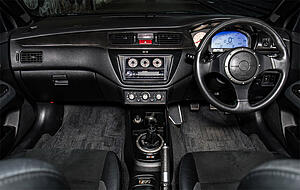
Anyway here is a recent interior shot:
Interior shot by Will from "Dank Photography" Canon 5D MarkIV.
Maybe I have been spending too much time in LightRoom and Photoshop because my exported for Web photos now look terribly blurry. Or maybe as its a cropped JPEG instead of Raw photo???
Anyway here is a recent interior shot:
Interior shot by Will from "Dank Photography" Canon 5D MarkIV.

The following users liked this post:
Kevin Troy (Jan 7, 2018)

The following users liked this post:
uzumaki (Jan 7, 2018)

The following users liked this post:
uzumaki (Nov 16, 2018)

Thread
Thread Starter
Forum
Replies
Last Post
apoopoo999
Project Cars / Build Threads
147
Jan 1, 2023 02:08 PM
FrenchyEvo
EvoM New Member / FAQs / EvoM Rules
10
Sep 18, 2017 03:50 PM
Nakameguro
Evo General
5
Dec 16, 2013 05:16 AM

