When you click on links to various merchants on this site and make a purchase, this can result in this site earning a commission. Affiliate programs and affiliations include, but are not limited to, the eBay Partner Network.
I've had a couple of Evos over the years and have worked on them for over 10. A few years ago I was searching for a small truck that could haul bikes/motorcycles but I just finished college and money was pretty much non-existent. I was looking for a Nissan Hardbody when my friend sent me a link to a 1989 Mighty Max. I called on it and it was sold, but since I happened to have a non-running Evo shell at the time, I couldn't get the idea of finding a mighty max and keeping the Mitsubishi theme out of my head. Two days later, I found a 91 with 130k miles on it, recently painted, and fresh tires, for $2k.
So the truck was super clean, painted really well, and was honestly probably one of the cleanest mighty max trucks left. The idea of throwing in a stock 6 bolt popped into my head instantly, but of course, money was tight and my Evo shell was really my main concern.
I satisfied the need for change a little bit at a time with small stuff
Evo 8 Seats/Center Console/Lancer Armrest/Little sound system:
So I drove the little POS for a while like this until the timing belt finally went. Thankfully the highly coveted 4g64 is non-interference so it was only a couple hours worth of work to get it rolling again. While I was in there I drilled out some of the unnecessary stuff and moved the battery to the bed:
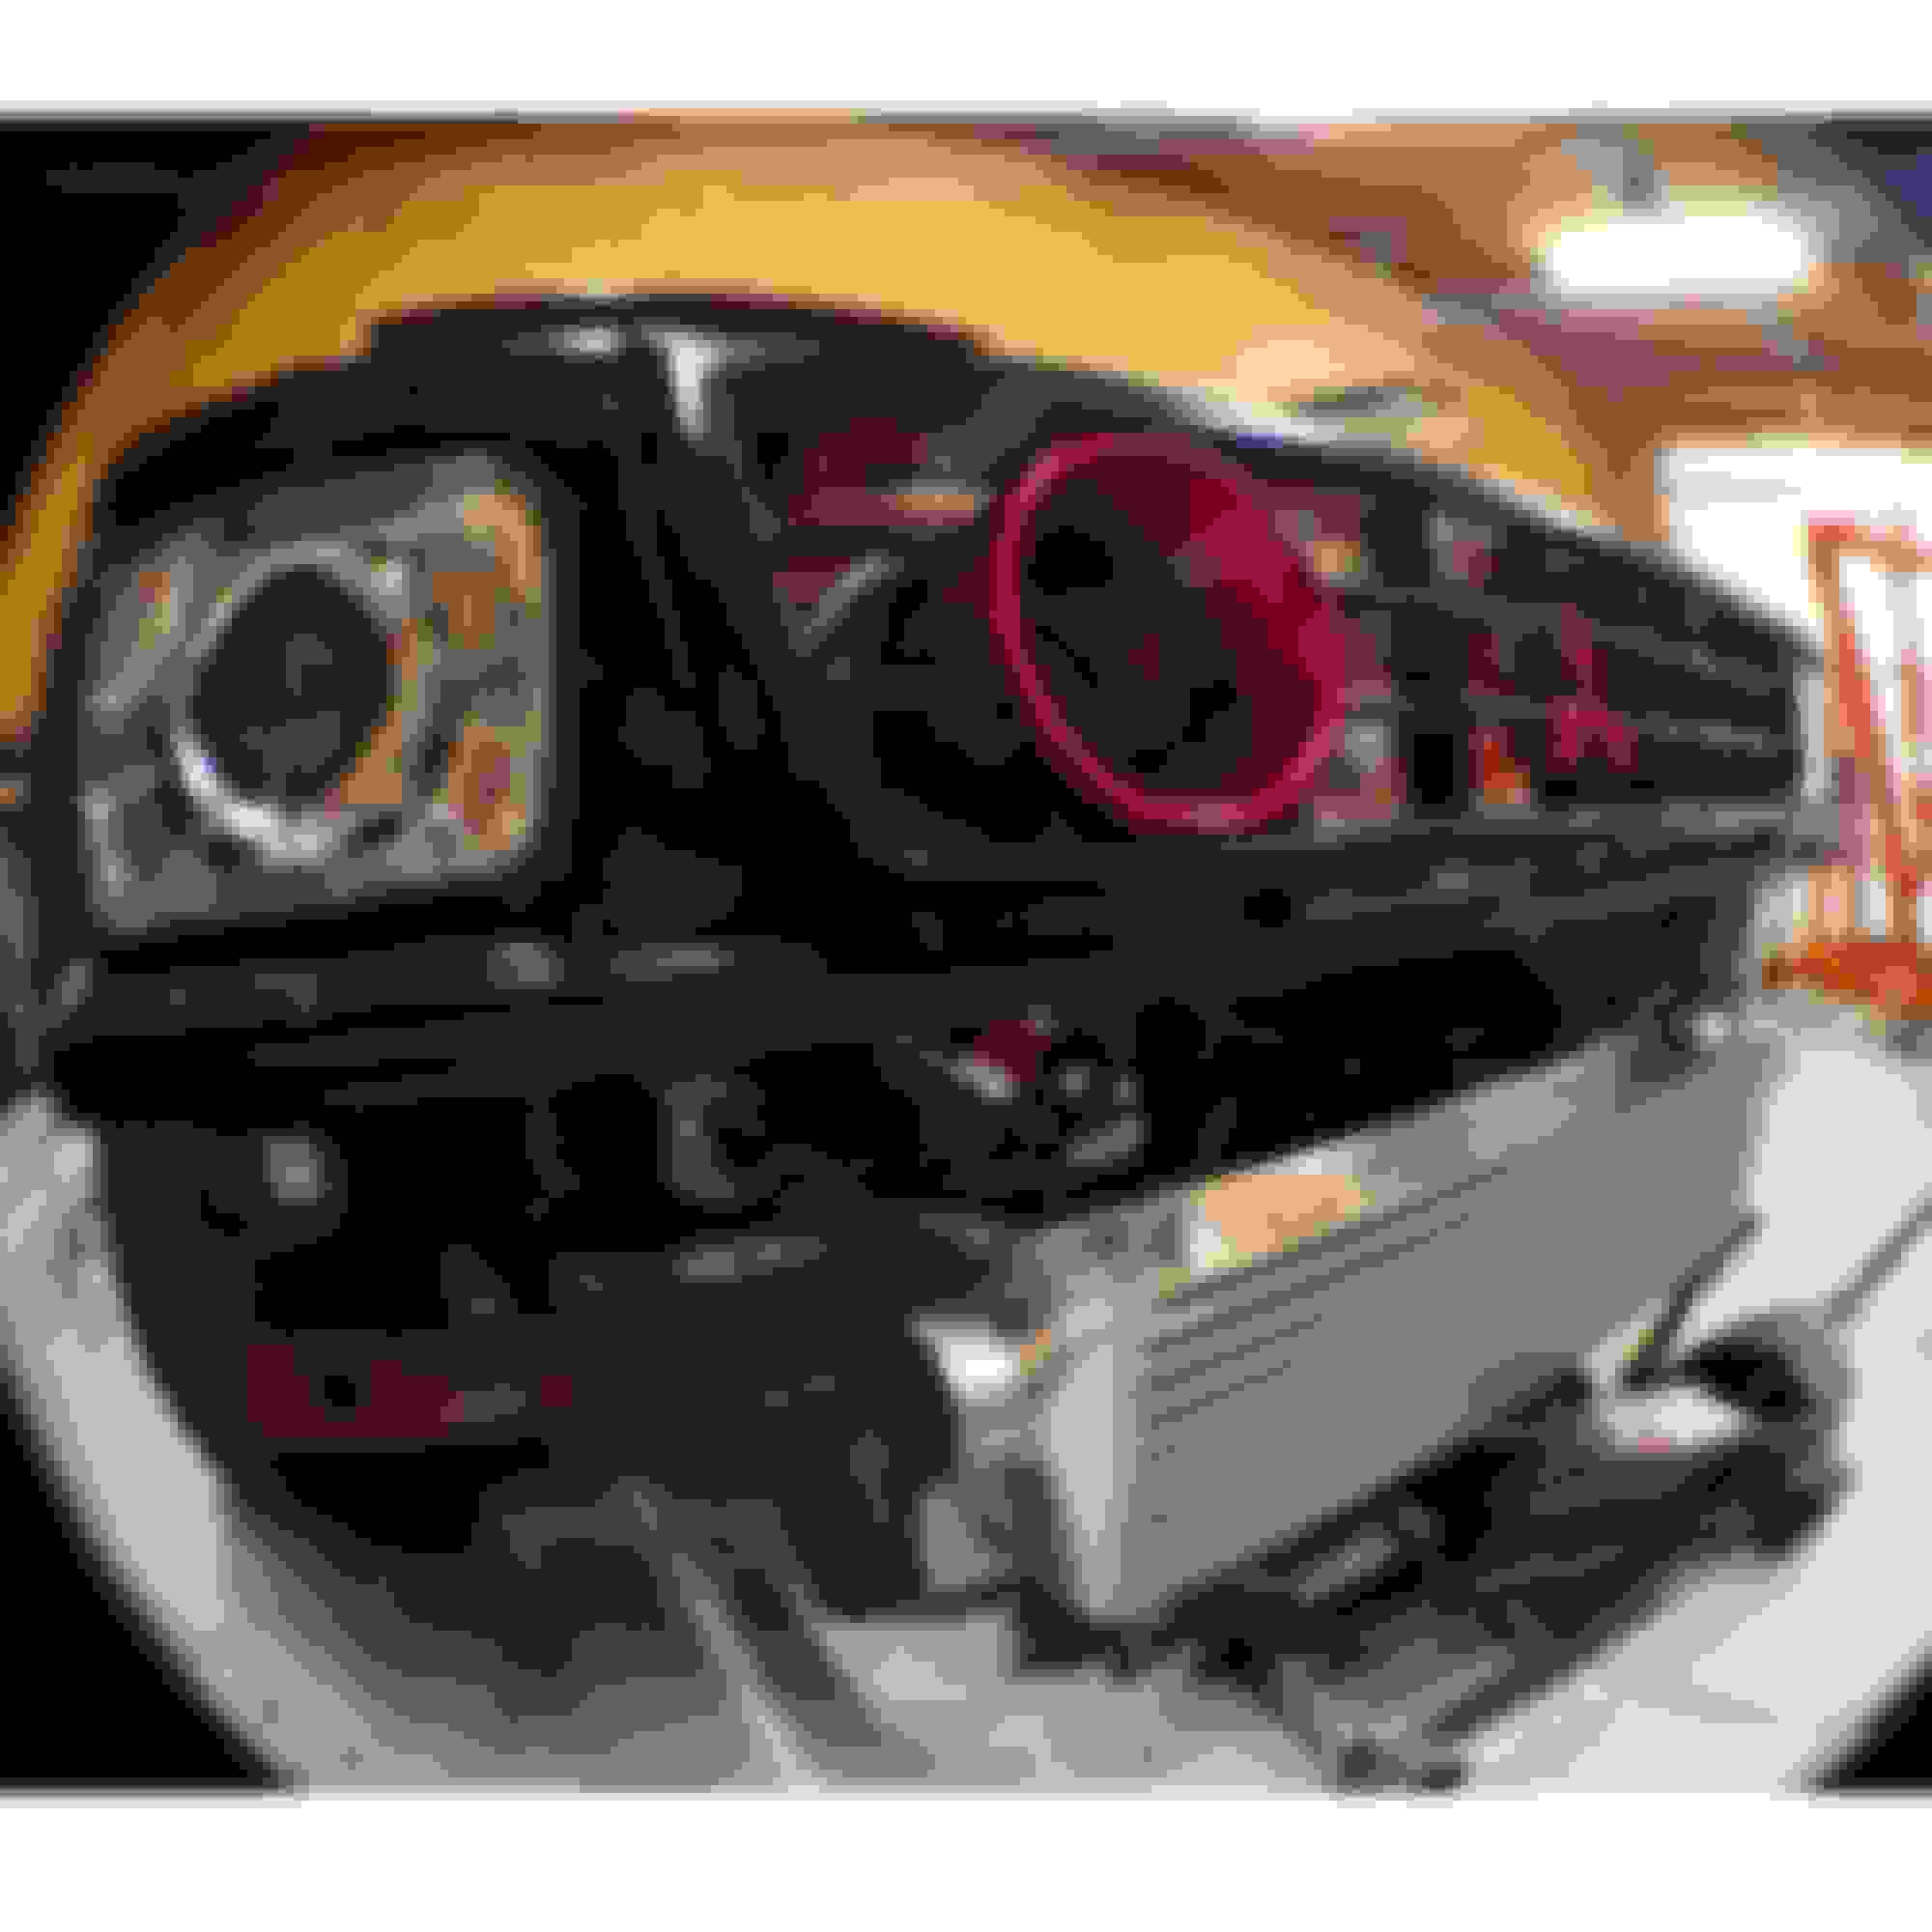
As with anything from the early 90s, the headlight output was garbage. Grabbed some pilot housings and my friend Spencer retrofitted them with some modded Bi-Xenon RX330 projectors. Output was greatly improved:
Of course next I lowered it and proceeded to enjoy the amazing ride quality that comes with blocks and lowering brings on stock struts:
So after the timing belt was done I was able to drive it for a bit, then after a trip down to Florida and back, the motor was consuming an insane amount of oil. After putting in three quarts in the last 500 miles of driving it, one of the rods finally decided to leave the block. At this point, I was debating on throwing in another stock motor or finding a 6 bolt 4g63 and trying to make it that happen.
Of course the 4g63 plan prevailed, so I sold the Evo shell and found a built 2 liter 6 bolt short block in the same week. I also found a km132 transmission which cam in the earlier 2 liter trucks. This trans bolts up to the 4g63 (narrow block) and allows you to use the factory trans/engine mounts. My friend gave me a spare head/block to use for mock up, so I tossed it in to help motivate me. Found a freshly rebuilt holset hx35 so snagged that up too.
I then cleaned my garage and got ready to get things started.
Last edited by alex_s817; Dec 11, 2017 at 01:53 PM.
I�m anxious to see your next move. Will it get the Evo 4G63T motor? What about the drive train (transmission, tcase, rear diff) ?
Running a 1g 6 bolt bottom end with a 2g head (for better CAS clearance with the firewall). Trans will be an R154 and the rear axle a built/narrowed ford 8.8 with LSD and 3.73 gear.
So since the stock km132 trans would have likely lasted 1 dyno pull, I decided to upgrade things earlier than later and sold the trans for $200 to a local guy. In replacement, I snagged a 5spd Aisin AR5 out of a Chevy Colorado. For those who aren't familiar with this trans, it's essentially a newer. better Toyota R154. It has triple cone syncros, shorter gears, a longer 5th gear. and doesnt feel notchy like an R154. These trannies came in Hummer h2s, Colorados, solstices, and Pontiac skys. The main difference is the tail housing length and gear ratios. The length of the colorado trans had me almost the same as OEM and the gearing is acceptable (I think). I located a Bill's r154 to 4g63 bellhousing adapter, snagged the trans off of craigslist, and the rest is history. Now to mate these two up, I had to order a fwd turbo eclipse flywheel + starter, and the clutch disk is eclipse diameter but with a 26 spline GM center. Pilot bearing made to order from mcmaster carr to fit the 4g crank but also the GM output shaft.
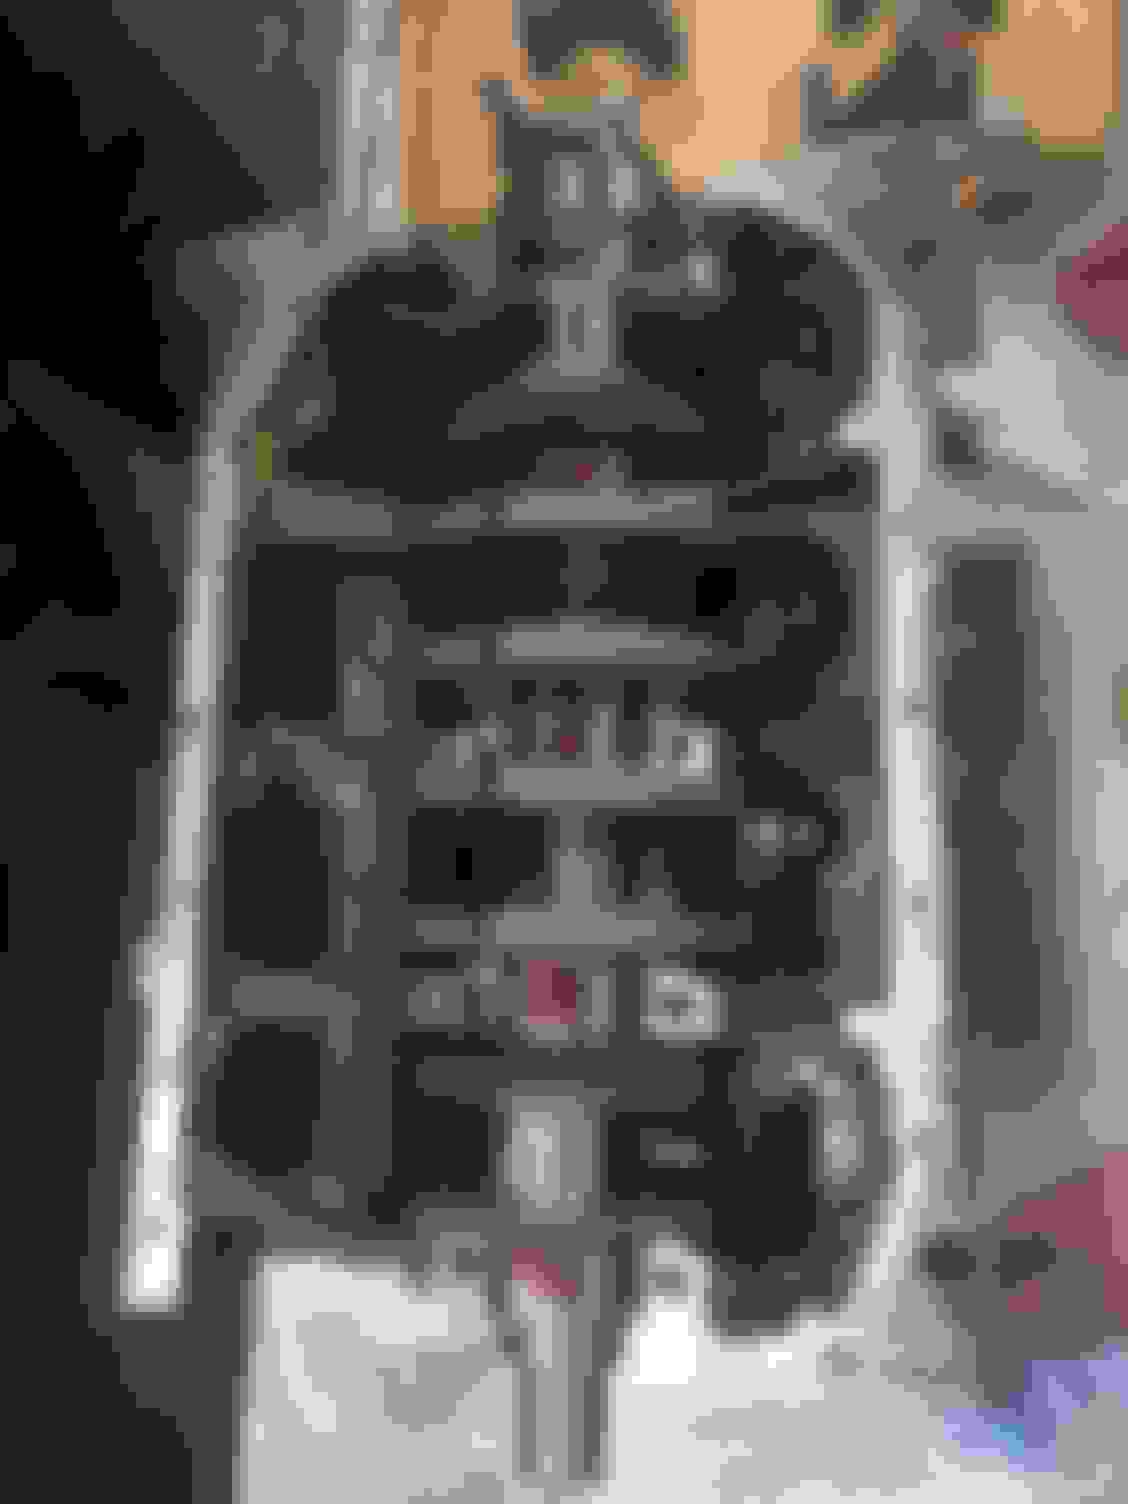
So the block I snagged was a 6 bolt with brand new JE pistons and Crower rods. The entire shortblock was already assembled, but had never been started. I decided to pull it apart and check everything. The rings had NEVER been gapped, so I'm glad I took the time to look into this haha
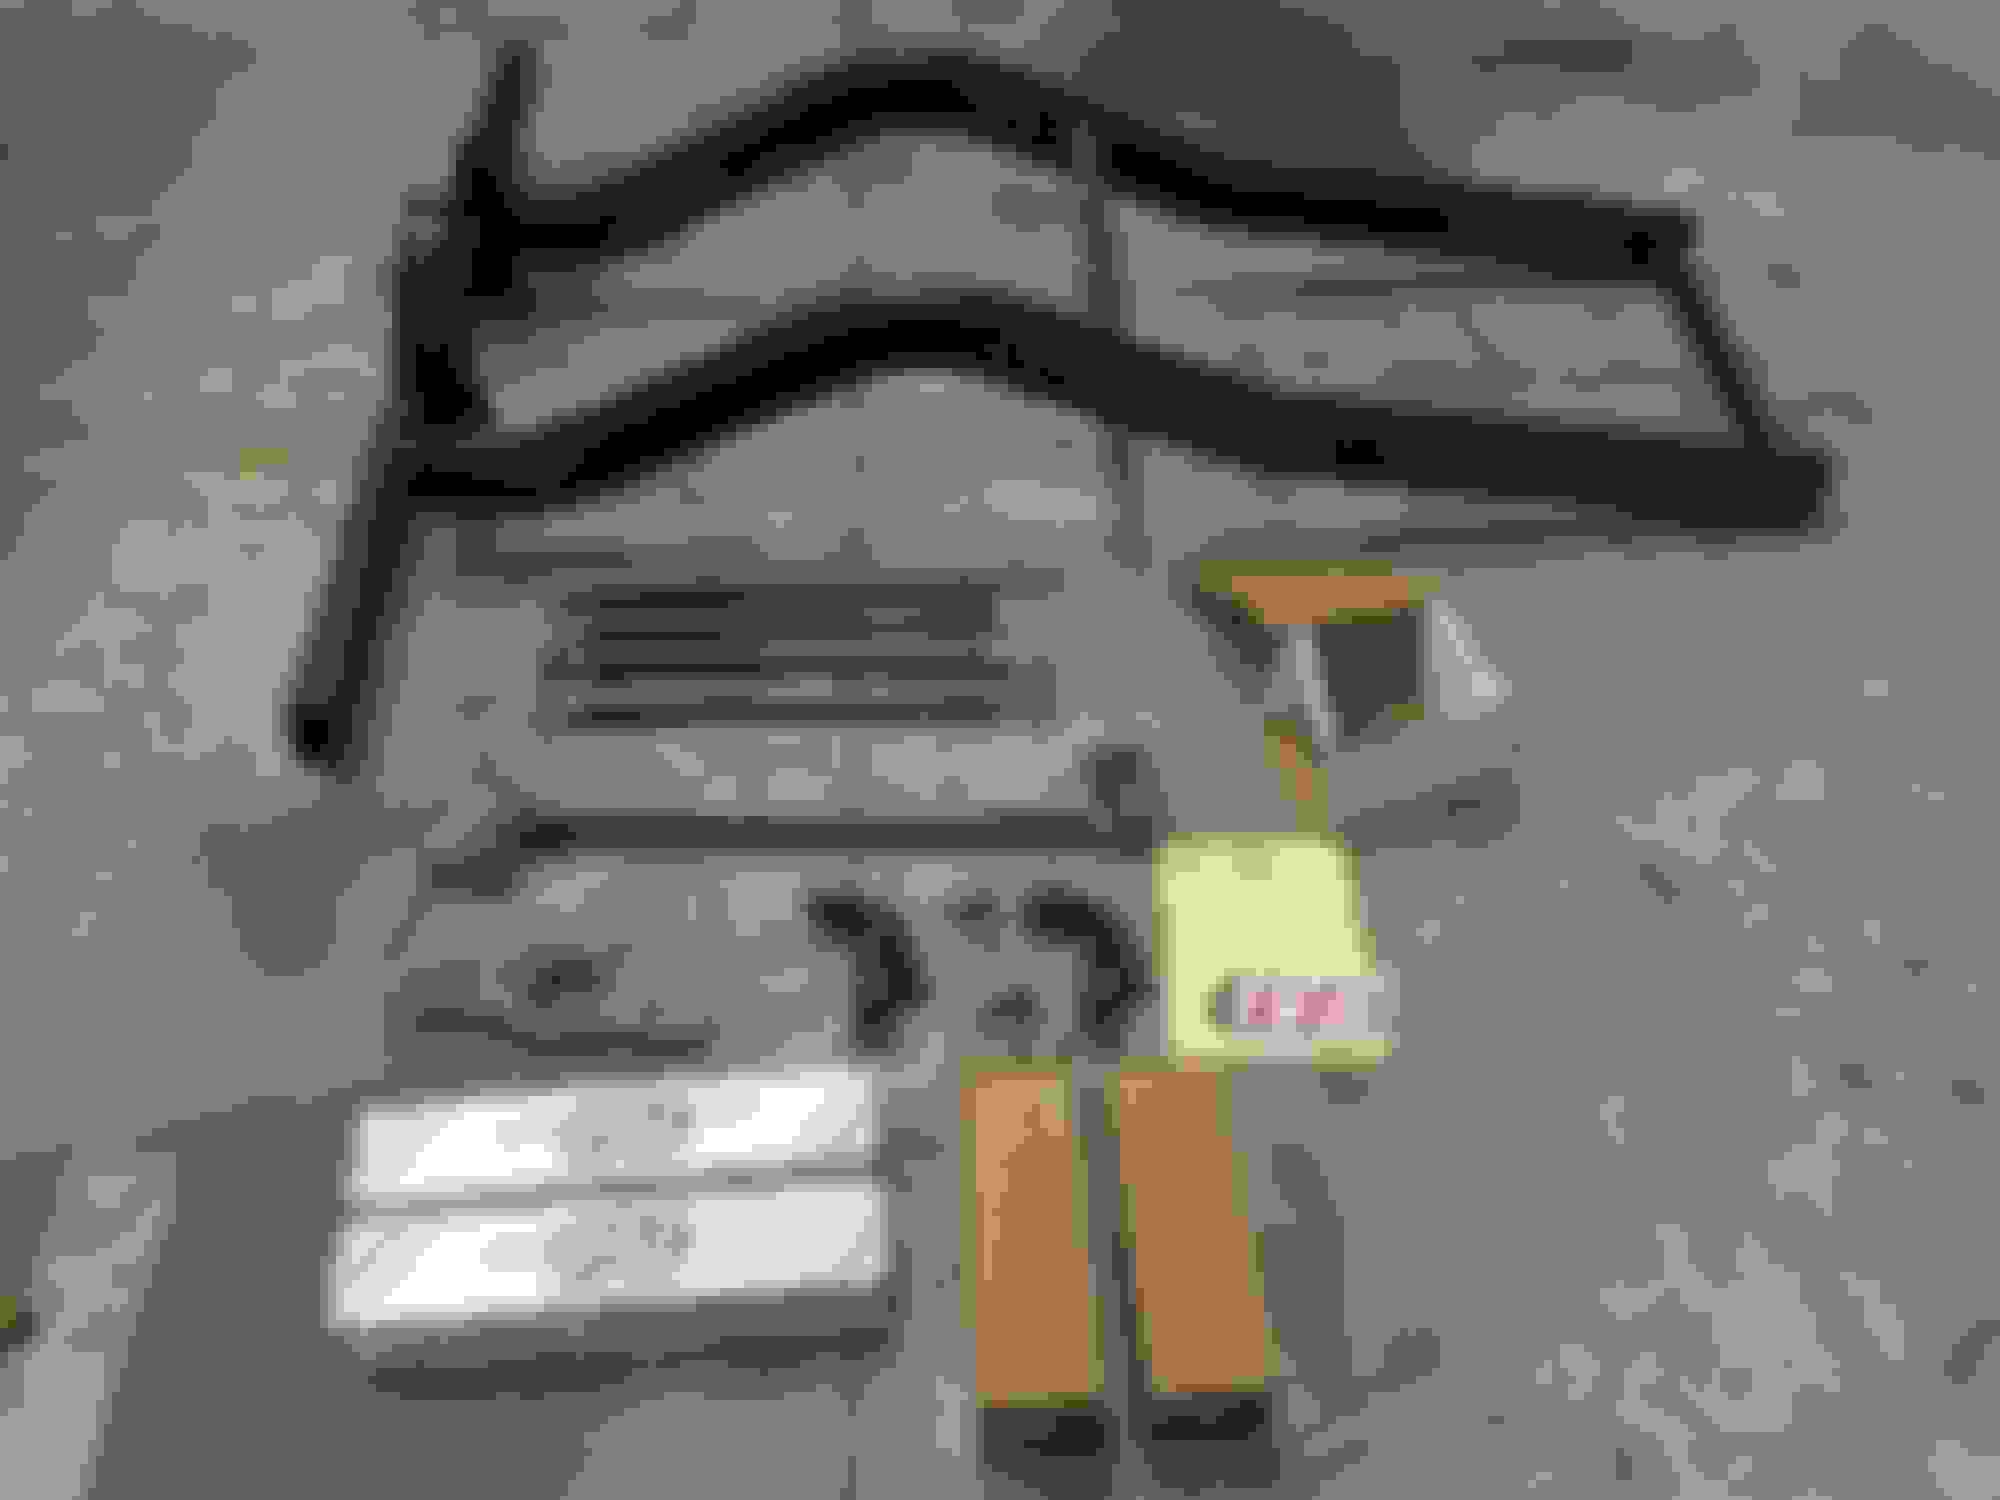
Things were escalating quickly, and despite not having a head for the block, I decided to clean up the rear frame, change the suspension, and swap in a Ford 8.8" rear end. I was able to find a 3.73 geared rear axle with factory LSD. A lot of Mighty Max guys use this axle and because the center is offset from ford, they cut down the long side/reweld it, and use two OEM passenger axles. This is by far one of the cheapest ways to have a pretty solid rear end, especially considering the 4g isnt going to be making nearly as much torque as most guys with lsx swaps. I dropped the axle at a local shop to have it shortened and to have new leaf spring perches welded on. I prefer to do as much of the fab work as I can, however building an axle fixture just to keep this thing straight seemed like a real waste of time. They shortened it, installed the perches, cleaned and painted it, and added new axle seals for $350. I cleaned up the fuel cell and frame, painted everything, and added some lowering leaves + new struts all around.
Not knowing exactly how the bay would end up, I decided to do a remote ac condenser early on. This has become increasingly popular and I wanted to give it a shot.
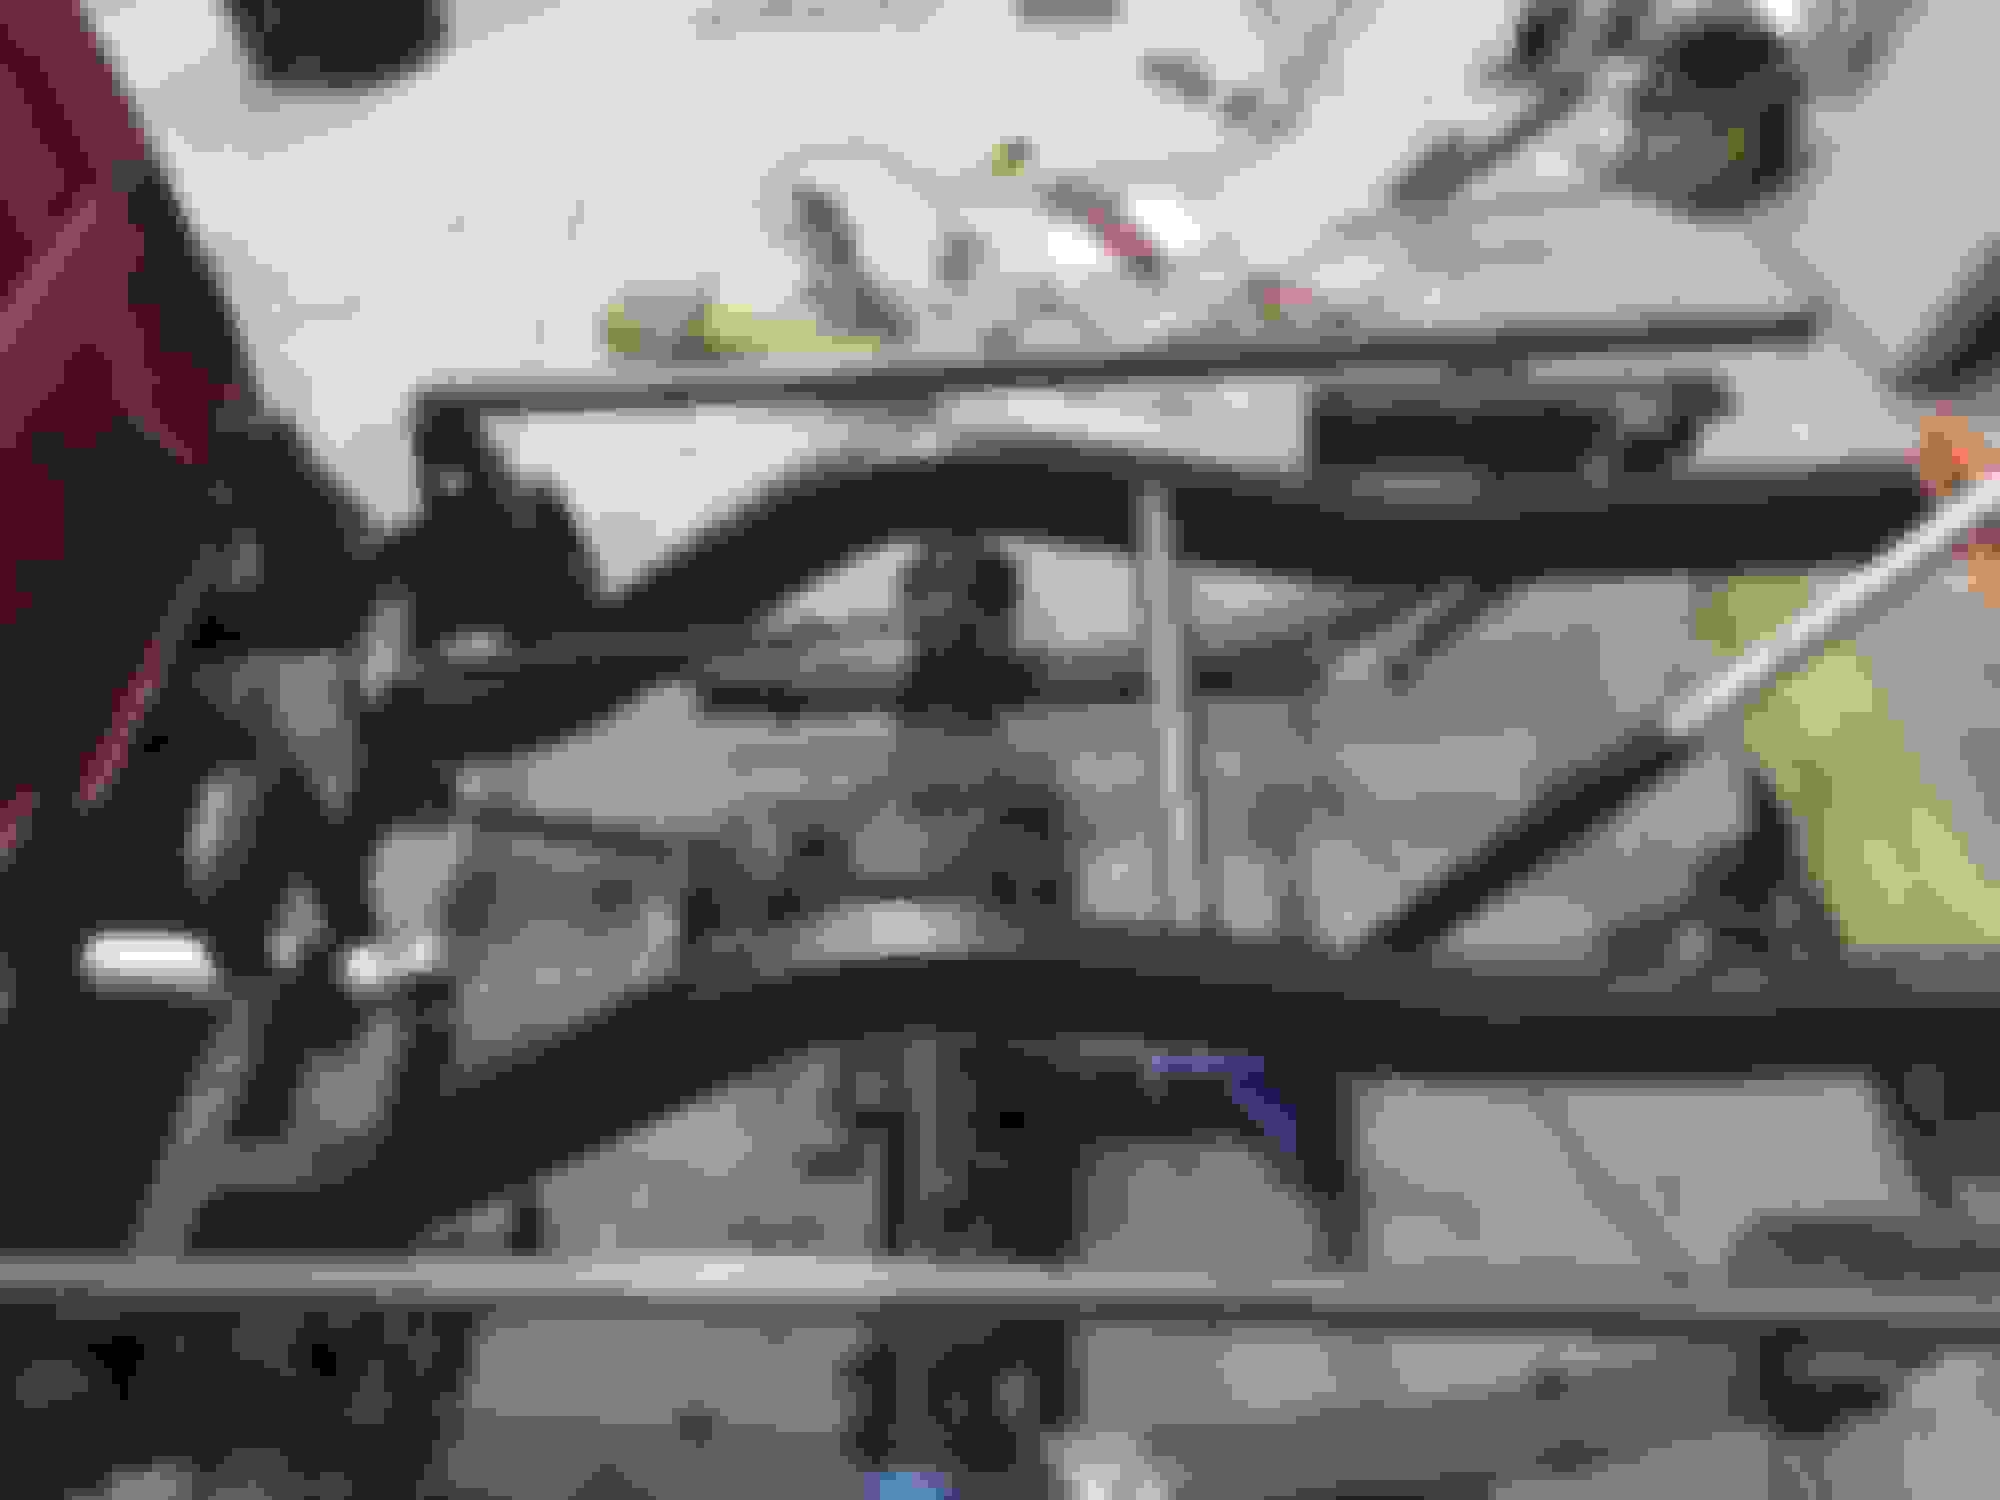
Since I had the rear frame sorted, I moved to the engine bay. Anxious to get it looking like something under the hood again, I ordered a JM Fab rwd street intake mani and s90 throttle body. Really pumped on these manifolds and the majority of people with these swaps modify the stockers to work, which looks like total **** IMO. I'd been toying with the idea of mounting the turbo in a forward facing configuration since day 1, so I mocked things up solely based on where the inlet would fit well in the grill. Setup an ebay intercooler on a jack and proceeded to snap 1 million photos.
I love tucked/shaved bays so the idea was to do things as clean as possible right from the start. With the ac condenser mounted in the rear and the truck having manual steering, I'd be able to keep things super clean without giving up much. I started welding all of the holes on the firewall shut. At this time, I only had a flux core 110v mig welder, and quickly started to hate it as I was blasting through every piece of metal in my path lol.
With the new trans having a hydro clutch, I happily removed the clutch cable mount from the firewall. While I was in there, I couldnt help but to hate the lack of intake mani to brake booster clearance. Having driven a few cars with manual brakes, I decided to ditch the power assist in favor of a manual pedal box assembly. This saved me the aggravation of mounting a clutch master cyl to firewall too, at least thats how I justified it.
I contacted Kevin and OBP Motorsports and told him what I was building, he was super helpful and they actually hooked me up hugely on a floor mounted manual pedal assembly. Can't thank them enough.
I wasn't super happy with the pedal mounting plate, mostly because the welds were **** and I was using a borrowed MIG at the time, but I had to return it to my friend so it was all I could do in the given time frame.
I added some "harness mounts" along the inner side of the front fender area with the intention of routing the headlight/horn wiring out of the way:
And then it was time to tackle the 6 lug to 5 lug conversion. This is a pretty simple task in the front as many people have done it, and since the rear was already 5x114 since my Ford axle was back there, I didn't have to work too hard at this. With a set of 2wd Toyota truck front hubs, you can just slide them right on as long as you use the one of the Mitsu bearings ( I forget which atm). Of course the factory brakes are total garbage, so I wanted to run a set of Evo brembo calipers all around. This was right around the time that everyone and their mom began running the CTS-V Brembo front calipers, which at the time could be had brand new for $300/set of fronts. I opted to order a set with no idea of how to fit them, other than potentially making a bracket. When they arrived, I was amazed that the bolt hole spacing was insanely close to that of the factory calipers. Like within a few mm. So i mocked things up with one bolt at the time, and began looking for a rotor that would work diameter wise but also have the proper offset so that I could avoid machining. I also wanted something easily replaceable since I do plan to DD this truck as much as possible. I ended up finding out that the mustang cobra 13" front rotor was a perfect fit, with the exception of needing the center holes bored out. This is because these trucks have hubs that slide through and bolt to the rotors, then the entire assembly slides onto the spindle. I had the spindle facing machined down to match the rotor offset, and the rotors opened up. Added some extended wheel studs and it came out looking pretty cool.
At this point I've been jumping around a lot, doing a little bit here and a little there, making progress but not really finishing anything entirely. This is a theme that I continue to follow throughout the build process.
You may have seen them in previous pics, I dont remember exactly when I got them, but I decided on a pair of fixed back SPG seats to keep weight down and save space in the already tight single cab.
The night I sold the evo shell, looked over at the dash from it that was sitting on the floor. I measured it with a tape and to my surprise, it was within an inch of the factory MM dash width. The top of it was much too deep, but thankfully these dashes have removable lids, so I could trim it back to the needed depth and remount it. When its done itll be wrapped in suede. Mounted with a modified oem evo dash bar, I was able to update the interior drastically. Probably one of my favorite features of the truck to this day.
Mocked up with the newer seats, center console, and headunit.
Badass! I just joined to look for info and I noticed your build thread, super cool! Where about are in NC you located? Im just starting a mighty max build myself
Badass! I just joined to look for info and I noticed your build thread, super cool! Where about are in NC you located? Im just starting a mighty max build myself
So I had my lowering leaves and struts, front suspension was pretty much figured out, and then I decided to change everything. After pretty much all of my friends were saying it would never hook, and me getting more and more committed to this project, I decided to 4-linking the rear end would be a much better plan.
I started to build my own rear frame with square tubing, adding a notch for extra axle clearance. At this time I still didnt have my own MIG and was on borrowed time. Of course I had no idea how to do this, so I decided to build as much as I could while till keeping the factory frame in place. This would allow me to use it as a fixture or jig so that things could be as close to stock as possible (bed mounts/axle position/etc). I had originally bought a walbro 400 for the stock tank, but with the factory hanger positioning it at the front of the tank, I opted to switch to a fuel cell. Figured the cell would be safer and allow me to move some of the weight back over the rear axle.
I dont have any pics of it all welded up, but honestly you aren't missing much.
The truck kinda sat like this for a little while, and I never completely removed the OEM frame rails because I just wasn't happy with it. I was able to put the bed back on to save space and cut out the wheel tubs to see what kinda tire options I would have. Mostly I was just bored and the truck ended up sitting for a little while. I got a lift during this time, and somehow ended up with a GS-T too. Didnt have it for long.
Would it have worked? Ehhh maybe.....but I just kinda hated it. I also used 2x3 square which isn't really recommended on street trucks and especially those without cages. Not to mention it just didnt look clean with all of the cuts and welds. I was able to sell all of the new suspension stuff for close to what I paid for it, which is pretty insane considering the mighty max community has about 6 members in total .
While looking for a rear link setup, there were lots of things to consider. Do you want the bars parallel? Triangulated? 3 link? 4 link? Air bags? Coilovers?
Of course I want this truck to hook, and I don't have any desire to head to the mini truck meets, so bags and non-adjustable links were out of the running. I knew I needed coilovers, 4 links (+ a panhard), and room for some tire. I was browsing Ebay and found a company that sells entire rear frame kits. These kits are built to order per your measurements, use mandrel bent 1 piece 2x4" frame rails, and come with everything. 4-link bars using QA1 spherical ends, QA1 coilovers, and most of the hardware. Since I already hated my setup, I pretty much just said **** it and placed my order. A couple of weeks later it showed up.
Of course nothing goes to plan though, and although they were okay with my frame rail width measurements, they never told me that it wouldnt actually work with my axle. With the frame rails as narrow as I had them, the weld-on 4 link brackets wouldnt fit on the axle housing due to the center diff width. While they did send me new brackets, I still had to deal with cutting off the existing ones and moving the mounting points to the outside of the frame rails. Wasn't very fun.
First, I set the frame on the existing setup, just to kinda see where I was going and what I had gotten myself into. This was pretty scary for me, mostly because before I built the new rails with the factory frame in place, and now that wasn't an option. It's all pretty basic, but I had a lot of things to watch. Frame was too wide initially, so I had to cut it down. I don't have a porta band, but was able to make it work haha.
Once I got the frame width correct, I took the plunge and got it set into place. I left the factory leaf springs in position for as long as I could, so that as long as I kept things straight, I wouldn't lose my axle position. Changing the wheel base was not an option, mostly because the bed might not fit after
 Dec 7, 2017, 07:19 PM


 .
.