The 9000's 'Street Class' Track & Show Car Build
 Dec 29, 2018, 05:18 AM
#1
Newbie
Thread Starter
Join Date: Dec 2018
Location: Slums of Shaolin [San Diego,CA]
Posts: 16
Likes: 0
Received 0 Likes
on
0 Posts
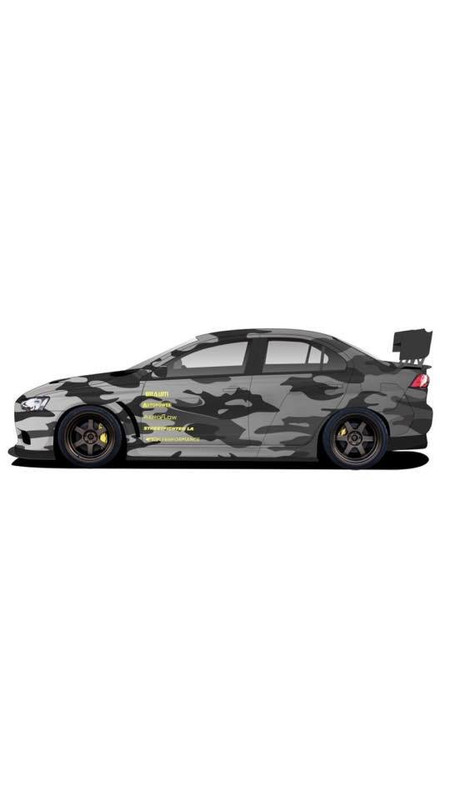
The 9000's 'Street Class' Track & Show Car Build
CHASSIS:
Apex Silver 2010 Mitsubishi Lancer Evolution X [ MR - SSS Package ]
AFFILIATES:
Aeroflow Dynamics
https://www.aeroflowdynamics.com/
AutoPower Safety
https://www.autopowerindustries.com/
Whiteline
https://whitelineperformance.com/
Pro Car Innovations
https://www.pci-racing.com/
ARK Performance
https://www.arkperformance.com/
MAC Wraps
macwraps.us
Dentology SD
www.instagram.com/dentologysd/
Street Fighter LA
https://streetfighterla.com/
Heritage Wheels
www.heritagewheel.com/
Agency Power
https://www.agency-power.com/
AMS Performance
https://www.amsperformance.com/
Professional Awesome Racing
https://professionalawesome.com/
Fortune Auto
https://fortune-auto.com/
Extreme Turbo Systems
https://www.extremeturbosystems.com/
Radium Engineering
www.radiumauto.com/
Cusco JP
https://www.cusco.co.jp/en/
Build Requirements :
1. 500hp / 350tq
2. GTA Spec "Street Class" Build that can be driven to the track, car shows, canyon runs, and late night freeway debauchery.
(Rule Book : http://globaltimeattack.com/wp-conte...tack-Rules.pdf)
3. Functional
4. Stylish
5. Fun
6. Finish in 1 month...
Scanned the car and found some codes hidden in the ecu that leads me to believe that engine blew up prior due to driver error. Unsure of mileage on the new motor that is in there at the moment, but it has flawless compression and leakdown numbers. SST transmission was replaced 5k miles prior at the dealership. Car is lightly modded with quality brands on the car.
Ran the car fax and talked to some people and found out it has been in an accident prior. Small 5-10mph low speed contact hit in a parking lot on passengerside headlight. Checked for any issues. Chassis is spot on. Repair work was done by professionals. All tabs were replaced and welded back with OEM Mitsubishi components.
This X looks like a great candidate for a proper build!
Last edited by Mogli9000; Jan 3, 2019 at 06:20 AM.
 Dec 29, 2018, 07:05 AM
#2
Newbie
Thread Starter
Join Date: Dec 2018
Location: Slums of Shaolin [San Diego,CA]
Posts: 16
Likes: 0
Received 0 Likes
on
0 Posts

Before the car was even in our possession, I had planned out the build weeks prior. I ran through a A-Z build list in regards to performance parts, suspension components, safety, wheels, tires, cosmetics, wrap, and even the livery.

Street class requires a 255 for AWD, but I feel I will gain the maximum potential of the vehicle in a 295 or 315 setting. Three different sets of wheels with different widths,offsets, and tire specs will be used for this car. Each with its own purpose. Sanctioned events to Private rented time to Unsactioned etc. Allows us to test and just have fun learning more about what works and what doesn't.
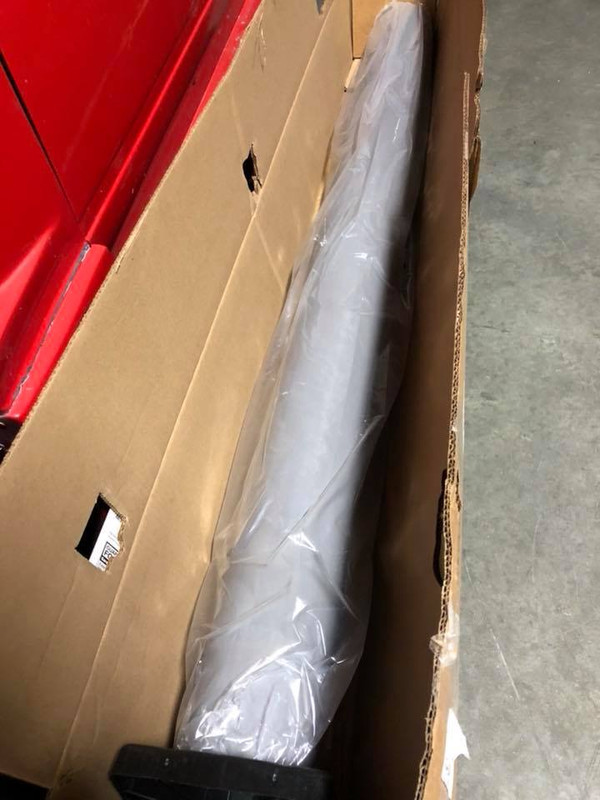
We opted for a widebody kit as the first things to be done.
There was a toss up between the many Varis options, but I stumbled across the STREET FIGHTER LA Evo X kit. After finding out that they were local and made some top quality stuff. I shot them a call and met up with the owners directly to get a kit. One of the first things I mentioned to them was that I was going to chop up their kit and personalize it. Without any complaints, they pumped out a kit for me within a few days time.

Last edited by Mogli9000; Jan 3, 2019 at 06:25 AM.
Dec 29, 2018, 07:19 AM
#3
Newbie
Thread Starter
Join Date: Dec 2018
Location: Slums of Shaolin [San Diego,CA]
Posts: 16
Likes: 0
Received 0 Likes
on
0 Posts
Fast Forward:
Evo's now on my trailer ready to be rolled into the garage for its initial tear down. Prepped it, documented, and now started the removal process.
My main focus for the day was to have all the interior out so I can start game planning the next moves.
WEIGHT LOSS.
After precisely removing and organizing the parts together. My last hold up was the SSS package sub. To Keep or remove it? After a day of thought, I decided on keeping it. If anything, it can be easily removed for track day prep.
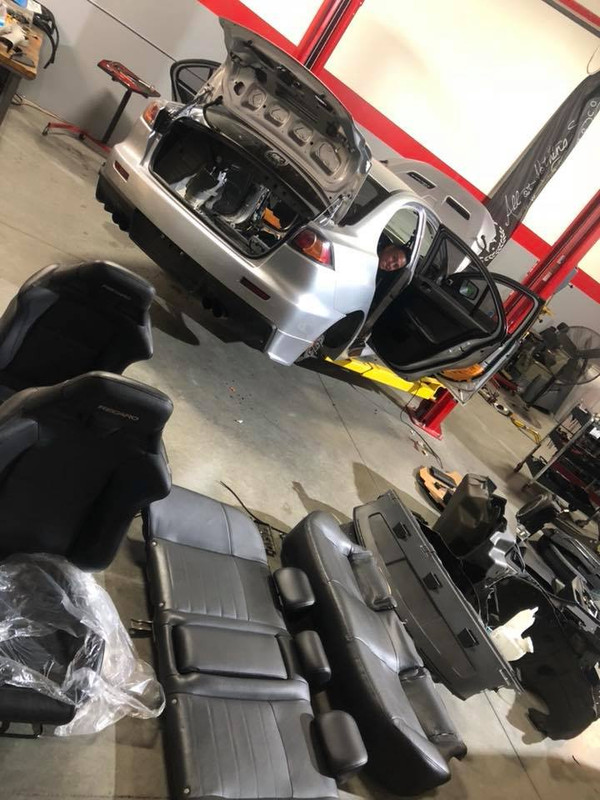
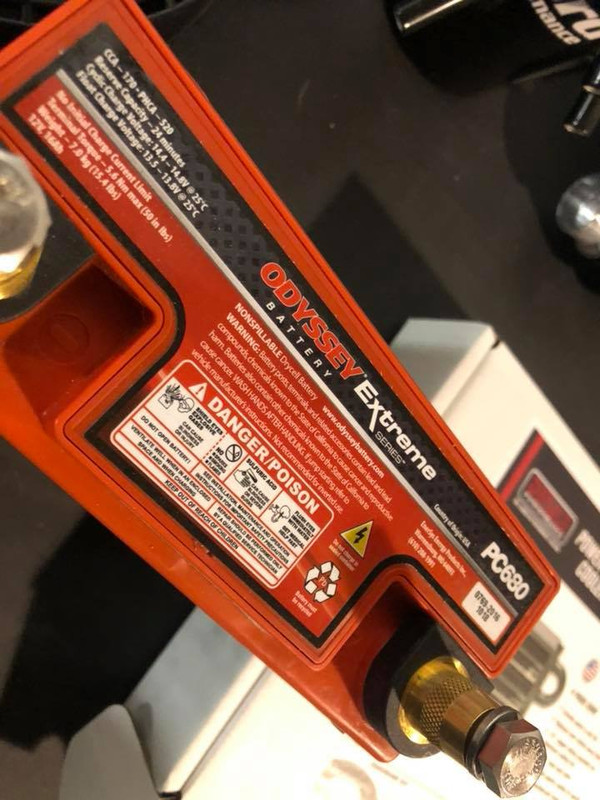
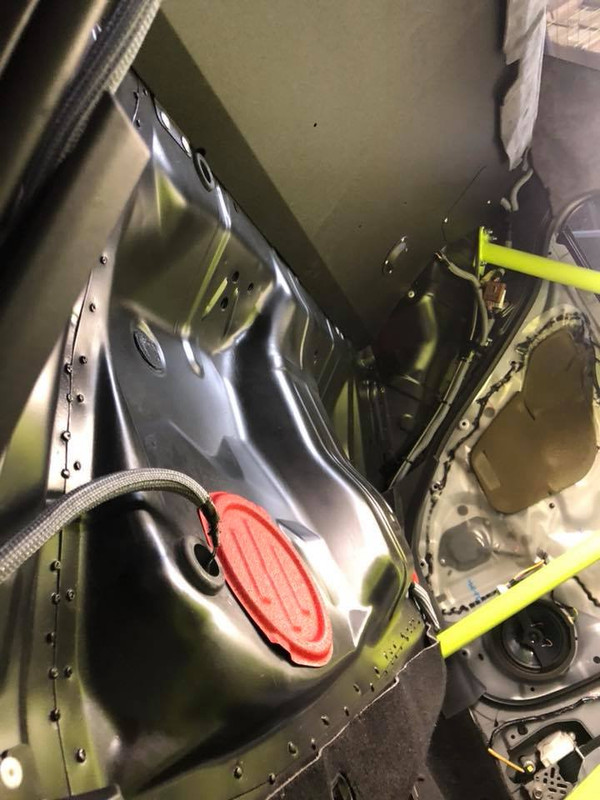
After all the un-needed components were removed, I aimed to remove any type of extra weight that I could. Every bit counts so anything not necessary was being removed. Everything from small brackets to battery components. Even down to removing the sound deadener and seam sealer.
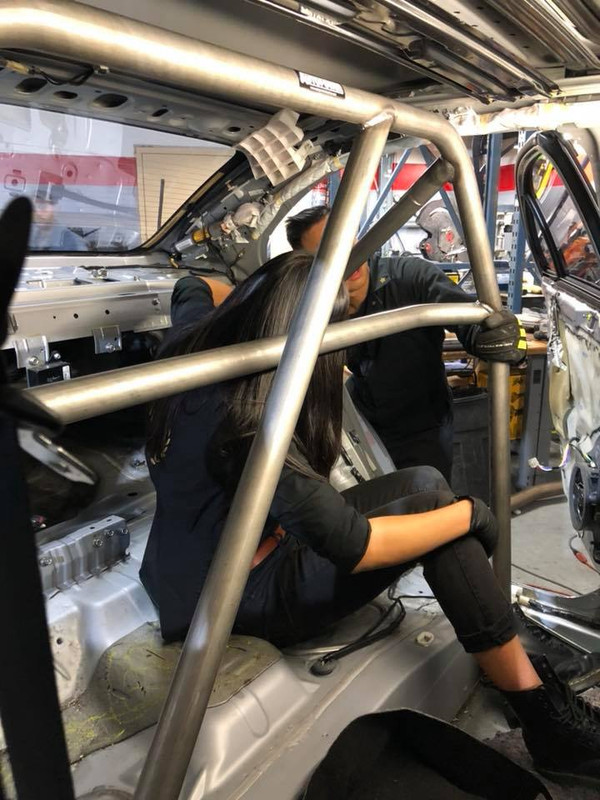
Stitched welded all of the seams in the rear section and chopped out the spare tire compartment.

Finished off the day by installing the carbon hood, trunk, and AutoPower Race Roll Bar.
Evo's now on my trailer ready to be rolled into the garage for its initial tear down. Prepped it, documented, and now started the removal process.
My main focus for the day was to have all the interior out so I can start game planning the next moves.
WEIGHT LOSS.
After precisely removing and organizing the parts together. My last hold up was the SSS package sub. To Keep or remove it? After a day of thought, I decided on keeping it. If anything, it can be easily removed for track day prep.
After all the un-needed components were removed, I aimed to remove any type of extra weight that I could. Every bit counts so anything not necessary was being removed. Everything from small brackets to battery components. Even down to removing the sound deadener and seam sealer.
Stitched welded all of the seams in the rear section and chopped out the spare tire compartment.
Finished off the day by installing the carbon hood, trunk, and AutoPower Race Roll Bar.
Last edited by Mogli9000; Dec 29, 2018 at 08:41 AM.
Dec 29, 2018, 07:34 AM
#4
Newbie
Thread Starter
Join Date: Dec 2018
Location: Slums of Shaolin [San Diego,CA]
Posts: 16
Likes: 0
Received 0 Likes
on
0 Posts
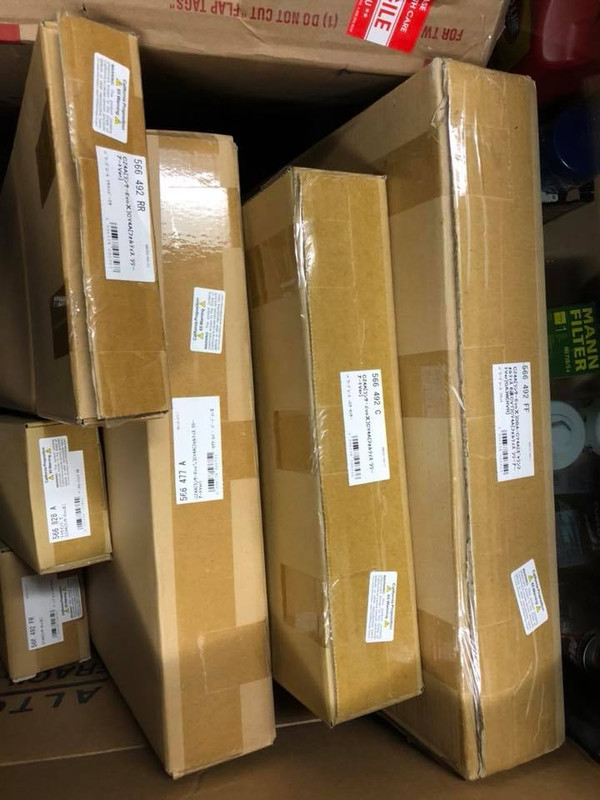
Now that I need parts. I dedicated a day off to stopping by headquarters of businesses I appreciate in the industry for some goodies for the build.
Spoke to Sparco a bit in regards to getting some Grid's for the build, but they informed me on their new 2019 Sparco QRT-R bucket seats. They just happened to have a pair on hand and after seeing them in person. I was sold. These are not only the lightest FRP seat that Sparco makes, but it rivals their Carbon seats in overall quality. For the price, it couldn't be beaten. I loaded them up into my Sprinter and booked it over to Cusco to grab half of their catalog for suspension bracing and other add ons.

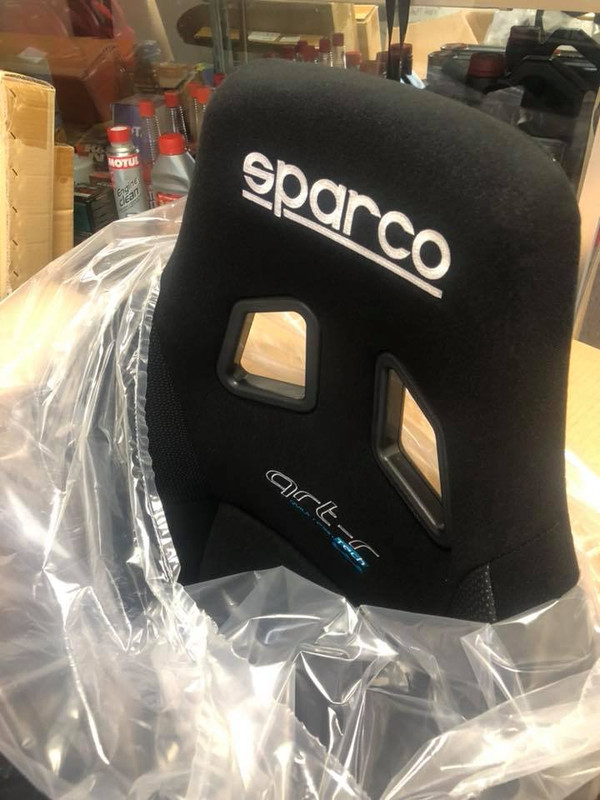
Spoke to Sparco a bit in regards to getting some Grid's for the build, but they informed me on their new 2019 Sparco QRT-R bucket seats. They just happened to have a pair on hand and after seeing them in person. I was sold. These are not only the lightest FRP seat that Sparco makes, but it rivals their Carbon seats in overall quality. For the price, it couldn't be beaten. I loaded them up into my Sprinter and booked it over to Cusco to grab half of their catalog for suspension bracing and other add ons.
Last edited by Mogli9000; Dec 29, 2018 at 07:40 AM.
Dec 29, 2018, 07:40 AM
#5
Newbie
Thread Starter
Join Date: Dec 2018
Location: Slums of Shaolin [San Diego,CA]
Posts: 16
Likes: 0
Received 0 Likes
on
0 Posts
Now that I have the car pieced apart and in front of me. I could really start on the Aero side of things. Luckily, there are a decent amount of CFD tested information from other contributors so I was able to understand the chassis a bit better.
I will be making all the aero components on a quick removal setup. Allowing 5-10 minute install and reinstall of each piece. It might be a bit overkill for this aero for its current build specs, but I build for the future. Once it turns into a Full Time track car (which is bound to happen sooner or later), then all the pieces can be 100% utilized. Then it will only need a 6pt welded cage and some tweaks to meet the Limited class ruling.

Points of Attention:
1. Front Bumper
2. Windshield/Hood
3. Front Fenders
4. Rear Fenders
5. Rear Bumper
6. Sideskirts
7. Trunk / Wing
1. Front Bumper
Customized the SFXLA front bumper extensions to become bumper shudders.

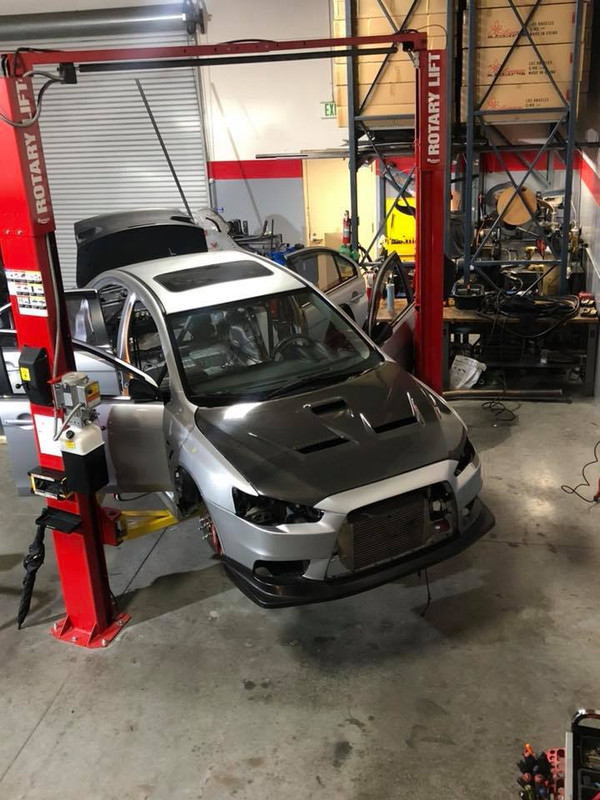
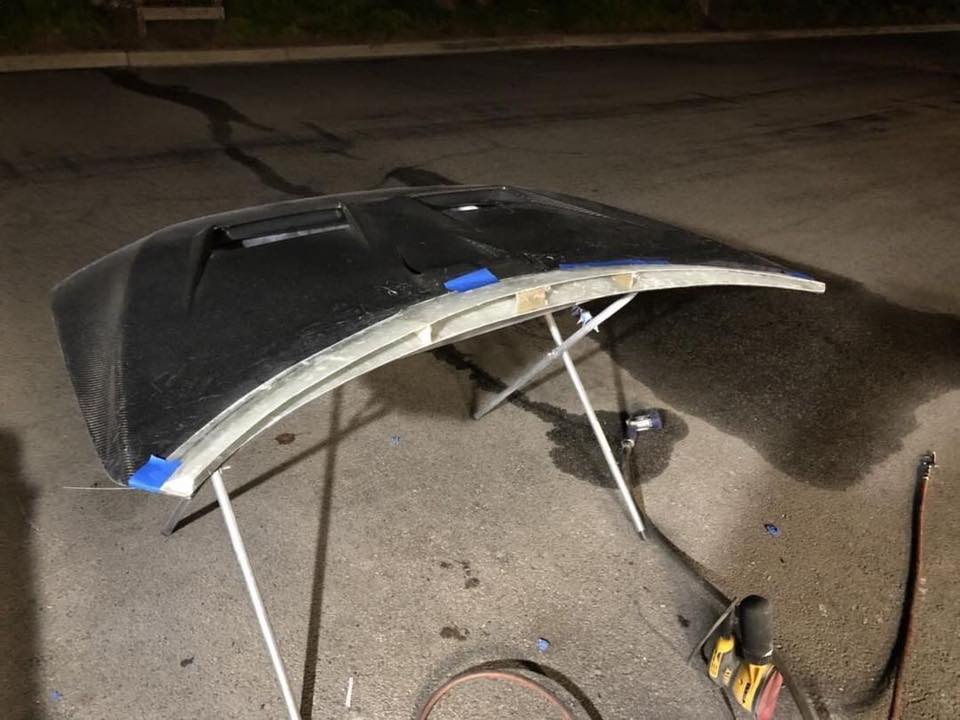
2. Windshield/Hood
Traded the stock hood and some cash for a CW hood. The cw hood has to be the best engineered aftermarket hood on the market for the cash so we went this route. After playing with some tests and going over some options with some buddies.
This designed extension came into existence. It was made to reduce pressure inside of the engine bay from the new bumper design and also cut off drag points from the windshield area

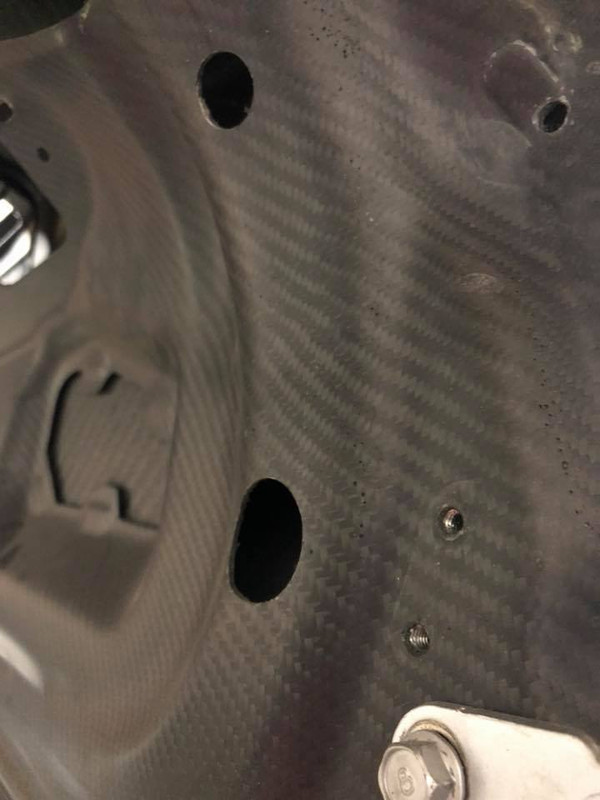
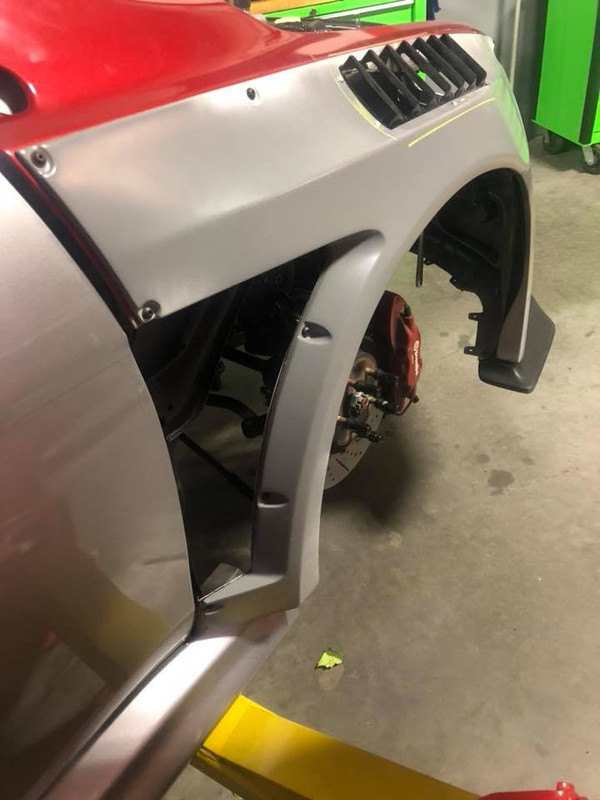
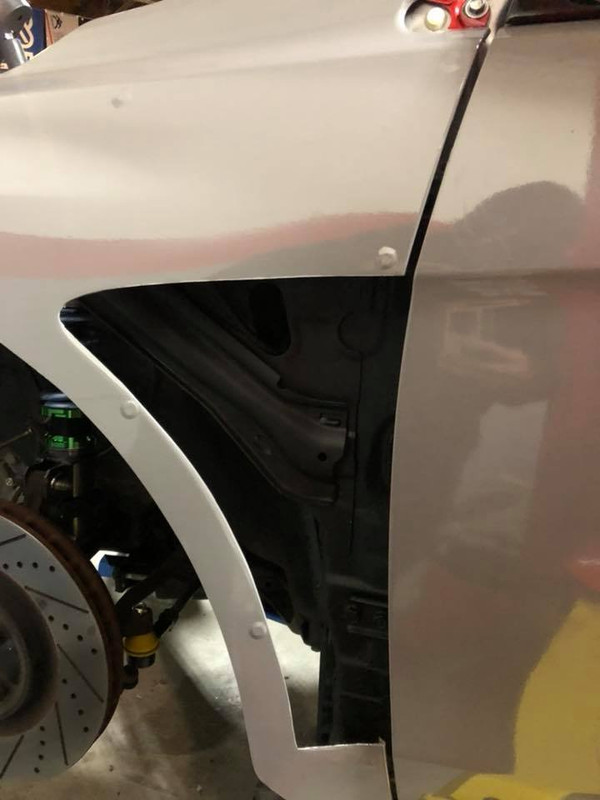
3. Front Fenders
Due to the massive 295/315 tire that will be spinning inside of the tires. It will be creating hot air resulting in lift so we want to alleviate that out asap. Opened up the oem vent area, cut and installed some Professional Awesome Racing front fender vents.

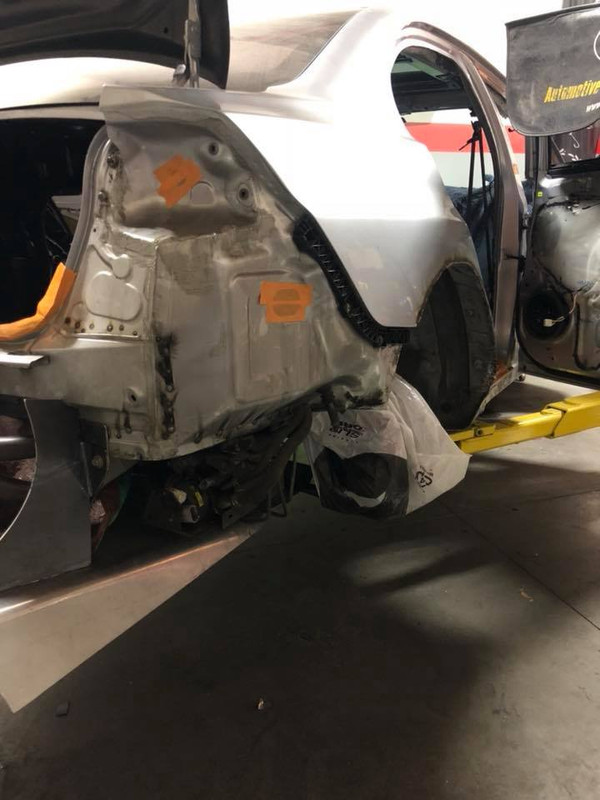
4 & 5. Rear Fenders & Rear Bumper
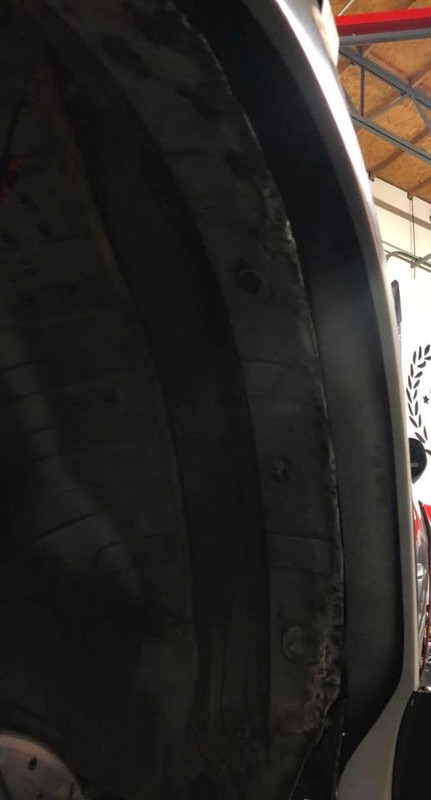
Same concept as the front. This time I cut out as much of the bumper as I could. Relocated the AYC pump to the trunk, and trimmed out any obstructions in the rear end. Welded up the inner fender completely to match the curvature of the overfenders so it won't create any air pockets or gaps.

6. Sideskirts
Noticed the SFXLA kit had a weird indention point where it left the rear tire exposed. This will create a lot of drag, so we built a canard system to redirect the air from going into that path.

I will be making all the aero components on a quick removal setup. Allowing 5-10 minute install and reinstall of each piece. It might be a bit overkill for this aero for its current build specs, but I build for the future. Once it turns into a Full Time track car (which is bound to happen sooner or later), then all the pieces can be 100% utilized. Then it will only need a 6pt welded cage and some tweaks to meet the Limited class ruling.
Points of Attention:
1. Front Bumper
2. Windshield/Hood
3. Front Fenders
4. Rear Fenders
5. Rear Bumper
6. Sideskirts
7. Trunk / Wing
1. Front Bumper
Customized the SFXLA front bumper extensions to become bumper shudders.
2. Windshield/Hood
Traded the stock hood and some cash for a CW hood. The cw hood has to be the best engineered aftermarket hood on the market for the cash so we went this route. After playing with some tests and going over some options with some buddies.
This designed extension came into existence. It was made to reduce pressure inside of the engine bay from the new bumper design and also cut off drag points from the windshield area
3. Front Fenders
Due to the massive 295/315 tire that will be spinning inside of the tires. It will be creating hot air resulting in lift so we want to alleviate that out asap. Opened up the oem vent area, cut and installed some Professional Awesome Racing front fender vents.
4 & 5. Rear Fenders & Rear Bumper
Same concept as the front. This time I cut out as much of the bumper as I could. Relocated the AYC pump to the trunk, and trimmed out any obstructions in the rear end. Welded up the inner fender completely to match the curvature of the overfenders so it won't create any air pockets or gaps.
6. Sideskirts
Noticed the SFXLA kit had a weird indention point where it left the rear tire exposed. This will create a lot of drag, so we built a canard system to redirect the air from going into that path.
Last edited by Mogli9000; Dec 30, 2018 at 12:53 AM.
Dec 29, 2018, 07:41 AM
#6
Newbie
Thread Starter
Join Date: Dec 2018
Location: Slums of Shaolin [San Diego,CA]
Posts: 16
Likes: 0
Received 0 Likes
on
0 Posts
FAB TIME
Center Exit Exhaust - CHECK
(Utilized the ARK Performance N-II Exhaust system. It has built in helmholtz to quiet down the sound to meet track regulations at Laguna Seca)
Exhaust System Link:
http://www.arkperformance.com/Mitsub...1801-0003n.htm
Diffuser + Chassis Brackets - CHECK
(Bolts to the rear bash bar mounting points directly to the frame)
Rear Bash Bar - CHECK
(Will be used as the GT Wing holder and jacking point of the vehicle)
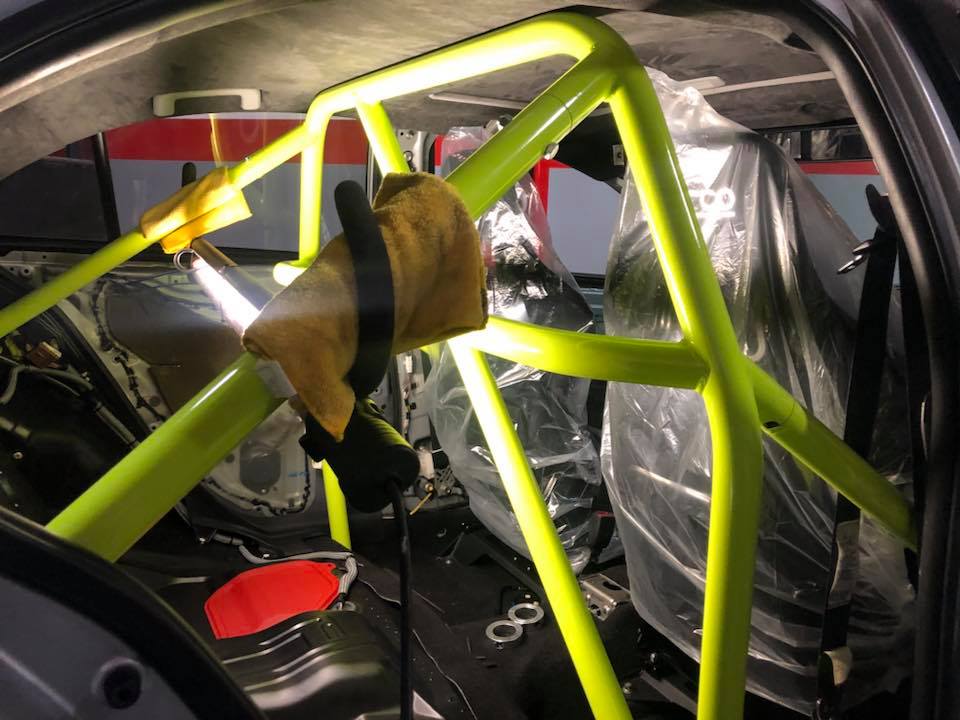
Customized Auto Power Race Roll Bar w/ Door Bars - CHECK
(Added a remove-able door bar option for some side impact safety)
Roll Bar Link:
https://www.autopowerindustries.com/...-_10-2009-2016
Front Bash Bar with integrated Oil Cooler + Intercooler Brackets - CHECK
(Test fitted for the ETS 4" Intercooler, AMS SST Oil Cooler, and MAP Rev 2 Motor Oil Cooler)
ETS FMIC Kit Link:
https://www.extremeturbosystems.com/...ooler-Kit.html
AMS SST Transmission Oil Cooler Kit Link:
(Must have item for your SST that sees track duties)
https://www.amsperformance.com/cart/...oler-kit.html/
MAP Motor Oil Cooler Kit Link:
https://www.maperformance.com/products/map-rev2-oil-cooler-kit-with-mounting-brackets-mitsubishi-evo-x?variant=5331049091&gclid=Cj0KCQiA05zhBRCMARIsACK DWjcws5Ghf0xK73zDsmqQWROQkhP-74OFEJPzhsJElPFYD2fixNEqYq8aAuZtEALw_wcB


Slapped on some rally side mirrors. Then modified the front fenders a bit more and called it a day. The car is finally taking shape.

Center Exit Exhaust - CHECK
(Utilized the ARK Performance N-II Exhaust system. It has built in helmholtz to quiet down the sound to meet track regulations at Laguna Seca)
Exhaust System Link:
http://www.arkperformance.com/Mitsub...1801-0003n.htm
Diffuser + Chassis Brackets - CHECK
(Bolts to the rear bash bar mounting points directly to the frame)
Rear Bash Bar - CHECK
(Will be used as the GT Wing holder and jacking point of the vehicle)
Customized Auto Power Race Roll Bar w/ Door Bars - CHECK
(Added a remove-able door bar option for some side impact safety)
Roll Bar Link:
https://www.autopowerindustries.com/...-_10-2009-2016
Front Bash Bar with integrated Oil Cooler + Intercooler Brackets - CHECK
(Test fitted for the ETS 4" Intercooler, AMS SST Oil Cooler, and MAP Rev 2 Motor Oil Cooler)
ETS FMIC Kit Link:
https://www.extremeturbosystems.com/...ooler-Kit.html
AMS SST Transmission Oil Cooler Kit Link:
(Must have item for your SST that sees track duties)
https://www.amsperformance.com/cart/...oler-kit.html/
MAP Motor Oil Cooler Kit Link:
https://www.maperformance.com/products/map-rev2-oil-cooler-kit-with-mounting-brackets-mitsubishi-evo-x?variant=5331049091&gclid=Cj0KCQiA05zhBRCMARIsACK DWjcws5Ghf0xK73zDsmqQWROQkhP-74OFEJPzhsJElPFYD2fixNEqYq8aAuZtEALw_wcB
Slapped on some rally side mirrors. Then modified the front fenders a bit more and called it a day. The car is finally taking shape.
Last edited by Mogli9000; Dec 29, 2018 at 08:56 AM.
Dec 29, 2018, 07:57 AM
#7
Newbie
Thread Starter
Join Date: Dec 2018
Location: Slums of Shaolin [San Diego,CA]
Posts: 16
Likes: 0
Received 0 Likes
on
0 Posts
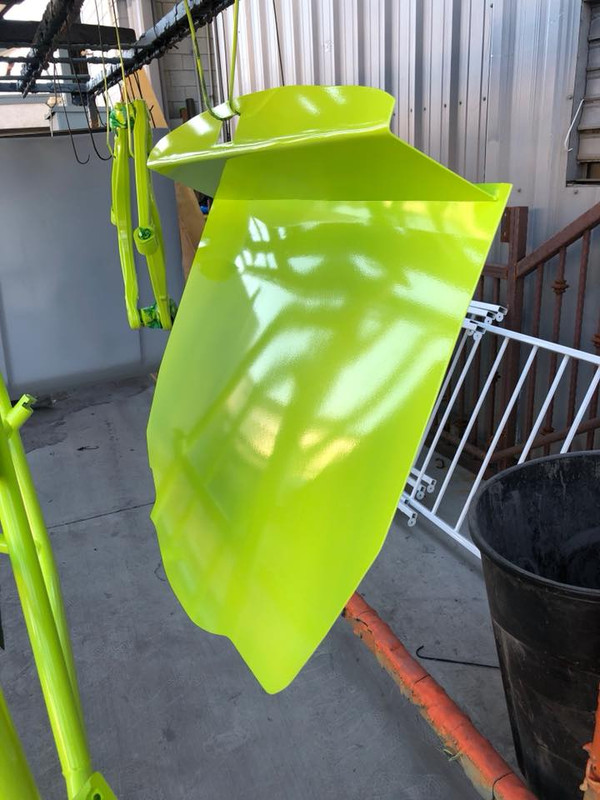
Here is a spoiler of the color scheme:
Sent out some of the goodies to the powdercoating rack

Decided to go the black wrinkle route for the entire engine bay
Custom aluminum trunk partition panel
Customized Autopower Race Roll bar w/ Custom Door Bars

Parts starting coming in left and right. The owner over at 3pc.us dropped off a special one off set Heritage wheels for the build. I've known him for quite a while so he pulled through for me in expedited time. Thanks Threepiece.us! This will be the first set of wheels.
Wheel Specs:
18x12 +20 F
18X12 -32 R
I spec'd out the rears to be a -18, but could only get the sizing to a -32 due to barrel/face combos. Hopefully I can make them work.


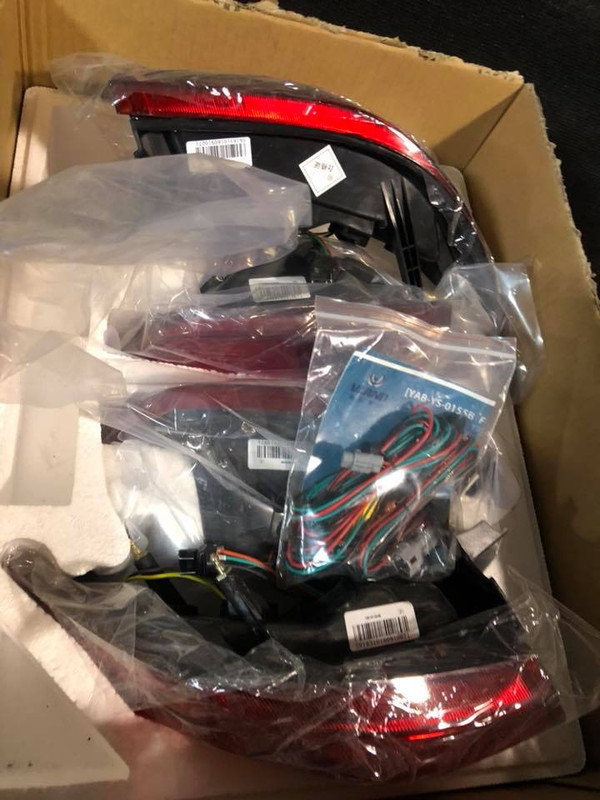
80% of the parts have arrived. ****ing finally. I've been sitting with my thumb in my *** waiting for things to install.


SUSPENSION SETUP:
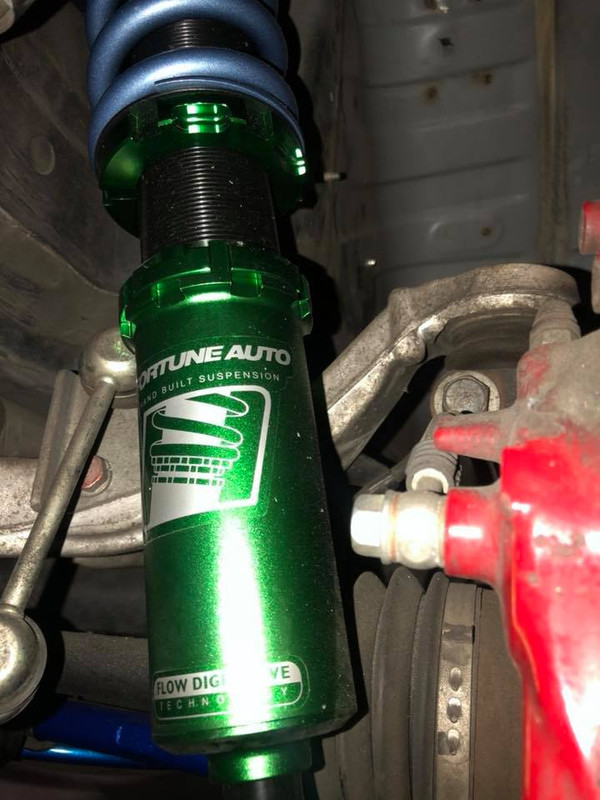
Custom Fortune Auto air piston lift system
- Front and Rear Cup kits
- Swift Springs (14k F/ 16K R)
- ViAir manual air management
- Professional Awesome Racing strut camber lock kit
Whiteline 27mm 3 point adjustable front sway bar
Whiteline 27mm 3 point adjustable rear sway bar
Whiteline FLCA inner front bushing
Whiteline flca inner rear anti-lift bushing
Whiteline front roll center centre/bump steer correction kit
Whiteline rack and pinion mount bushings
Whitekine adjustable front sway bar endlinks
Whiteline adjustable rear sway bar endlinks
Whiteline 100mm rear adjustable control arms
Whiteline Eccentric Rear lock out kit on all arms
Custom adjustable rear toe control arms
Cusco Japan floor front chassis brace
Cusco Japan floor center chassis brace
Cusco Japan floor rear side chassis brace
Cusco Japan floor rear member chassis brace
Cusco Japan floor rear member rear chassis brace
Sent out some of the goodies to the powdercoating rack
Decided to go the black wrinkle route for the entire engine bay
Custom aluminum trunk partition panel
Customized Autopower Race Roll bar w/ Custom Door Bars
Parts starting coming in left and right. The owner over at 3pc.us dropped off a special one off set Heritage wheels for the build. I've known him for quite a while so he pulled through for me in expedited time. Thanks Threepiece.us! This will be the first set of wheels.
Wheel Specs:
18x12 +20 F
18X12 -32 R
I spec'd out the rears to be a -18, but could only get the sizing to a -32 due to barrel/face combos. Hopefully I can make them work.
80% of the parts have arrived. ****ing finally. I've been sitting with my thumb in my *** waiting for things to install.
SUSPENSION SETUP:
Custom Fortune Auto air piston lift system
- Front and Rear Cup kits
- Swift Springs (14k F/ 16K R)
- ViAir manual air management
- Professional Awesome Racing strut camber lock kit
Whiteline 27mm 3 point adjustable front sway bar
Whiteline 27mm 3 point adjustable rear sway bar
Whiteline FLCA inner front bushing
Whiteline flca inner rear anti-lift bushing
Whiteline front roll center centre/bump steer correction kit
Whiteline rack and pinion mount bushings
Whitekine adjustable front sway bar endlinks
Whiteline adjustable rear sway bar endlinks
Whiteline 100mm rear adjustable control arms
Whiteline Eccentric Rear lock out kit on all arms
Custom adjustable rear toe control arms
Cusco Japan floor front chassis brace
Cusco Japan floor center chassis brace
Cusco Japan floor rear side chassis brace
Cusco Japan floor rear member chassis brace
Cusco Japan floor rear member rear chassis brace
Last edited by Mogli9000; Dec 30, 2018 at 10:41 PM.
Trending Topics
Dec 29, 2018, 08:03 AM
#8
Newbie
Thread Starter
Join Date: Dec 2018
Location: Slums of Shaolin [San Diego,CA]
Posts: 16
Likes: 0
Received 0 Likes
on
0 Posts
Started the motor side of things. Ended up breaking a turbo stud off the oem turbo. Those things were frozen solid.
MAP Tubular Manifold
GARRETT GTX3076R Gen 2
MAP 02 Eliminator Downpipe
ETS Test Pipe
TIAL Blow Off Valve
ETS Intercooler Kit
ETS Intake
ETS 3.5" MAF Housing
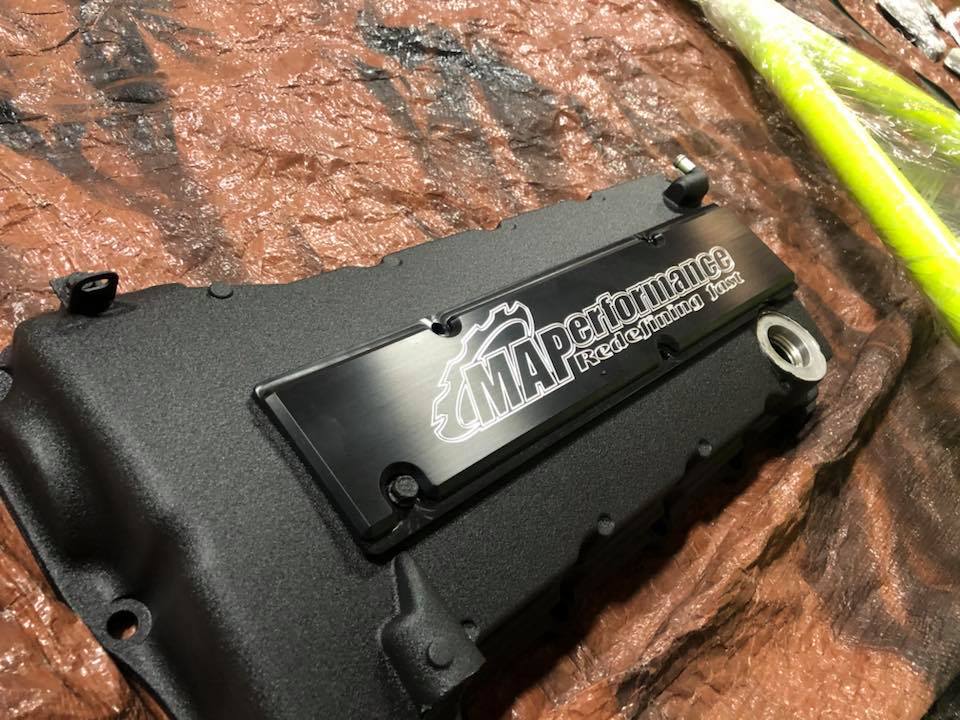
MAP Coilpack Cover

MAP Tubular Manifold
GARRETT GTX3076R Gen 2
MAP 02 Eliminator Downpipe
ETS Test Pipe
TIAL Blow Off Valve
ETS Intercooler Kit
ETS Intake
ETS 3.5" MAF Housing
MAP Coilpack Cover
Last edited by Mogli9000; Dec 30, 2018 at 12:48 AM.
Dec 29, 2018, 08:18 AM
#9
Newbie
Thread Starter
Join Date: Dec 2018
Location: Slums of Shaolin [San Diego,CA]
Posts: 16
Likes: 0
Received 0 Likes
on
0 Posts
I build high volumes of cars like this for clients, special people, joe schmoe's, and every in between. On this build, I was given full artistic freedom to make any sole decision.
When you've been building cars for 12 years every day. How else can you find entertainment in doing the same **** all the time?
For any of my builds, I pull colorways from a Nike Airmax that I like and turn it into a car form. Due to the fact that I am color blind, I feel its a challenge to be able to pull off such crazy color combo.
Shoe that I am basing color scheme off of:

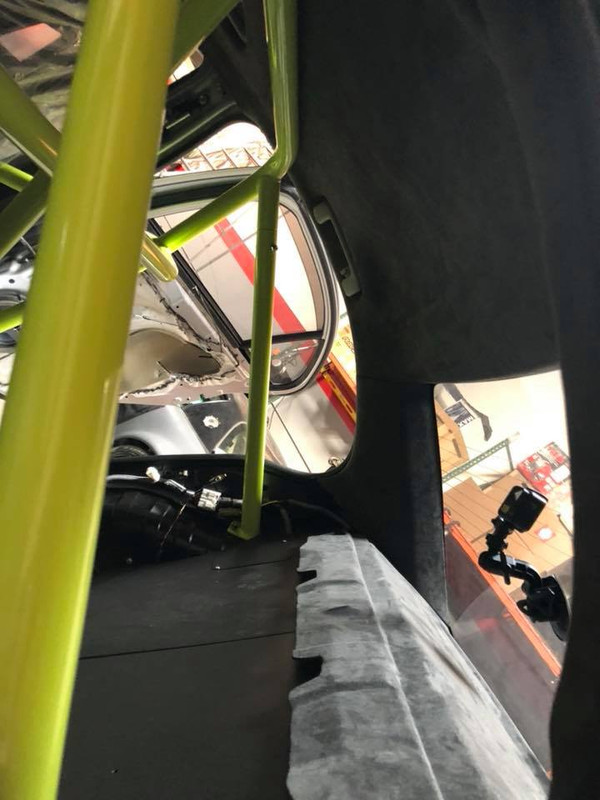
Ended up painting the back section satin black, wrapped and cleaned up the wiring, installed the beat rush bulkhead, and started the interior.
Street class requires limited interior so I just decided to keep anything that was low weight and looks good to maintain the styling aspect of the build.
SPOILER PHOTOS OF INTERIOR:
Charcoal suede interior done by Eddie over at Backyard Custom Interiors

Progress Photo Dump:


The front end is starting to look like a Jeepers Creeper's antagonist demon and a whale shark
When you've been building cars for 12 years every day. How else can you find entertainment in doing the same **** all the time?
For any of my builds, I pull colorways from a Nike Airmax that I like and turn it into a car form. Due to the fact that I am color blind, I feel its a challenge to be able to pull off such crazy color combo.
Shoe that I am basing color scheme off of:
Ended up painting the back section satin black, wrapped and cleaned up the wiring, installed the beat rush bulkhead, and started the interior.
Street class requires limited interior so I just decided to keep anything that was low weight and looks good to maintain the styling aspect of the build.
SPOILER PHOTOS OF INTERIOR:
Charcoal suede interior done by Eddie over at Backyard Custom Interiors
Progress Photo Dump:
The front end is starting to look like a Jeepers Creeper's antagonist demon and a whale shark
Last edited by Mogli9000; Dec 30, 2018 at 12:40 AM.
Dec 29, 2018, 08:23 AM
#10
Newbie
Thread Starter
Join Date: Dec 2018
Location: Slums of Shaolin [San Diego,CA]
Posts: 16
Likes: 0
Received 0 Likes
on
0 Posts
Whiteline Goodies pressed and looking god dam sexy! Powdercoated to match the cage and other accent tones. Will be paired the 27mm 3 way adjustable front sway bar and endlink kits.
Whiteline:
W0593
Front Control arm - lower inner front bushing
KCA400M
Front Control arm - lower inner rear bushing
KCA395
Front Roll centre/bump steer - correction kit

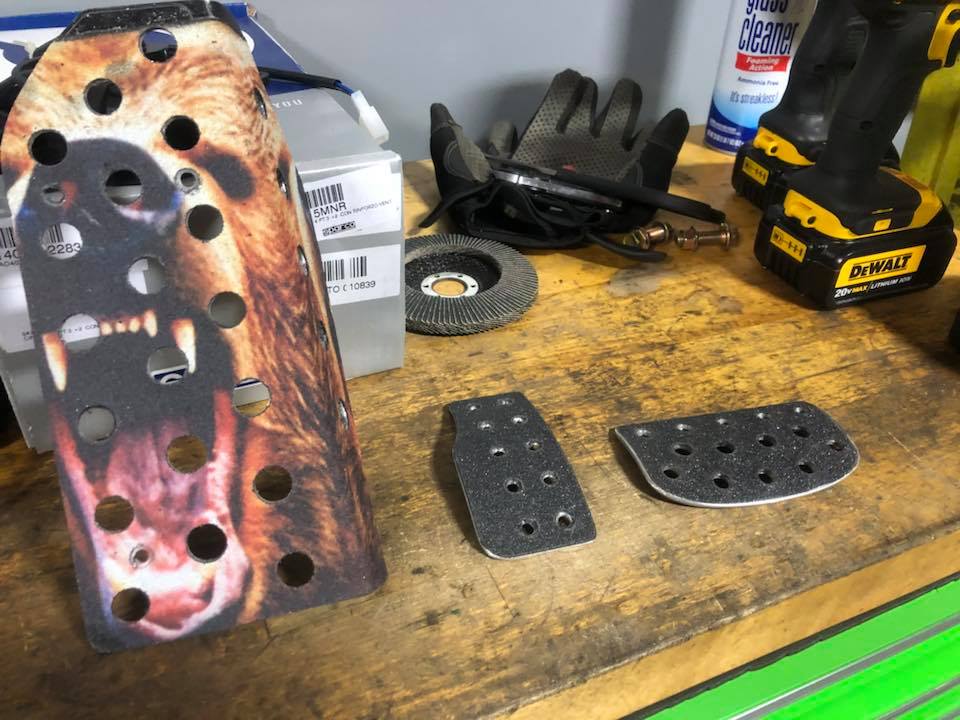
After setting up the seat, braces, and harnesses all together. The driver position seating just didn't feel right. I used and tested all the adjustability the PCI [Pro Car Innovations] seat brackets gave me and it still wasn't in the "sweet" spot. Something had to be done.
Since the owner of the car is near identical to my size and shoe size. (6'1,size 13)
I took control and made some custom pedals to space out the brake pedal from the gas pedal. I cut the right side of the brake pedal off and then used this new pedal as a way to move it 3 inches over to the dead pedal side.
Some of the air components started to arrive. Just need the tank and some switches until I can start the install.

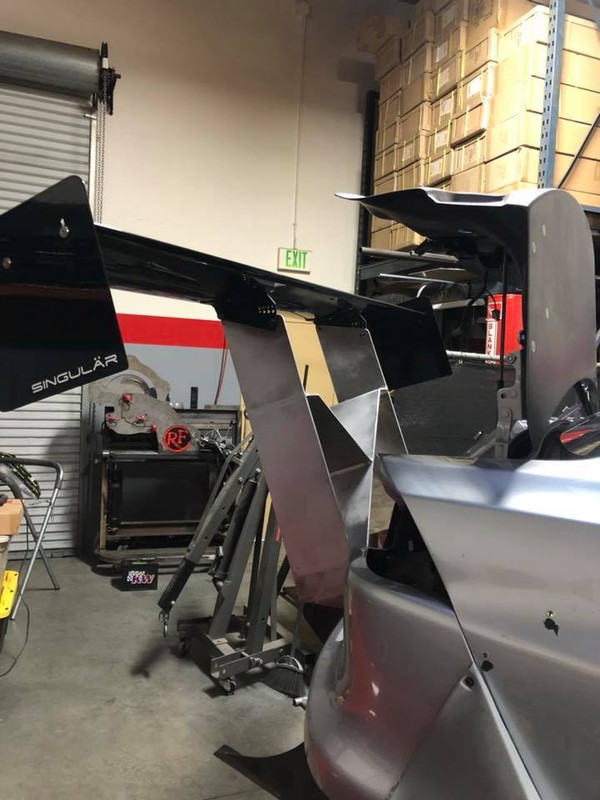
I can now say the wing has been finished. Weight tested and has been approved. It is chassis mounted. We are utilizing the APR GT250 GT Wing with custom made endplates made by my brochacos over at Singular Motorsports which will give a 40% increase in downforce over the apr endplates that came with it.

Before you mutter "CaNt EvN OPen Treunk" in your mind. Blizzam. Trunk magically opens.
Fully hinged for easy rear access. Giggity.
I noticed the car had about 15 small dents from the last half decade its been on this earth. It really bugged me and I couldn't allow this to be on the car before the wrap was installed.
Called up Corey from Dentology SD for some dent removal services and he was able to make ALL of the small little dings look like nothing was even there. Big props to this man.
While Dentology handled the passenger side of things, Casey from MAC Wraps started his vinyl layout for the roof and the rest of the body. We utilized a custom one off piece made by our buddies over at Metro Restyling. They formulated a one off grey for us to match the grey portion of the camo print. Really blends well together.

Shameless plug of work that can be considered art

Whiteline:
W0593
Front Control arm - lower inner front bushing
KCA400M
Front Control arm - lower inner rear bushing
KCA395
Front Roll centre/bump steer - correction kit
After setting up the seat, braces, and harnesses all together. The driver position seating just didn't feel right. I used and tested all the adjustability the PCI [Pro Car Innovations] seat brackets gave me and it still wasn't in the "sweet" spot. Something had to be done.
Since the owner of the car is near identical to my size and shoe size. (6'1,size 13)
I took control and made some custom pedals to space out the brake pedal from the gas pedal. I cut the right side of the brake pedal off and then used this new pedal as a way to move it 3 inches over to the dead pedal side.
Some of the air components started to arrive. Just need the tank and some switches until I can start the install.
I can now say the wing has been finished. Weight tested and has been approved. It is chassis mounted. We are utilizing the APR GT250 GT Wing with custom made endplates made by my brochacos over at Singular Motorsports which will give a 40% increase in downforce over the apr endplates that came with it.
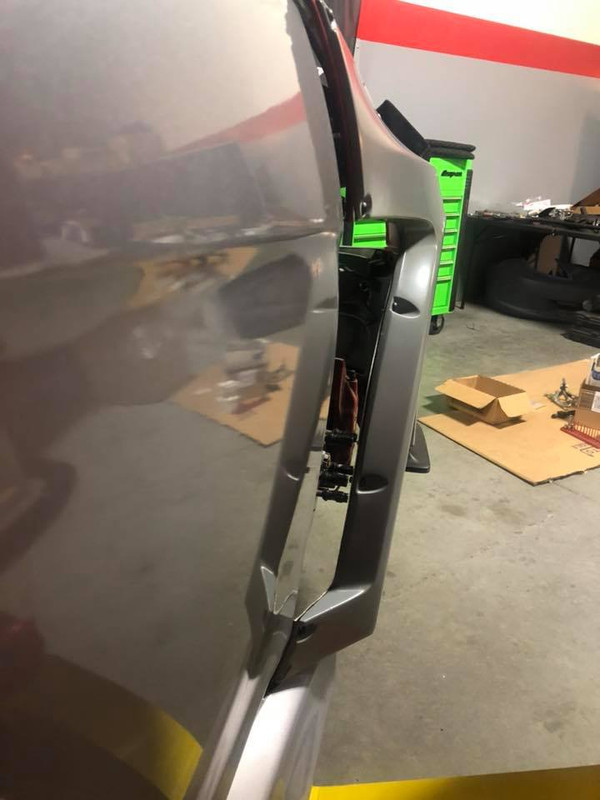
Before you mutter "CaNt EvN OPen Treunk" in your mind. Blizzam. Trunk magically opens.
Fully hinged for easy rear access. Giggity.
I noticed the car had about 15 small dents from the last half decade its been on this earth. It really bugged me and I couldn't allow this to be on the car before the wrap was installed.
Called up Corey from Dentology SD for some dent removal services and he was able to make ALL of the small little dings look like nothing was even there. Big props to this man.
While Dentology handled the passenger side of things, Casey from MAC Wraps started his vinyl layout for the roof and the rest of the body. We utilized a custom one off piece made by our buddies over at Metro Restyling. They formulated a one off grey for us to match the grey portion of the camo print. Really blends well together.
Shameless plug of work that can be considered art
Last edited by Mogli9000; Jan 3, 2019 at 07:10 AM.


