When you click on links to various merchants on this site and make a purchase, this can result in this site earning a commission. Affiliate programs and affiliations include, but are not limited to, the eBay Partner Network.
No planning to throw any think undercoat on the wheel well? That paint will be gone within a year after running on slicks on track.
Keep up the thorough work dude!
Thought about putting down some thicker liner, but I didn't think it would look as clean. This car's making a few show appearances this summer. This paint I used is supposedly really durable; similar to POR15, so we will see if it actually holds up. And if it doesn't, I'll apply some heavier stuff later in the summer. Won't take too long since it's already cleaned up underneath. Thanks for following along with this post!
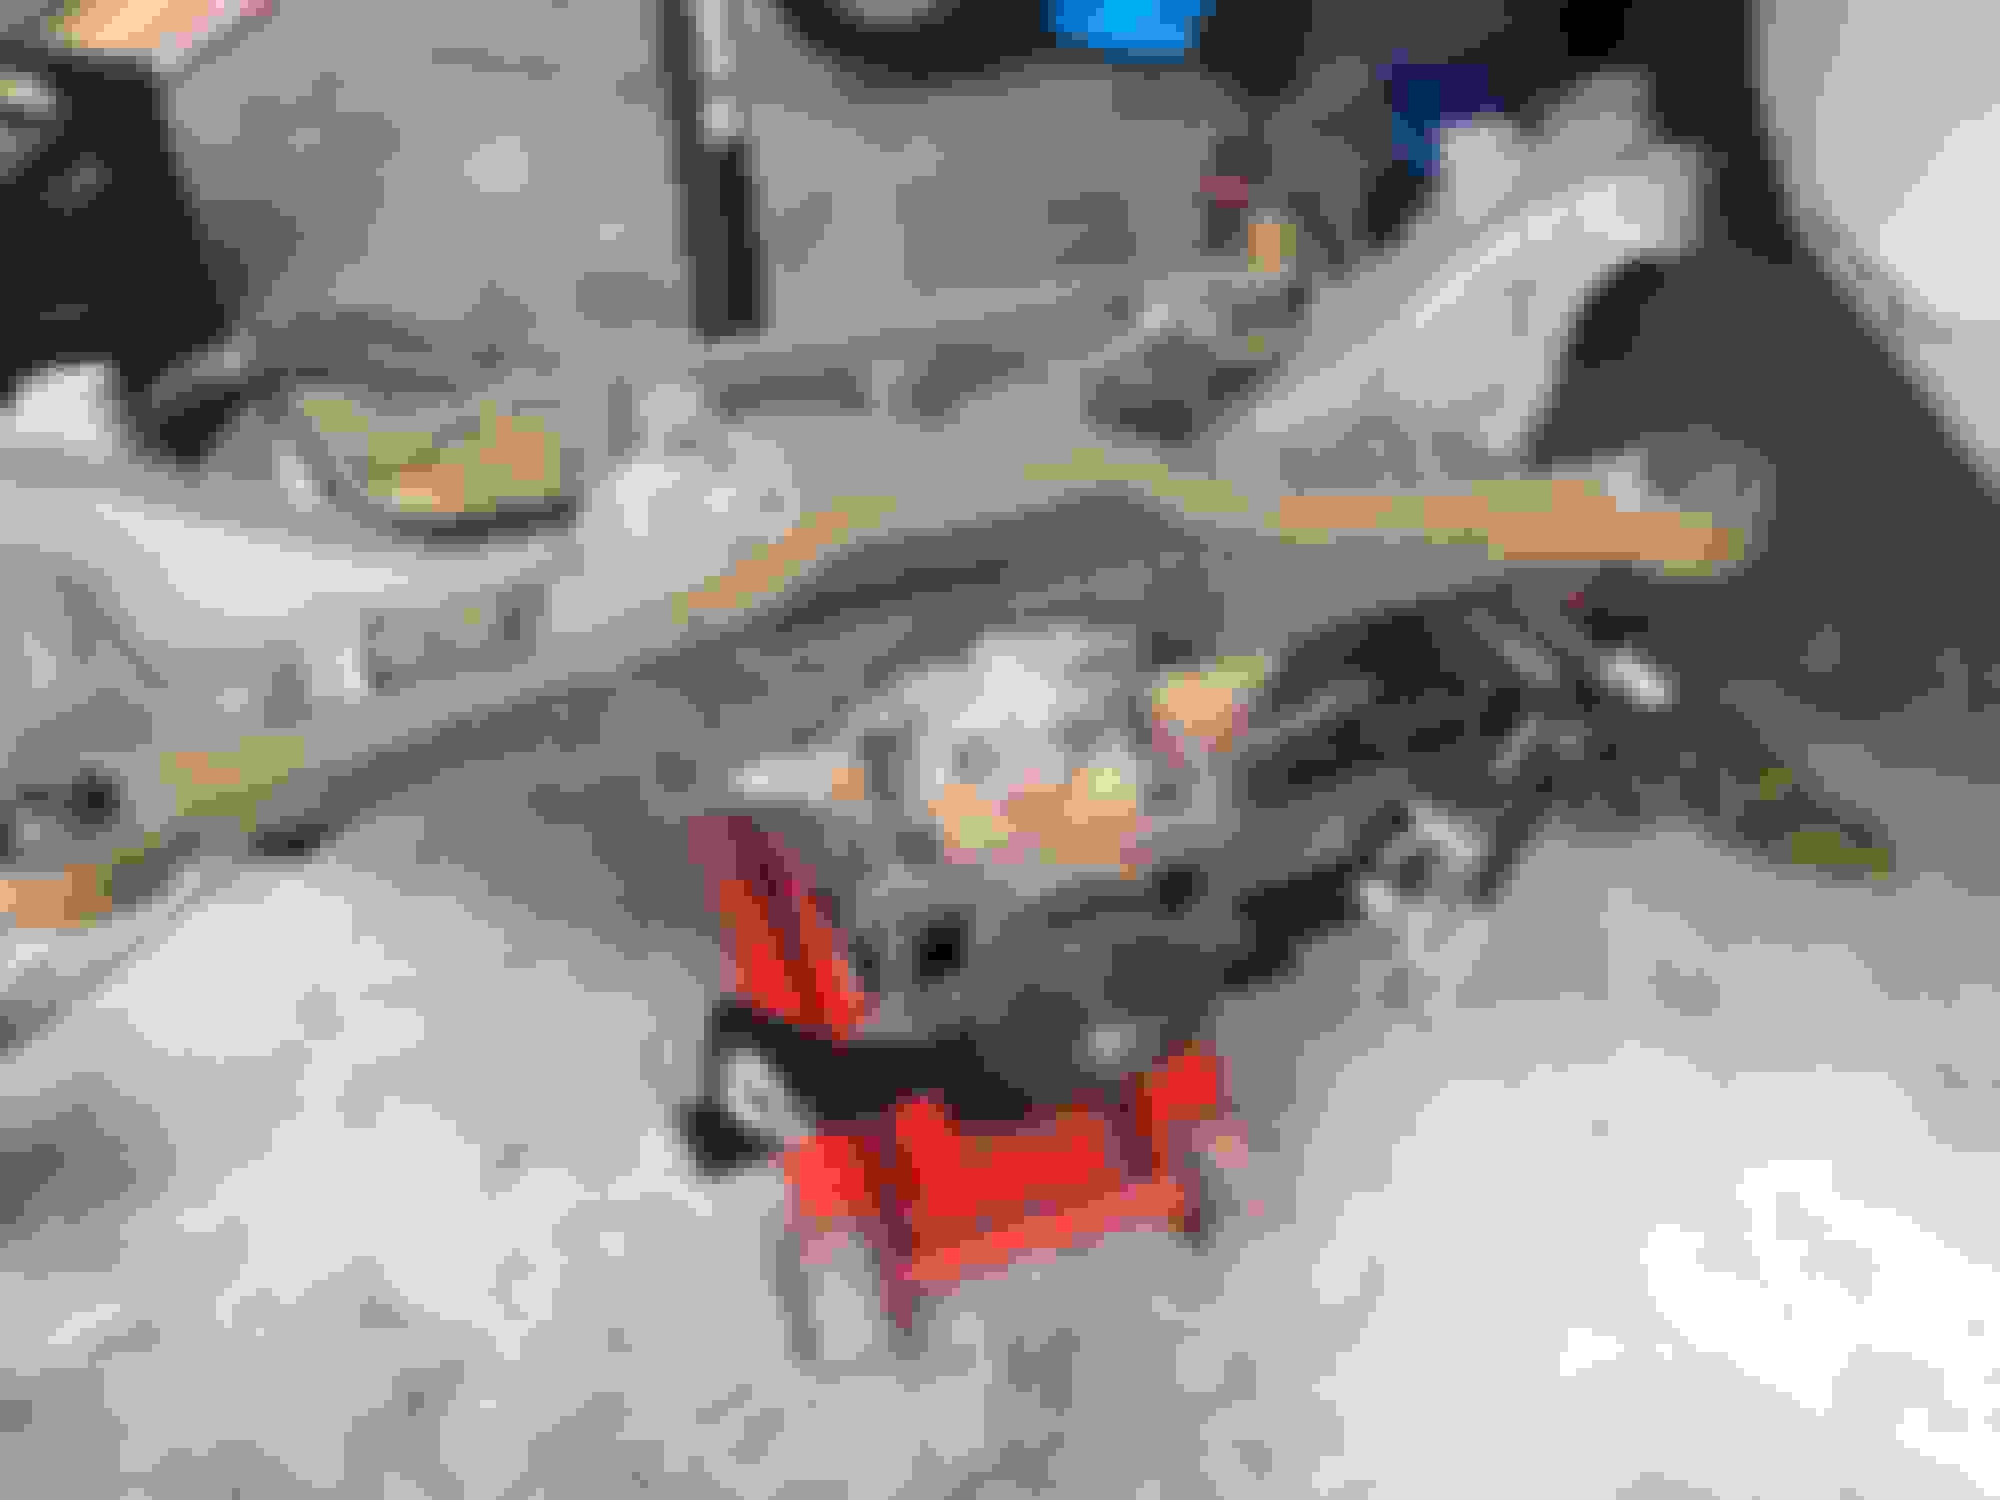
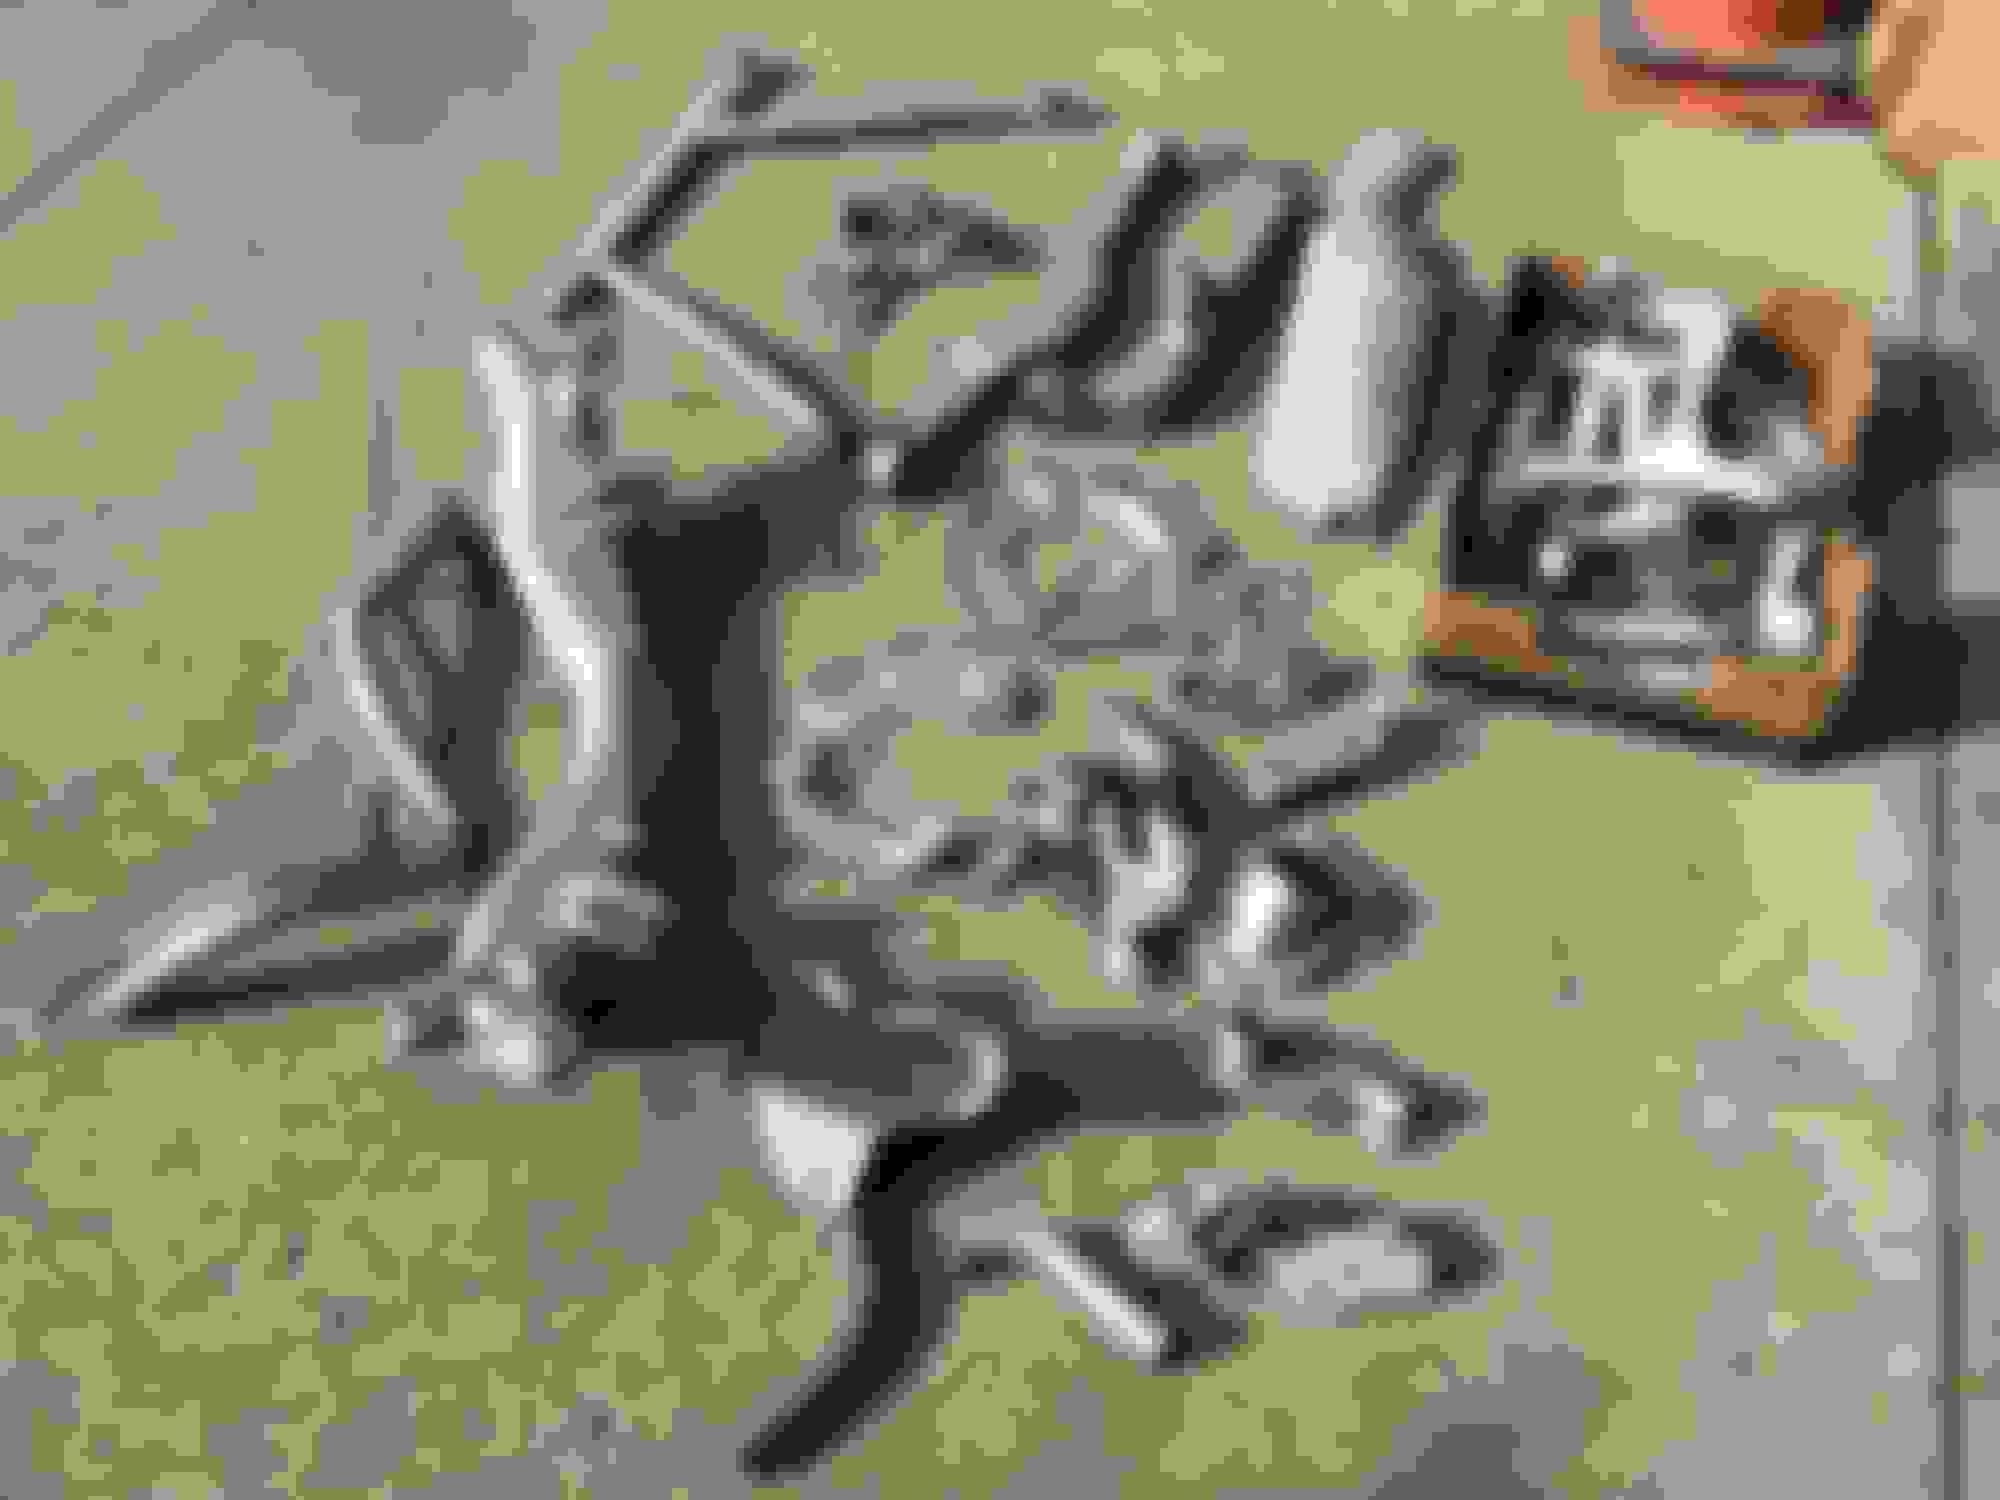
So it’s been a month since I last updated this thread. With spring just around the corner, it’s been a mad dash to get a lot done on the car. But I’m back, and ready to give you all more updates on the build. With the underside restoration all finished, it was time to move on to the suspension pieces. Removing all the suspension parts earlier had uncovered a lot of unpleasant rust and muck. The rear subframe and differential had definitely seen better days.
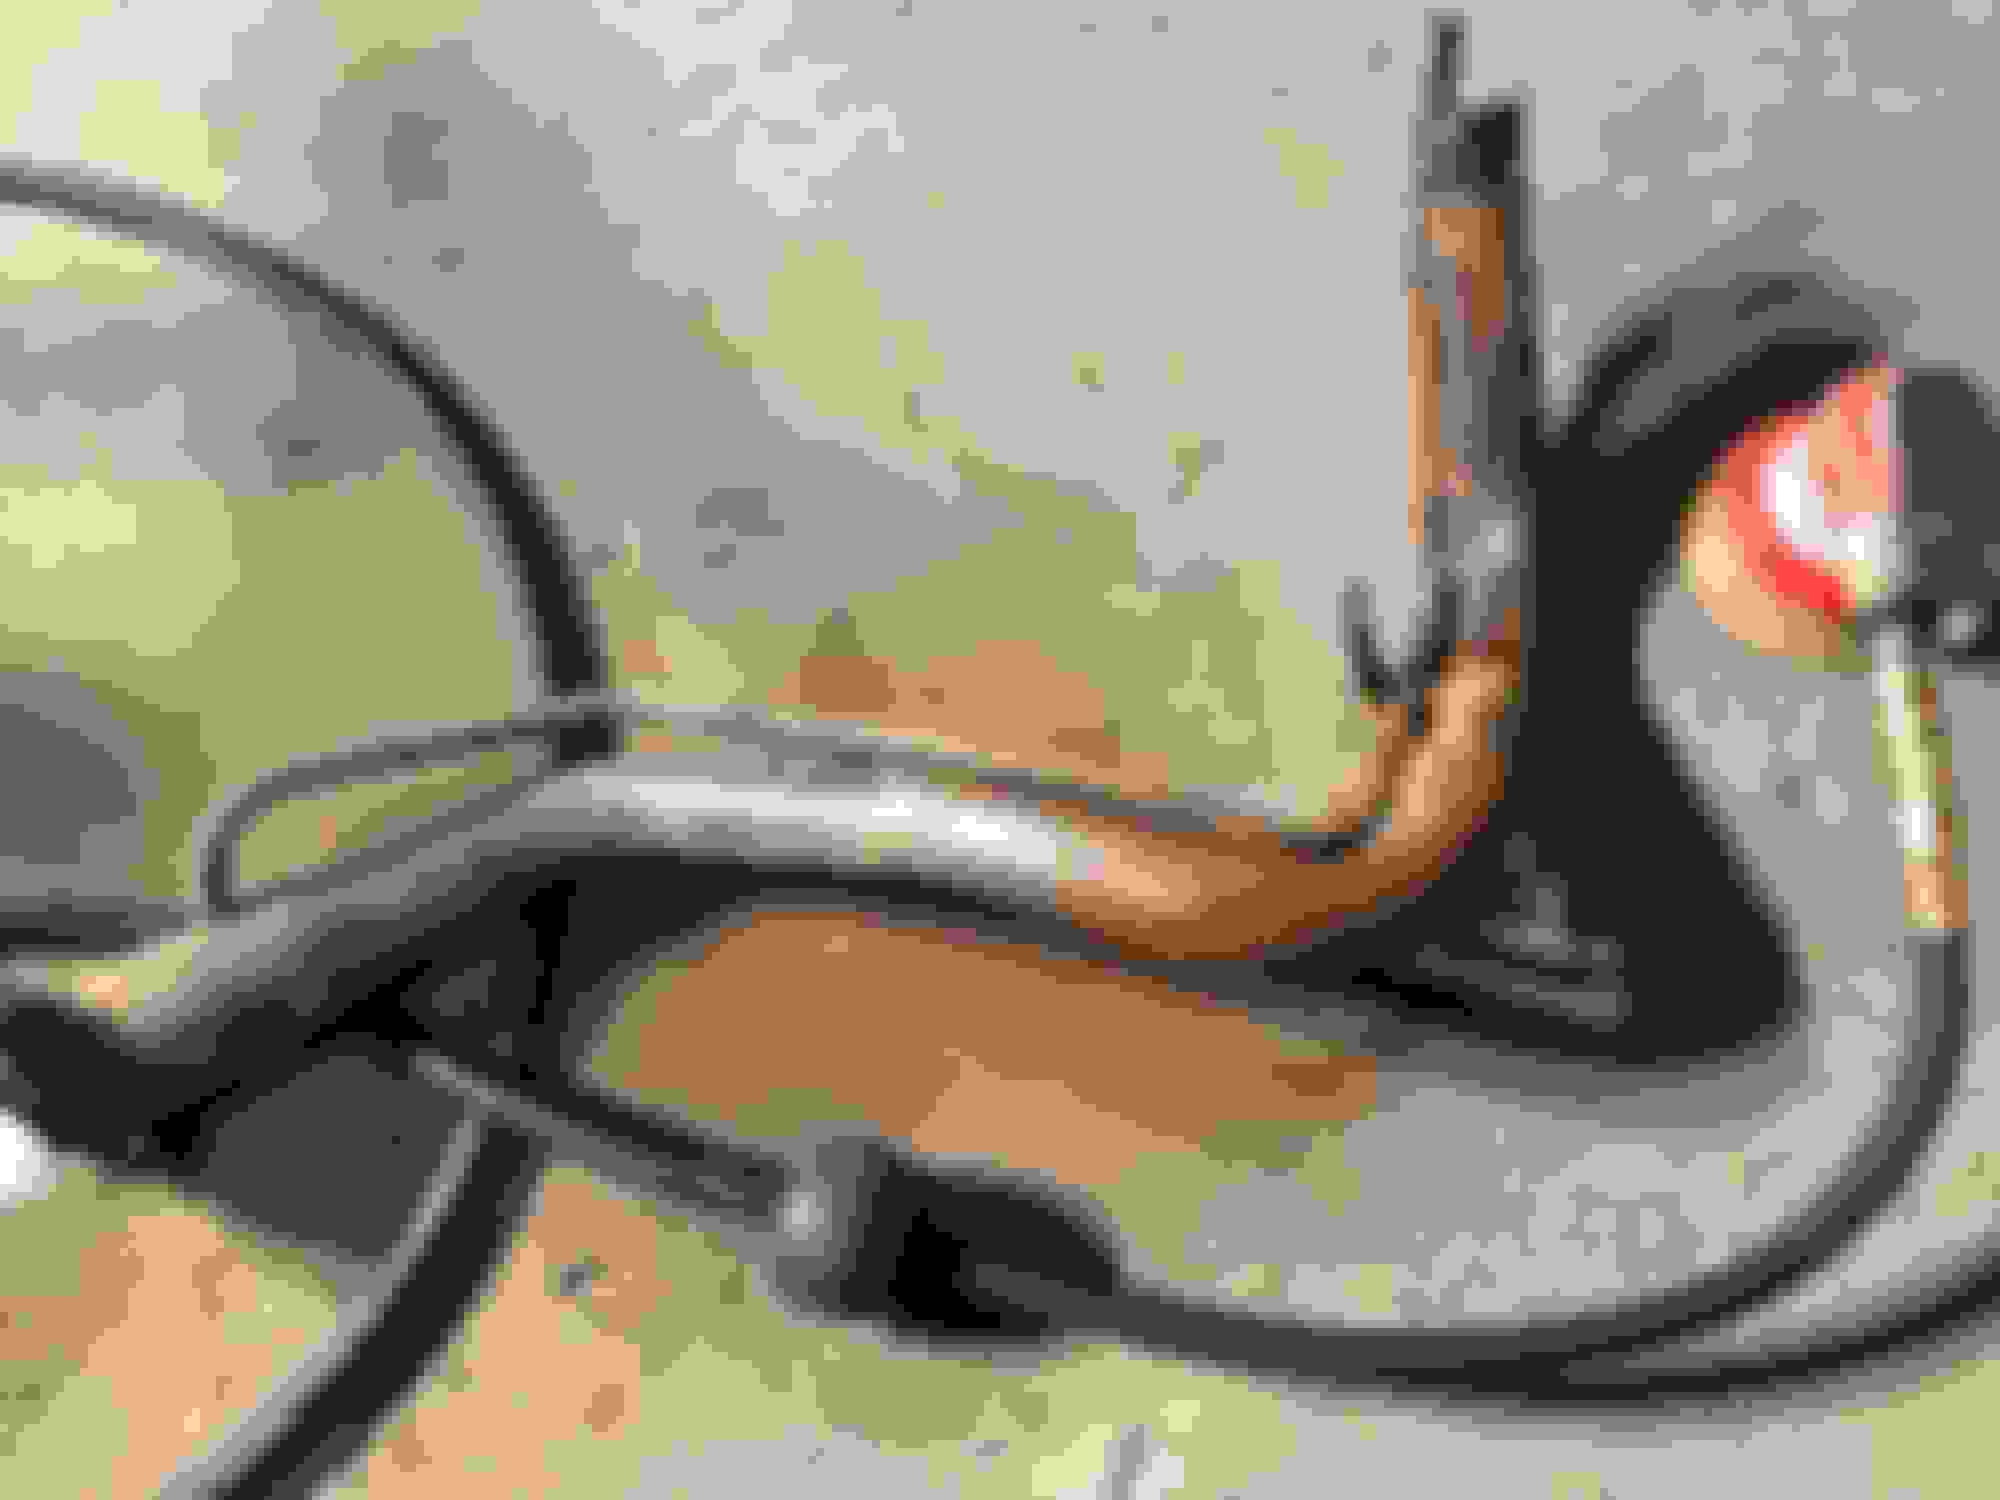
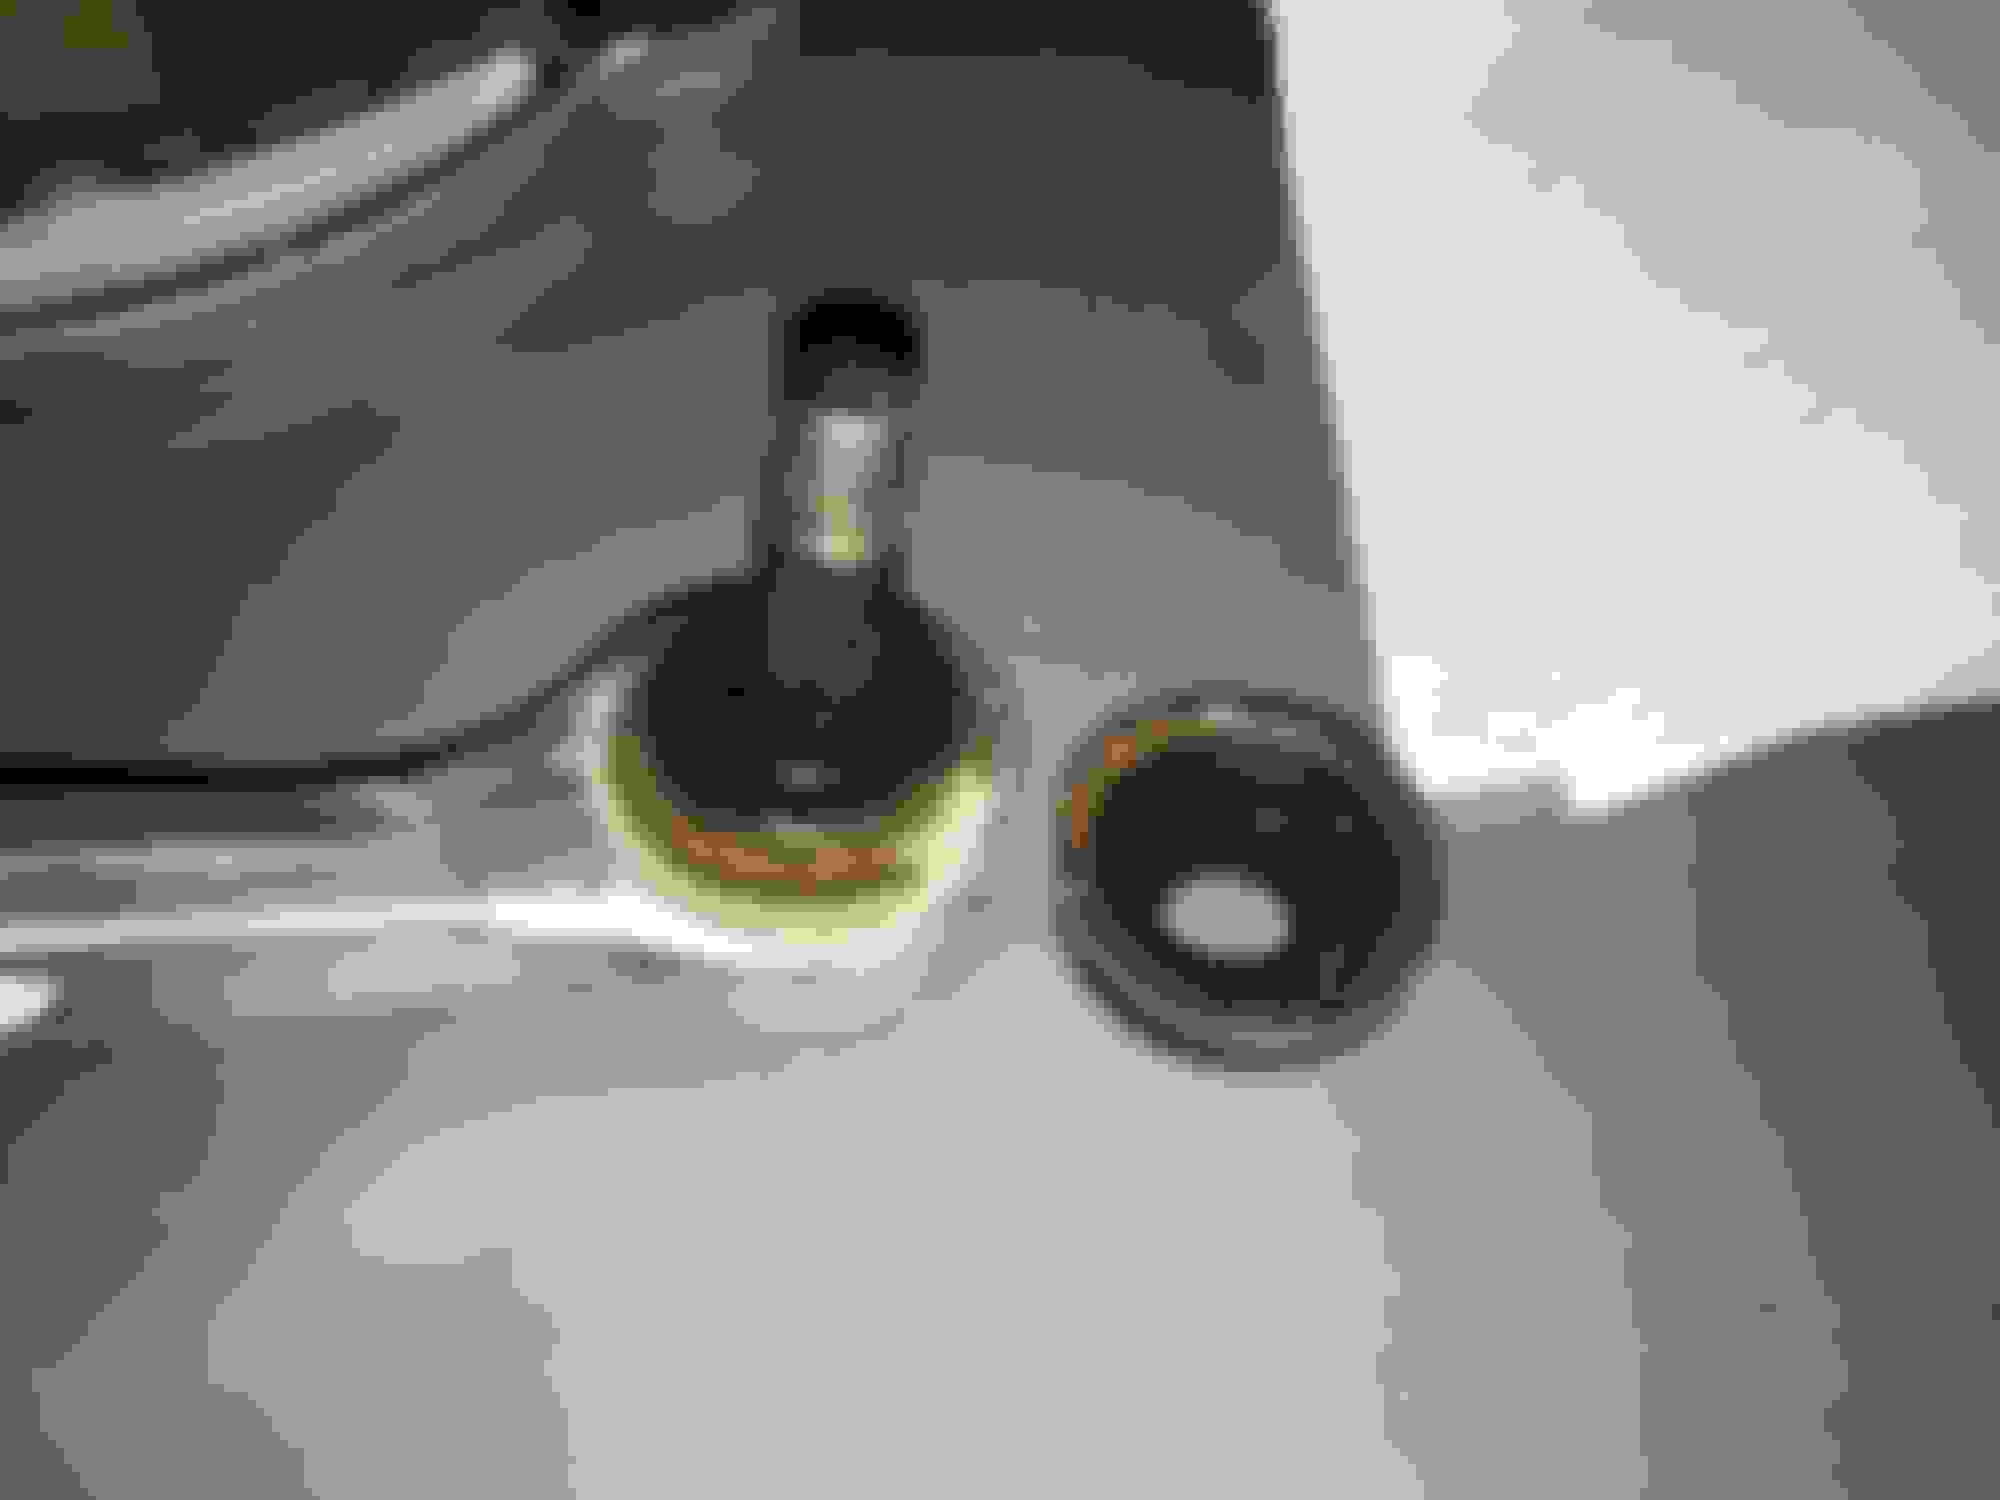
The fuel filler neck was probably the worst spot on the entire car. It had so much crap caked on to it.
I pulled out the wire brush and some sandpaper and set to work cleaning up all the parts. After several hours though, I started to realize my efforts were all for not. They were beyond just a wire brush.
There was only one solution for all these rusted parts! I loaded up the trunk with all the suspension parts and headed to a DIY sandblasting yard. After an hour or so, I had some beautiful clean parts that were pretty much ready for painting.
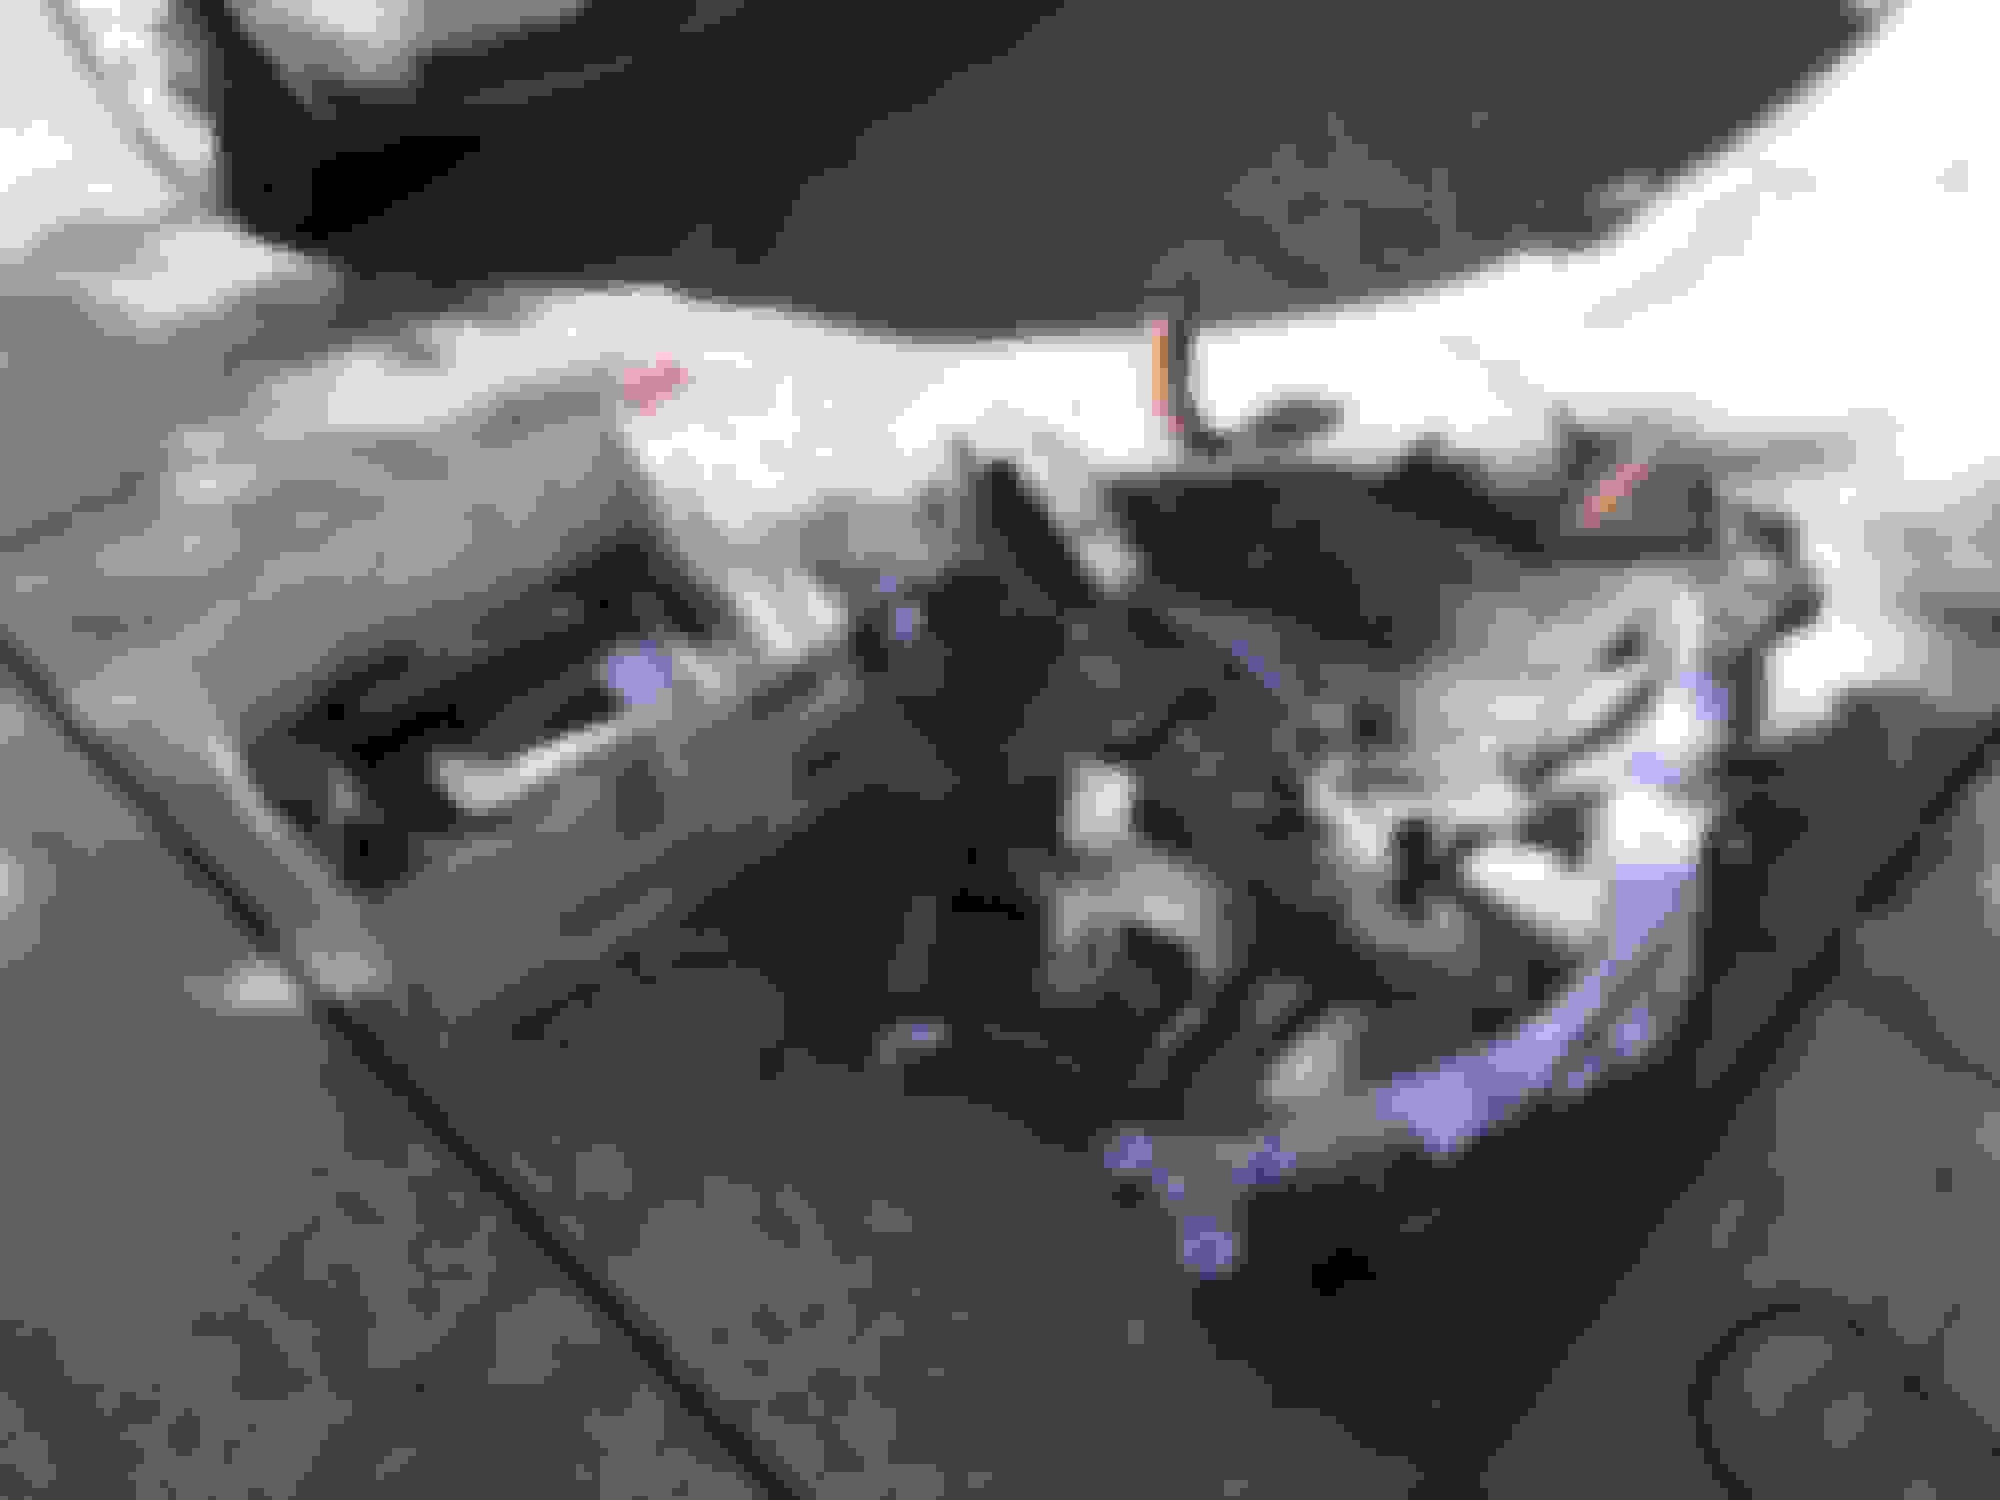
In the last post I talked about how I was using a product called Zero Rust for the underside of the car. I decided to use this product for some of the suspension parts as well, since I had been so happy with how easy it was to apply and it appeared to be very durable. For the subframe, filler neck, and all the other various brackets, I painted them with Zero Rust Black.
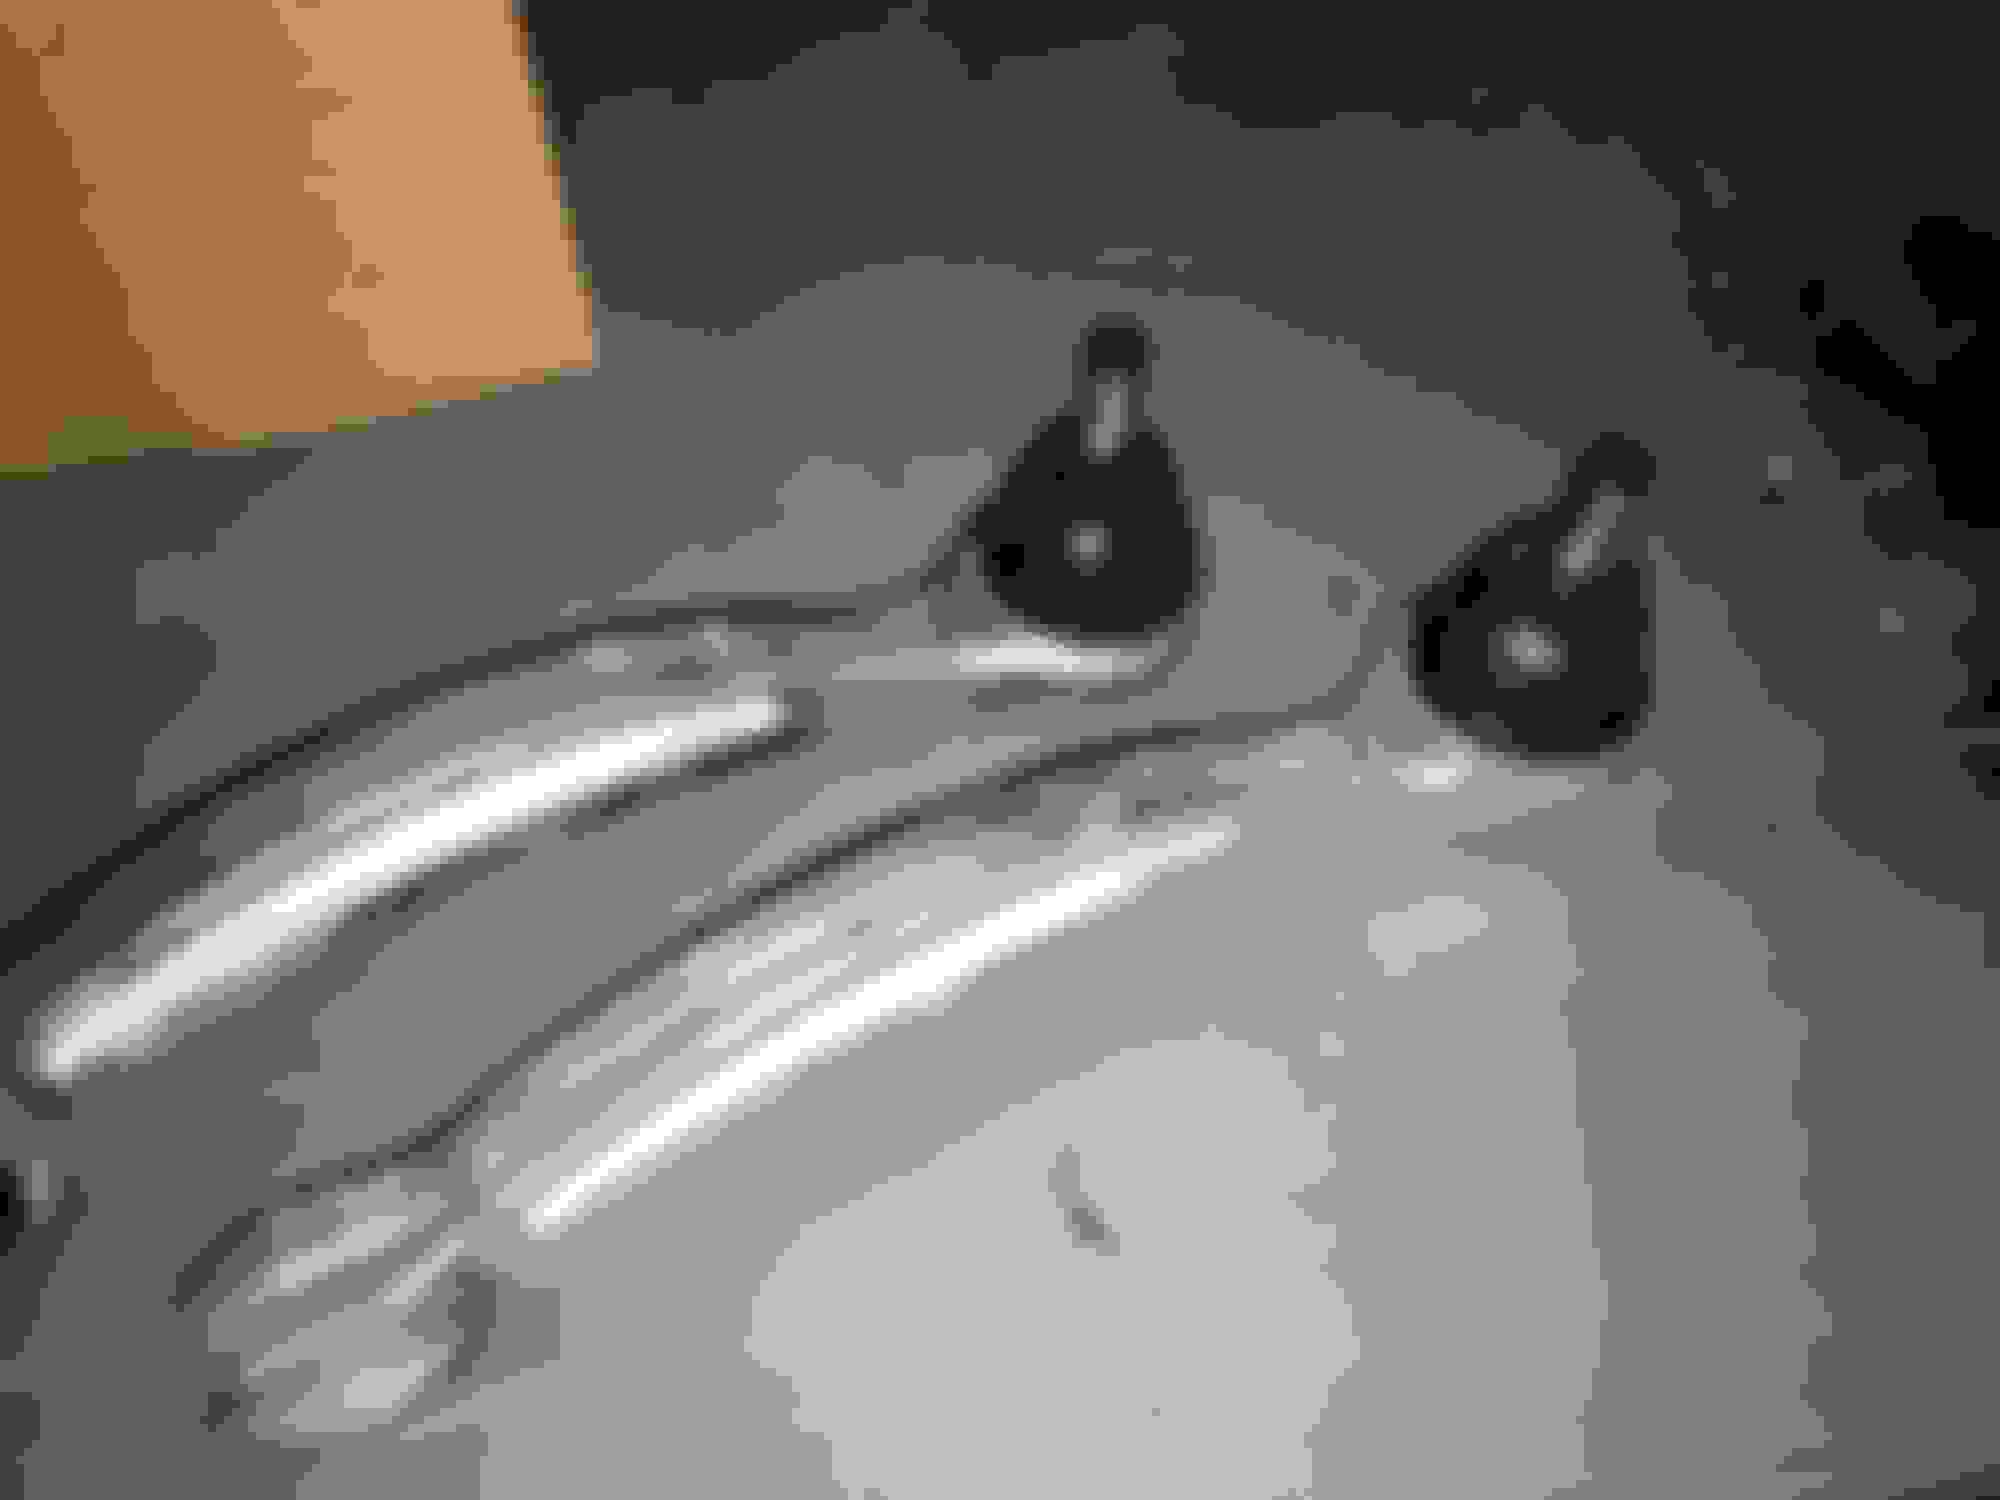
As for the suspension arms, I decided to leave them bare and gave them a quick brush on the bench grinder. I also replaced all the ball joint dust boots while I was at it with some new ones.