TWM Under Hood Bushings for the 2010 GSR - Install and Review
 Aug 19, 2010, 10:06 AM
#1
Evolved Member
Thread Starter
iTrader: (1)
Join Date: Nov 2009
Location: Omaha, NE
Posts: 1,456
Likes: 0
Received 0 Likes
on
0 Posts
TWM Under Hood Bushings for the 2010 GSR - Install and Review
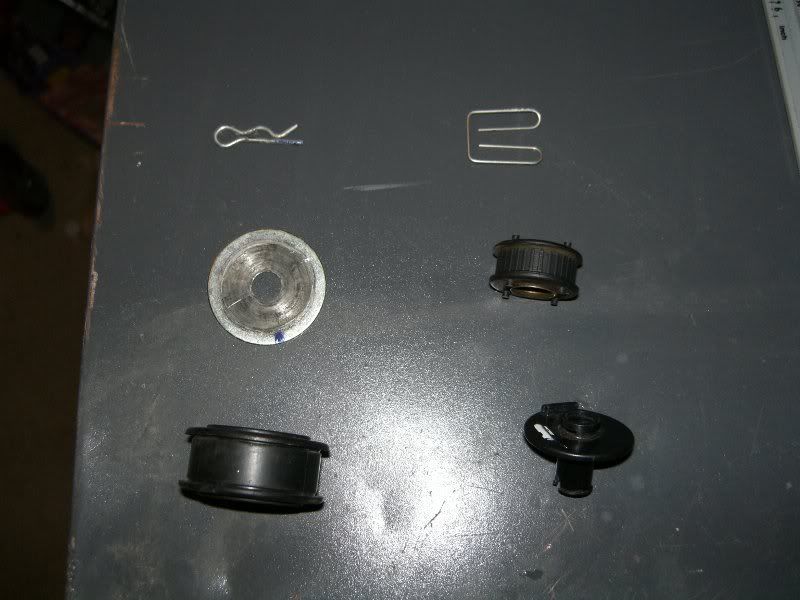
You will get 3 bushings with the kit along with 2 e-clips and some pins to hold it toghether.
I forgot to take a picture of the parts.
Here is a picture of the 2008 set from TWM:

The 2010 will have one of those bushings pictured above and one that is much larger.
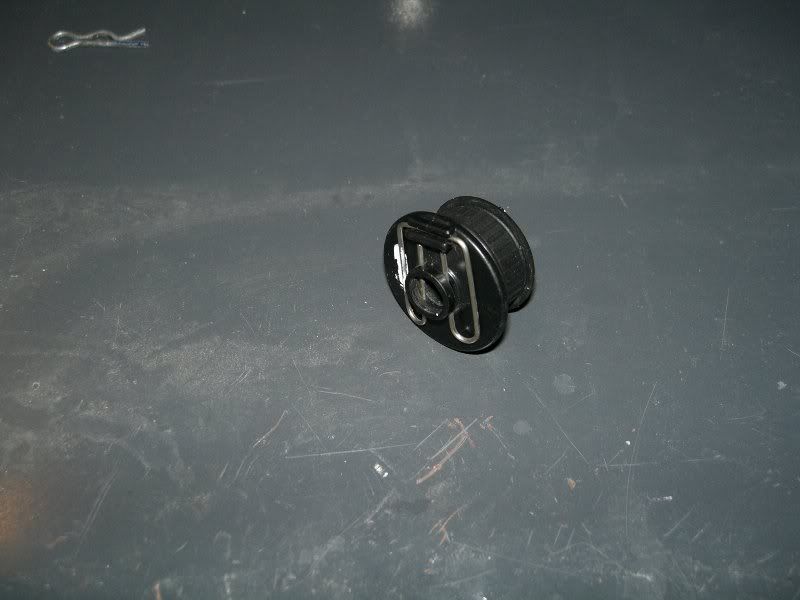
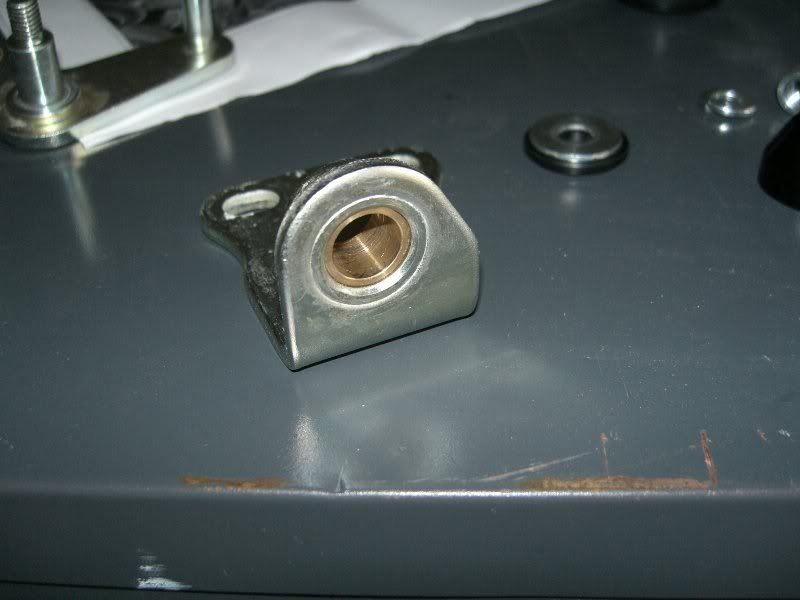
Here is a picture of the Larger one next to a set of AMS bushings. The Black Rubber piece is the stock one and the brass colored one is TWM's.
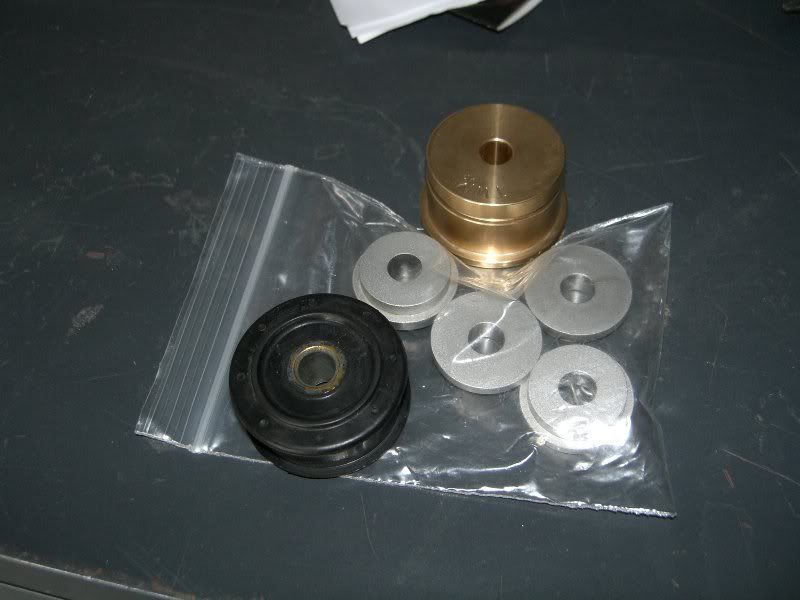
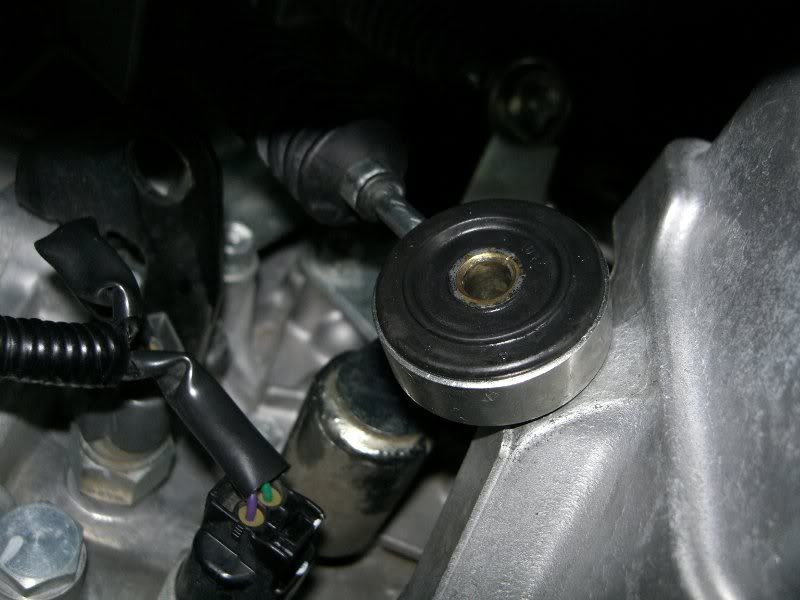
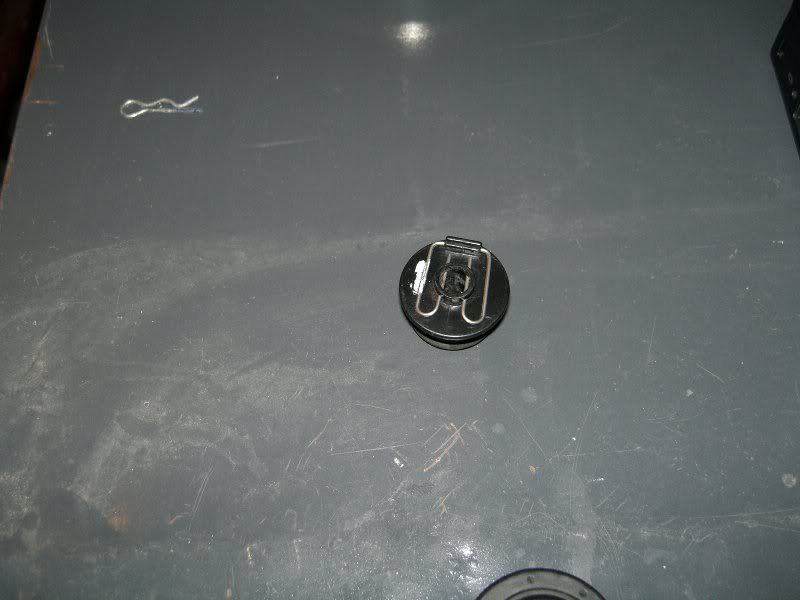
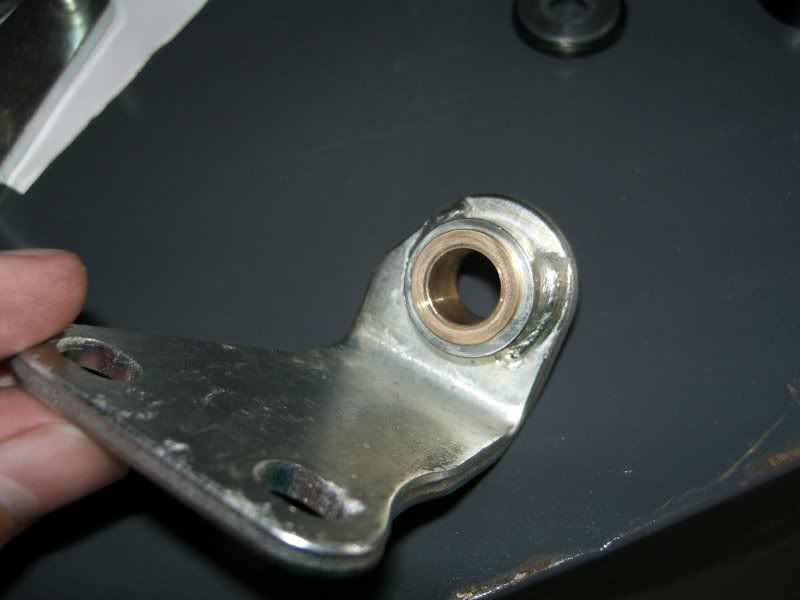
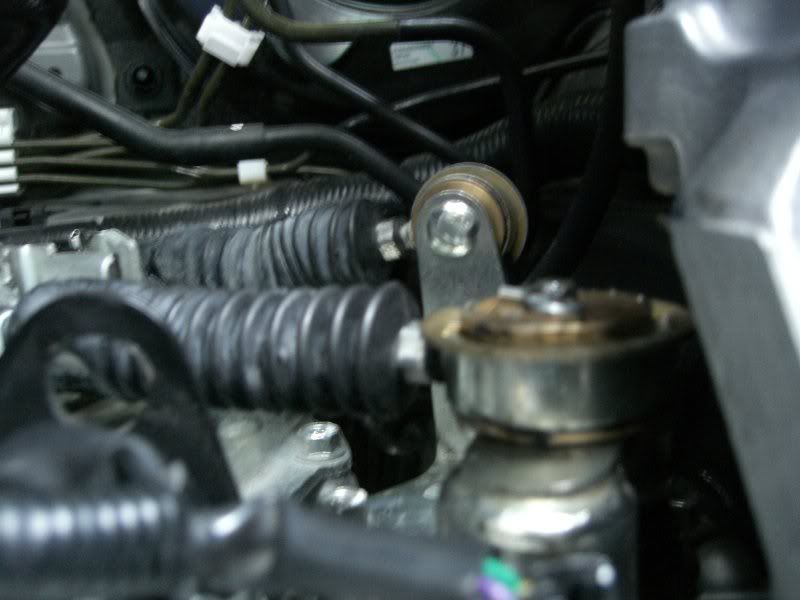
For Reference, here is a picture of the stock bushings that you will be taking off. Pay attention to the clip for the smaller one. The clip mounts toward the firewall and is hard to see.

Ok, lets get started with the install.
1) Remove your Intake and whatever else is in the way of the shifter bushings. If you have the stock intake box, it will be a bit more complicated than an aftermarket setup. TWM includes instructions for removing your stock intake. I'm not going to go into that.
2) Take the Pin off the Big Bushing. Try not to lose it. If you do, don't worry, TWM supplies 2 more of these, so you can lose up to 2 of them.
3) Remove the big metal washer:
Removed:
4) Pull it off the mounting pin:
5) Pry the rubber center out with a screw driver. It should pretty much pop right out of there.

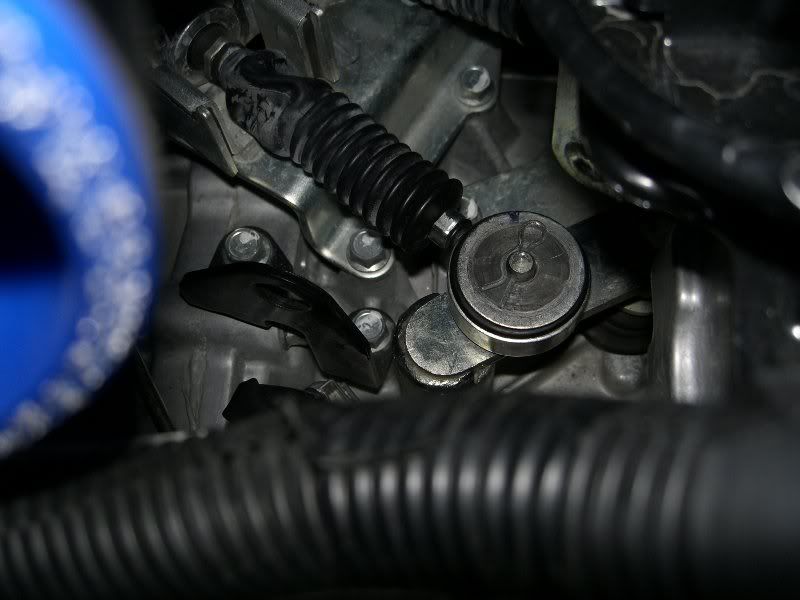
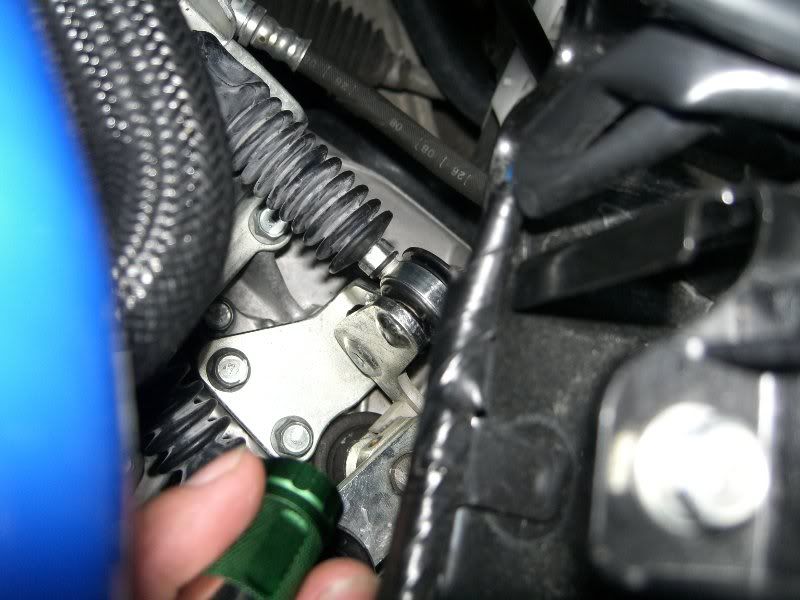
6) On to the Little one. I removed the pin before removing the Rocker Arm, but you should remove the Rocker Arm first. It has 2 bolts that hold it to the top of the tranny. Remove them and you can rotate it around to see the pin holding the bushing on. Remember the picutre above.
Here is the Rocker Arm Assembly still on the tranny:
Don't lose this piece, it fits into the transmission's arm and moves it up and down.
Here is the Rocker assembly still stock with the black cap off:
7) Take the pin out of the back of the small bushing.
This is what it looks like assembled on my bench:
You have to pop the top out of the plastic then slide the rest out from the shaft's groove.
8) Remove the inner plastic ring.
Pictured bottom right:
9) Remove the Rubber Bushing with a screw driver.
Here is a picture with the small Rubber Bushing removed. Note that I still have the Rocker Arm still installed, as I did it backwards.
10) Disassembly done!
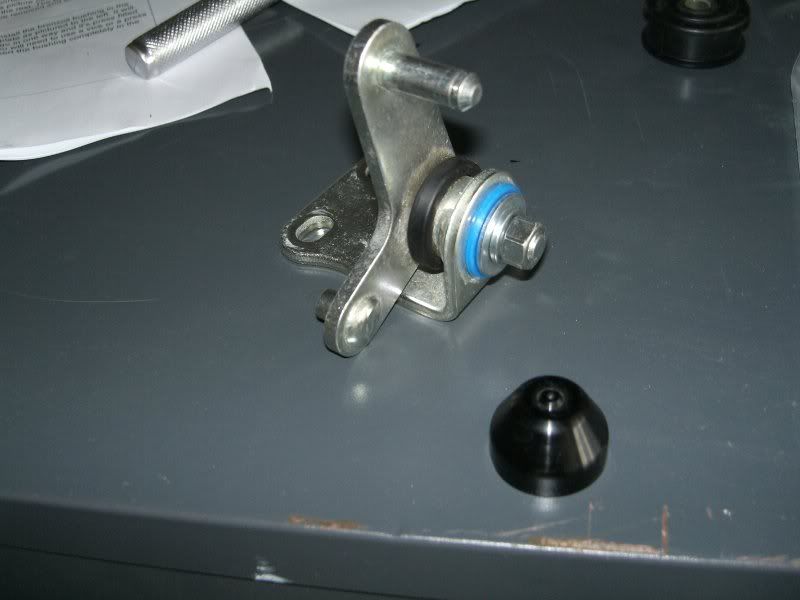
11) Take the nut off the Rocker Arm and remove the stock bushing.
Stock assembly:
12) Press in the new bushing. This will fit snug. You can use a vice or just tap it in with a hammer. I also used a piece of wood so I wouldn't mar it.
13) Reassemble the Rocker Arm. I used a tiny bit of Lithium grease on mine to make sure it moved smoothly. You will notice how all the slop is gone from this piece now.

14) Install the Small Bushings into the cable Eyelets. You simply push the bushing through the eyelet and snap the E-clip on the back side.
Stock pieces next to TWM's bushing:

Assembled:
15) Now install the Small Bushing onto the Rocker Arm. Use the metal clip and slide it on over the shaft.
(See next step for a picture)
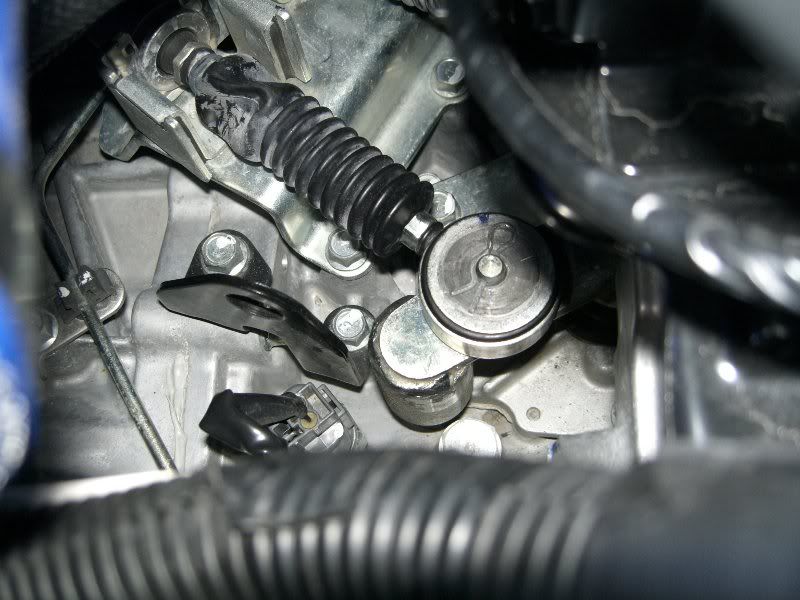
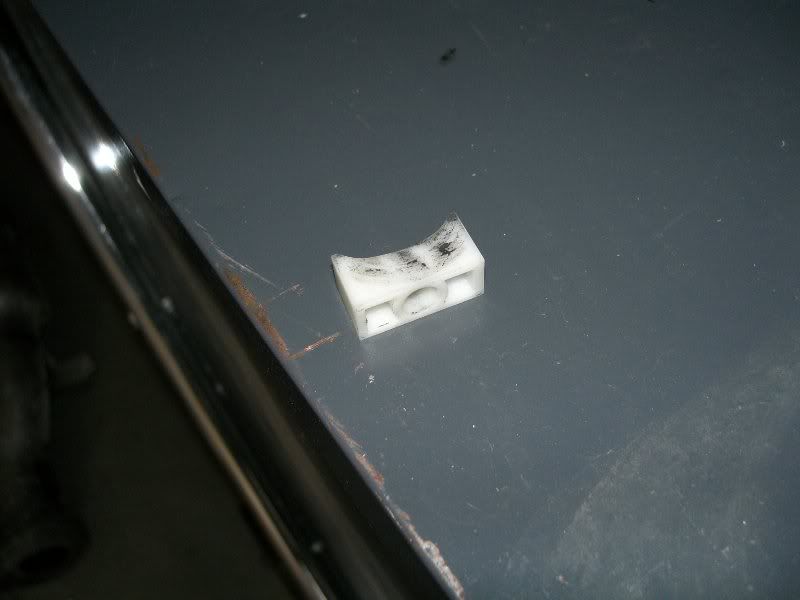
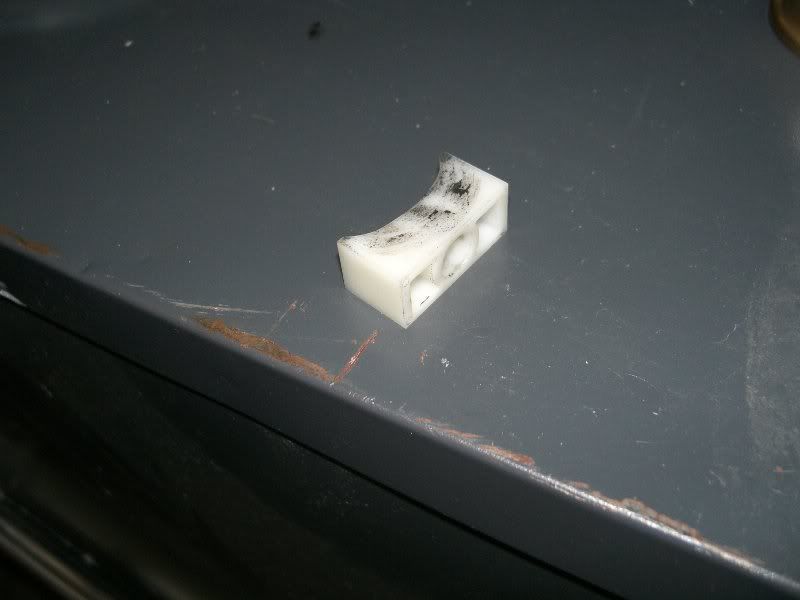
16) Bolt the Rocker Assembly back onto the Transmission, and be careful to slide the white plastic piece into the transmission's shift selector arm. I stuck the white piece onto the rocker arm assembly and then slid it onto the transmission's shift selector.
White Plastic piece to be careful with:
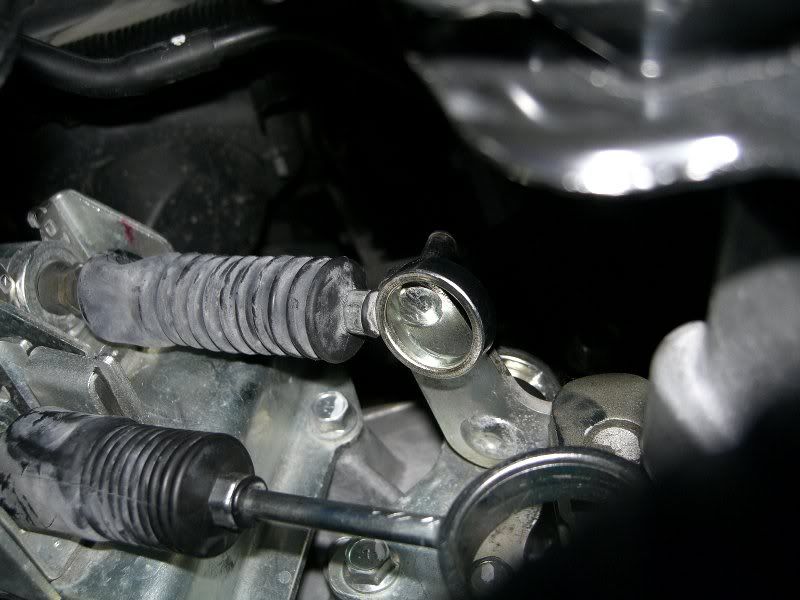
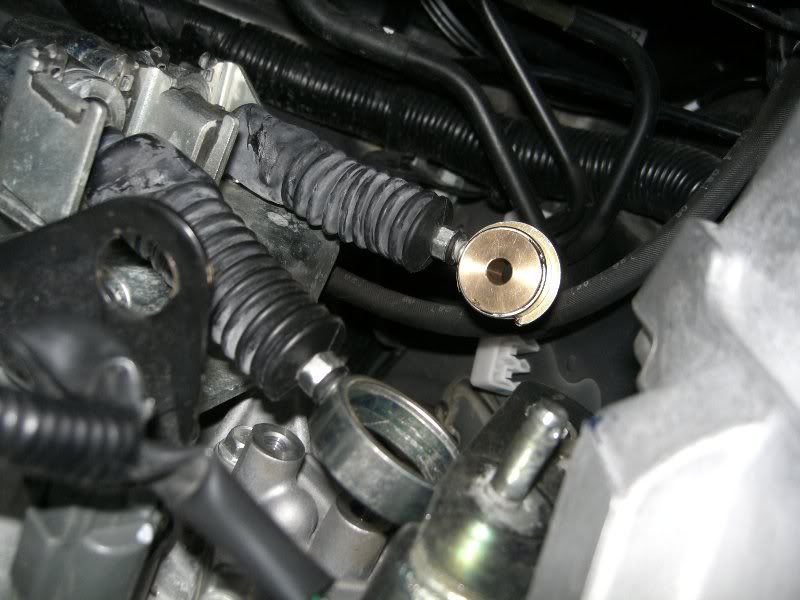
Assembled on the car:

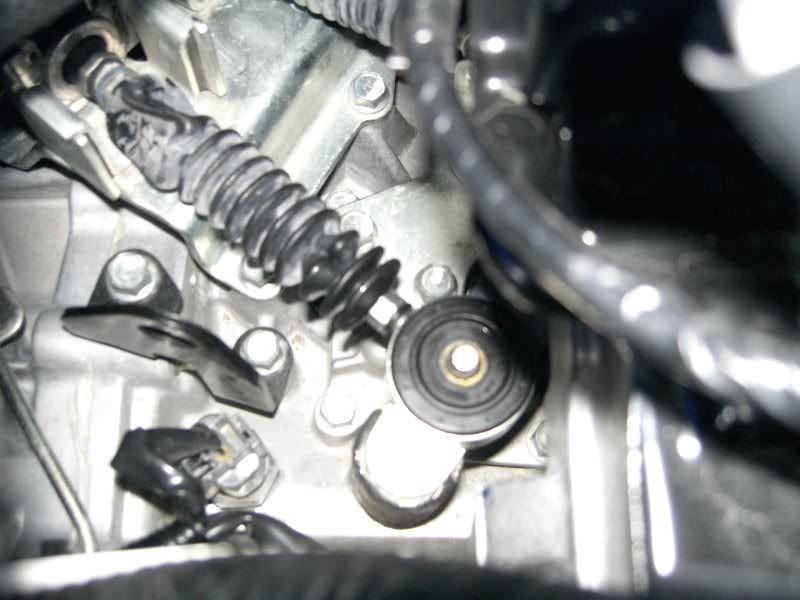
17) Slide the Big Bushing into the pin on the Transmission's Shift Selector Arm. It is easier to assemble this way, as opposed to putting the bushing on the eyelet first.
18) Slide the Eyelet onto the Bushing.
19) Secure it with the Large E-Clip.
20) Push the pin into the hole on the top of the pin.
Done!
Now just put your intake back on.
I forgot to take a picture of the parts.
Here is a picture of the 2008 set from TWM:
The 2010 will have one of those bushings pictured above and one that is much larger.
Here is a picture of the Larger one next to a set of AMS bushings. The Black Rubber piece is the stock one and the brass colored one is TWM's.
For Reference, here is a picture of the stock bushings that you will be taking off. Pay attention to the clip for the smaller one. The clip mounts toward the firewall and is hard to see.
Ok, lets get started with the install.
1) Remove your Intake and whatever else is in the way of the shifter bushings. If you have the stock intake box, it will be a bit more complicated than an aftermarket setup. TWM includes instructions for removing your stock intake. I'm not going to go into that.
2) Take the Pin off the Big Bushing. Try not to lose it. If you do, don't worry, TWM supplies 2 more of these, so you can lose up to 2 of them.
3) Remove the big metal washer:
Removed:
4) Pull it off the mounting pin:
5) Pry the rubber center out with a screw driver. It should pretty much pop right out of there.
6) On to the Little one. I removed the pin before removing the Rocker Arm, but you should remove the Rocker Arm first. It has 2 bolts that hold it to the top of the tranny. Remove them and you can rotate it around to see the pin holding the bushing on. Remember the picutre above.
Here is the Rocker Arm Assembly still on the tranny:
Don't lose this piece, it fits into the transmission's arm and moves it up and down.
Here is the Rocker assembly still stock with the black cap off:
7) Take the pin out of the back of the small bushing.
This is what it looks like assembled on my bench:
You have to pop the top out of the plastic then slide the rest out from the shaft's groove.
8) Remove the inner plastic ring.
Pictured bottom right:
9) Remove the Rubber Bushing with a screw driver.
Here is a picture with the small Rubber Bushing removed. Note that I still have the Rocker Arm still installed, as I did it backwards.
10) Disassembly done!
11) Take the nut off the Rocker Arm and remove the stock bushing.
Stock assembly:
12) Press in the new bushing. This will fit snug. You can use a vice or just tap it in with a hammer. I also used a piece of wood so I wouldn't mar it.
13) Reassemble the Rocker Arm. I used a tiny bit of Lithium grease on mine to make sure it moved smoothly. You will notice how all the slop is gone from this piece now.
14) Install the Small Bushings into the cable Eyelets. You simply push the bushing through the eyelet and snap the E-clip on the back side.
Stock pieces next to TWM's bushing:
Assembled:
15) Now install the Small Bushing onto the Rocker Arm. Use the metal clip and slide it on over the shaft.
(See next step for a picture)
16) Bolt the Rocker Assembly back onto the Transmission, and be careful to slide the white plastic piece into the transmission's shift selector arm. I stuck the white piece onto the rocker arm assembly and then slid it onto the transmission's shift selector.
White Plastic piece to be careful with:
Assembled on the car:
17) Slide the Big Bushing into the pin on the Transmission's Shift Selector Arm. It is easier to assemble this way, as opposed to putting the bushing on the eyelet first.
18) Slide the Eyelet onto the Bushing.
19) Secure it with the Large E-Clip.
20) Push the pin into the hole on the top of the pin.
Done!
Now just put your intake back on.
 Aug 19, 2010, 10:07 AM
#2
Evolved Member
Thread Starter
iTrader: (1)
Join Date: Nov 2009
Location: Omaha, NE
Posts: 1,456
Likes: 0
Received 0 Likes
on
0 Posts
Review
First off, when you get these you will notice that they are fairly heavy. Especially the Large Bushing. Now if you look closely at the Transmission's Shift Selector Arm, you will see a big weight hanging off the end of it. Adding more weight with this bushing will act just like a weighted shift knob. This is a good thing.
Once installed, the shifting is very nice, smooth, and precise. The extra weight makes shifts feel smoother. I probably need a weighted shift knob too.
I really wish I would have gotten this for my X a while ago. Granted, that would have been impossible since these aren't even released from TWM yet.
The install was really simple and the parts fit perfectly. I did lube most of the movement parts with a dab of lithium grease to make sure everything ran smooth. The clearances are tighter than stock, and I didn't want it to feel stiff over time. I have no idea if that would have happened; I was just be cautious.
Thanks again for a great product TWM.
 Aug 19, 2010, 11:42 AM
#4

Excellent write-up! I didn't realize that TWM was making an entire underhood kit that included the shifter gate bushing. I pieced an underhood kit together from AMS a few months back, cool that they have it all as one package.
This and a front motor mount are the key to a super-slick shifter setup on the X. Kracka will insist that a short-shifter and shifter bushings are needed, but I am *so* happy with this basic combo, I just love it.
This and a front motor mount are the key to a super-slick shifter setup on the X. Kracka will insist that a short-shifter and shifter bushings are needed, but I am *so* happy with this basic combo, I just love it.
Aug 19, 2010, 01:12 PM
#5

Last edited by Kracka; Aug 20, 2010 at 11:45 AM.


Thread
Thread Starter
Forum
Replies
Last Post
Golden
Evo X How Tos / Installations
100
Jun 6, 2017 09:14 AM
blooo
For Sale - Engine / Drivetrain / Power
2
Aug 24, 2015 06:32 PM
ETS Michael
Vendor 'Used Parts' Classifieds
7
Jun 22, 2015 03:53 AM
ETS Michael
Vendor 'Used Parts' Classifieds
2
Dec 28, 2012 09:51 AM