
The detail process 20+ hours on my Evo IX

Thread Starter
Newbie
Joined: Apr 2011
Posts: 52
Likes: 0
From: Virginia
The detail process 20+ hours on my Evo IX
Detail, pictures and write up by Dan Kastner at http://www.premiershinedetail.com/
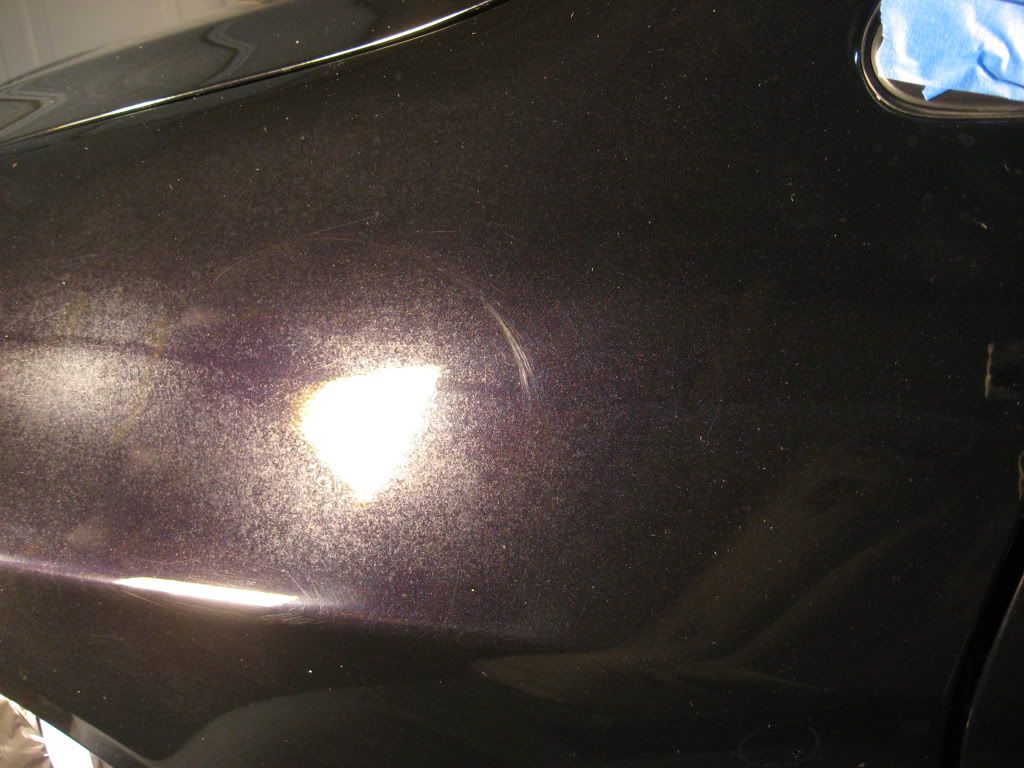
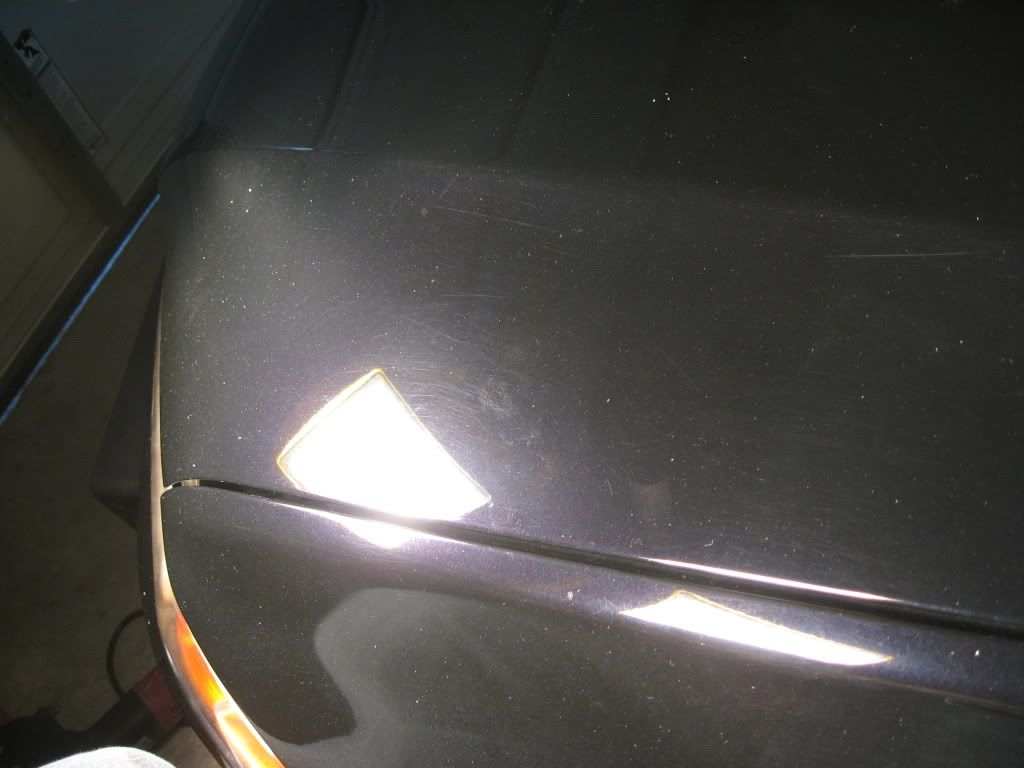
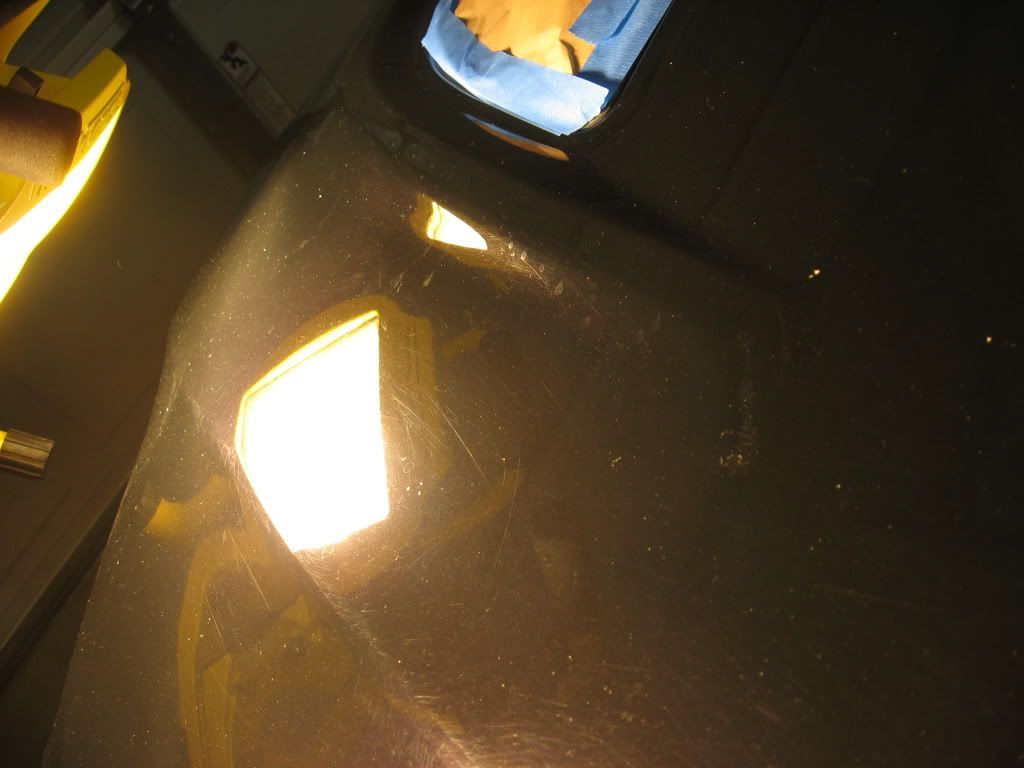
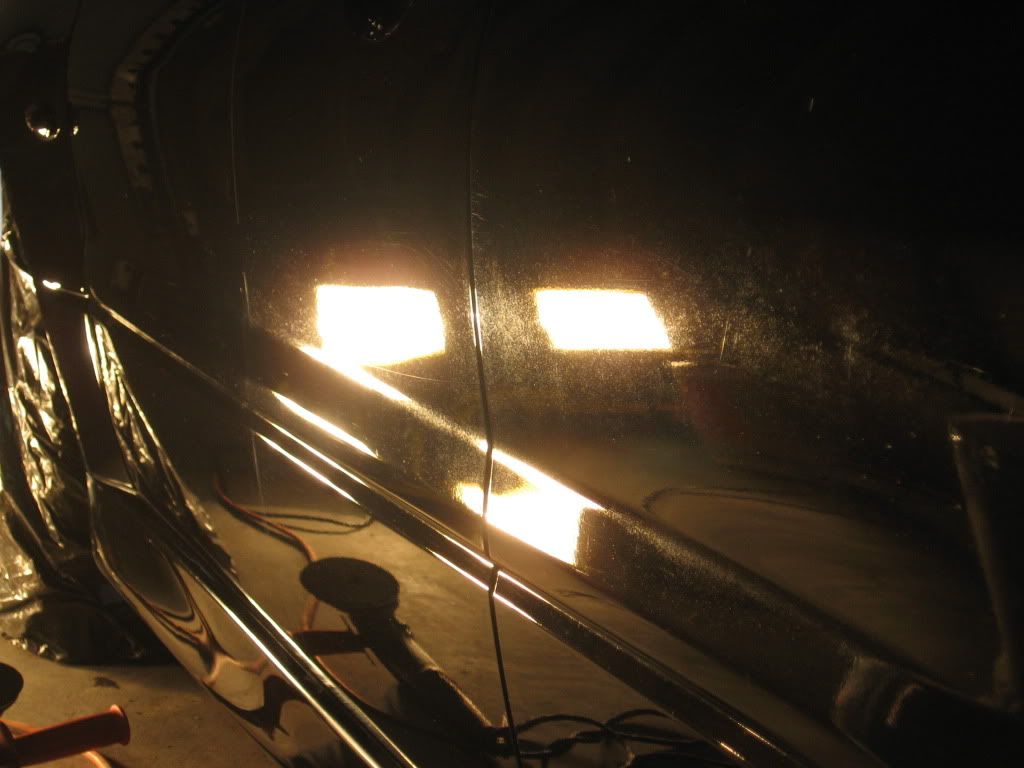
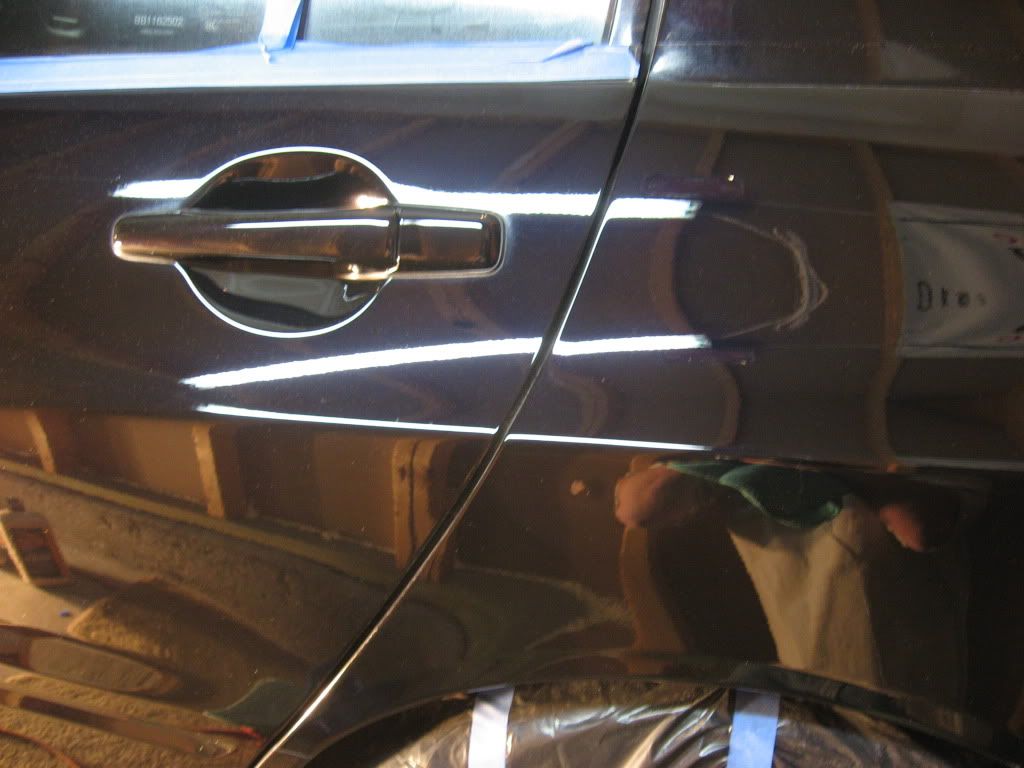
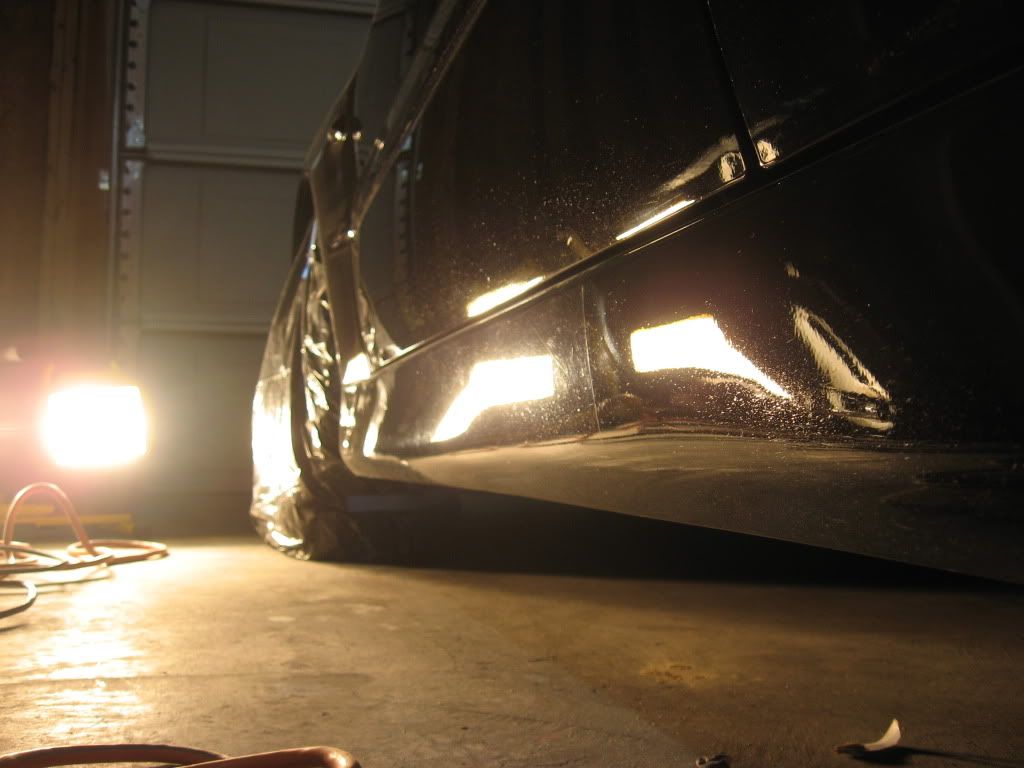
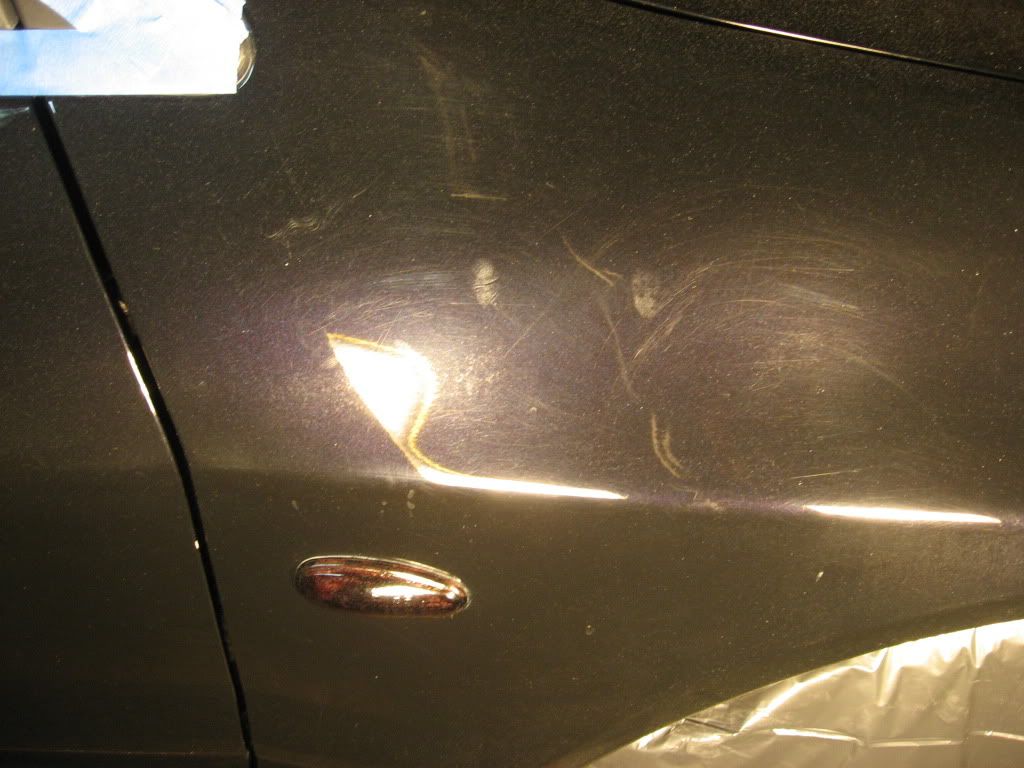
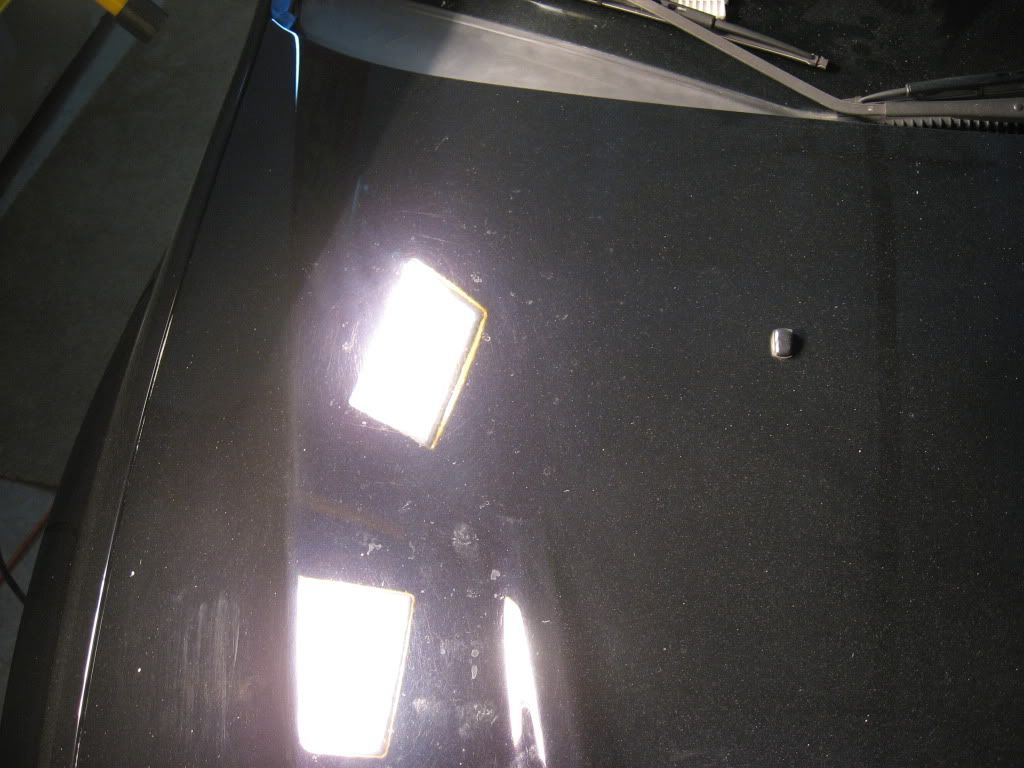
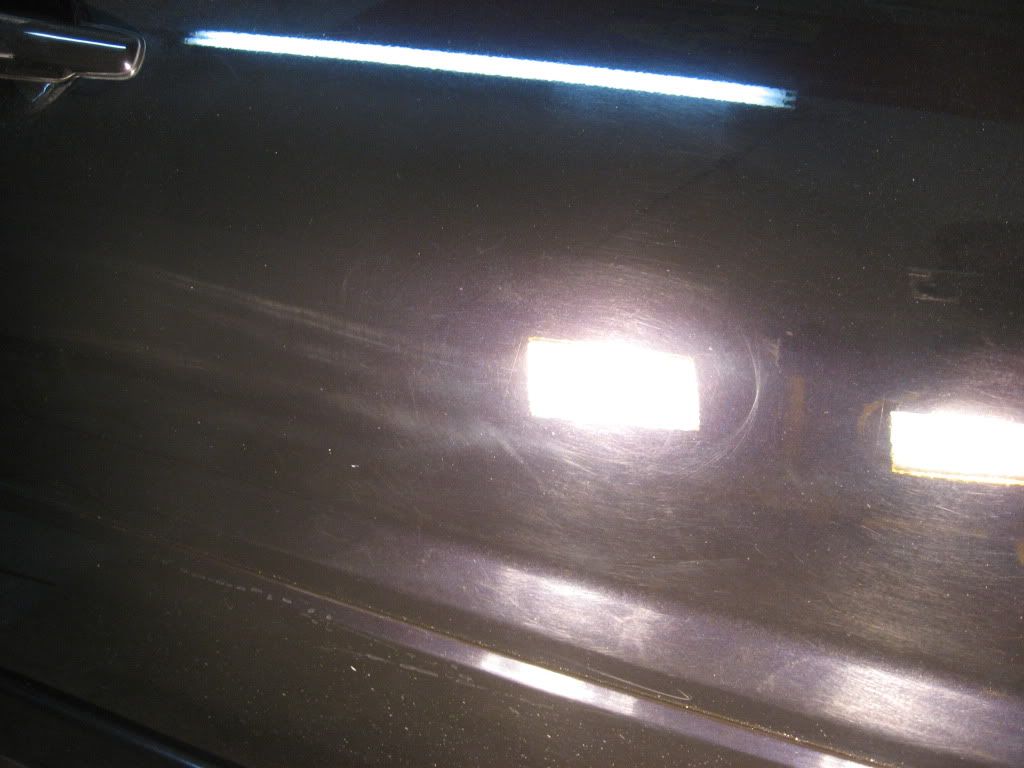
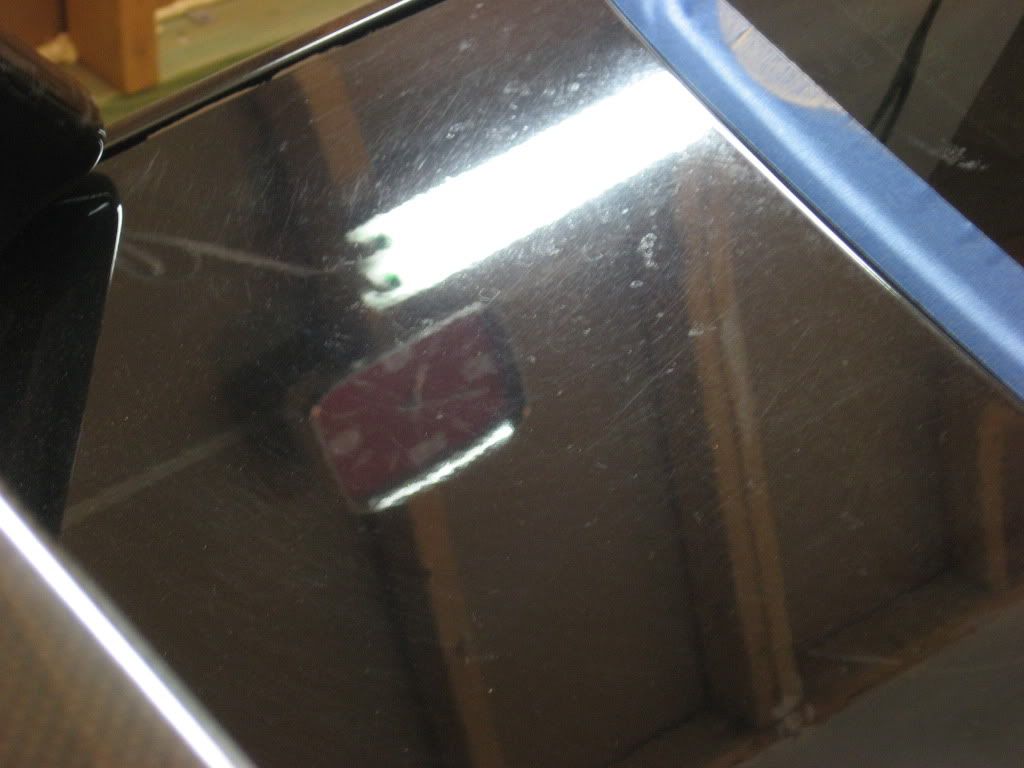
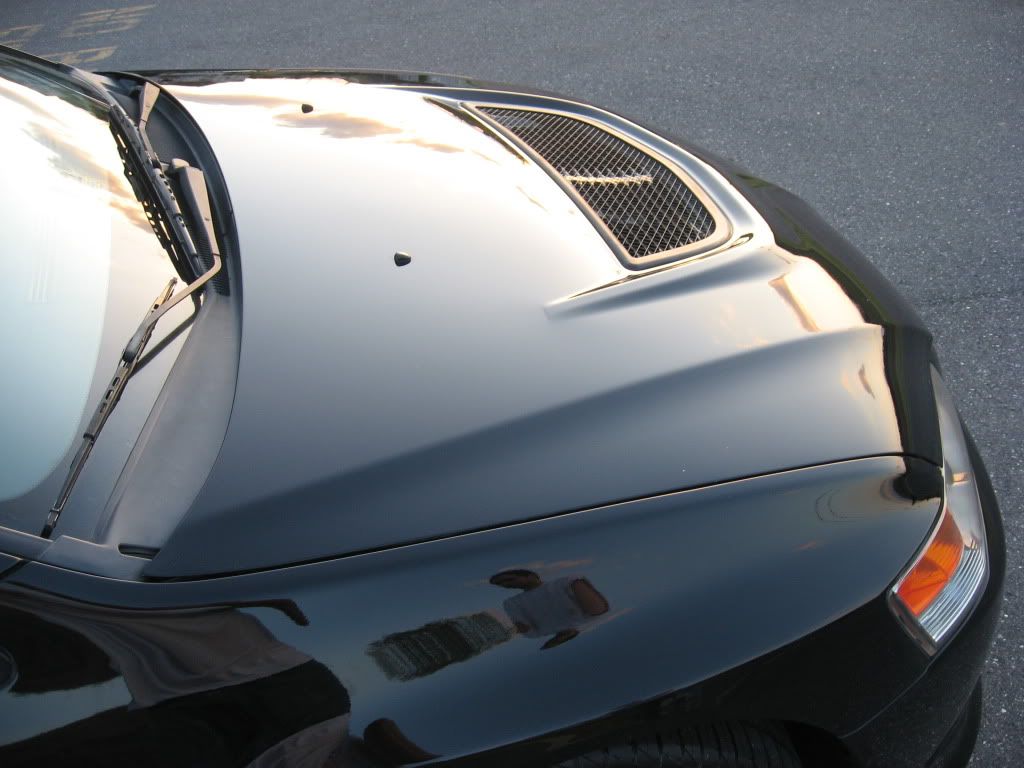
This job was completed after over 20 hours went into resurrecting the hammered and beat up paint. Heavy swirling, marring and yards of buffer trails and holograms left by a "detailer" was what I was faced with. The correctional process took 4 steps to complete at around 1 hour to an hour and fifteen per. panel.
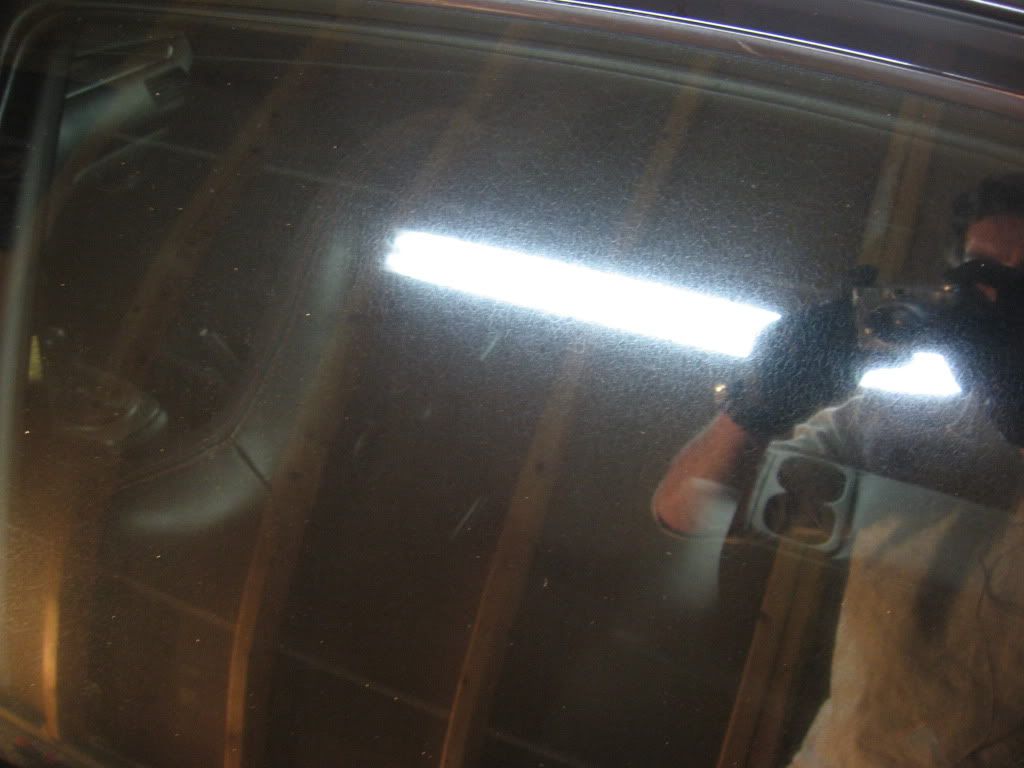
The car was COVERED in acid rain and heavy water deposits, including the windows which were hammered. Compounding pad + Glass polish X 3 passes per window helped, but still did not remove all. A large improvement was made!
Onto the good stuff
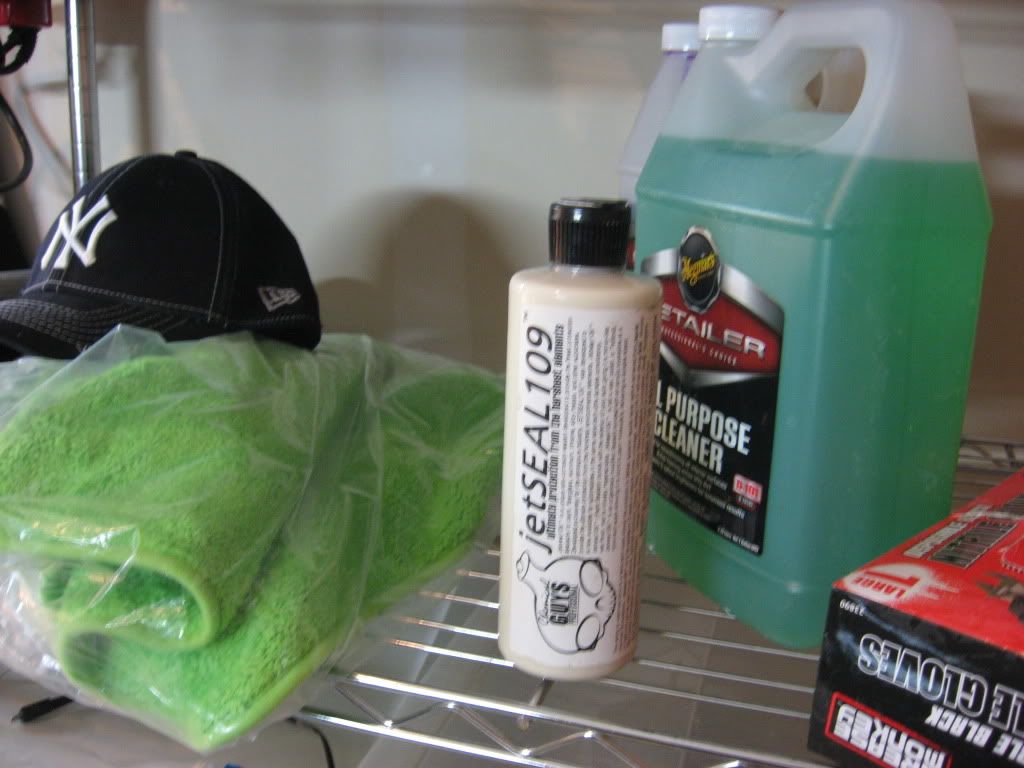
Products/ tools used:
Products:
CG Citrus Wash and Clear/ Dawn wash
Sonax FE wheel cleaner/ Megs WB 15:1
Megs APC
Uber Fine Clay
ONR
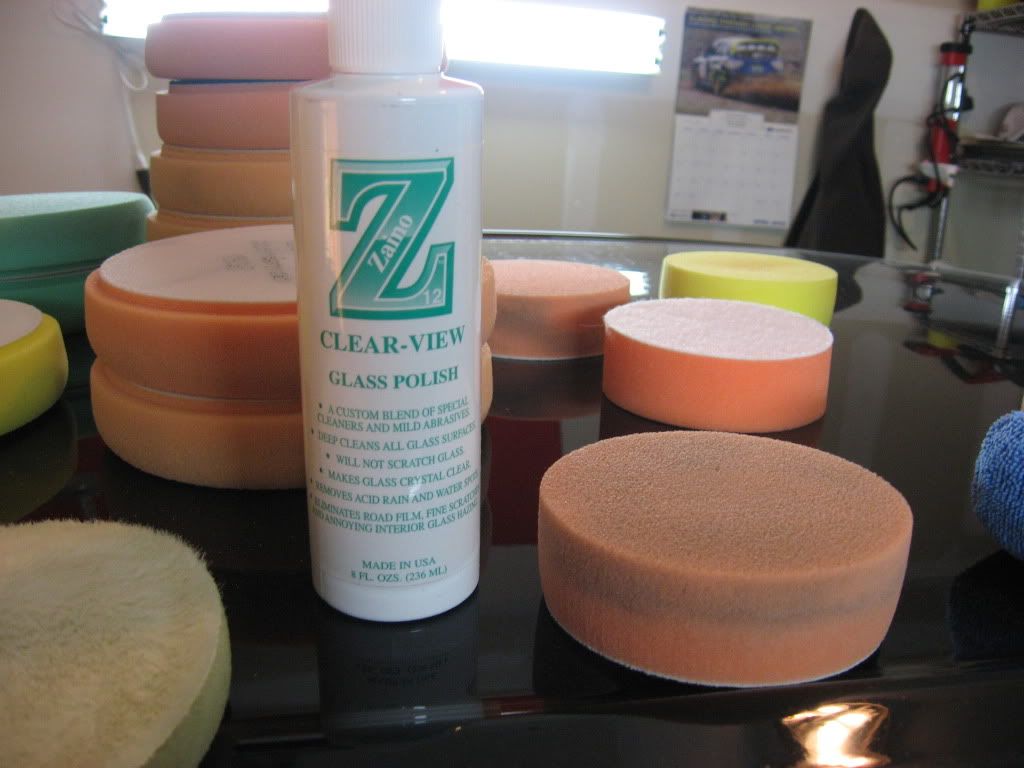
Zaino Z12 Clearview Glass Polish
Sonax Glass Cleaner
303 Aerospace Protectant
Adams VRT dressing
Megs 105
Menzerna Power Finish
Menzerna Super Finish
IPA 30%
CG JetSeal 109
Tools:
3 Wool wash mitts
SV brushes- wheel, Pneu
Uber Spoke wheel brush
0000 steel whool
PC air compressor
Flex DA
PC DA
Various backing plates
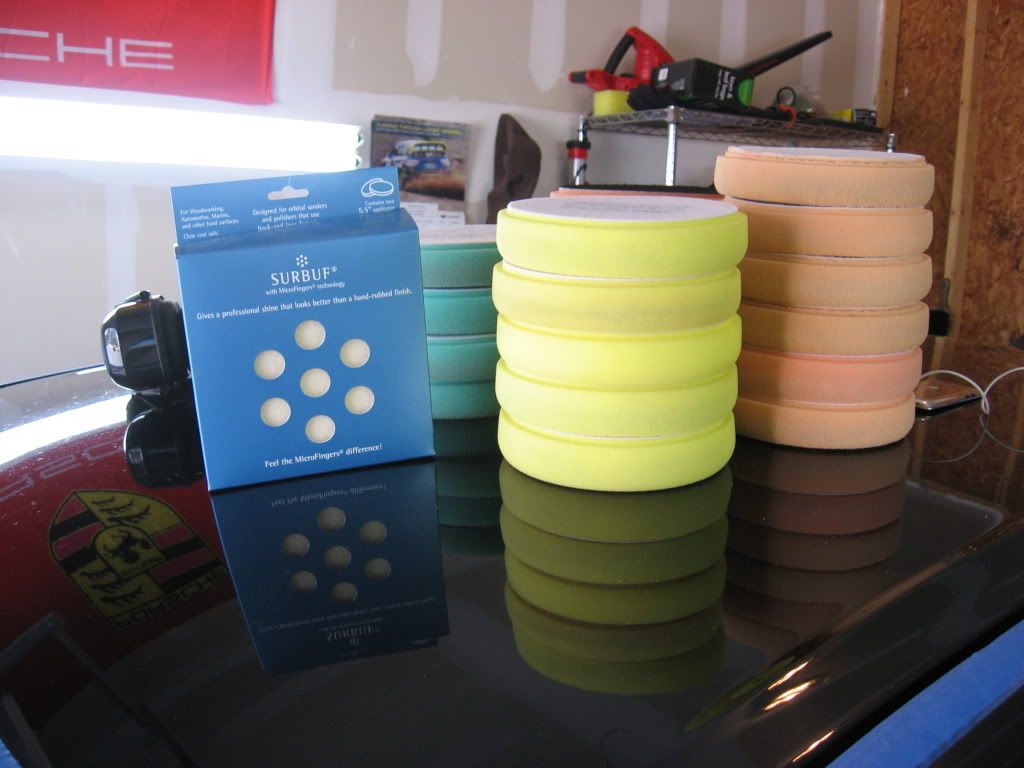
Surbuf R series MF pads
Uber Green foam
Uber Orange foam
Uber yellow foam
LC 3 in. yellow foam
LC 3 in. orange foam
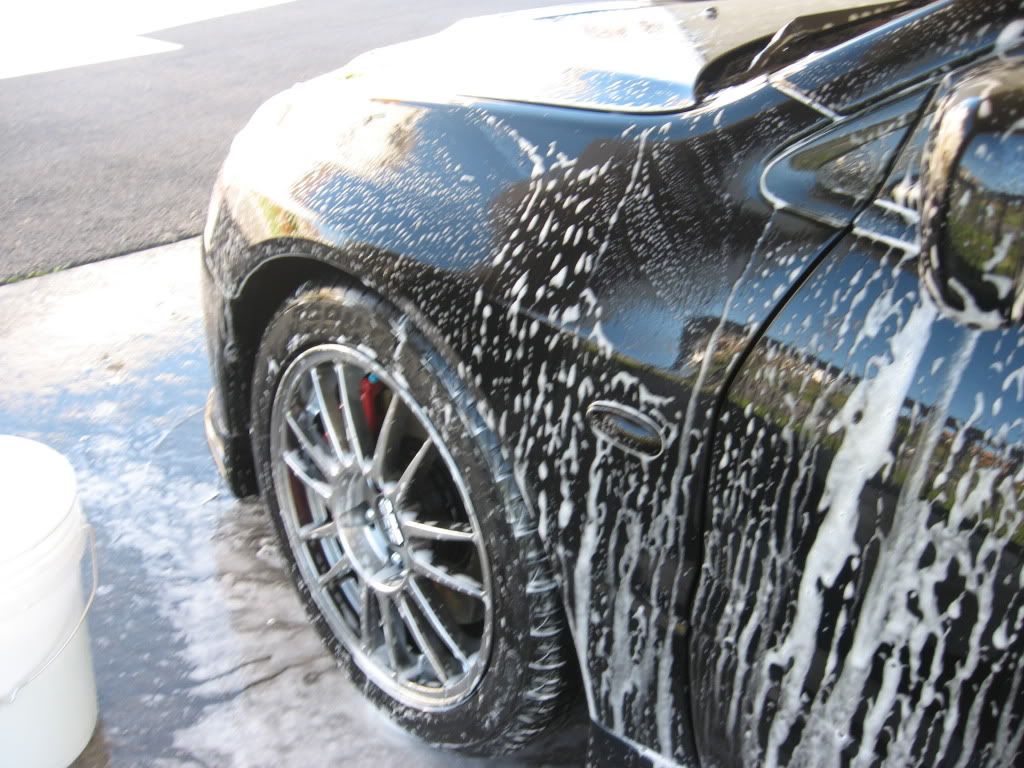
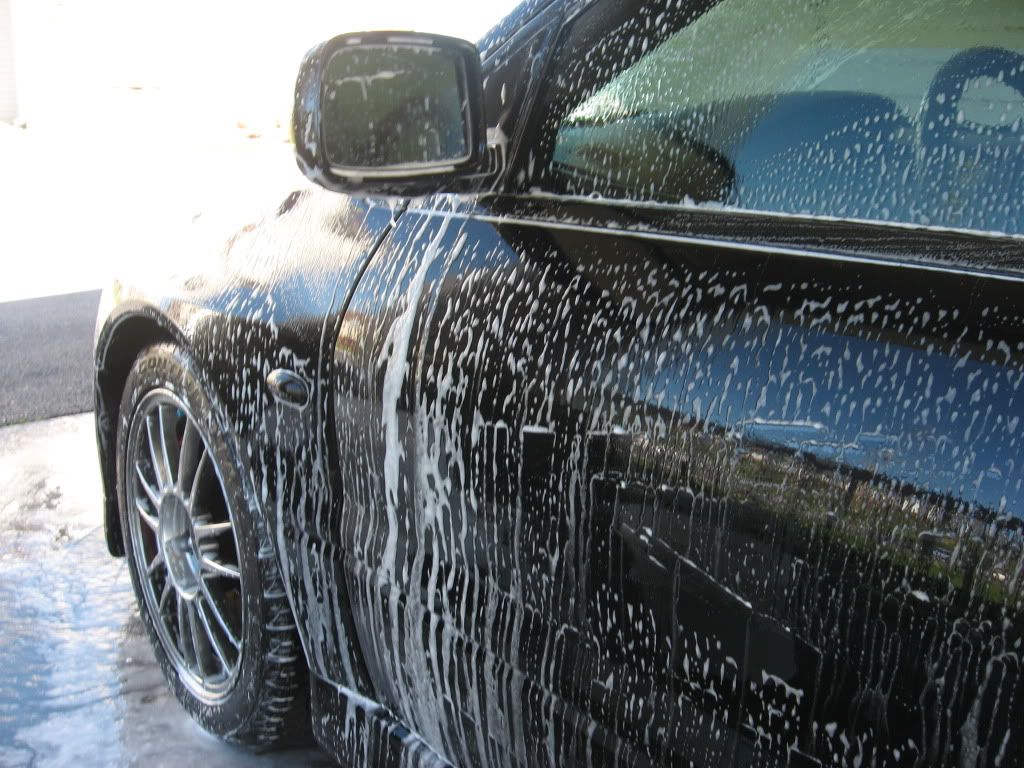
Wash process:
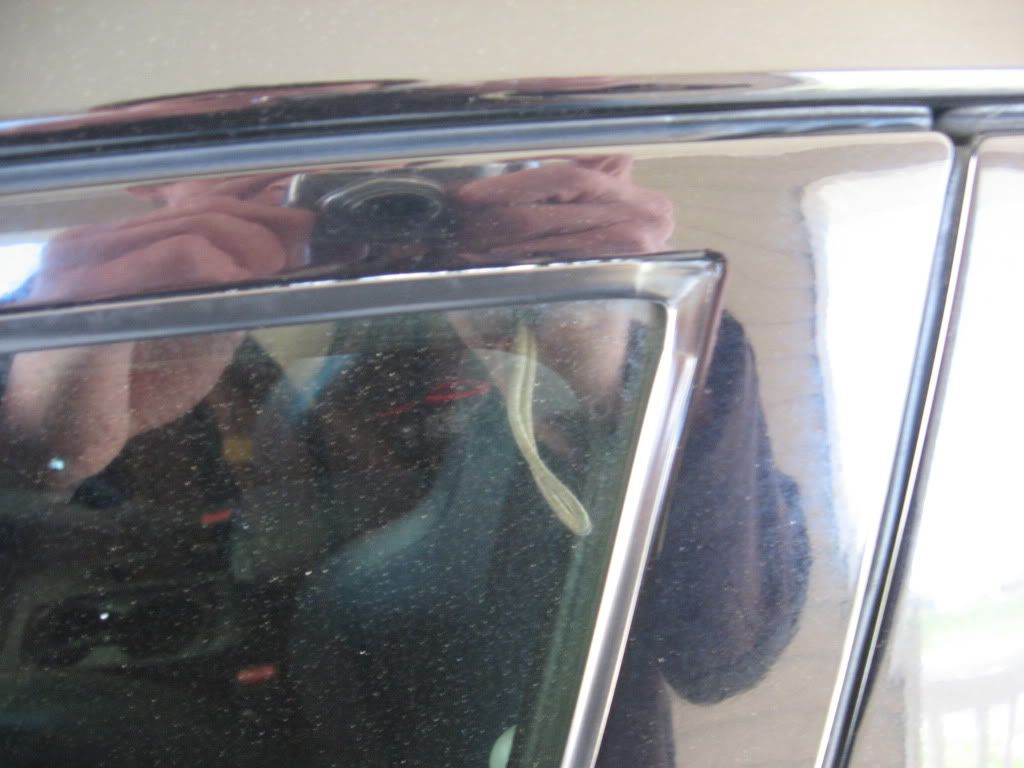
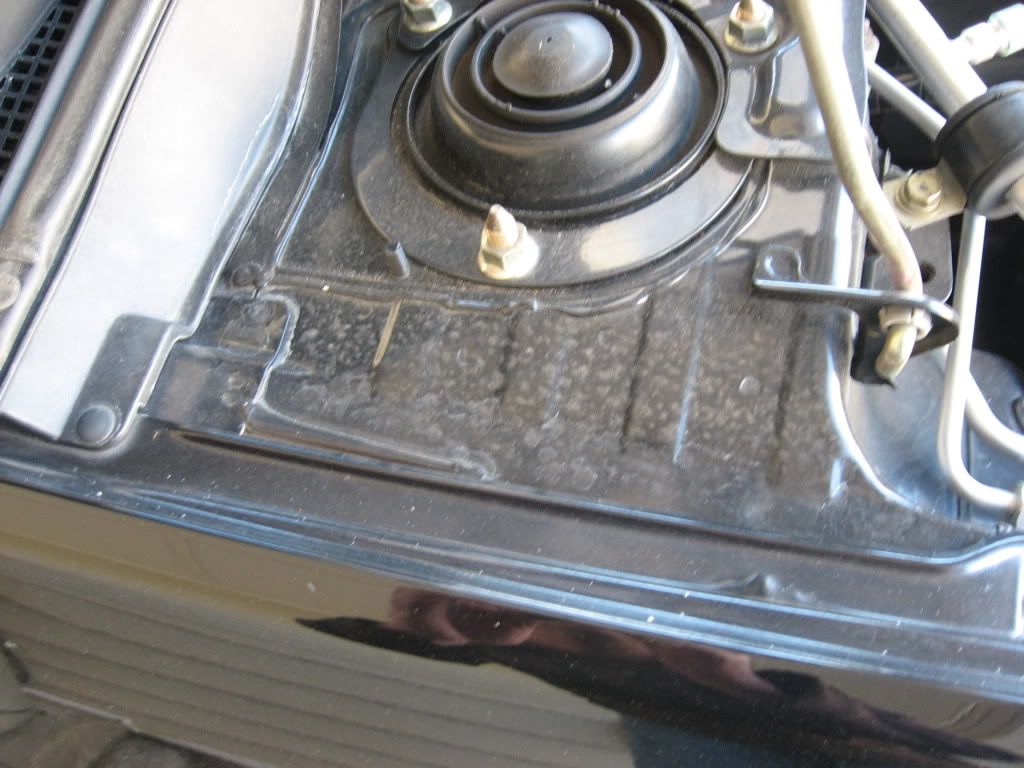
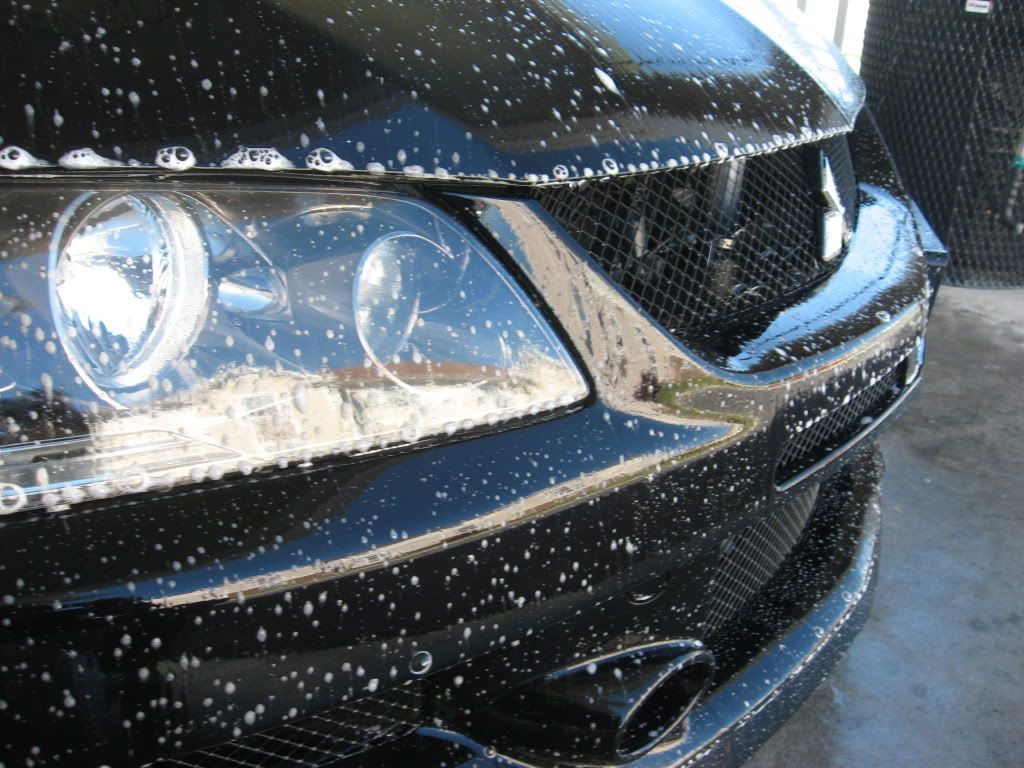
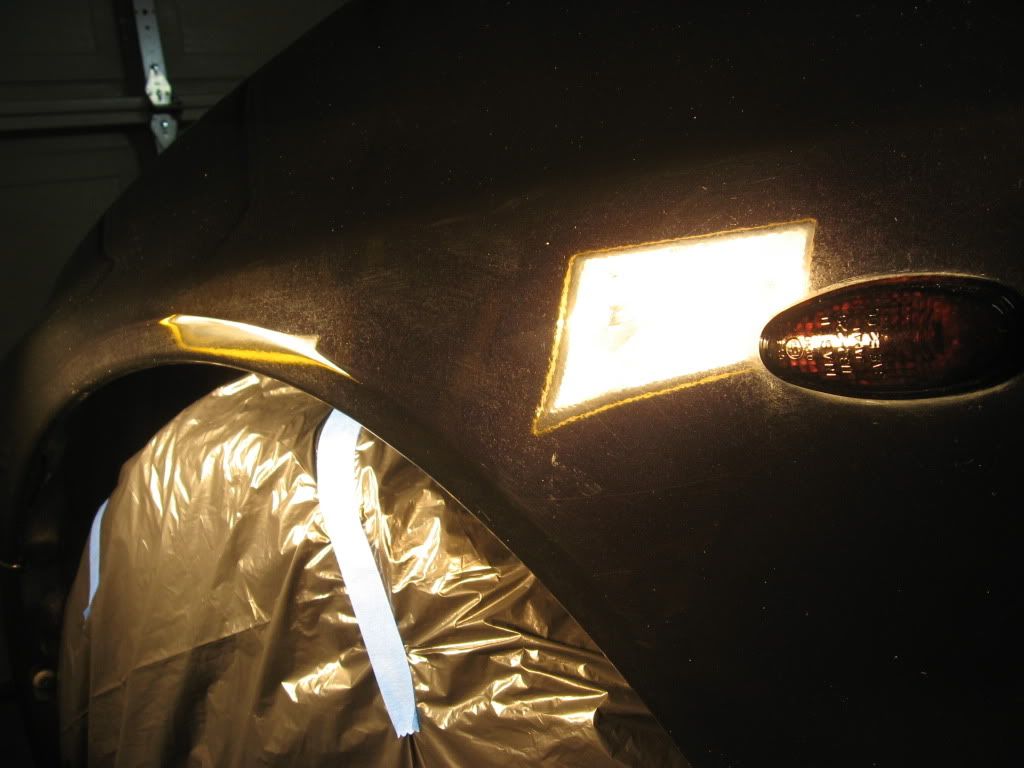
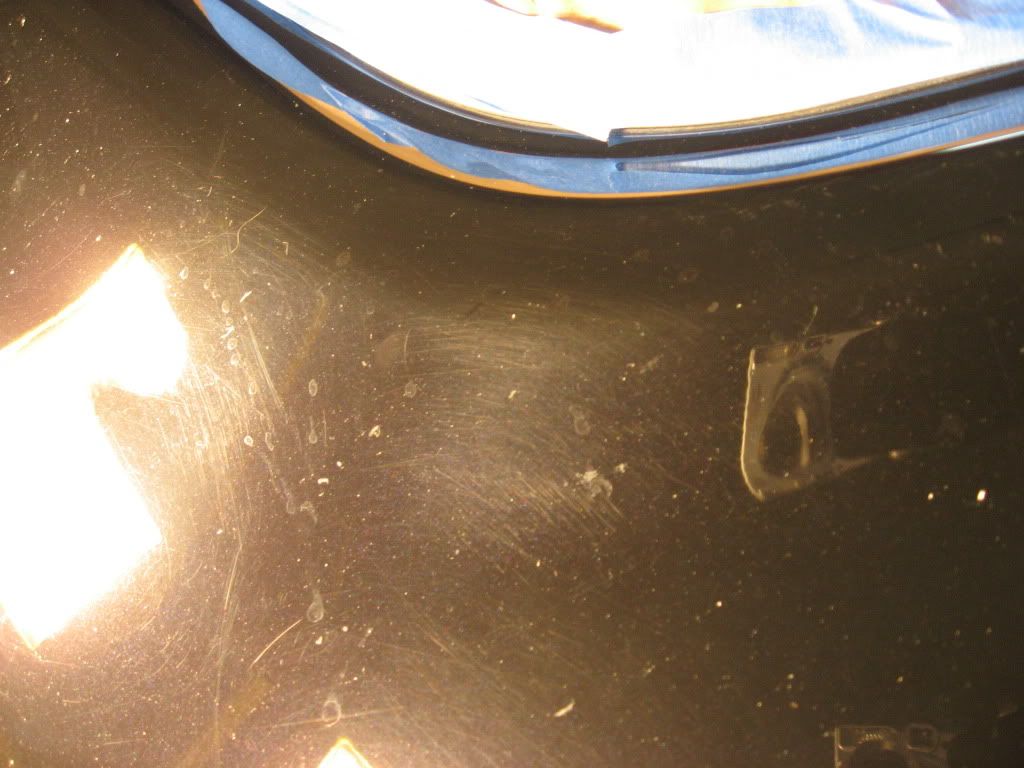
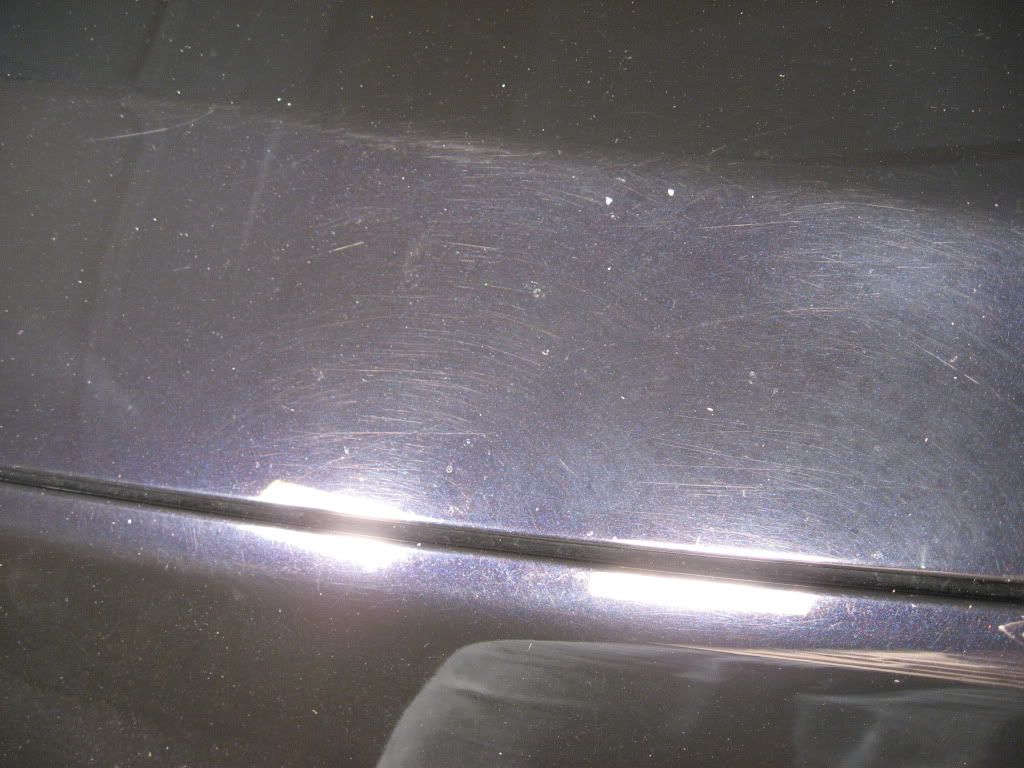
Shot of the heavy deposits and etchings:
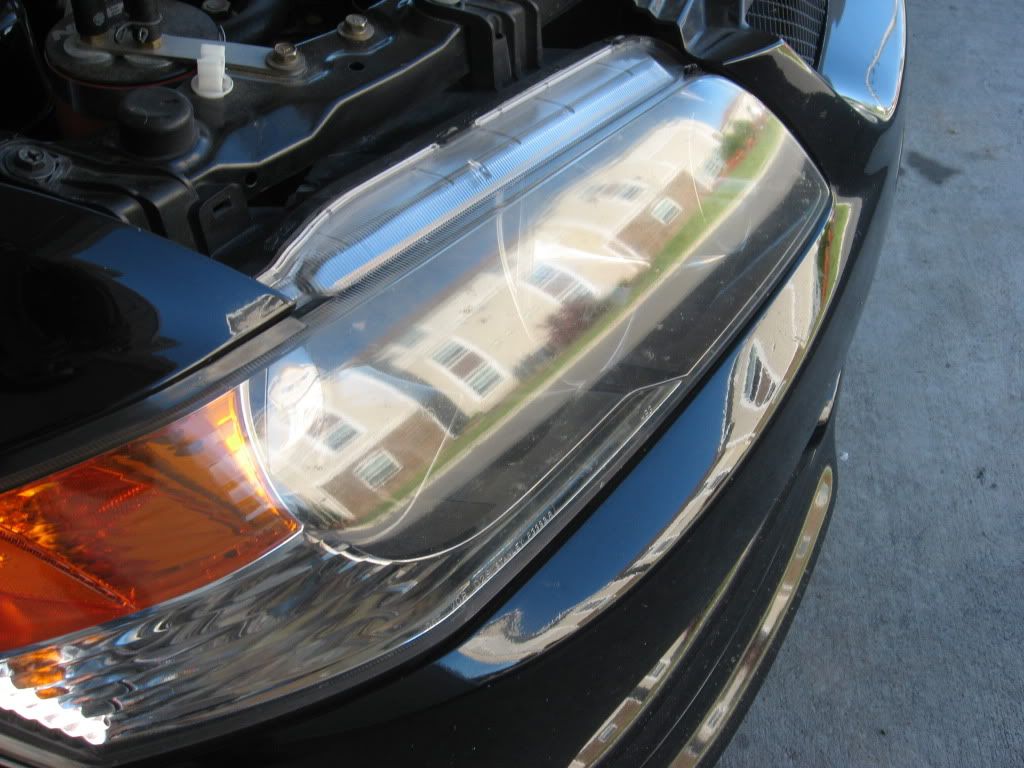
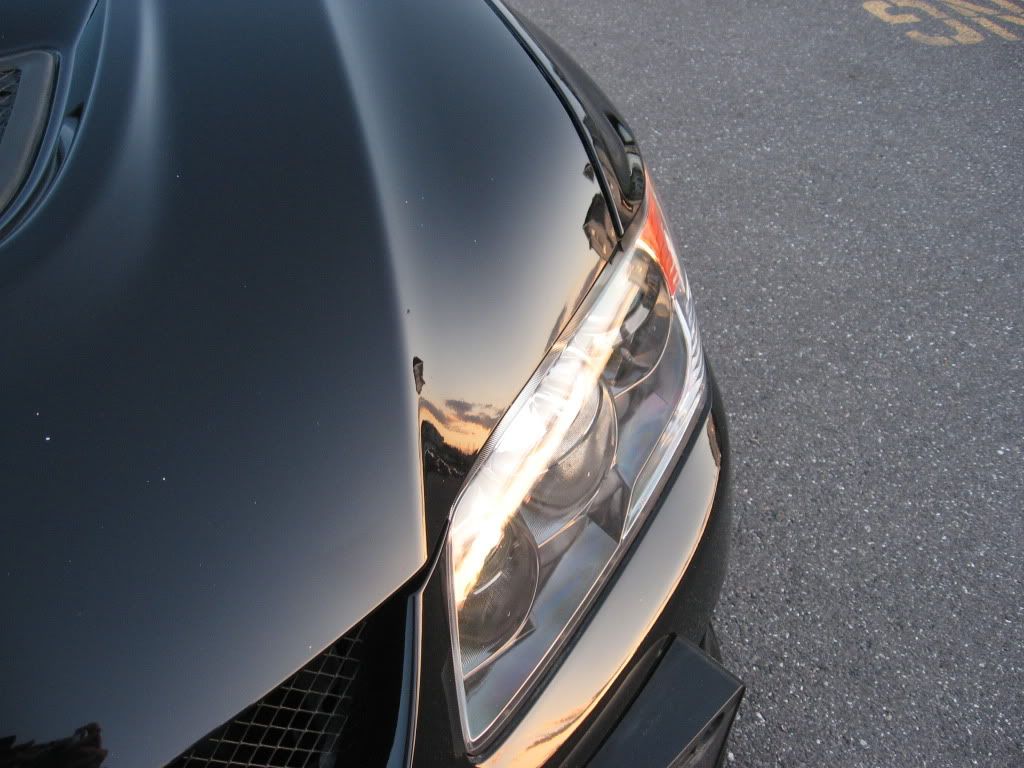
heavily oxidized lenses:
Megs APC sitting and breaking down the bugs
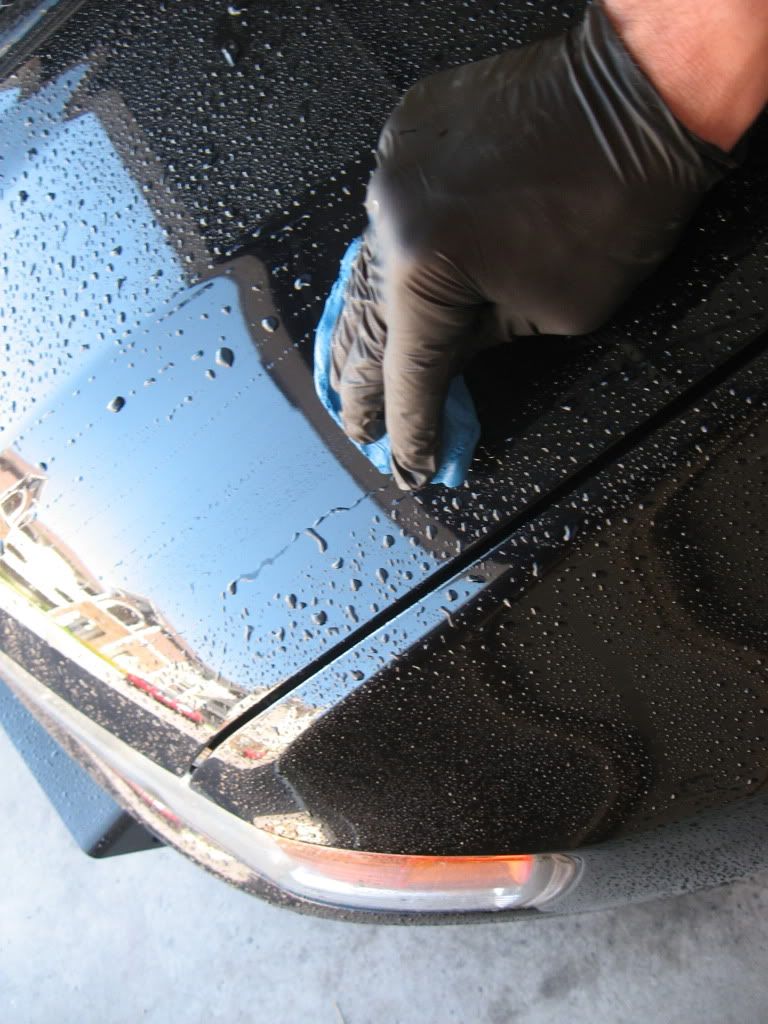
Pulled inside and Clayed- surprisingly not too much picked up
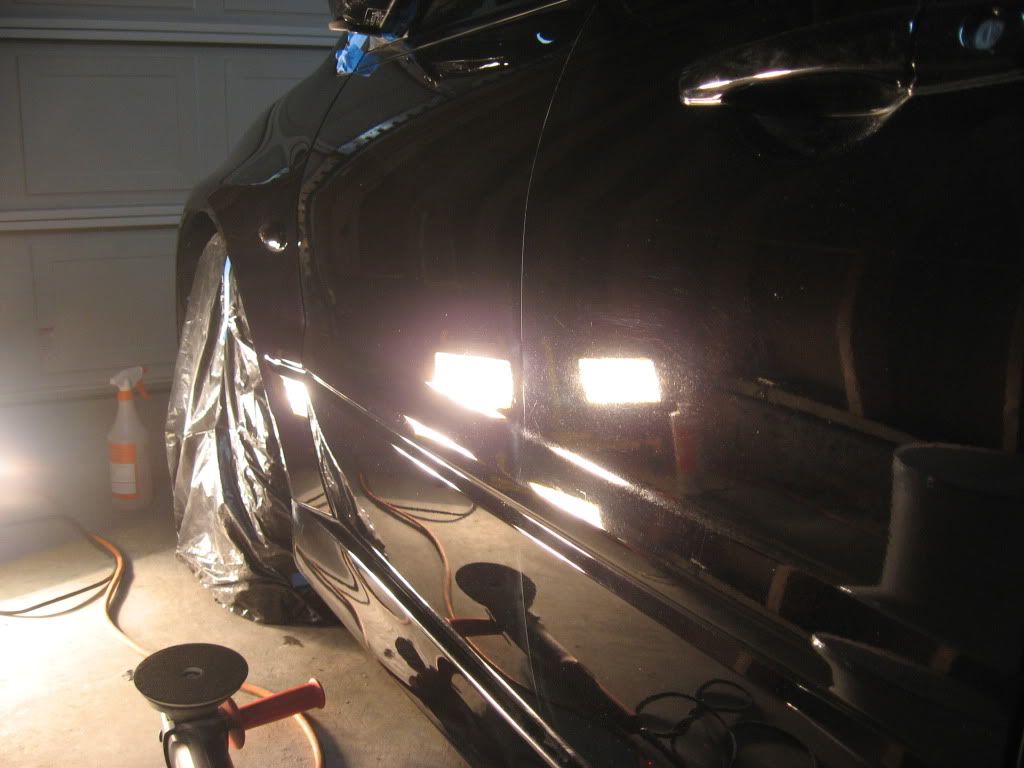
The Correctional process
One pass of Megs 105 on a Surbuf R series MF pad
One Pass of Megs 105 on a yellow foam pad
One pass of Menzerna SIP on an orange pad
One pass of Menzerna 106fa on a green pad
Average time per panel- 1 hour to an hour and a half
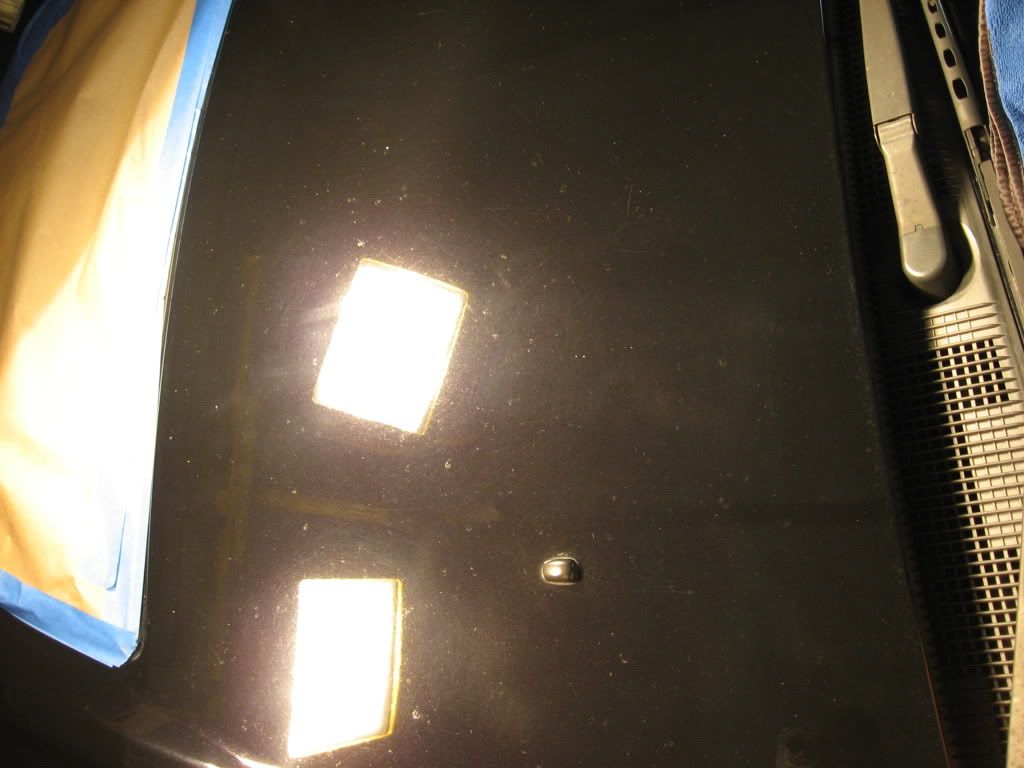
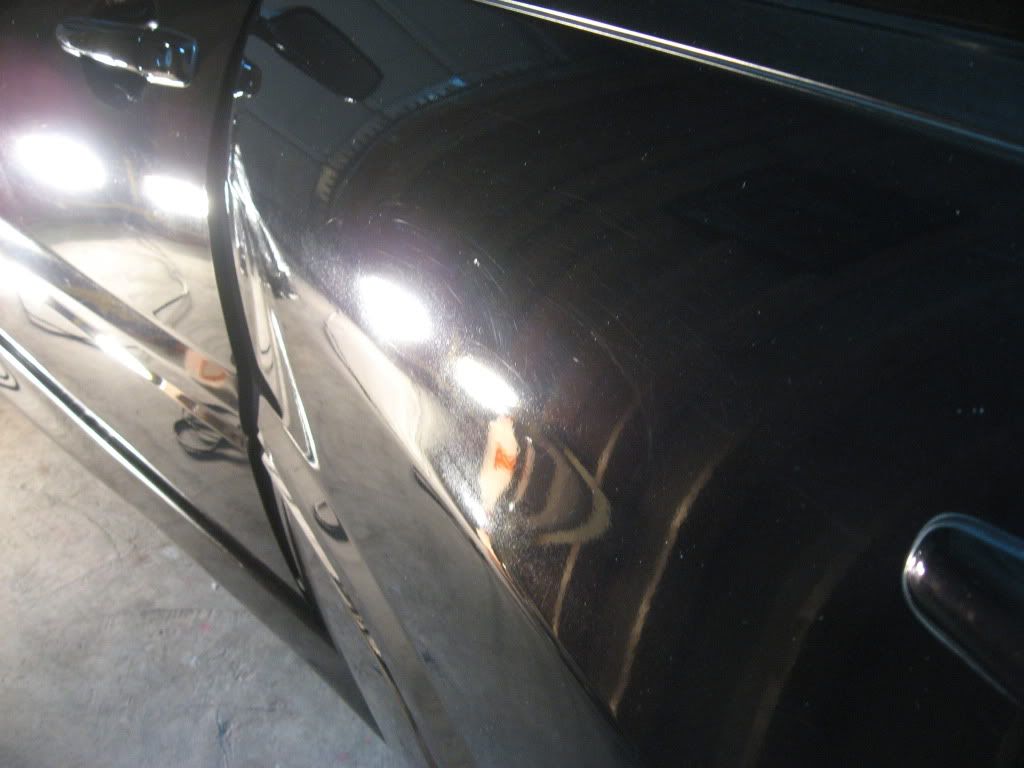
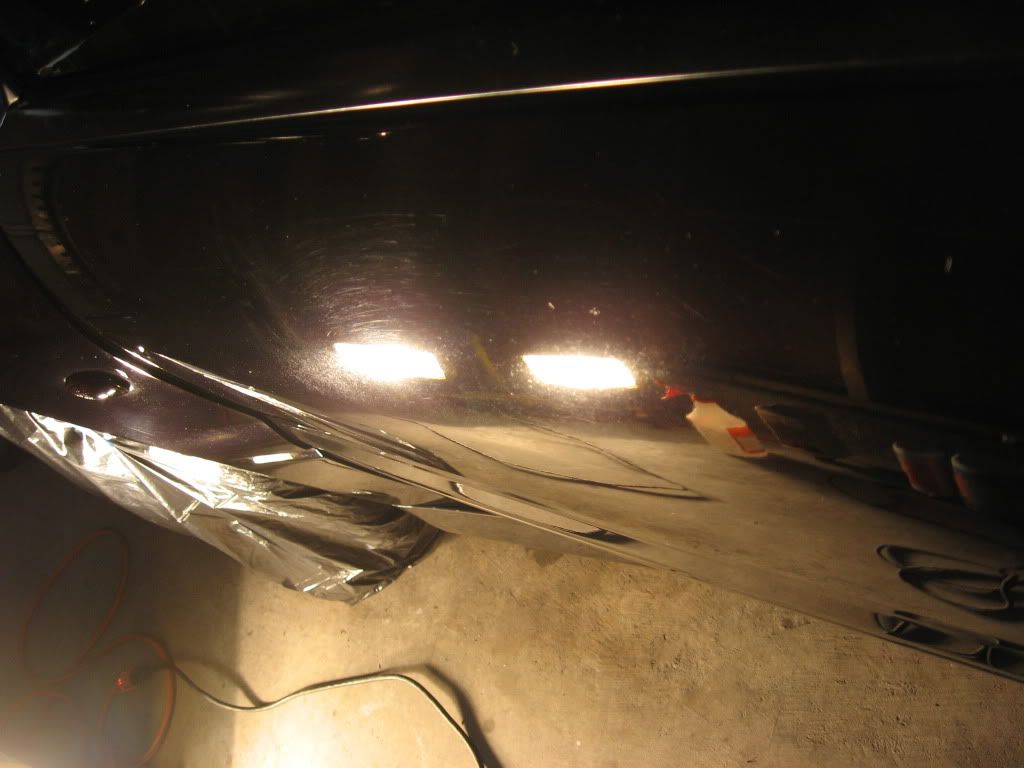
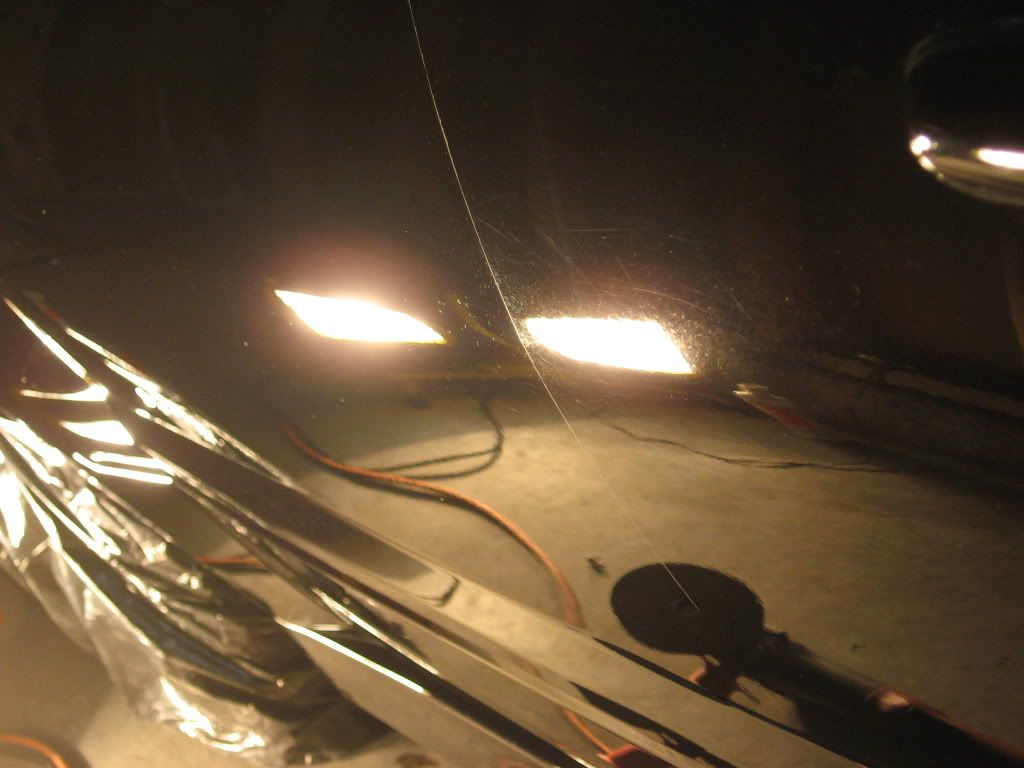
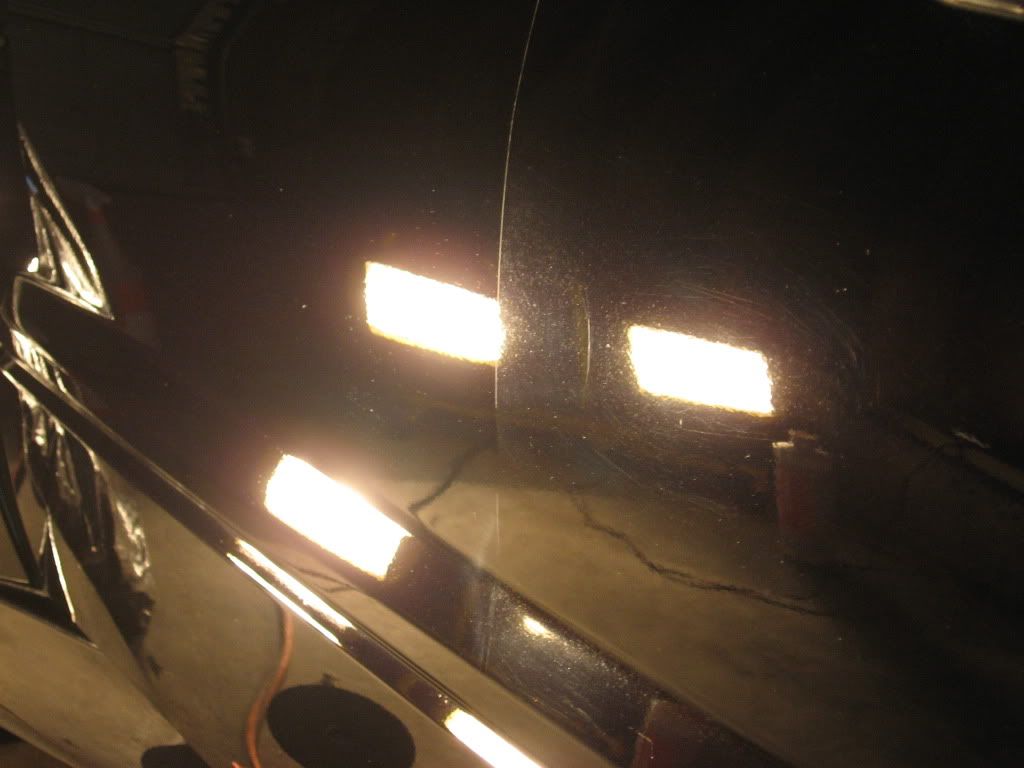
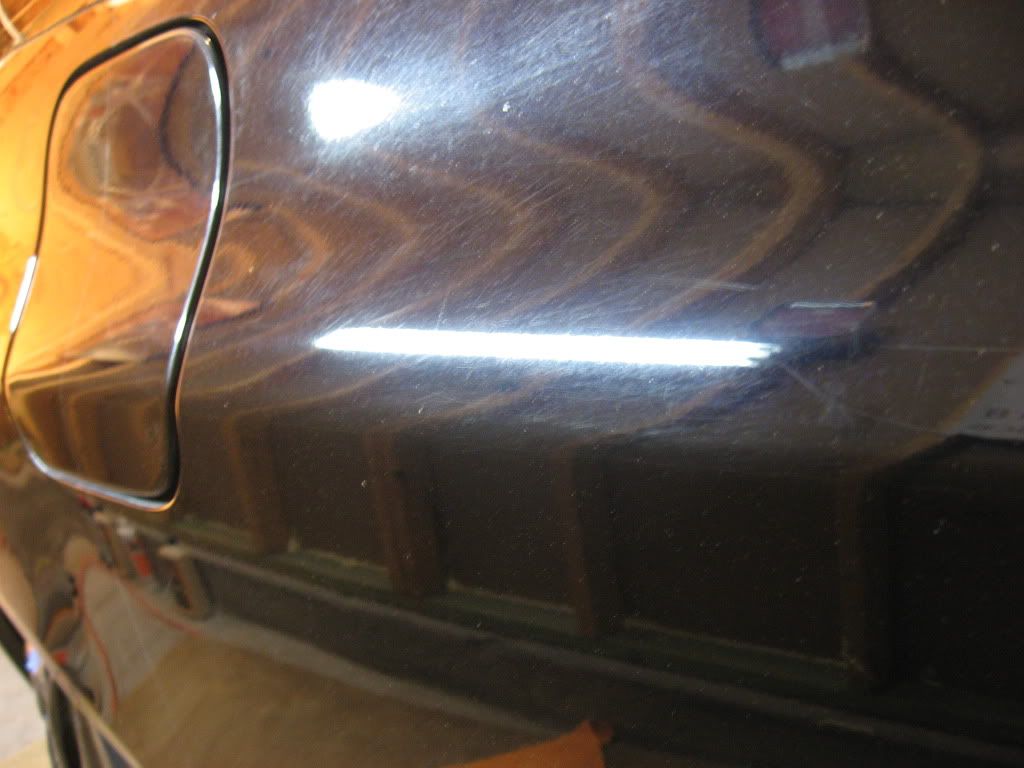
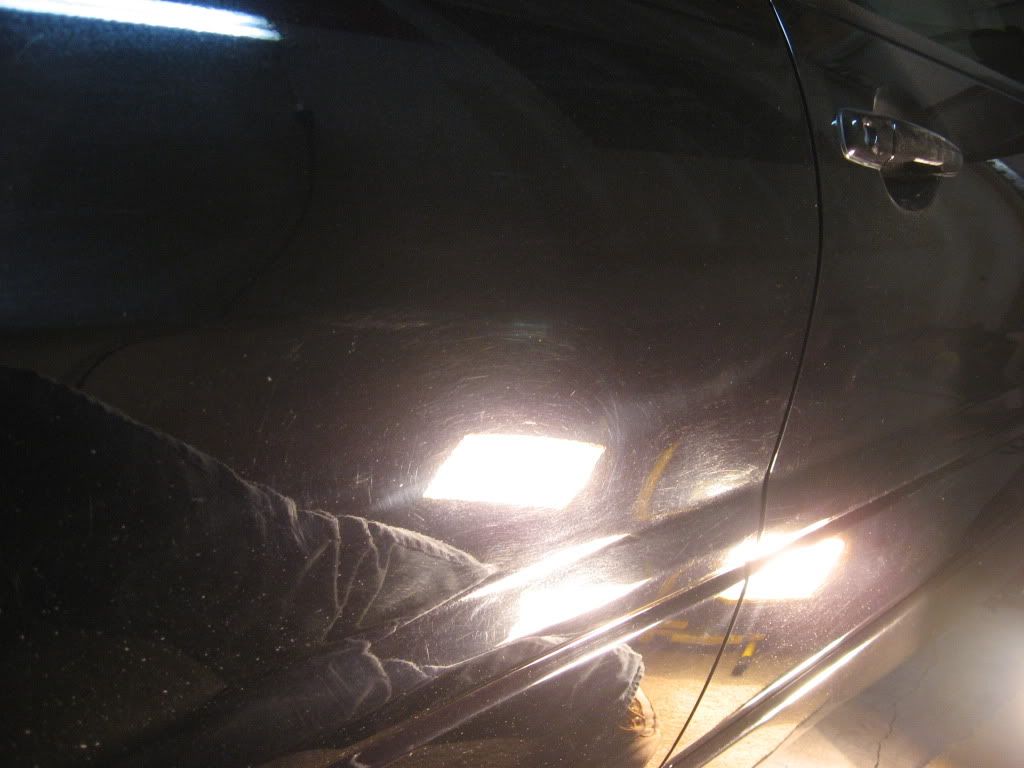
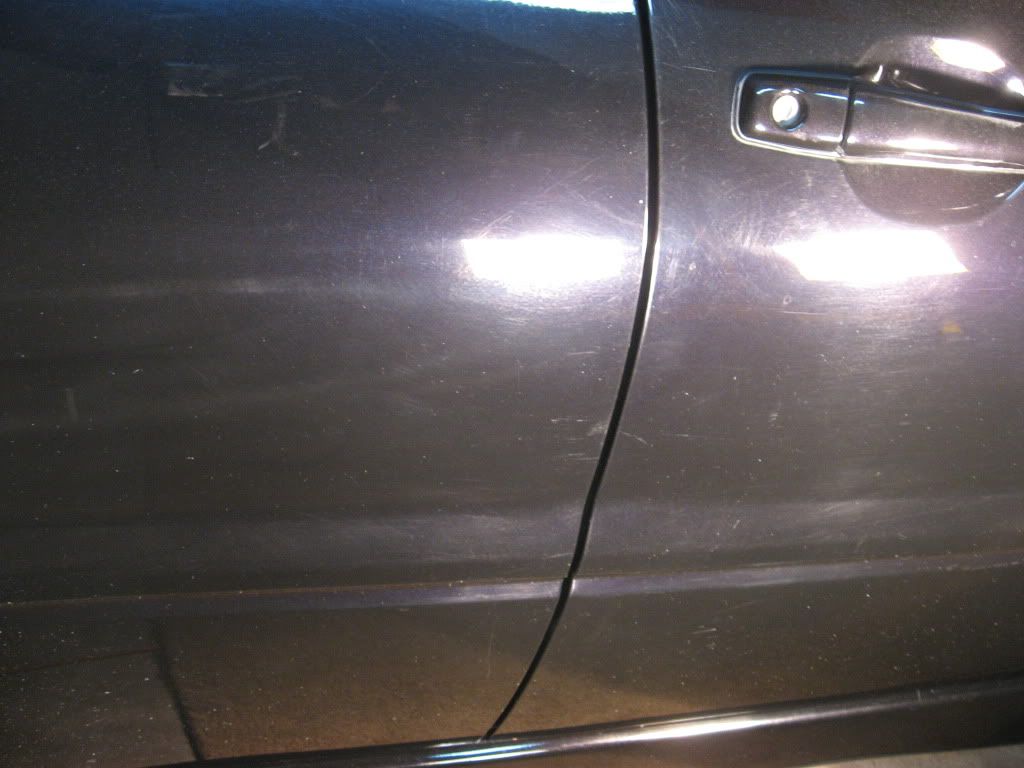
Some nasty befores


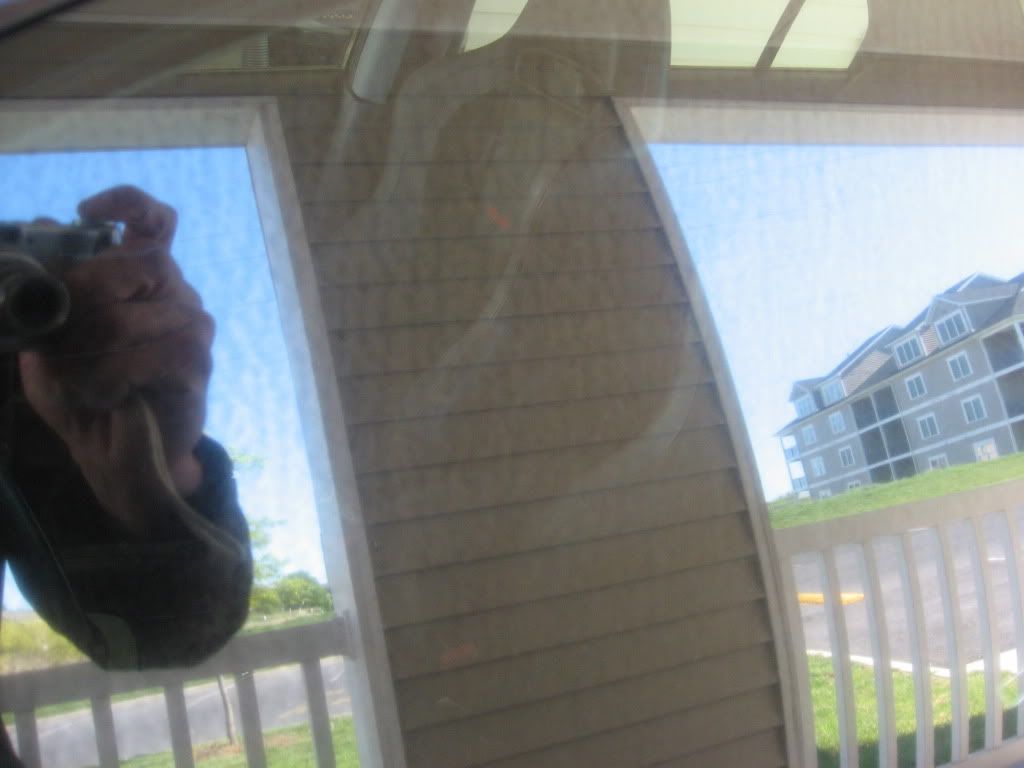
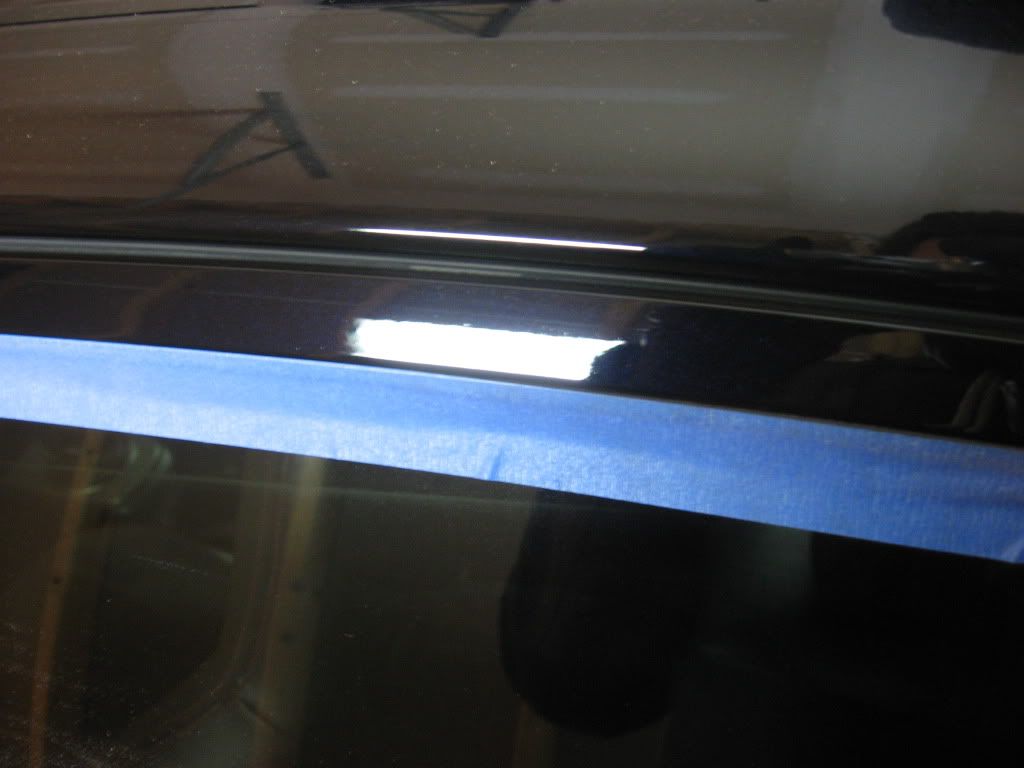
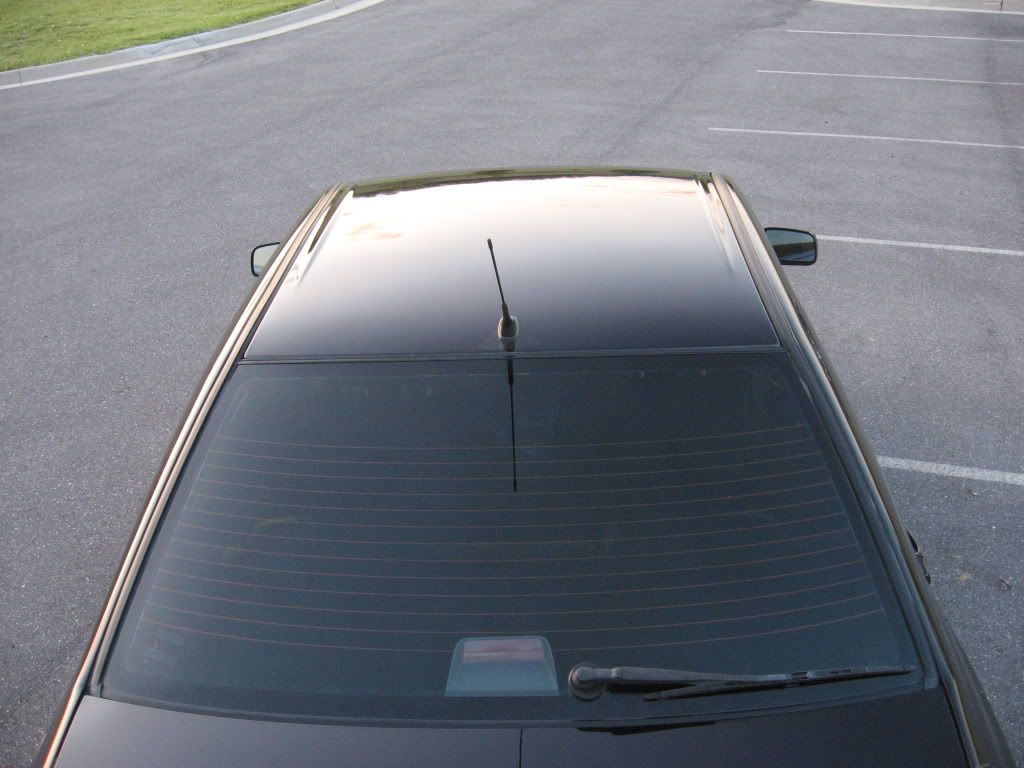
Glass:
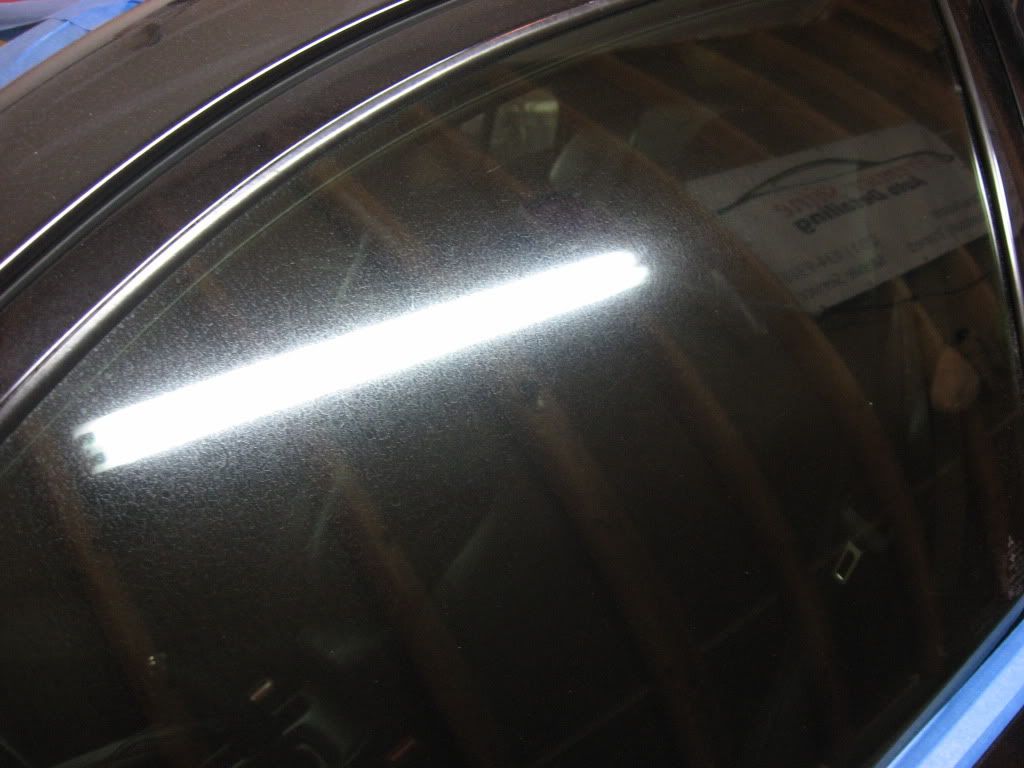
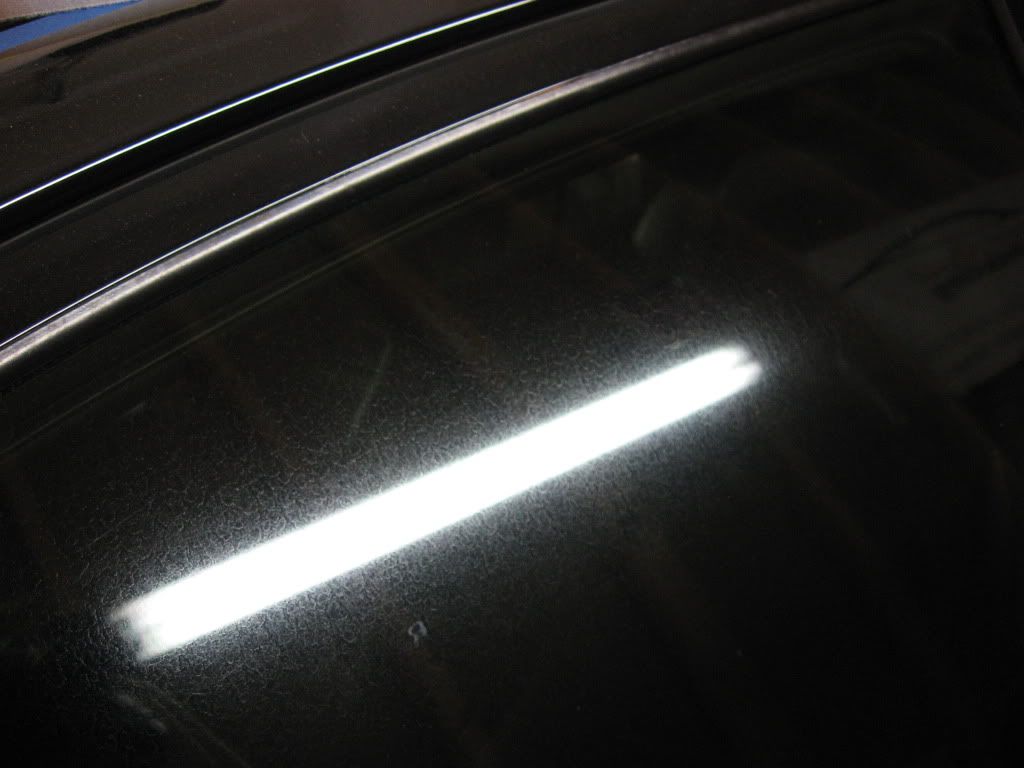
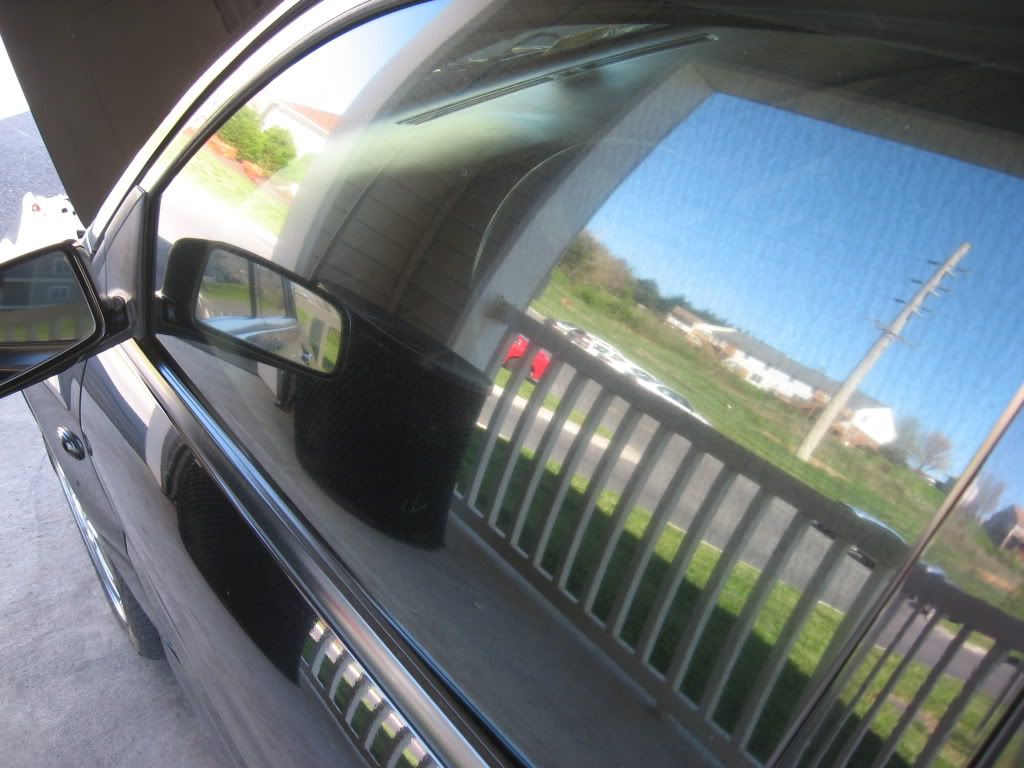
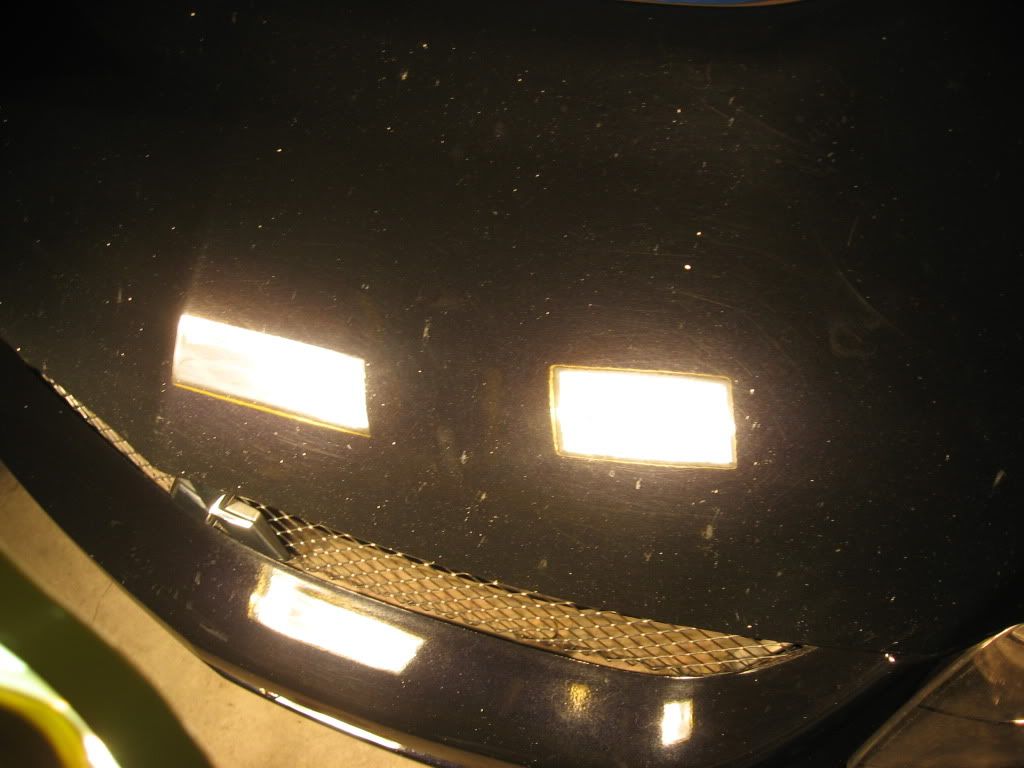
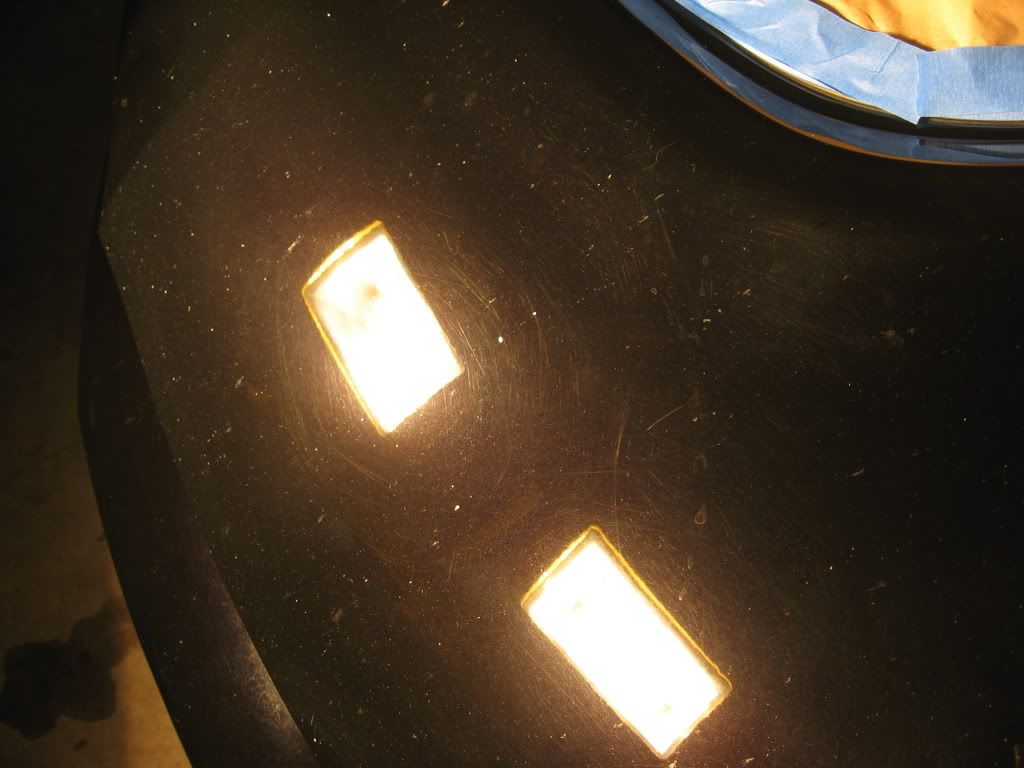
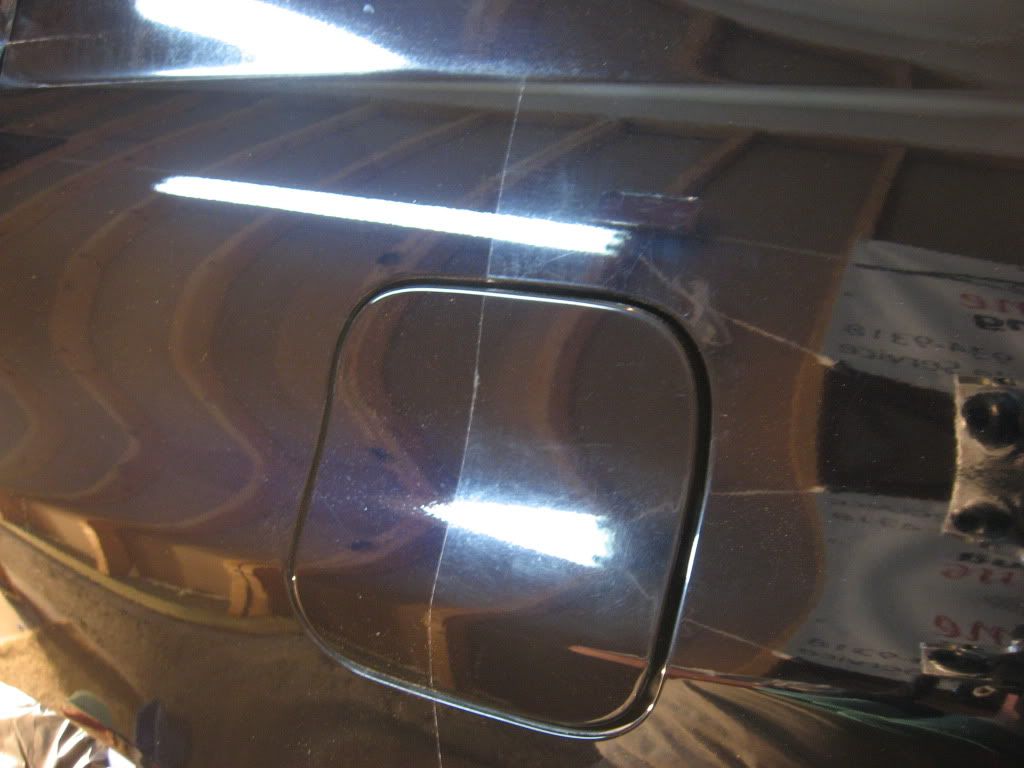
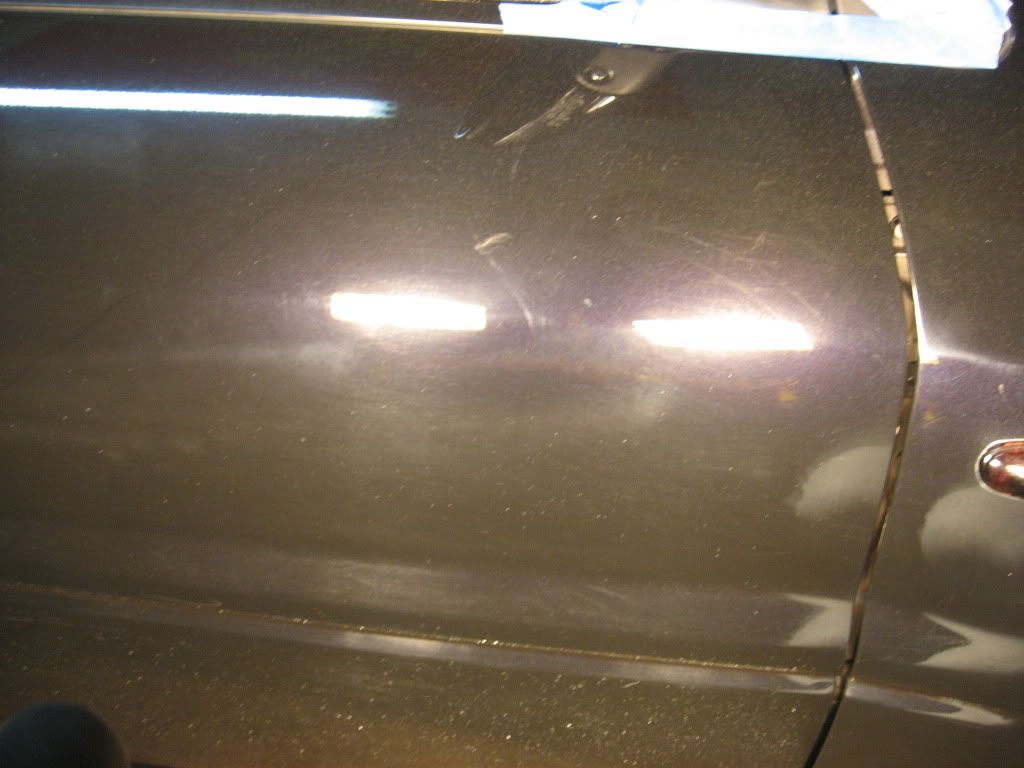
50 / 50 glass:
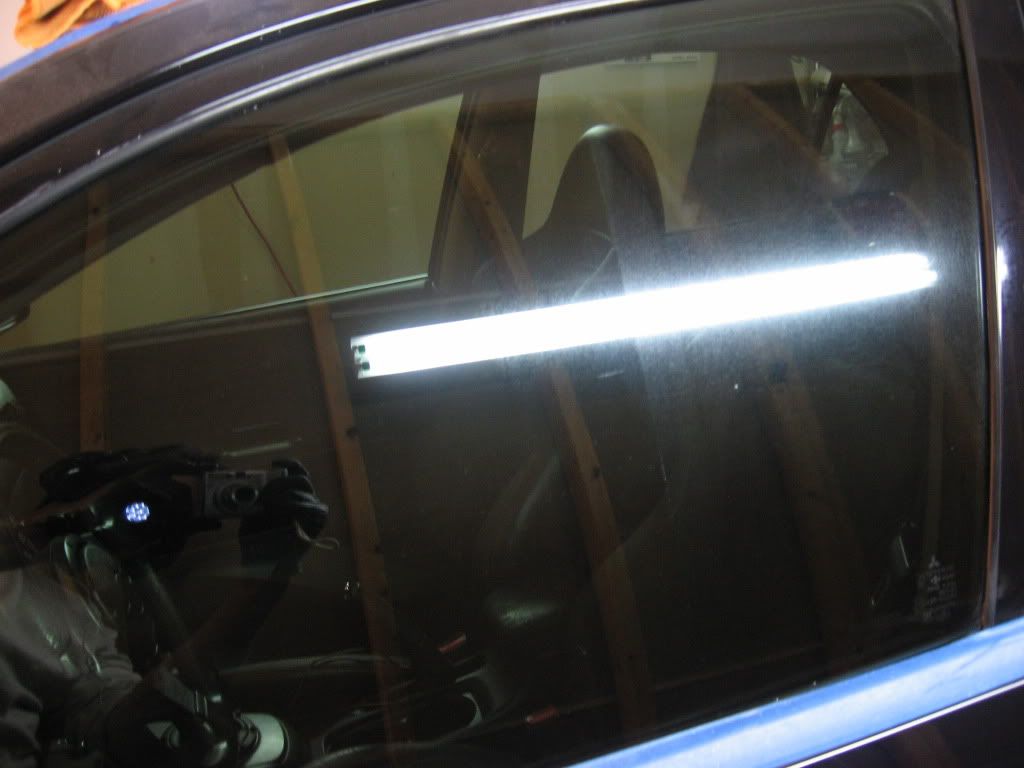
50 / 50's!
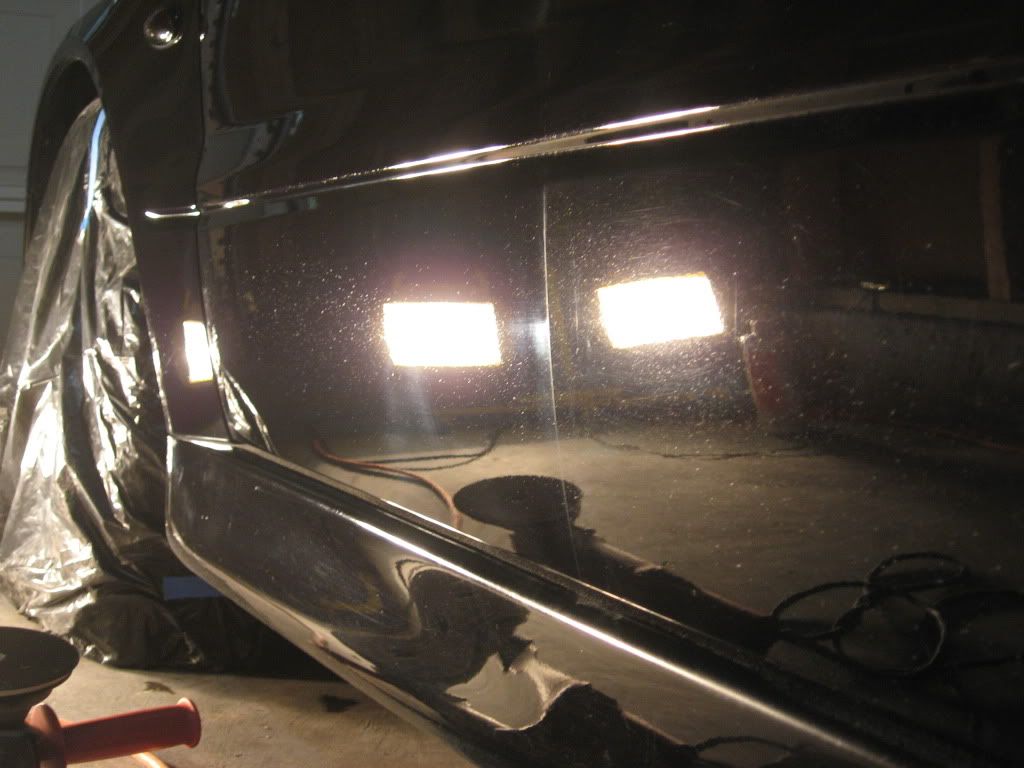
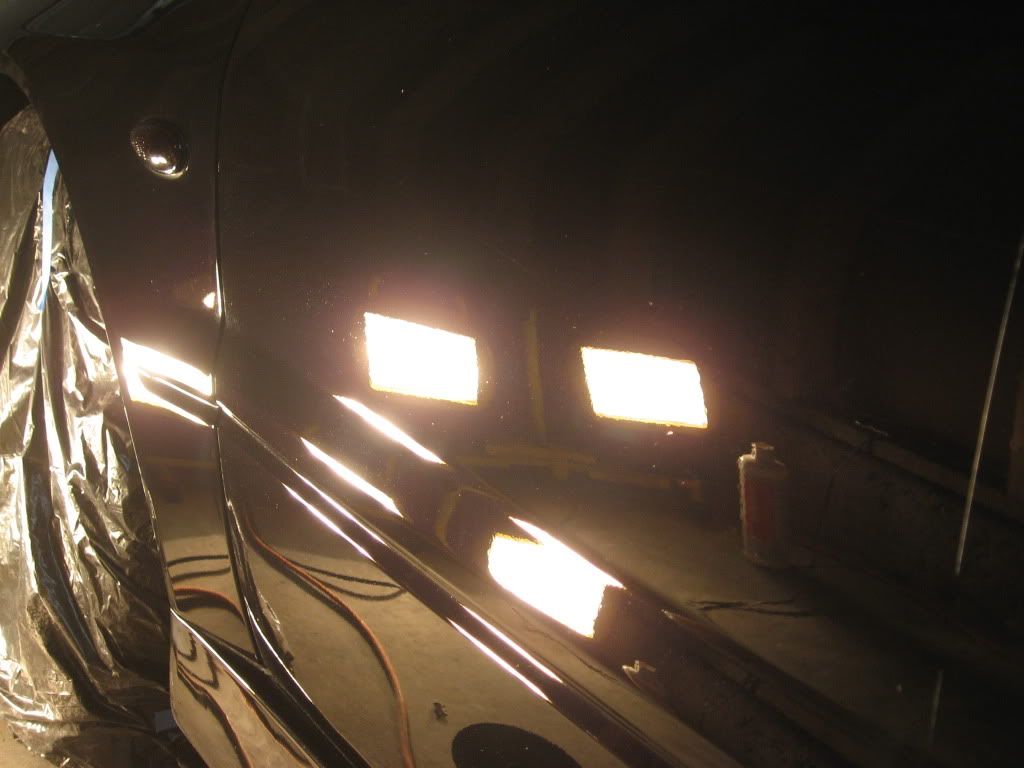
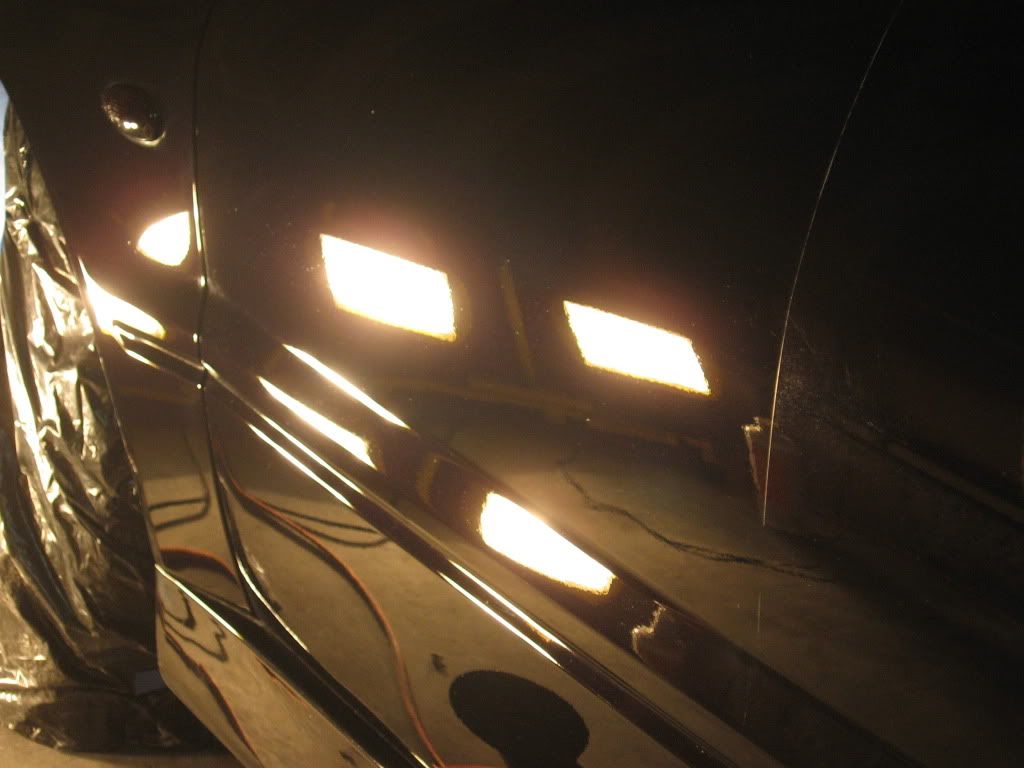
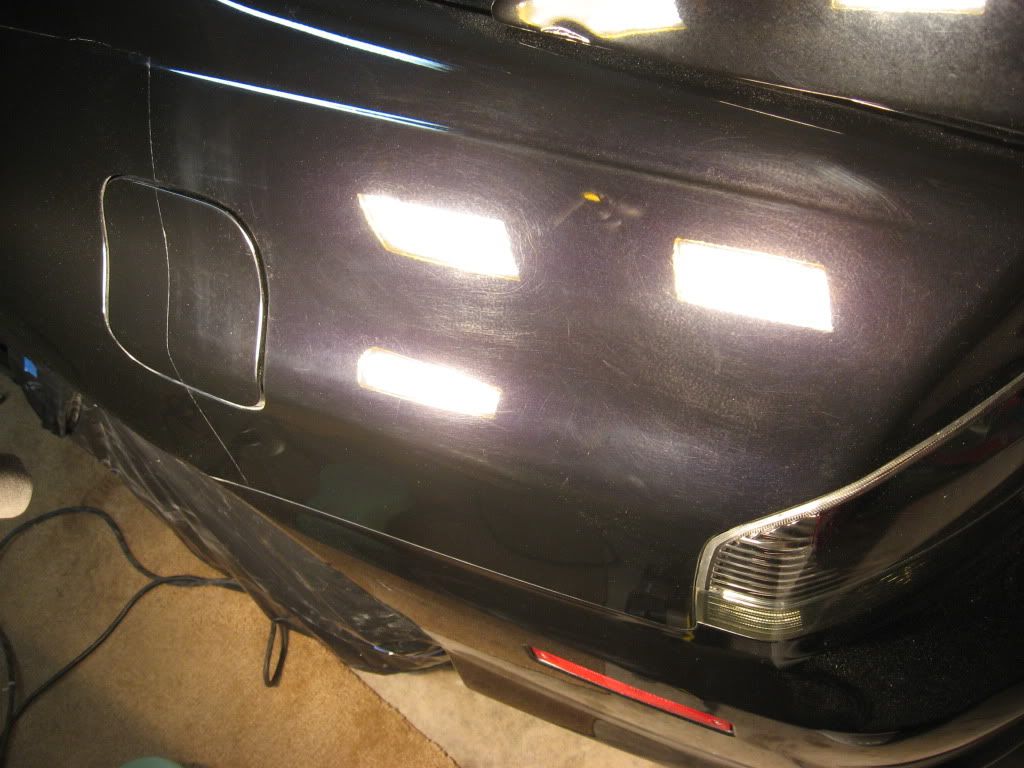
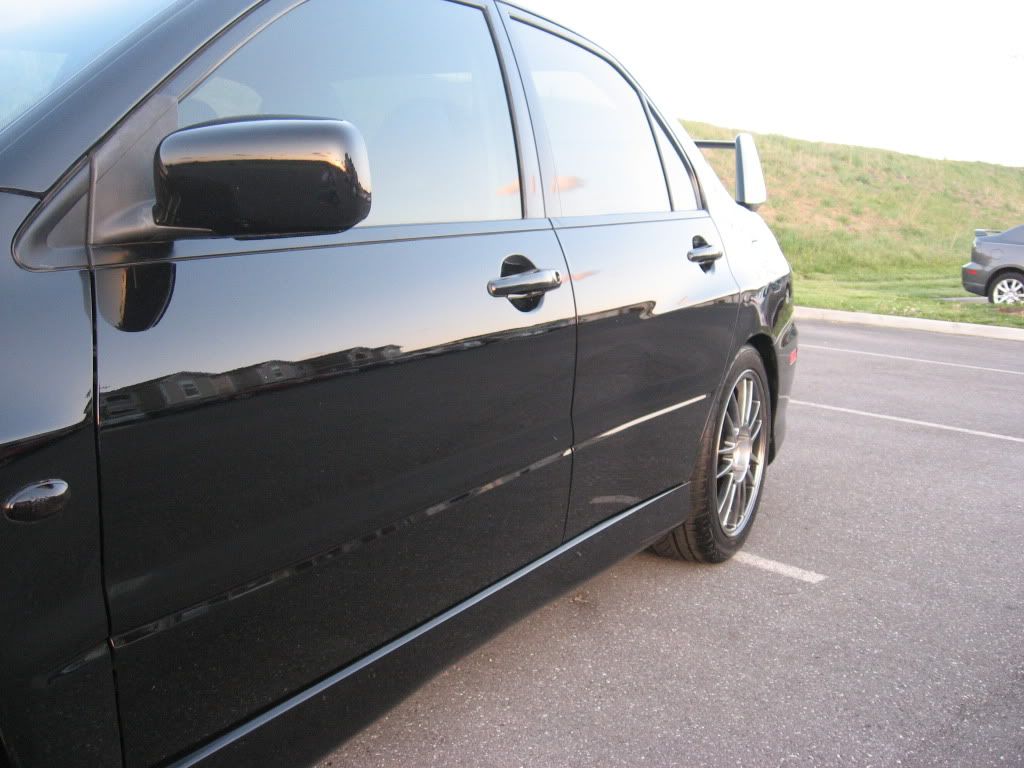
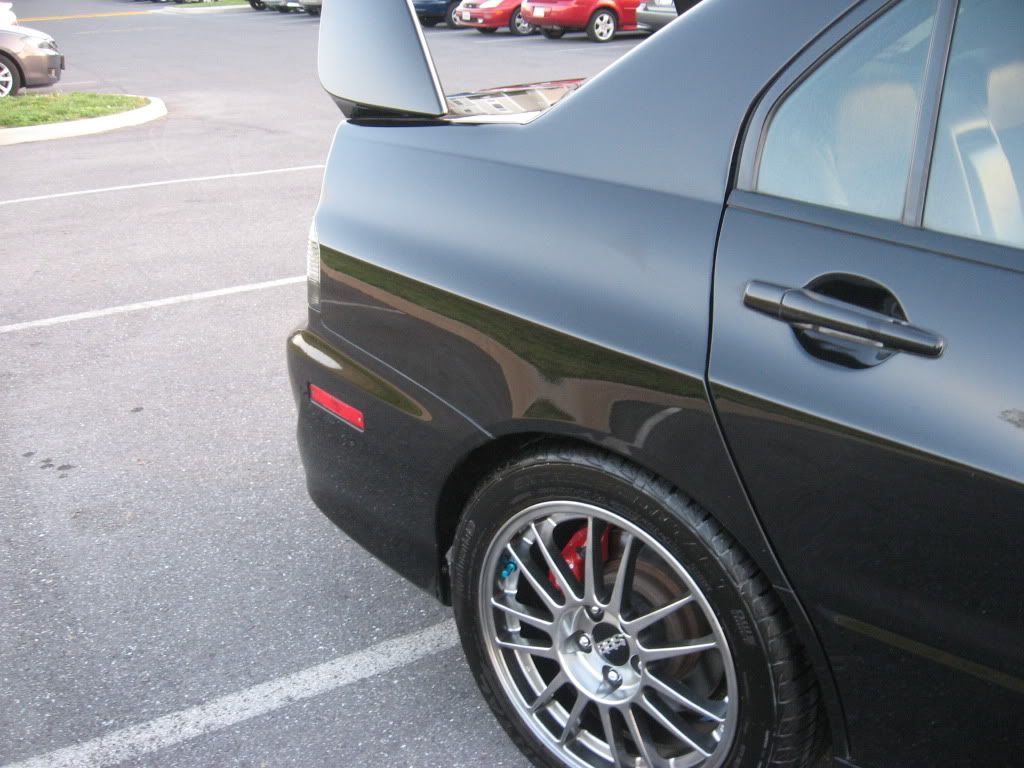
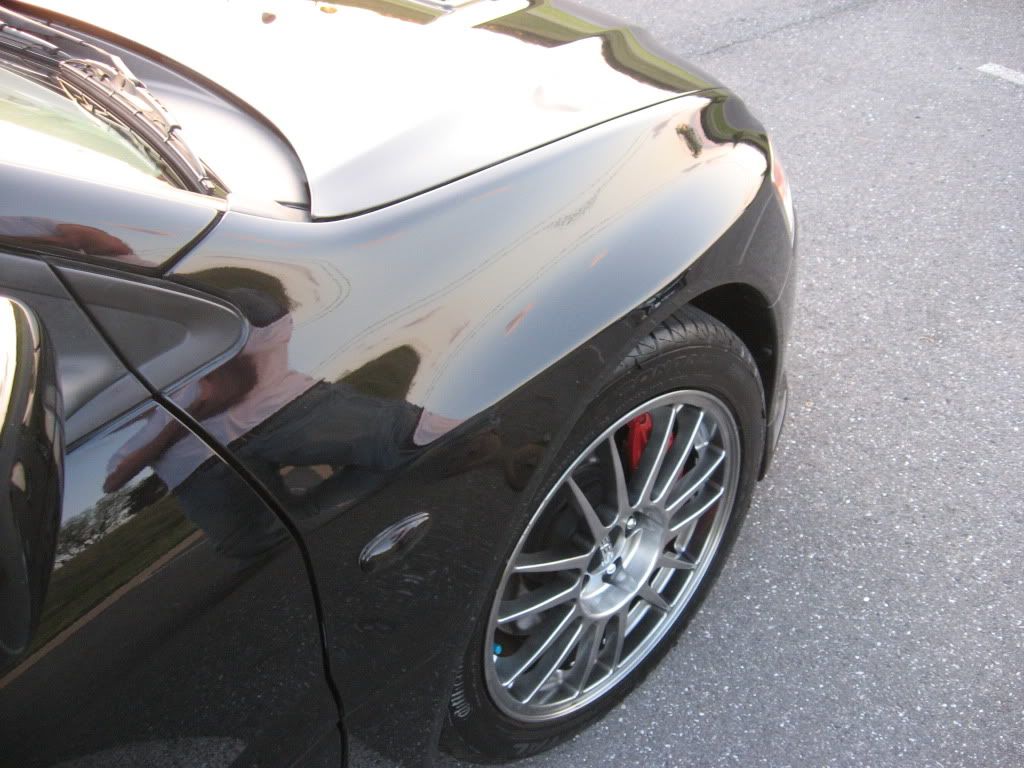
After:
Before:
After:
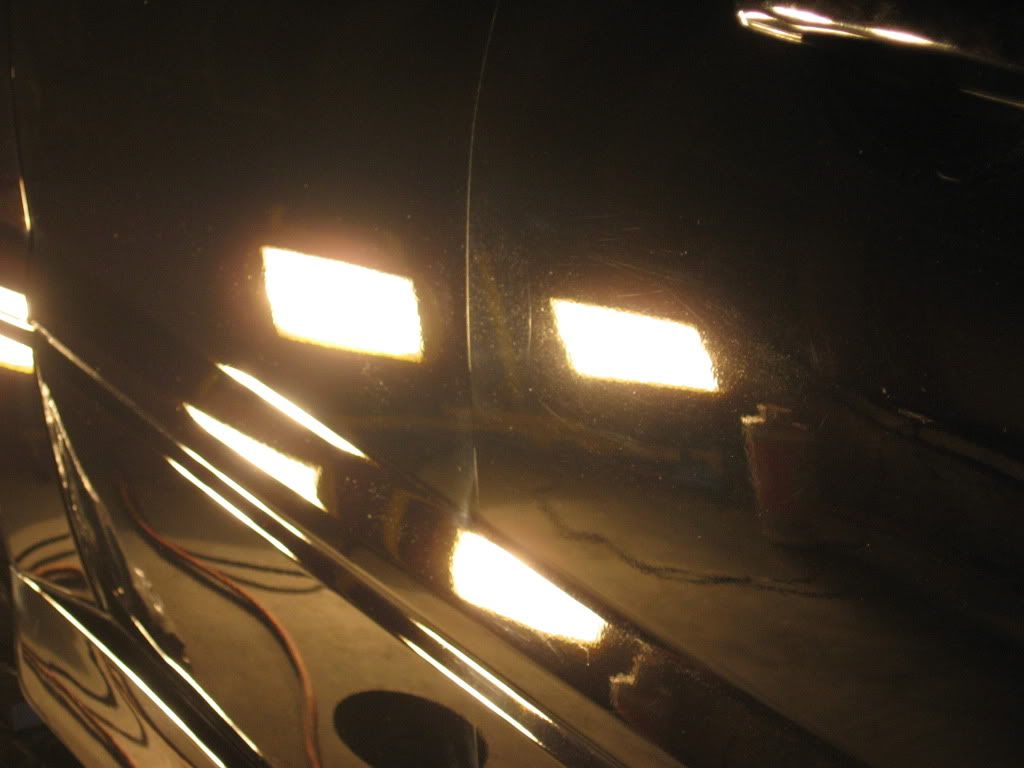
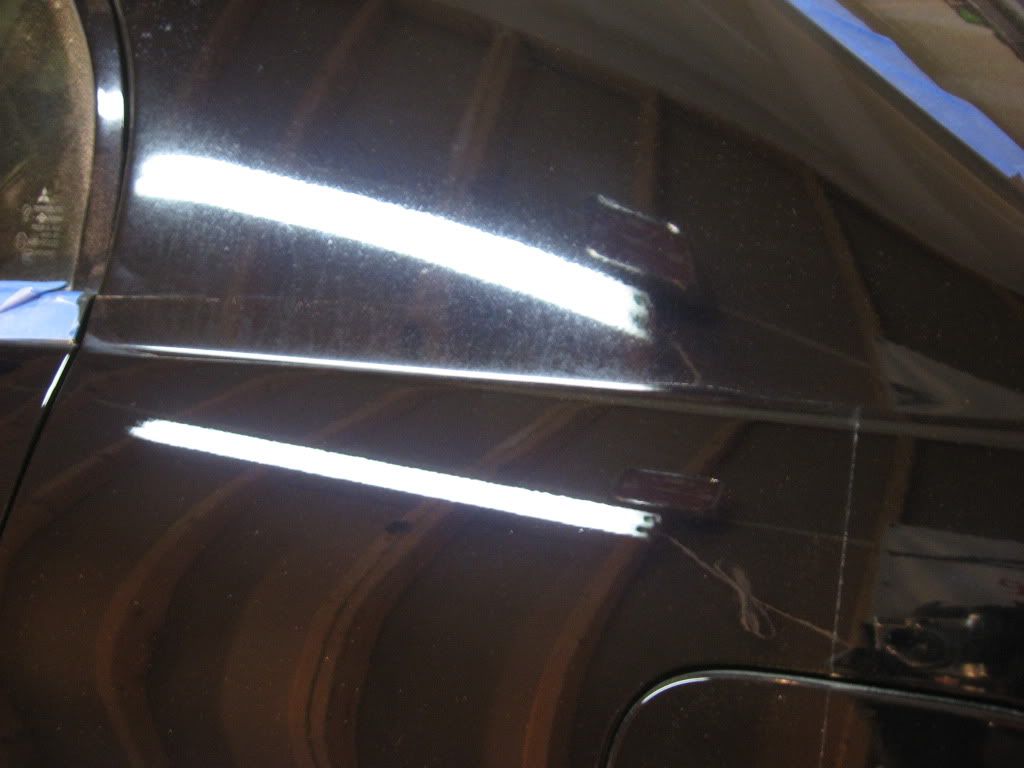
More 50 / 50

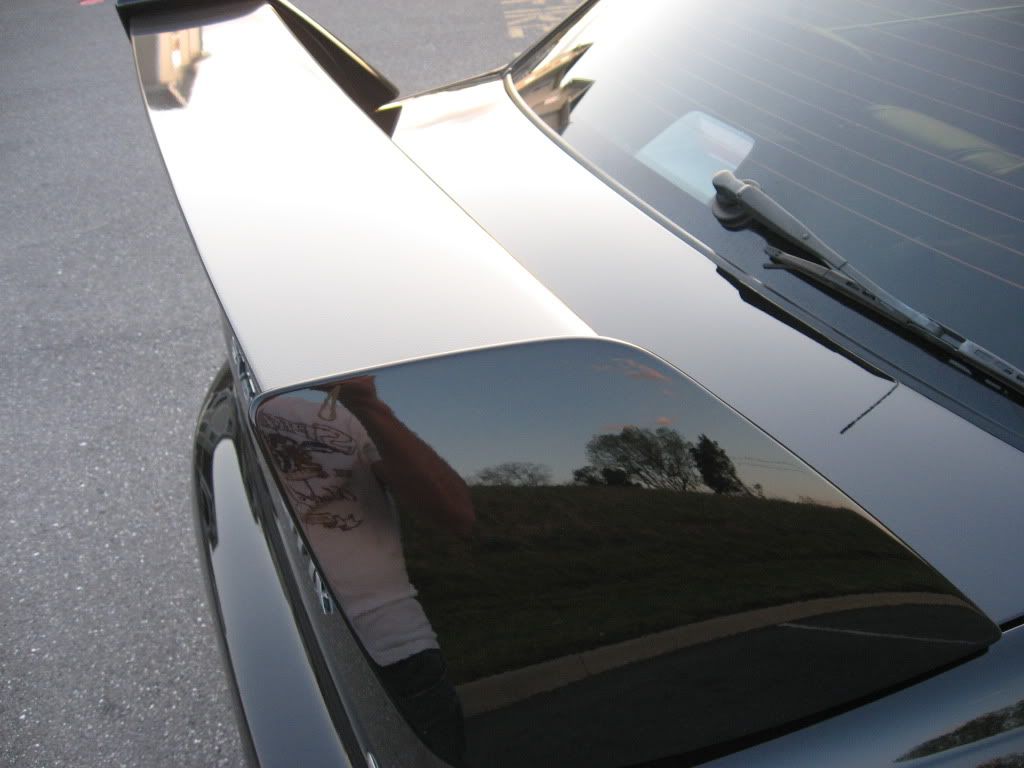
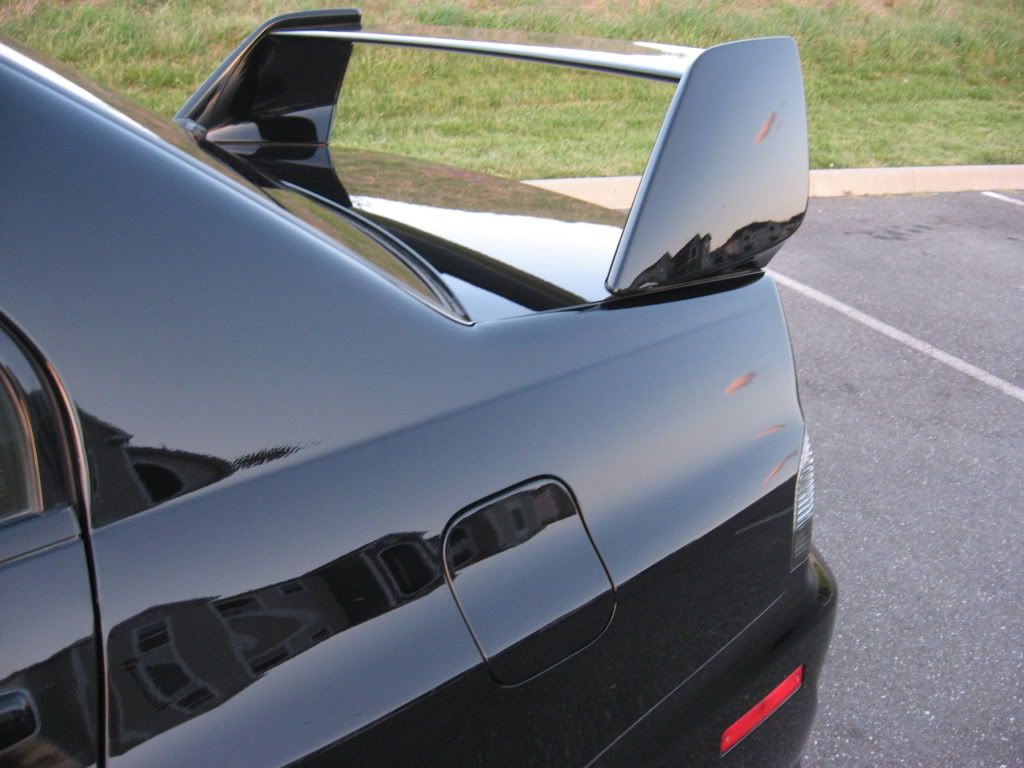
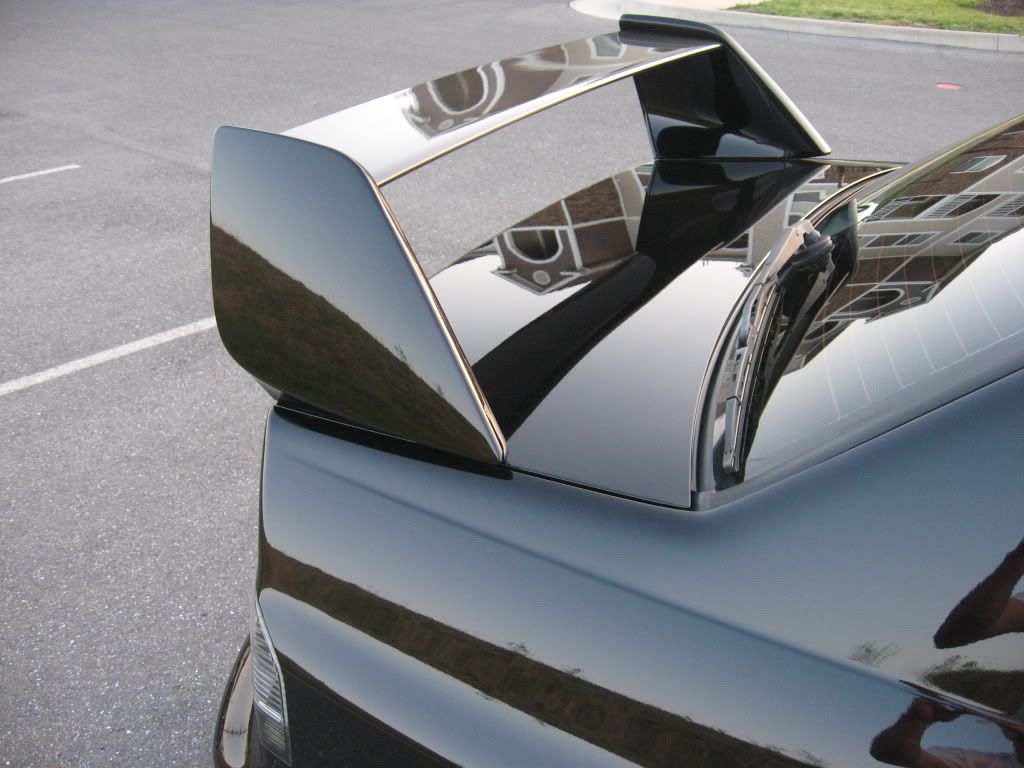
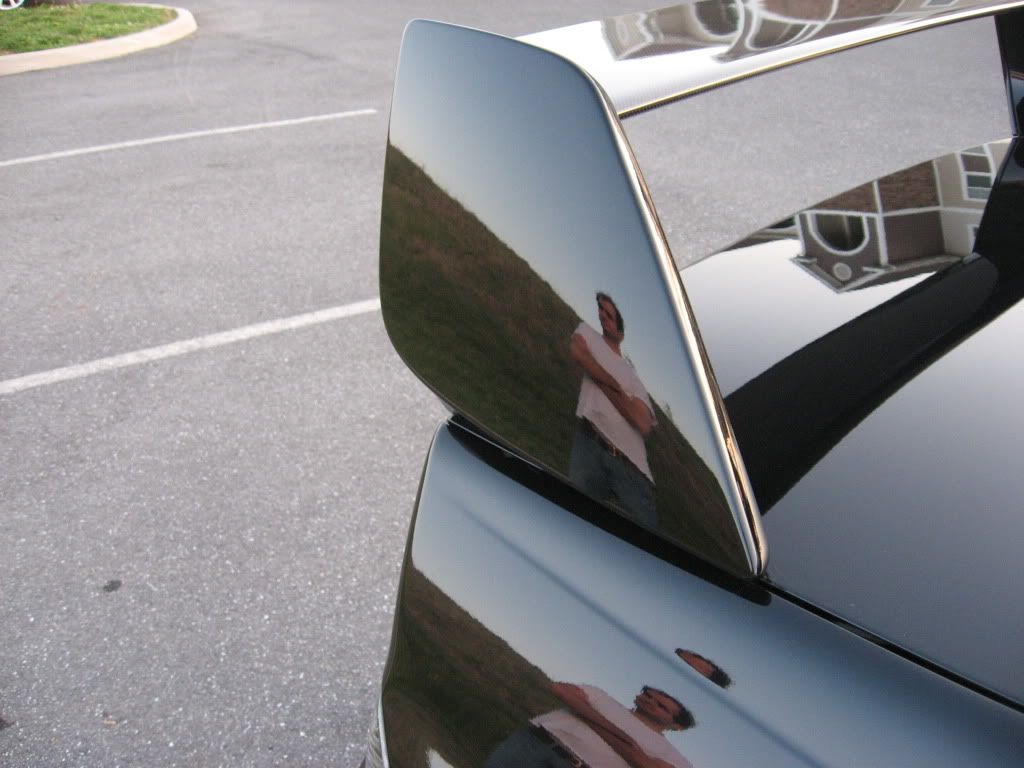
Spoiler


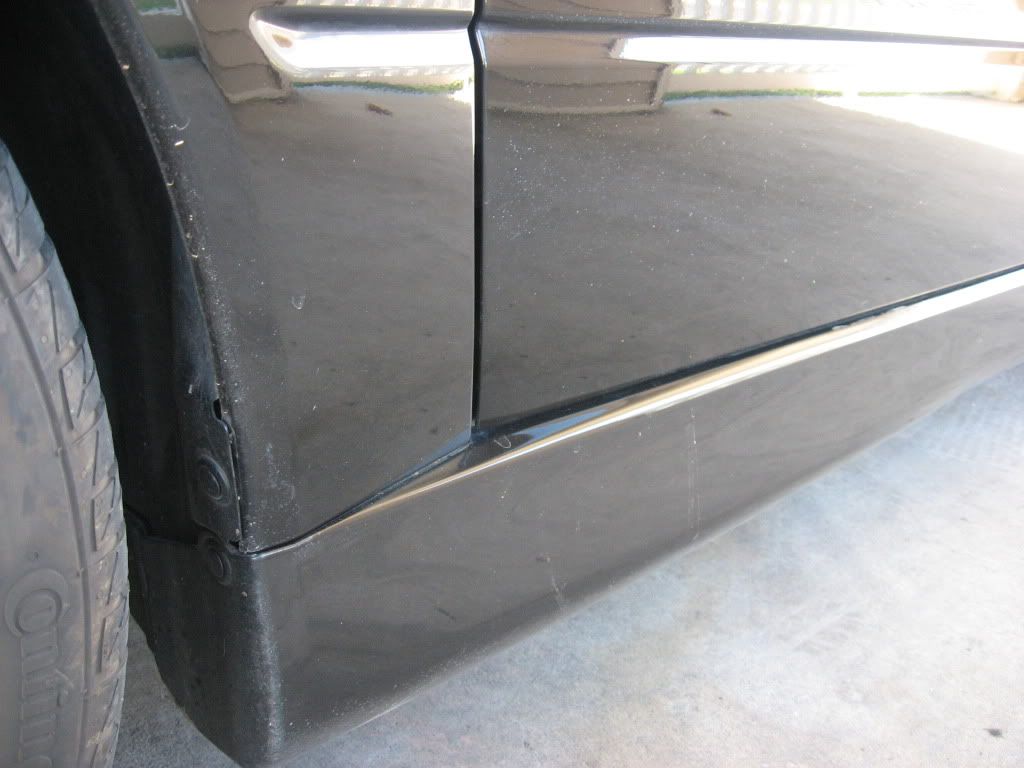
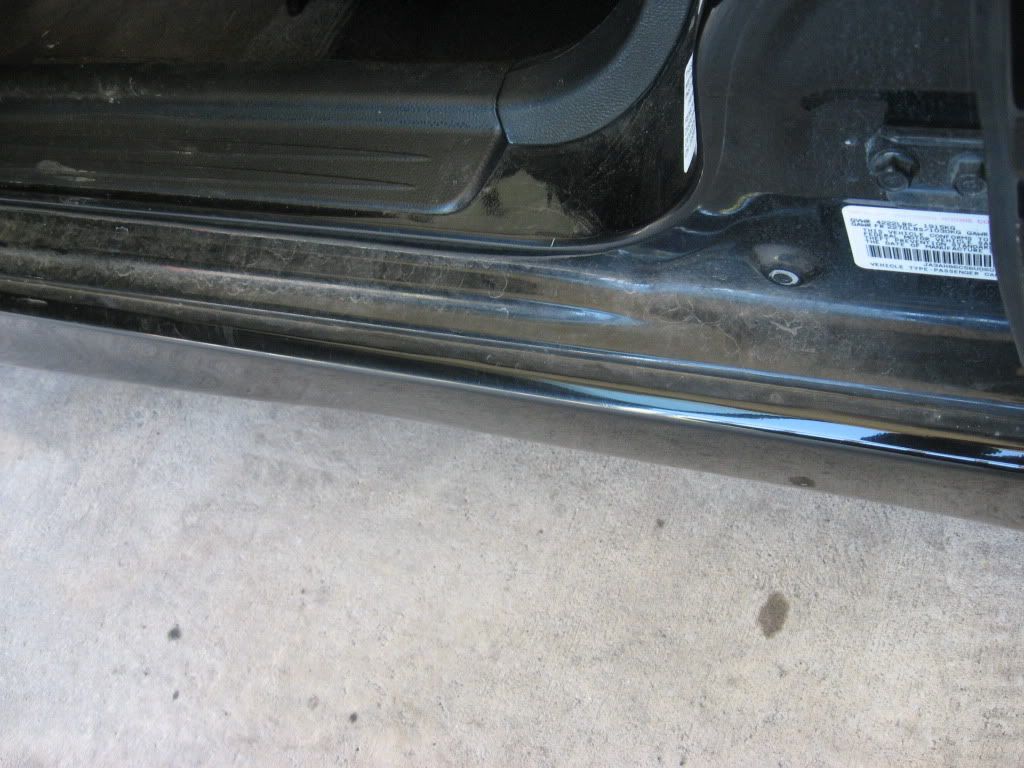
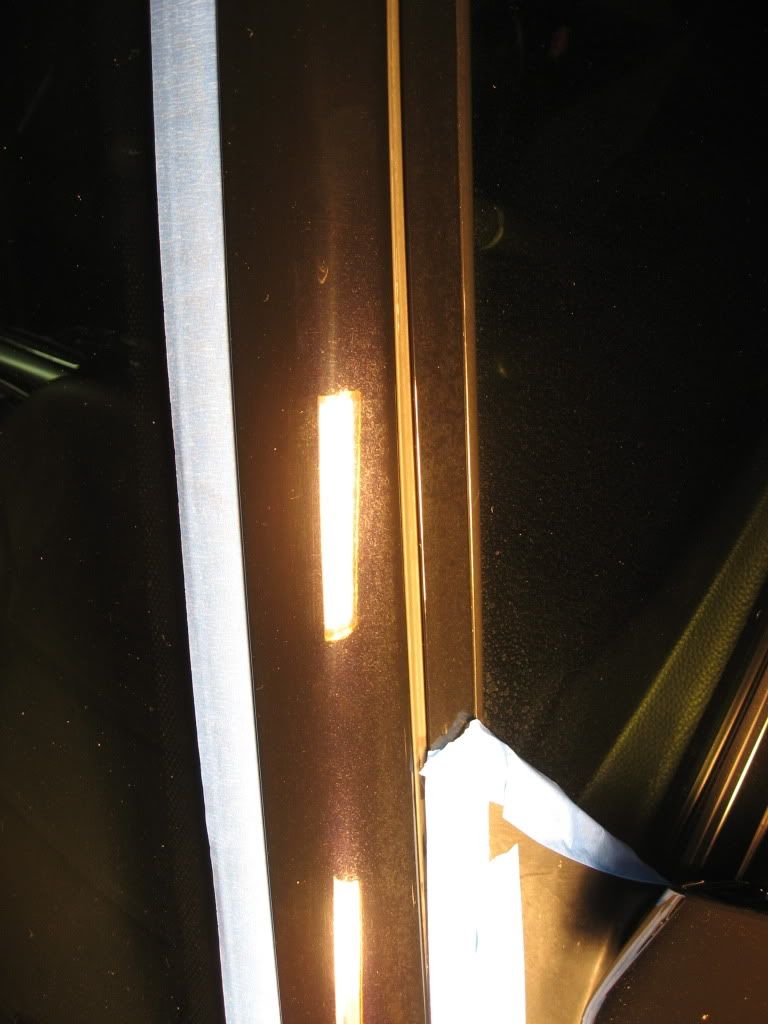
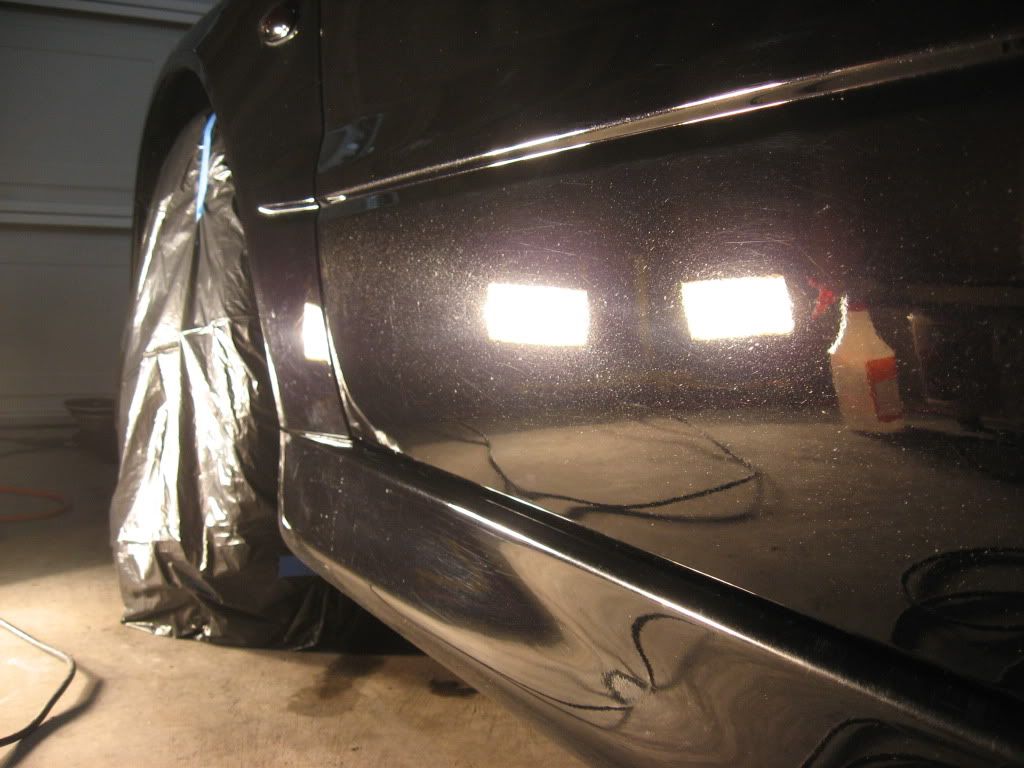
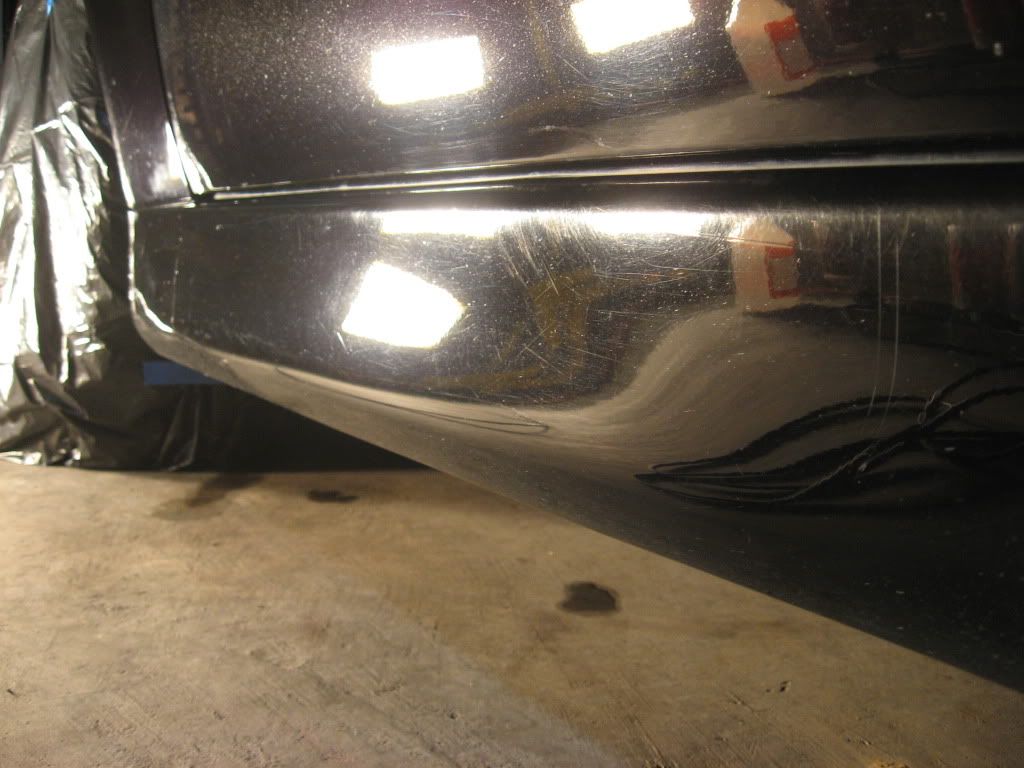
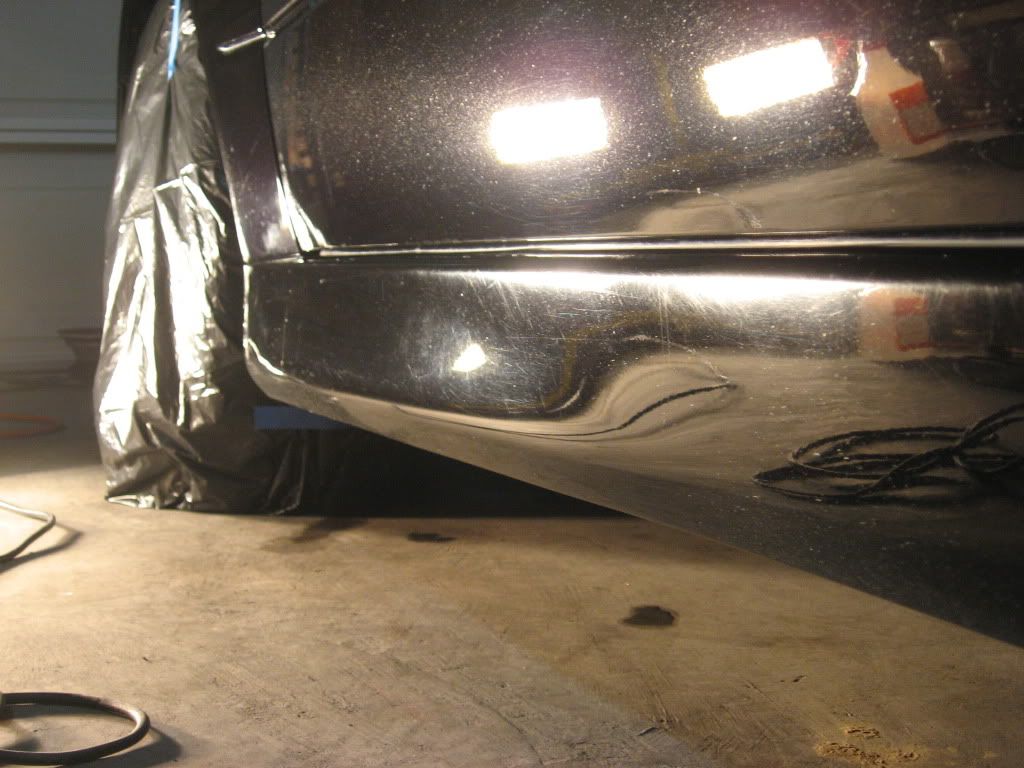
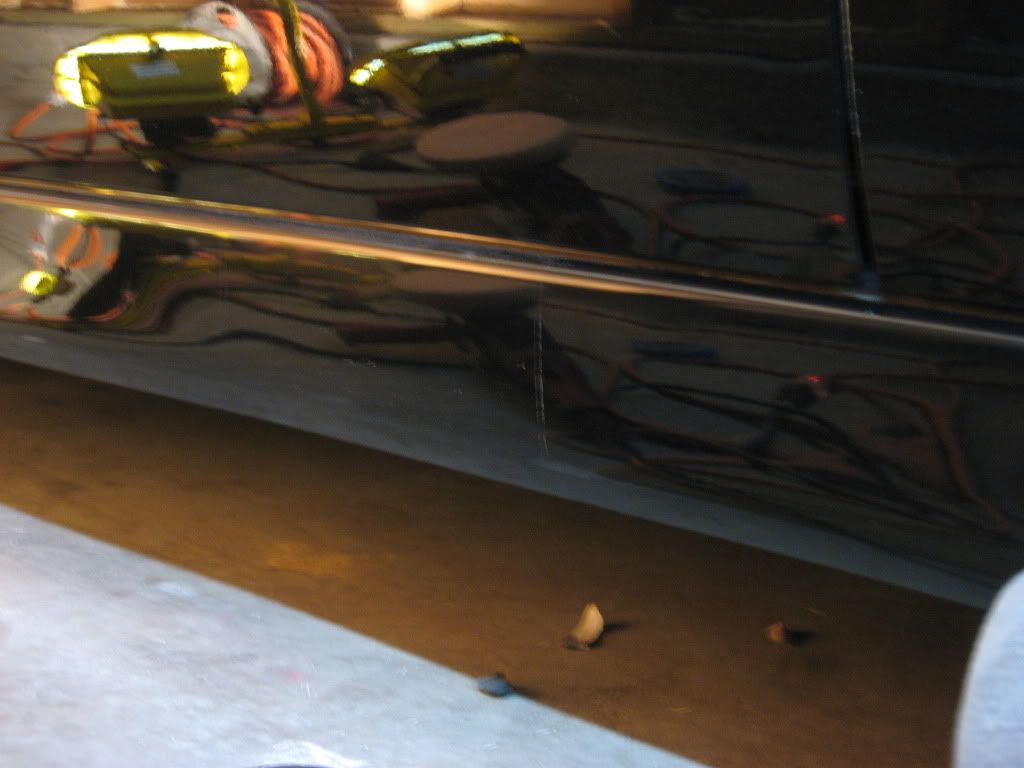
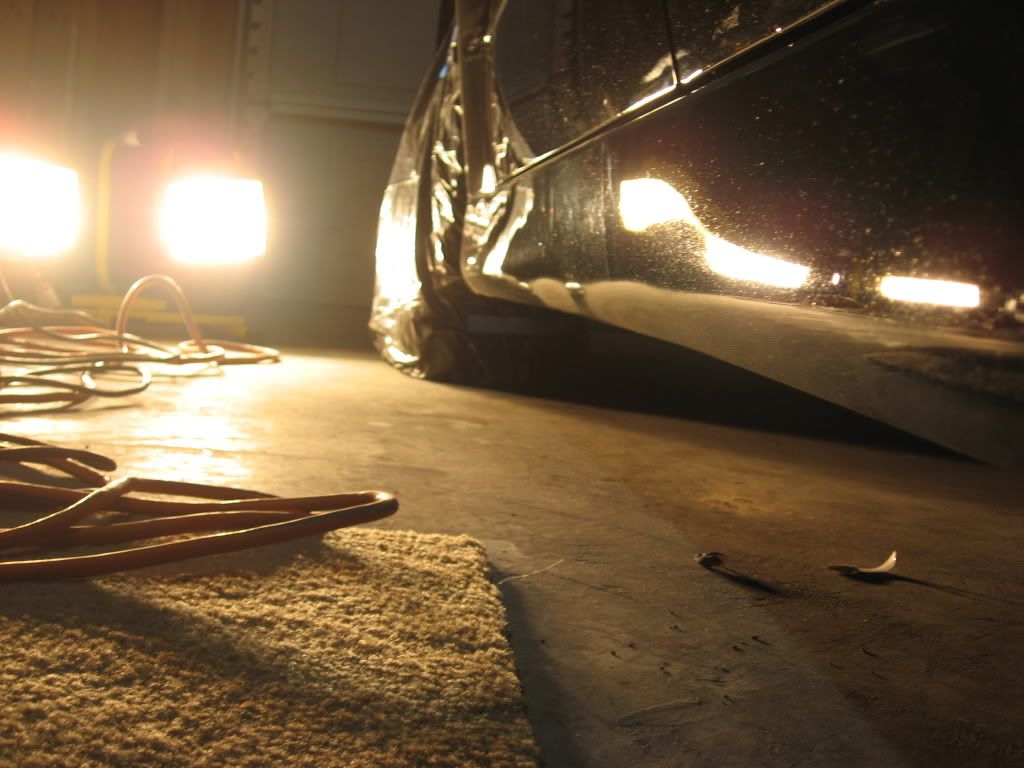
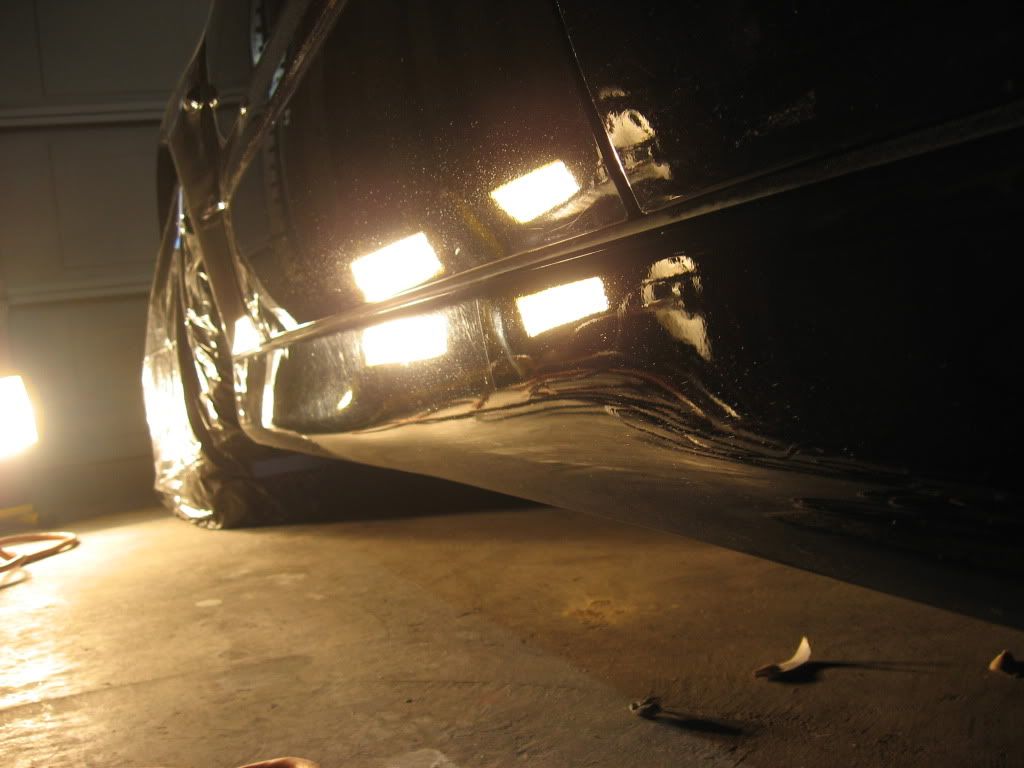
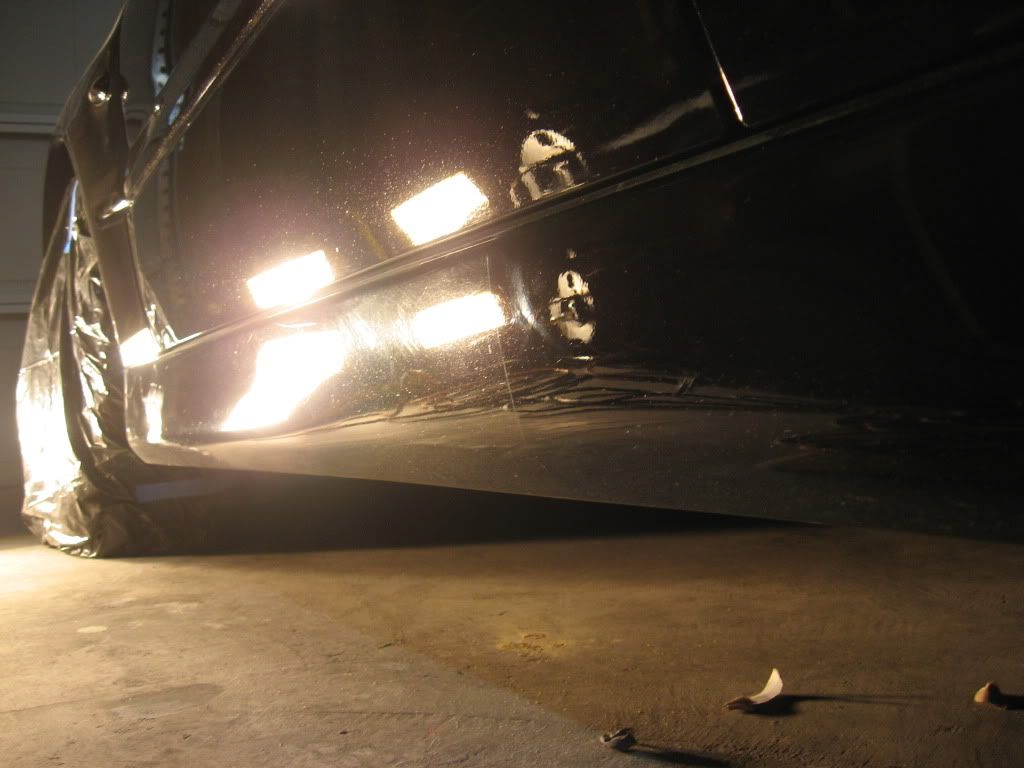
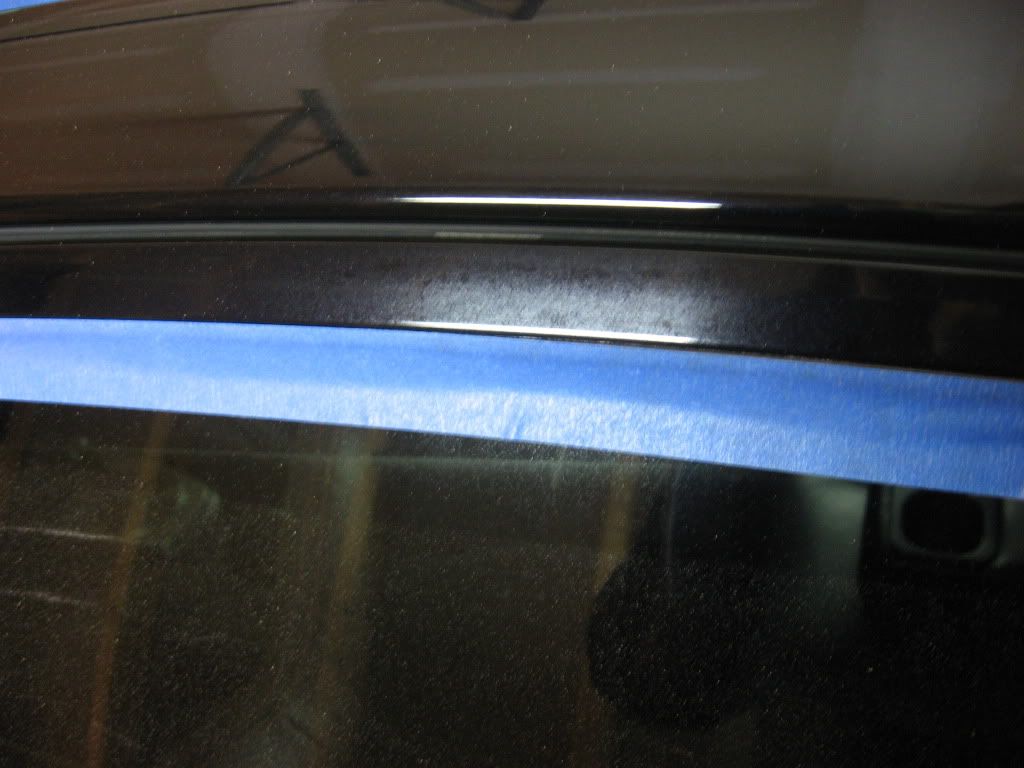
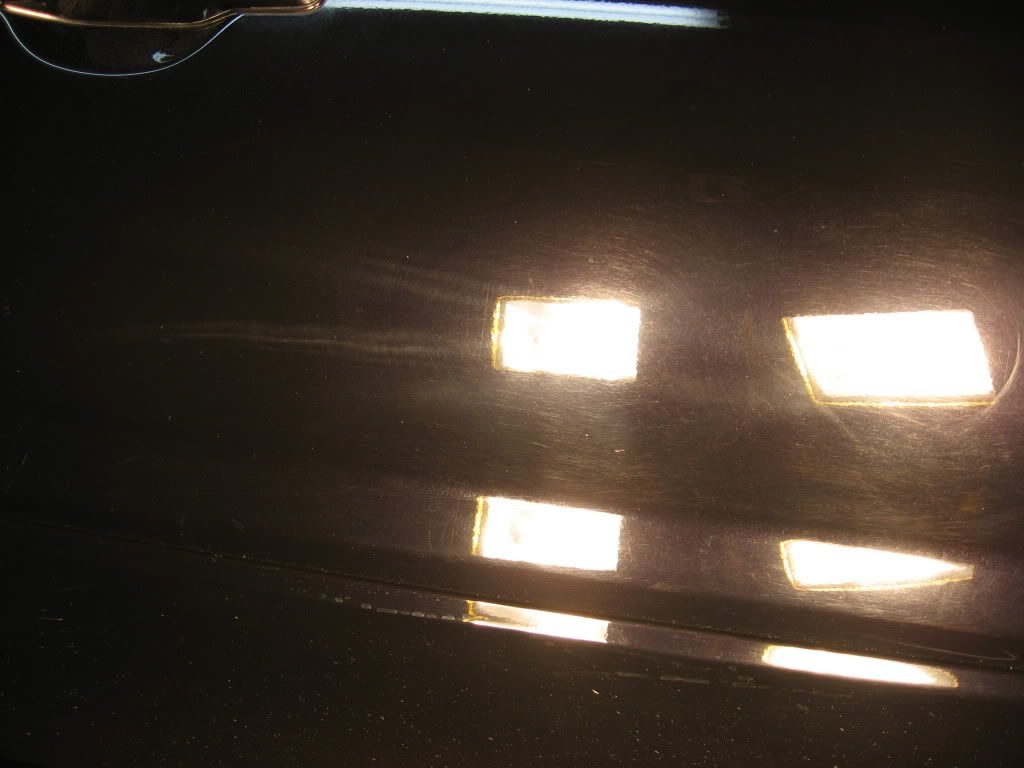
Rocker 50/50 - these puppy's were both hammered:
Left before- right after
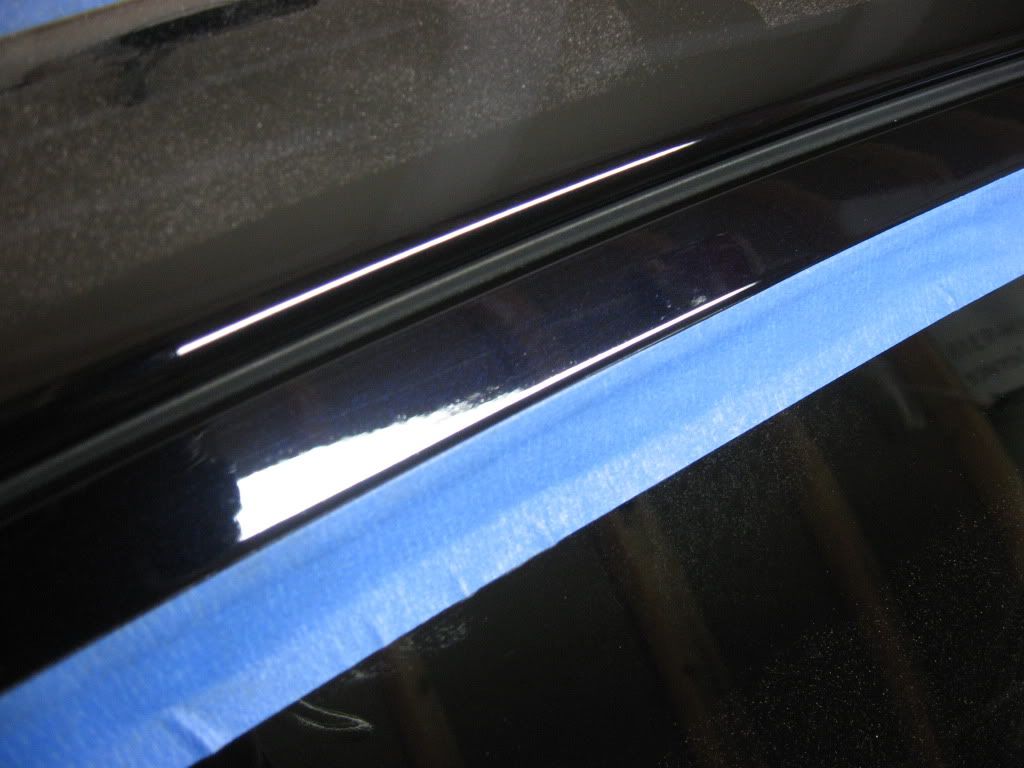
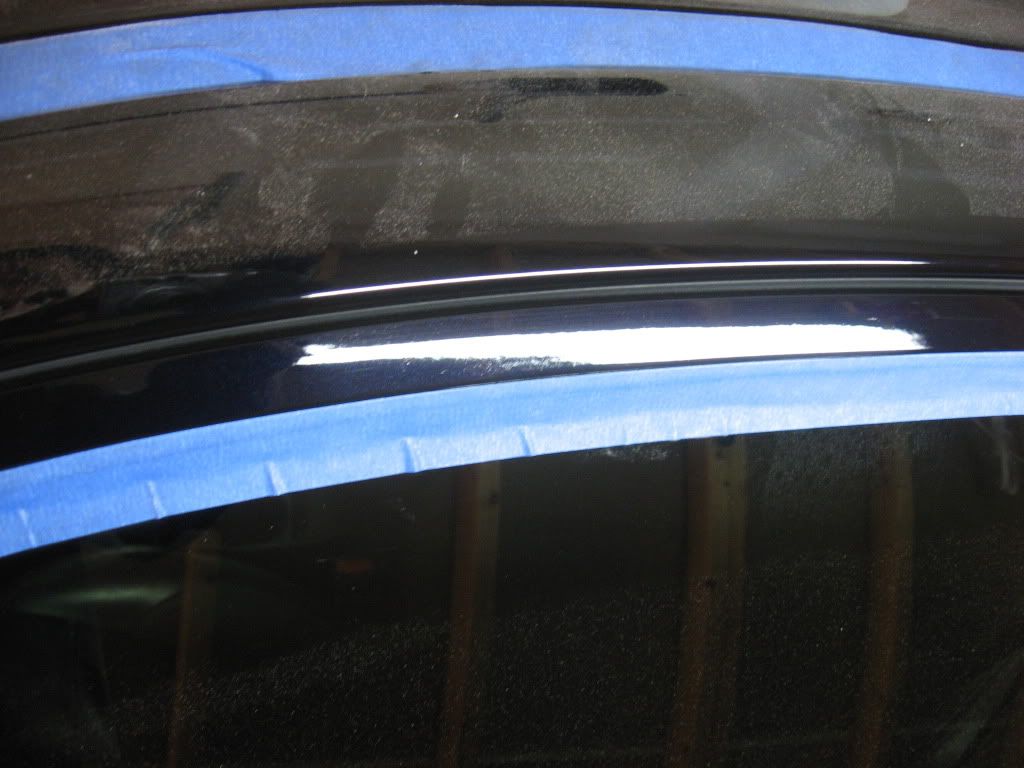
Door surrounds- polished all 4 stages by hand:
After:
Pillar before:
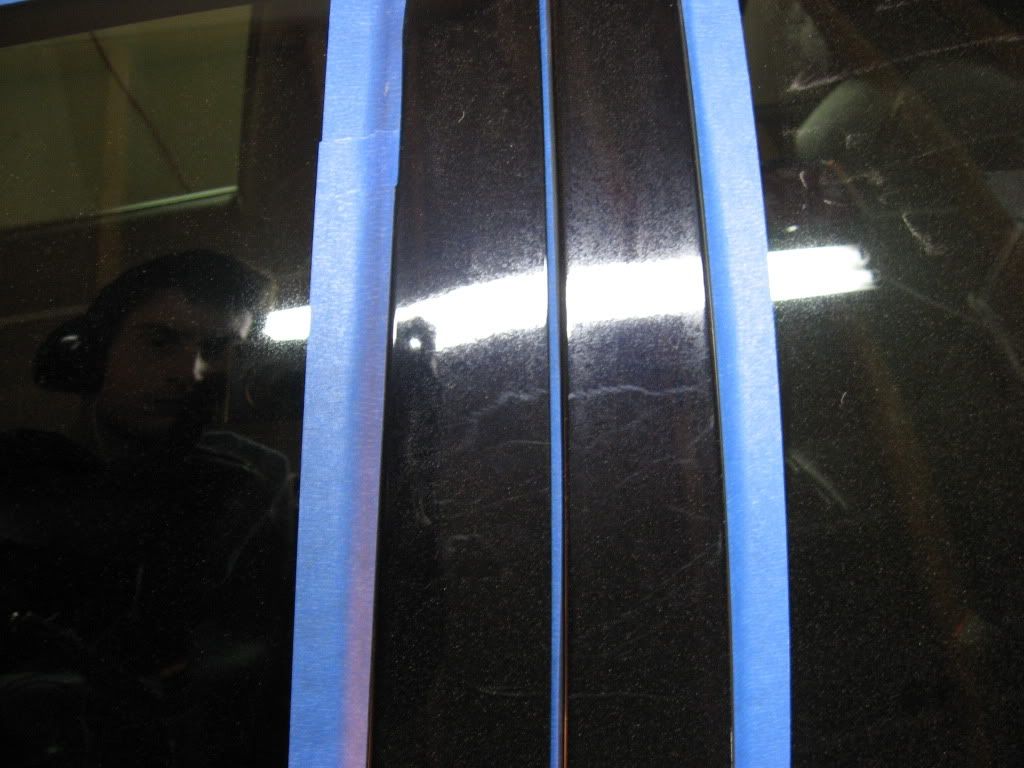
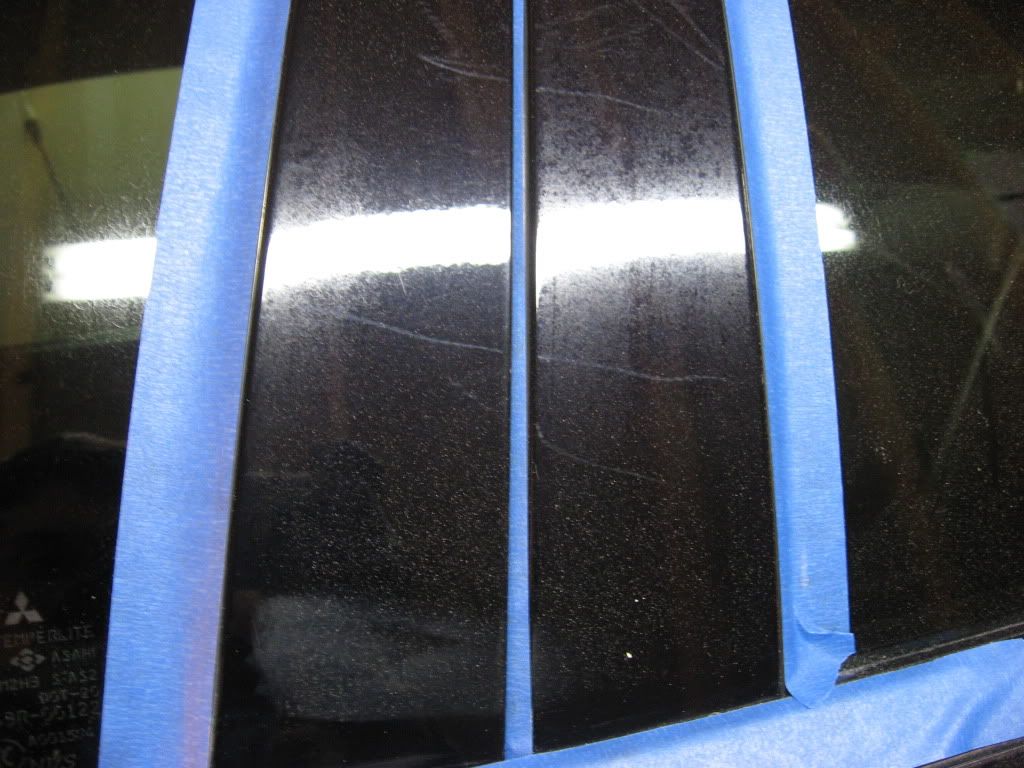
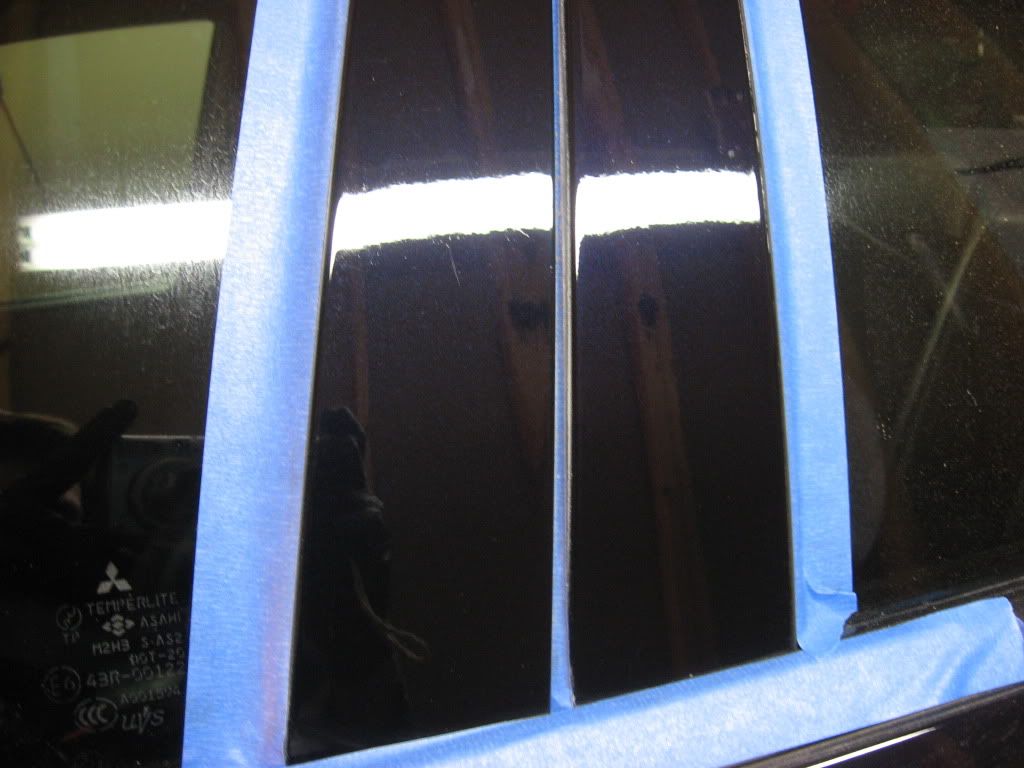
After:
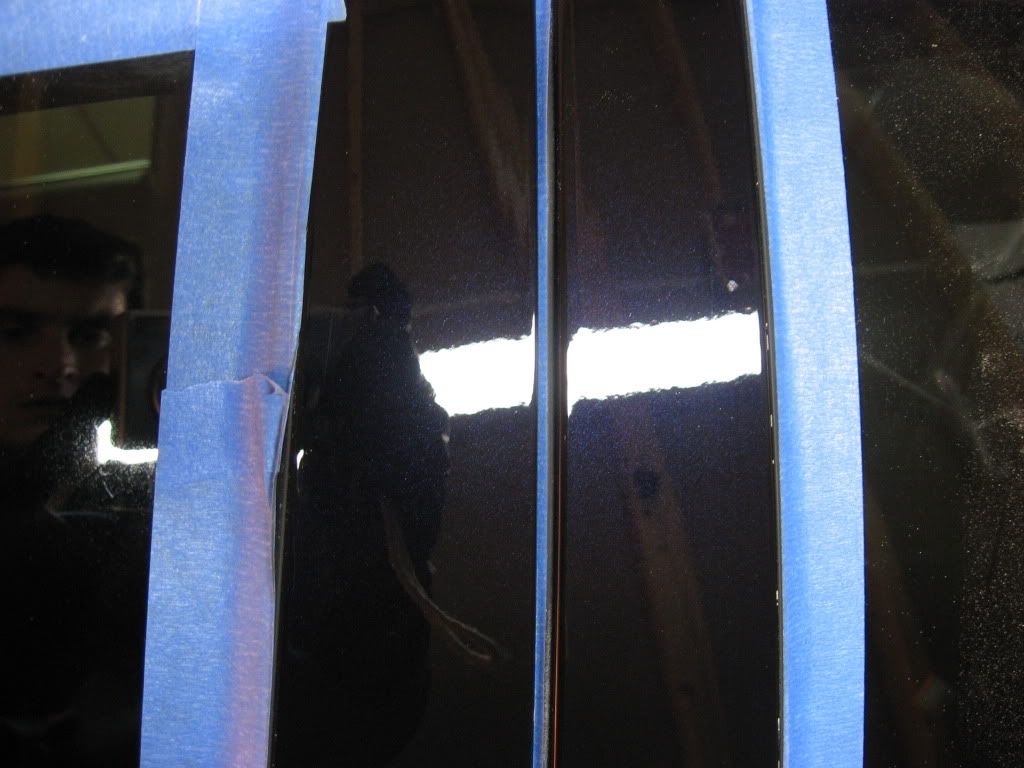


Another
I was pressed for time at the end of day 2 so I was unable to get afters of the other side of the car or the rear but here is some pics of before!
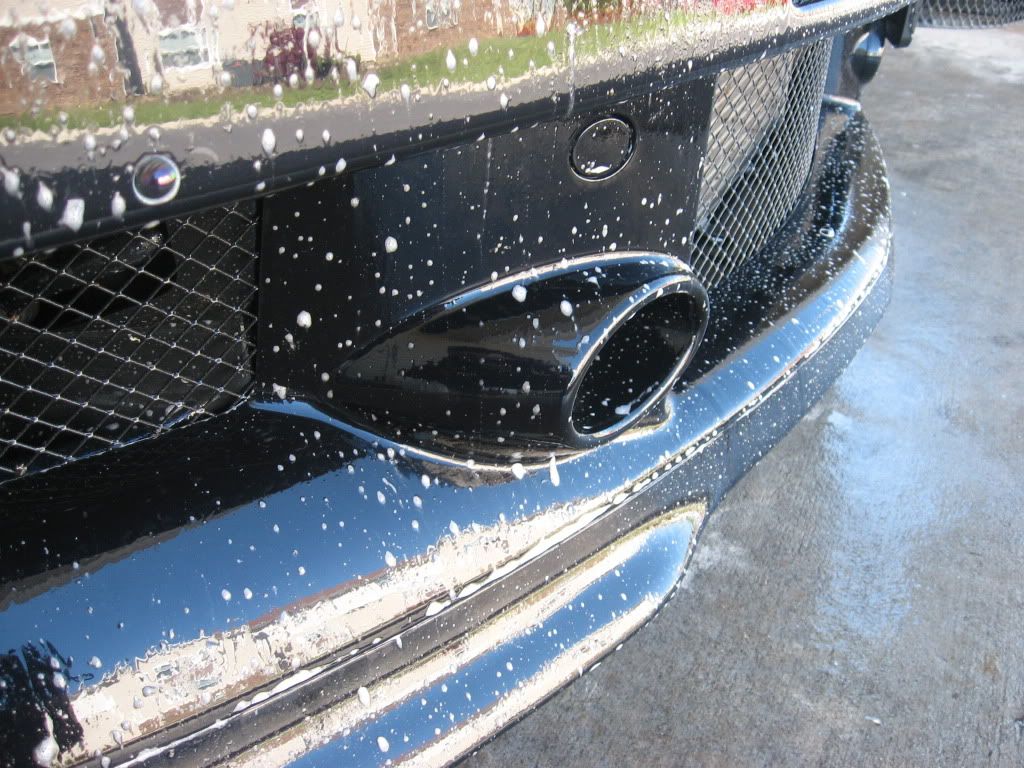
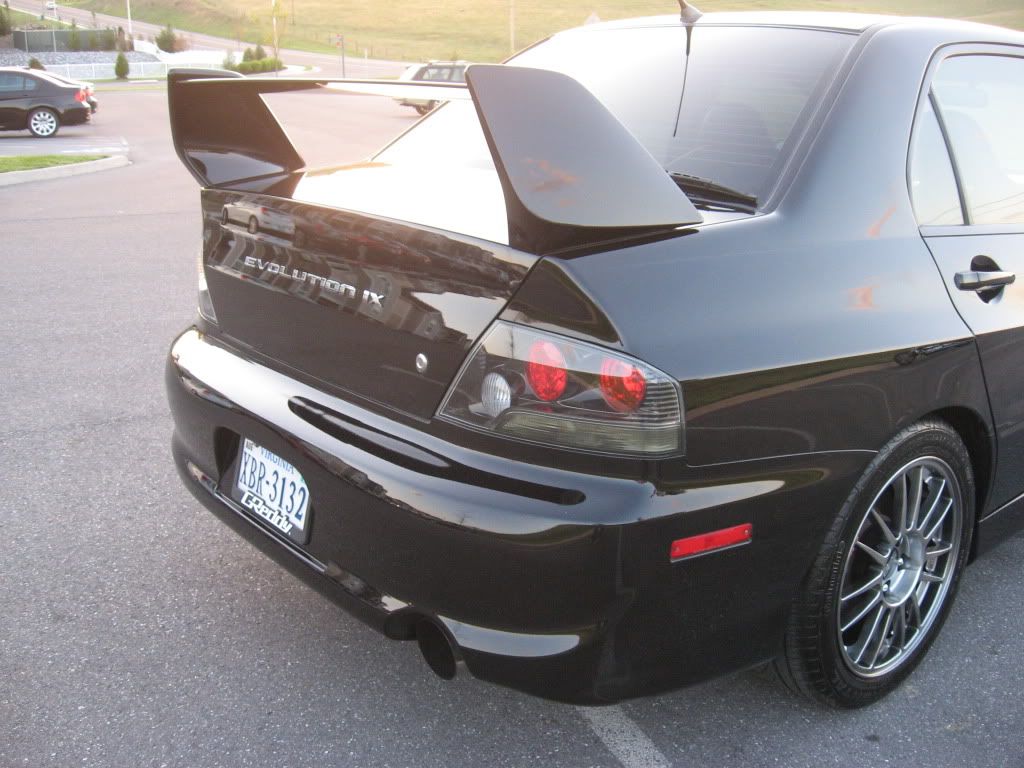
MMMMM rotary tails
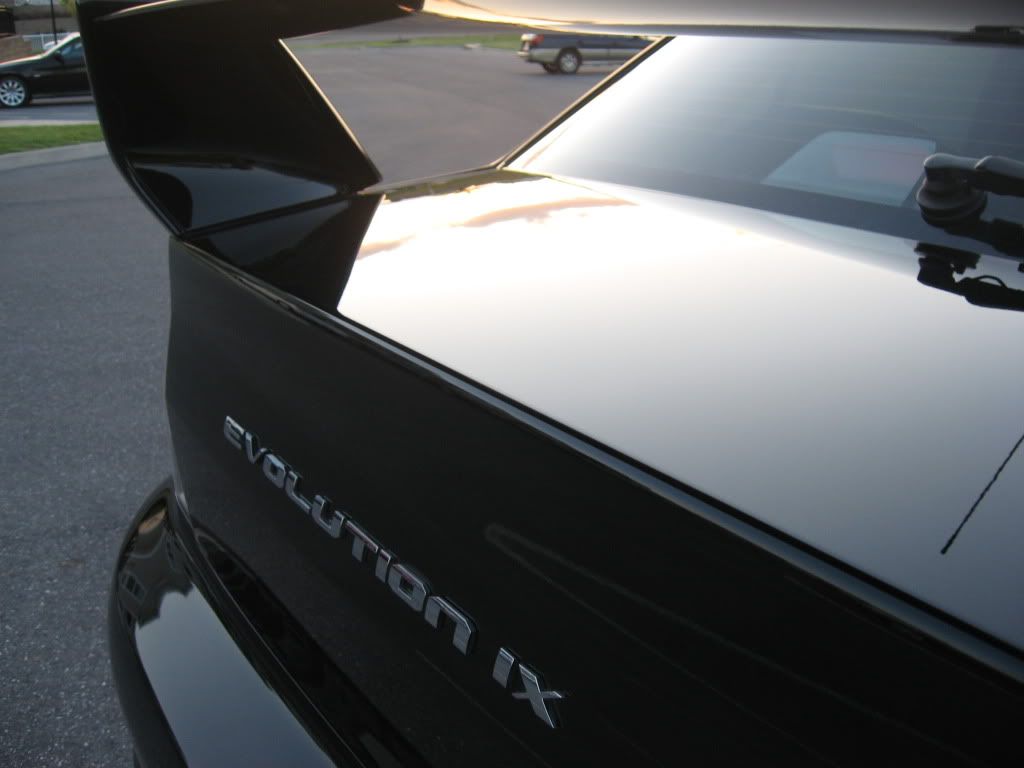
Spoiler before- probably the least damaged exterior piece of the car
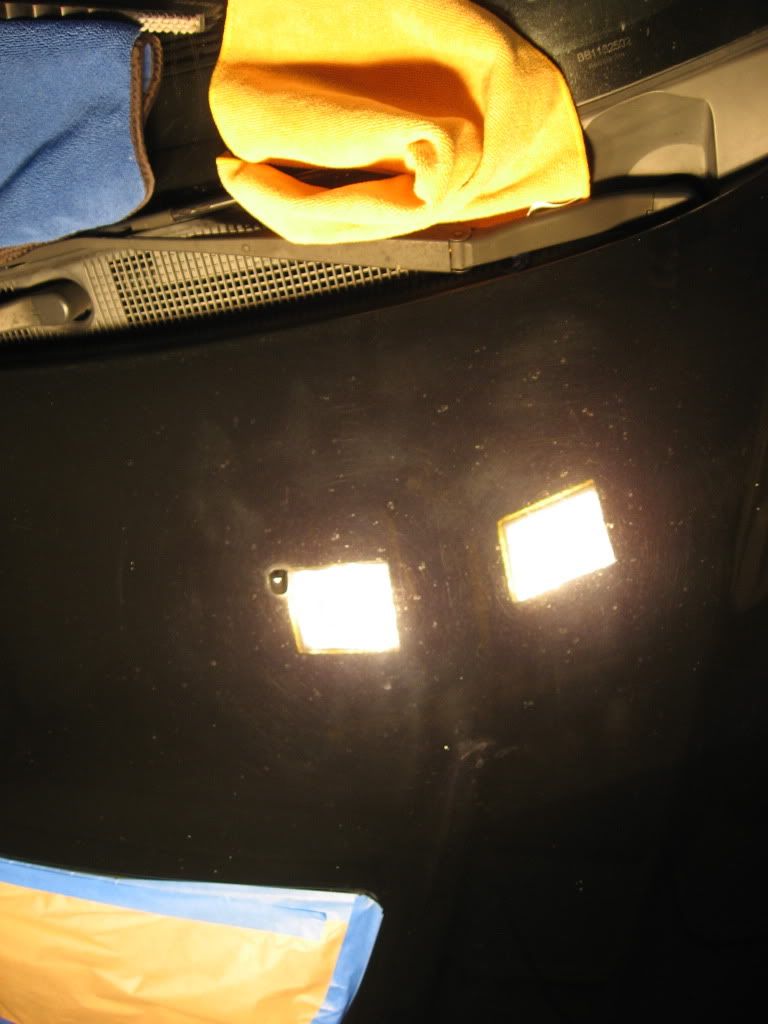
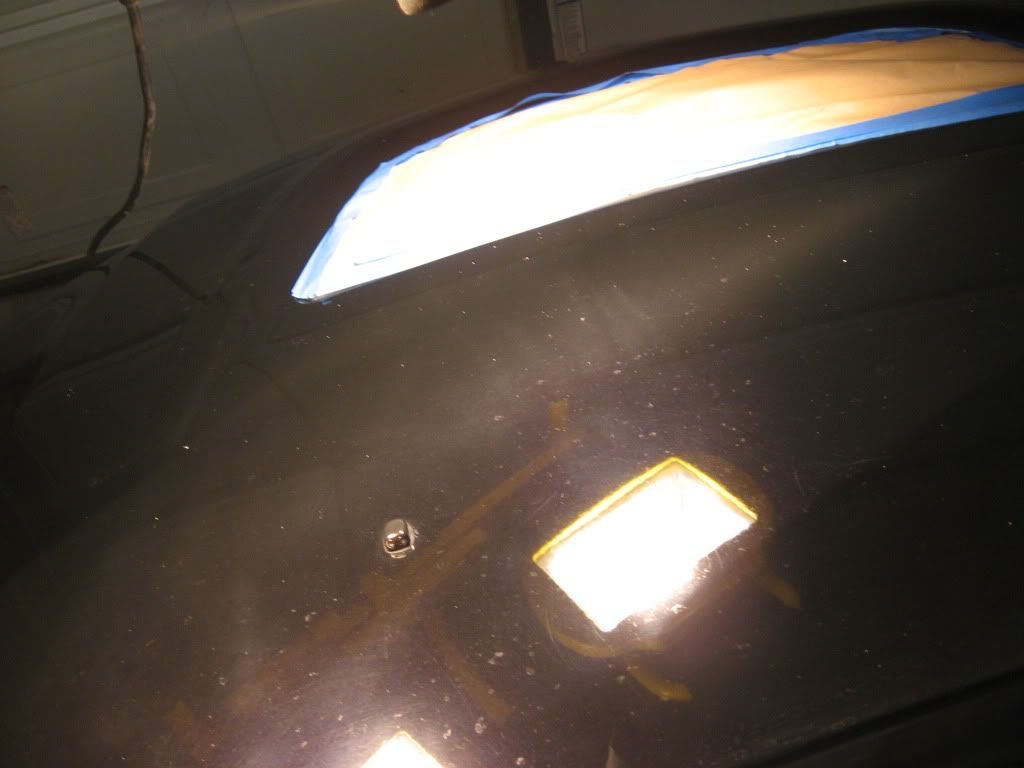
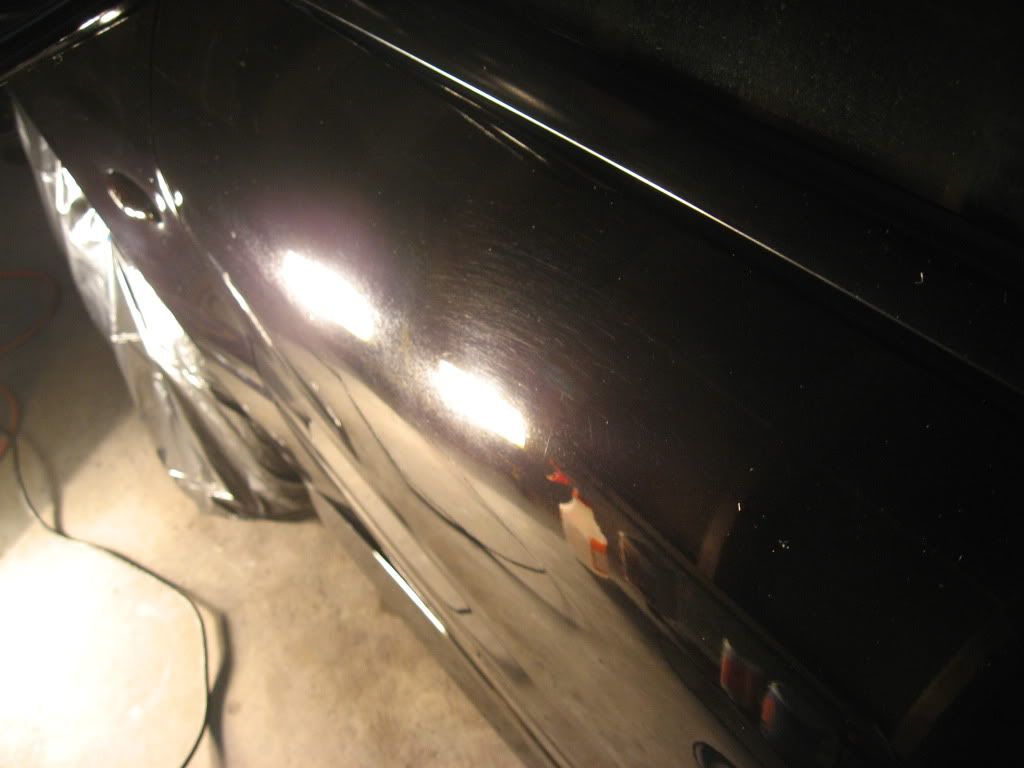
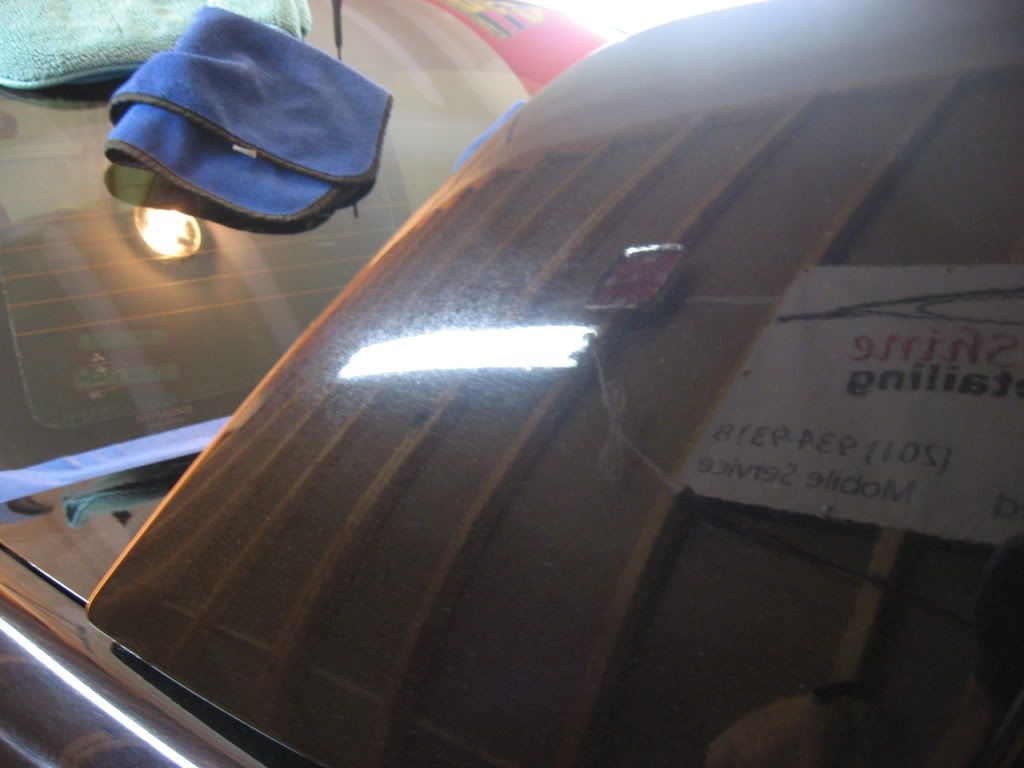
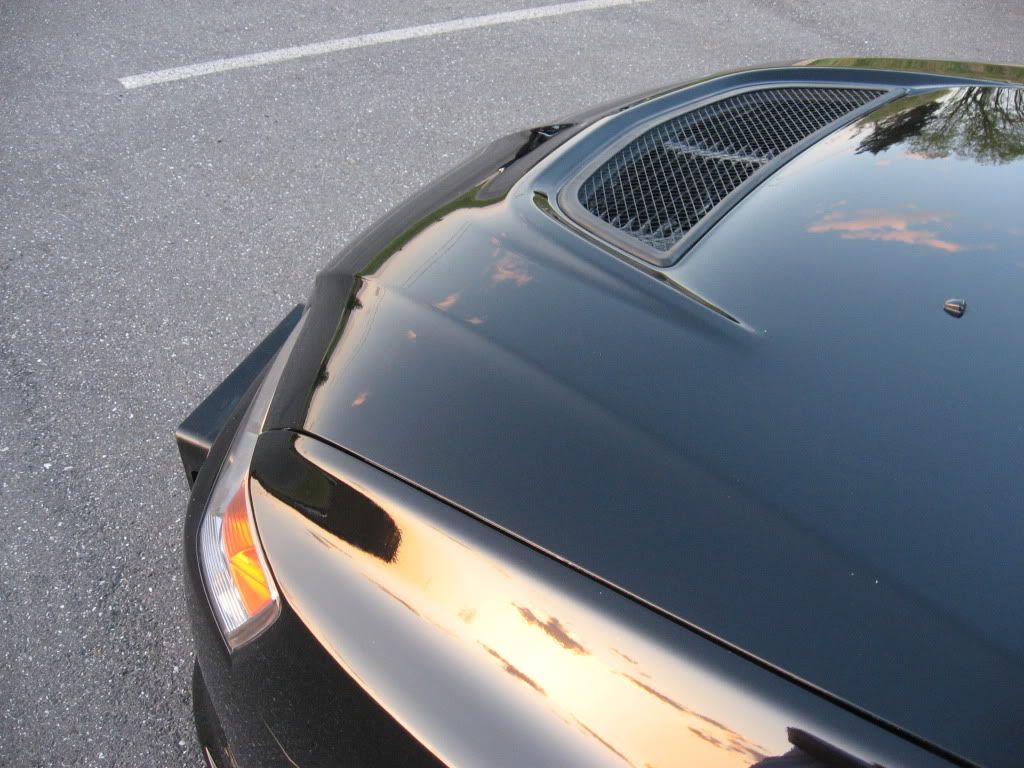
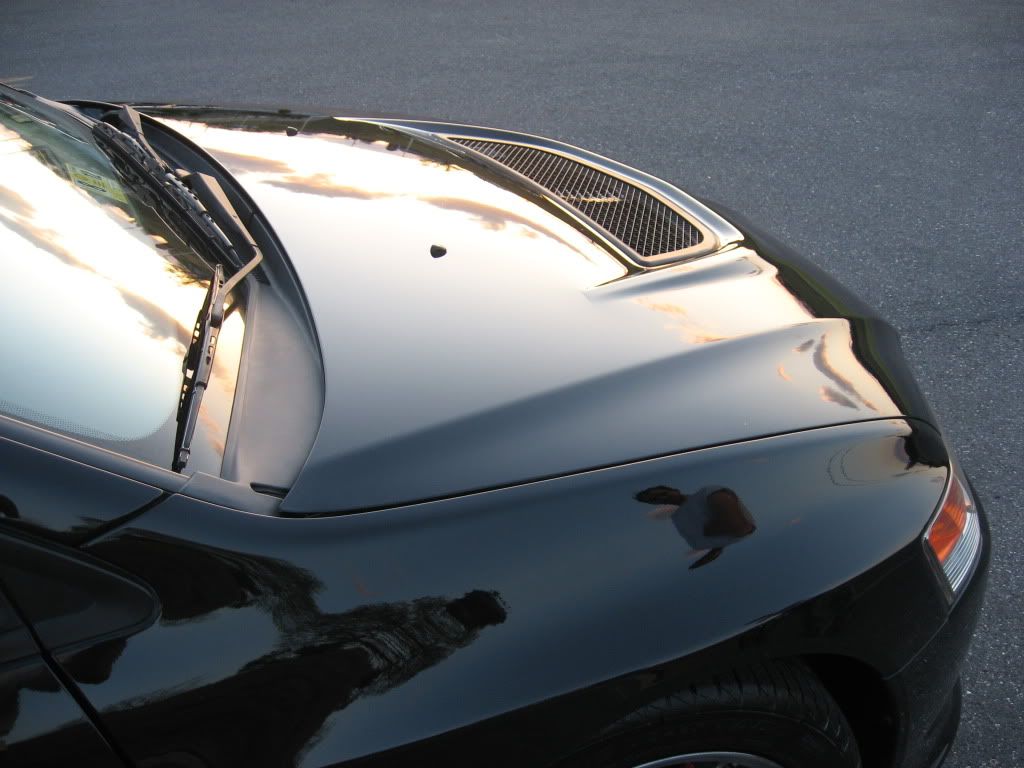
Trunk lid- pretty hammered:
2 IPA wipedowns later, then an application of some JetSeal 109:
Afters:


This job was completed after over 20 hours went into resurrecting the hammered and beat up paint. Heavy swirling, marring and yards of buffer trails and holograms left by a "detailer" was what I was faced with. The correctional process took 4 steps to complete at around 1 hour to an hour and fifteen per. panel.
The car was COVERED in acid rain and heavy water deposits, including the windows which were hammered. Compounding pad + Glass polish X 3 passes per window helped, but still did not remove all. A large improvement was made!
Onto the good stuff
Products/ tools used:
Products:
CG Citrus Wash and Clear/ Dawn wash
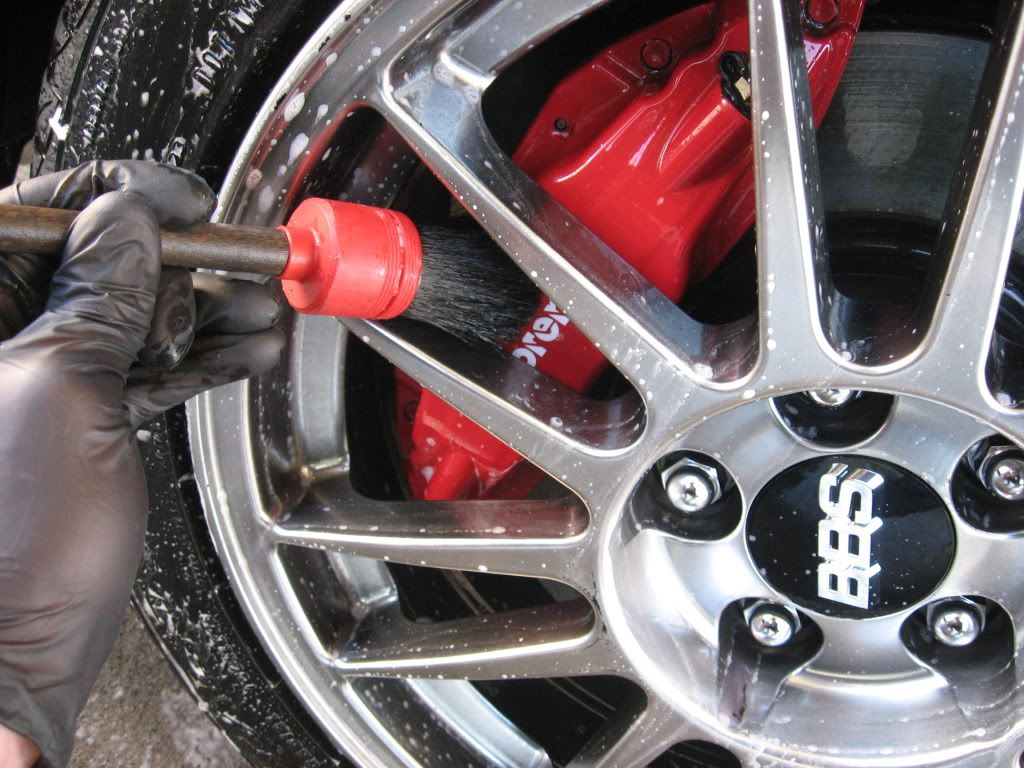
Sonax FE wheel cleaner/ Megs WB 15:1
Megs APC
Uber Fine Clay
ONR
Zaino Z12 Clearview Glass Polish
Sonax Glass Cleaner
303 Aerospace Protectant
Adams VRT dressing
Megs 105
Menzerna Power Finish
Menzerna Super Finish
IPA 30%
CG JetSeal 109
Tools:
3 Wool wash mitts
SV brushes- wheel, Pneu
Uber Spoke wheel brush
0000 steel whool
PC air compressor
Flex DA
PC DA
Various backing plates
Surbuf R series MF pads
Uber Green foam
Uber Orange foam
Uber yellow foam
LC 3 in. yellow foam
LC 3 in. orange foam
Wash process:
Shot of the heavy deposits and etchings:
heavily oxidized lenses:
Megs APC sitting and breaking down the bugs
Pulled inside and Clayed- surprisingly not too much picked up
The Correctional process
One pass of Megs 105 on a Surbuf R series MF pad
One Pass of Megs 105 on a yellow foam pad
One pass of Menzerna SIP on an orange pad
One pass of Menzerna 106fa on a green pad
Average time per panel- 1 hour to an hour and a half
Some nasty befores
Glass:
50 / 50 glass:
50 / 50's!
After:
Before:
After:
More 50 / 50
Spoiler
Rocker 50/50 - these puppy's were both hammered:
Left before- right after
Door surrounds- polished all 4 stages by hand:
After:
Pillar before:
After:
Another
I was pressed for time at the end of day 2 so I was unable to get afters of the other side of the car or the rear but here is some pics of before!
MMMMM rotary tails
Spoiler before- probably the least damaged exterior piece of the car
Trunk lid- pretty hammered:
2 IPA wipedowns later, then an application of some JetSeal 109:
Afters:
Last edited by RawrImAMonster; Apr 12, 2012 at 01:37 PM.
HOLY CHRIST... if you spent 20hrs on that much for the detail... I can only begin to shudder in how long it would take mine to get done...I think the detailer would die of coronary lol
Thread Starter
Newbie
Joined: Apr 2011
Posts: 52
Likes: 0
From: Virginia
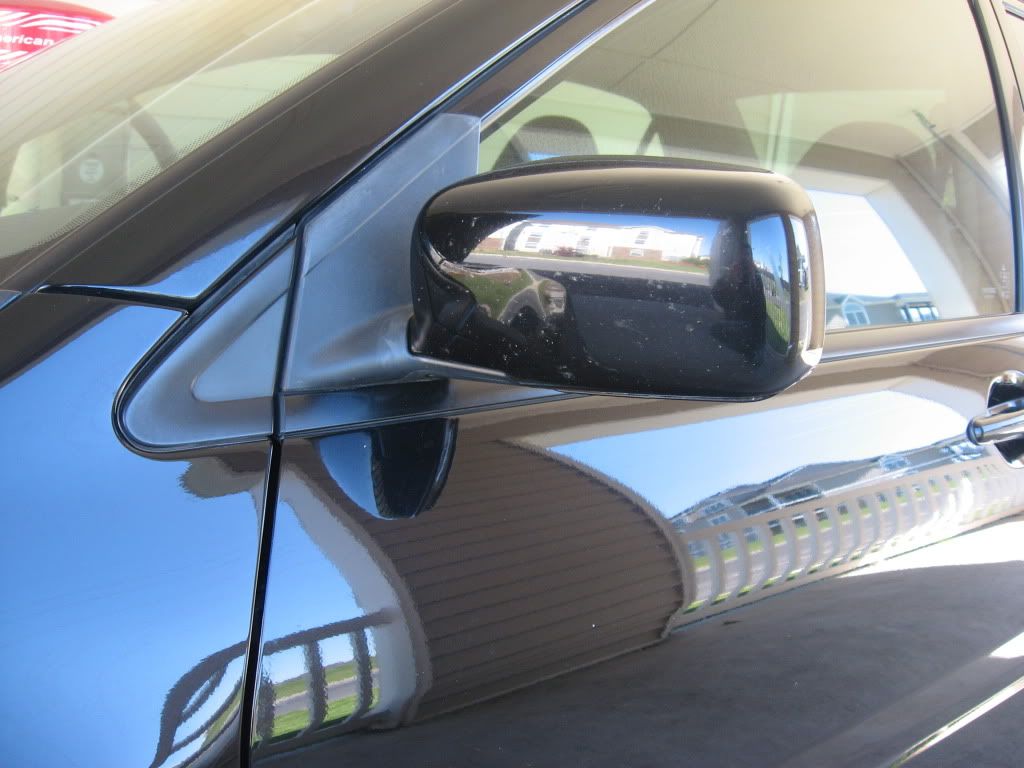
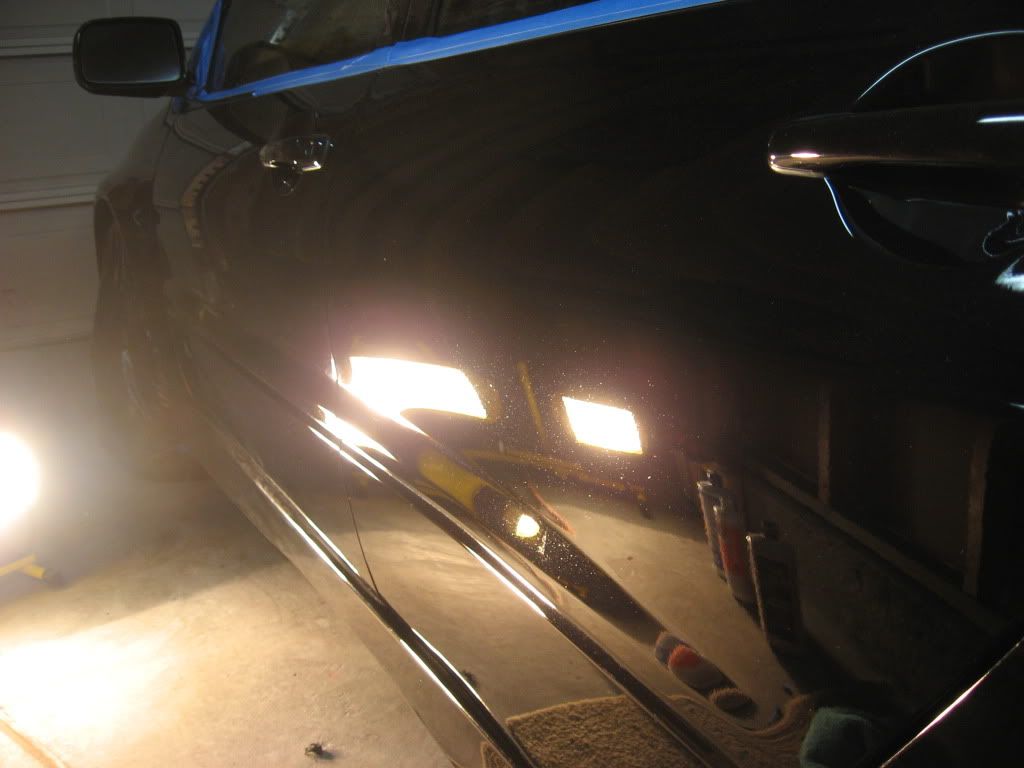
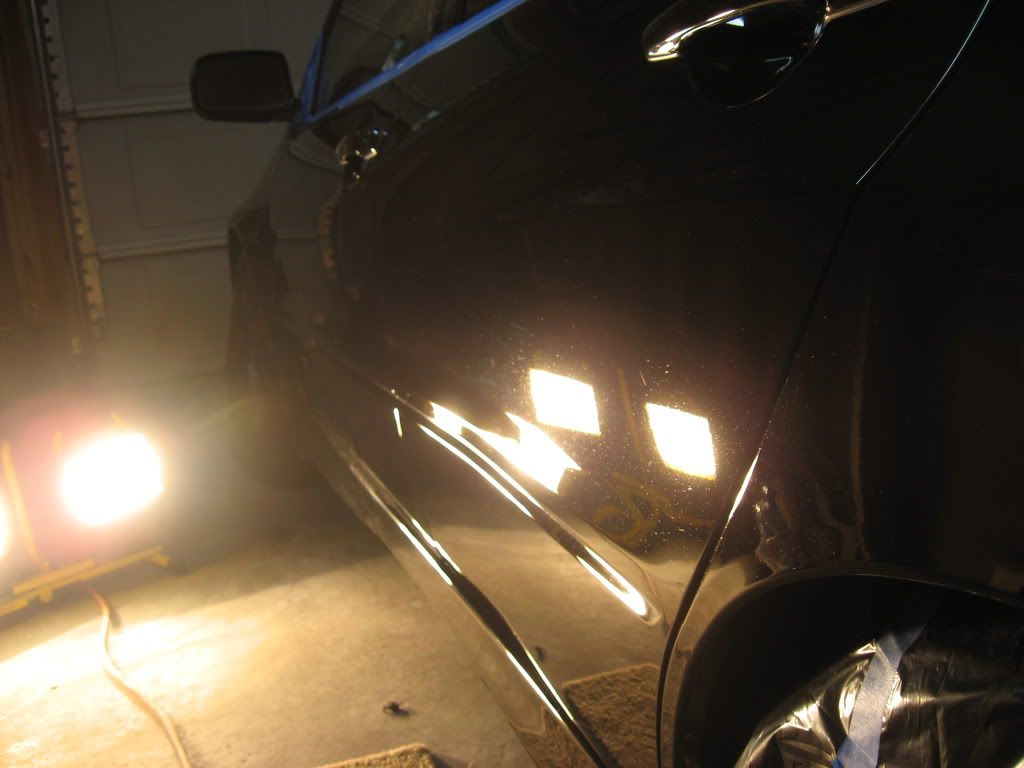
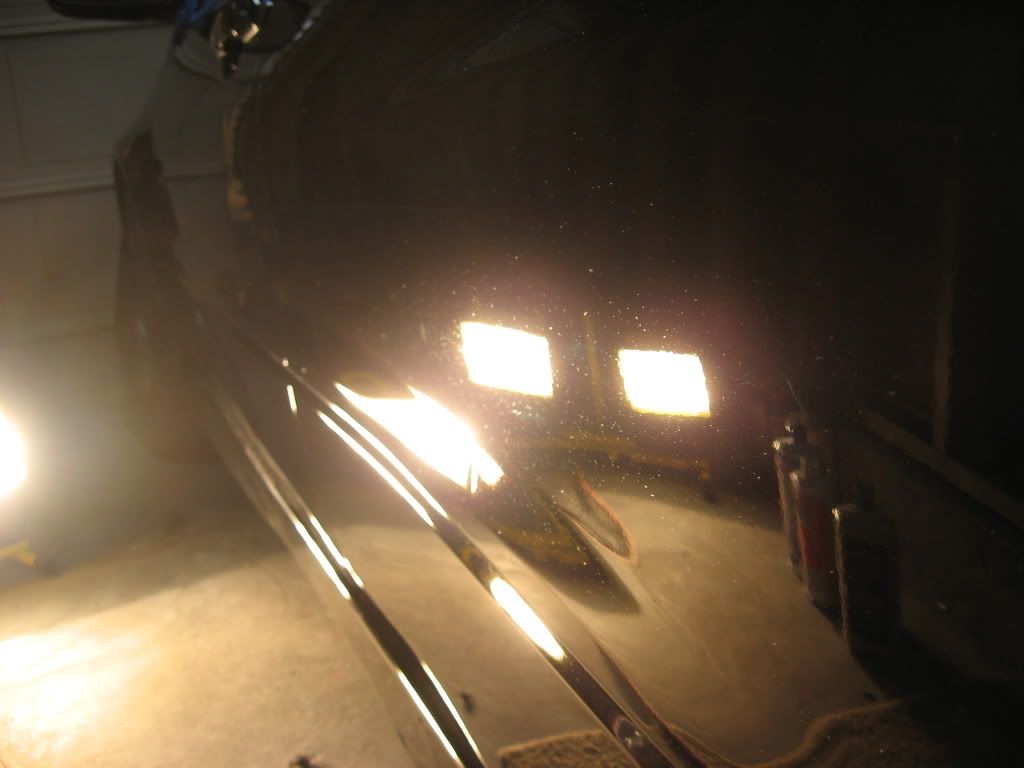
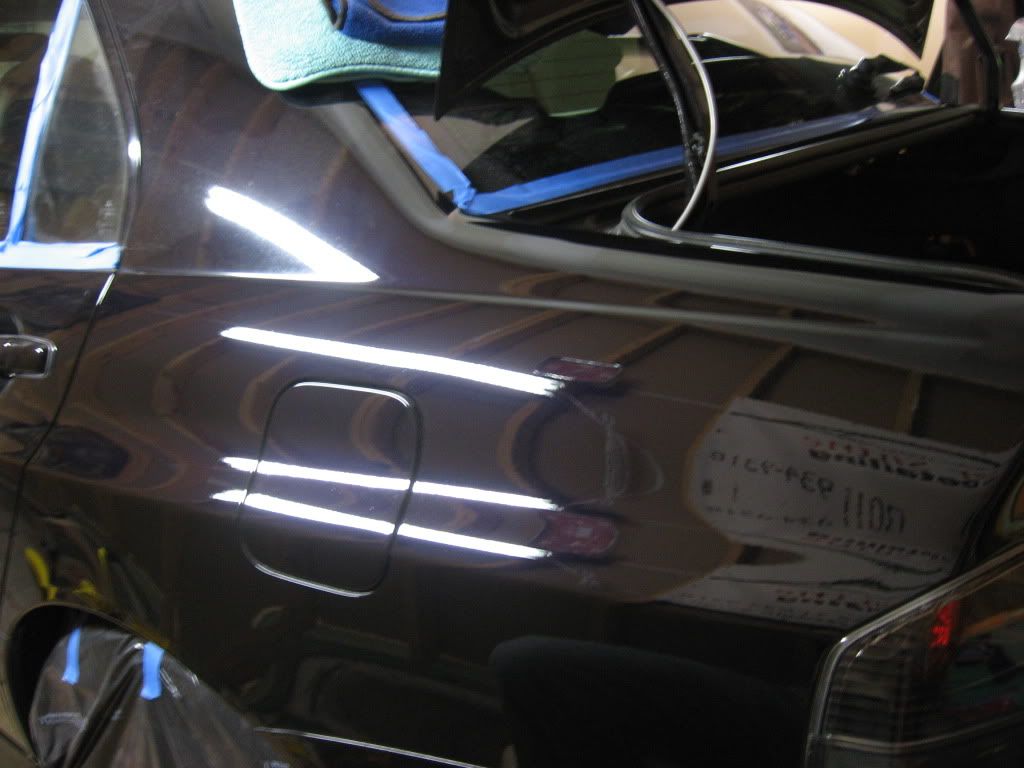
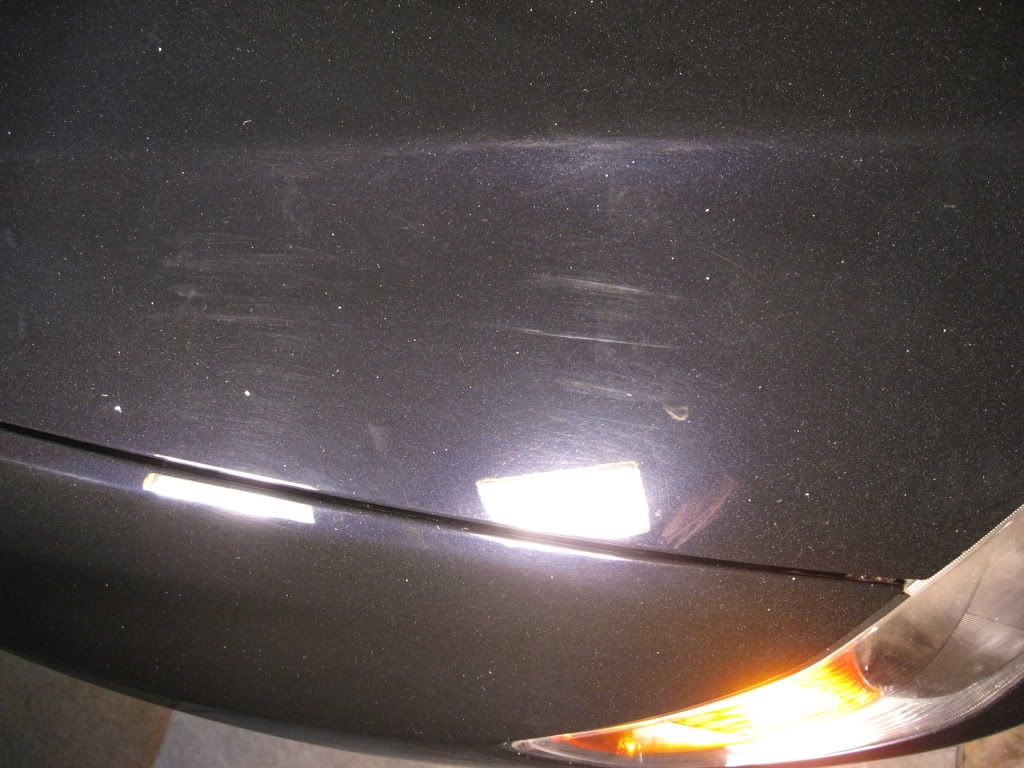
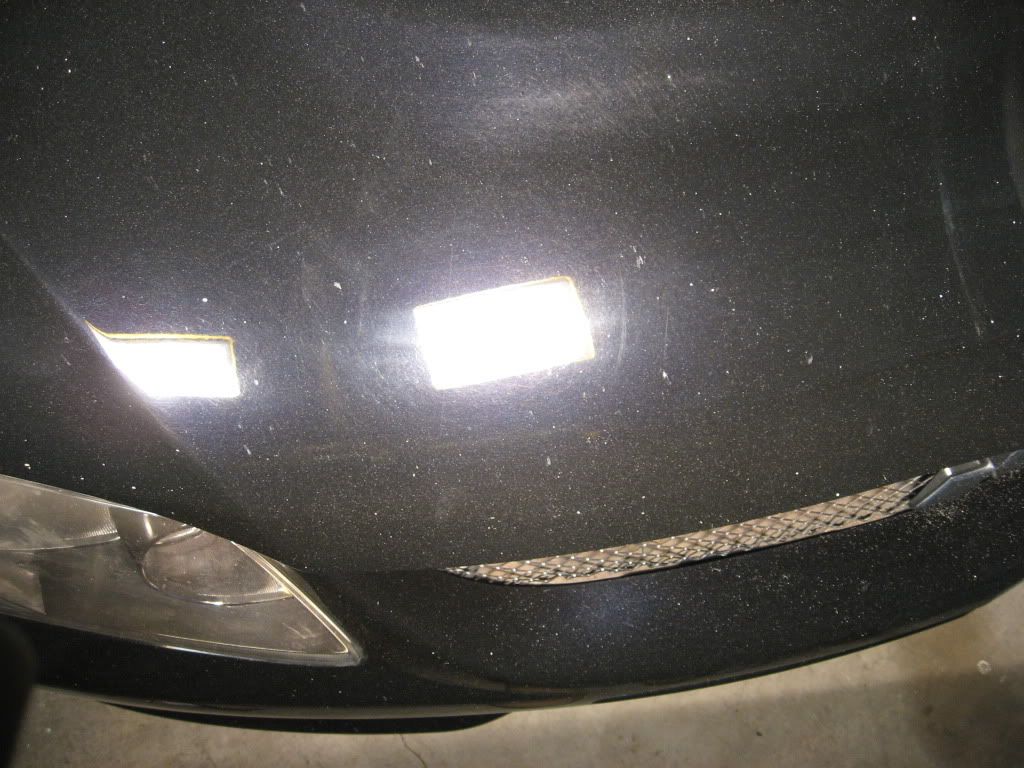
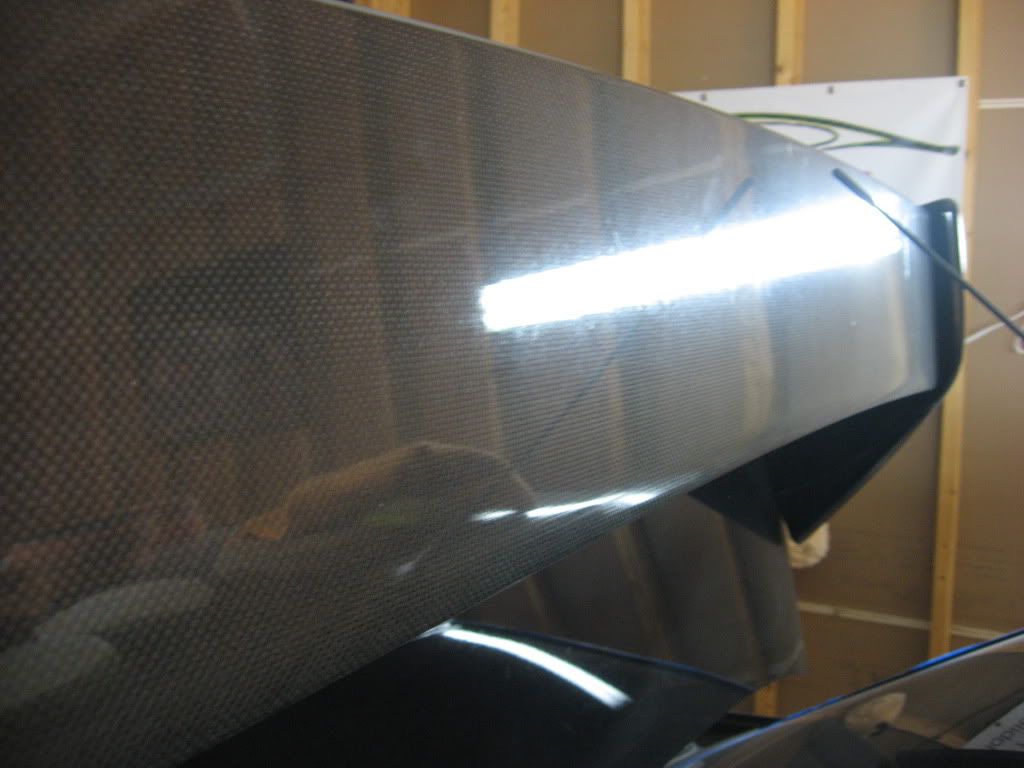
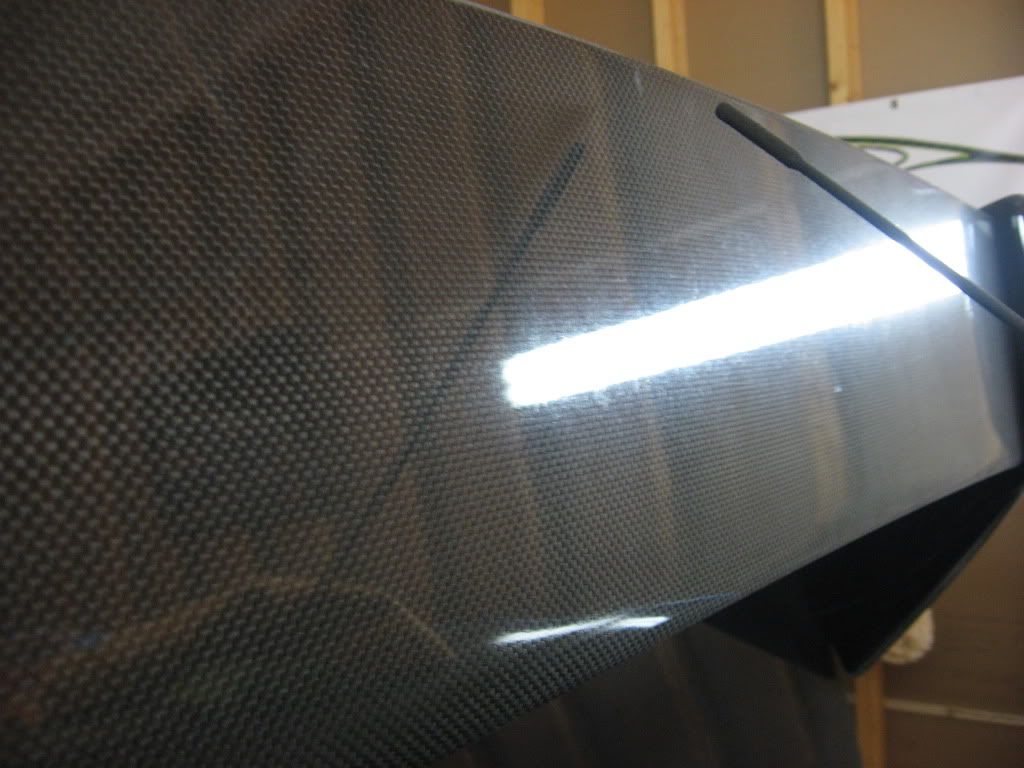
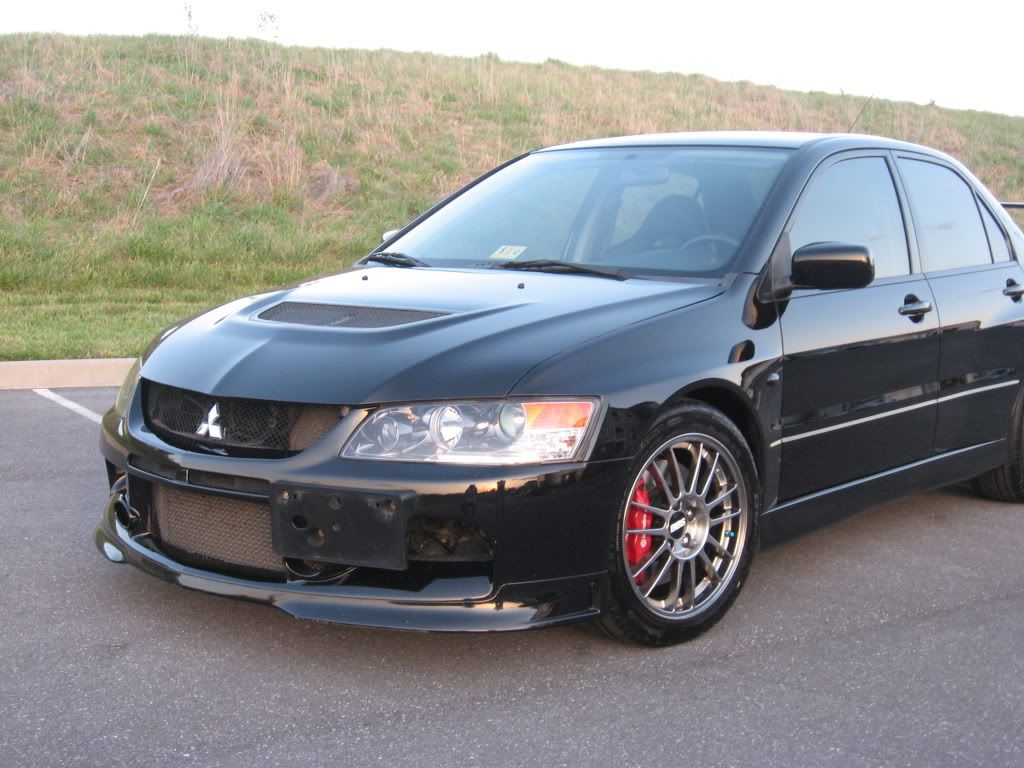
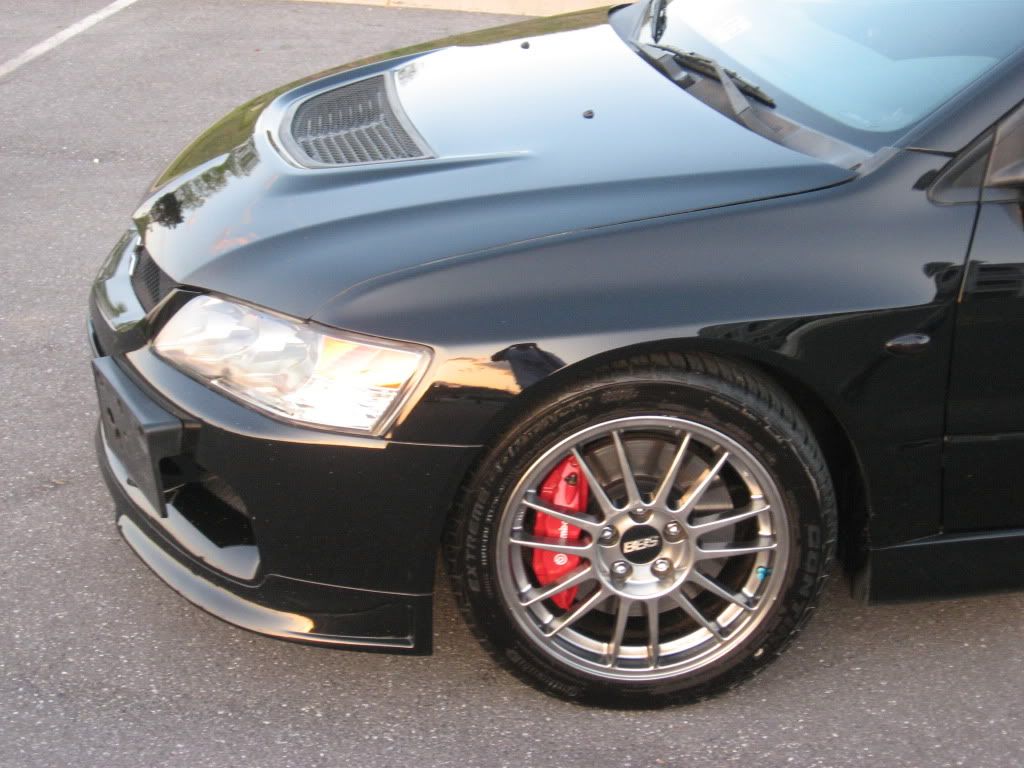
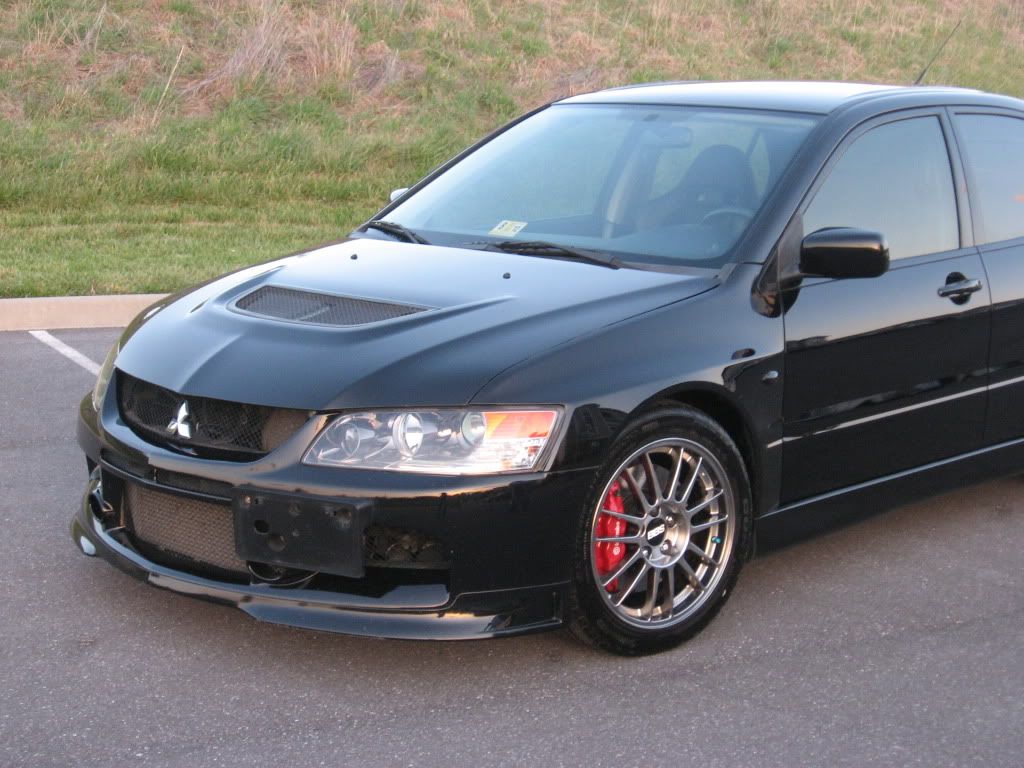
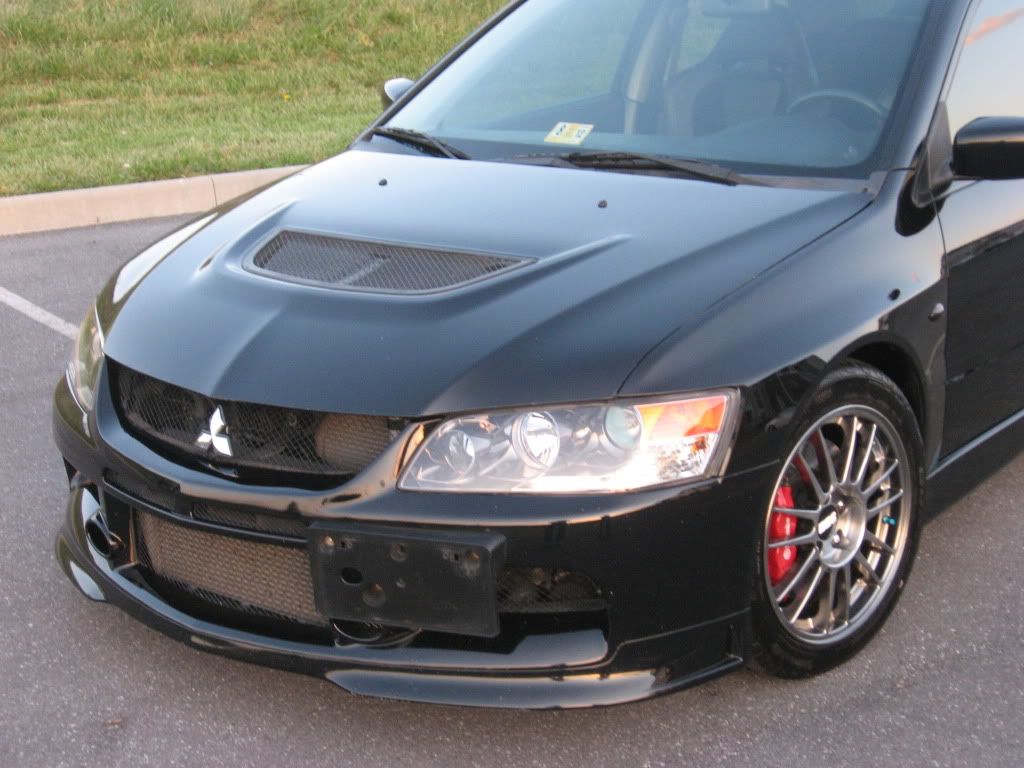
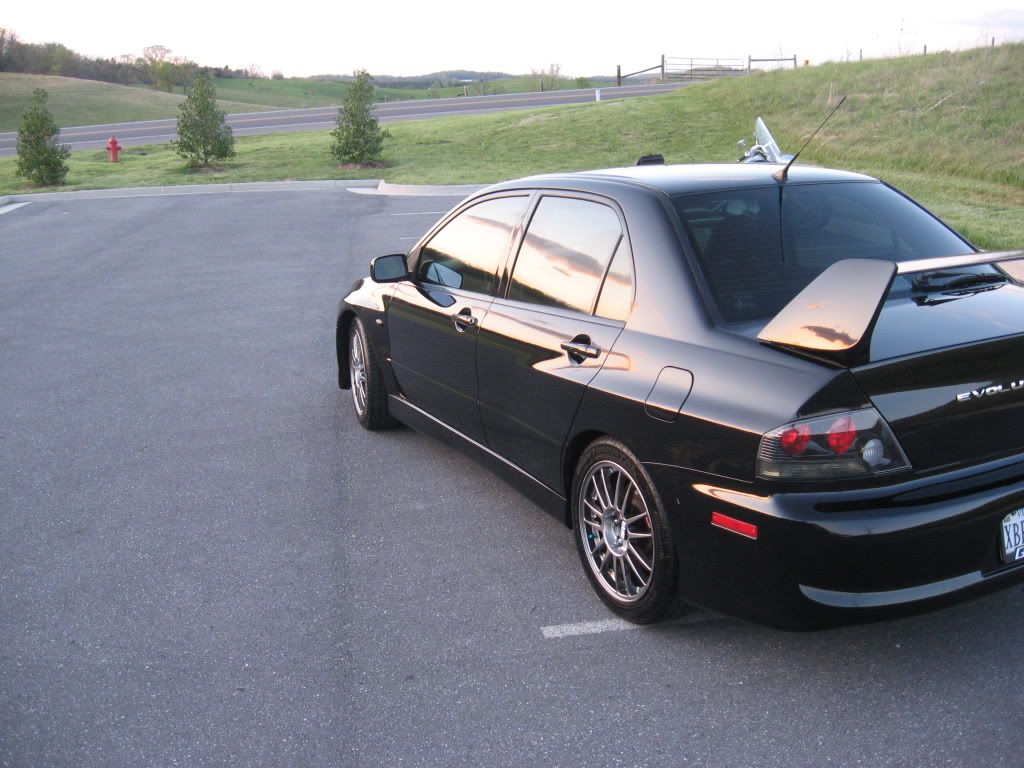
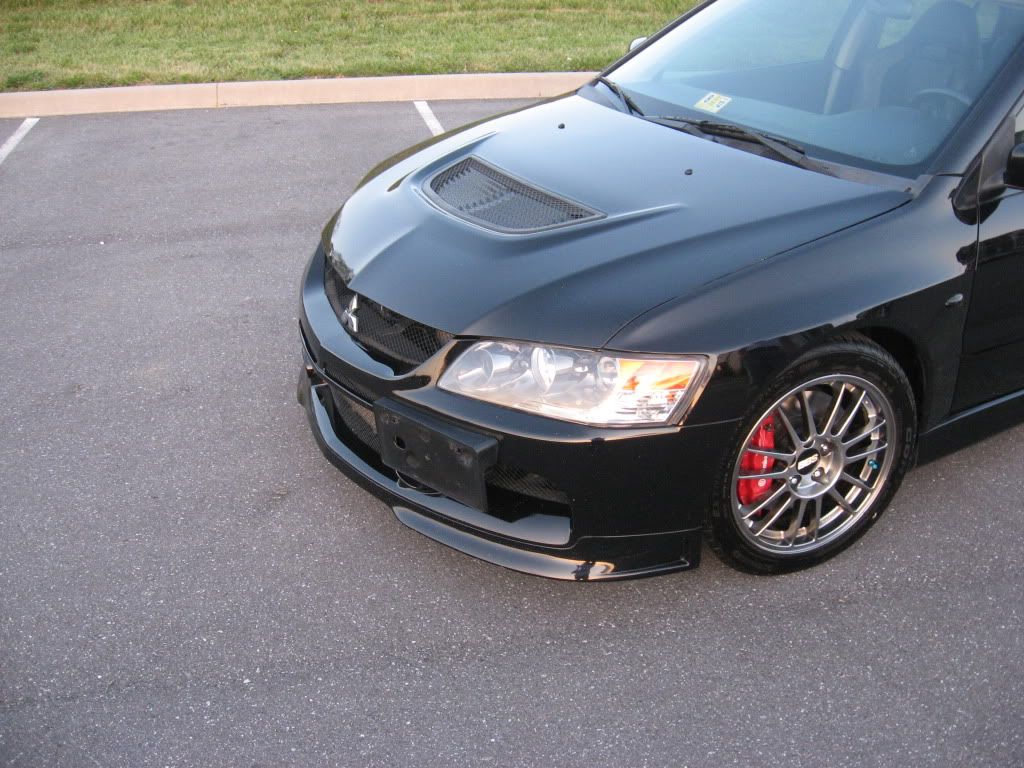
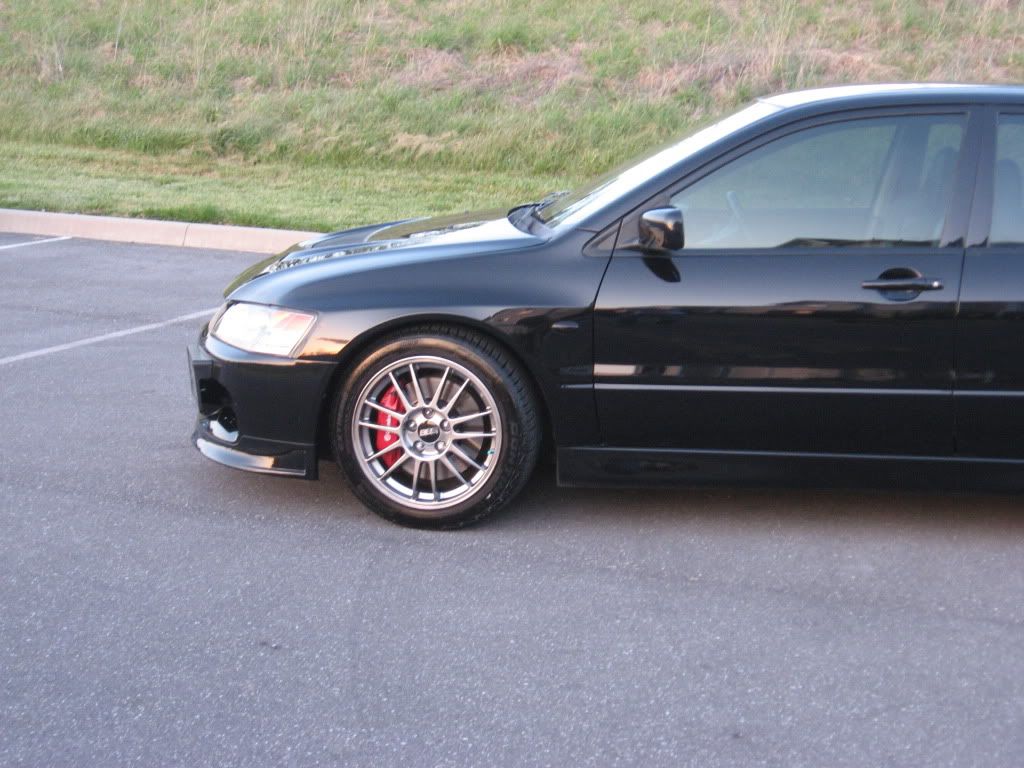
The before pictures make it look a little worse than it was because of the lighting, but now the paint is flawless except for the rock chips on the hood and front bumper. Those will be fixed shortly.
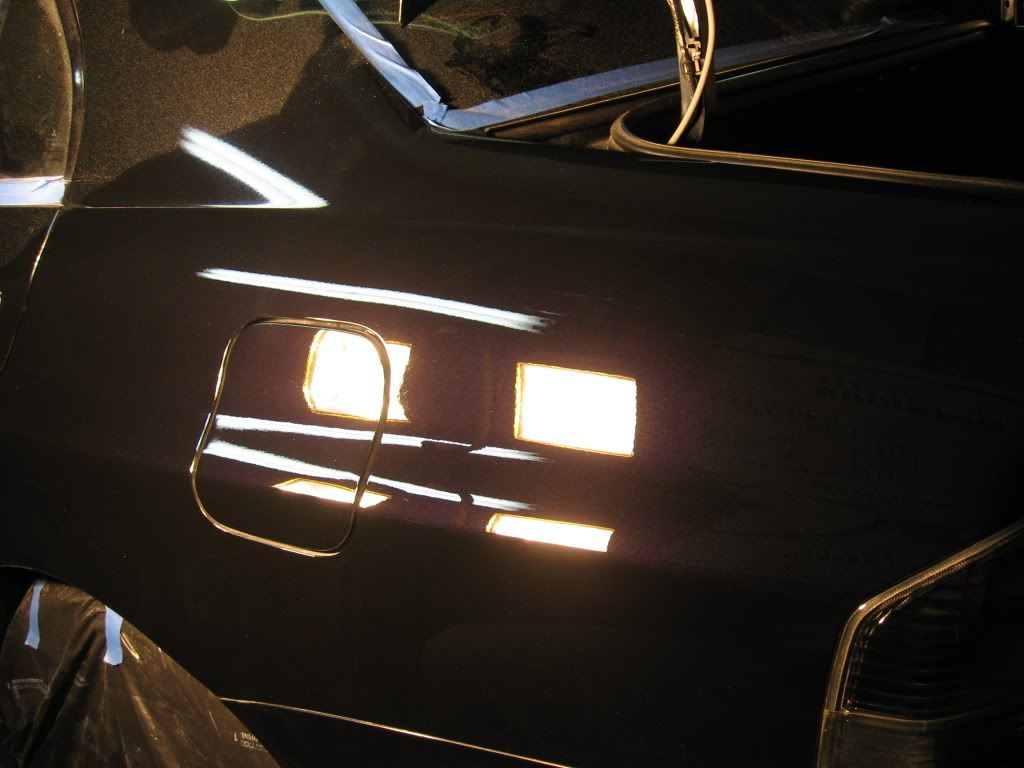
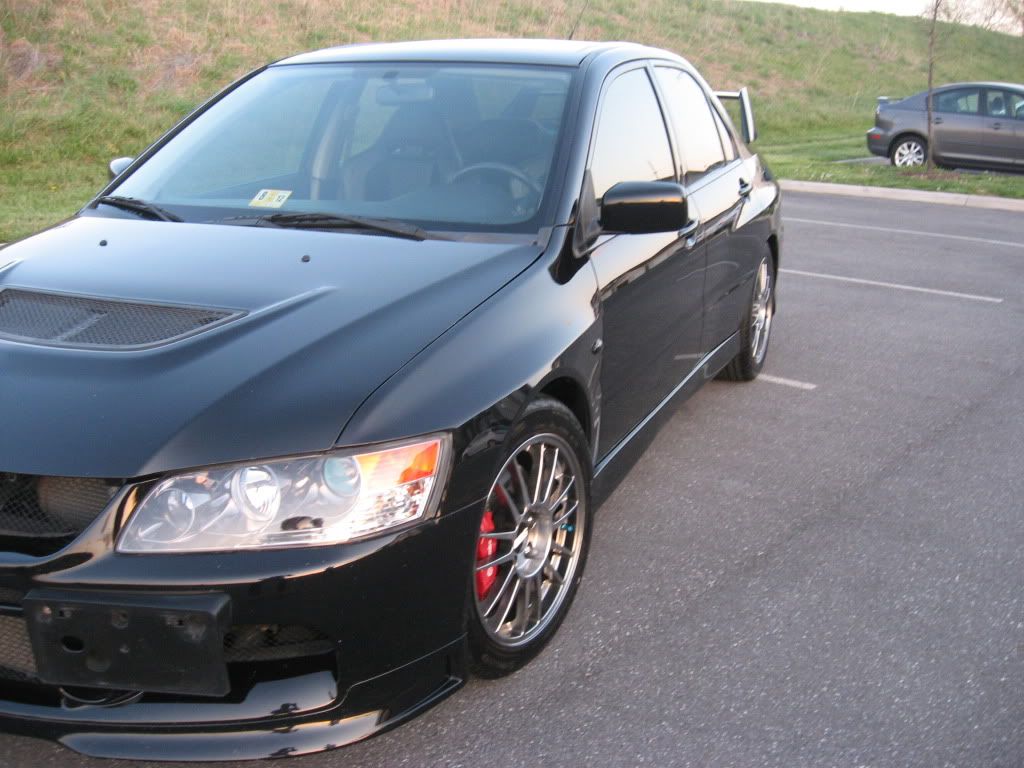
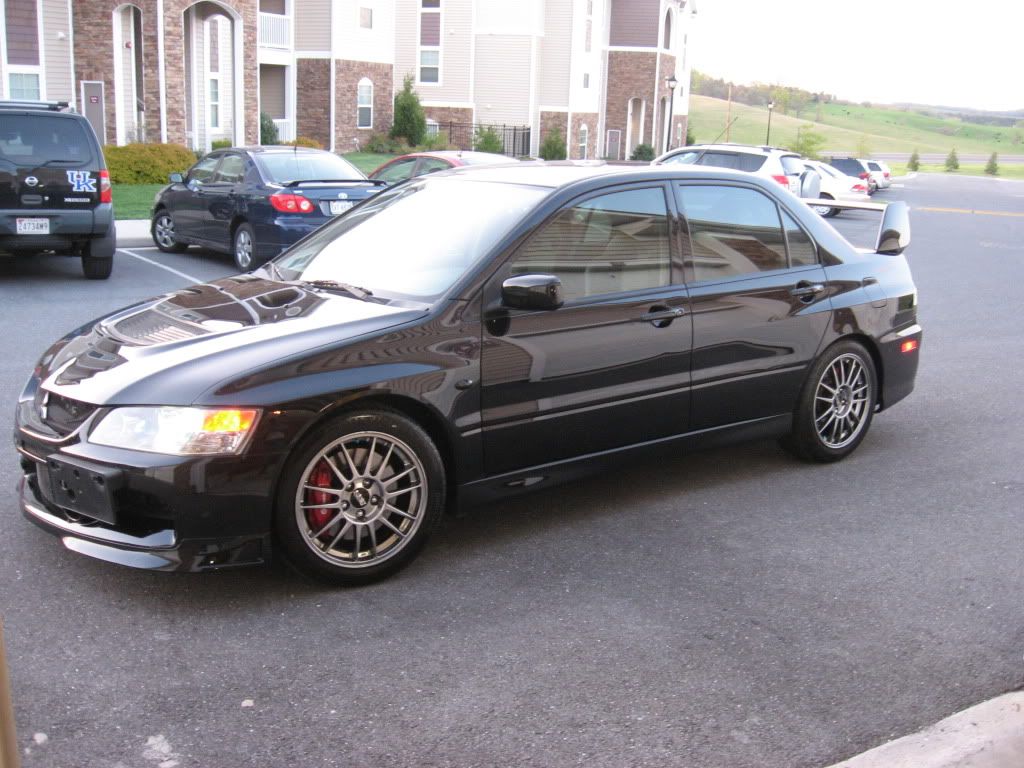
I saw the thread title before opening the thread... and already knew it was a black car. Glad I bought silver, I've had enough black to last the rest of my life. Car looks really good! Is that actually a metallic black? It looks like it from a few of the pics, I always thought it was just a normal black.
Thread Starter
Newbie
Joined: Apr 2011
Posts: 52
Likes: 0
From: Virginia
I saw the thread title before opening the thread... and already knew it was a black car. Glad I bought silver, I've had enough black to last the rest of my life. Car looks really good! Is that actually a metallic black? It looks like it from a few of the pics, I always thought it was just a normal black.
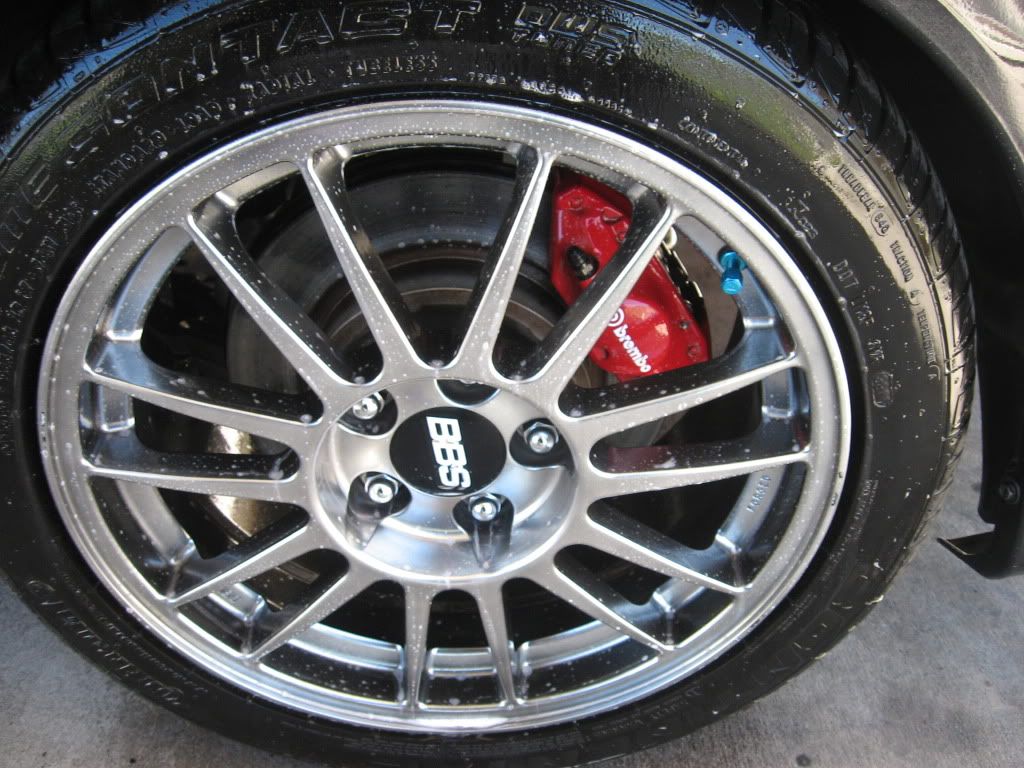
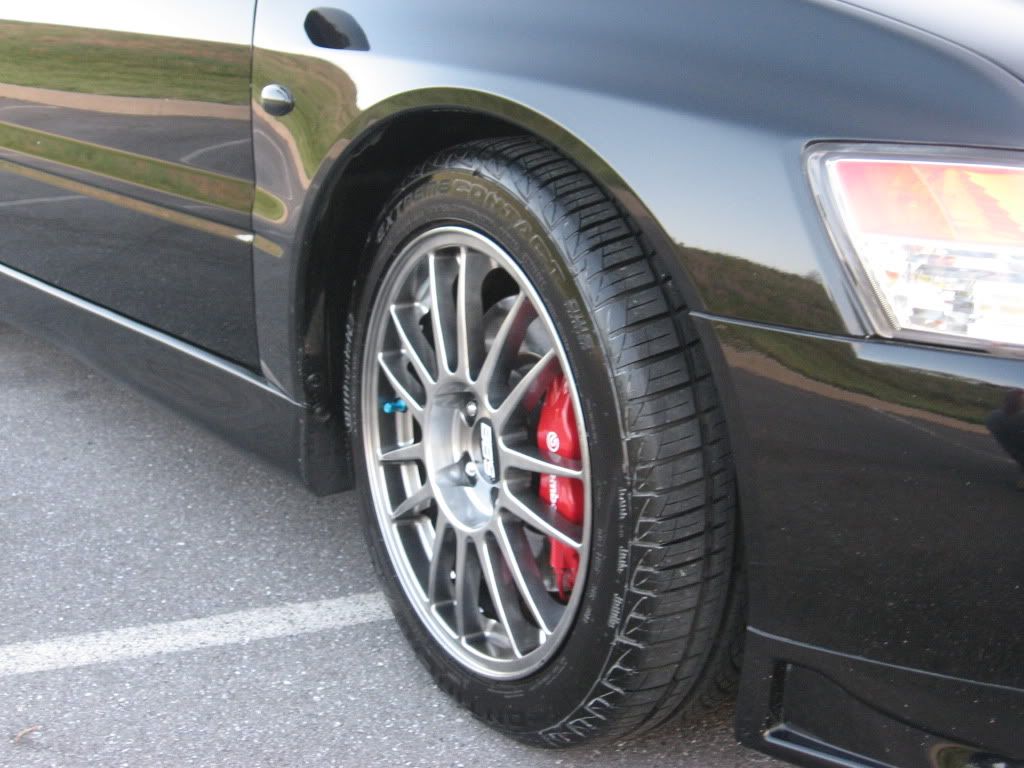
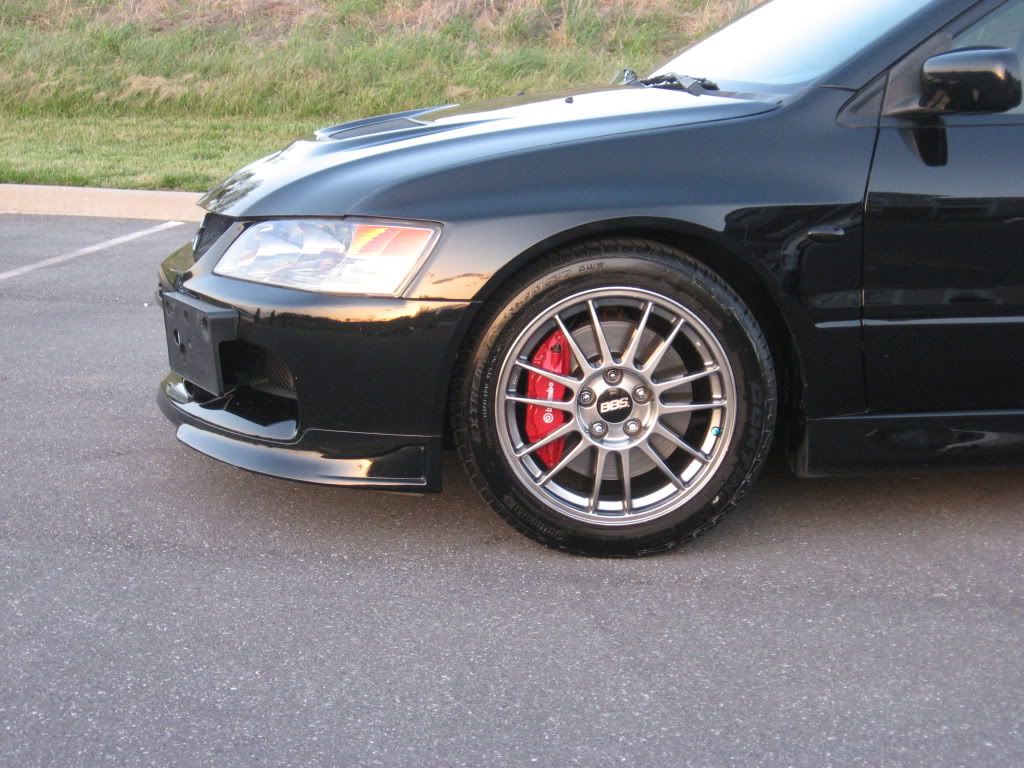
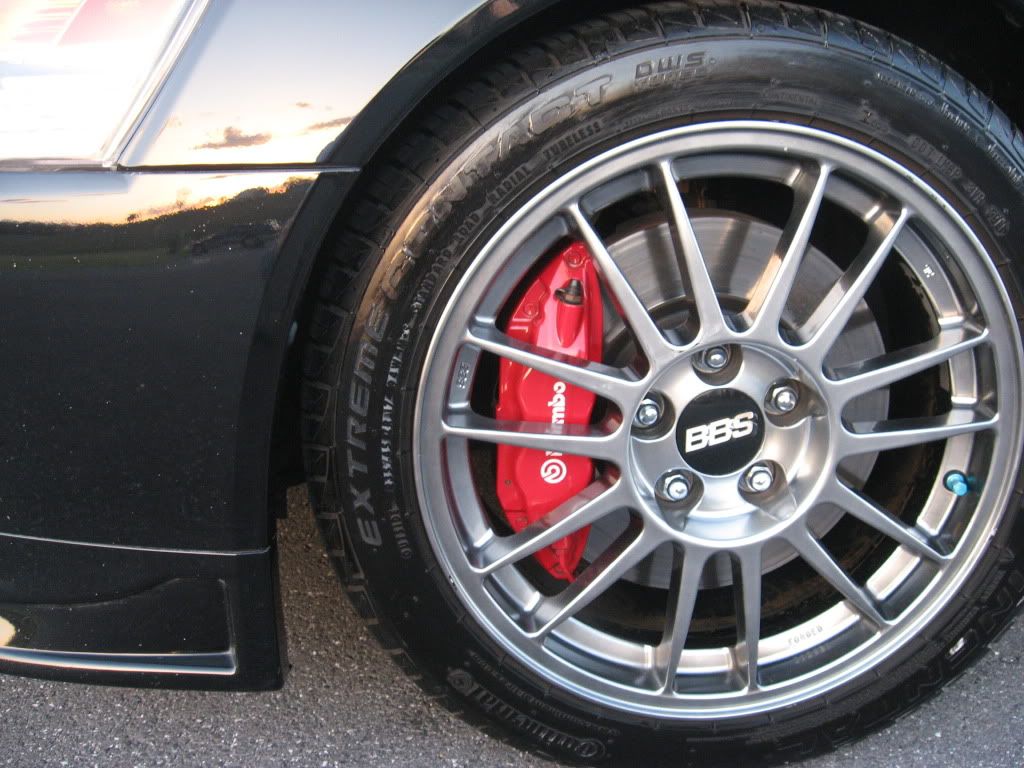
These pictures show it well:


Trending Topics


Looks nice. Ur mirror bases look faded. There are plastic dressings that can make short work of that. I think mothers calls it "back to black" but there r others.
I would also caution people reading this that 1+ hours per panel with the buffing wheel is on the verge of excessive. If you are using the right compounds to cut it you should be able to do it in three steps and need to be careful not to burn through the clearcoat.
All in all great job, nice mirror finish on the paint and your pics really ahow the progress. Well done.
Looks nice. Ur mirror bases look faded. There are plastic dressings that can make short work of that. I think mothers calls it "back to black" but there r others.
I would also caution people reading this that 1+ hours per panel with the buffing wheel is on the verge of excessive. If you are using the right compounds to cut it you should be able to do it in three steps and need to be careful not to burn through the clearcoat
I would also caution people reading this that 1+ hours per panel with the buffing wheel is on the verge of excessive. If you are using the right compounds to cut it you should be able to do it in three steps and need to be careful not to burn through the clearcoat