


How to: Install jic magic flt rs coilovers


Thread Starter
Newbie
Joined: Feb 2009
Posts: 33
Likes: 0
From: The Dark Side
How to: Install jic magic flt rs coilovers
I selected these coilovers after having done quite a bit of research and contacting a few suspension companies. My intent is for track use so i needed an aggressive coilover. That being said I do not compete professionally so Ohlins and JRZ were out of the question. From what every suspension shop i discussed my intent with said these are pretty much top of the line before upgrading to professional series such as JRZ, Ohlins, ASTs. These were not cheap and they set me back quite a few pennies, but i wanted to make sure i had something i knew wouldnt fall apart on me. They are also one of the few coilover brands that set the correct spring rates stiffer in rear to account for the difference in motion ratio from front to rears
11K F/ 14K R
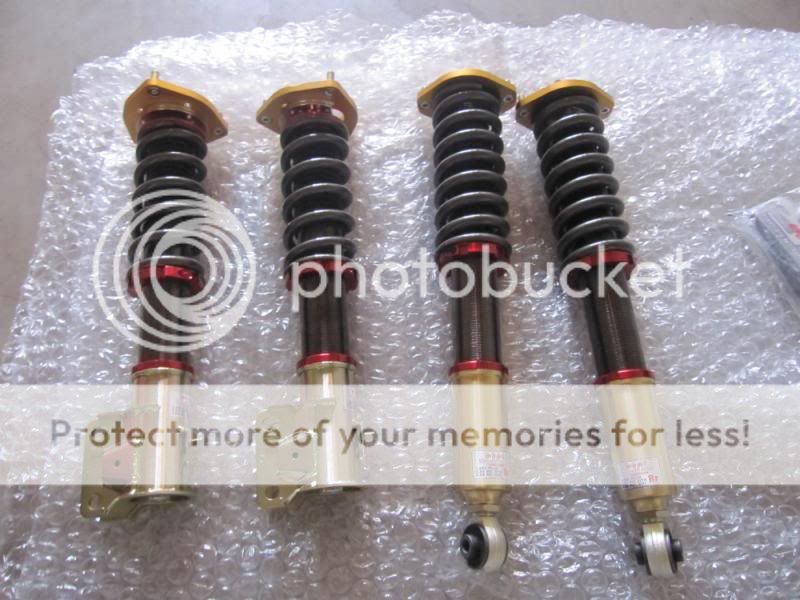
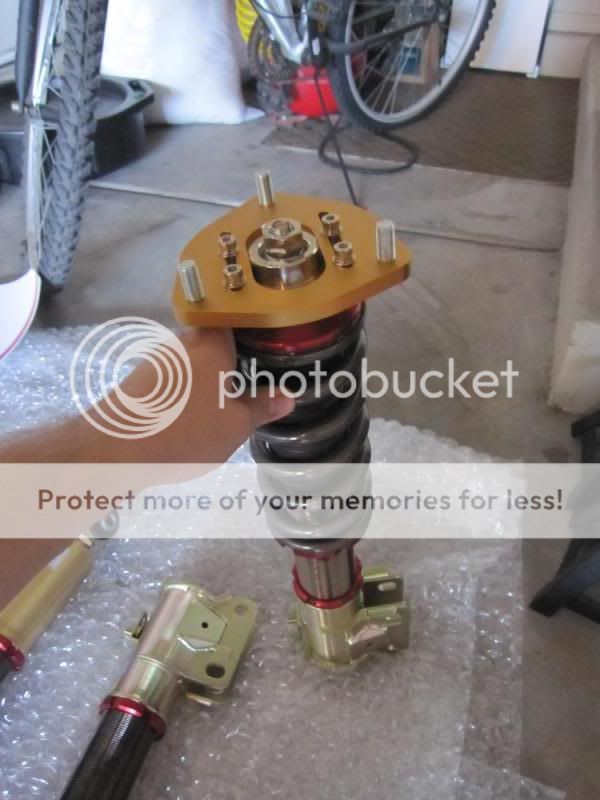
This HOW TO will provide help with installing JIC Magic FLT-RS Coilovers on your Evo X. If you have any further questions, feel free to ask.
*********Since i have done the grunt work i am going to make it very easy for everyone that installs these coilovers on their Evo Xs. The hardest part is setting the ride height. After a lot of trial and error what i ended up with was 26 threads between the upper and lower locking collars on the fronts, and 62 threads between the upper and lower locking collars on the rears. Make these adjustments prior to install. Anyone that has installed coilovers can appreciate what i just gave away since it really is a pain in the A$$ going back and forth making the adjustments.
Tools Required
1. Floor Jack & Jack Stands
4. Breaker Bar
5. Adjustable Torque Wrench
6. 10mm socket
7. 12mm socket
8. 14mm socket & 14mm deep socket
9. 17mm socket
10. 19mm socket & deep socket
11. Phillips & Flat Head Screw Drivers
Front Install
Raise the entire front using the floor jack and secure jackstands.
Remove wheels
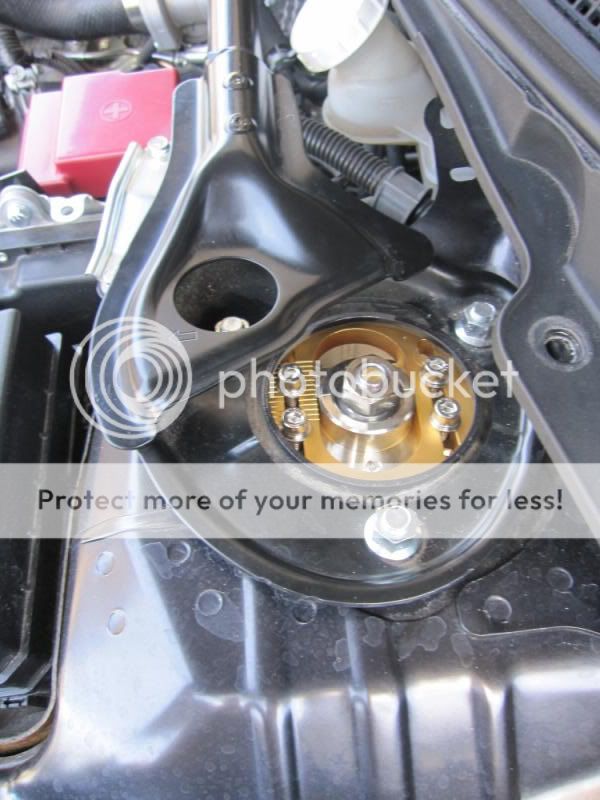
Under the hood remove the two plastic clip using a flat head. This will allow for ease of access to the 14mm nuts. Loosen top 3 14mm nuts in the engine bay using the breaker bar as aide, but do not remove.
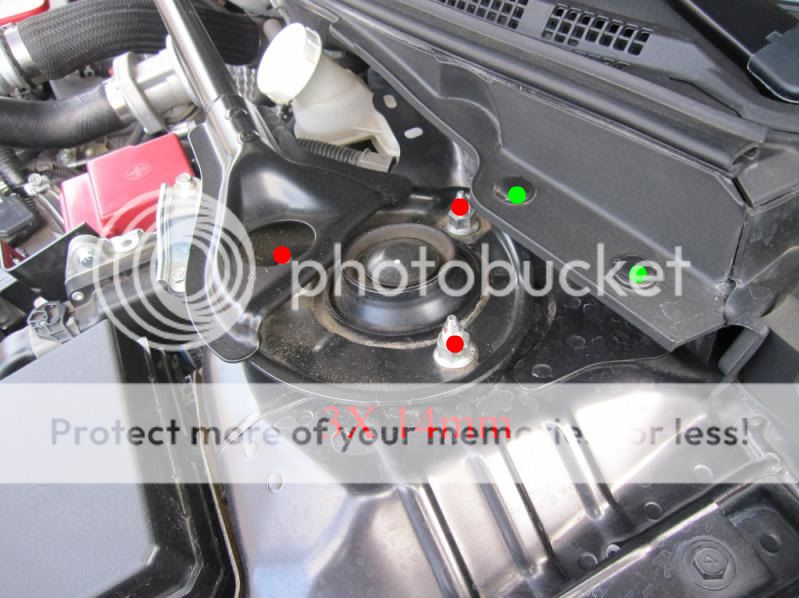
You will need a 10mm socket to remove the sensor off the back of the hub.
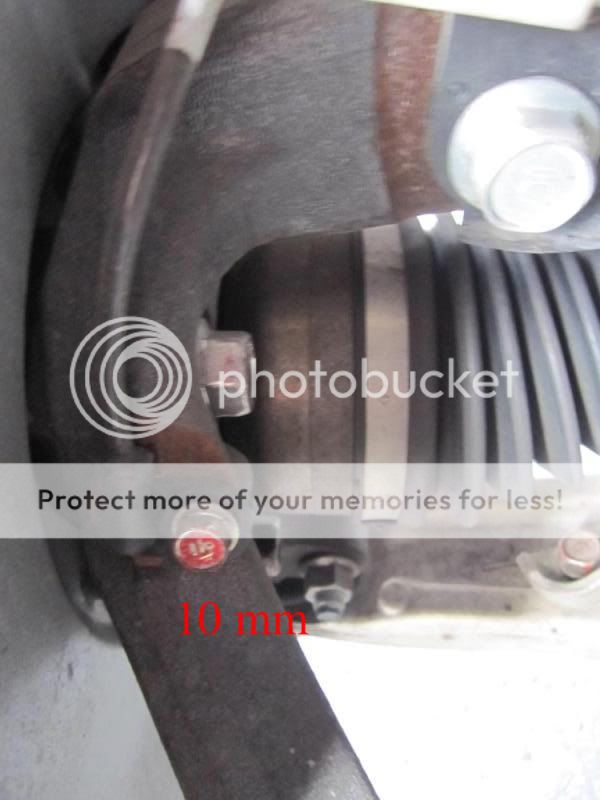
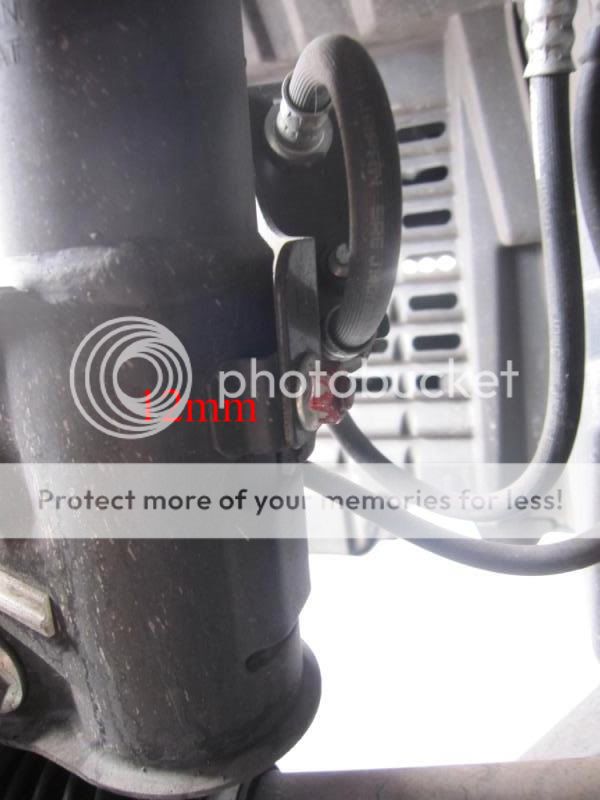
Next remove the 12mm nut off the back of the strut.
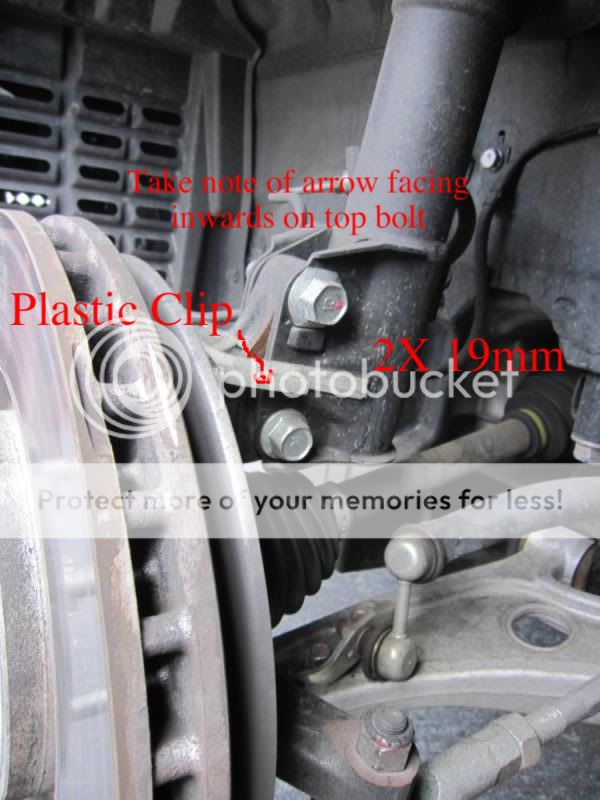
Remove the plastic clip from the lower part of the strut and move aside. Then remove both 19mm studs from lower strut using the breaker bar. Take note that top bolts arrow is facing inwards. This is the stock setting and provides approx -1 degree of camber or less.
Slide the hub assembly out just a little to free the suspenion. The strut at this point is only held in with the top 3x 14mm nuts. You should be able to reach over and loosen these 3 nuts by hand now, while holding the strut from falling onto the cv boot.
Repeat these steps in reverse to install JIC Magic coilovers. Torque the 14mm bolts to 33+/- 5 ft-lbs and the 12mm bolt to 13+/-2 Nm. Also dont forget to reinstall the 2 plastic clip that you removed to gain access to the top 14mm strut bolts.
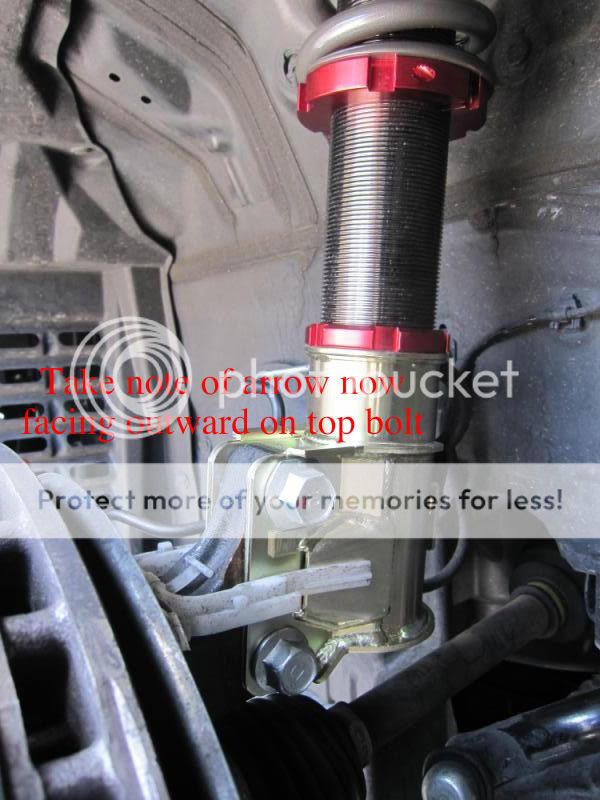
Use the floor jack under the hub and raise the full hub into the lower bracket of the strut. This will make installing the 2x 19mm bolts very easy. Take note that the top bolts arrow is now installed outwards. This provides a more aggressive camber setting for track use, approx - 2 degrees. Torque 19mm bolts to 81+/- 8 ft-lbs.
Rear Install
Remove the center panel of carpet and spare tire
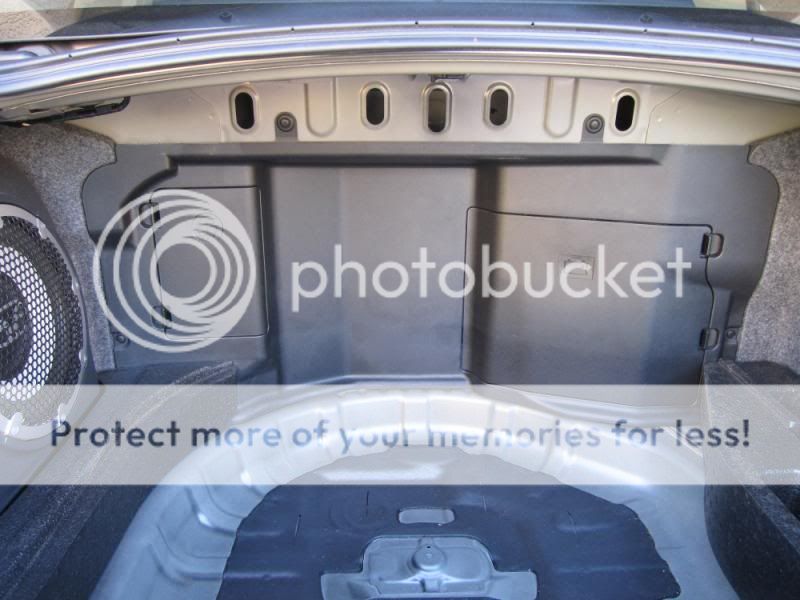
Using a Phillips head remove the two remaining foam blocks on either side of the trunk.

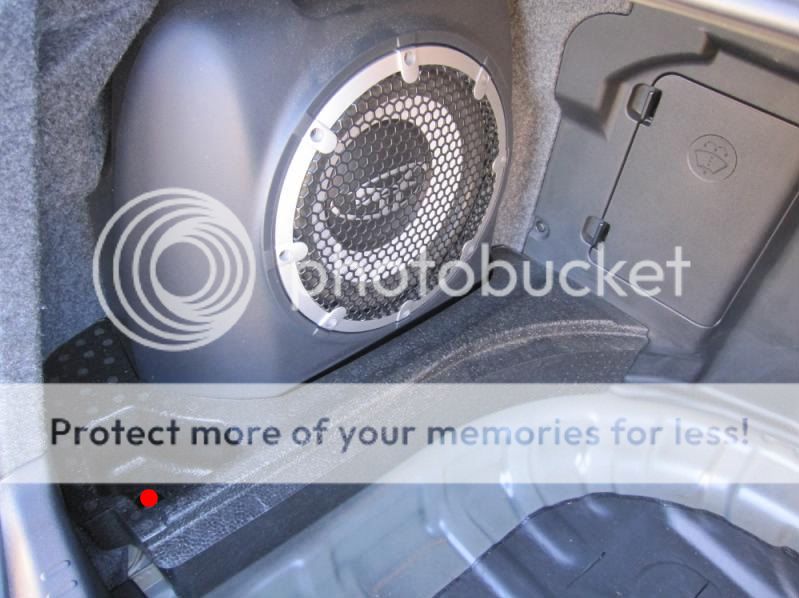
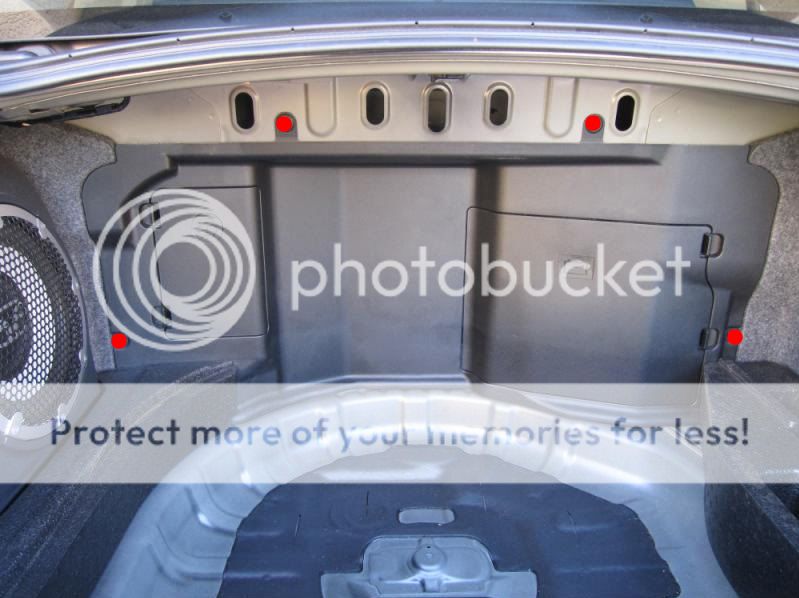
Using a Flat head remove the four clips securing the center plastic pannel.
Now you have access to the top mounts top mounts of the struts.
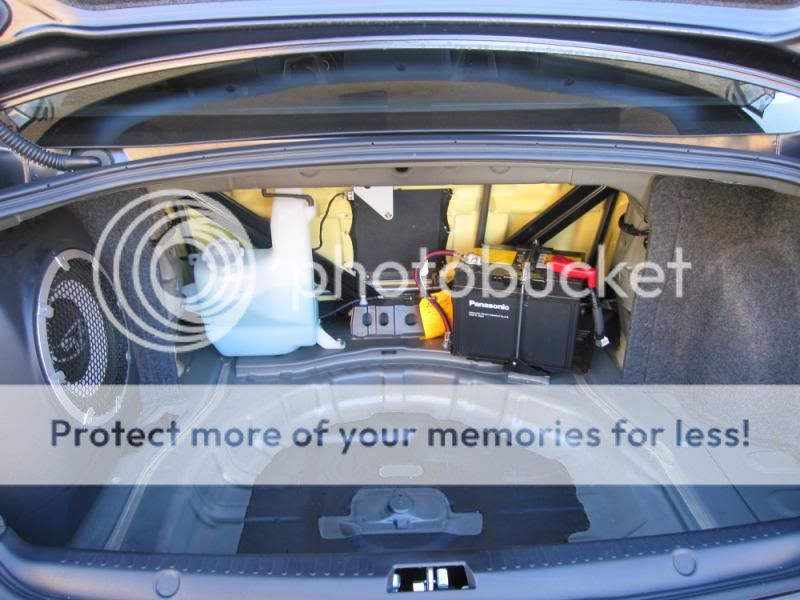
Loosen the 2 14mm top nuts on both sides.
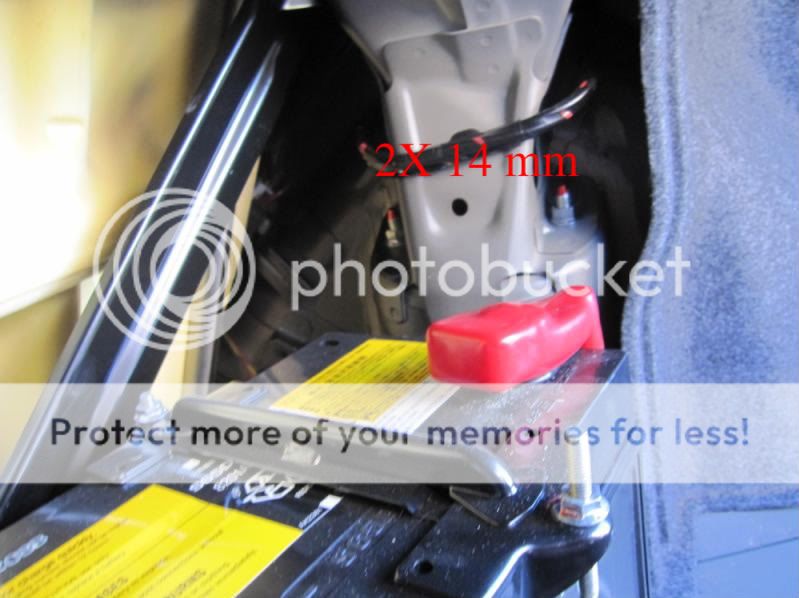
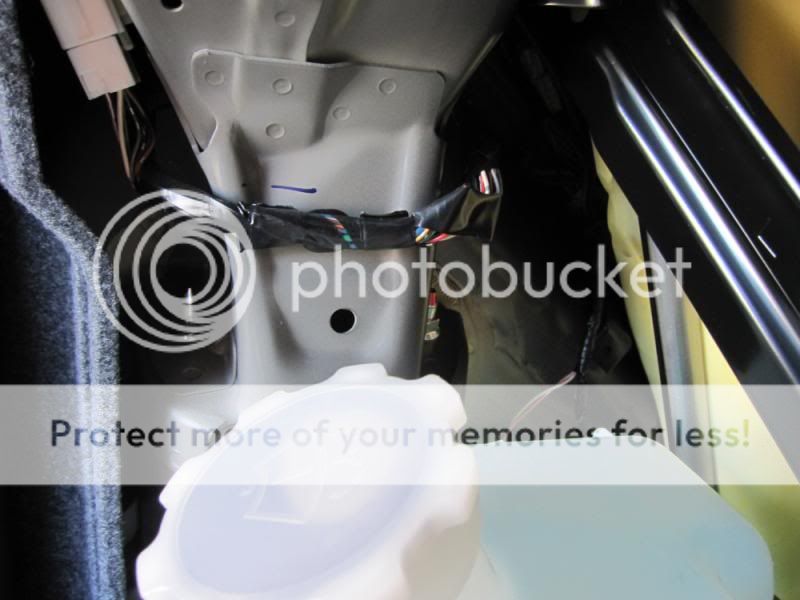
Raise rear, secure jack stands and remove wheels.
Remove lower 17mm using breaker bar and slide strut out.
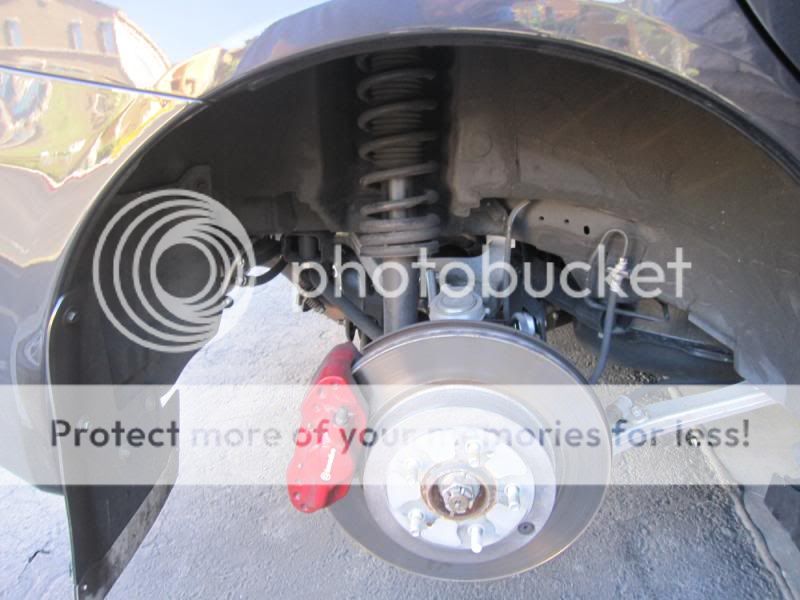
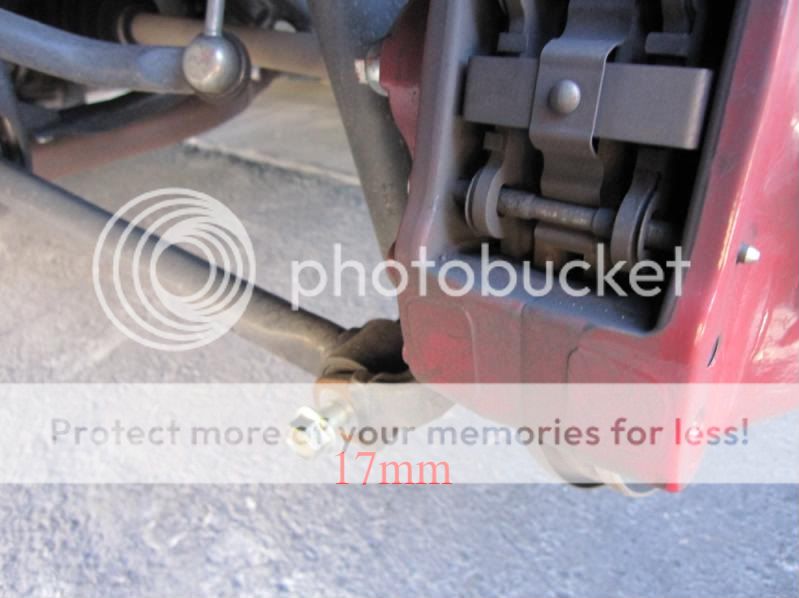
TOP DOWN VIEW

Put the 17mm bolt back in half way and using a jack to move the rear hub into position. Attach 17mm bolt through the lower strut and torque to 52+/-7 ft-lbs. Using the floor jack raise the entire hub and strut into the top mount. Now you will be able to go into the trunk area and attach 14mm nuts. Torque to 33+/- 5 ft-lbs
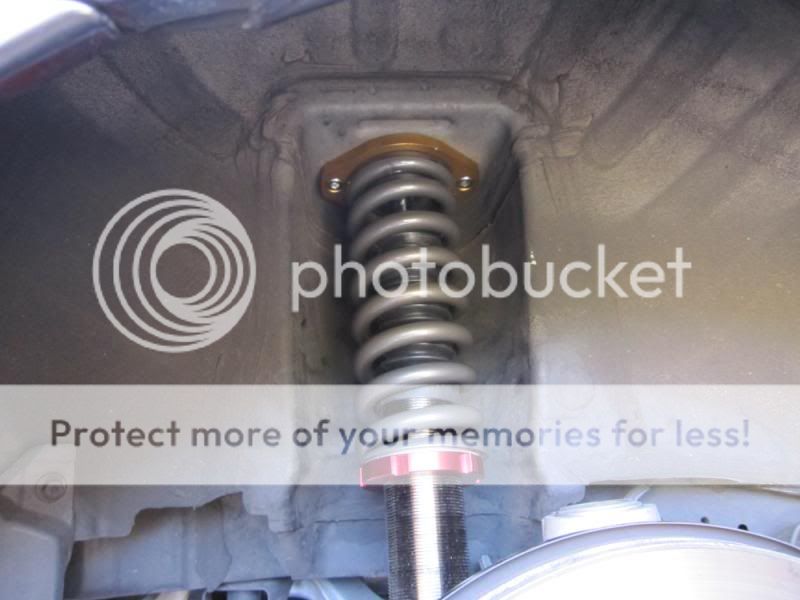
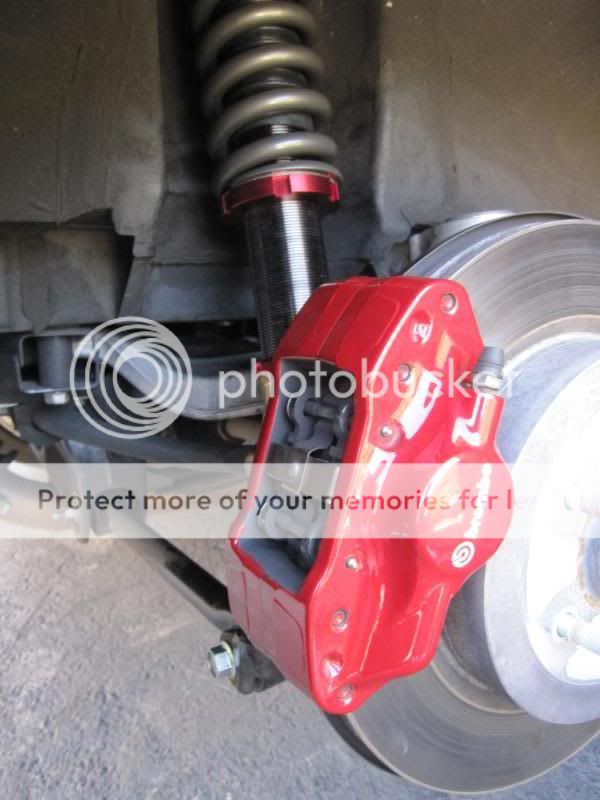
You should now have the full suspension installed. Follow the steps in reverse order to put back all the paneling in the trunk.
11K F/ 14K R
This HOW TO will provide help with installing JIC Magic FLT-RS Coilovers on your Evo X. If you have any further questions, feel free to ask.
*********Since i have done the grunt work i am going to make it very easy for everyone that installs these coilovers on their Evo Xs. The hardest part is setting the ride height. After a lot of trial and error what i ended up with was 26 threads between the upper and lower locking collars on the fronts, and 62 threads between the upper and lower locking collars on the rears. Make these adjustments prior to install. Anyone that has installed coilovers can appreciate what i just gave away since it really is a pain in the A$$ going back and forth making the adjustments.
Tools Required
1. Floor Jack & Jack Stands
2. Stock Jack That came with you Evo X
3. Mechanics Gloves4. Breaker Bar
5. Adjustable Torque Wrench
6. 10mm socket
7. 12mm socket
8. 14mm socket & 14mm deep socket
9. 17mm socket
10. 19mm socket & deep socket
11. Phillips & Flat Head Screw Drivers
Front Install
Raise the entire front using the floor jack and secure jackstands.
Remove wheels
Under the hood remove the two plastic clip using a flat head. This will allow for ease of access to the 14mm nuts. Loosen top 3 14mm nuts in the engine bay using the breaker bar as aide, but do not remove.
You will need a 10mm socket to remove the sensor off the back of the hub.
Next remove the 12mm nut off the back of the strut.
Remove the plastic clip from the lower part of the strut and move aside. Then remove both 19mm studs from lower strut using the breaker bar. Take note that top bolts arrow is facing inwards. This is the stock setting and provides approx -1 degree of camber or less.
Slide the hub assembly out just a little to free the suspenion. The strut at this point is only held in with the top 3x 14mm nuts. You should be able to reach over and loosen these 3 nuts by hand now, while holding the strut from falling onto the cv boot.
Repeat these steps in reverse to install JIC Magic coilovers. Torque the 14mm bolts to 33+/- 5 ft-lbs and the 12mm bolt to 13+/-2 Nm. Also dont forget to reinstall the 2 plastic clip that you removed to gain access to the top 14mm strut bolts.
Use the floor jack under the hub and raise the full hub into the lower bracket of the strut. This will make installing the 2x 19mm bolts very easy. Take note that the top bolts arrow is now installed outwards. This provides a more aggressive camber setting for track use, approx - 2 degrees. Torque 19mm bolts to 81+/- 8 ft-lbs.
Rear Install
Remove the center panel of carpet and spare tire
Using a Phillips head remove the two remaining foam blocks on either side of the trunk.
Using a Flat head remove the four clips securing the center plastic pannel.
Now you have access to the top mounts top mounts of the struts.
Loosen the 2 14mm top nuts on both sides.
Raise rear, secure jack stands and remove wheels.
Remove lower 17mm using breaker bar and slide strut out.
TOP DOWN VIEW
Put the 17mm bolt back in half way and using a jack to move the rear hub into position. Attach 17mm bolt through the lower strut and torque to 52+/-7 ft-lbs. Using the floor jack raise the entire hub and strut into the top mount. Now you will be able to go into the trunk area and attach 14mm nuts. Torque to 33+/- 5 ft-lbs
You should now have the full suspension installed. Follow the steps in reverse order to put back all the paneling in the trunk.

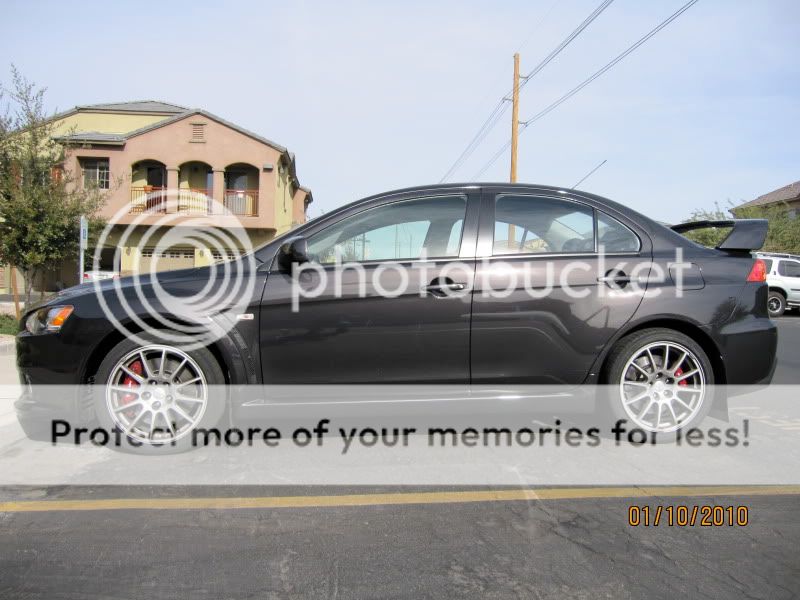
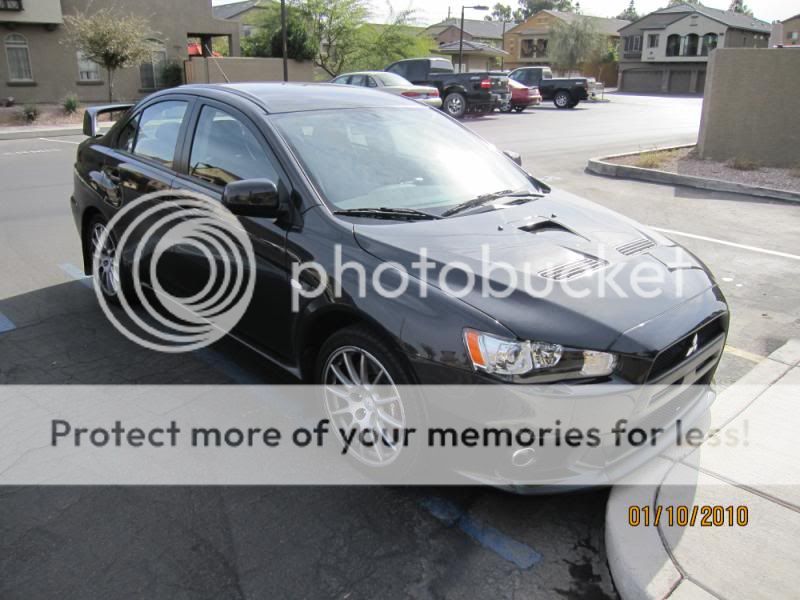
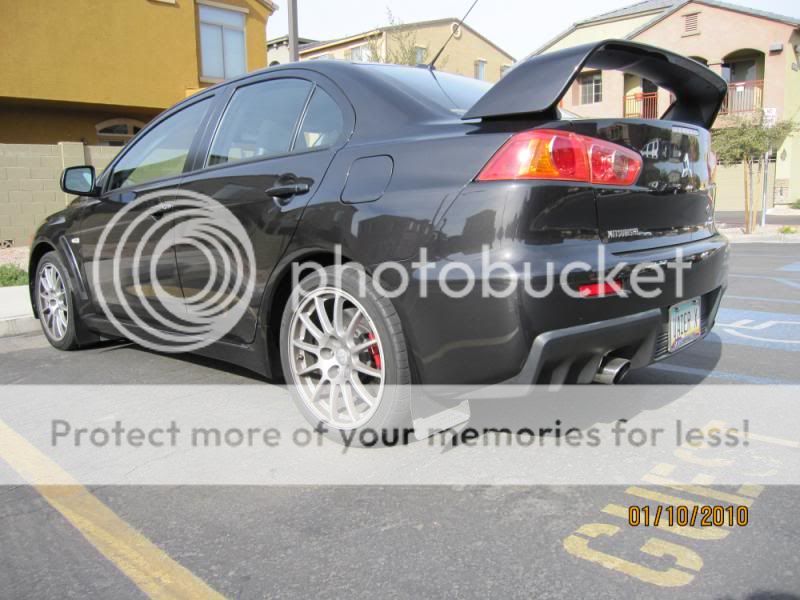
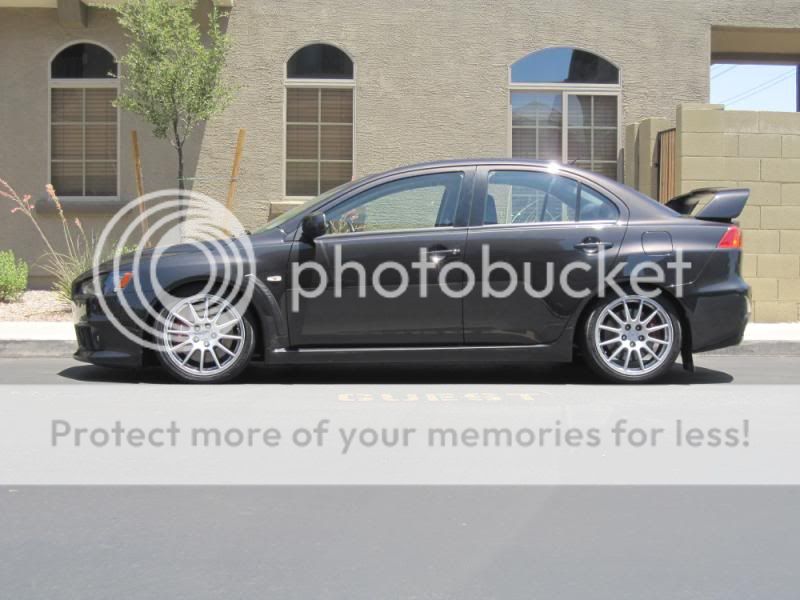
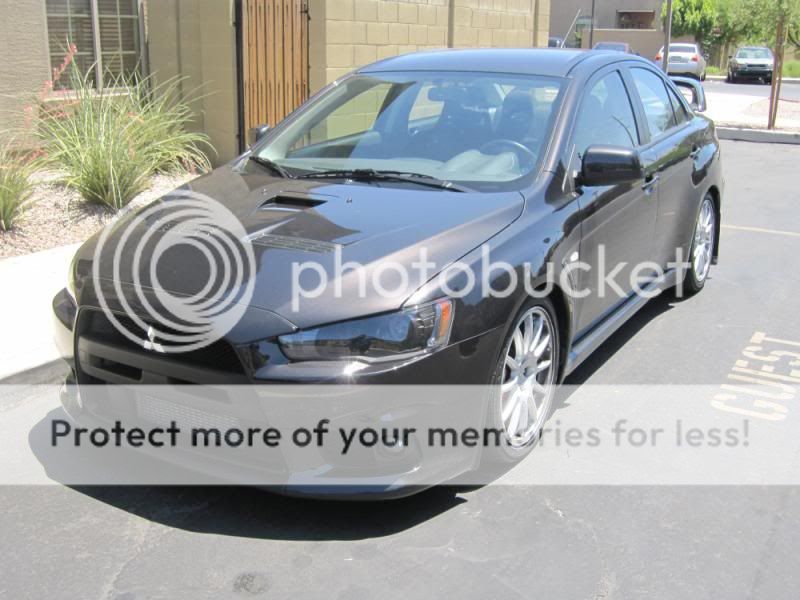
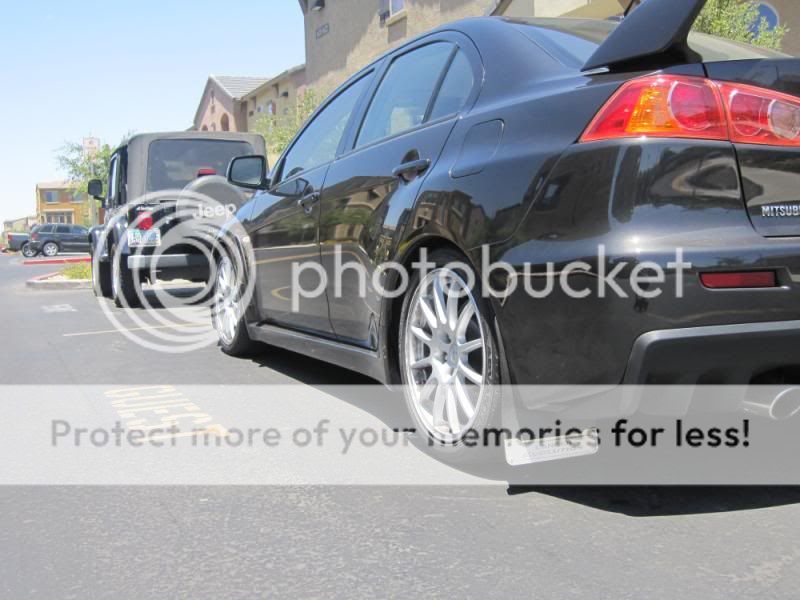


Thread Starter
Newbie
Joined: Feb 2009
Posts: 33
Likes: 0
From: The Dark Side
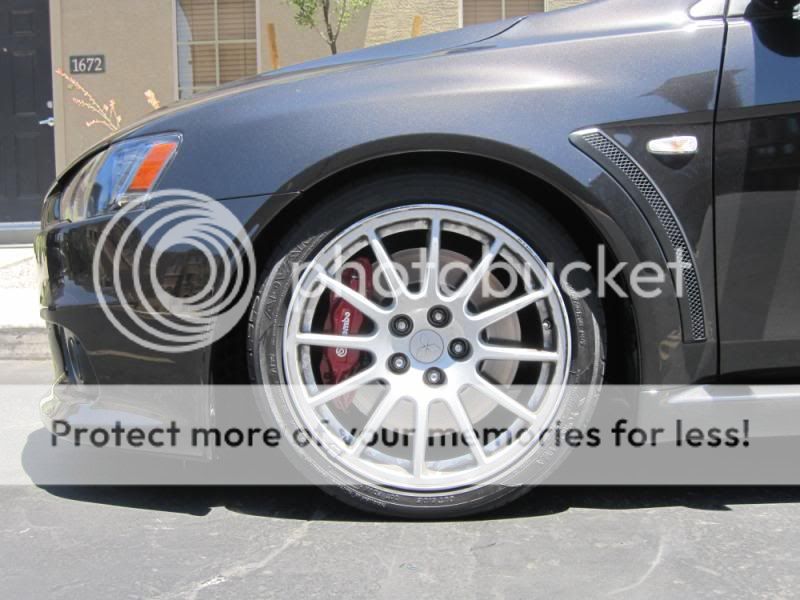
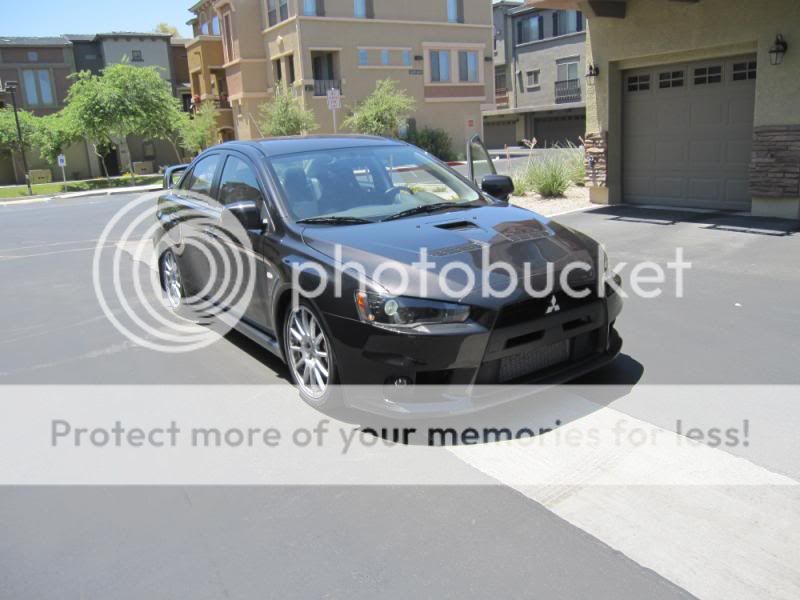
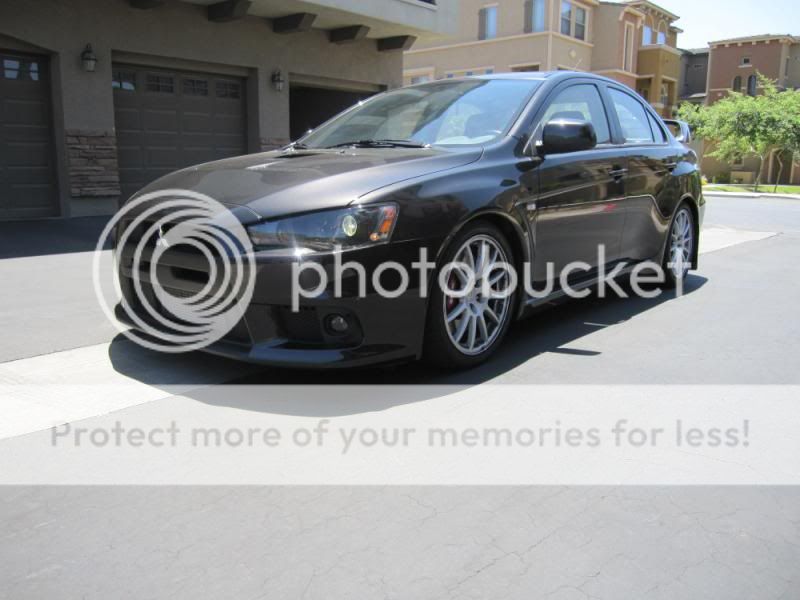
Thanks and i know what you mean about the wheels. I do have a set of advan rs 18x10 + 25 that will be going on in the next couple of weeks. I will be getting the car corner balanced and all. Unfortunately i have to wait to install the wheels since i have committed obligations during the next couple weeks


Evolving Member
Joined: Oct 2009
Posts: 113
Likes: 0
From: Los Angeles
Nice writeup i think i'm personally going HKS Hipermax III non sport but that's cause i dont really track; maybe 1-2 sessions a year so i wanted something more on the plush side for the harsh LA roads. I'll be sure to refer back to this thread to help in my own install... your pictures look like.. OC in CA?
Trending Topics
Thread Starter
Newbie
Joined: Feb 2009
Posts: 33
Likes: 0
From: The Dark Side
I agree that you should probably go with the HKS since you dont really track. I can tell you these are definitely not a daily coilover. Also I am located in the greater Phoenix area where the roads are very very nice compared with the rest of the country. I mean we only have one type of weather out here and that's sunny.


