


sorta new to this forum


sorta new to this forum
what up guys, im mostly on socal evo but been floating around here for a while. i have pics of how i got the car about 6 months back and just wanted to introduce my self
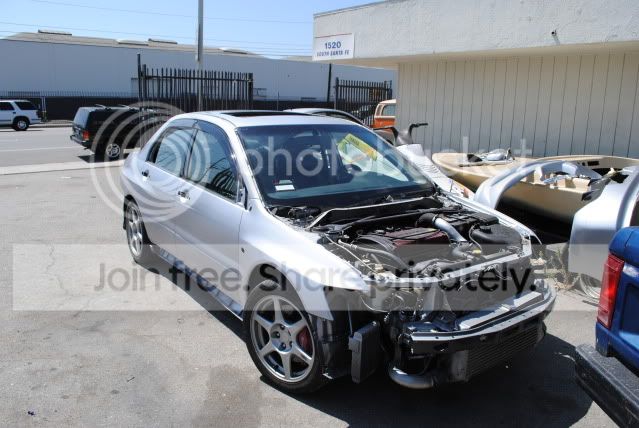
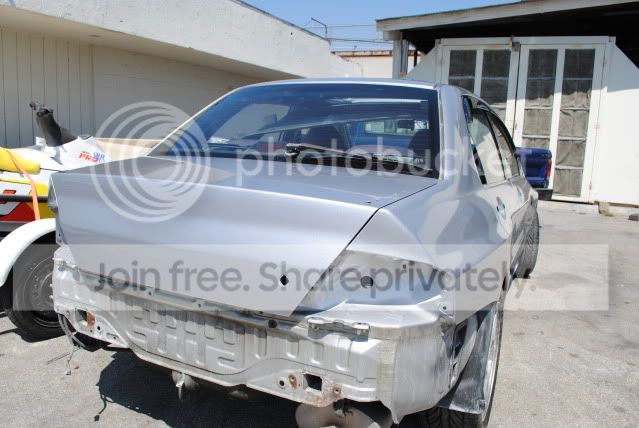
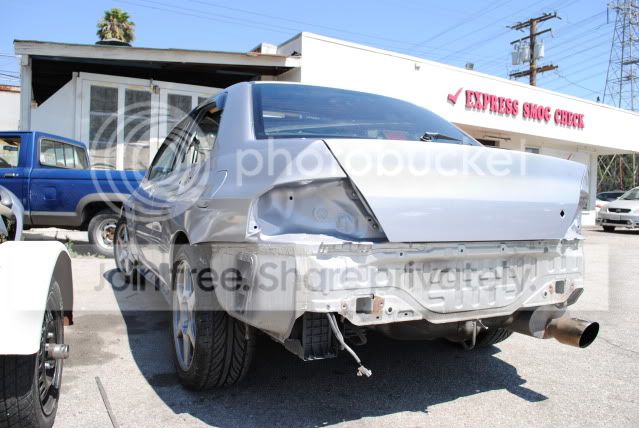
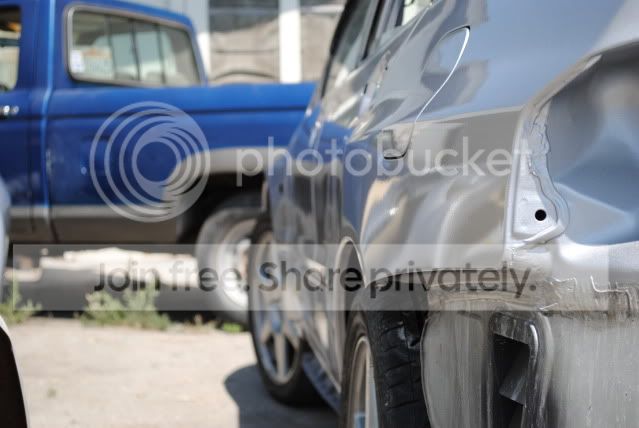
from this ugly looking ****
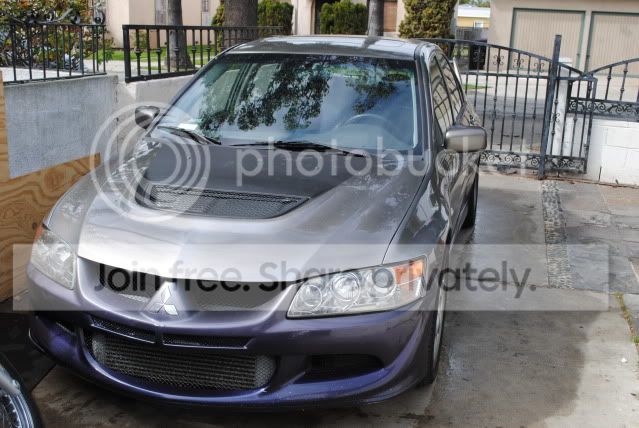
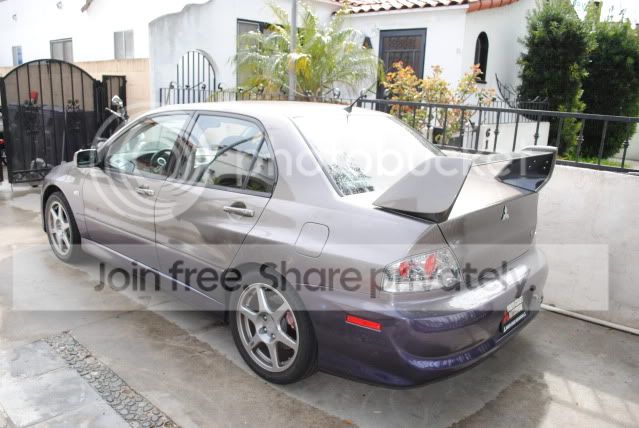
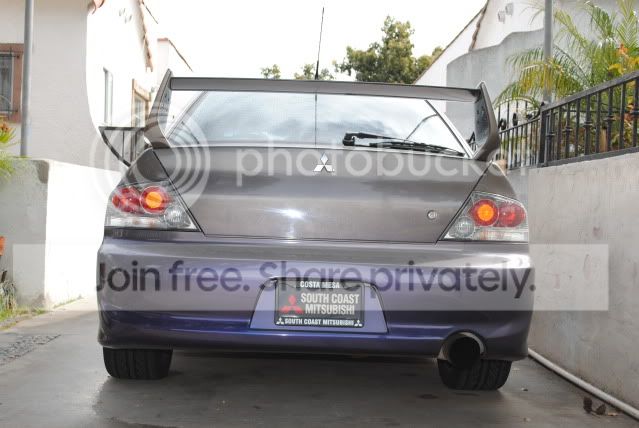
to this work in progress
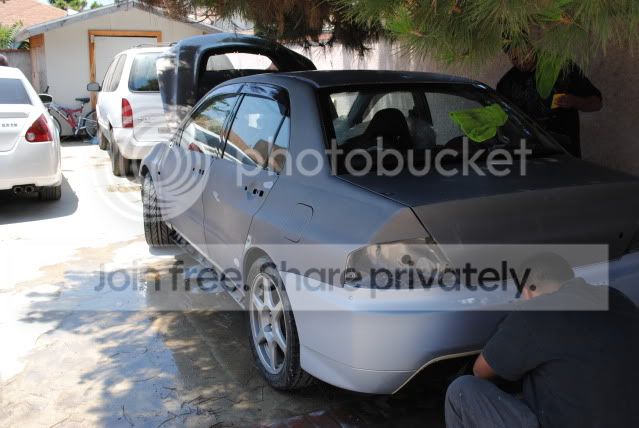
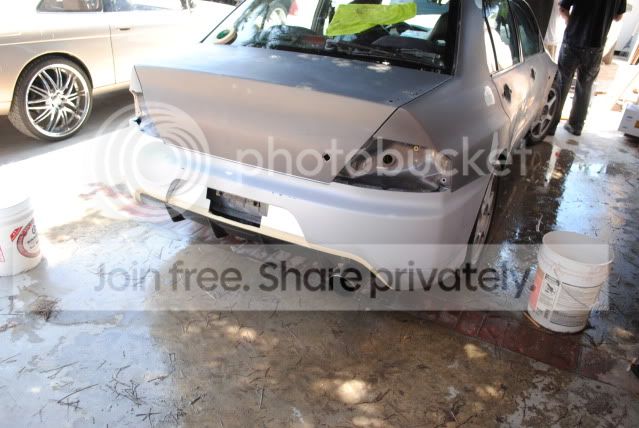
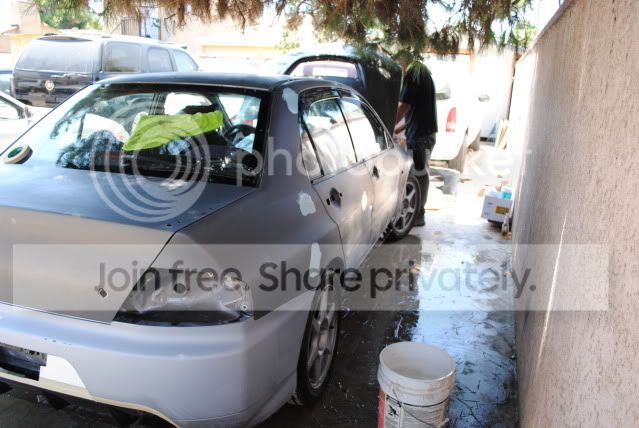
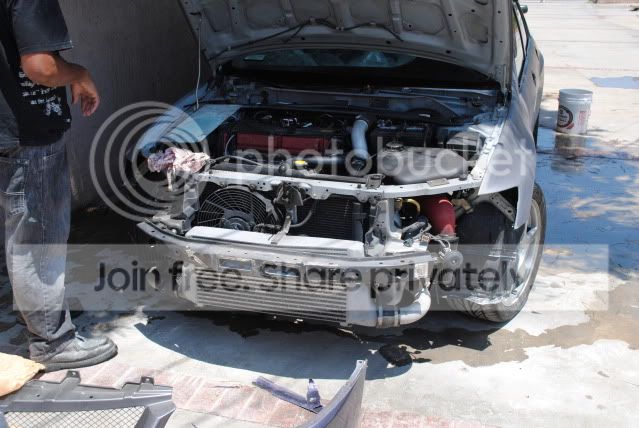
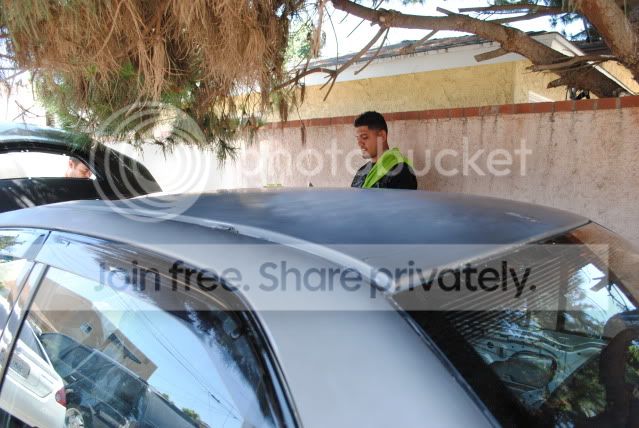
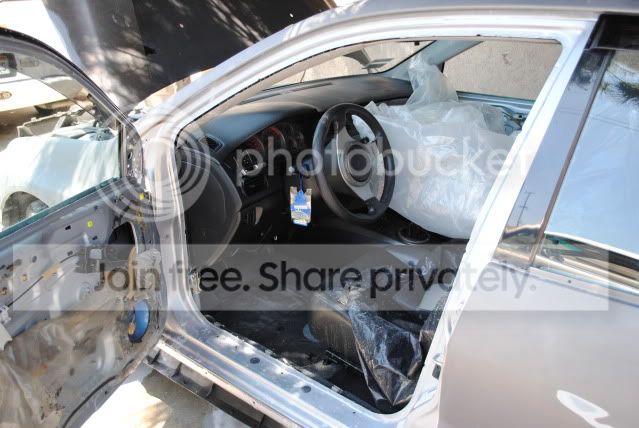
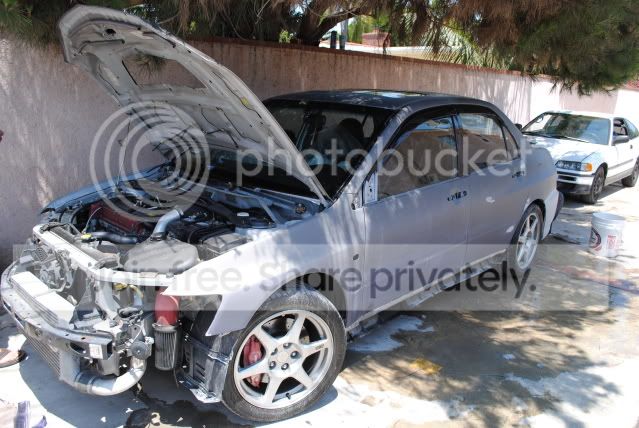
update 7/19
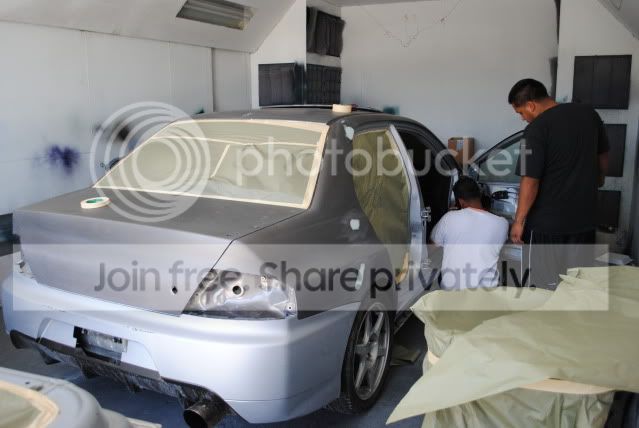
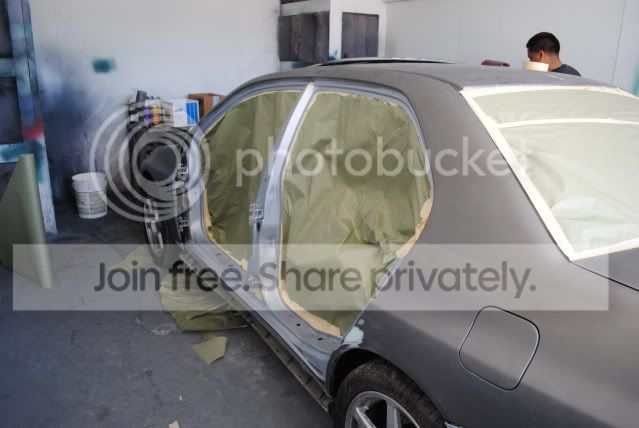
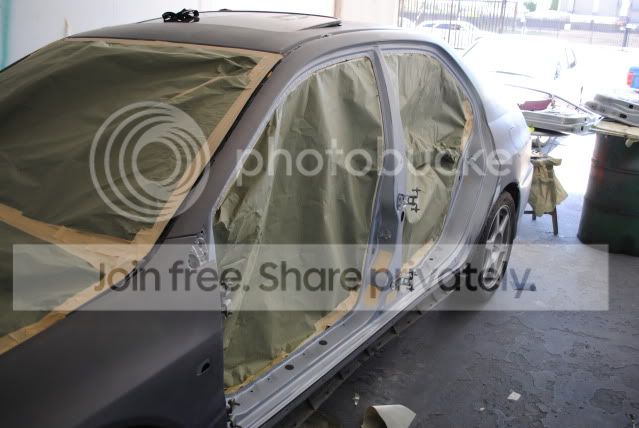
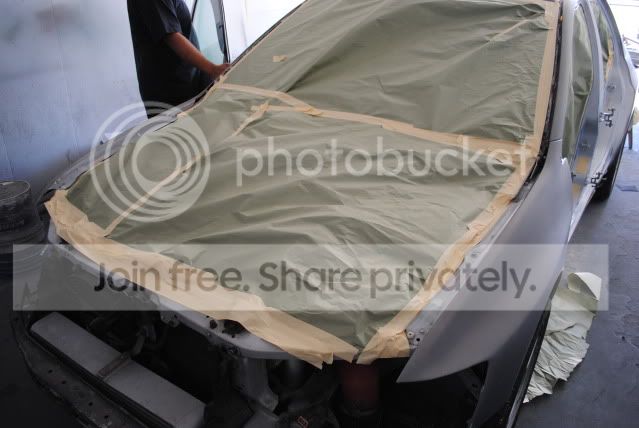
today doors where removed along with the hood and masked, to paint all the jams and small crevices. tomorrow the whole car chea
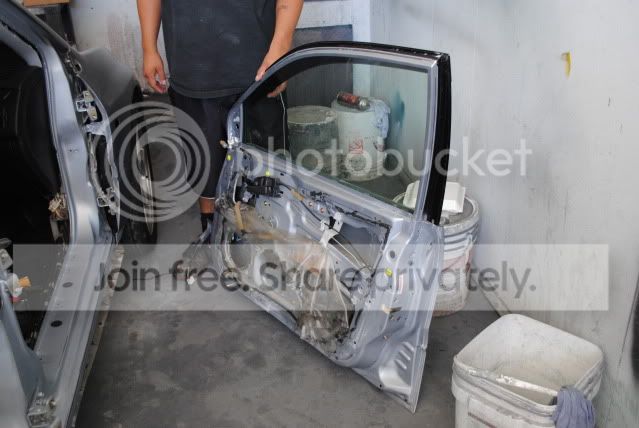
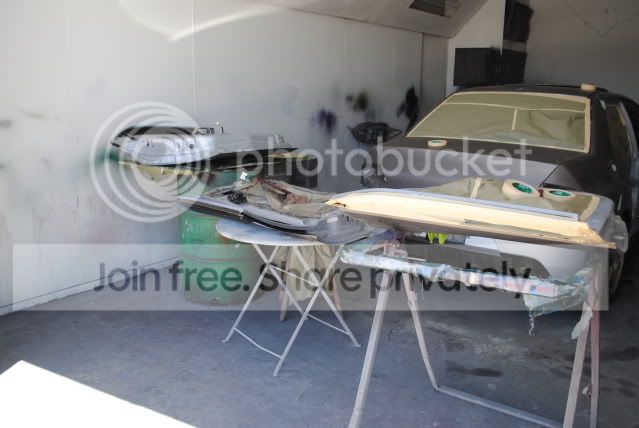
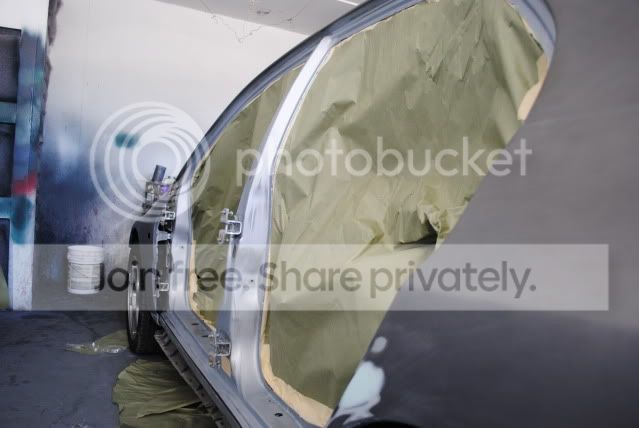
UPDATE 7/20 3 PM
door jams and seems are painted and cleared doors are back on and the exterior is going to be painted later on this afternoon
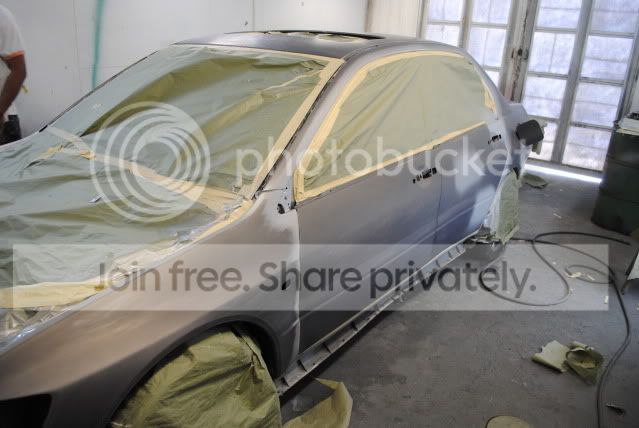
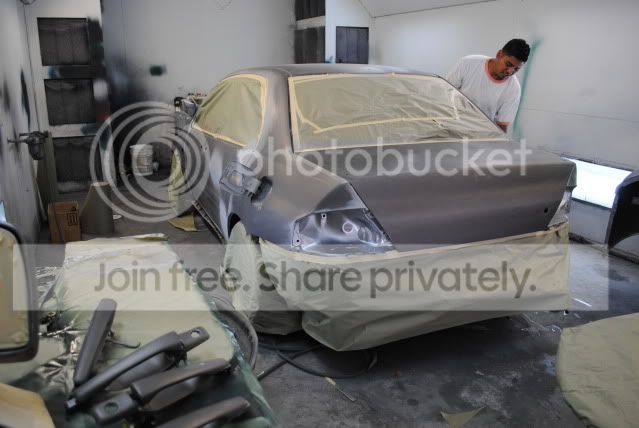
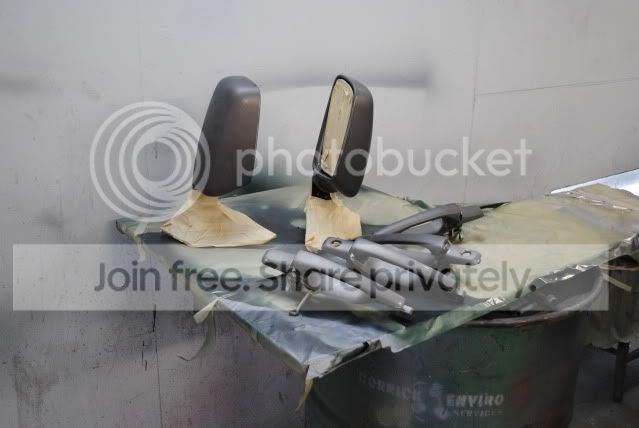
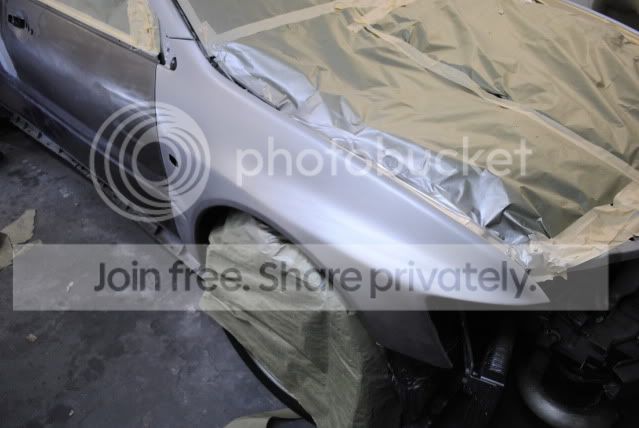
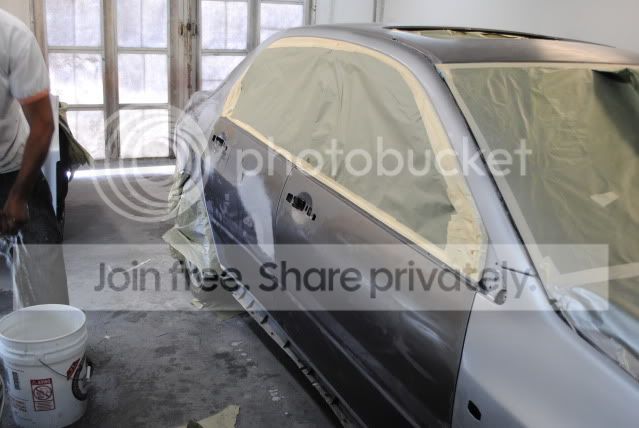
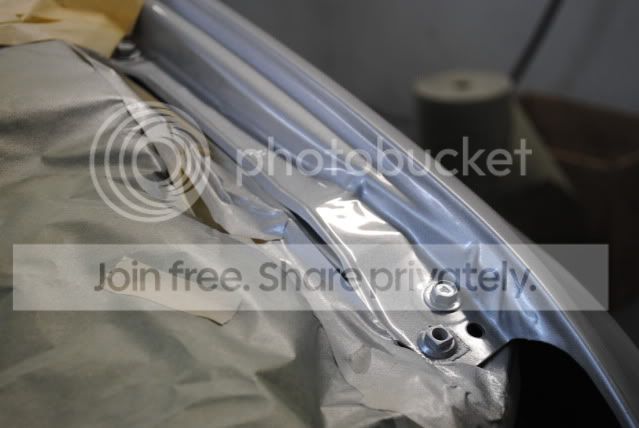
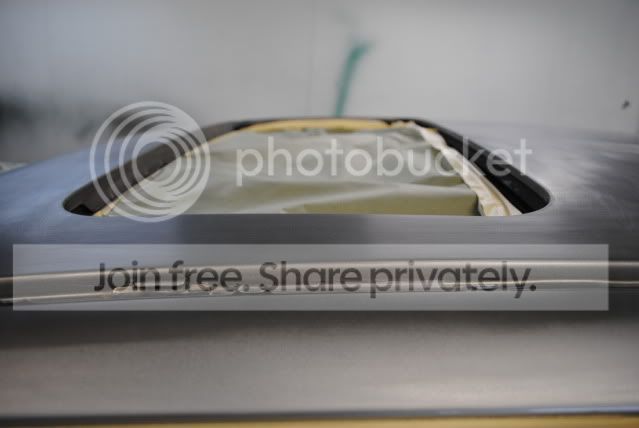
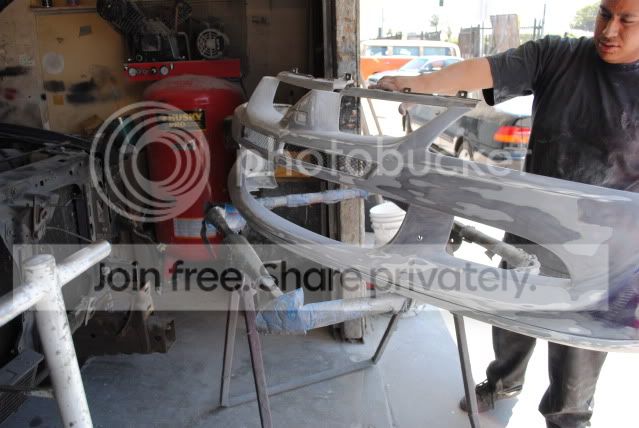
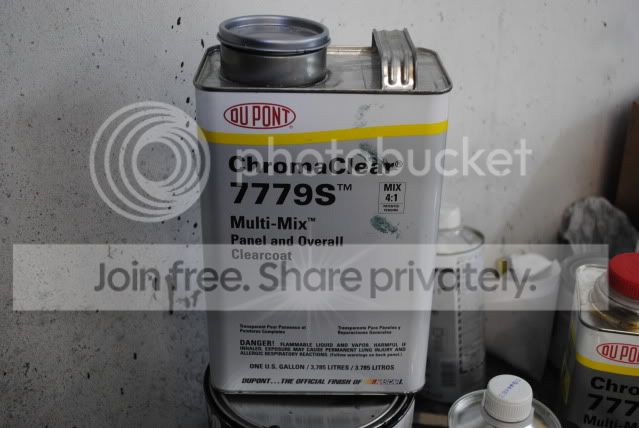
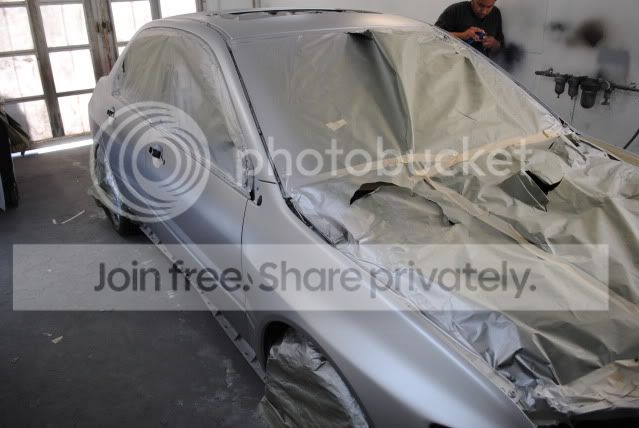
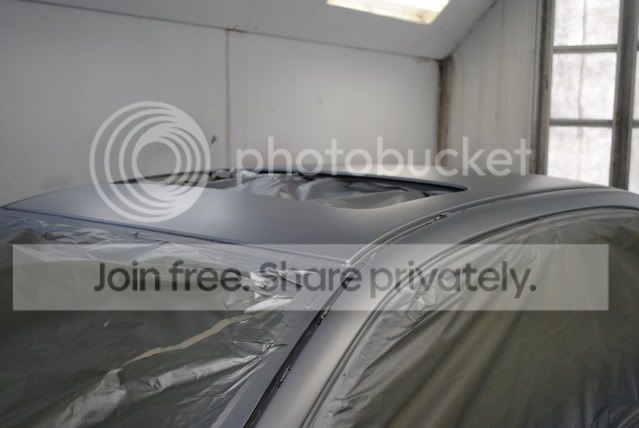
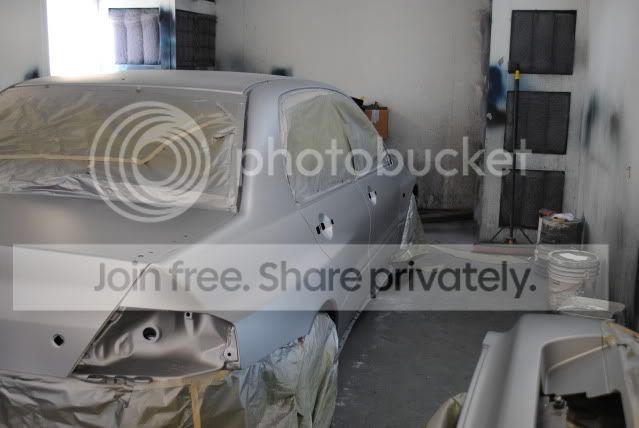
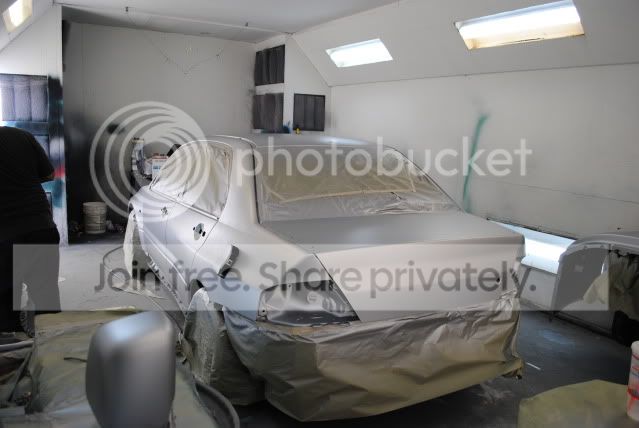
update 7/20 5:30ish pm 1st coat of apex silver
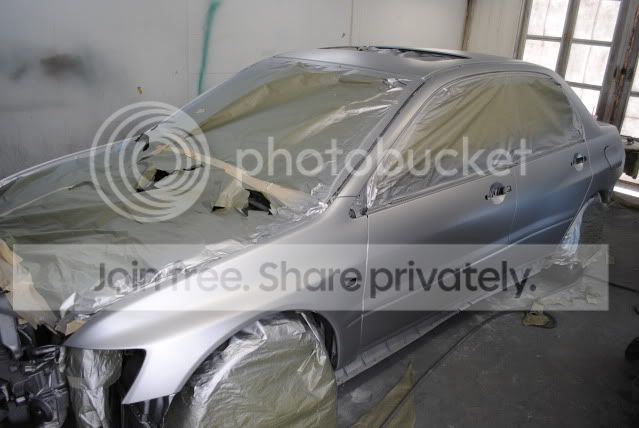
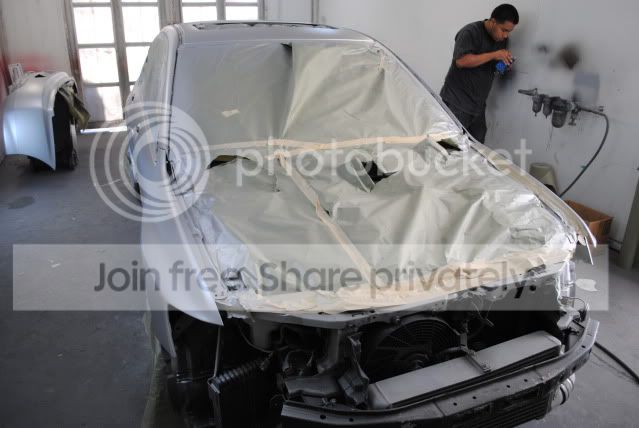
update 7/21 3:30 pm
finished paint last night around midnight and left in the booth to dry over night, and just painted the skirts and wing will post pics of wing and skirts tomorrow. now for the waiting game can't cut and buff paint until five days go by, so the clear and paint could sit and dry. P.S i did not dare to shoot a drop of paint/ clear i wouldn't have been able to live with my self if i ruined it after all this hard work, so thank you Paul and david.
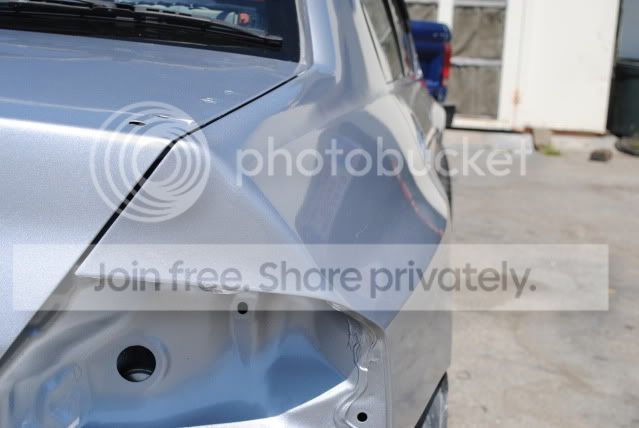
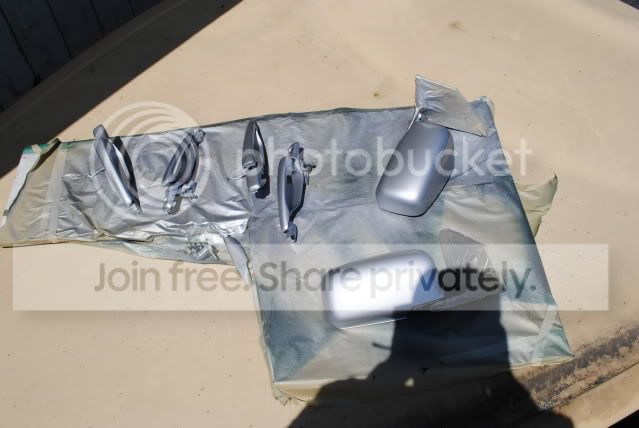
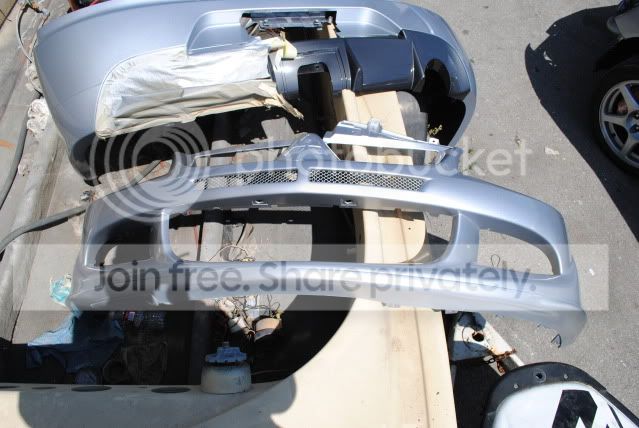
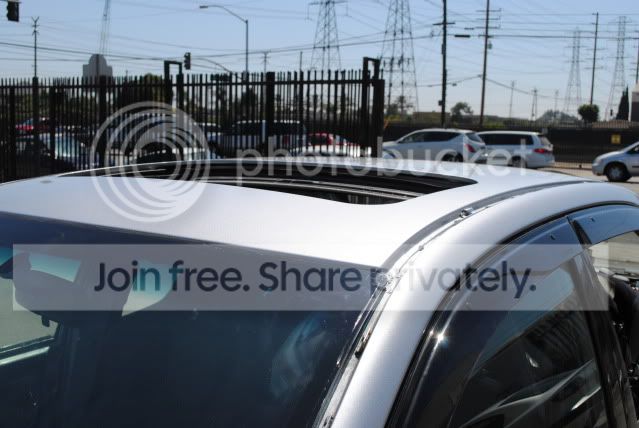
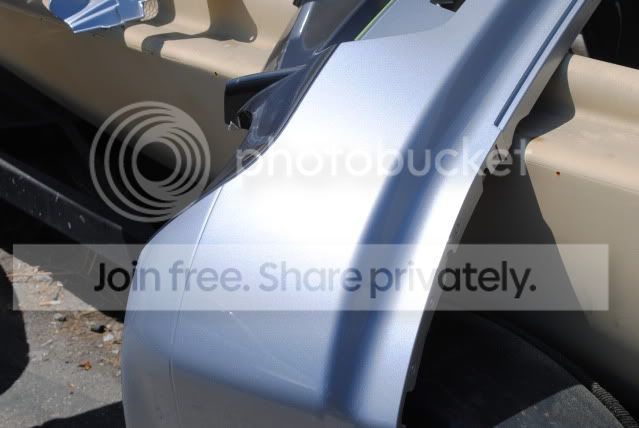
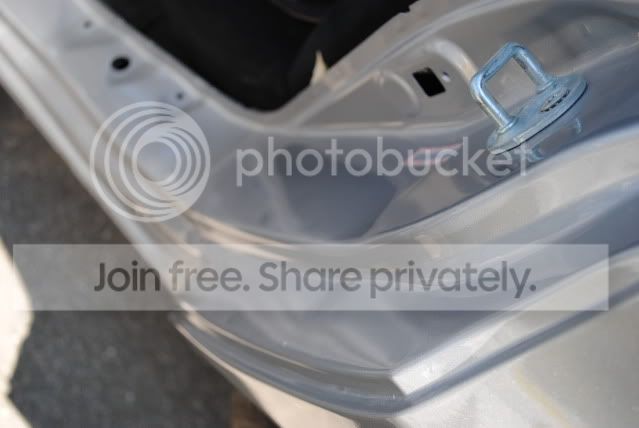
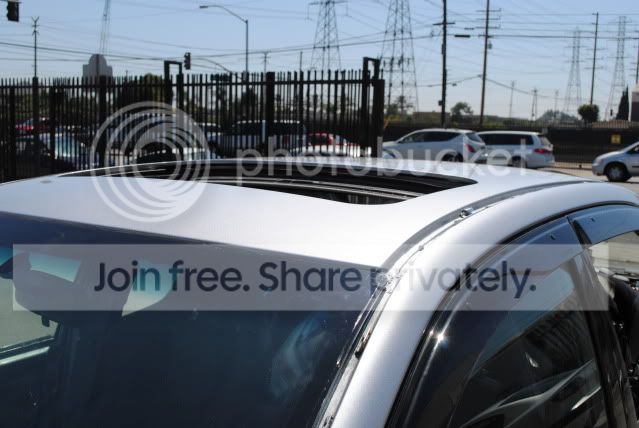
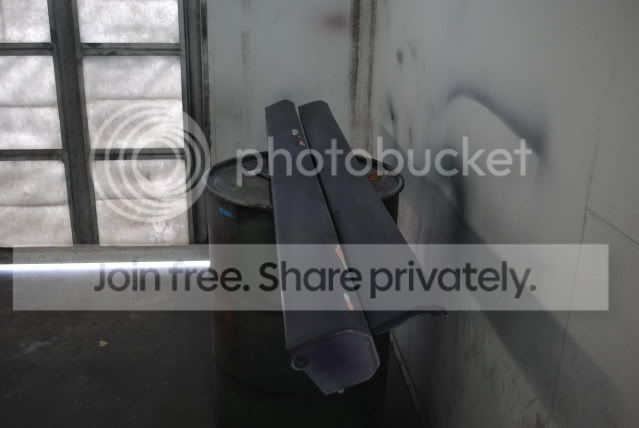
update 7/22
threw the bumpers on and taillights and drove it to my friends house to let it sit till Monday so the paint and clear sit .
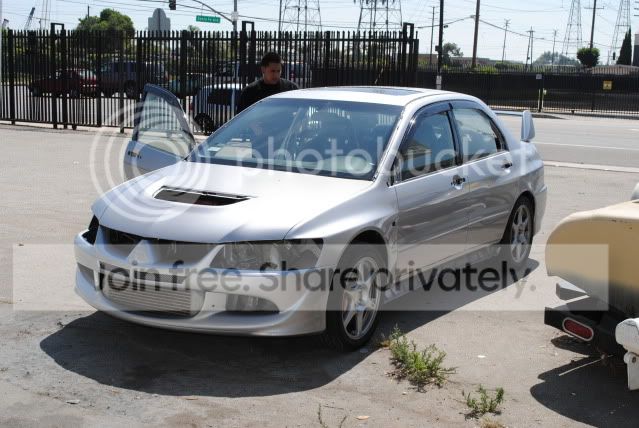
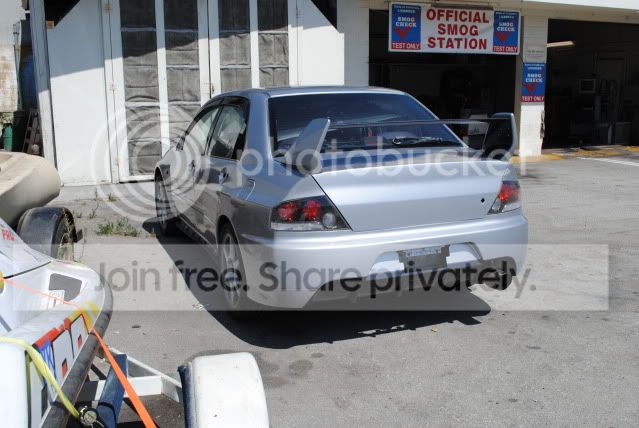
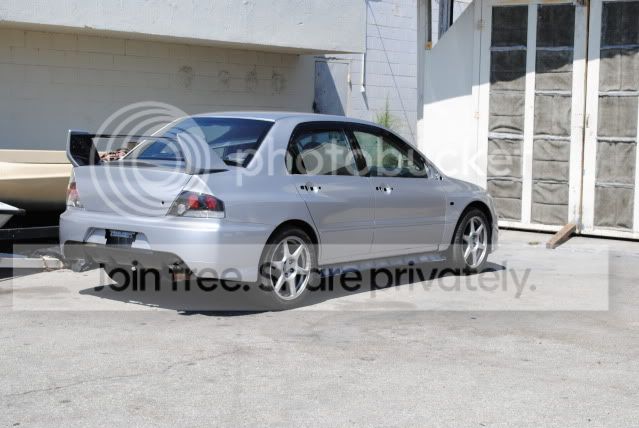
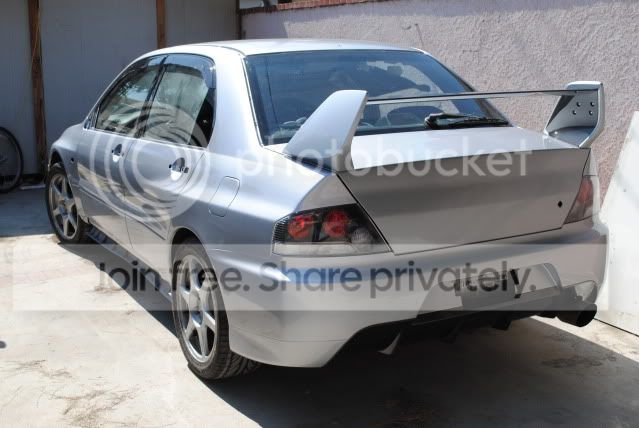
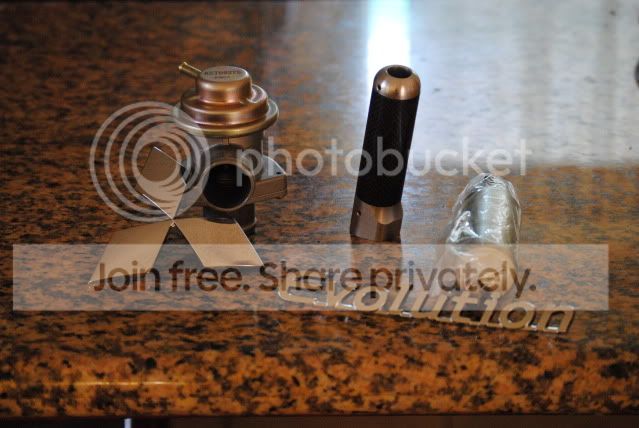
8/2 just a little update some of the many goodies i got
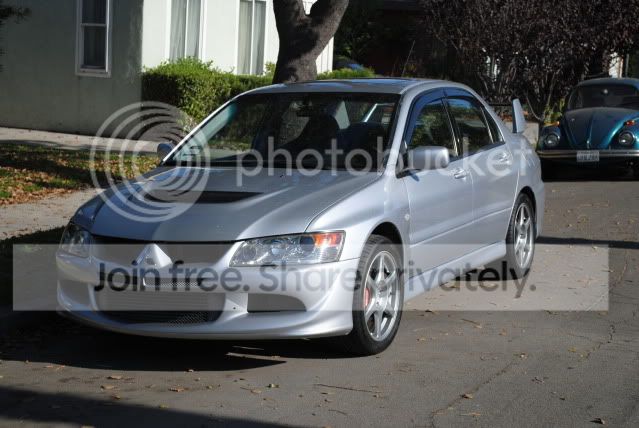
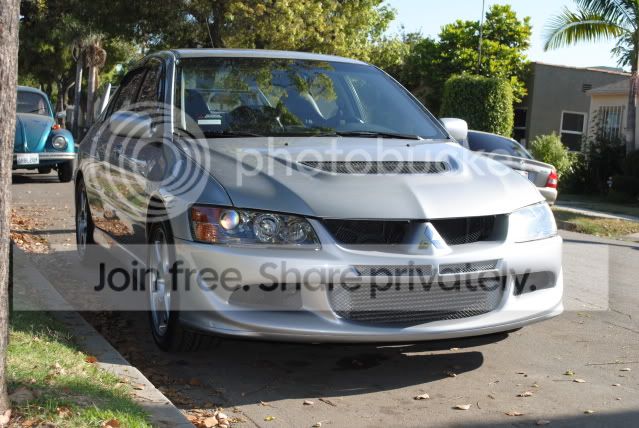
8/8 car was done on friday and just snapped some pics of it real quick, will do a small shoot tomorrow and post pics
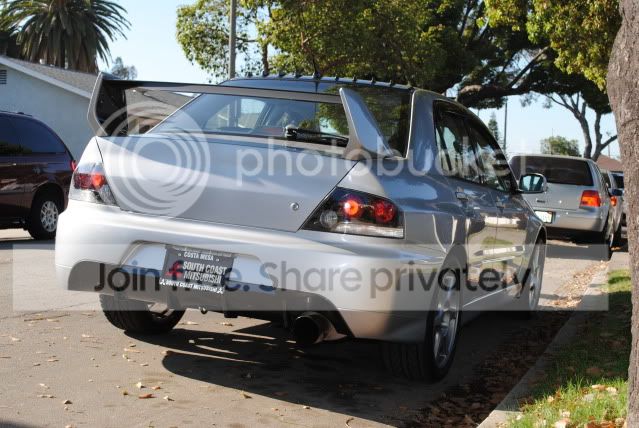
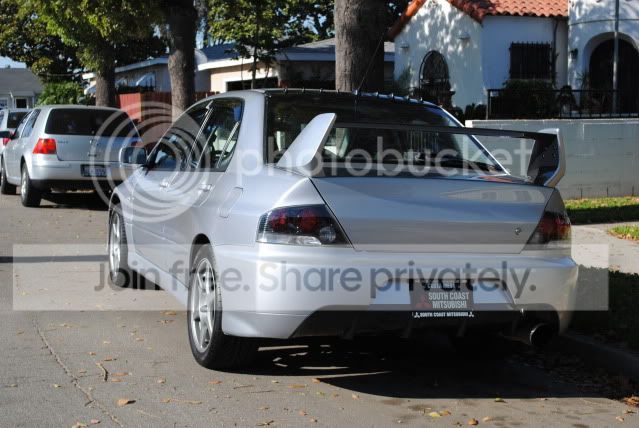

8/15 update
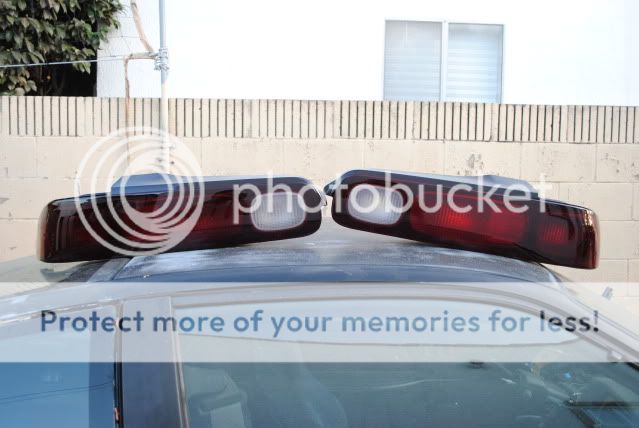
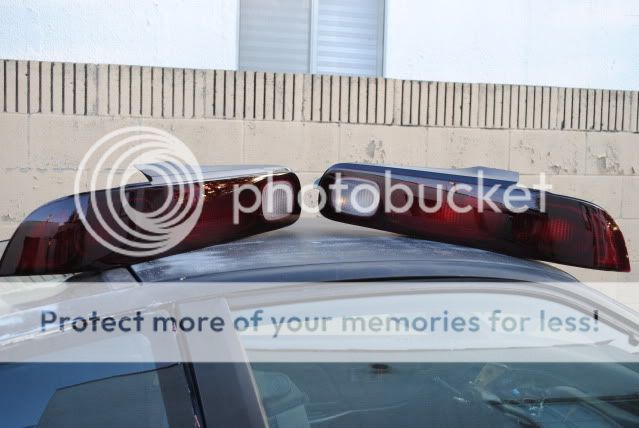
alright guys so i missed my VII replica tails so i had to replicate them again and here are the steps and the turn out. I also do this as a little side job pm me if you guys want your done also
Intro and materials
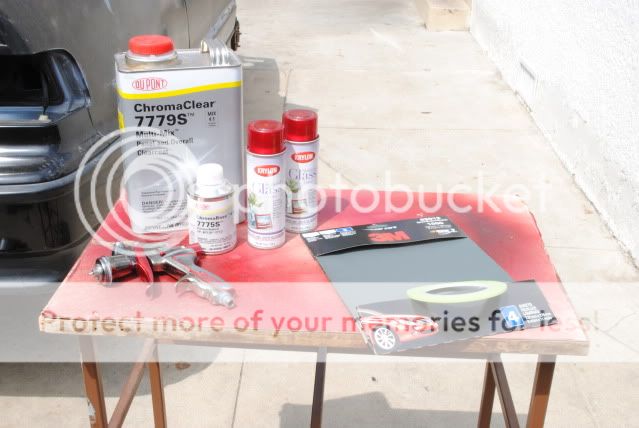
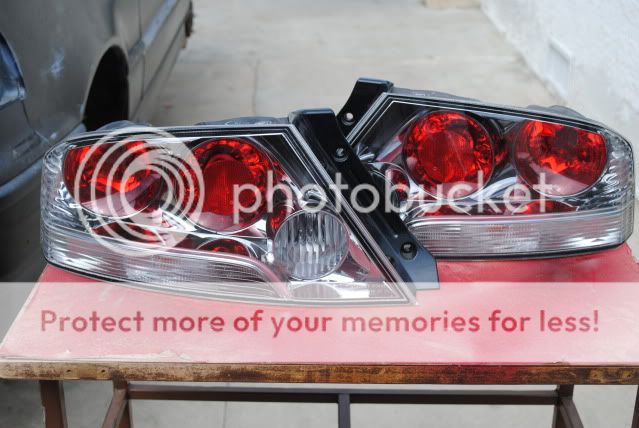
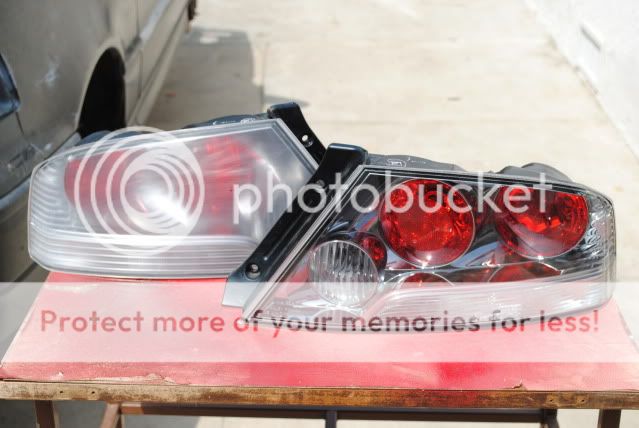
before pic
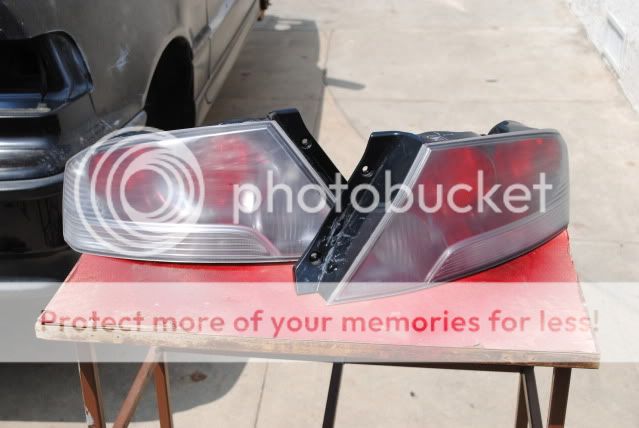
step 1: wet sand with a 1000 grit sand paper
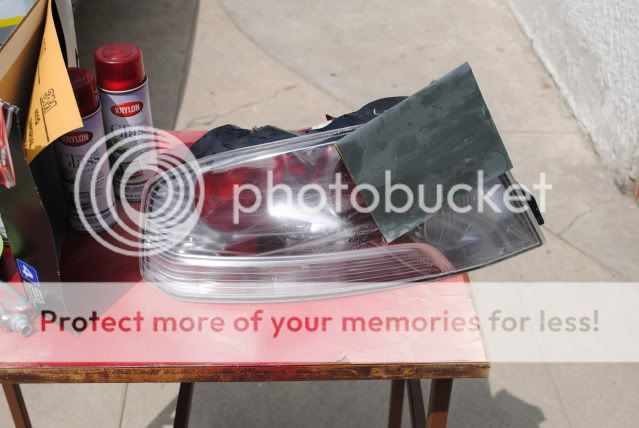
how its suppose to look after wet sand
both tails wet sanded
Step2: after wet sanding you need to tape the lights in the bottom portion to replicate the VII tails
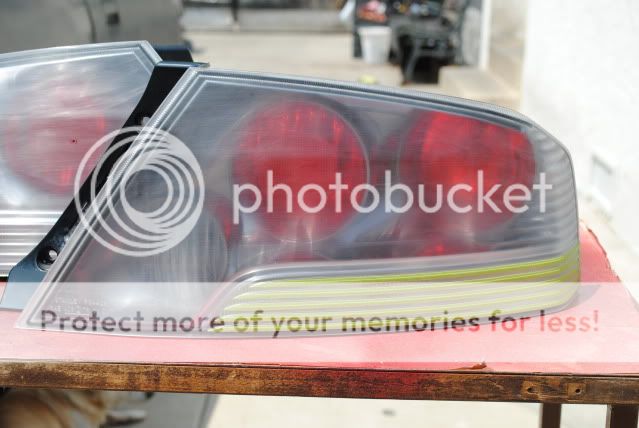
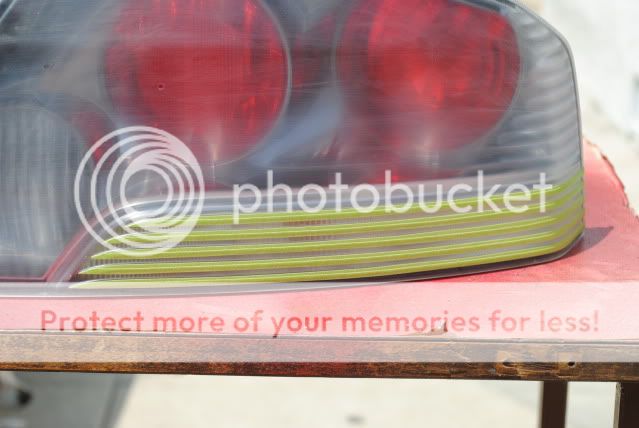
step 3: with rubbing alcohol rub them down to remove any grease and dust
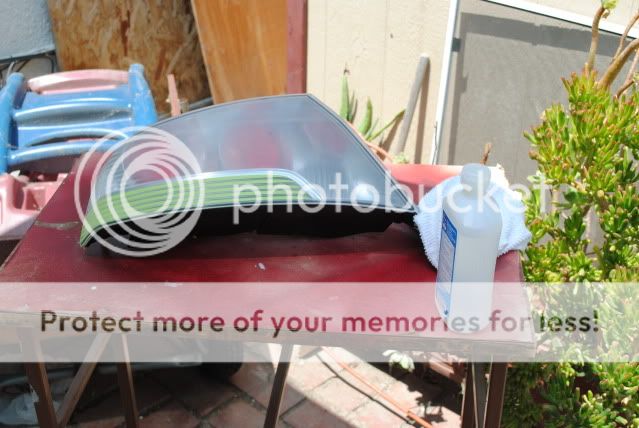
step 4: shoot the paint in a non windy shaded area this paint dries quick and will crate a hazy look (trust me i have to re do my first set 2 x not fun)
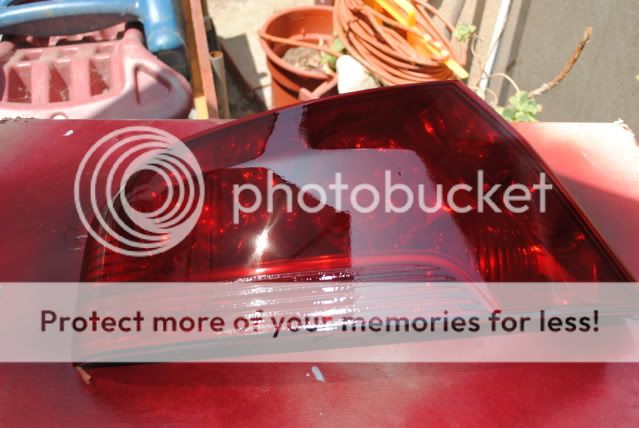
step 5: sorry guys no pic but details: after letting the tails sit for about 15 min remove the tape and shoot clear 3 coats first coat is a mist to become a adhesive, 5 min later second coat wet with out running the clear so it gets the shine, 3rd coast the last mist so it protects the shine>.
step 5: installing the finished product
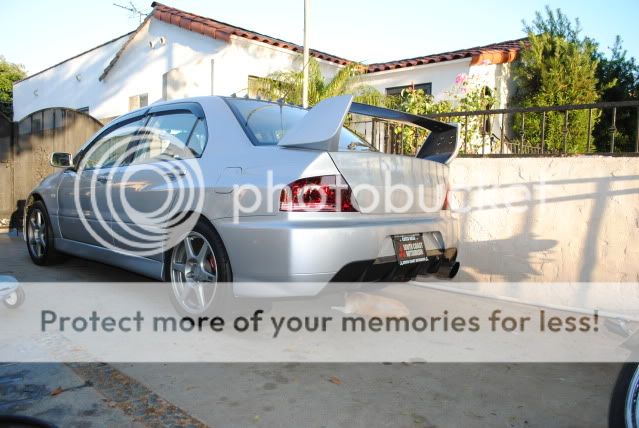
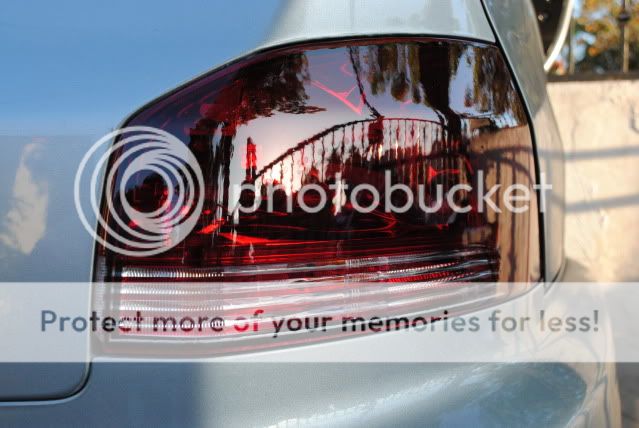

extra pics for you honda guys :P 94 integra lights converted to 99-01 all red tails
before

after
from this ugly looking ****
to this work in progress
update 7/19
today doors where removed along with the hood and masked, to paint all the jams and small crevices. tomorrow the whole car chea
UPDATE 7/20 3 PM
door jams and seems are painted and cleared doors are back on and the exterior is going to be painted later on this afternoon
update 7/20 5:30ish pm 1st coat of apex silver
update 7/21 3:30 pm
finished paint last night around midnight and left in the booth to dry over night, and just painted the skirts and wing will post pics of wing and skirts tomorrow. now for the waiting game can't cut and buff paint until five days go by, so the clear and paint could sit and dry. P.S i did not dare to shoot a drop of paint/ clear i wouldn't have been able to live with my self if i ruined it after all this hard work, so thank you Paul and david.
update 7/22
threw the bumpers on and taillights and drove it to my friends house to let it sit till Monday so the paint and clear sit .
8/2 just a little update some of the many goodies i got
8/8 car was done on friday and just snapped some pics of it real quick, will do a small shoot tomorrow and post pics
8/15 update
alright guys so i missed my VII replica tails so i had to replicate them again and here are the steps and the turn out. I also do this as a little side job pm me if you guys want your done also
Intro and materials
before pic
step 1: wet sand with a 1000 grit sand paper
how its suppose to look after wet sand
both tails wet sanded
Step2: after wet sanding you need to tape the lights in the bottom portion to replicate the VII tails
step 3: with rubbing alcohol rub them down to remove any grease and dust
step 4: shoot the paint in a non windy shaded area this paint dries quick and will crate a hazy look (trust me i have to re do my first set 2 x not fun)
step 5: sorry guys no pic but details: after letting the tails sit for about 15 min remove the tape and shoot clear 3 coats first coat is a mist to become a adhesive, 5 min later second coat wet with out running the clear so it gets the shine, 3rd coast the last mist so it protects the shine>.
step 5: installing the finished product
extra pics for you honda guys :P 94 integra lights converted to 99-01 all red tails
before
after
Last edited by got_evo8; Aug 20, 2011 at 11:35 PM.


