
How to: Center console removal & iPod wire install

Thread Starter
Evolved Member
Joined: Feb 2008
Posts: 556
Likes: 0
From: Florida
How to: Center console removal & iPod wire install
ok so today i did two things:
1. got the center consle off and the area around the shifter
2. ran the rca cable from the rca jacks back to my glovebox
i also ran my interior neon wires directly to the cigarette lighter under the radio (very clean install compared to connecting it to a fuse and grounding it) all u have to do is distinquish your positive and negative wire and then splice into them. then wrap your neon wires around the matching wire. then there are two options......the clean install and the not so clean..clean is to solder the wires and then tape them. not clean is to just tape them.....i chose to solder becauseim very skilled at it so then u wrap each wire and then wrap over the harness to about an inch ont the wires.....replaces stock wire cover.
but anyways lol back to the real topic which pictures will be posted tmrw (to dark now)
tools:
flathead screwdriver or dash removal tool
phillips
drill with unibit
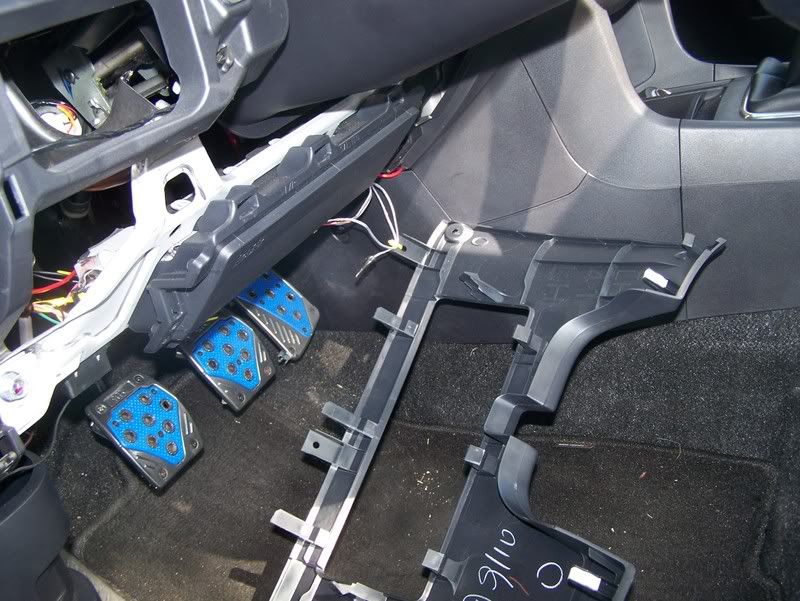
console removal:
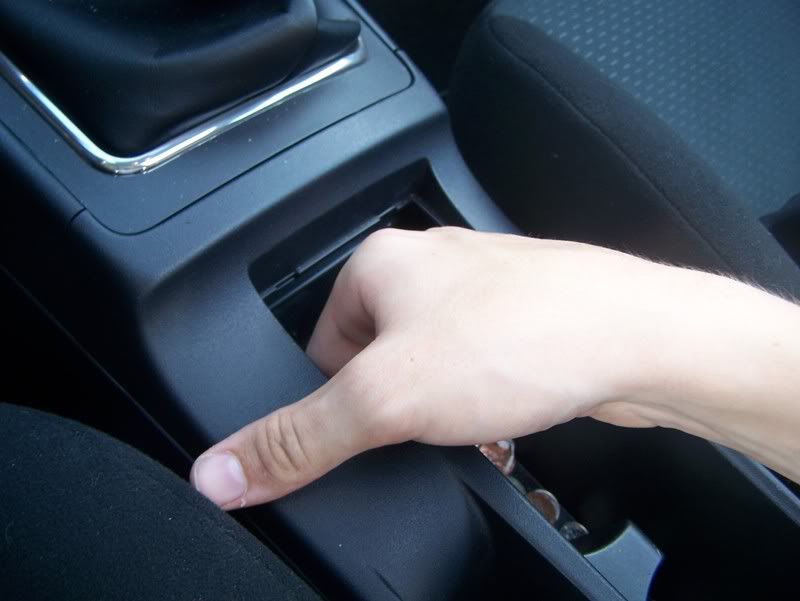
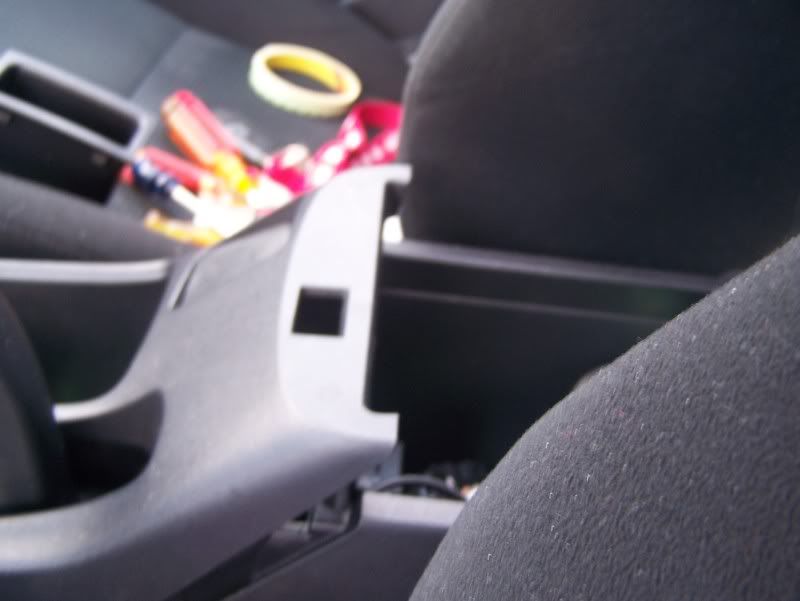
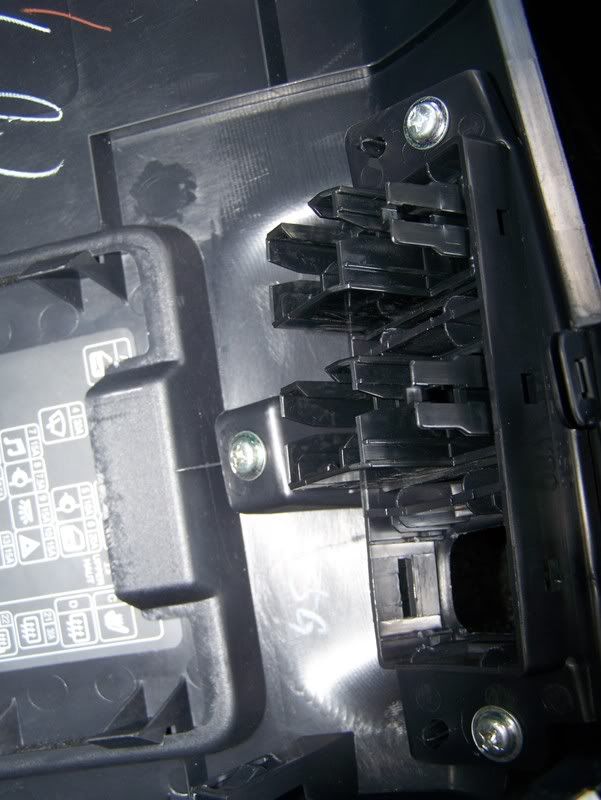
now i had a dash removal tool to use but if this is not an option for you then get the flathead and wrap it in a thin towel (not alot of room where it is t be used) now take the screwdriver and use itto pry off the little change/cell phone pocket in back of the shifter.
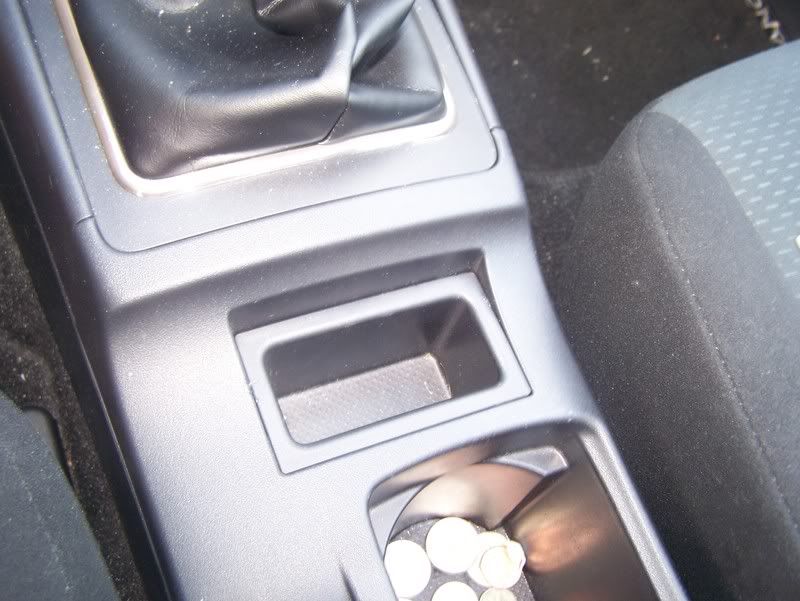
..it shud pop right off. now pull up from the hole it has made once removed.
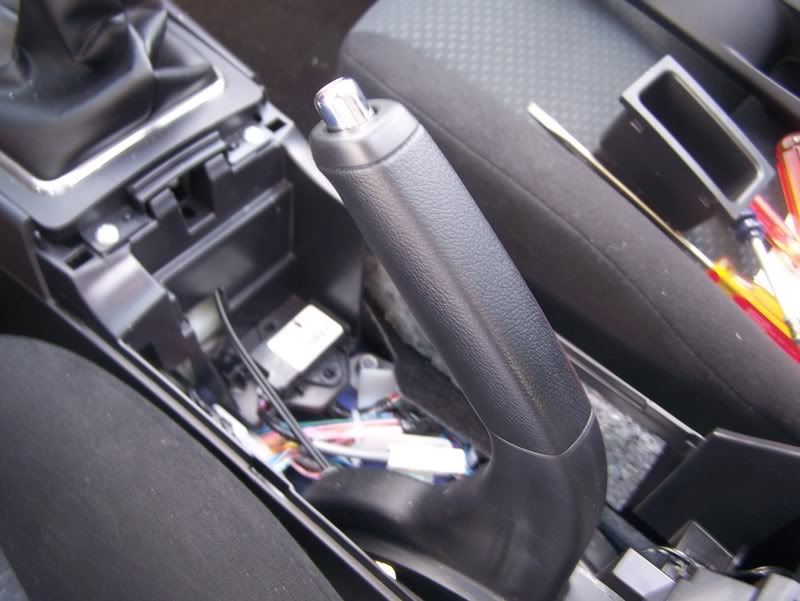
now that the main center console hasbee removed lets go for the shifter area.
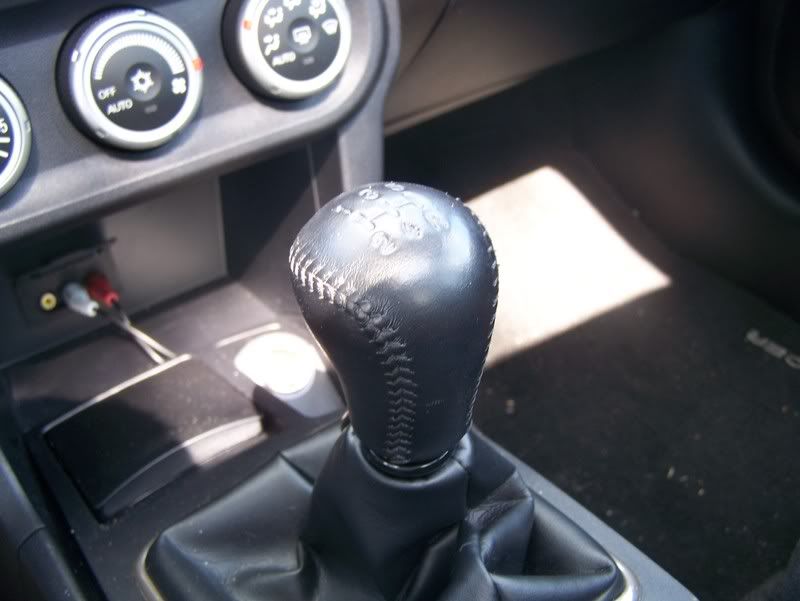
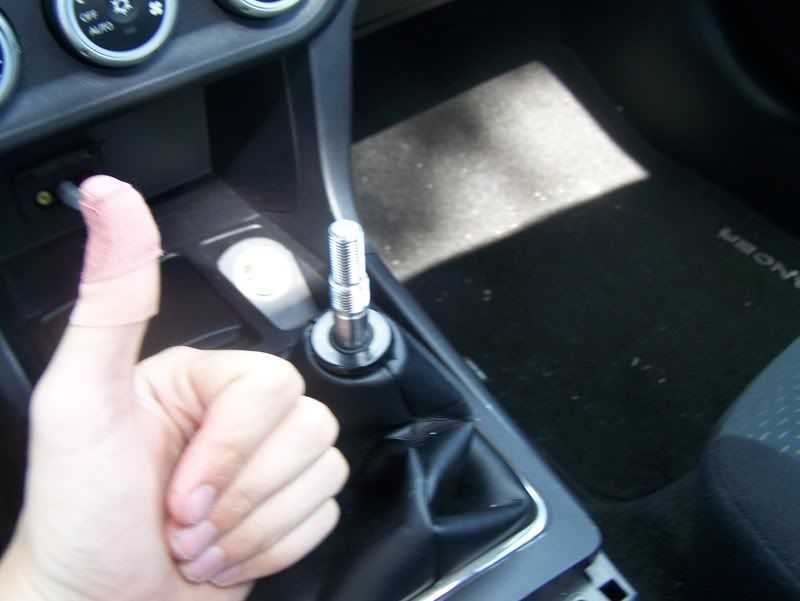
before doing anything take off the shifterknob (kinda gets in the way of the boot.)
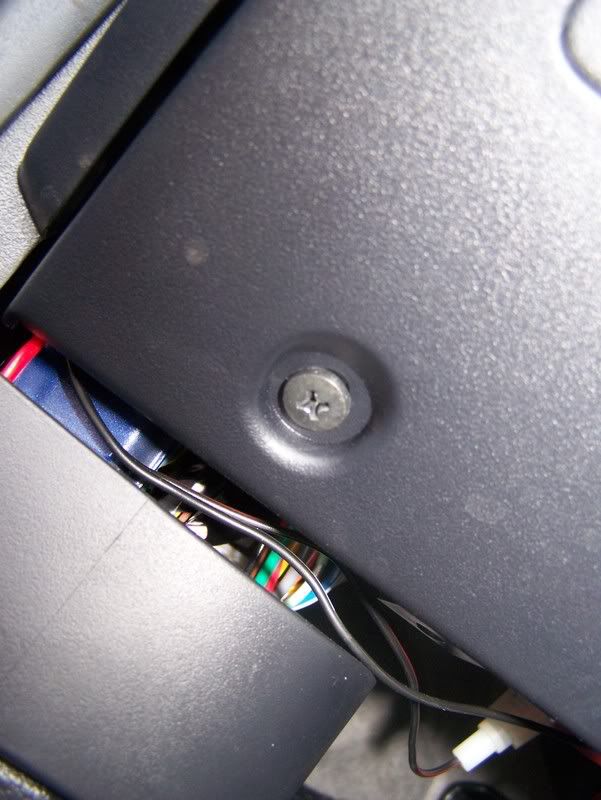
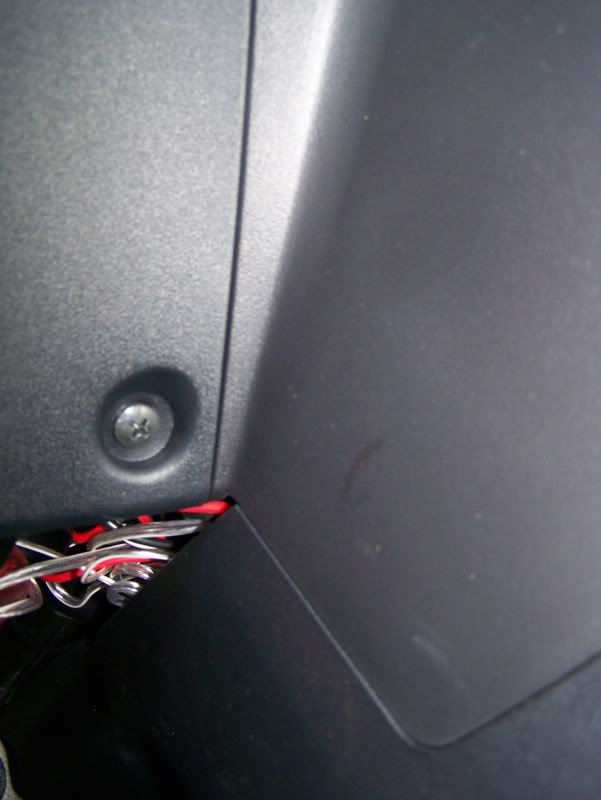
remove the two phillips screw on the back of this piece of the dash
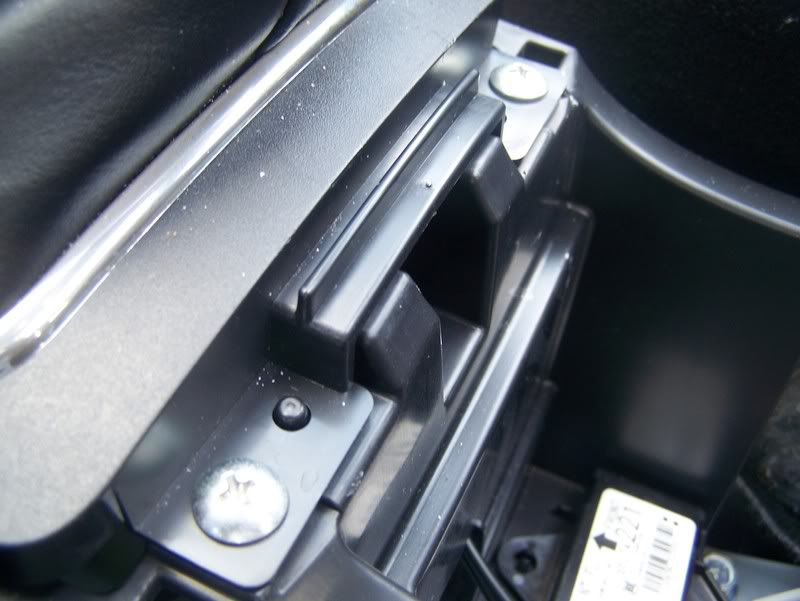
and pull up to release other clips and then backwards to release clips from the end.
voila center console removed.
now for the ipod:
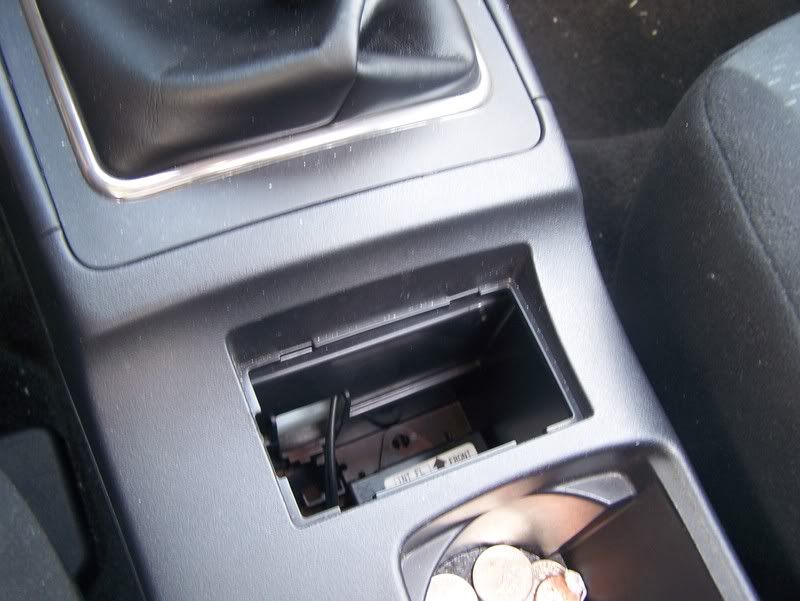
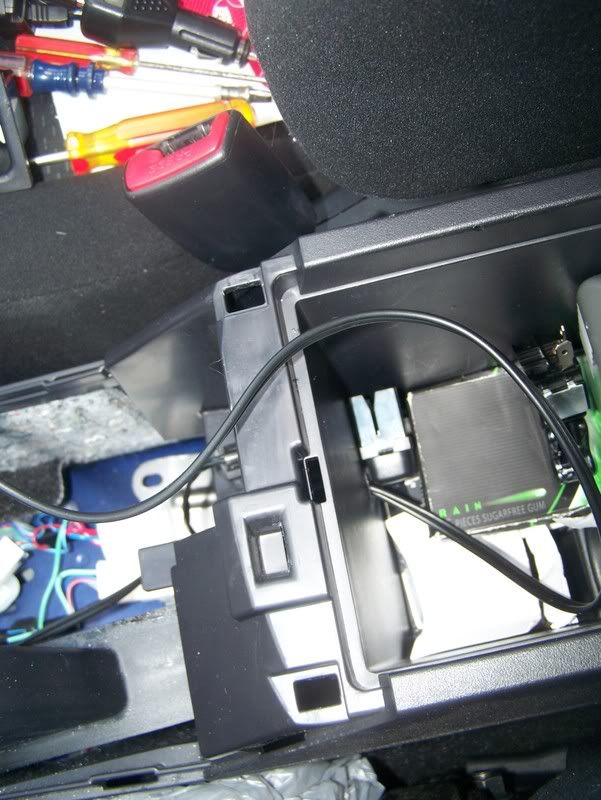
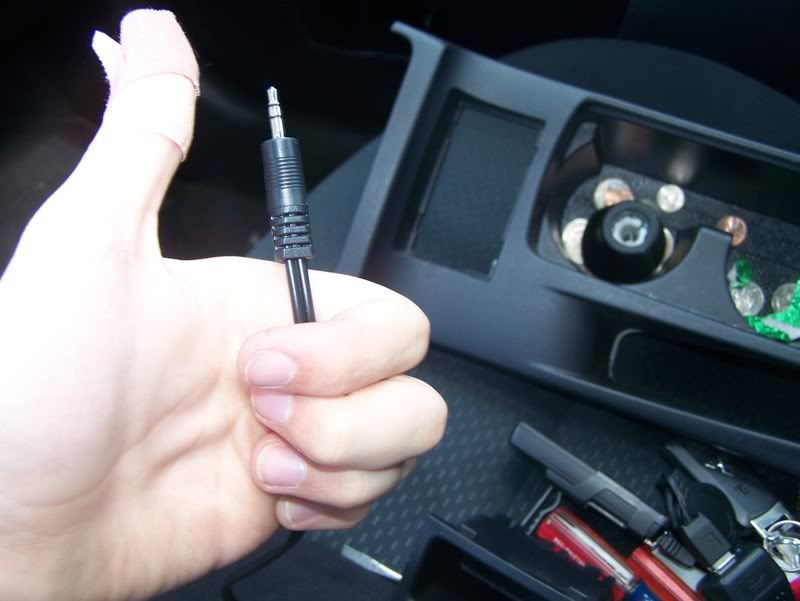
take a rca to 3.5 mm ipod cord and plugit into the inputs ( will show how to hardwire the rcas into the back later i need to learn myself)
now run in throught the loop the cigarette lighter makes with its wires.
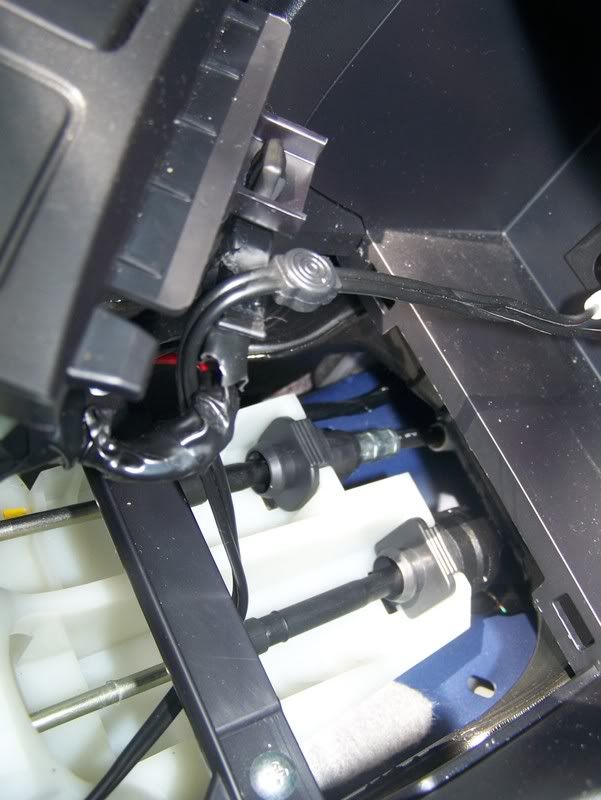
then run underneith the bars around the shifter s it will sit under it.
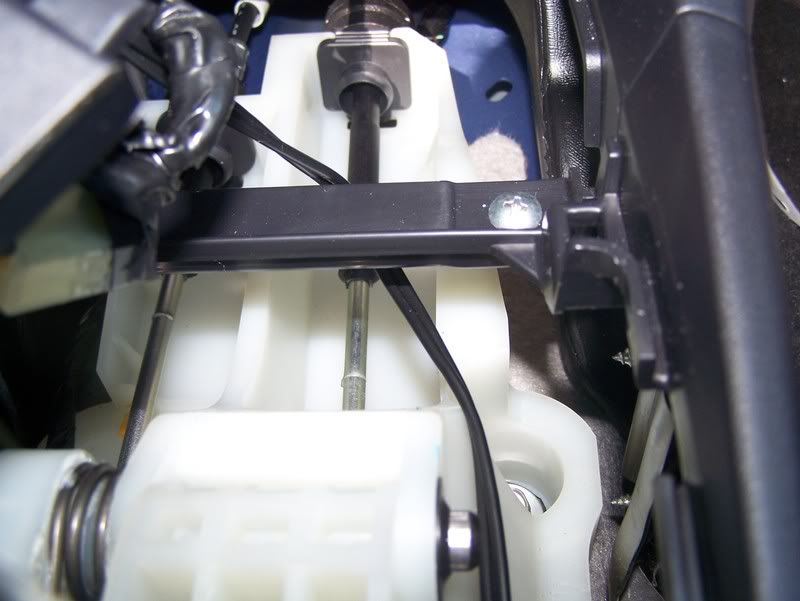
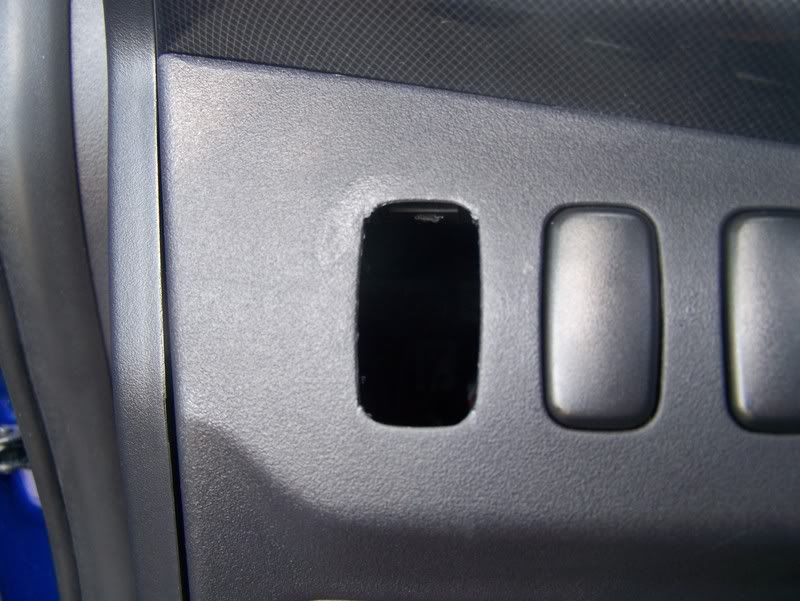
then theres a little opening thats rectangle shaped at the end thats going into the center console feed the cable thru.
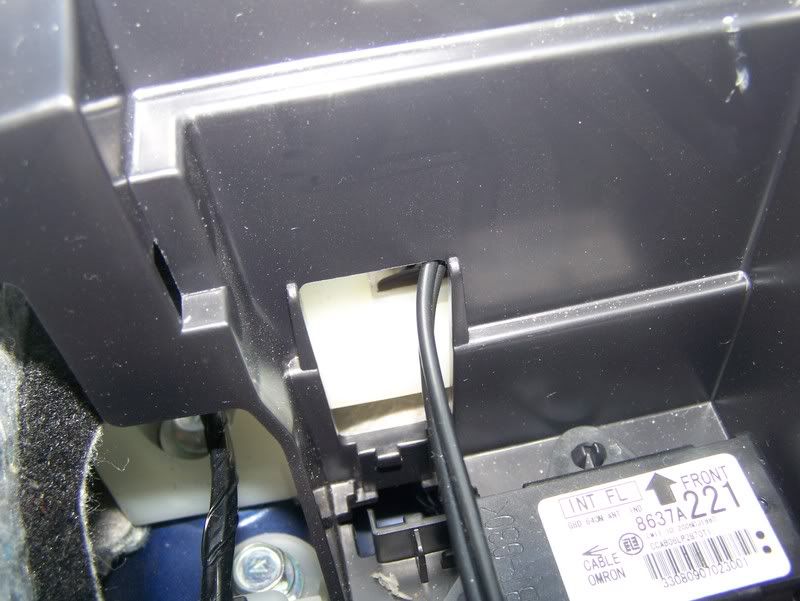
then take your drill and unibit and drill a hole into the center glovebox (unibit makes for a cleaner looking drill).
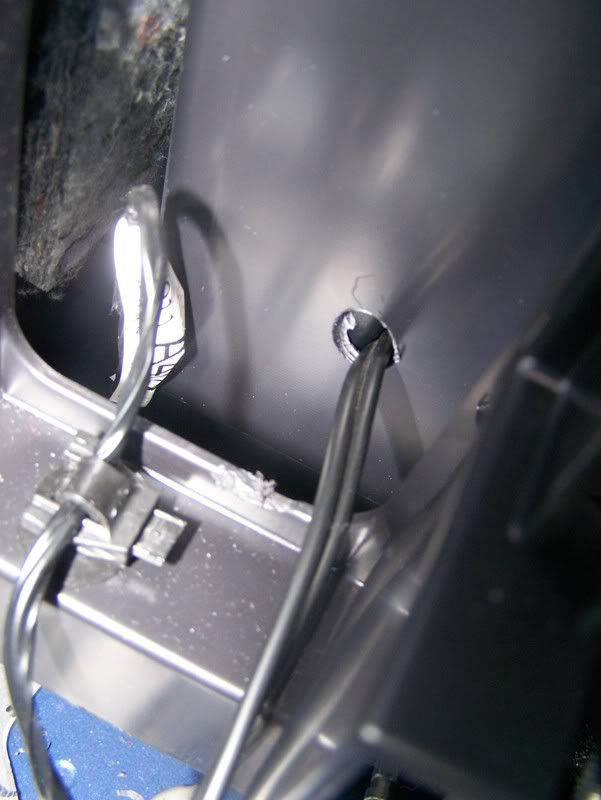
now feed the wire through there and voila u have your ipod cable in your middle glovebox. now just put everthing back and you are done.
upcoming:
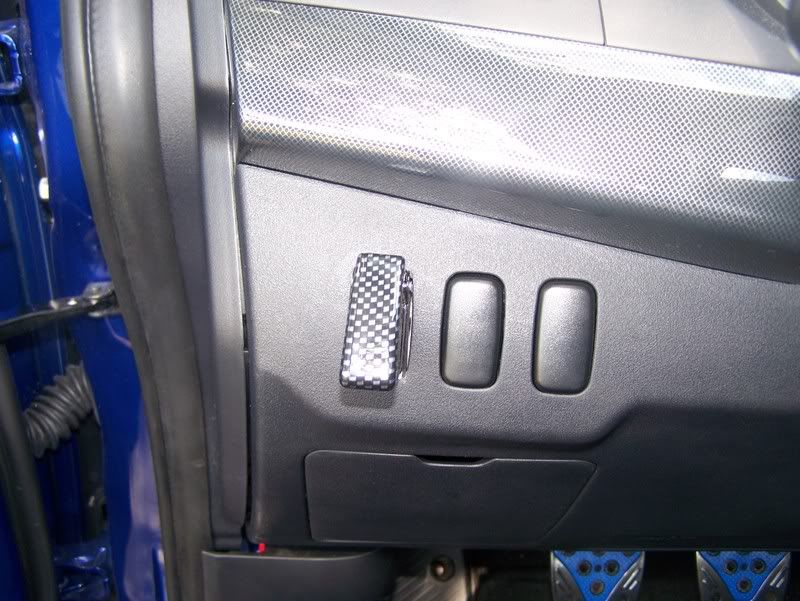
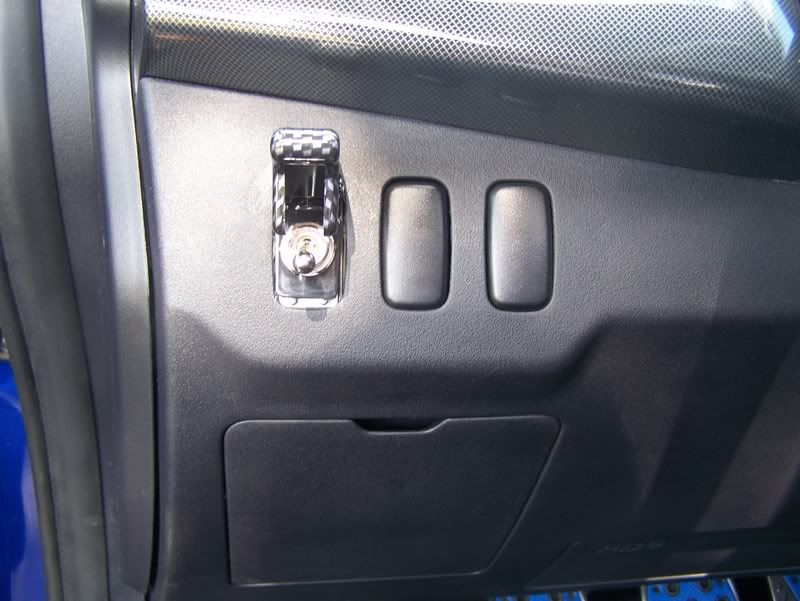
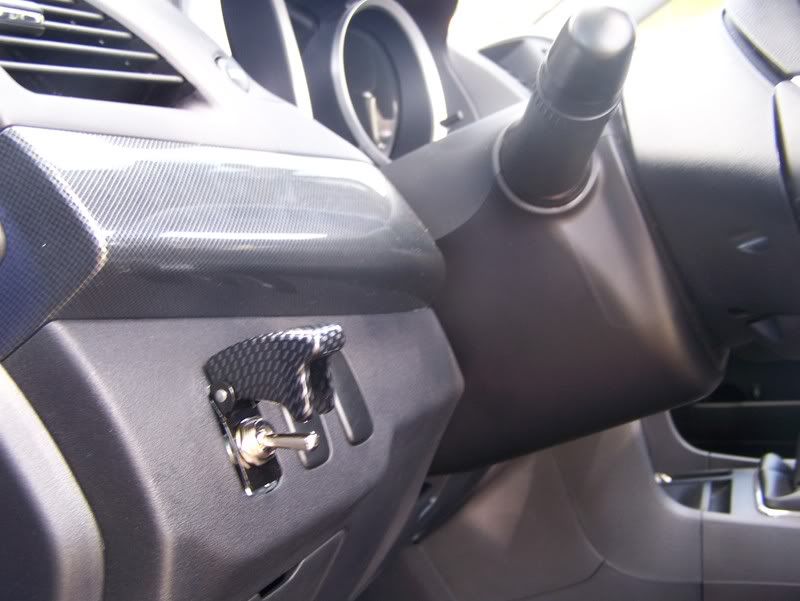
underglow install and underglow switch install.
als for underglow switch there is a perfect spot on the center console that has a little clip cover over it
(pic tmrw)
edit: switch area moved
took an extra switch hole out

1. got the center consle off and the area around the shifter
2. ran the rca cable from the rca jacks back to my glovebox
i also ran my interior neon wires directly to the cigarette lighter under the radio (very clean install compared to connecting it to a fuse and grounding it) all u have to do is distinquish your positive and negative wire and then splice into them. then wrap your neon wires around the matching wire. then there are two options......the clean install and the not so clean..clean is to solder the wires and then tape them. not clean is to just tape them.....i chose to solder becauseim very skilled at it so then u wrap each wire and then wrap over the harness to about an inch ont the wires.....replaces stock wire cover.
but anyways lol back to the real topic which pictures will be posted tmrw (to dark now)
tools:
flathead screwdriver or dash removal tool
phillips
drill with unibit
console removal:
now i had a dash removal tool to use but if this is not an option for you then get the flathead and wrap it in a thin towel (not alot of room where it is t be used) now take the screwdriver and use itto pry off the little change/cell phone pocket in back of the shifter.
..it shud pop right off. now pull up from the hole it has made once removed.
now that the main center console hasbee removed lets go for the shifter area.
before doing anything take off the shifterknob (kinda gets in the way of the boot.)
remove the two phillips screw on the back of this piece of the dash
and pull up to release other clips and then backwards to release clips from the end.
voila center console removed.
now for the ipod:
take a rca to 3.5 mm ipod cord and plugit into the inputs ( will show how to hardwire the rcas into the back later i need to learn myself)
now run in throught the loop the cigarette lighter makes with its wires.
then run underneith the bars around the shifter s it will sit under it.
then theres a little opening thats rectangle shaped at the end thats going into the center console feed the cable thru.
then take your drill and unibit and drill a hole into the center glovebox (unibit makes for a cleaner looking drill).
now feed the wire through there and voila u have your ipod cable in your middle glovebox. now just put everthing back and you are done.
upcoming:
underglow install and underglow switch install.
als for underglow switch there is a perfect spot on the center console that has a little clip cover over it
(pic tmrw)
edit: switch area moved
took an extra switch hole out
Last edited by Sofla GTS; May 1, 2008 at 07:02 PM.

Newbie
Joined: Jul 2007
Posts: 5
Likes: 0
From: California
So I did this very thing. Pretty much Sofla GTS already put all the steps, but I will walk through my own proceedure, excluding wiring. Every setup could be a little different so I won't go into detail about wiring.
I decided the spot below the shifter is pretty good spot. (later found it's not but will explain later)
First I bought a ipod holder that normally clips to your vent. Then I bought a $15 cable that has power and rca plugs to Ipod Port, this allows the ipod to charge and give Audio/Video from 1 cable.
The Ipod holder had a hole already at the bottom so I just JB Weld the cable to that.
http://www.zero-fx.com/ipod/1.jpg
http://www.zero-fx.com/ipod/2.jpg
Next I needed to make the mount match the interior so I painted it flat black.
http://www.zero-fx.com/ipod/3.jpg
http://www.zero-fx.com/ipod/4.jpg
Next after removing the interior part, I put a hole in it so the cable could be fed through.
http://www.zero-fx.com/ipod/5.jpg
Placed the mount inside, with a little force it fits tight which is perfect for me to adjust then fill in the holes.
http://www.zero-fx.com/ipod/6.jpg
I used JB Weld again to glue and fill in the holes, but there are better products out there, I was just lazy. Then I sanded it to make it even.
http://www.zero-fx.com/ipod/7.jpg
http://www.zero-fx.com/ipod/8.jpg
Then after painting it, I put it all back in.
Finished Photo's
http://www.zero-fx.com/ipod/9.jpg
http://www.zero-fx.com/ipod/10.jpg
Now that I have it in there, I wish I had it angled, because I can't really see the screen from the drivers seat to change songs easily. The IPod Classic works pretty well in this spot, but the touch, where you need to see better to navigate, is just so so. The biggest downside is I didn't think about the "Home" button on the touch being blocked. I should have drilled out the area for the button.
Live and learn I guess, but thought I would share with everyone.
Discussion thread - https://www.evolutionm.net/forums/sh...d.php?t=345436

Thread
Thread Starter
Forum
Replies
Last Post
Sofla GTS
Southeast Region
1
Feb 24, 2015 04:12 PM
Sofla GTS
Lancer Tires, Wheels, Brakes & Suspension - Sponsored by The Tire Rack
6
Jun 21, 2008 09:47 AM