
Dynamic's Chariot

My evo 8 build
Before I begin I'd like to thank the EvoM community. I've spent countless hours on these forums (and still do) soaking in all the knowledge I can about this pure bred animal. I've read through so many of your guys build threads and they're extremely motivational, to say the least (not to mention helpful at times too). Hopefully this thread can help someone at some point also, and please feel free to ask questions. So with that said here's my build in progress.
How the madness began...
The chariot is a 2003 GSR. I drove down to NC with a buddy of mine about 2 years ago to pick her up after having my eye on the for sale thread on here for the better part of a month. Driving it back to NY was by far one of the best drives I've ever had. It gave me plenty of time to bond with the car and make me realize just how much I missed having an Evo!
I'm building this car with a goal in mind of about 700whp. I will have two separate tunes. One for pump gas and another for race gas, No E85 will be used. I've spent the past year or so accumulating parts for this build, and I have almost everything! It sucks how long something like this can take, but I've learned to be patient and not rush it because I want it done right the first time. I believe the end result will be much worth the wait. Below is a quick list I've thrown together of some of the parts that will be going under the hood. I'm sure there's things I'm missing, but eventually just about everything will be covered in this thread. My goal is to ultimately have a super fun street car. It may see the track here and there, who knows. But for now it's one step at a time
Head
Ferrea valves
Ferrea dual springs & retainers
Ferrea seals, seats, and keepers
Kelford 272 cams
Kiggly HLA
ARP L19 head studs
ARP cam tower bolts
Evo 7 valve cover
Engine
Bored .020 over
Custom Wiseco pistons
Manley I Beam rods w/ARP 2000 rod bolts
Clevite main & journal bearings
Stock crank
BR baffled oil pan
Fluidampr crank pulley
ARP main studs
Intake
JMF intake manifold
SD 4" intake
AMS 3.5" intercooler
65mm ported throttle body
2.5" intercooler piping
Exhaust
Custom tubular T3 "ramhorn" exhaust manifold
Full 3" Perrin TBE (I might change later)
44mm Tial wastegate
Turbo Undecided at the moment. 6766, 6266, or the HTA3586?.. Decisions decisions....
Fuel
Dual Walbro 450's
all new fuel lines/fittings (-8 feed / -6 return)
injectors (undecided)
Perrin fuel rail
Aeromotive FPR
Suspension
Tein lowering springs (they came on the car, and will stay until I can throw some d2 coils on)
Beatrush front strut bar
GT-Spec rear trunk cage
Drivetrain
Stock rear diff
Stock trans
Stock TC
QM 8 Leg Race clutch with Hydro TOB (push conversion)
Shifter, driveshaft and rear diff Torque Solutions bushings
Interior
Fresh interior!
AEM gauges
NRG full carbon bucket race seat (thinking about getting one for the passenger side also)
There's still tons more that isn't listed. Not to mention the little things that I probably wouldn't even waste time putting on a list.
I will try to update this thread as much as possible with anything new. I'm more of a visual person so I will try to post tons of pics as things get moving along more.
Here's the car before I decided to tear it apart. 125k bone stock besides a shift knob, 9 front bumper and JDM rear.


I had a few friends come over to help me pull the motor and trans. It was the first time I'd ever done something like this without a lift or power tools so having them around to show me their tips and tricks was definitely helpful! (sorry for the crappy cell phone pics)
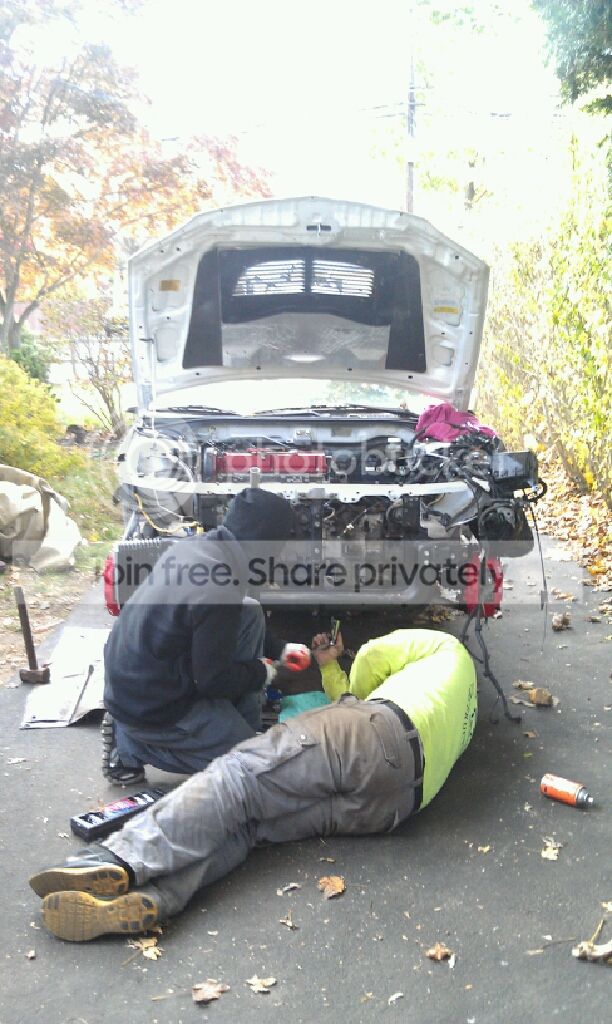
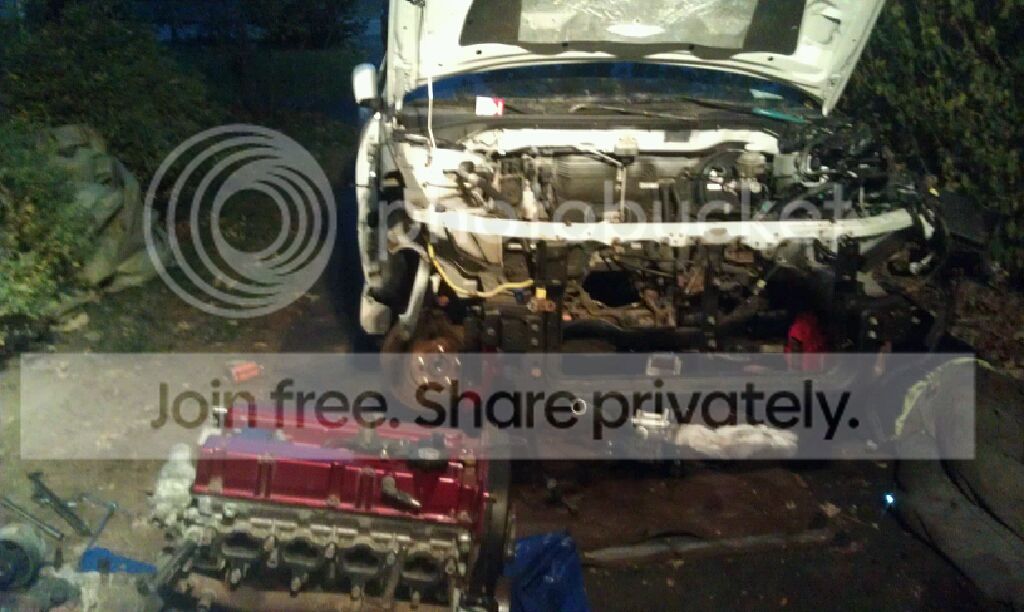
A few hours later and the motor/trans is out of the car
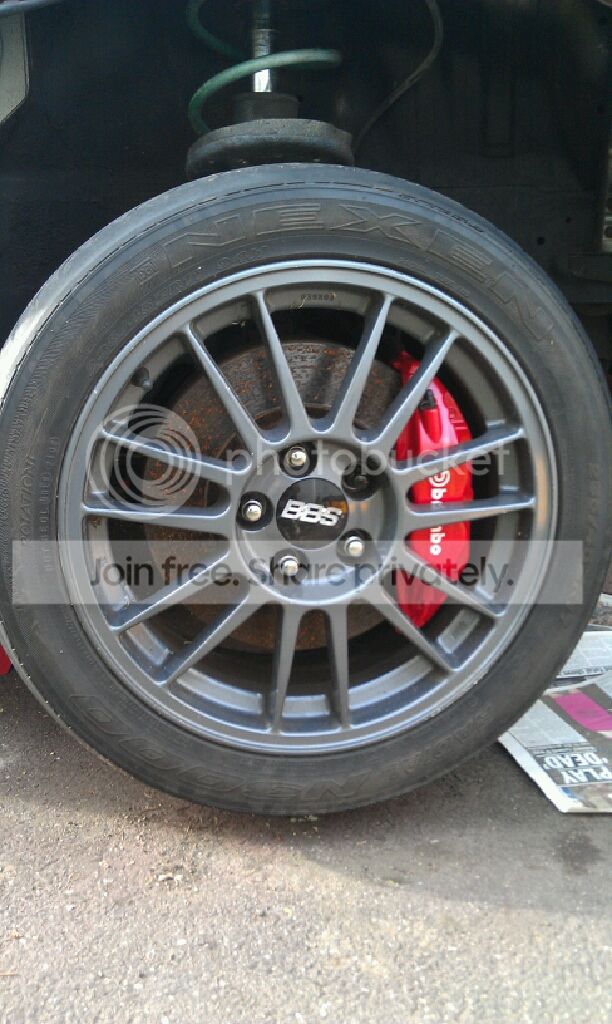
Also picked up some mint MR BBS rims from a local member
Beatrush front strut bar and NRG carbon seat. This seat is so comfortable, I love it

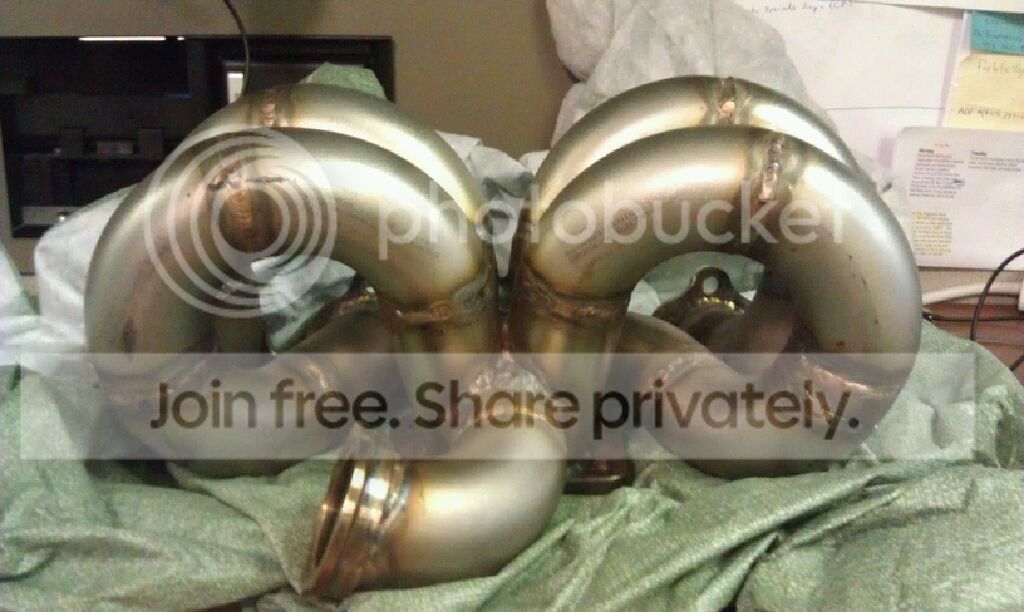
Here's the custom exhaust manifold I picked up from a fellow member. I've always liked the ramhorn design
How the madness began...
The chariot is a 2003 GSR. I drove down to NC with a buddy of mine about 2 years ago to pick her up after having my eye on the for sale thread on here for the better part of a month. Driving it back to NY was by far one of the best drives I've ever had. It gave me plenty of time to bond with the car and make me realize just how much I missed having an Evo!
I'm building this car with a goal in mind of about 700whp. I will have two separate tunes. One for pump gas and another for race gas, No E85 will be used. I've spent the past year or so accumulating parts for this build, and I have almost everything! It sucks how long something like this can take, but I've learned to be patient and not rush it because I want it done right the first time. I believe the end result will be much worth the wait. Below is a quick list I've thrown together of some of the parts that will be going under the hood. I'm sure there's things I'm missing, but eventually just about everything will be covered in this thread. My goal is to ultimately have a super fun street car. It may see the track here and there, who knows. But for now it's one step at a time
Head
Ferrea valves
Ferrea dual springs & retainers
Ferrea seals, seats, and keepers
Kelford 272 cams
Kiggly HLA
ARP L19 head studs
ARP cam tower bolts
Evo 7 valve cover
Engine
Bored .020 over
Custom Wiseco pistons
Manley I Beam rods w/ARP 2000 rod bolts
Clevite main & journal bearings
Stock crank
BR baffled oil pan
Fluidampr crank pulley
ARP main studs
Intake
JMF intake manifold
SD 4" intake
AMS 3.5" intercooler
65mm ported throttle body
2.5" intercooler piping
Exhaust
Custom tubular T3 "ramhorn" exhaust manifold
Full 3" Perrin TBE (I might change later)
44mm Tial wastegate
Turbo Undecided at the moment. 6766, 6266, or the HTA3586?.. Decisions decisions....
Fuel
Dual Walbro 450's
all new fuel lines/fittings (-8 feed / -6 return)
injectors (undecided)
Perrin fuel rail
Aeromotive FPR
Suspension
Tein lowering springs (they came on the car, and will stay until I can throw some d2 coils on)
Beatrush front strut bar
GT-Spec rear trunk cage
Drivetrain
Stock rear diff
Stock trans
Stock TC
QM 8 Leg Race clutch with Hydro TOB (push conversion)
Shifter, driveshaft and rear diff Torque Solutions bushings
Interior
Fresh interior!
AEM gauges
NRG full carbon bucket race seat (thinking about getting one for the passenger side also)
There's still tons more that isn't listed. Not to mention the little things that I probably wouldn't even waste time putting on a list.
I will try to update this thread as much as possible with anything new. I'm more of a visual person so I will try to post tons of pics as things get moving along more.
Here's the car before I decided to tear it apart. 125k bone stock besides a shift knob, 9 front bumper and JDM rear.


I had a few friends come over to help me pull the motor and trans. It was the first time I'd ever done something like this without a lift or power tools so having them around to show me their tips and tricks was definitely helpful! (sorry for the crappy cell phone pics)

A few hours later and the motor/trans is out of the car

Also picked up some mint MR BBS rims from a local member

Beatrush front strut bar and NRG carbon seat. This seat is so comfortable, I love it

Here's the custom exhaust manifold I picked up from a fellow member. I've always liked the ramhorn design

Last edited by DSMdynamic; Nov 7, 2020 at 10:34 PM. Reason: Updated
A couple small updates. The block is now at the machine shop. All I'm waiting on for the block is the rods, which should be here any day now.
Here's the motor all stripped down

This is a bad pic, but all the cylinder walls looked pretty good. That made me happy

Here it is after me and a buddy threw it in the back of my Jeep. Off to the machine shop we go!

At the machine shop ready to be brought back to life

Starting to take the head apart


I have the same problem you have. My Evo just sits in my garage and doesn't get driven and I am always thinking of new things to buy to upgrade the parts I already have.
The mod bug has infected me for so long that I just want to redo everything.
The mod bug has infected me for so long that I just want to redo everything.


Trending Topics
Picked up a Tial 44mm wastegate. I will be changing the dump tube though, probably going to be dumping it out the hood

4" Speed Density intake

Assorted hardware. Eventually almost everything will be replaced with new, I want everything on this car to be FRESH

Various gaskets, seals and o-rings. This is only some of what I have at the moment. I may just buy a complete engine gasket kit so I have EVERYTHING, and whatever I wind up with duplicates of will be ok, as I will probably need them at one point or another down the road

I decided to remove the A/C so I picked up the plug to block the hole in the firewall

AEM wideband gauge. Still need to pick up boost and oil

Some fresh MT90 for the trans

Torque Solutions shifter base bushings, driveshaft and diff carrier bushings

Picked up a fresh alternator with low mileage on it. I still may get it rebuilt just for peace of mind

Maybe I'm wrong, but unless you remove the A/C from the blower box under the dash, you can't use the plug. The connections stick out into the engine bay after you remove the lines. I flushly put electrical tape over mine to block the holes and to where it looks like solid black plastic and then put the little boot thing back on...
Maybe I'm wrong, but unless you remove the A/C from the blower box under the dash, you can't use the plug. The connections stick out into the engine bay after you remove the lines. I flushly put electrical tape over mine to block the holes and to where it looks like solid black plastic and then put the little boot thing back on...
UPDATE
Well the engine bay is about 98% stripped. There's a few more things I have to remove and then she will be ready for paint!
My rods should be here sometime early next week. Once they arrive I will drop them off at the machine shop.
Well the engine bay is about 98% stripped. There's a few more things I have to remove and then she will be ready for paint!
My rods should be here sometime early next week. Once they arrive I will drop them off at the machine shop.
Well ****, I didn't know you could remove that. Oh well, it looks fine the way it is for now. I'll probably get the plug next round of parts I get from STM
