
04 Ralliart SQ competition build


Thread Starter
Newbie
Joined: Oct 2008
Posts: 44
Likes: 0
From: USA
04 Ralliart SQ competition build
Hey guys,
I've posted most of this in the 04-06 RA show and shine, but figured I'd post it here too for anyone else who may be interested in audio. The following is more of a 'built' log rather than a 'build' log and is how the car sits now, but it's been through a ton of different iterations to get to this point over the last few years, and will continue to get more here and there. Most of the mods started in 2010.
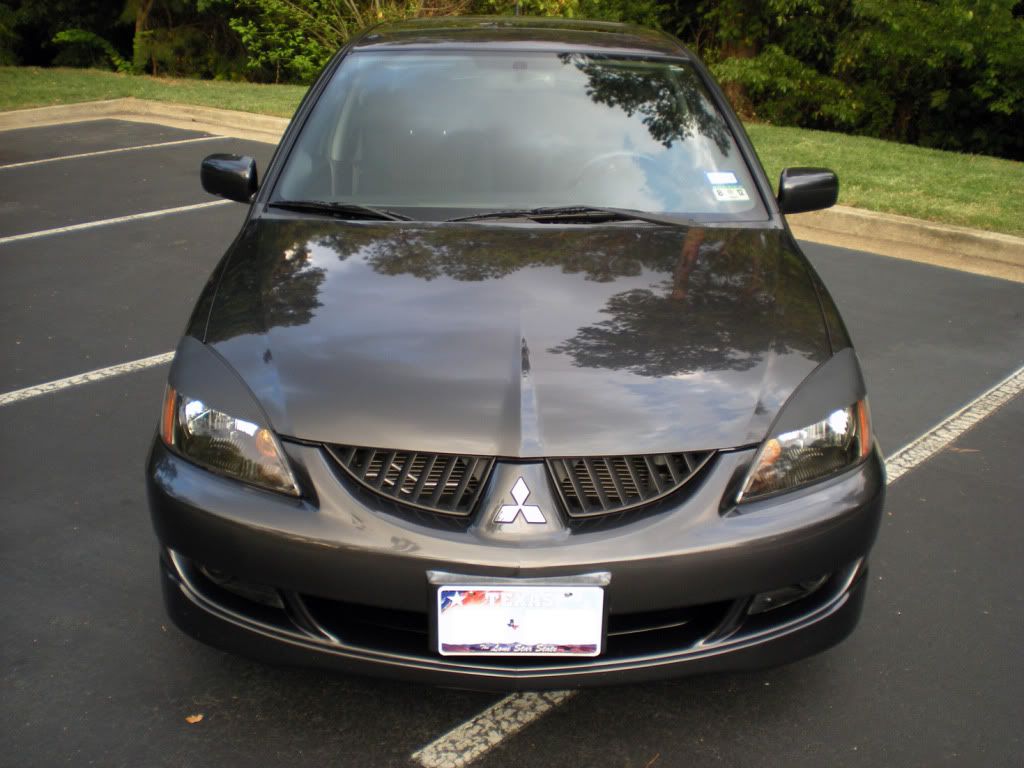
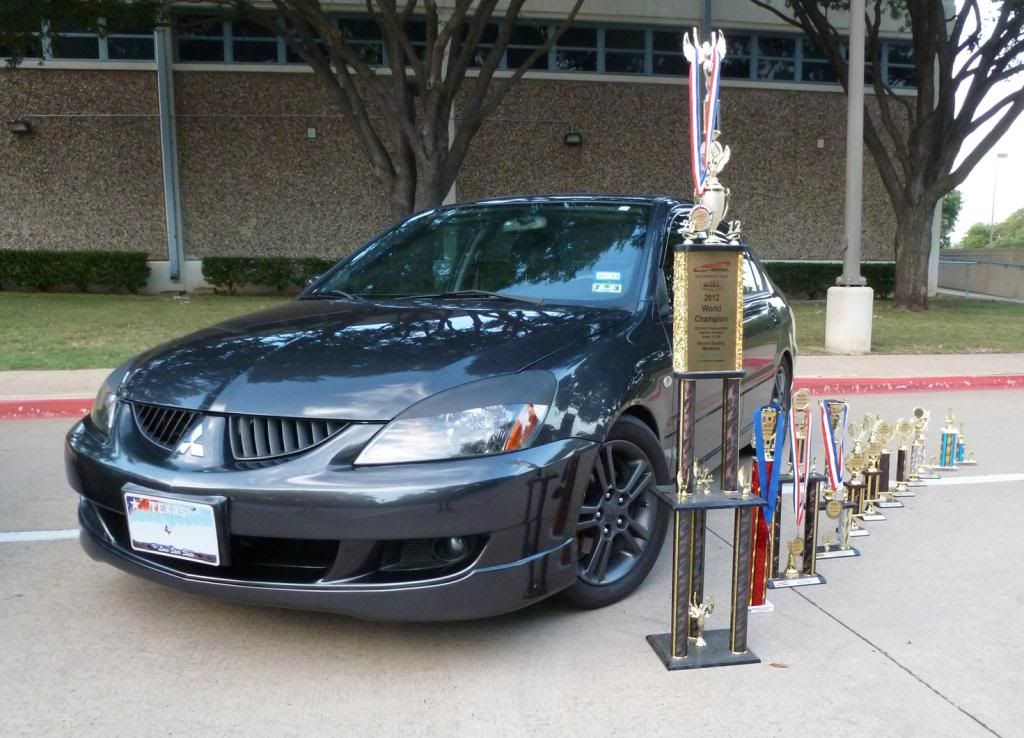
The car itself is a Thunder Grey 5 speed Ralliart S&S that was bought new in 2004. It's currently got 75,000 miles on it without a problem so far. As you'll see most of the mods are stereo related, and I was able to win the modified sound quality class at the 2012 MECA World Finals.
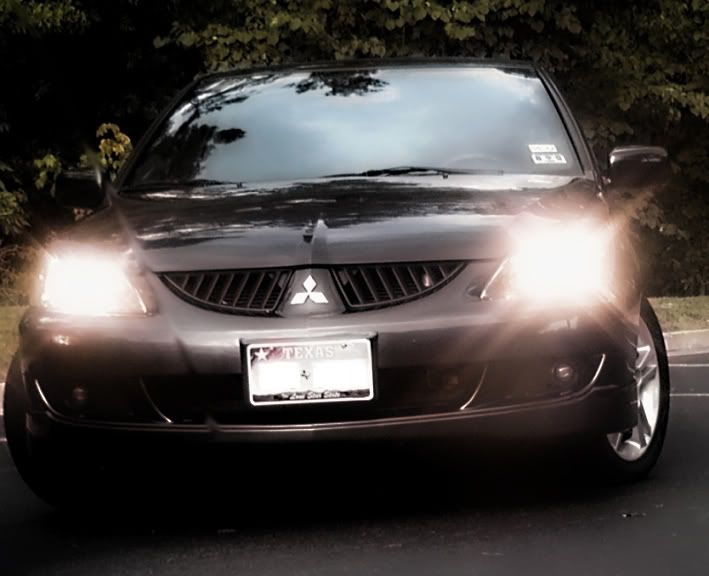
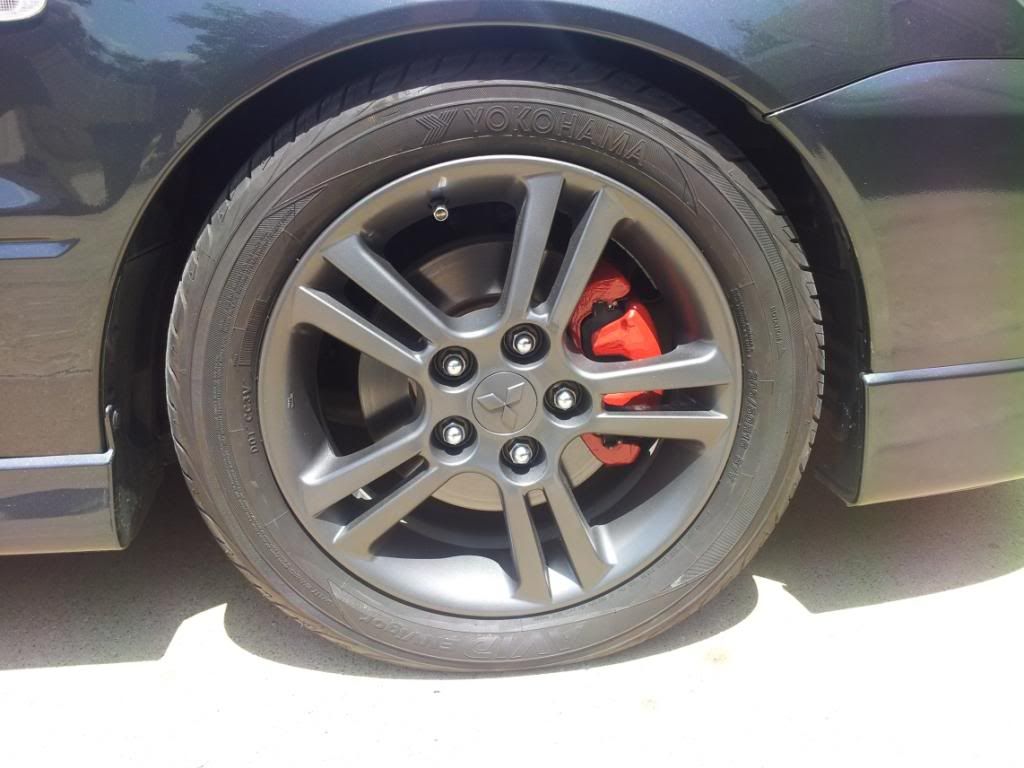
First, the car. Exterior mods include carbon fiber eyelids, red painted brake calipers, anthracite metallic painted wheels, carbon fiber shorty antenna, 35% tint, carbon fiber tail lights, valve stem caps, and exhaust tip.
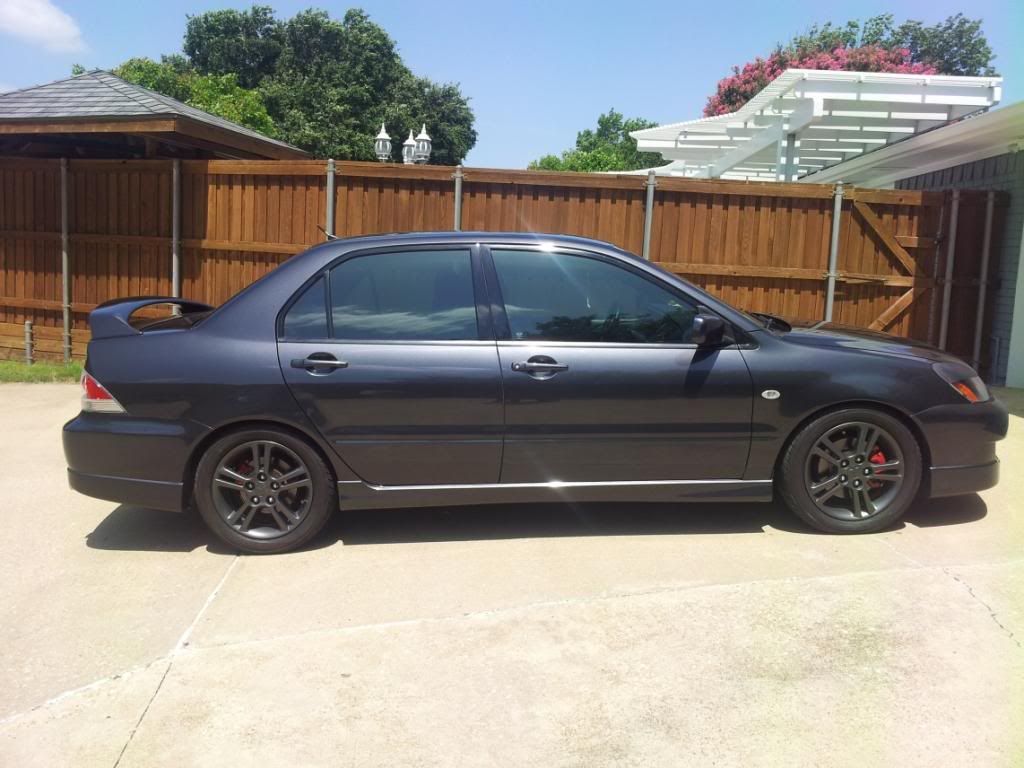
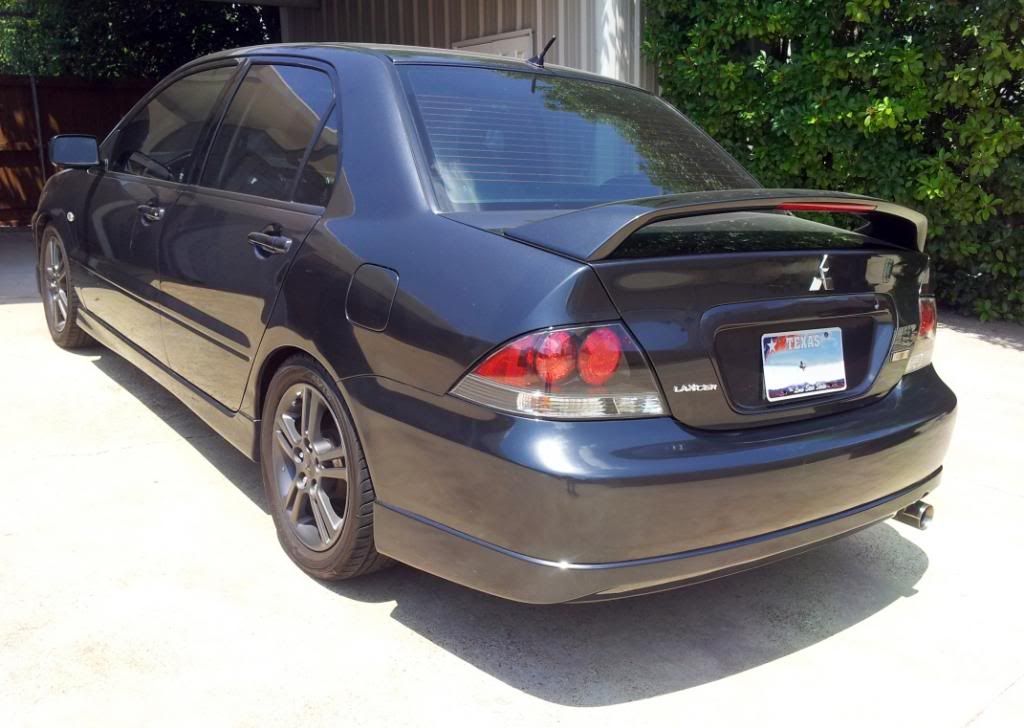
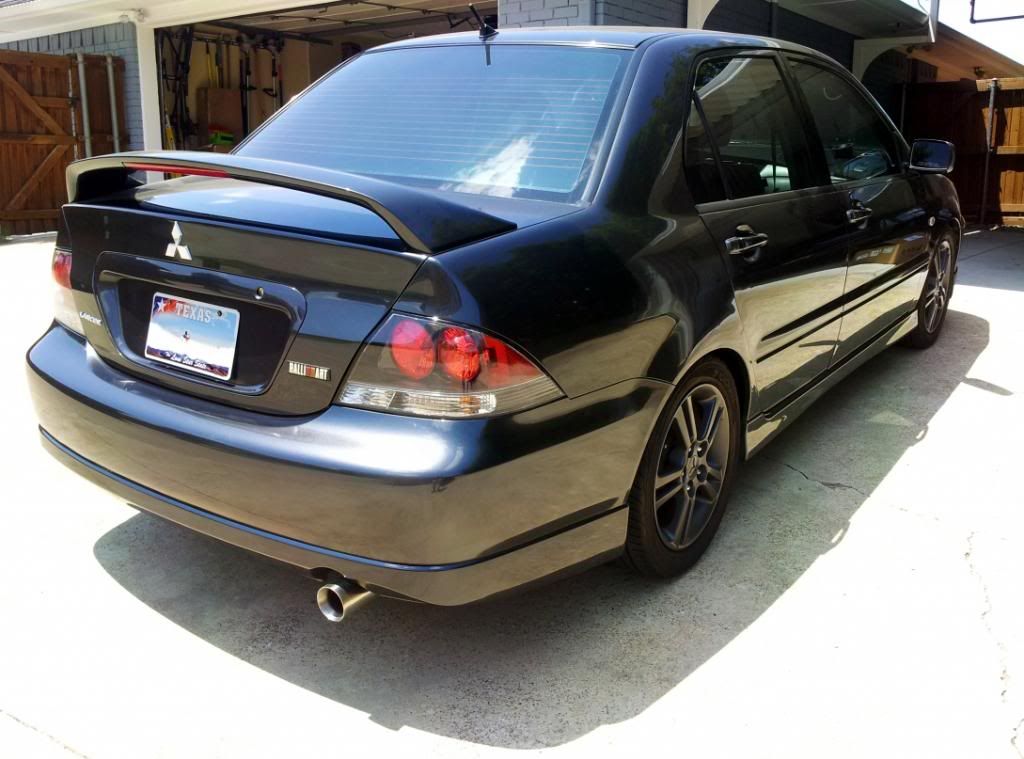

That's all for exterior / cosmetic stuff.
I've posted most of this in the 04-06 RA show and shine, but figured I'd post it here too for anyone else who may be interested in audio. The following is more of a 'built' log rather than a 'build' log and is how the car sits now, but it's been through a ton of different iterations to get to this point over the last few years, and will continue to get more here and there. Most of the mods started in 2010.
The car itself is a Thunder Grey 5 speed Ralliart S&S that was bought new in 2004. It's currently got 75,000 miles on it without a problem so far. As you'll see most of the mods are stereo related, and I was able to win the modified sound quality class at the 2012 MECA World Finals.
First, the car. Exterior mods include carbon fiber eyelids, red painted brake calipers, anthracite metallic painted wheels, carbon fiber shorty antenna, 35% tint, carbon fiber tail lights, valve stem caps, and exhaust tip.
That's all for exterior / cosmetic stuff.
Last edited by strakele; Mar 6, 2014 at 09:41 AM.
Thread Starter
Newbie
Joined: Oct 2008
Posts: 44
Likes: 0
From: USA
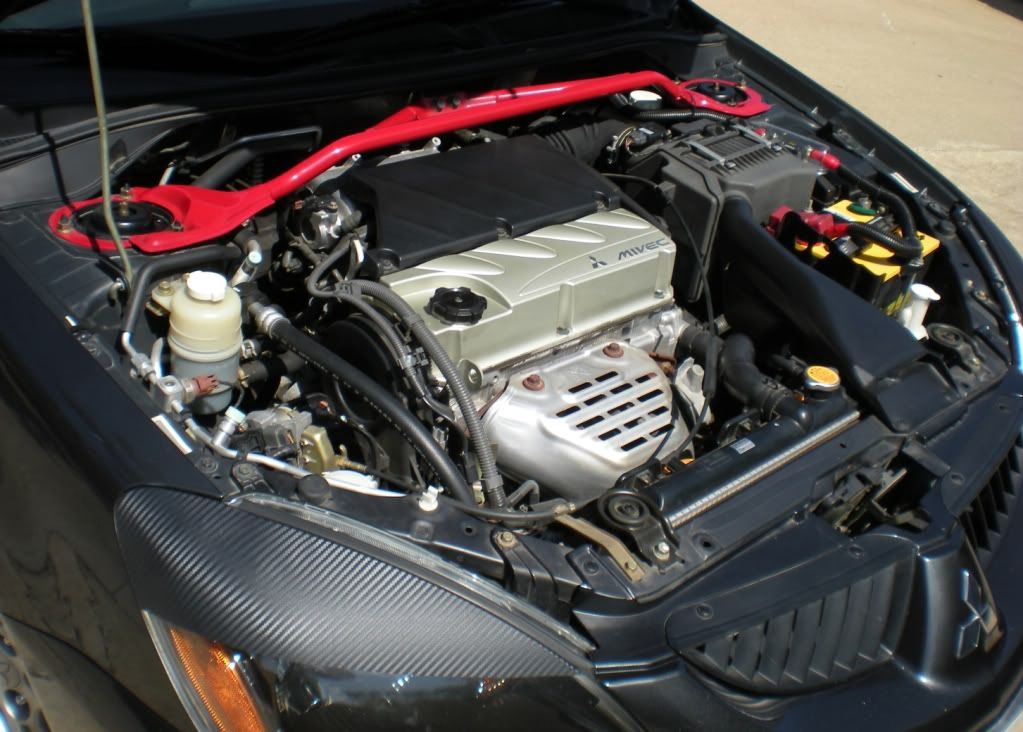
Nothing much as far as performance mods goes. Here's the engine bay all cleaned up:
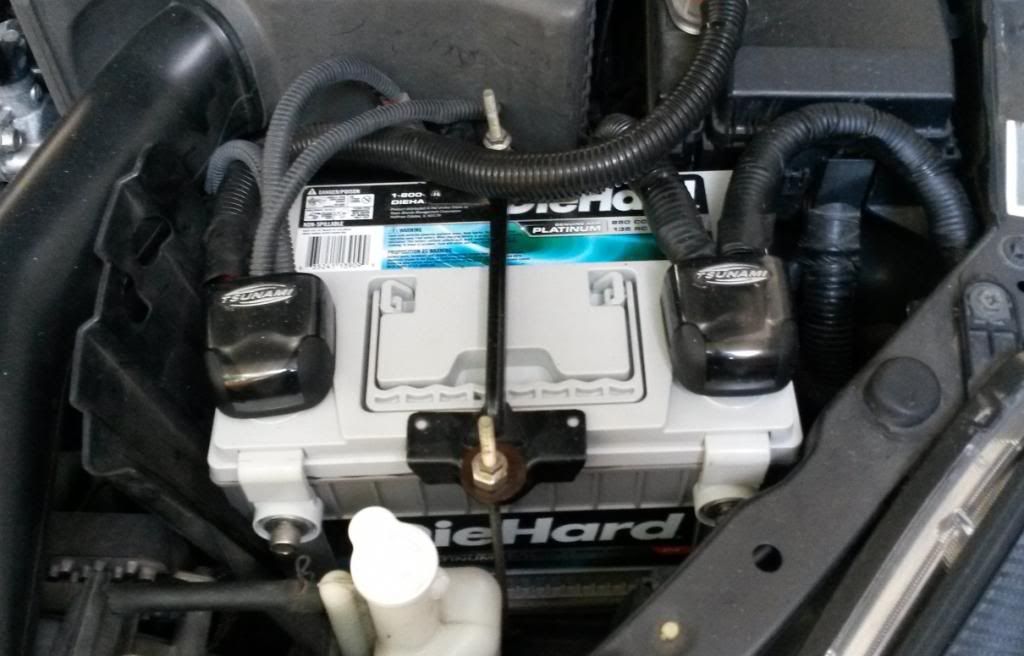
Current battery with terminals for stereo stuff:
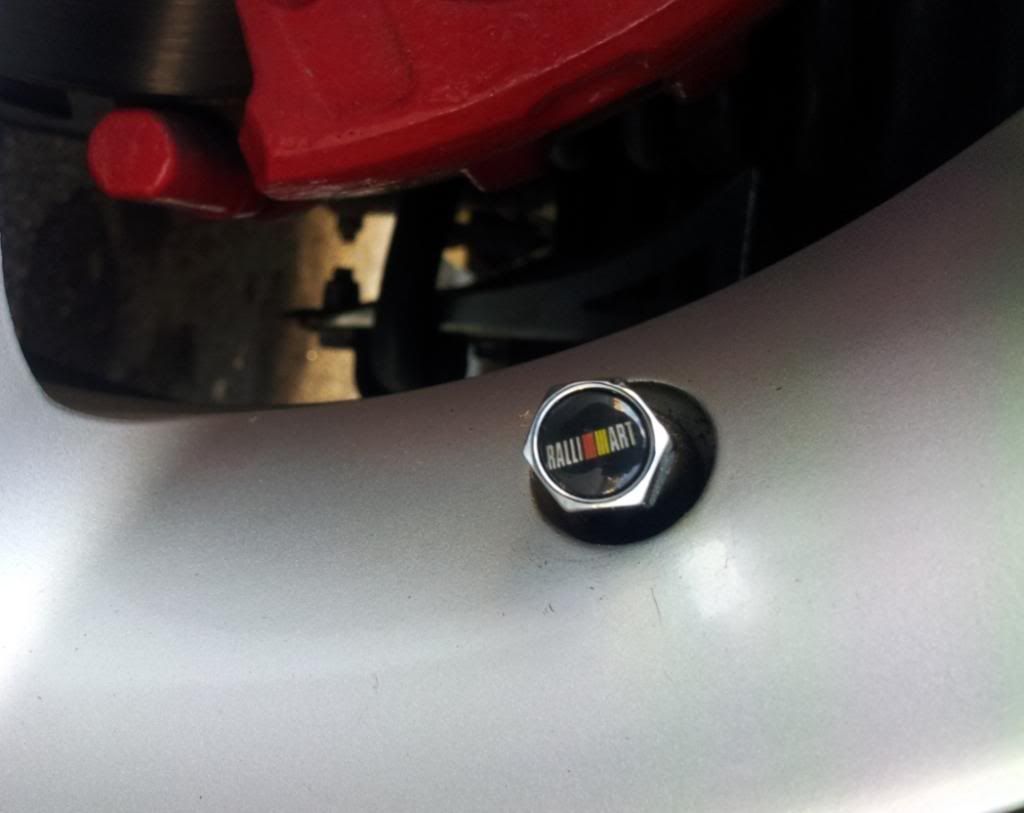
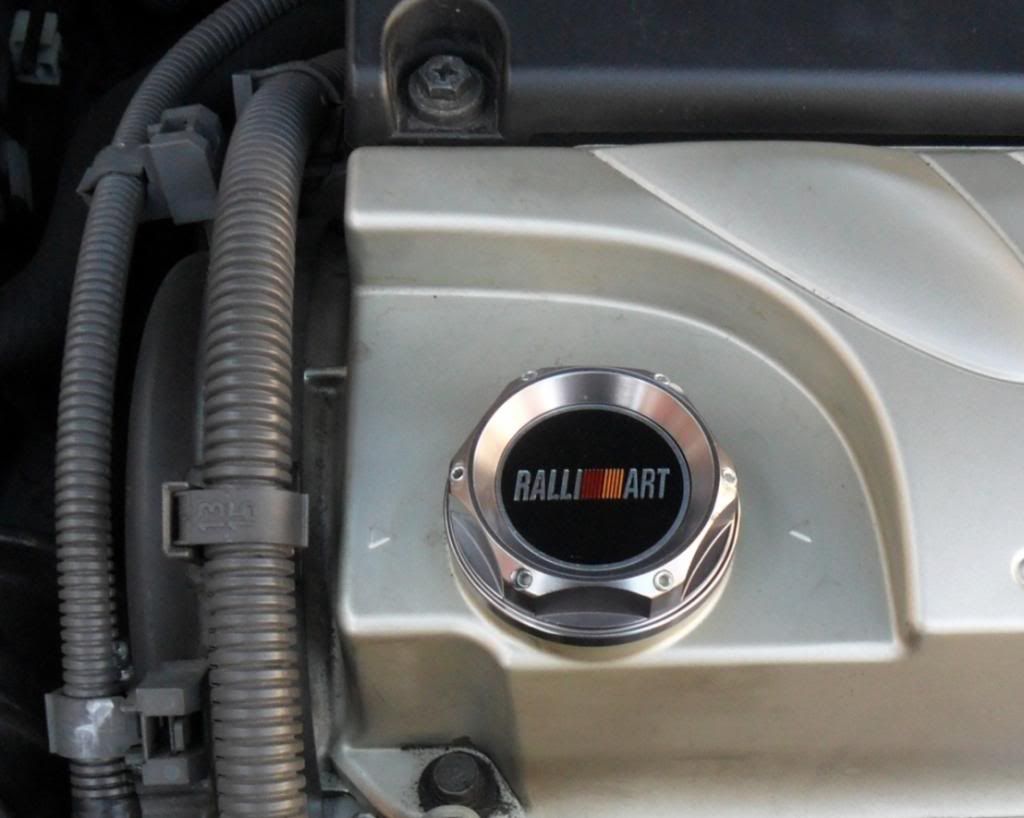
Ralliart oil cap:
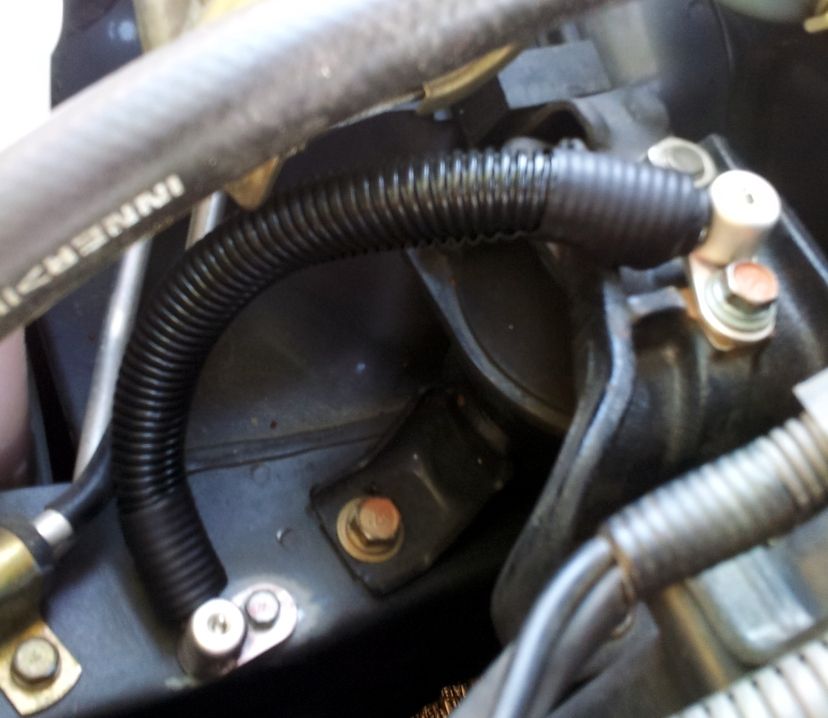
Example of 1/0ga upgraded ground wires in the engine bay. I know this doesn't count as a performance mod - it's just for the stereo.
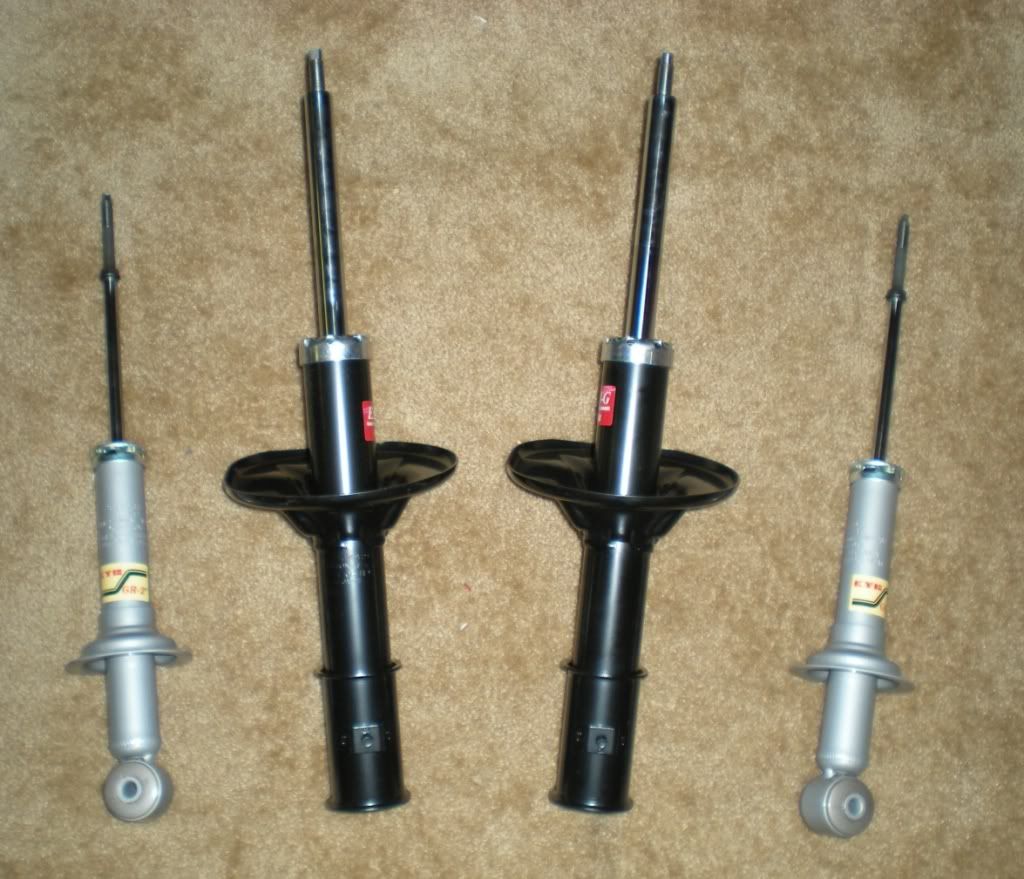
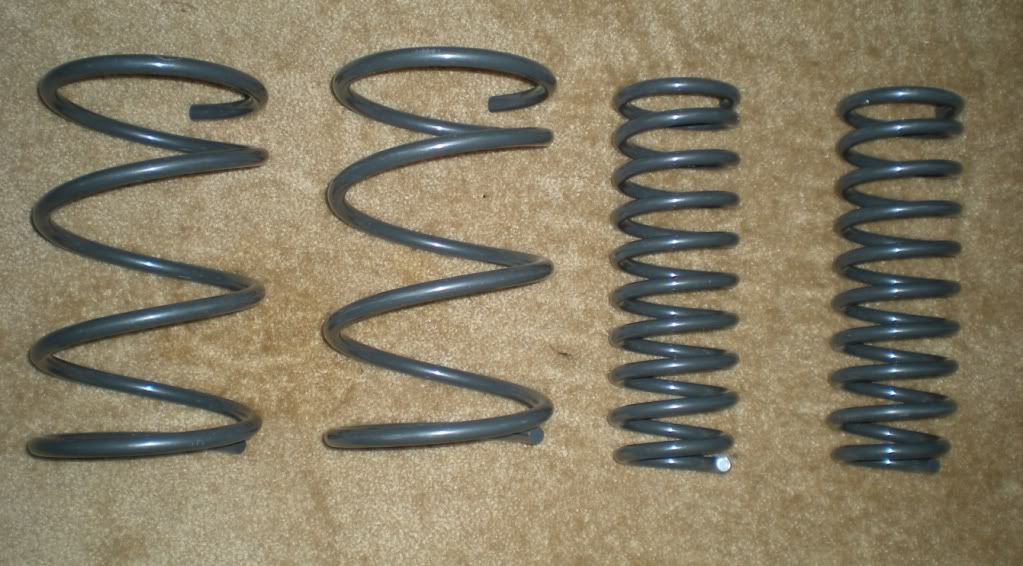
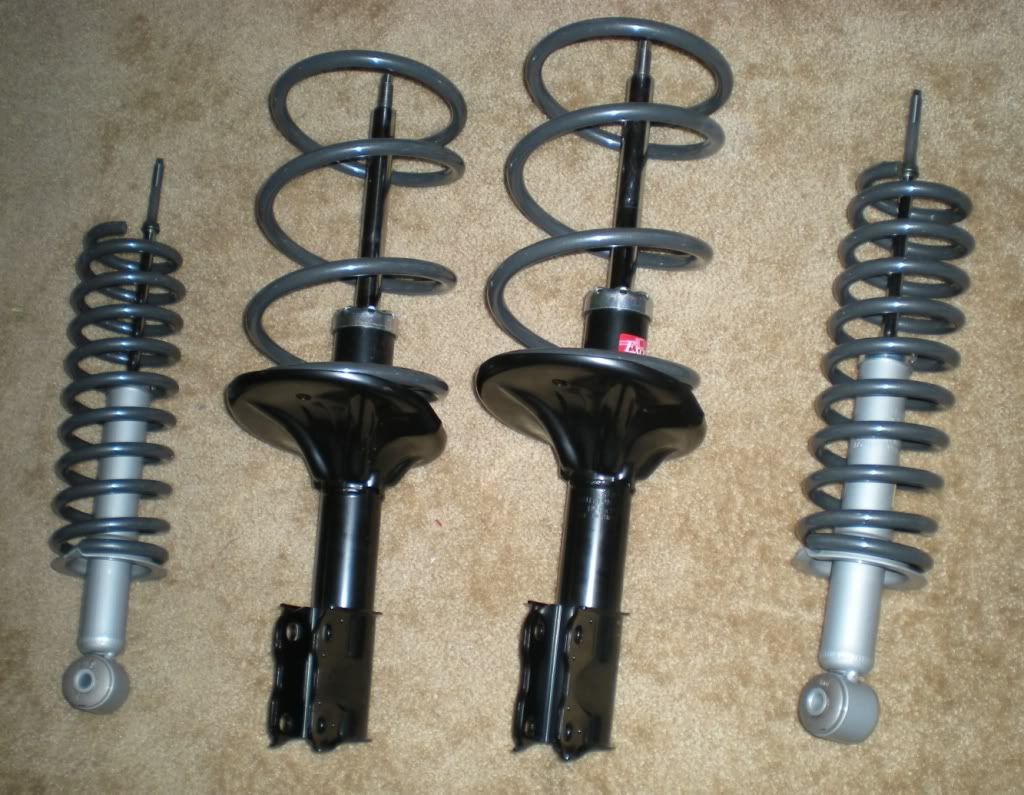
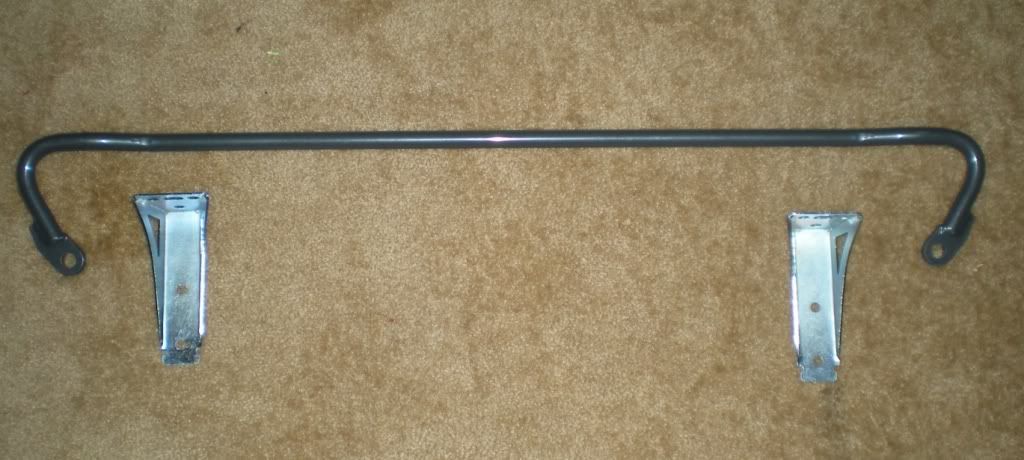
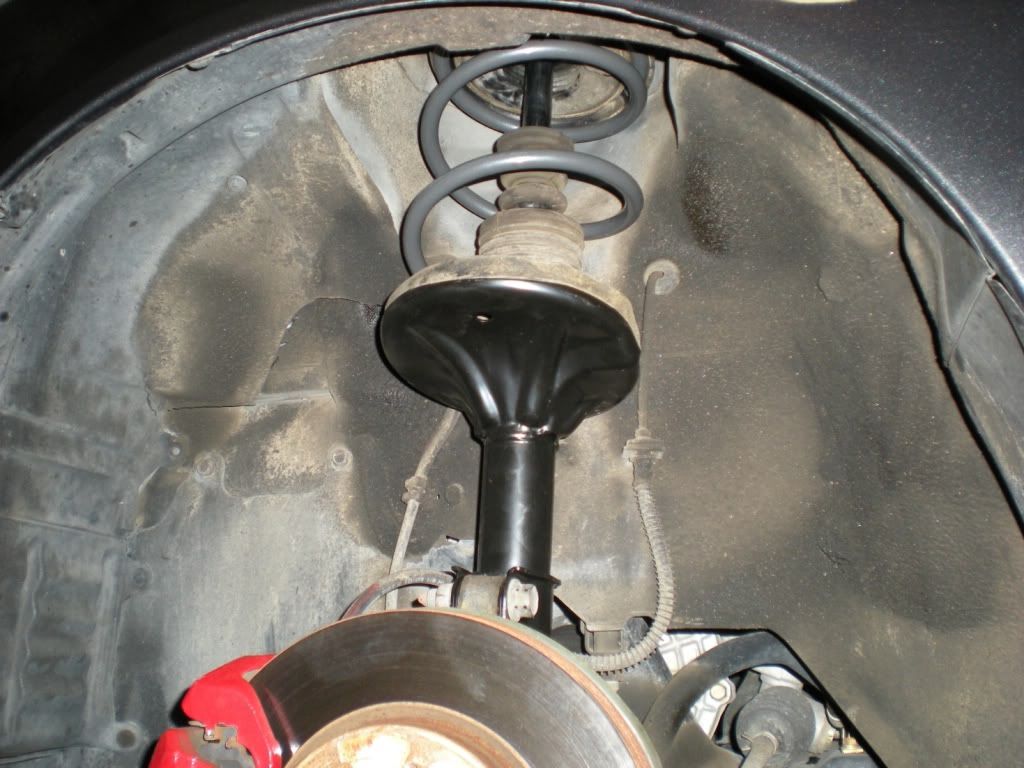
Original shocks/springs reached the end of their life, so all 4 corners got an upgrade from RRM in the form of KYB shocks, Progress lowering springs, and Progress rear sway bar.
Current battery with terminals for stereo stuff:
Ralliart oil cap:
Example of 1/0ga upgraded ground wires in the engine bay. I know this doesn't count as a performance mod - it's just for the stereo.
Original shocks/springs reached the end of their life, so all 4 corners got an upgrade from RRM in the form of KYB shocks, Progress lowering springs, and Progress rear sway bar.
Last edited by strakele; Mar 5, 2014 at 02:56 PM.
Thread Starter
Newbie
Joined: Oct 2008
Posts: 44
Likes: 0
From: USA
Interior mods:
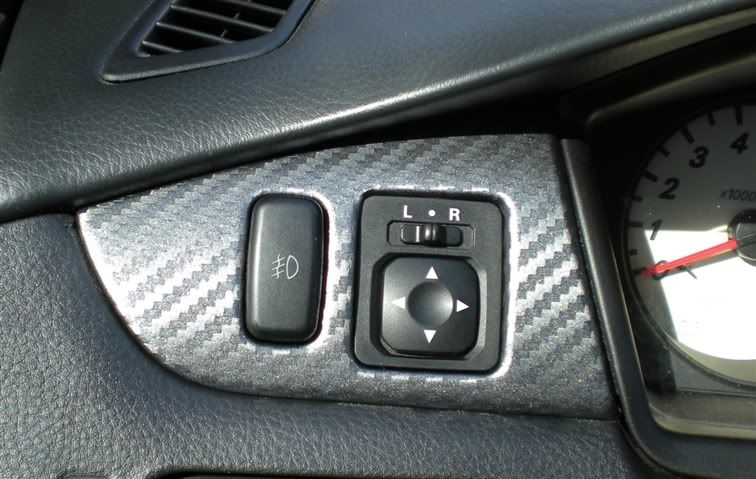
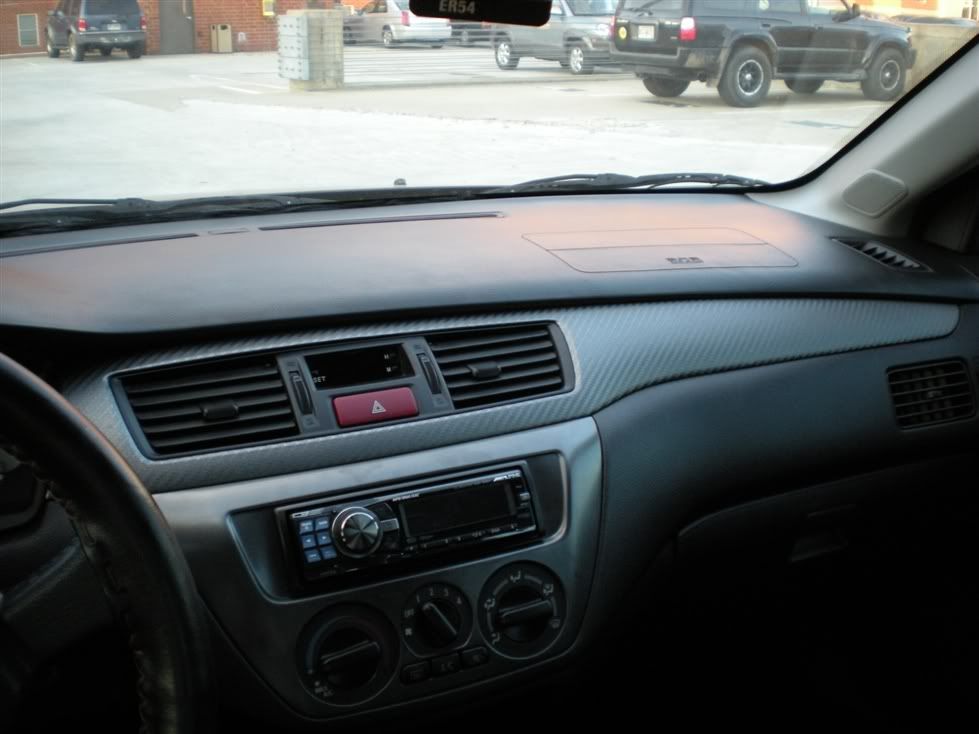
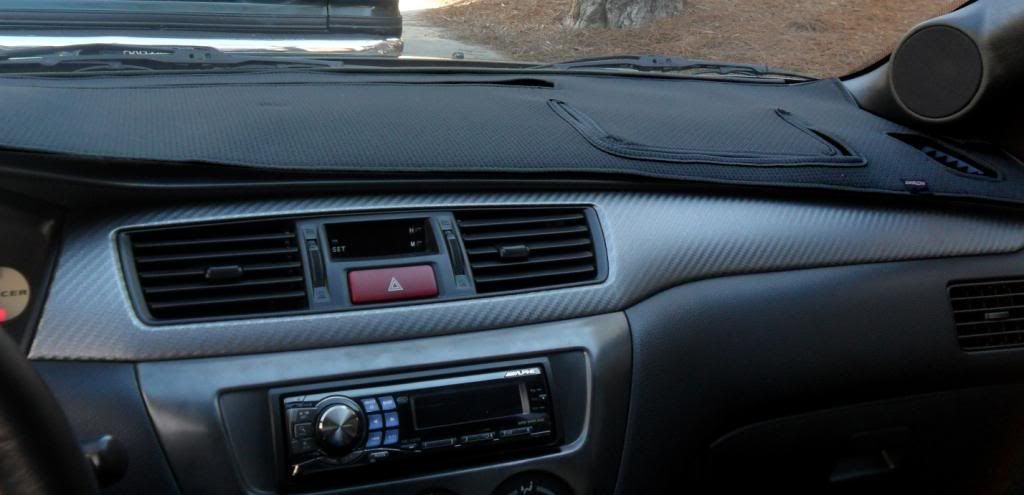
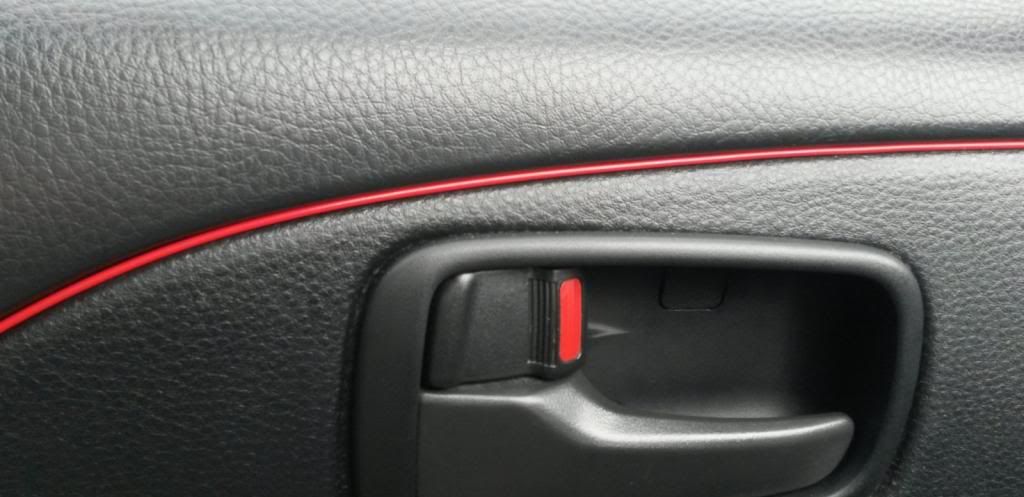
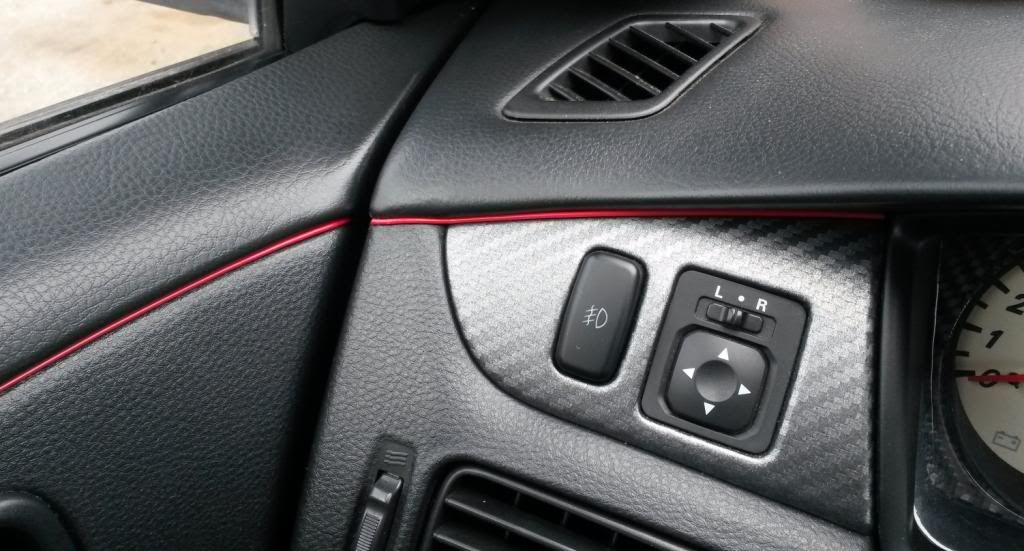
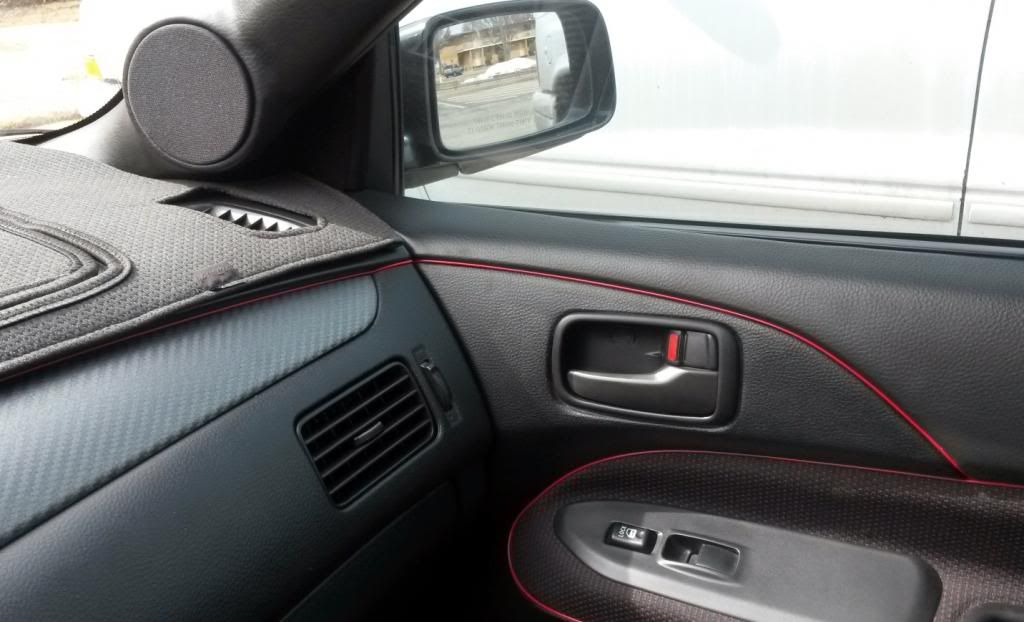
Other than stereo, I refinished the dash trim with graphite carbon fiber:

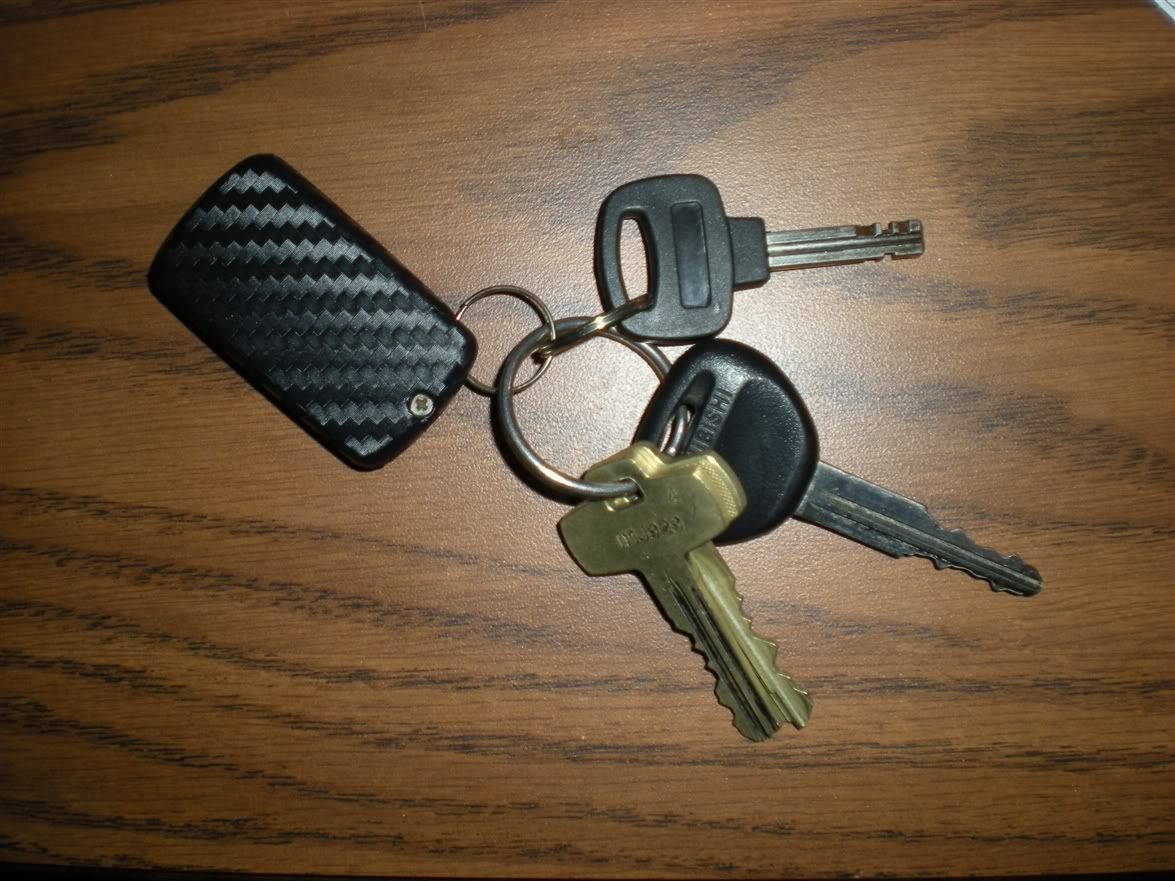
Some black carbon fiber vinyl on the key fob too cause I had some extra...
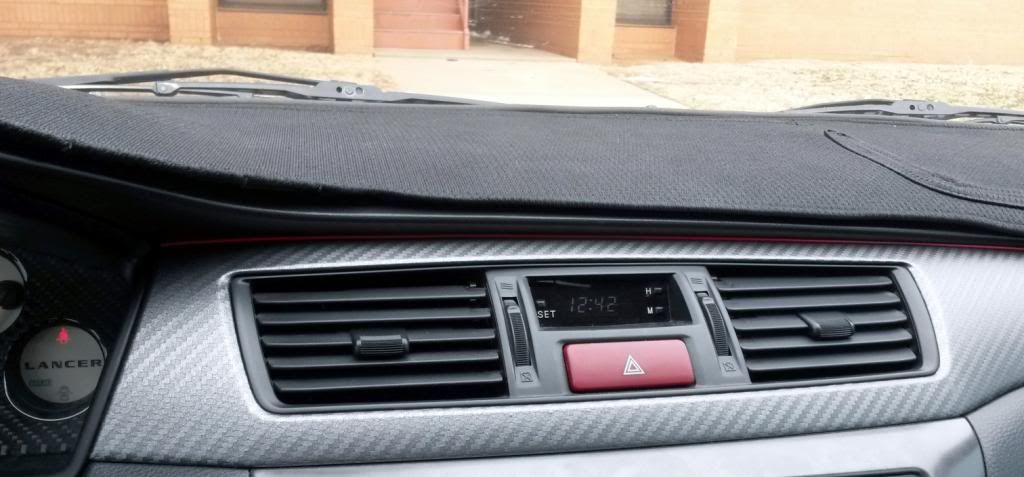
Dash mat: (helps protect the dash since it will be sitting outside for the next few months, but also helps the sound in the car by absorbing high frequency reflections that can cause imaging to be less focused)
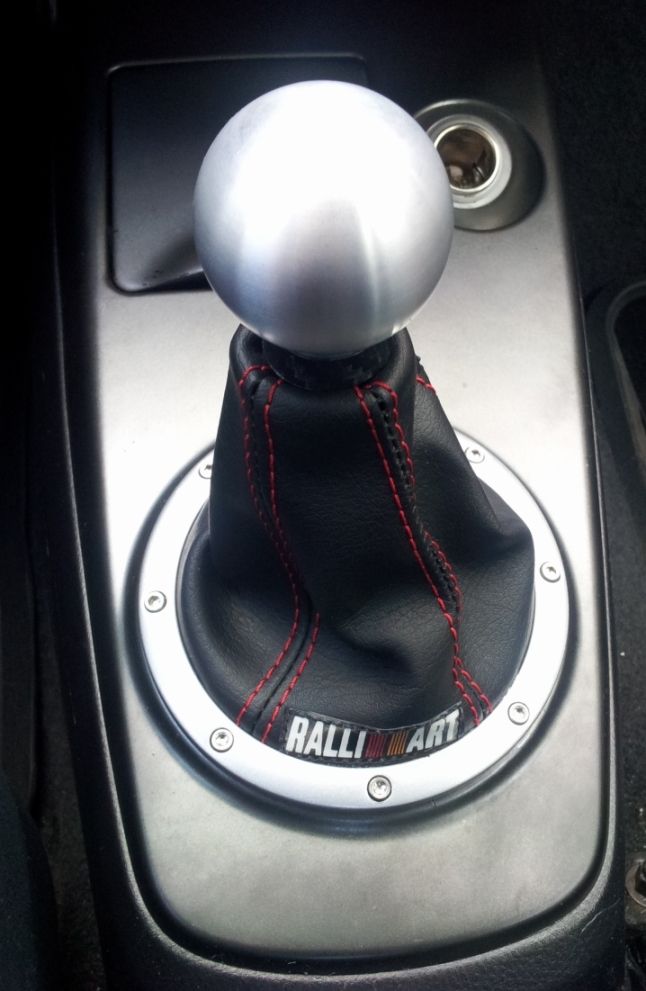
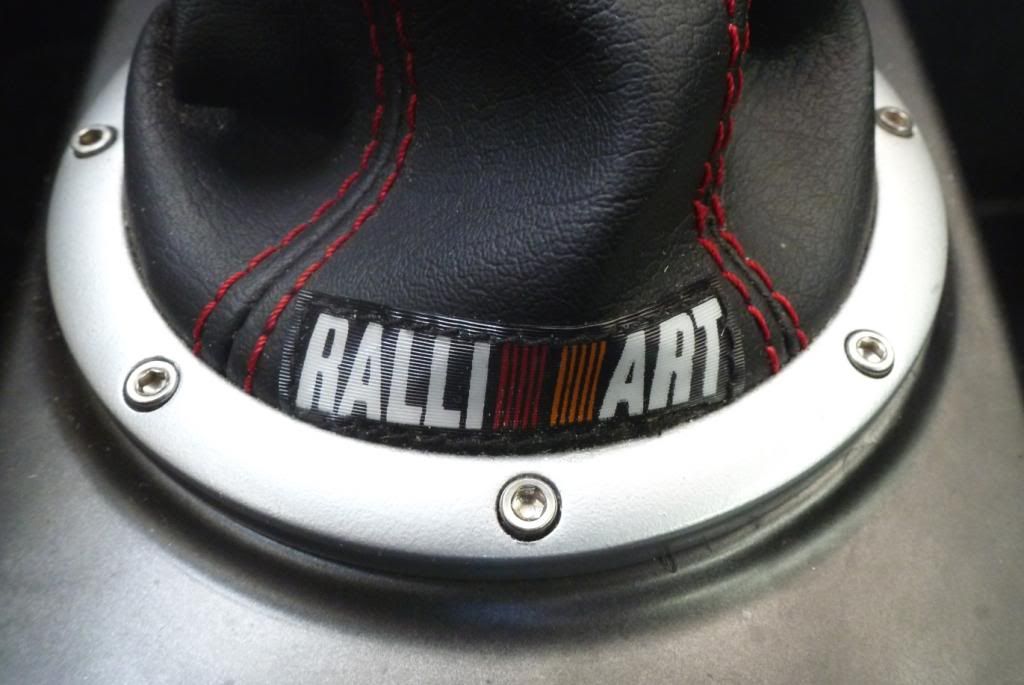
Ralliart leather shift boot with red stitching, custom trim ring, and aluminum shift knob: (trim ring was painted aluminum to match the knob, and 8 Allen head screws were added to hold everything together)
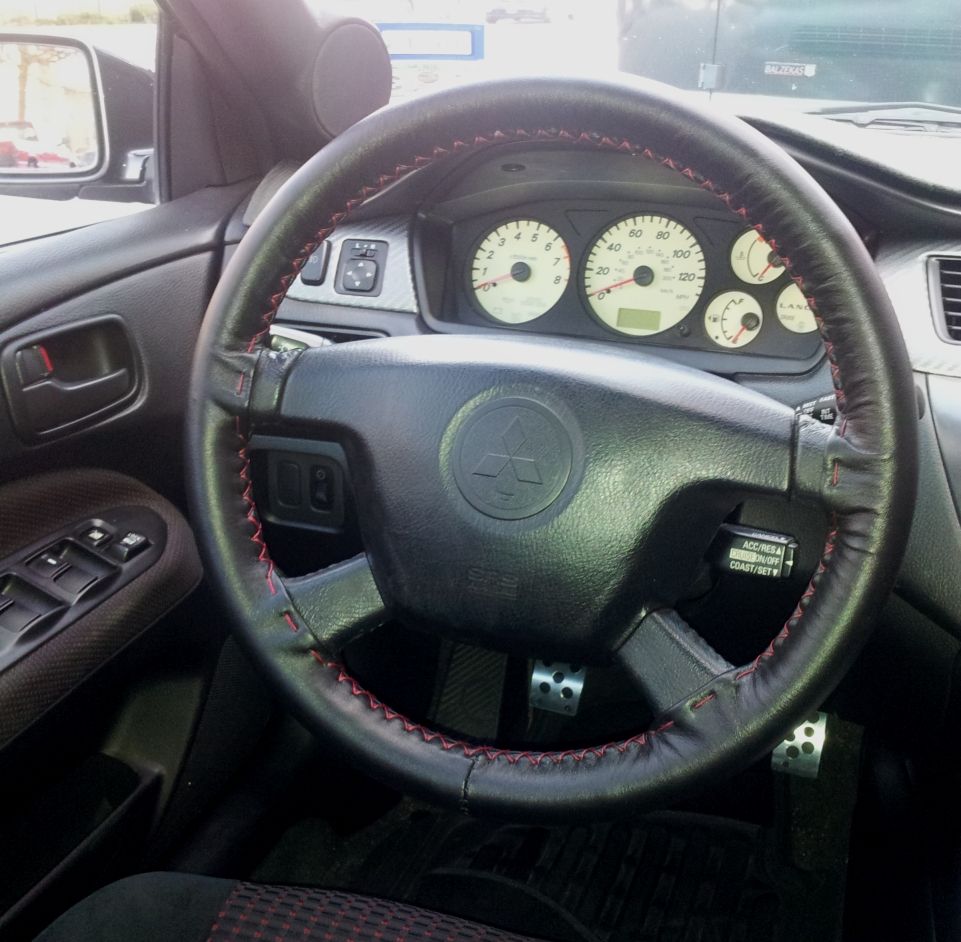
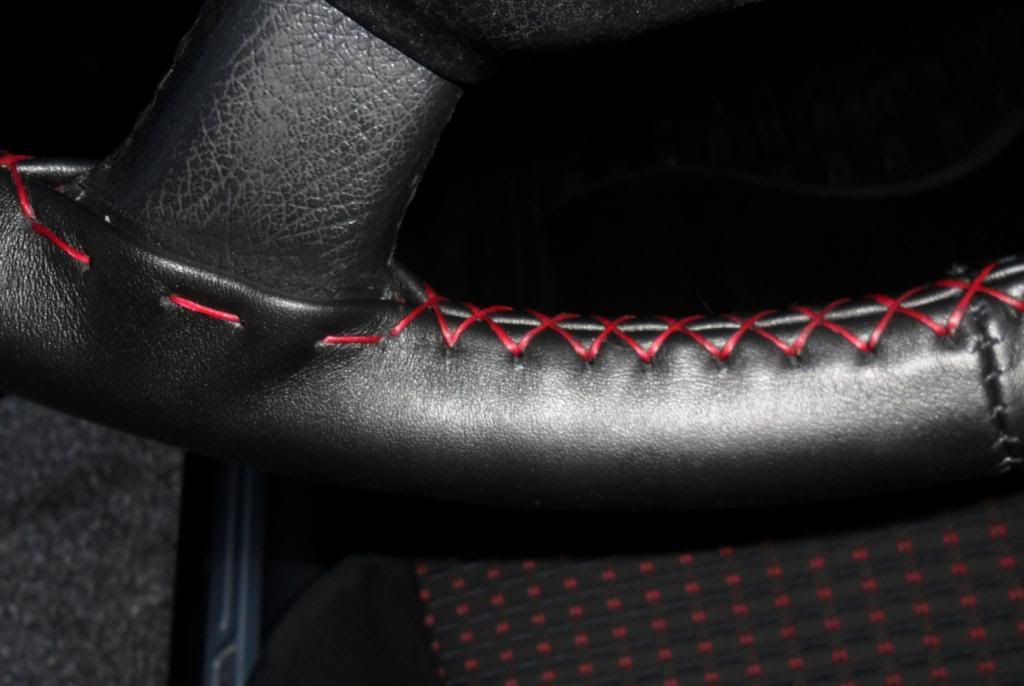
Steering wheel cover with red stitching:
New floor mats:
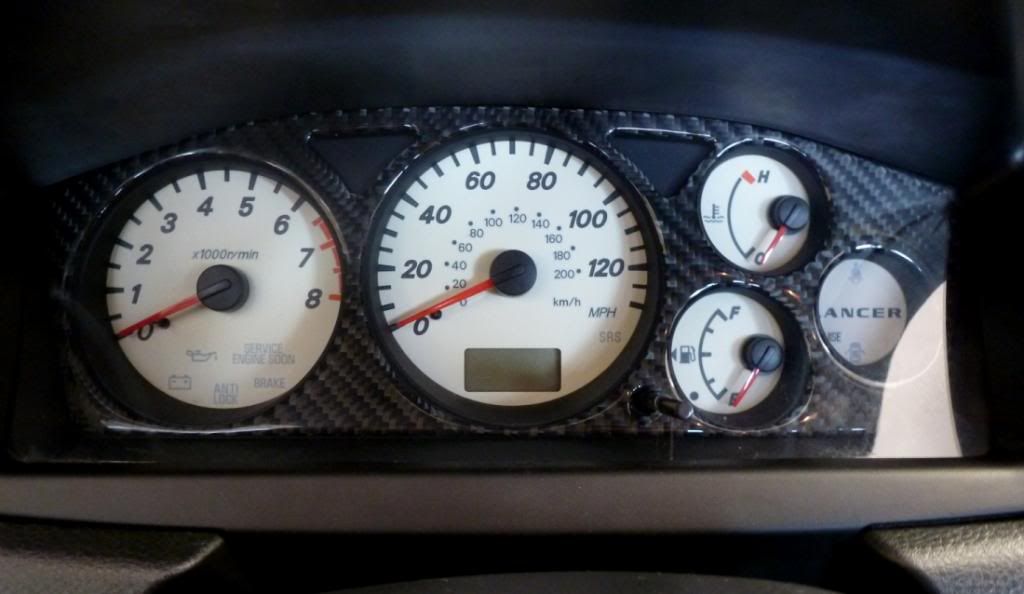
Carbon fiber gauge trim:
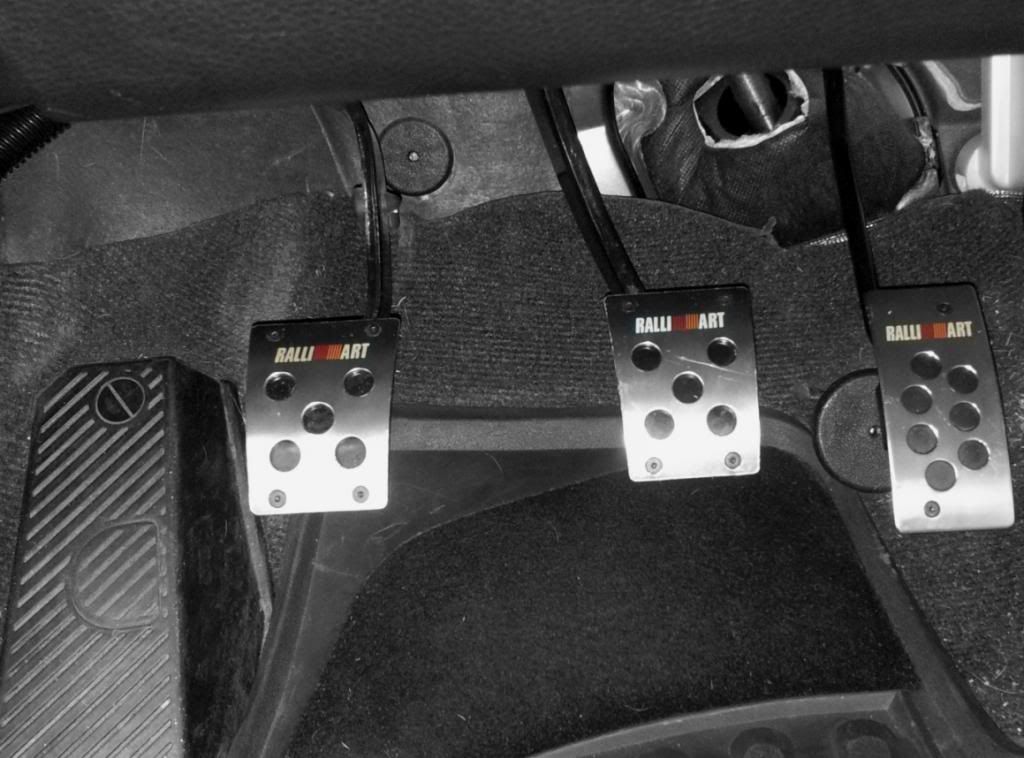
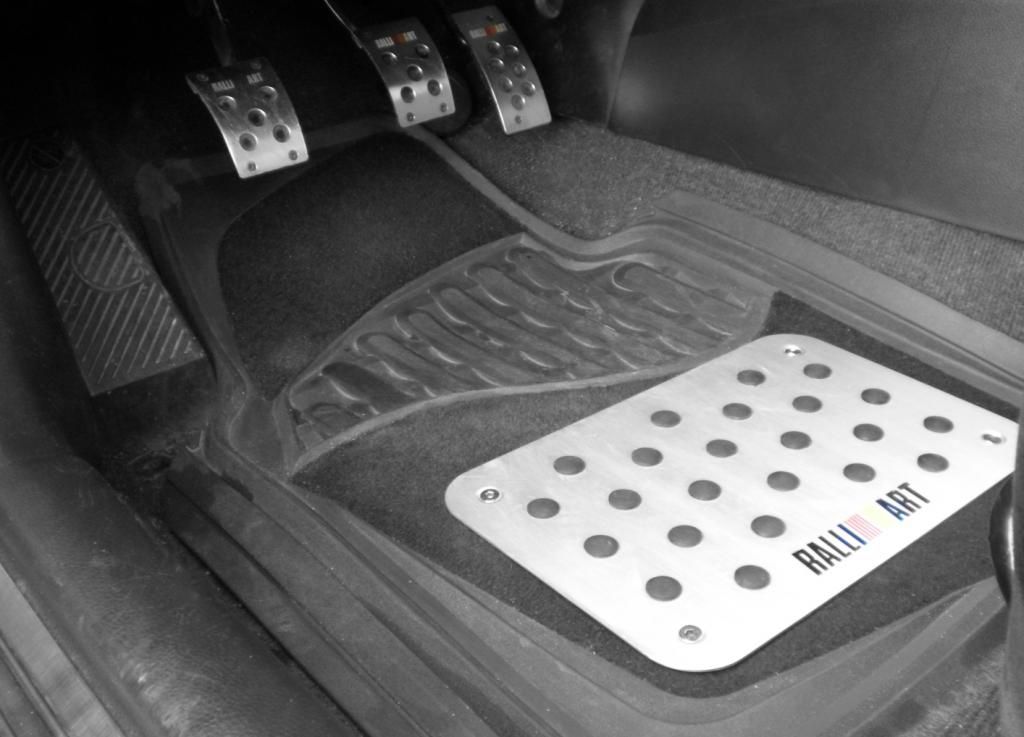
Ralliart pedals:
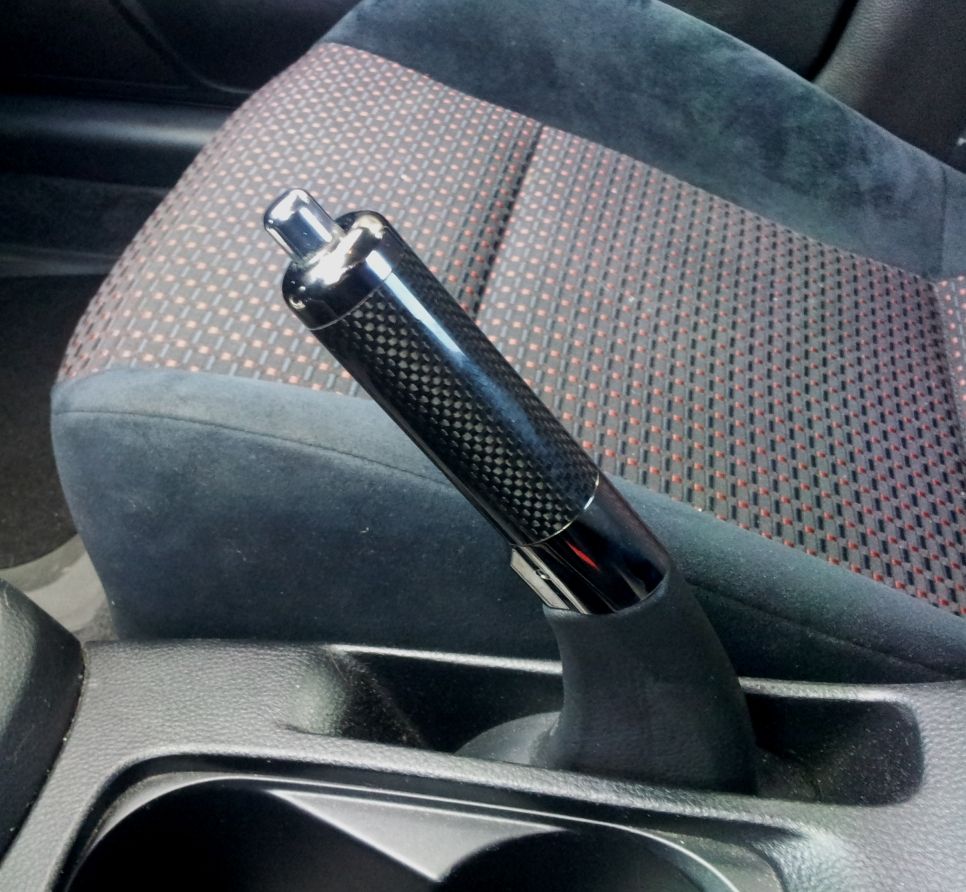
Carbon fiber brake handle:
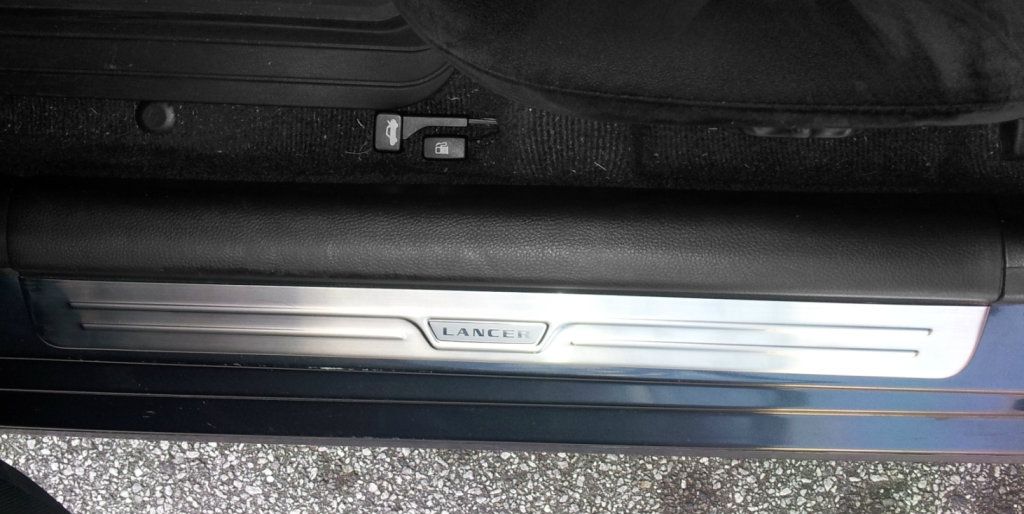
And door sills:
That's it for interior, non audio mods.
Other than stereo, I refinished the dash trim with graphite carbon fiber:
Some black carbon fiber vinyl on the key fob too cause I had some extra...
Dash mat: (helps protect the dash since it will be sitting outside for the next few months, but also helps the sound in the car by absorbing high frequency reflections that can cause imaging to be less focused)
Ralliart leather shift boot with red stitching, custom trim ring, and aluminum shift knob: (trim ring was painted aluminum to match the knob, and 8 Allen head screws were added to hold everything together)
Steering wheel cover with red stitching:
New floor mats:
Carbon fiber gauge trim:
Ralliart pedals:
Carbon fiber brake handle:
And door sills:
That's it for interior, non audio mods.
Last edited by strakele; Mar 5, 2014 at 02:58 PM.
Thread Starter
Newbie
Joined: Oct 2008
Posts: 44
Likes: 0
From: USA
Now for the audio stuff. As I said in the first post, I compete in the modified class of the Mobile Electronics Competition Association Sound Quality League, and all of the mods here conform to the rules of that class.
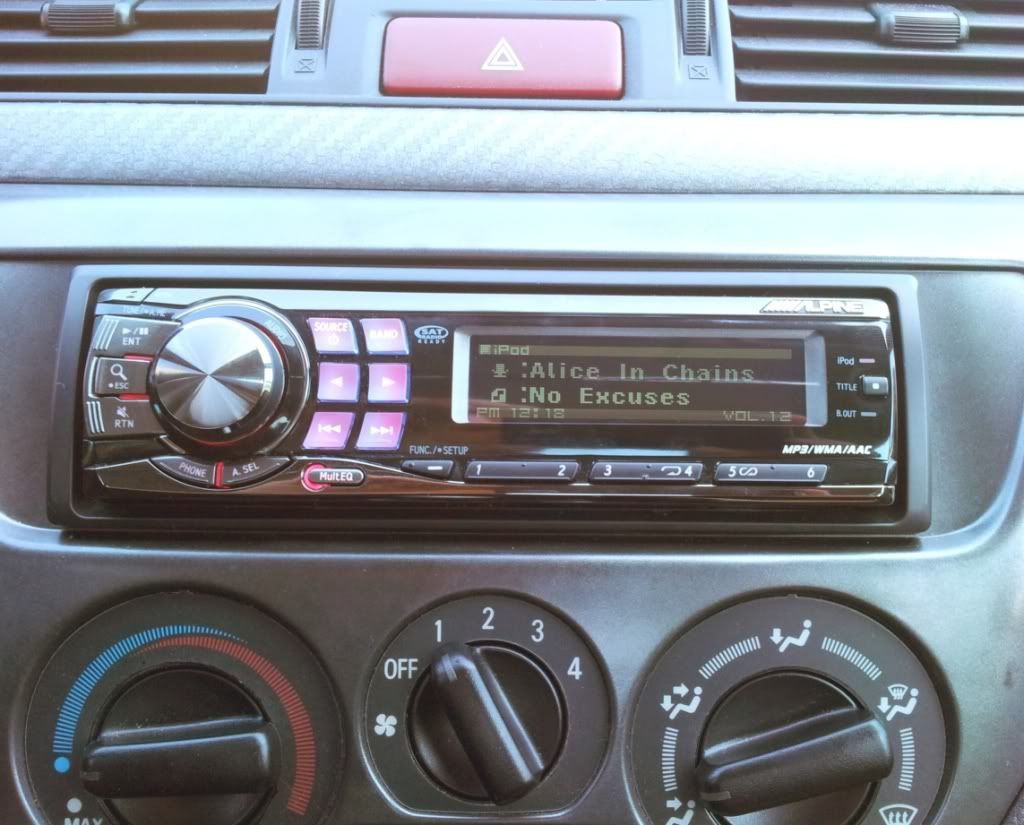
To start things off, an Alpine CDA-9887 head unit is mounted in the factory location. It simply plays CD's and iPods, and provides a full range output signal.
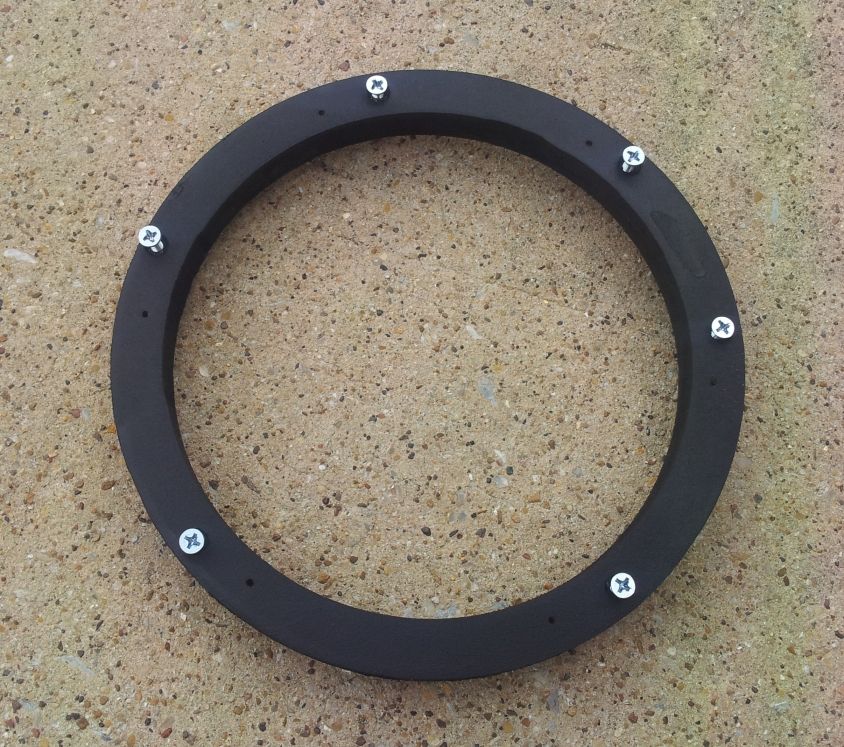
The main front speakers consist of Dynaudio MW172 8" midbass speakers mounted in the front doors on a 5/8" baffle with machine screws after cutting about 1/4" of metal around the speaker opening...


... and Melodic Acoustic Euphoria duo comprised of a 3.5" midrange and 20mm tweeter mounted in the A-pillars and sail panels, respectively.
Each wire from the speakers (as well as every wire in the car pertaining to the stereo) is covered in TechFlex and terminated with quick disconnect fittings and heat shrink tubing. The wires are soldered directly to the speaker terminals.

Here is the 3.5� midrange speaker in the A-pillar, wrapped with interior matching black vinyl, and the tweeter mounted in the sail panel.

With grills:

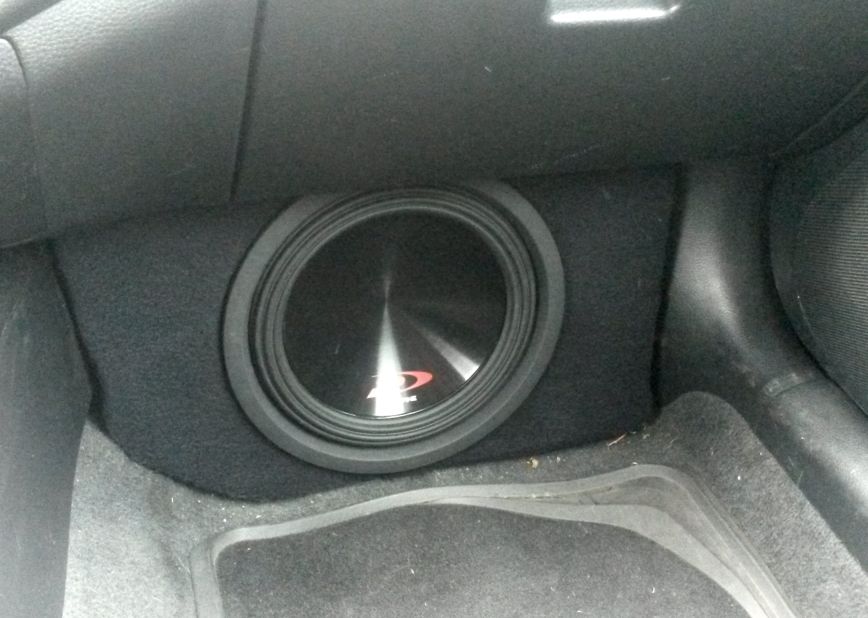
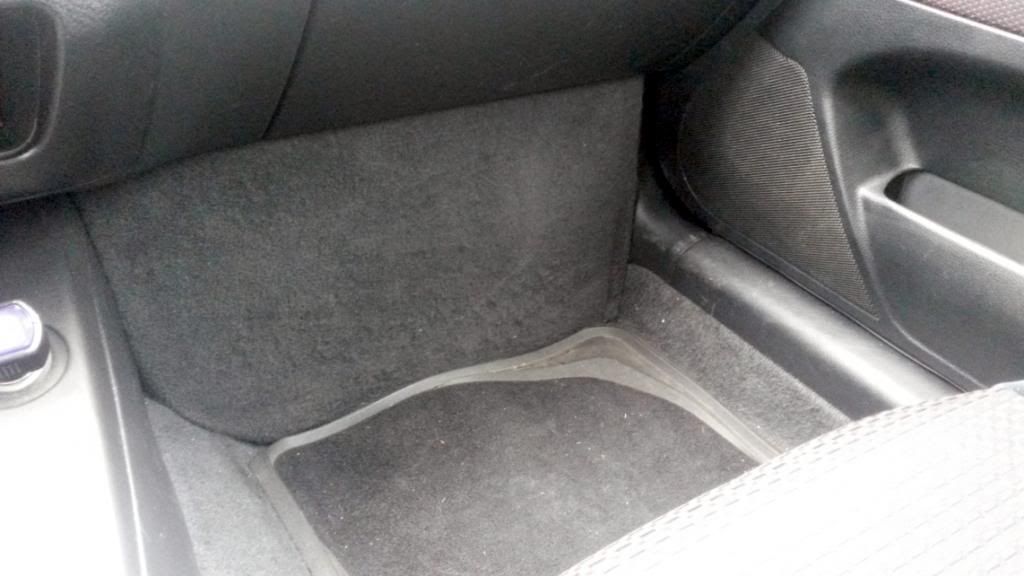
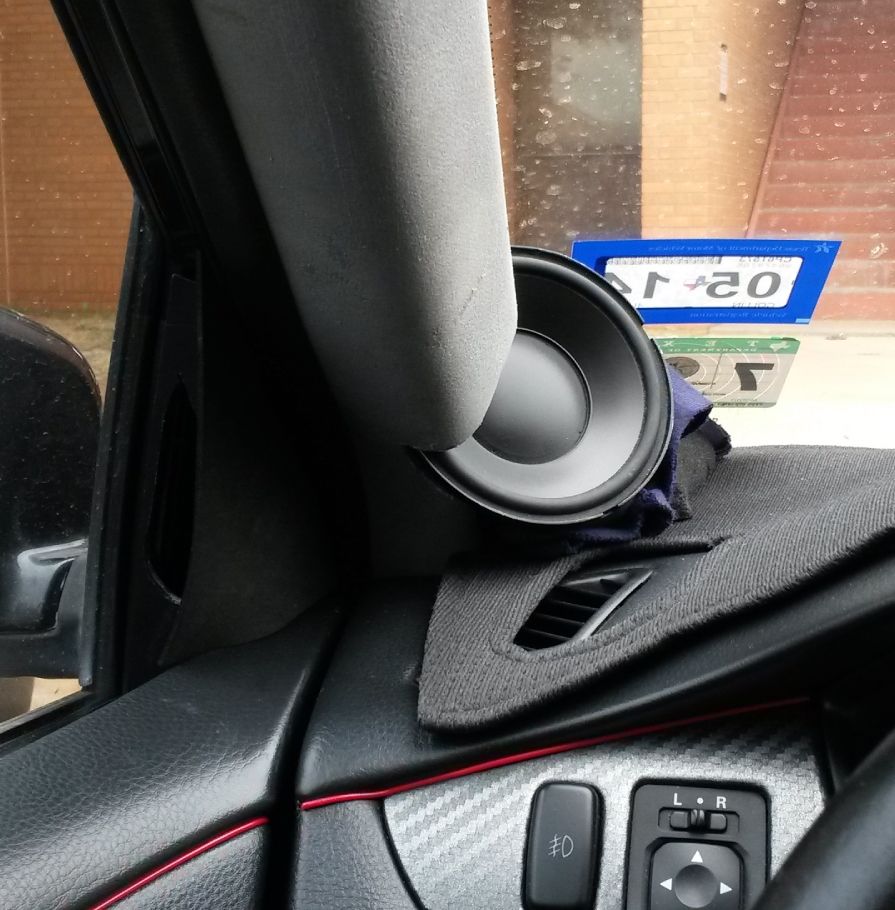
Also mounted up front in the passenger footwell is an Alpine Type R 10� subwoofer to help keep the bass sound up front in the car, rather than sound like it�s coming from the back like in so many other cars. It�s in a custom fiberglass enclosure of about .45 cubic feet. A grill keeps it protected from feet and out of sight.
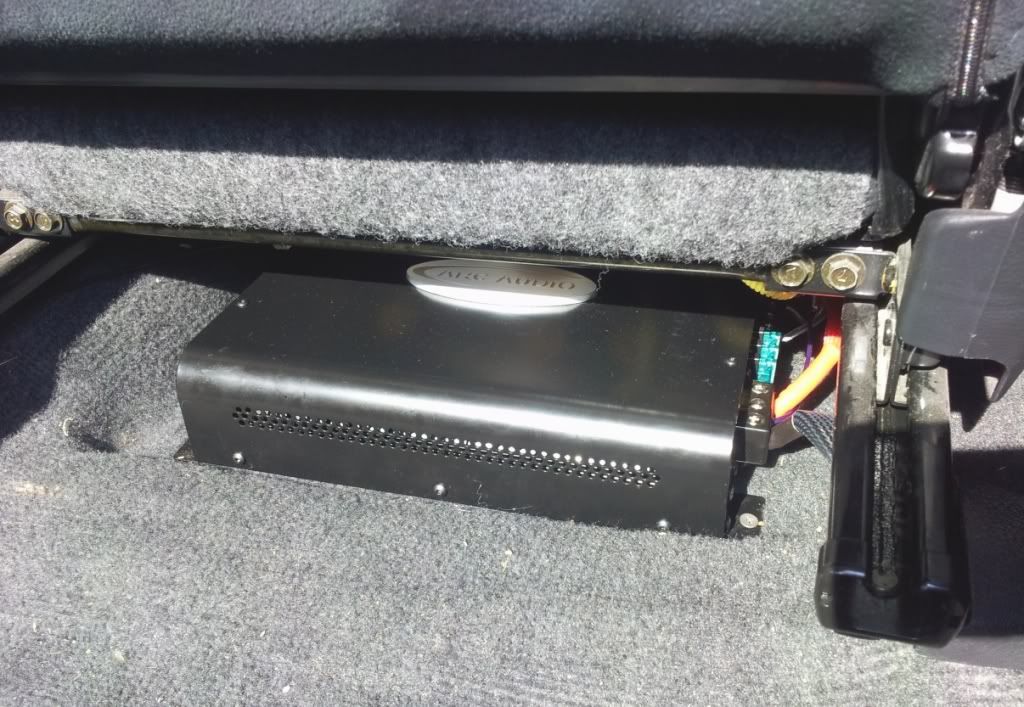
A small Arc Audio KS300.2 amplifier under the front passenger seat powers it.
To start things off, an Alpine CDA-9887 head unit is mounted in the factory location. It simply plays CD's and iPods, and provides a full range output signal.
The main front speakers consist of Dynaudio MW172 8" midbass speakers mounted in the front doors on a 5/8" baffle with machine screws after cutting about 1/4" of metal around the speaker opening...
... and Melodic Acoustic Euphoria duo comprised of a 3.5" midrange and 20mm tweeter mounted in the A-pillars and sail panels, respectively.
Each wire from the speakers (as well as every wire in the car pertaining to the stereo) is covered in TechFlex and terminated with quick disconnect fittings and heat shrink tubing. The wires are soldered directly to the speaker terminals.
Here is the 3.5� midrange speaker in the A-pillar, wrapped with interior matching black vinyl, and the tweeter mounted in the sail panel.
With grills:
Also mounted up front in the passenger footwell is an Alpine Type R 10� subwoofer to help keep the bass sound up front in the car, rather than sound like it�s coming from the back like in so many other cars. It�s in a custom fiberglass enclosure of about .45 cubic feet. A grill keeps it protected from feet and out of sight.
A small Arc Audio KS300.2 amplifier under the front passenger seat powers it.
Thread Starter
Newbie
Joined: Oct 2008
Posts: 44
Likes: 0
From: USA
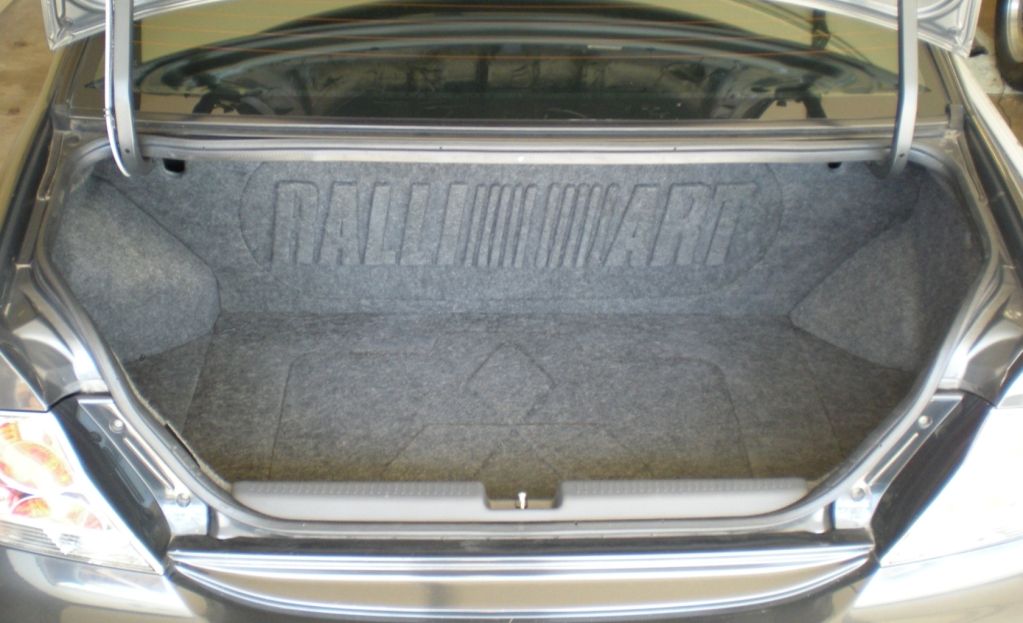
On to the 'main attraction' - the trunk. Here it is in normal 'stealth' mode. Floor looks stock, and you see a wall with the Ralliart logo.

Remove the carpet and you see an additional cutout with the Mitsubishi logo.
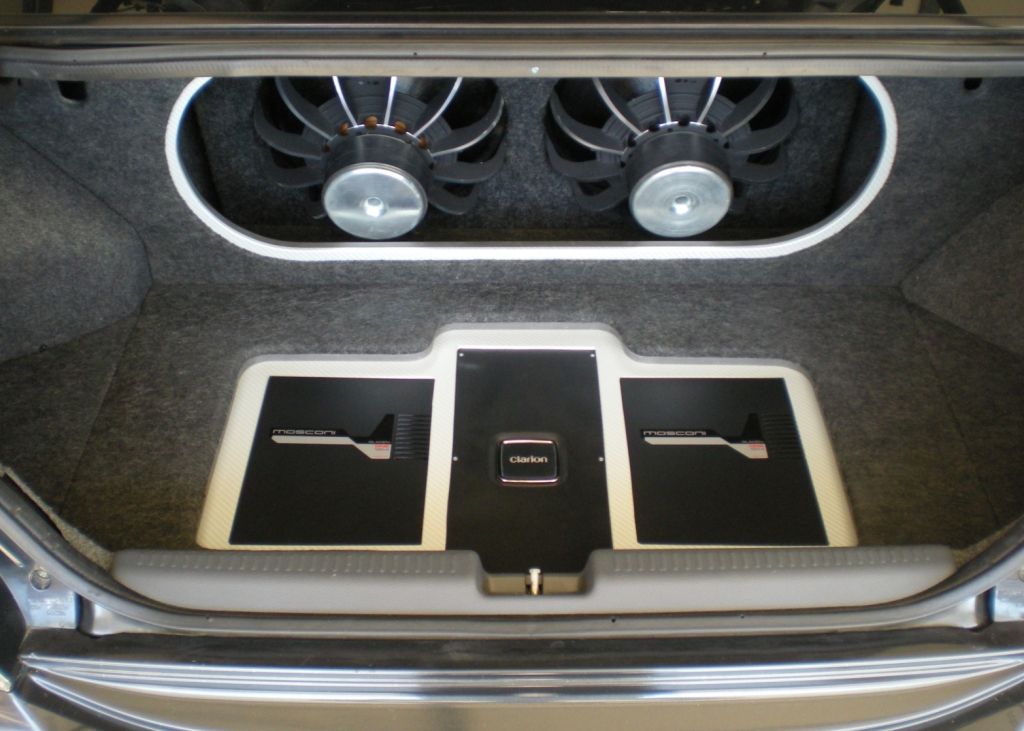
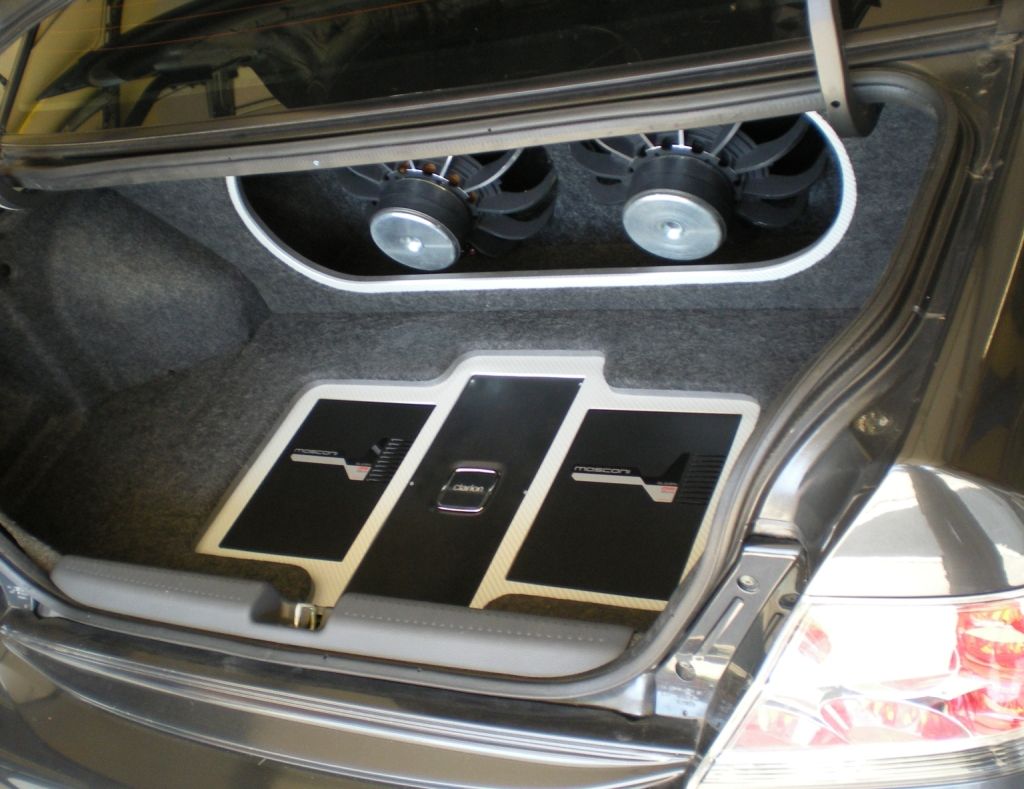
Remove the panels, and here’s what you see. Behind the Ralliart grille, two Acoustic Elegance IB15 subwoofers on a 1.5” thick baffle. In the floor, two Mosconi One 120.4 four channel amplifiers flanking a custom painted Clarion DPX11551 mono amplifier. The ring around the subs and the panel around the amplifiers is trimmed with a contrasting silver carbon fiber vinyl.
Between the carpet and carbon fiber trim is also a layer of �” plexiglass cut to exactly the same shape. It has been frosted over and an RGB LED lighting strip has been affixed to the outside edge to diffuse light through. So it the dark, it looks like this:
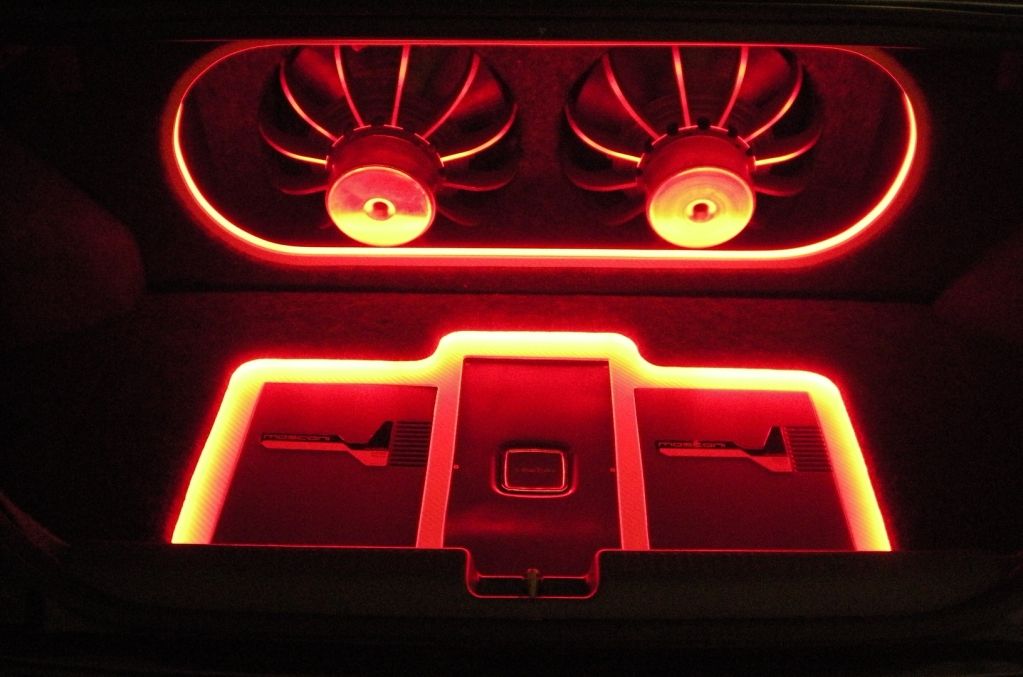

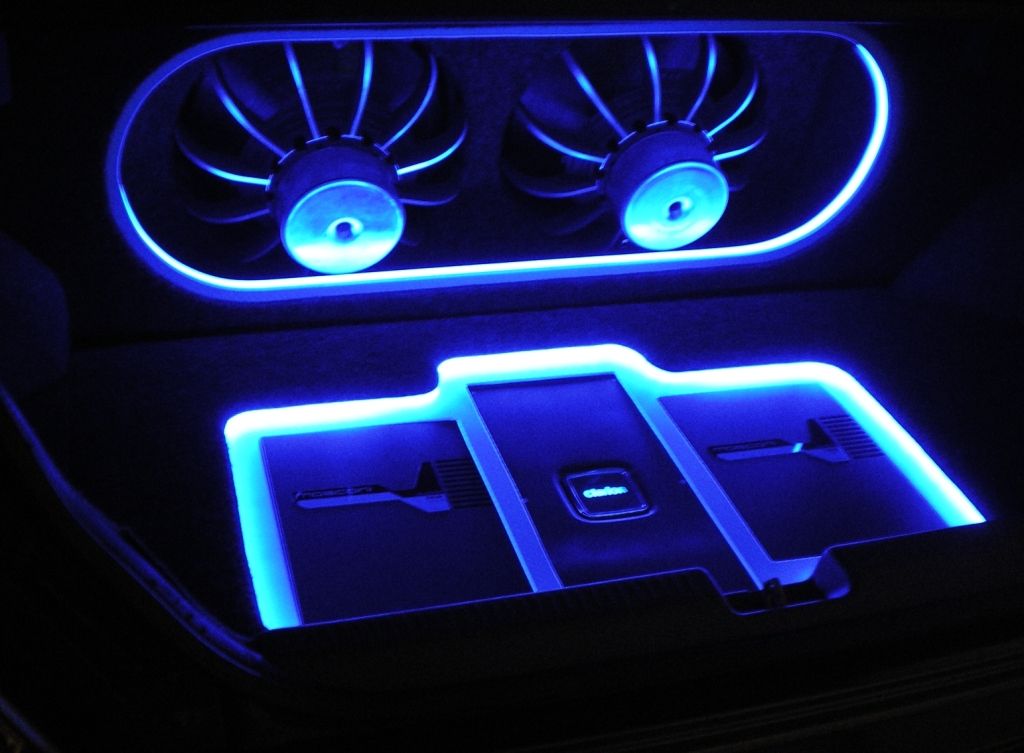
It can produce dozens of colors, but red, white, and blue are my favorites.
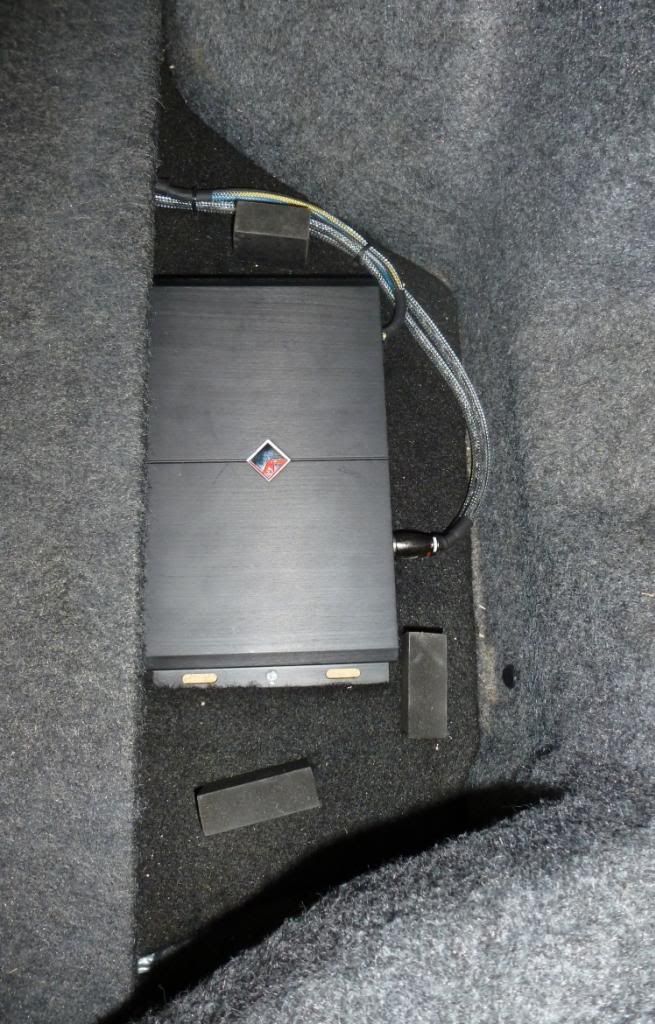
Beneath the small right side panel, a Rockford Fosgate 3sixty.3 digital signal processor does all of the equalization, time correction, level matching, and other tuning functions necessary to produce the best sound possible.
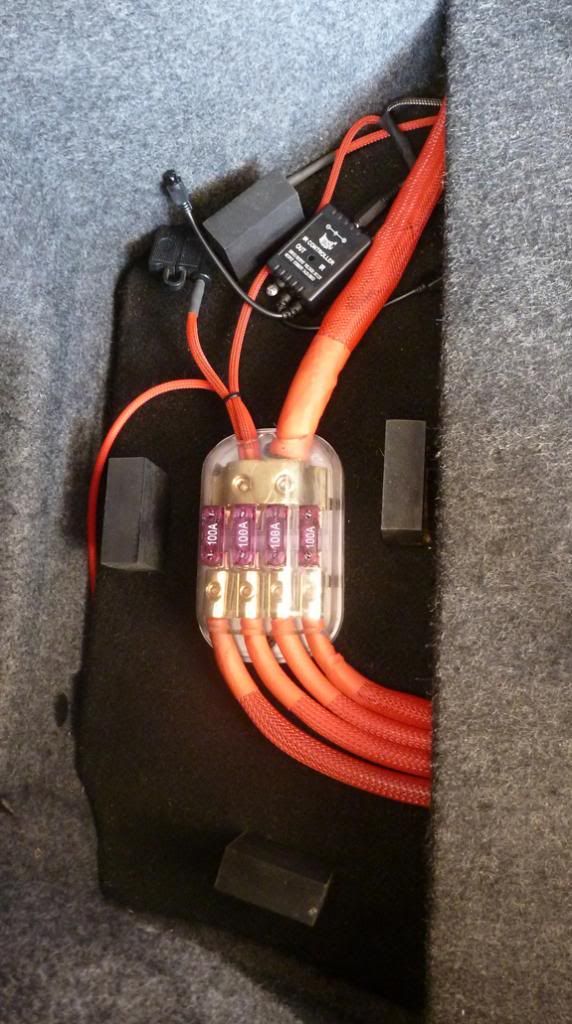
Beneath the left side panel is the power distribution block and the LED control module.
That's it. I did 95% of the work shown here myself and have hundreds more higher resolution pictures, so if you’d like to know how I did something, feel free to ask. Otherwise, hope you enjoyed it.
Comments and suggestions welcome. It's still not "done". I'll probably have more in the coming weeks. But that's how it stands today. The result of 4 years of modding, tweaking, swapping gear, etc.
Remove the carpet and you see an additional cutout with the Mitsubishi logo.
Remove the panels, and here’s what you see. Behind the Ralliart grille, two Acoustic Elegance IB15 subwoofers on a 1.5” thick baffle. In the floor, two Mosconi One 120.4 four channel amplifiers flanking a custom painted Clarion DPX11551 mono amplifier. The ring around the subs and the panel around the amplifiers is trimmed with a contrasting silver carbon fiber vinyl.
Between the carpet and carbon fiber trim is also a layer of �” plexiglass cut to exactly the same shape. It has been frosted over and an RGB LED lighting strip has been affixed to the outside edge to diffuse light through. So it the dark, it looks like this:
It can produce dozens of colors, but red, white, and blue are my favorites.
Beneath the small right side panel, a Rockford Fosgate 3sixty.3 digital signal processor does all of the equalization, time correction, level matching, and other tuning functions necessary to produce the best sound possible.
Beneath the left side panel is the power distribution block and the LED control module.
That's it. I did 95% of the work shown here myself and have hundreds more higher resolution pictures, so if you’d like to know how I did something, feel free to ask. Otherwise, hope you enjoyed it.
Comments and suggestions welcome. It's still not "done". I'll probably have more in the coming weeks. But that's how it stands today. The result of 4 years of modding, tweaking, swapping gear, etc.
Last edited by strakele; Mar 5, 2014 at 03:21 PM.

Trending Topics
Thread Starter
Newbie
Joined: Oct 2008
Posts: 44
Likes: 0
From: USA
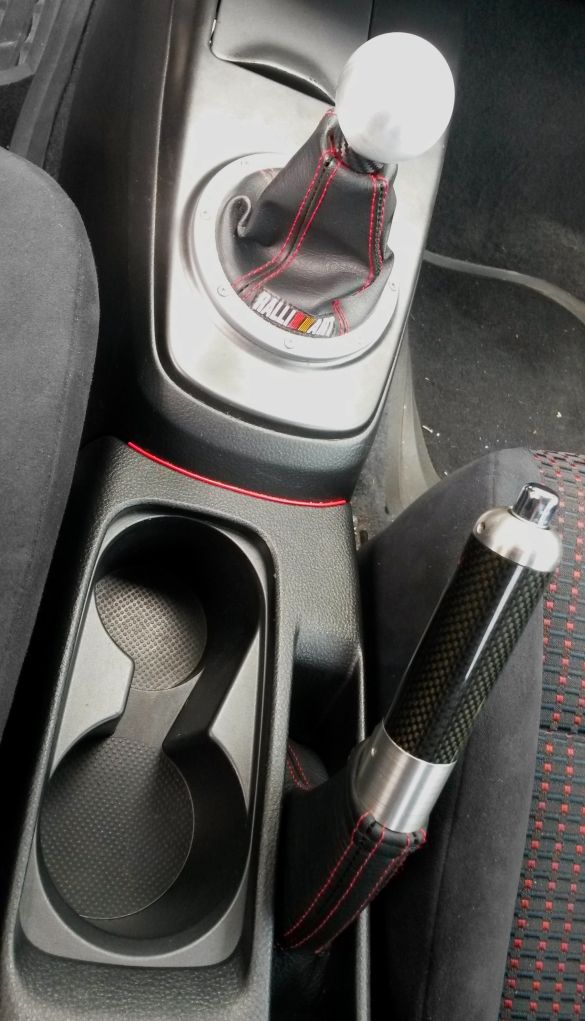
To continue the interior updates, I got a OEM carbon fiber e-brake handle with aluminum accents instead of black chrome to match the other metal in the interior, and a new red stitched leather armrest cover and e-brake boot to match the shift boot and steering wheel, along with all the other black/red in the car. The current shift boot will also be replaced with one that looks very similar but is made of a nicer material and has the Ralliart logo stitched into it instead of onto it. That won't happen till I figure out if I'm switching processors and adding some more vinyl.
Anyway, here's some pics.
Before:
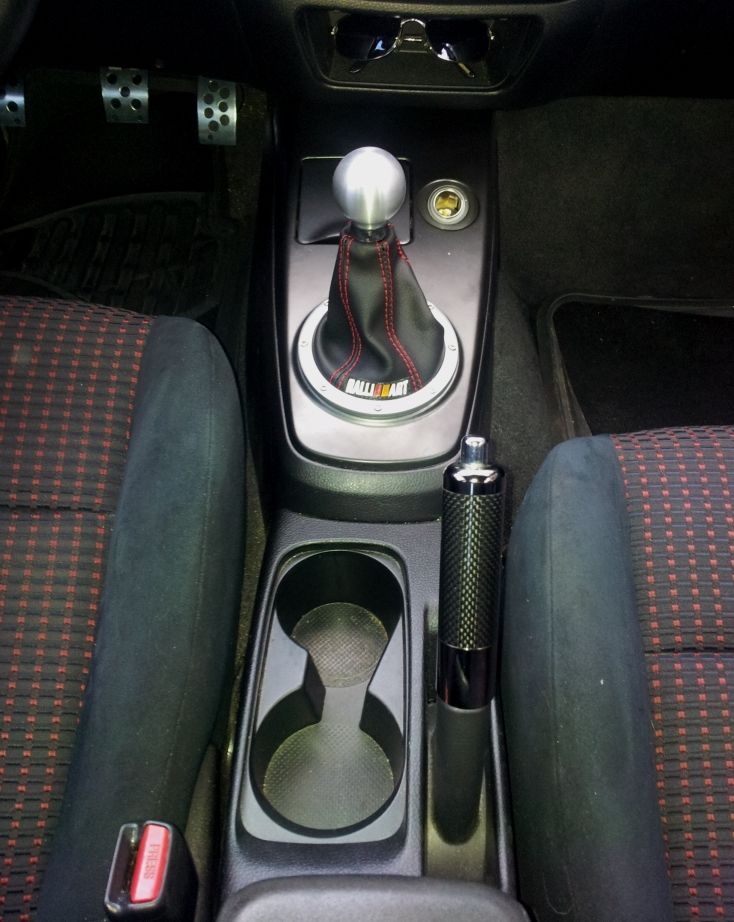
After:
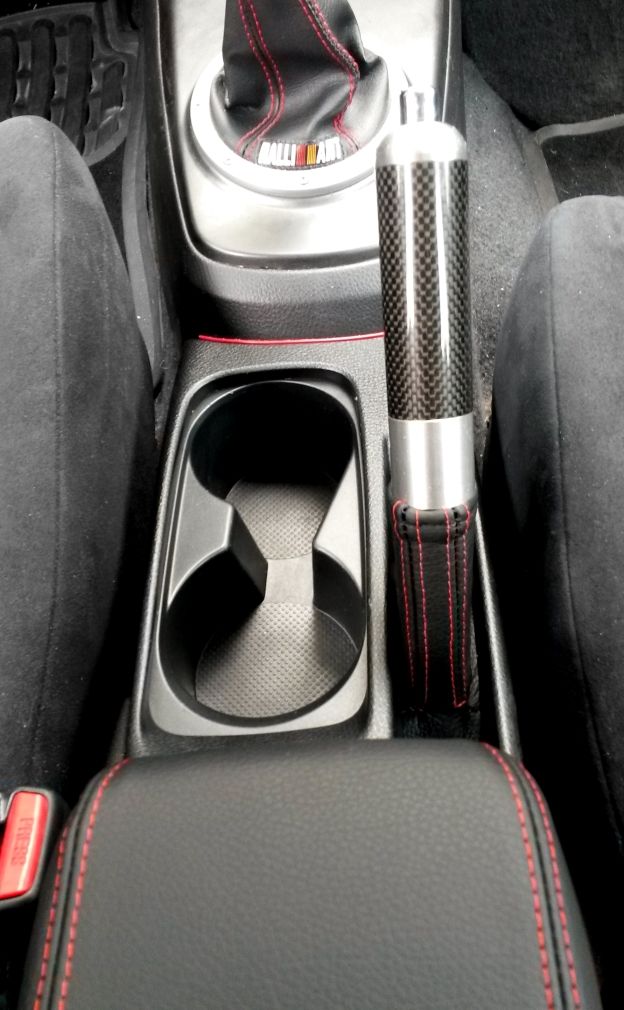
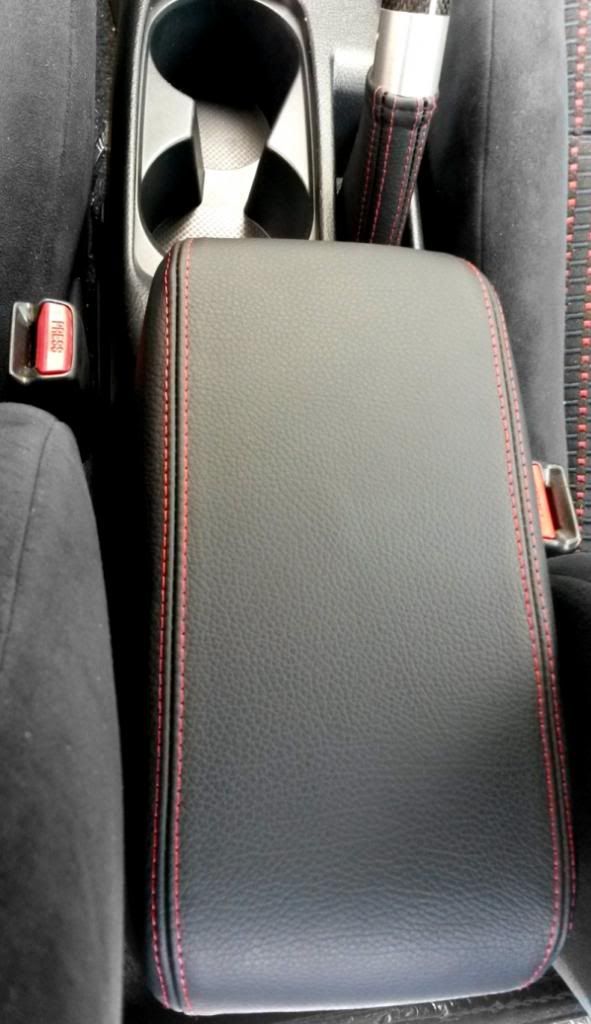
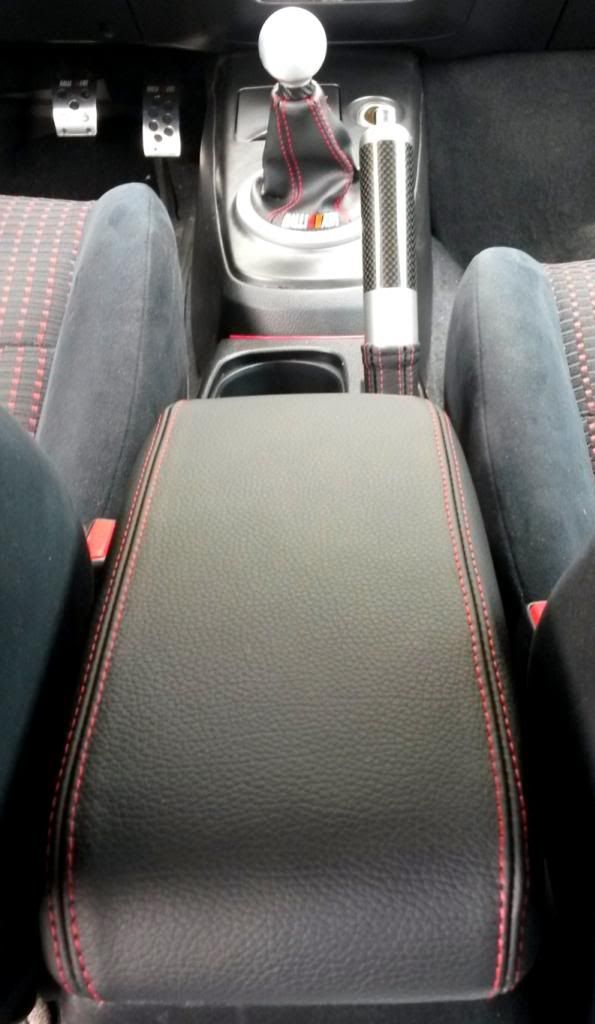
Much nicer IMO
Anyway, here's some pics.
Before:
After:
Much nicer IMO
I think you're doing a pretty clean job. My only complains are the steering wheel and floor mat. Try to do a IX steering wheel/air bag and do some OEM floor mats.
Other than that, it's looking good!
Other than that, it's looking good!
Thread Starter
Newbie
Joined: Oct 2008
Posts: 44
Likes: 0
From: USA
Yeah that's something I have thought about, and I agree it would look better after adding the Redline cover. This may sound silly but I think for actual daily driving I would like the 4 spoke Ralliart one vs the 3 spoke Evo wheel. But I haven't used one so idk for sure.
Also, I'd love to have OEM floor mats with the Ralliart logo embroidered. But I can only find them for the 2008+ cars.
I'd like the IX SE seats as well...
Also, I'd love to have OEM floor mats with the Ralliart logo embroidered. But I can only find them for the 2008+ cars.
I'd like the IX SE seats as well...
Last edited by strakele; May 27, 2014 at 04:27 PM.
Thread Starter
Newbie
Joined: Oct 2008
Posts: 44
Likes: 0
From: USA
Well it's about time for some more updates. Should be done by the end of the week, but here's the start
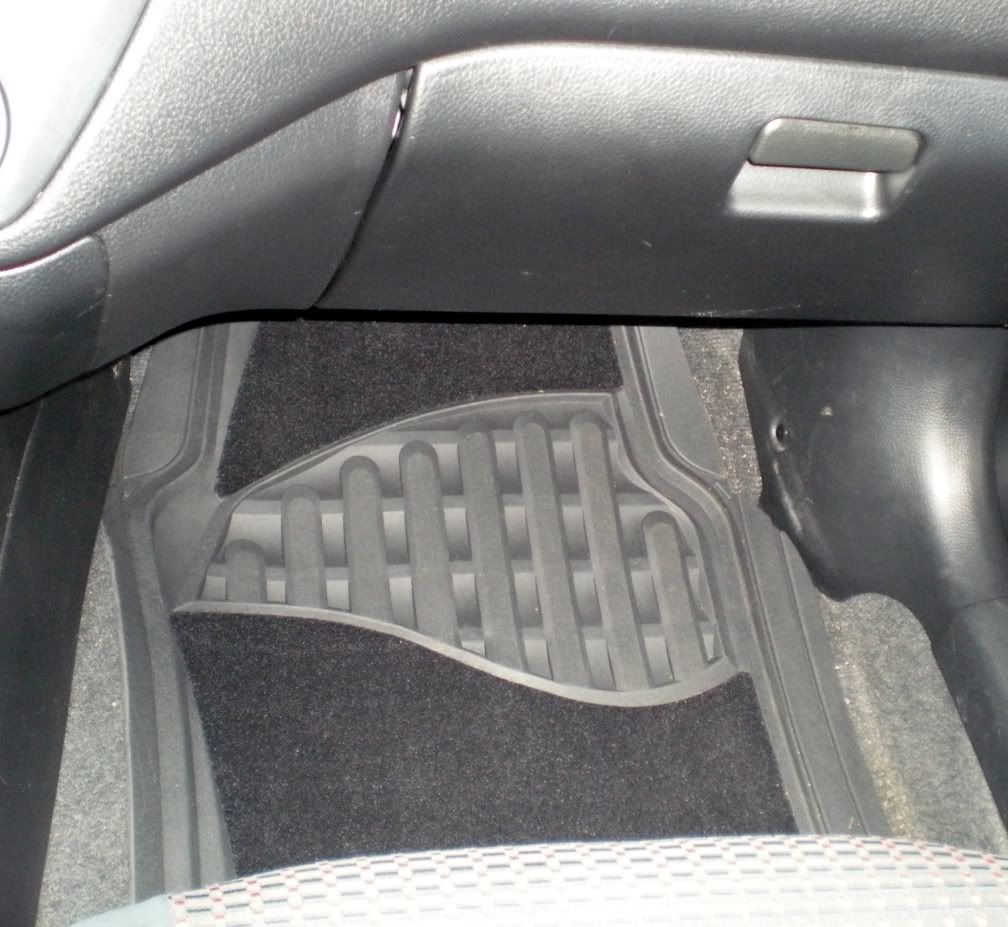
First, my floor mat had a big nasty hole worn in the carpet. So instead of getting all new ones again, I got this:
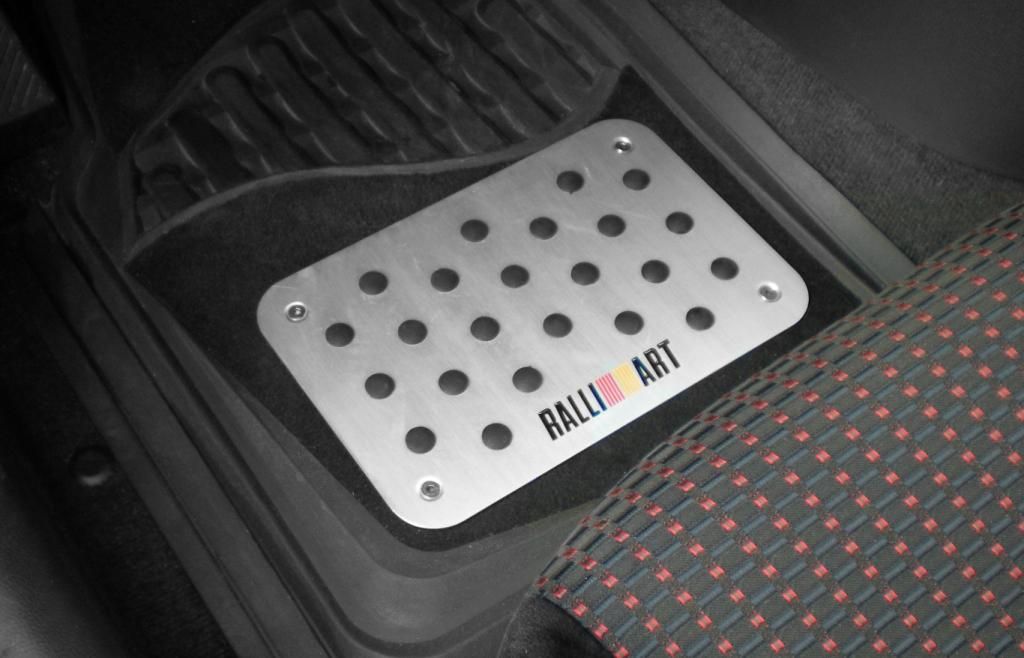
Maybe a little ricey to some people, but I'm in the Air Force and wear combat boots to work and they will tear up carpet real quick. I don't care for the look of completely rubber mats, especially for the passenger seats, so this will protect the carpet and match the pedals. And it will be transferable if I'm able to find some embroidered OEM mats so the driver's one doesn't get destroyed in a couple months.
Other than that, there are some new things in the works.
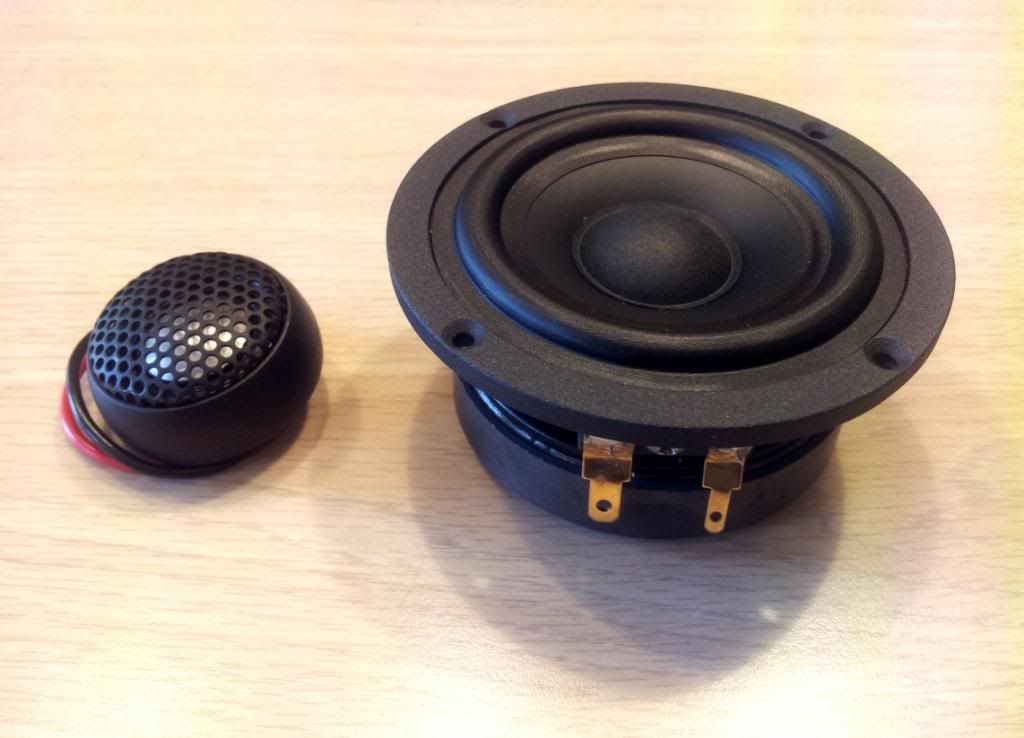
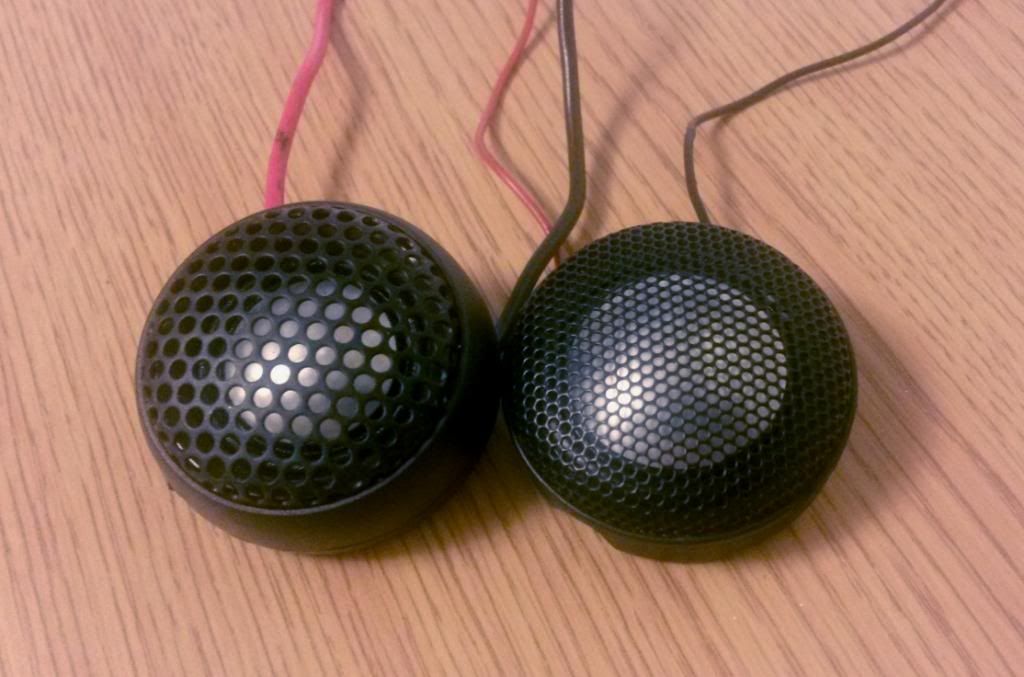
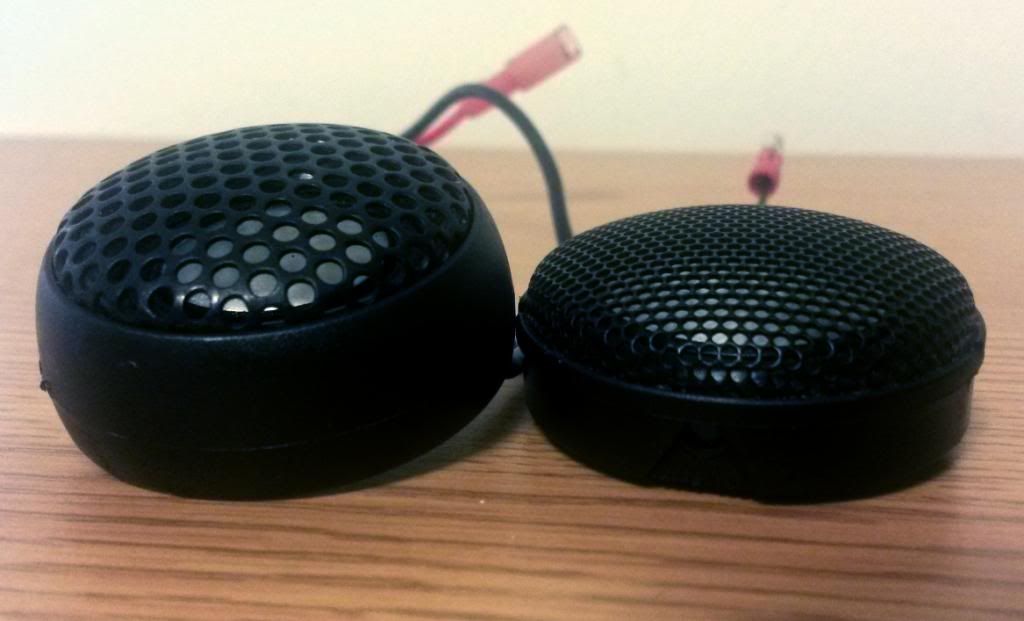
Replacing the Melodic Acoustic 20mm tweeter (left) with JL ZR-100 1 inch tweeter (right). Same physical diameter, but bigger dome, and shallower mounting depth.
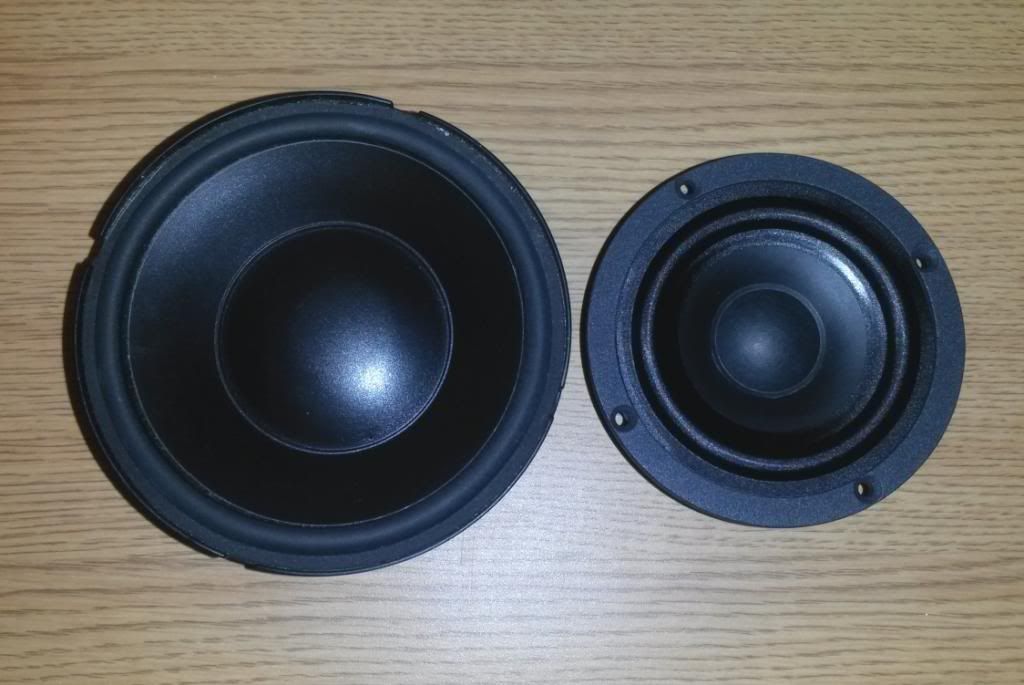
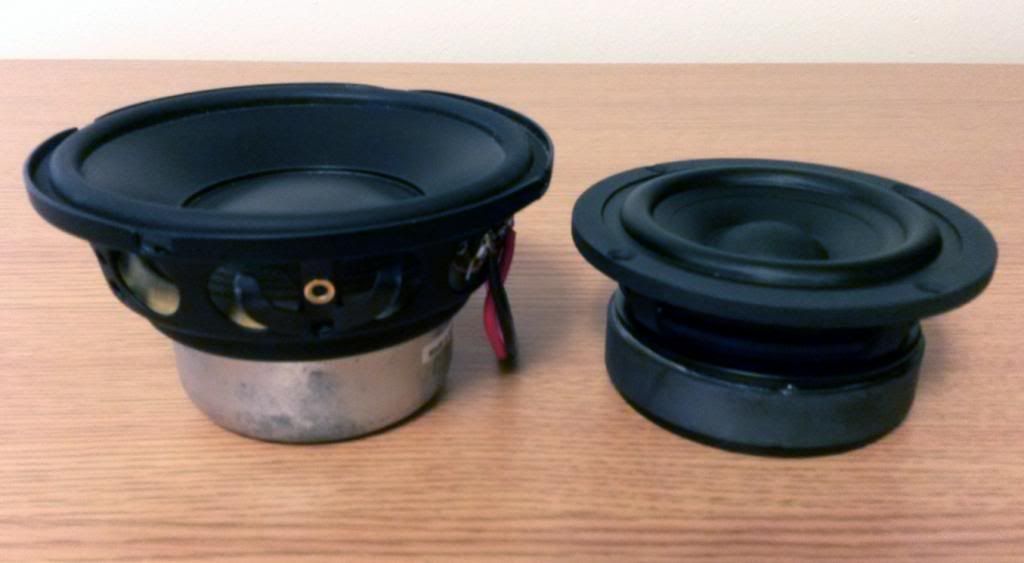
Replacing Melodic Acoustic 3.5" midrange (right) with Morel Hybrid Ovation 4" midrange (left). Only 1/2" bigger diameter, but almost 2.5x as much cone are due to the Morel's flangeless design.
Build pics to follow.
First, my floor mat had a big nasty hole worn in the carpet. So instead of getting all new ones again, I got this:
Maybe a little ricey to some people, but I'm in the Air Force and wear combat boots to work and they will tear up carpet real quick. I don't care for the look of completely rubber mats, especially for the passenger seats, so this will protect the carpet and match the pedals. And it will be transferable if I'm able to find some embroidered OEM mats so the driver's one doesn't get destroyed in a couple months.
Other than that, there are some new things in the works.
Replacing the Melodic Acoustic 20mm tweeter (left) with JL ZR-100 1 inch tweeter (right). Same physical diameter, but bigger dome, and shallower mounting depth.
Replacing Melodic Acoustic 3.5" midrange (right) with Morel Hybrid Ovation 4" midrange (left). Only 1/2" bigger diameter, but almost 2.5x as much cone are due to the Morel's flangeless design.
Build pics to follow.
Thread Starter
Newbie
Joined: Oct 2008
Posts: 44
Likes: 0
From: USA
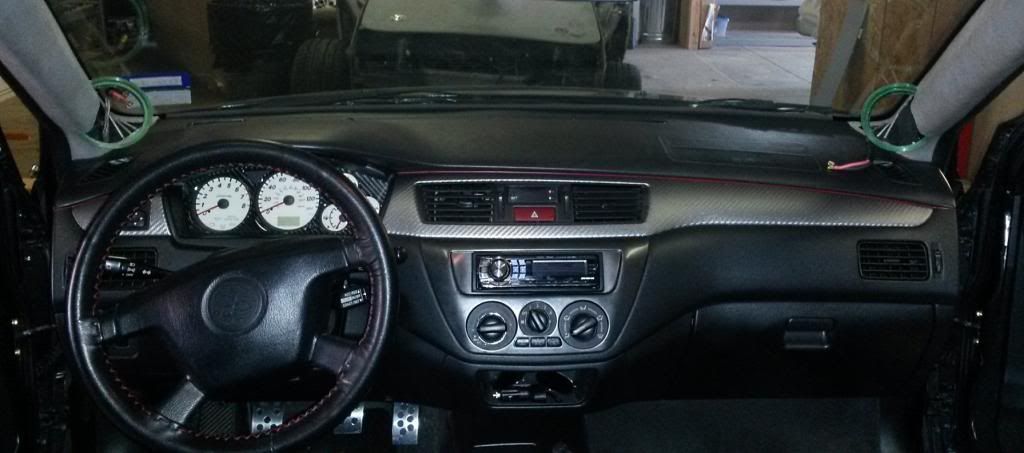
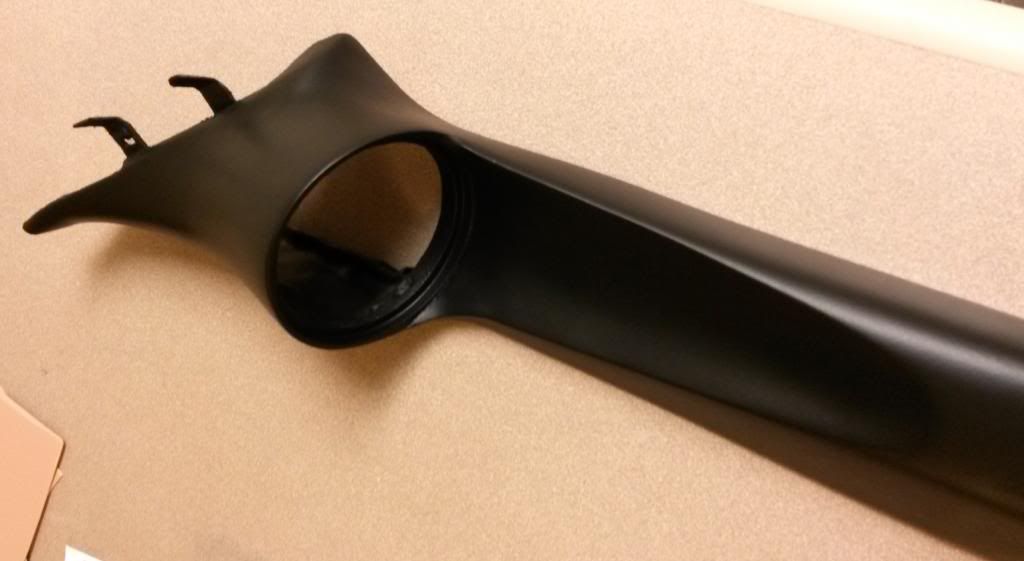
For the pillars:
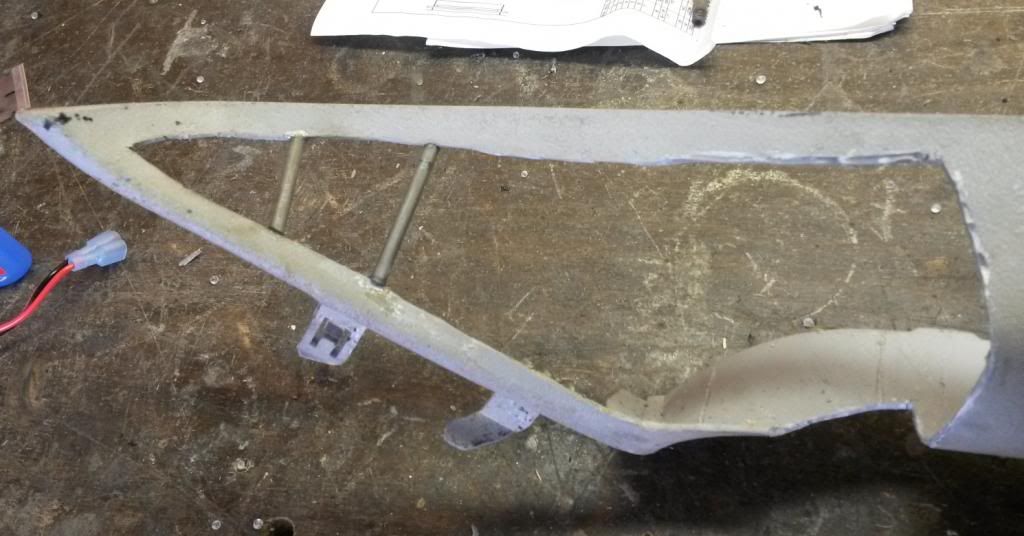
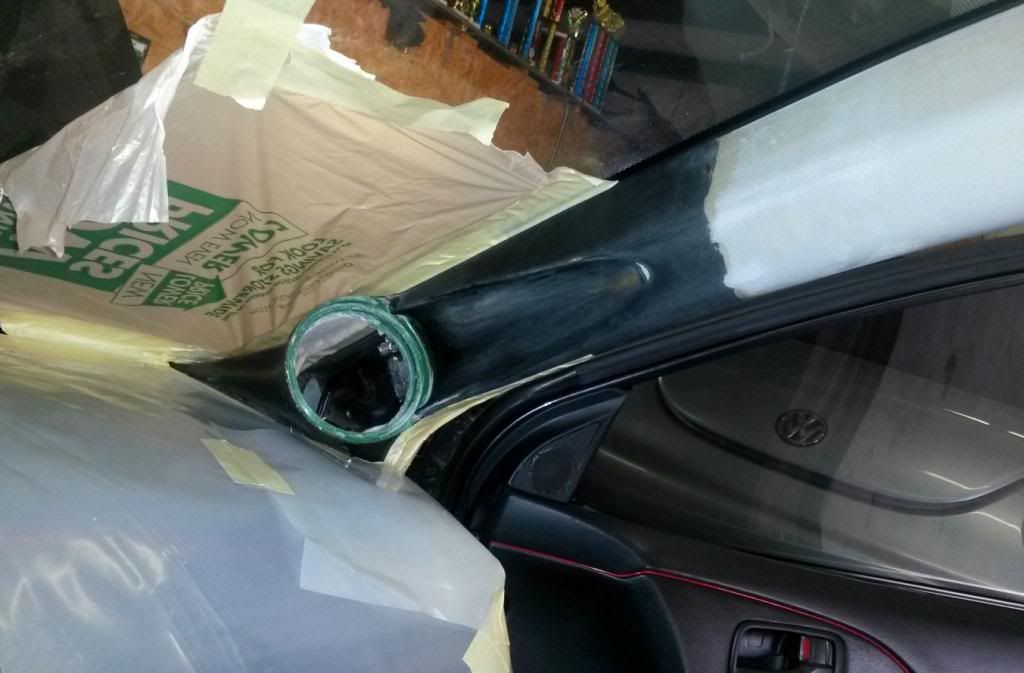
A large open area was cut out from the base of the pillars and reinforced with some thin steel rods to resist twisting and flexing while cloth was being stretched:
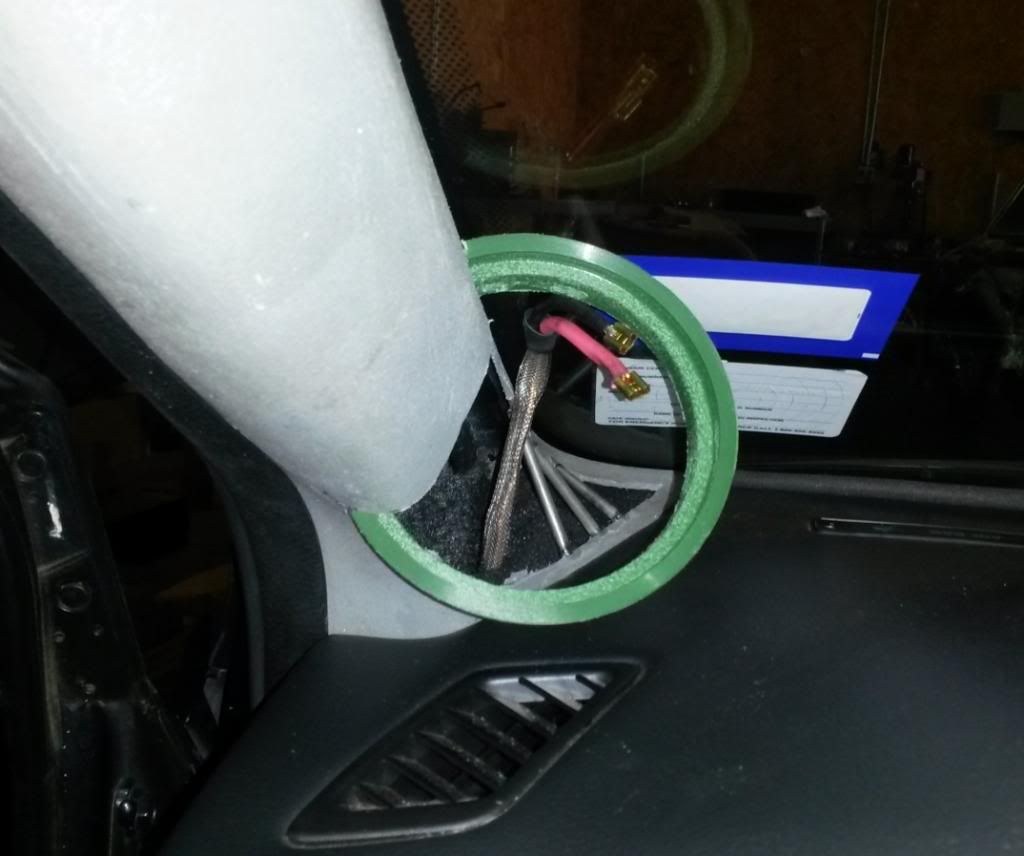
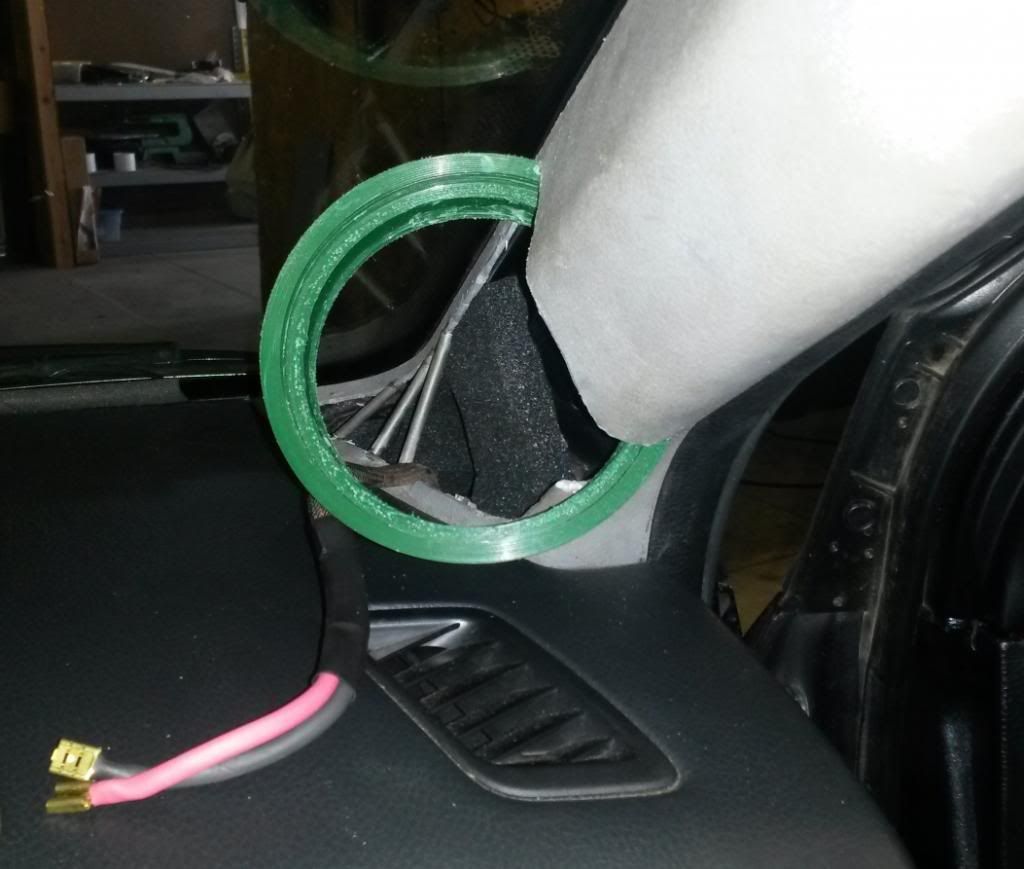
Mock up of how the speakers would be aimed. They are placed as wide as possible, inset into the pillar so the baffle will essentially be touching the metal of the pillar to maximize stage width and minimize the amount they stick out.
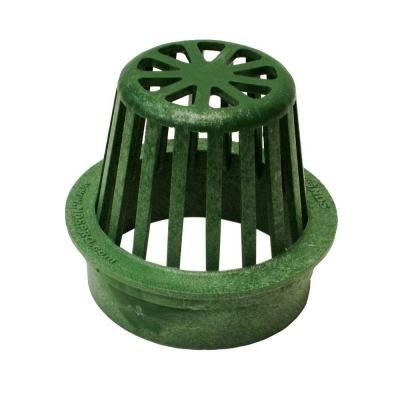
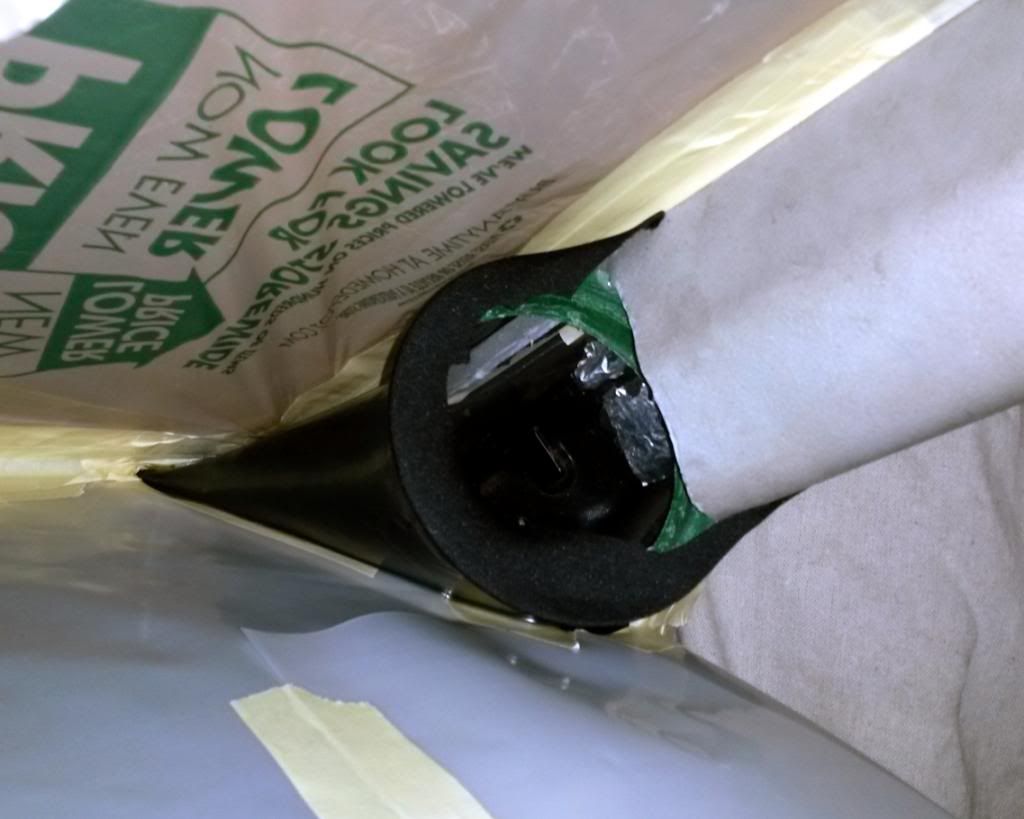
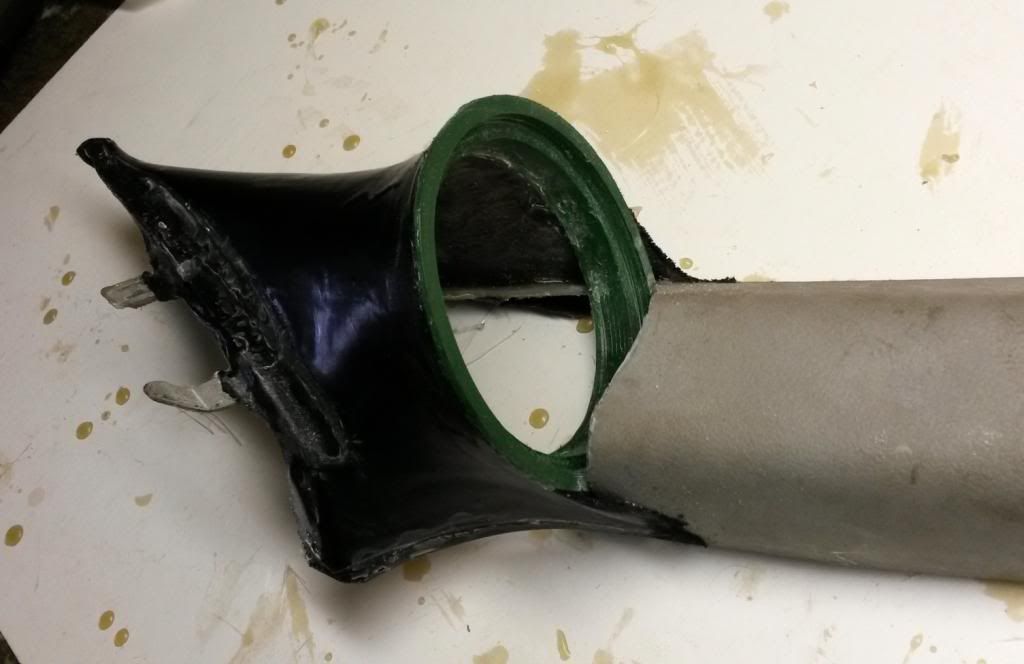
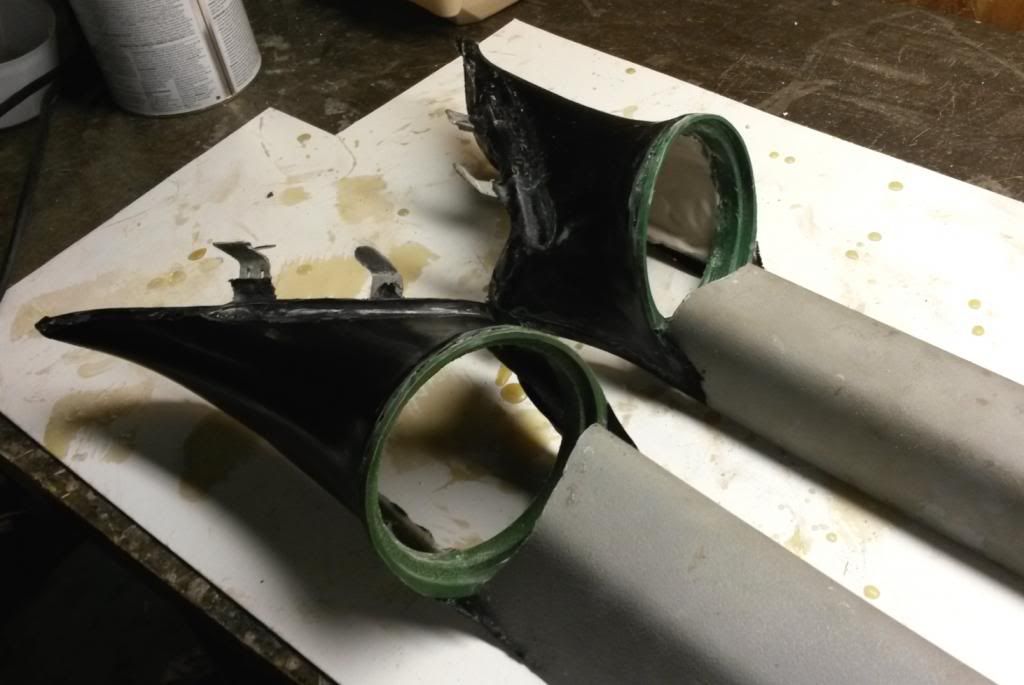
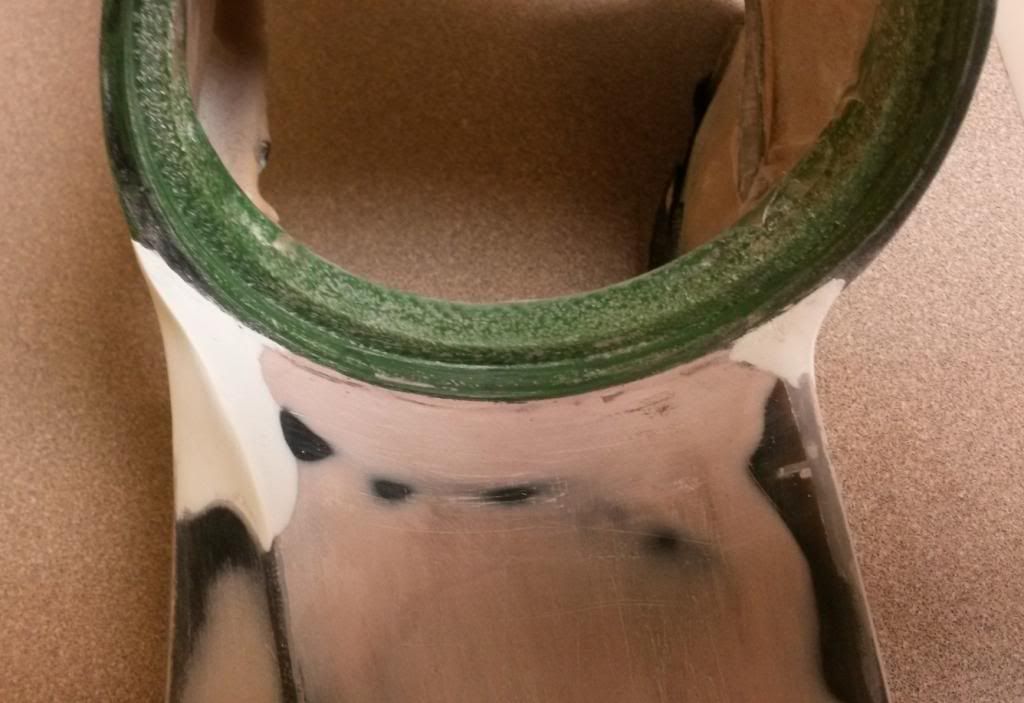
Baffles were made out of a fiber reinforced 4" atrium grate that was cut and turned to precisely fit the speaker
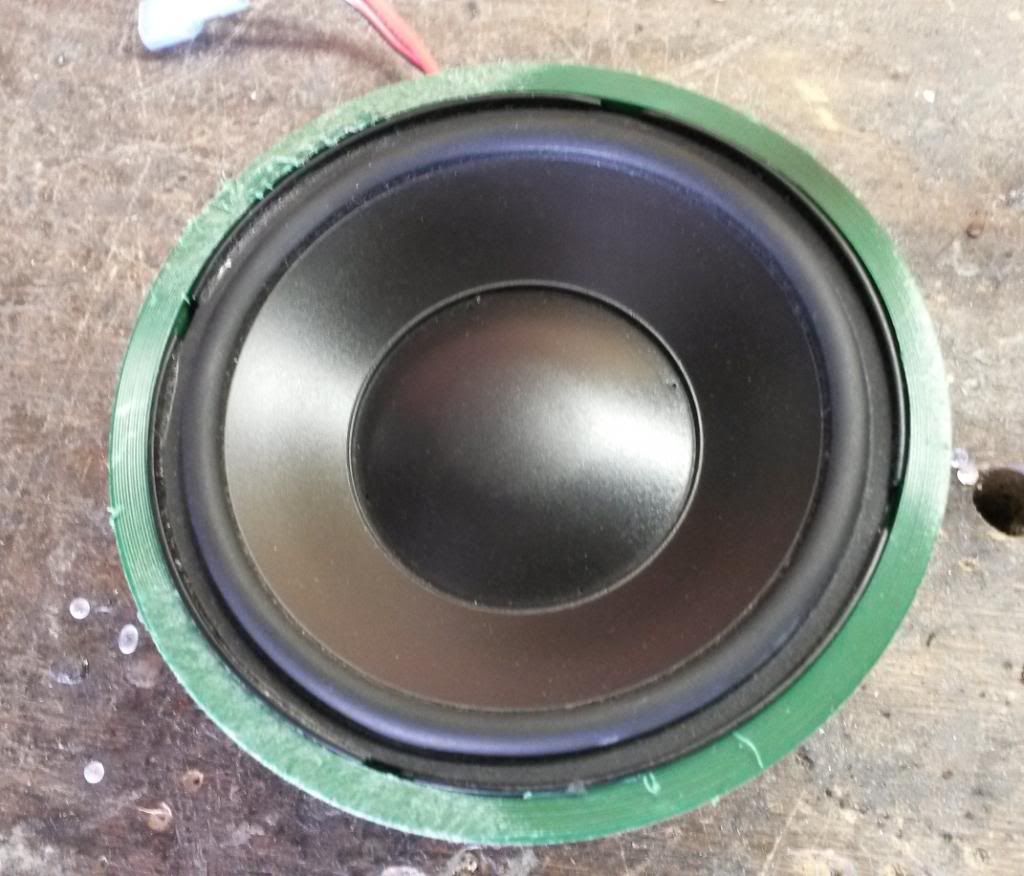
The rings were then placed in each side and glued in place:
Then the area around the pillar was fully masked off:
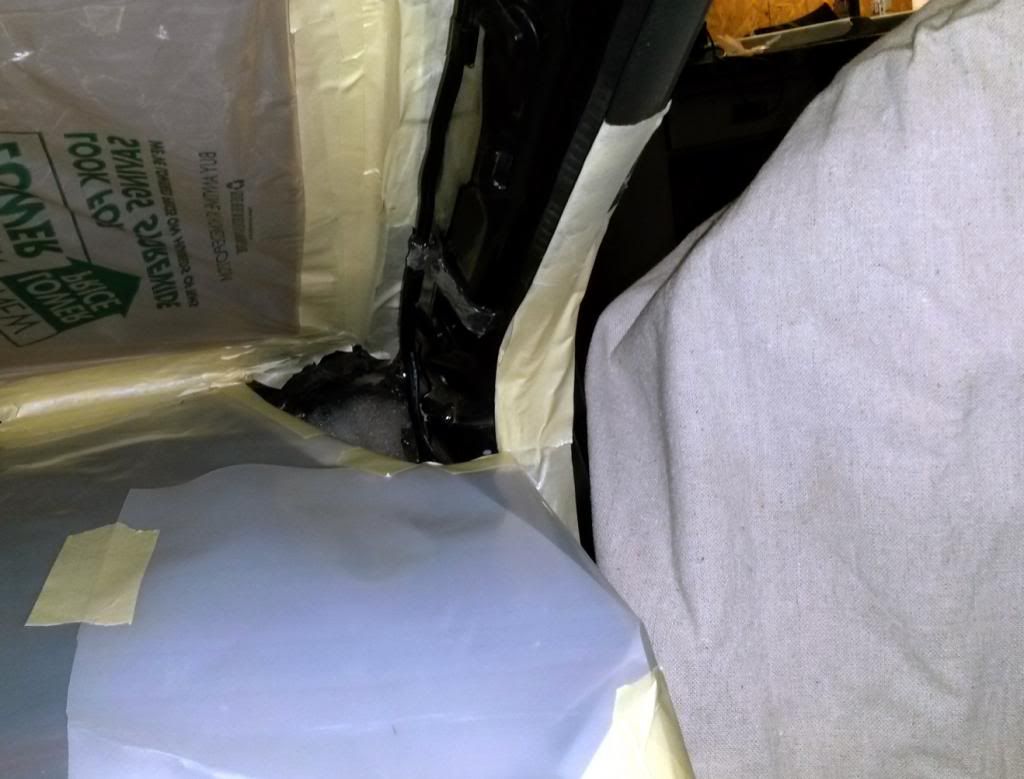
And cloth stretched to form the shape of the base:

Then resin was applied and the pillar was placed in position to cure:
A large open area was cut out from the base of the pillars and reinforced with some thin steel rods to resist twisting and flexing while cloth was being stretched:
Mock up of how the speakers would be aimed. They are placed as wide as possible, inset into the pillar so the baffle will essentially be touching the metal of the pillar to maximize stage width and minimize the amount they stick out.
Baffles were made out of a fiber reinforced 4" atrium grate that was cut and turned to precisely fit the speaker
The rings were then placed in each side and glued in place:
Then the area around the pillar was fully masked off:
And cloth stretched to form the shape of the base:
Then resin was applied and the pillar was placed in position to cure:
Thread Starter
Newbie
Joined: Oct 2008
Posts: 44
Likes: 0
From: USA
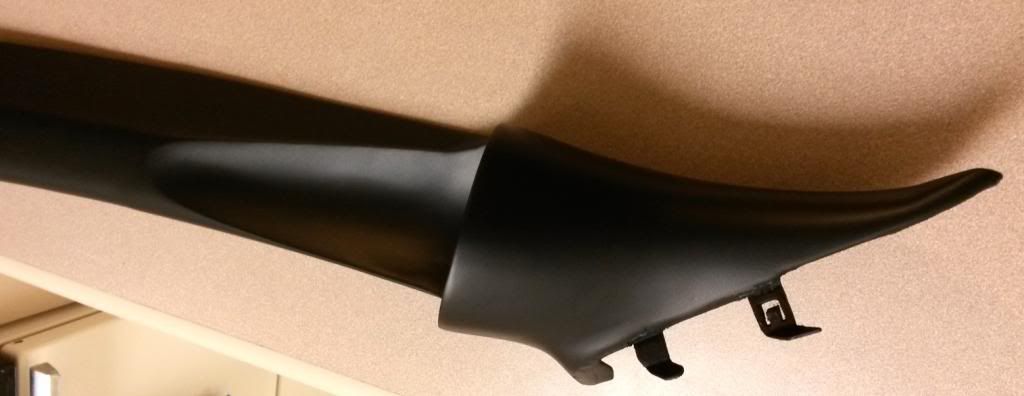
And removed from the car when cured..
Same was done to the other side:
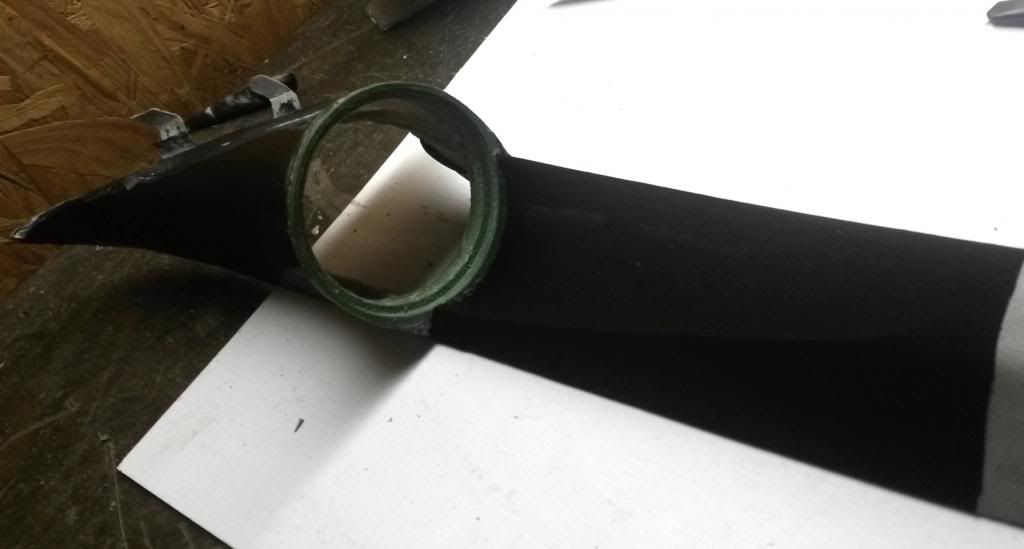
Kinda tough to tell in the pic, but then a large half oval area was cut out in front of the speaker baffle so it wouldn't block the speaker, and cloth stretched to form and smooth concave curve:
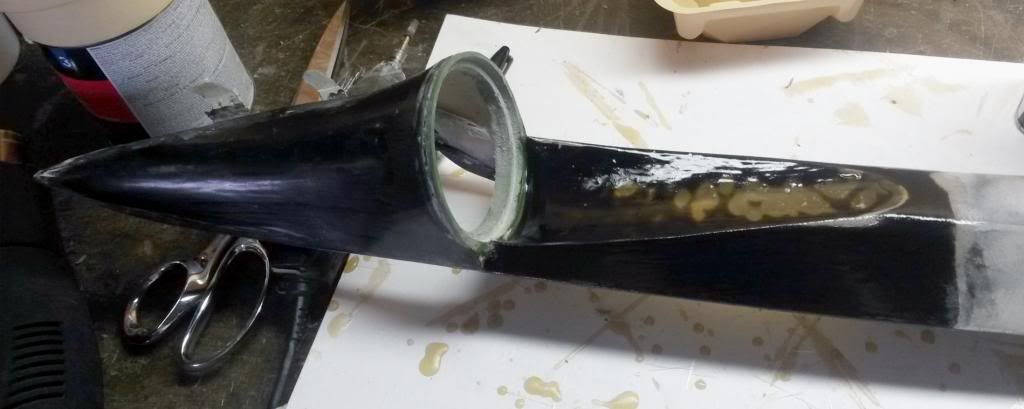
After resin applied and cured:
Test fit in car:
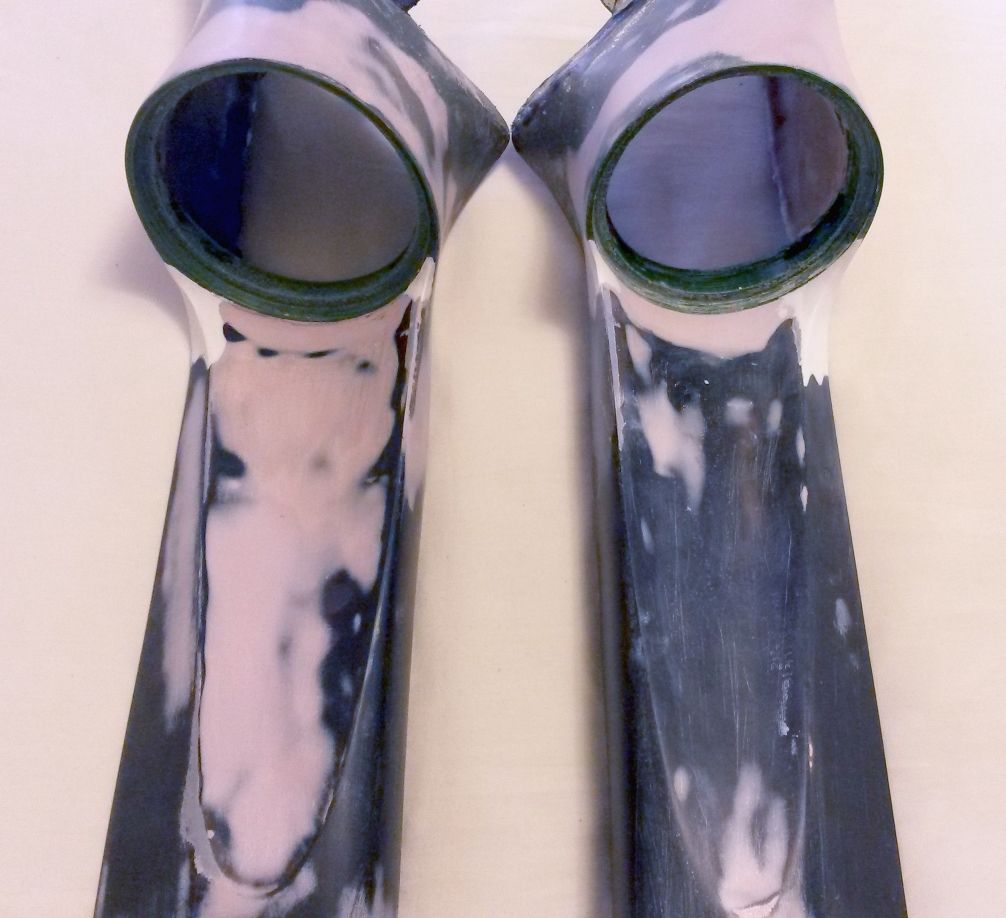
After reinforcement with fiberglass mat on the back side, it was time for body filler to smooth:
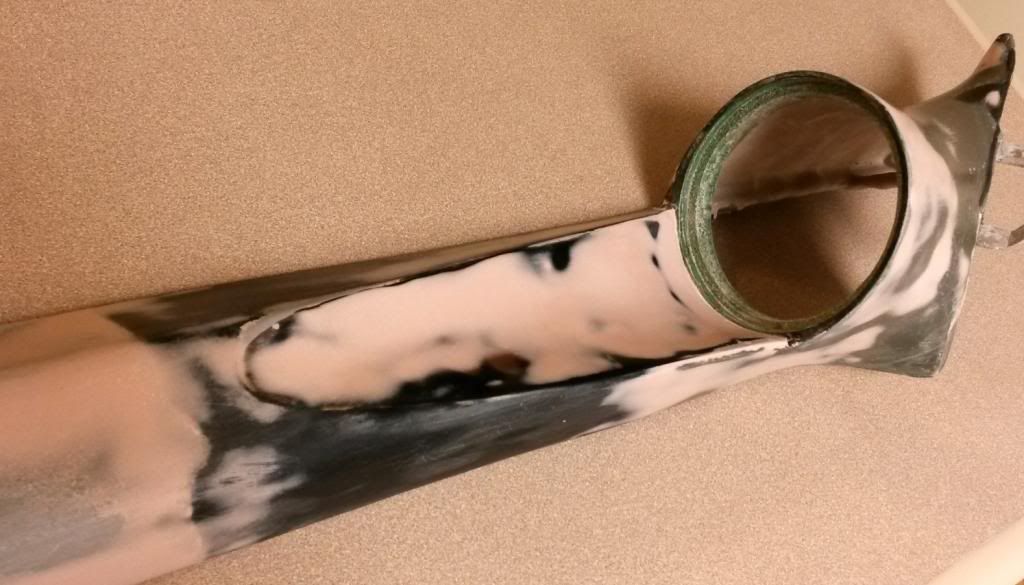
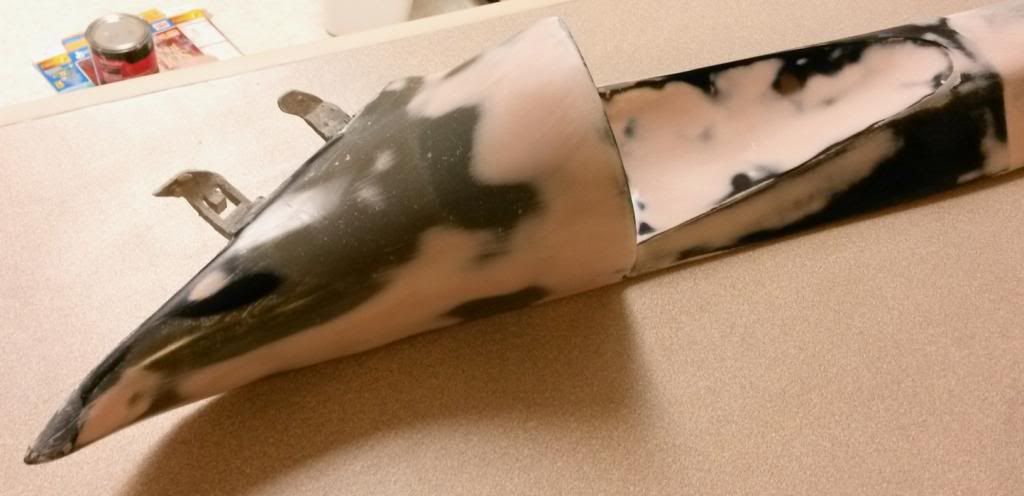
Then I shot one with Plasti-Dip so it was all one color to make it easier to see any flaws while being easy to remove:
Same was done to the other side:
Kinda tough to tell in the pic, but then a large half oval area was cut out in front of the speaker baffle so it wouldn't block the speaker, and cloth stretched to form and smooth concave curve:
After resin applied and cured:
Test fit in car:
After reinforcement with fiberglass mat on the back side, it was time for body filler to smooth:
Then I shot one with Plasti-Dip so it was all one color to make it easier to see any flaws while being easy to remove:
Thread Starter
Newbie
Joined: Oct 2008
Posts: 44
Likes: 0
From: USA
Other was filled and smoothed to match:
Then it was time for upholstery. I went with black vinyl on the majority just like the old pillars to match the interior, a padded suede insert behind the speaker to control some reflections, and red stitching to match the rest of the interior.
Right after picking them up:


And in the car!


I'm very pleased with how it's all coming together
Then it was time for upholstery. I went with black vinyl on the majority just like the old pillars to match the interior, a padded suede insert behind the speaker to control some reflections, and red stitching to match the rest of the interior.
Right after picking them up:
And in the car!
I'm very pleased with how it's all coming together