When you click on links to various merchants on this site and make a purchase, this can result in this site earning a commission. Affiliate programs and affiliations include, but are not limited to, the eBay Partner Network.
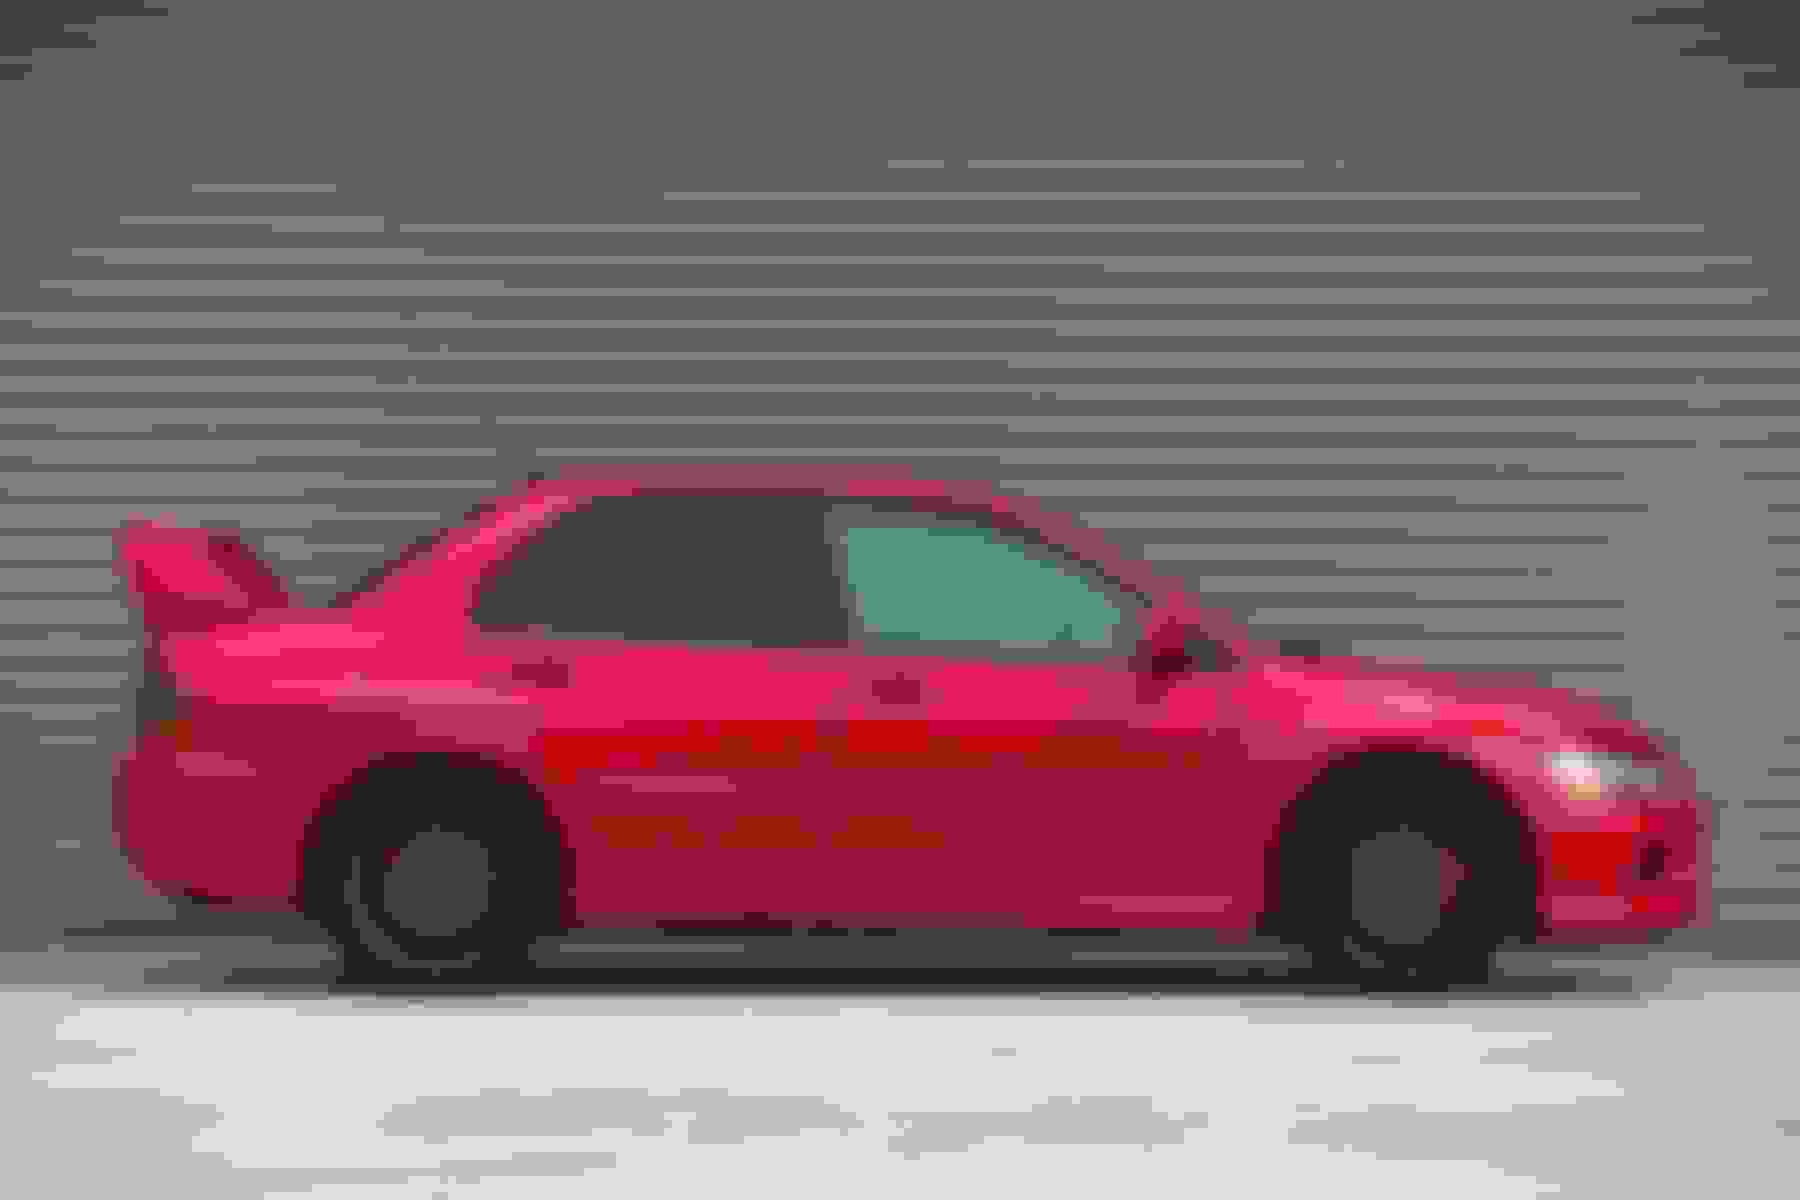
I've been on-and off active here, and figure that with the car approaching a steady-state, its probably time to compile everything in a single thread to share how it has all come together. The thread will be split into a few logical parts but here's the intro to kick things off. As my signature indicates, this is a JDM-market right hand drive 2005 Evolution IX GT, fun fact - it is the specification that was used for Mitsubishi's submission to the FIA's Group N rally competition as well, featuring most of the mod-cons of the GSR MR (power windows, climate control, etc.), aside from the factory installed security system, automatic headlight levellers, and adding a mechanical rear diff along with the tough 5 speed gearbox:
Anyway, here's what the car was as delivered and what was added:
P23 Phoenix Red
Evolution IX GT
Privacy glass option
Enkei wheels
Dealer-fitted rear parking proximity sensors
Additionals:
Lancer Ralliart CS5 Recaro seats
EGR clear headlight covers
Front and rear parking cameras
Front and rear dash cameras
Aftermarket alarm (more on this later)
JDM satnav console conversion
HKS Camp 2 gauges - boost, oil temperature and oil pressure
BBS forged wheels
Bilstein B6 OEM suspension
I acquired it as a bone-stock low mileage car of less than 20k miles, with one owner from a used car dealer. Uncommonly for a used car in Singapore, it hadn't been tarted up to look good on the forecourt, most used cars taken in on trade tend to get a hasty coat of paint if they're in a rough condition, or at least given a good wax and polish; perhaps the dealer knew that in a market full of modified Evos, this one's niche is being left untouched, and so did I, having put down a deposit on the same day it was listed for sale.
And that was exactly what I appreciated, nothing was hidden, paint chips, dents and scratches were all readily apparent. However as with any 9 year old car doing the rounds, this was hardly surprising, and enabled me to see that the defects were all skin-deep and easily rectified. That being said, the car had at least three different shades of red present, either from uneven weathering, poorly-matched repair painting, or different base material (PU vs. metal), it wasn't pretty!
Here's how she looked when I brought her home:
Aside from the dirty rims due to dusty brake pads, there was a nasty crease in the front left fender, along with the paint chips, door dings, and parking lot scratches I mentioned earlier.
That dent was pretty nasty
Despite the car being such low mileage for such an age, I knew that aside from the obligatory full fluid change, I wanted to get the timing belt replaced as there was little indication if it had been changed, despite having a service history. I wanted the peace of mind, and the other thing I decided as I dug into the car was how much of a time capsule it was, when nearly every other Evolution has at least had rims, suspension and a catback exhaust fitted along with a tune to allow more boost and liberate more horsepowers, thus the intention to keep it as original as possible, just as the engineers and designers intended it.
If nothing else, I figured it would at least be reliable and cheaper to run!
Aside from a starter set of Continental Sport Contact 5 tires, I set about sprucing up its aesthetics so it looked a little bit more presentable, starting with the rolling stock, which bore the scars of rough use and a fair bit of kerbing. Years of exposure had also cause the brake calipers' clearcoat to flake and a session was booked with a mobile painter to get it sorted out. Despite how rudimentary it looked, the results were pretty good:
Before
After. The job also entailed new laser-cut logos being made up and applied onto the calipers and rim spokes before being sealed over with a clear coat
Next, I had a PDR master craftsman look at the dent, and with the help of a blowtorch to soften things up, he managed to work the metal back to shape, without causing any cracked paint. Truly magical!
Still there, but not unless you were looking for it
Similarly, the headlights have seen better days and were sent in for a cut and polish:
Moving into the engine bay, the bonnet vents are a boon for performance, and bane for maintenance - long periods of disuse meant that there was quite a bit of corrosion and weathering of exposed parts:
Aside from the rusty exhaust manifold cover, the airbox and snorkel were faded, with the foam at the inlet having perished completely.
I attempted some DIY work by gritblasting the manifold cover, but once the rust was removed, it revealed that the rust had gone all the way though - it was a good thing that a replacement was cheap!
No salt in the tropics but still plenty of rust
That's not going to hold
I took the DIY approach with the snorkel inlet, figuring it was pretty costly to purchase a new snorkel just for the foam. My solution was some Tamiya RC car tire foam inserts glued in place, and they've been holding up for the past 2 years pretty well......
Taking a pause here, in case I lose the post again. More to come in the next post! Feel free to fire away with any questions you might have as well!
Looks good man, I love seeing the steps other owners take to fix the little things they are unhappy with. Did you have to do much sanding on the rims before paint to get rid of the rash? I have a set of Enkei Evo 10 GSR Rims and want with some rash I want to sort out...
Given the question about the Recaros - I will cover the interior next; the car came with mint low mileage stock bucket seats with hardly a wrinkle on them. These are pretty aggressive as far as factory-delivered seats come, really huggy around the shoulders and the thighs. However, I wasn't so sure about jumping in and out of them on a daily basis! I checked around and found that the entire Lancer family shared the same seat bolts so I set about looking for seats that were easier to get in and out of. Base Lancer seats were pretty rubbish as they were pretty much flat all the way across, so I looked up JDM CS5 (1.8 GDI Turbo) Lancer Ralliarts, which came with Recaro-branded seats. These featured flat seat bottom cushions but heavily bolstered seat backs with great lower back cushions. The only drawback was the mismatched trim, which I sorted out with an expensive trip to a local interior upholsterer.
CS5 Ralliart Recaro seats
Stock Evolution IX GT Recaro seats (also used in the JDM Evolution VIII MR)
Comparing the two seats when I was halfway through the swap. I chose to salvage the middle alcantara bit from the Ralliart seats for the Recaro and Ralliart embroidery. Note also the adjustable headrest too. In addition, the Ralliart seats are a couple of inches higher than the stock seats as well. You might notice that the Ralliart logos are a little faded, nothing a couple of fabric dye markers can't fix!
Looks good man, I love seeing the steps other owners take to fix the little things they are unhappy with. Did you have to do much sanding on the rims before paint to get rid of the rash? I have a set of Enkei Evo 10 GSR Rims and want with some rash I want to sort out...
The repairer used a Dremel-type tool with a grinder to smooth out the kerb rash, naturally how much sanding is a factor of how deep the rim's rash is. I asked if body filler could be used to fill in the gouges, but he said that wasn't recommended as it is liable to chip off when you go to mount or dismount tires from the rim.
However you cut it, this is an automobile that is over ten years old, and I felt that it was necessary to improve my ability to monitor the car's vital parameters. The Evo was designed for this, with the oil filter housing featuring two ports that could accept aftermarket oil temperature and pressure sensors. However, I was completely allergic to having gauges adorning the dashboard as I much preferred the clean uncluttered look. I was aware that there were a couple of mainstream aftermarket manufacturers producing AUX-output gauges, Blitz's RVIT-DS system as well as HKS's CAMP2.
As the Blitz R-VIT system is based on OBD-II signals only , I opted for the HKS CAMP2 system, which has the capability to display analog values from add-on sensors (that you would normally require gauges) alongside OBD-II data as the core of my setup. As the HKS CAMP2 system had been long out of production, I sourced a used set that included analog sensors for boost, oil pressure and oil temperature, outputting the video signal to my 2DIN Pioneer AppRadio head unit. The nice thing about the CAMP2 system was that you could set maximum/minimum tolerances for alarms so that you could take immediate action, say, if oil pressure was dropping rapidly. The not-so-nice thing though was that if I wanted to monitor my car, I couldn't listen to the radio...... a better solution was needed and a photo of a Japanese Evolution GTA shared by a fellow owner set me on a long journey (nearly a wild goose chase) of discovery and purchases:
Unknown to me at this time was the fact that this was a partly custom installation - at that point I truly believed there were Mitsubishi parts with MR serial numbers available to order this. The display in this photo is produced by the Blitz R-VIT DS aftermarket gauge system. More in the next post, the solution was pretty extensive!
With the help of PartSouq's part diagrams and also searching the world's various export markets for Lancers, I started to piece together the task at hand. I realized that I would need a complete centre dash insert (obviously) to accommodate the second screen between the air vents. Special thanks aside from the Japanese photo I posted, would also go to the Russians for they had done the conversion before me, as well as researching Taiwanese-market Lancer Virages, which use the space for a storage cubby hole.
From this:
To this:
Looks easy, right? Just pull off the old one and pop a replacement one in, but not so fast - the 7 inch screen opening required a reshaped centre trim piece as well, which then also required a relocation of the hazard light button (you can see where I am going here). There's a heap of things underneath too. The task seemed quite daunting, especially when I enquired on the price of the air vent trunking being $500 all by itself, which was extremely prohibitive so the project was put on hold for a year. However, a nearby JDM half cut importer had a special console coming in, which appeared to bear the parts that I had needed but at a fraction of the cost - game on!
At the time of acquisition, the car was already 9 years old. I was well aware that a coolant or oil leak would turn out to be quite expensive. Research (as well as the purchase of a Bluetooth OBD reader and Dashcommand app) showed that the CT9A's OBDII setup was quite basic, and it wasn't able to read basic parameters such as oil temperature, oil/boost pressure. Having installed a Pioneer 2DIN audio unit, I figured that the best thing to do would have been to fit up a HKS Camp 2 display, which is able to consume and merge OBDII and analog sensor data, then outputting it in standard video format. The only problem was, by the time I started looking for one, it was long out of production. In the meantime, a disaster-averted story from a fellow Evo owner that his Defi pod gauge alerted him to a low oil pressure situation when his oil cooler hose let go, prompting him to shut the engine down before any damage was done merely made me look even harder for a complete used set, which eventually did turn up, and promptly got fitted:
It was literally sold out of the trunk of an Evolution X SST!
The main control box that receives signals and sends it along to the A/V sender unit
Much has been made of the Evo's oil filter having been pre-plumbed for oil temperature and pressure fittings; this is likely due to the aftermarket Ralliart single-DIN triple gauges that they sold. It was a no-brainer to use them.
Although it seemed straightforward at first, the dimensions of the HKS sensors weren't quite as low profile as those of the Ralliart (possibly Defi) ones. The quick solution was to use a brass elbow and step-down adapter to make them fit.
It was a doddle to plug in the video cables, and switch to the appropriate AV channels to bring up the digital display, appropriately 90s in style just like the original Gran Turismo video game of the era.
While everything technically worked, as you can see, I realized that as long as I had my Camp 2 displaying on the head unit, I would not be able to have music playing. And if I had my music going, I wouldn't be able to view my gauge data nor hear any alarms. The solution was only half there, and it took me quite some time to consider my options. Some suggested using an AV splitter box, while others suggested changing over to an Alpine head unit that could mix AV signals from different sources. As I had some legacy and loyalty with the Pioneer radio due to its integration with Waze, I was unwilling to go that option, and I could not find that fabled AV splitter box. While I was researching a solution, another problem appeared...... more in the next post!