When you click on links to various merchants on this site and make a purchase, this can result in this site earning a commission. Affiliate programs and affiliations include, but are not limited to, the eBay Partner Network.
Evo X How Tos / InstallationsPost or link to your detailed how to / installation articles in here. If you have any questions regarding the how tos, feel free to post them in the Request sub-forum.
Picked up the HKS super turbo exhaust from Kamispeed as I was looking for a quiet aftermarket exhaust. The exhaust works great and is completely low key in sound but visually eye catching and high quality. It is notable that you have to remove the left tow hook in order to install this exhaust - this is outlined below. So if you have one, look below to get it on!
Post 1 - Exhaust removal and preparation
Post 2 - HKS Super Turbo cat-back Installation
Step 1: Jack up your car. Here is the appropriate jack spot on the rear differential. I cushioned it a bit by sawing a shoe in half.
Step 2: Place Jackstands
Step 3: Spray some PB blaster on the bolts between the catalytic converter and midpipe, probably will need a breaker bar or just rig up something like I did in the pic to get it loose.
Step 4: Find the hanger near the rear axle, there is a bolt here, take it off.
Step 5: Place something on the ground under the muffler like some cardboard. Find the hangers on both sides of the stock muffler. For now leave them on the muffler work them loose from the car mounts. A little WD-40 can be helpful to get them off.
Step 6: Drop it like its hot. But seriously you should do this while the car is cool.
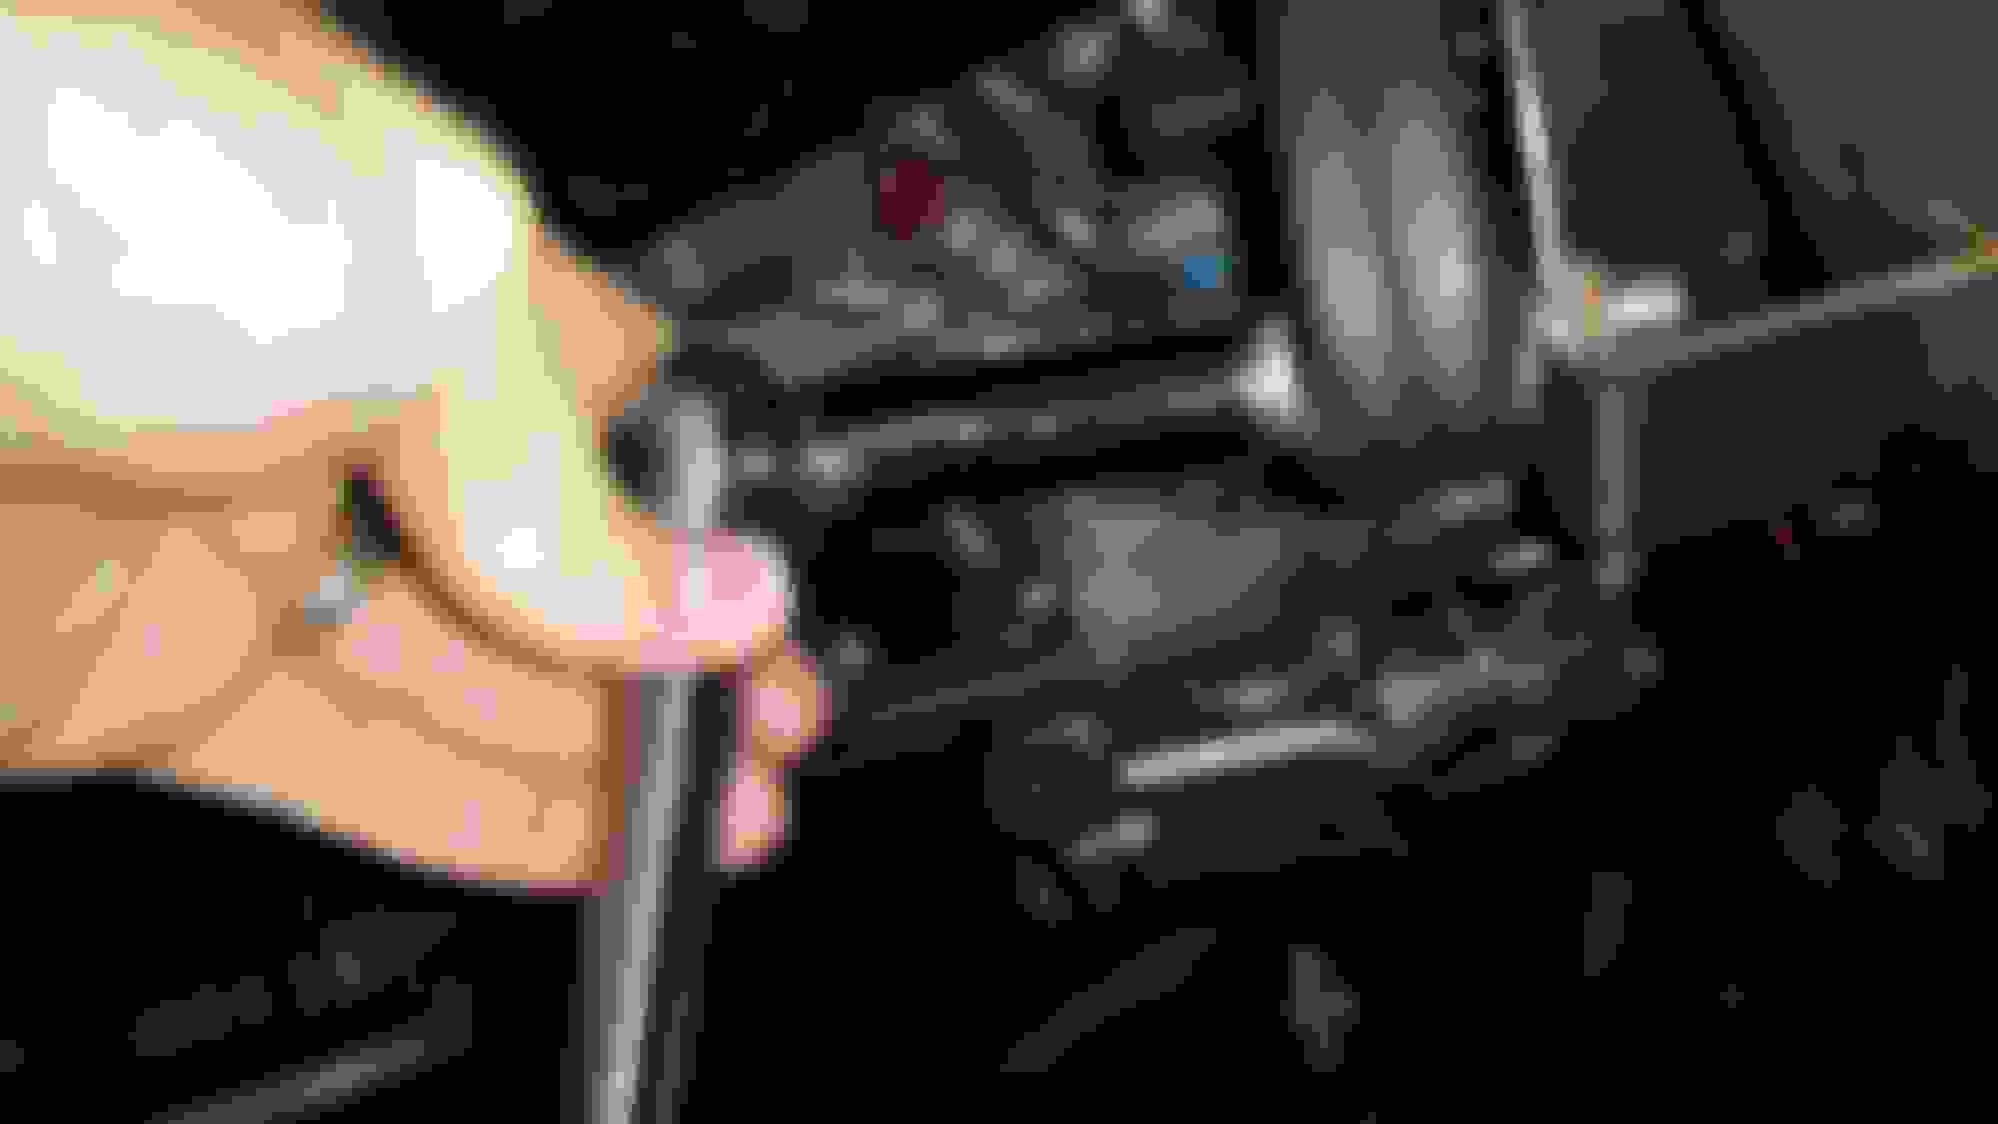
Step 7: Get Angry. Because you have to remove the left tow hook. Locate it and remove the 4 bolts and one plastic snap thing. The black ones on top take some serious force I had to basically use my leg to push the wrench hard enough. You will get them loose but you won't be able to back out the bolts that are horizontally oriented. This is because to back them out you will have to shift over the black box next to it. I think this box is for the windshield washer fluid or something. Not sure but you have to loosen it and shift it.
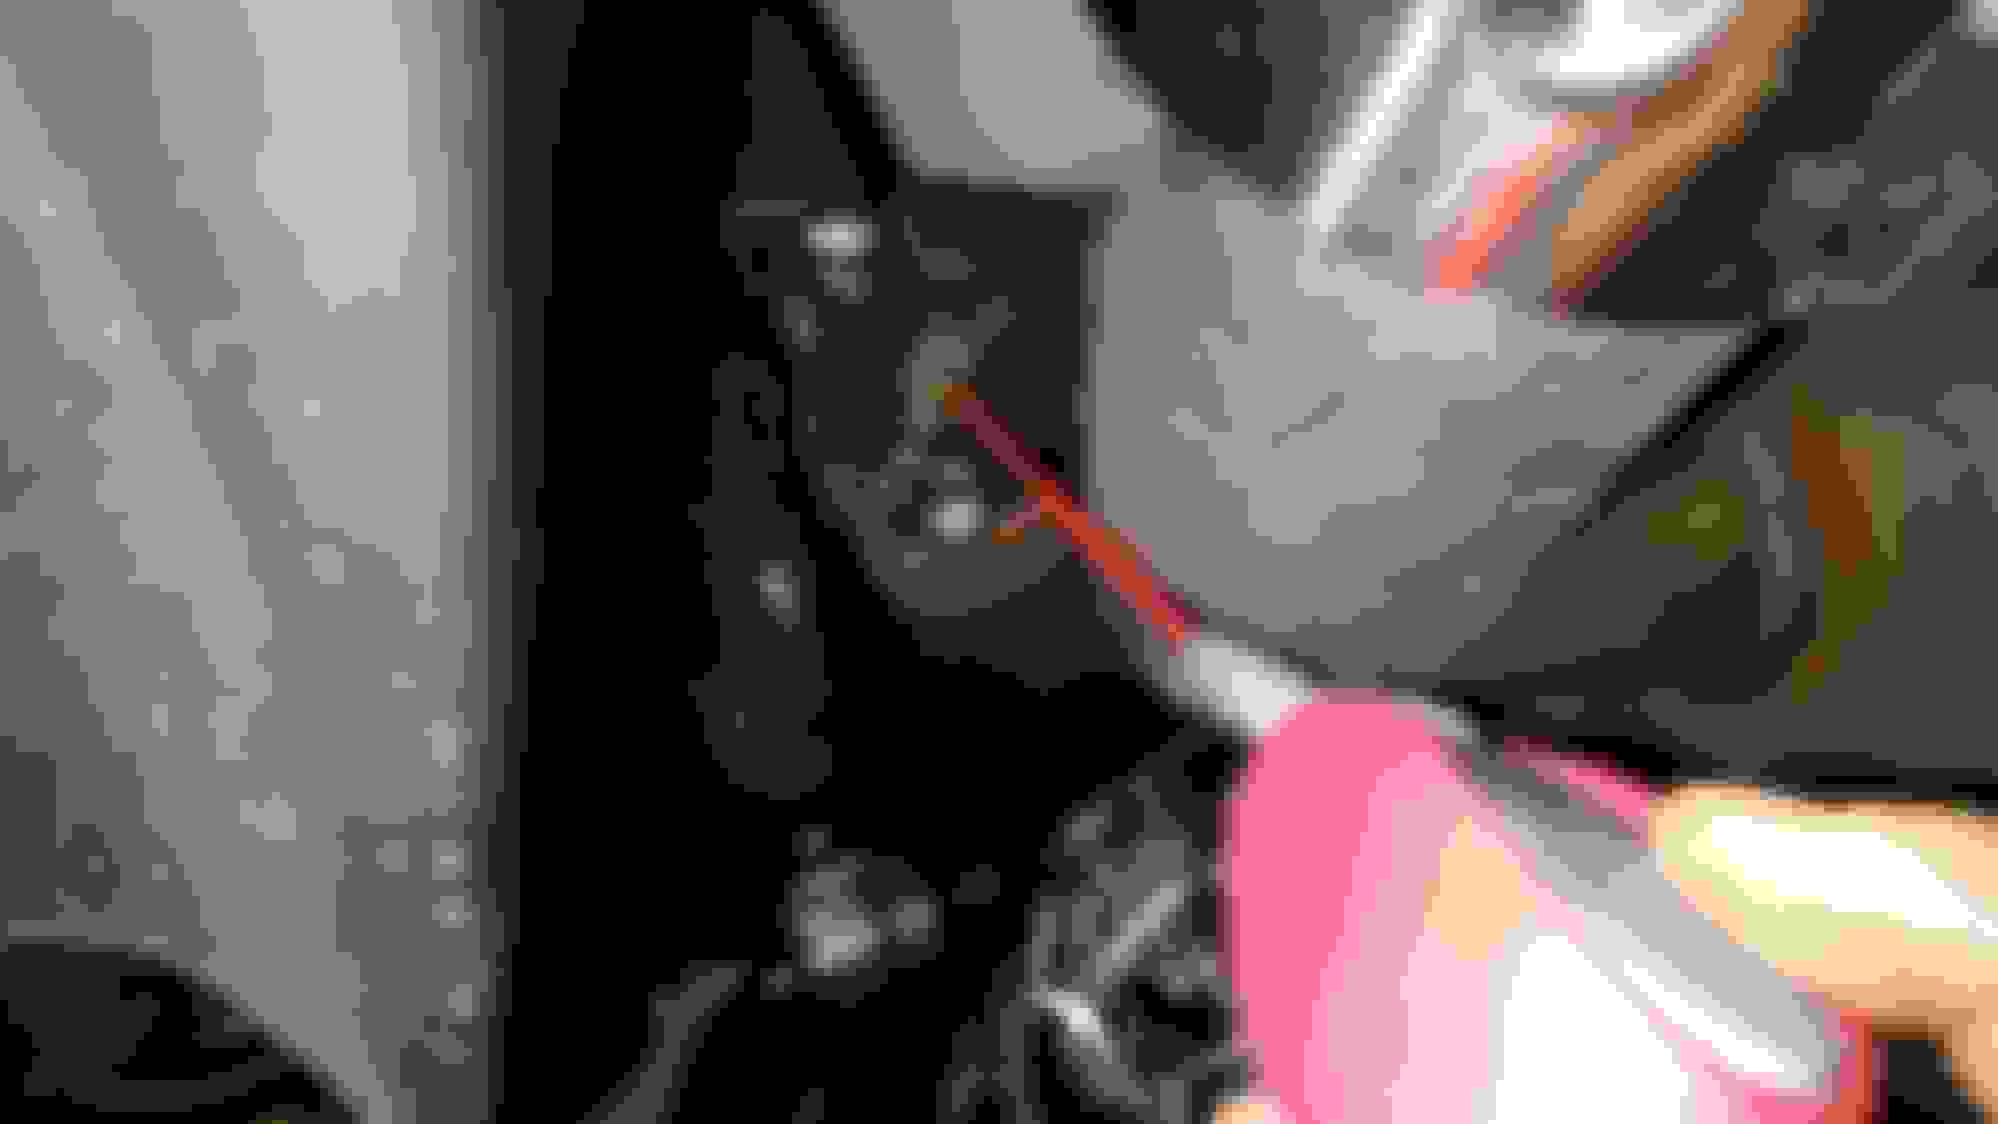
Step 8 - Loosen the black box, there is three bolts, one more central to the car and two on the outside. Have fun they are hard to find. I have two pictured here. It was hard to get a good shot.
Step 9: Shift the black box over and pull the bolts out the back side. This is like operation the game but with a lot more cursing. Hope you don't have big hands.
Step 10 - Install this small bracket in place of where the tow hook once was.
Step 1 - Position cat-back in place, put some cardboard down so you don't scuff or scratch up the beautiful new pipes. Just set them out but don't bolt them together or anything. Would also be a good time to transfer the black hanger rubber things. The stoc one is used on the right side of the muffler, on the left you use the one HKS provided.
Step 2 - Prop up the back end of the midpipe and bolt up the front. May want to use some anti-sieze here so the bolts don't get stuck.
Step 3 - Go ahead and attach the midpipe back section bracket to the hanger via the bolt. Don't forget to put the washers on both sides like I did. I have to go back and do that.
Step 4 - Lift up the left hanger of the muffler first, then the right. I opted to have the hangers installed on the muffler and hang them up on the car mount points. You can do it differently I suppose this is just what worked for me.
Step 5 - Once the muffler is up, line everything up best you can. Your going to be pissed because one of the pipes won't line up or something. Stick with it and shift the muffler different directions on the hangers. It will fit with some effort. Once you get things to where you can get the bolts through, go ahead and finger tighten all the bolts, follow this with tightening all of the bolts at the cat hookup and the two muffler to midpipe bolts taking turns until they are snug. Don't overtighten these you can snap them off.
Step 6 - Clean up, lower car and turn it on. Take some pics and send to your friends. Test drive. Take a shower. In that order specifically.
Pics are up. Appreciate the feedback and the random link for a bumper reflector.
Originally Posted by Vieneli
That is truly a clean install....great details and pictures too
Appreciate it. I am going to try to document all my upgrades like this.
Originally Posted by VDubJCabe
Very nice write up. Great job with the pictures. I'm installing the HKS Hi Power cat back on my Evo next week. Even more stoked after reading this!
Let me know if you have to remove the tow hook for that one too. I thought that was weird. Tow hook removal was the hardest part.
Originally Posted by mizono
Great install post. Would you happen to have any video clips?
You want one of how it sounds or of the installation? If its a sound clip I know HKS has one on youtube. I could put one up too if you have specific request etc.
I was looking for a video clip of the car accelerating after you've installed the exhaust, I figured you recorded one already. If the videos from HKS are pretty accurate than I would hate for you to go out of your way.
Just a follow up from me previous post about install the HKS Hi Power Cat Back, I did not have to remove the tow hook for installation. Although it was a bit tougher to get on that one side I was able to slide the rubber bushing over the hook with a help from a buddy. I can see why you had to remove yours to get your cat back on. Its definitely easier with the Hi Power because its 3 pieces instead of 2.
Hi, your write up was absolutely helpful for me to install the same exhaust on my car. However, just wanted to let you know that I didnt find it necessary to remove the left tow hook either.
Just received my exhaust yesterday. Wonder how did u place those two ring style gaskets for the rear muffler since i can not read Japanese. Don't know if there is a facing for those two gaskets.
Just received my exhaust yesterday. Wonder how did u place those two ring style gaskets for the rear muffler since i can not read Japanese. Don't know if there is a facing for those two gaskets.
I vaguely remember those gaskets. Do you have a pic of them?


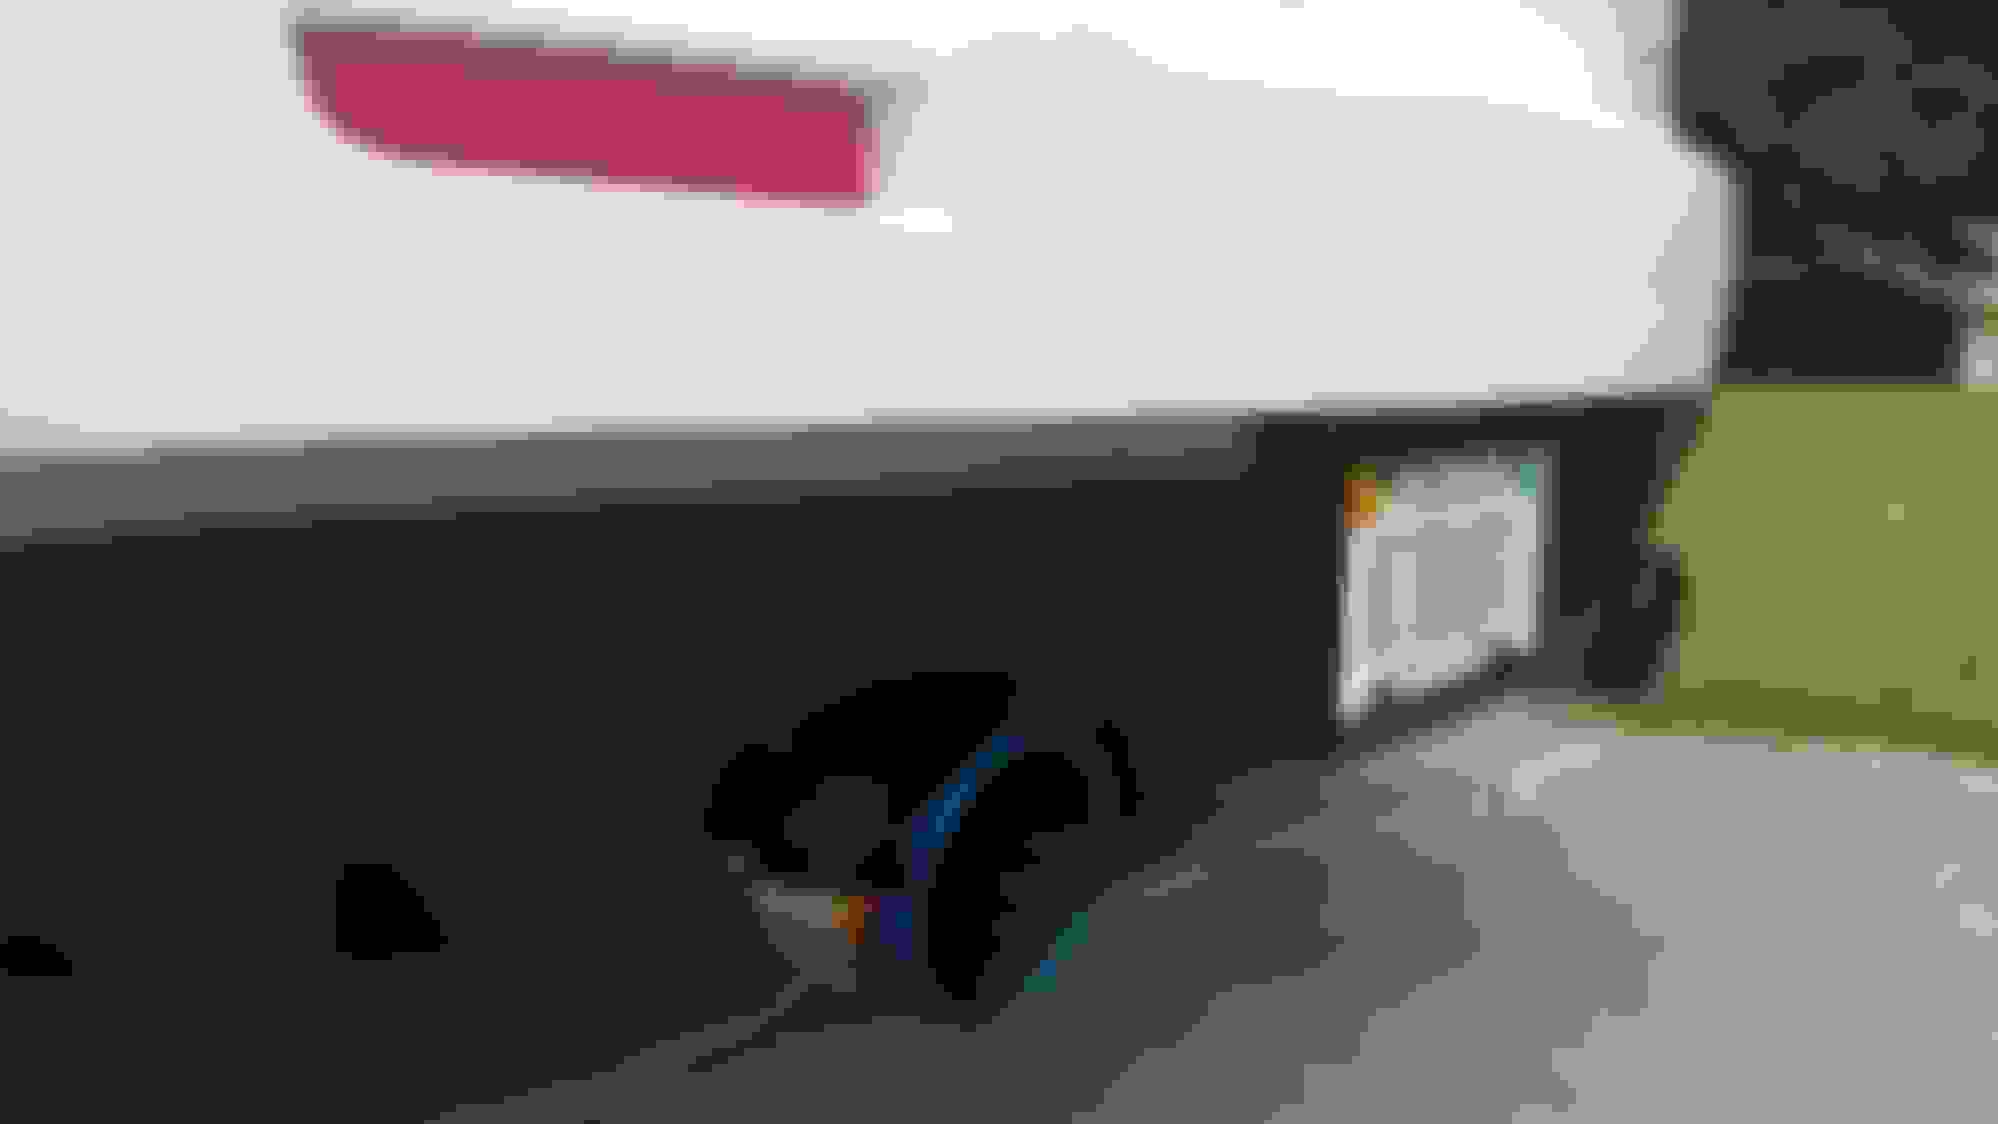


 Lens LED Bumper Reflector Tail Brake Light Mitsubishi Lancer EVO Xhttp://www.ebay.com/itm/2Pcs-Mitsubi...hUPJil&vxp=mtr


