02 lancer wont start after installing silencer
#122
Evolving Member
Thread Starter
Hey guys  ! I'm sure you guys are thirsty for updates haha. Well the head removal was a success, I'll upload pics asap. Did not really have any major issues with removing it, was an acceptably straight forward task. Definitely worth it for someone who plans to be a DIY mechanic on a car that you've come to love(namely Mitsubishi Lancers) and plan to own one for the rest of your days lol...definitely nice to have something like this behind you
 ! I'm sure you guys are thirsty for updates haha. Well the head removal was a success, I'll upload pics asap. Did not really have any major issues with removing it, was an acceptably straight forward task. Definitely worth it for someone who plans to be a DIY mechanic on a car that you've come to love(namely Mitsubishi Lancers) and plan to own one for the rest of your days lol...definitely nice to have something like this behind you
#123
Evolving Member
Thread Starter
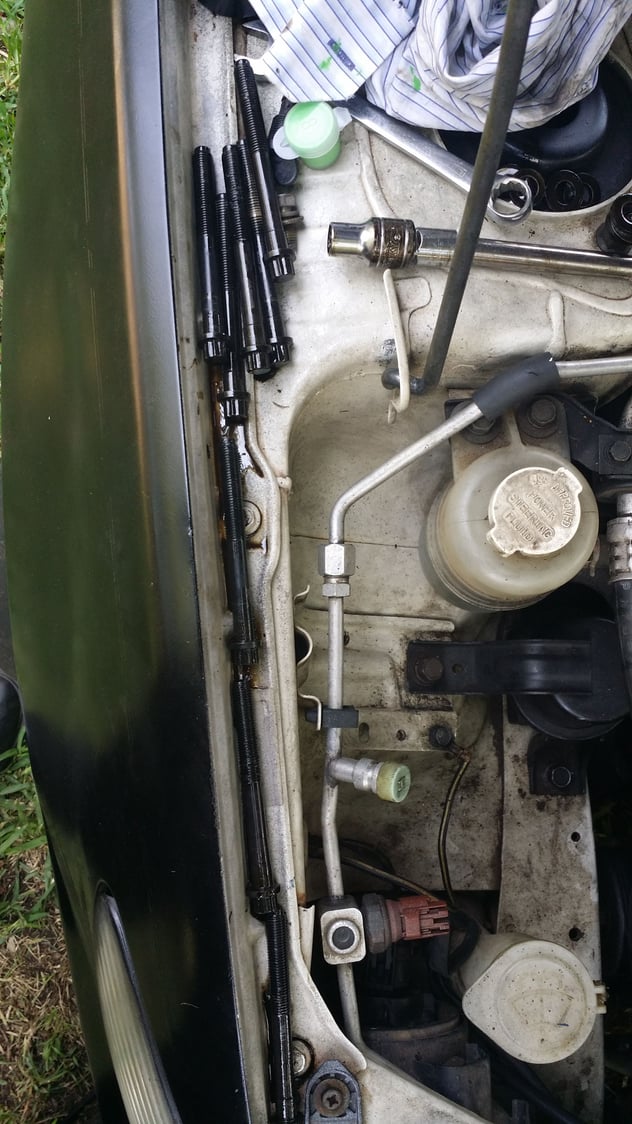
The old head bolts
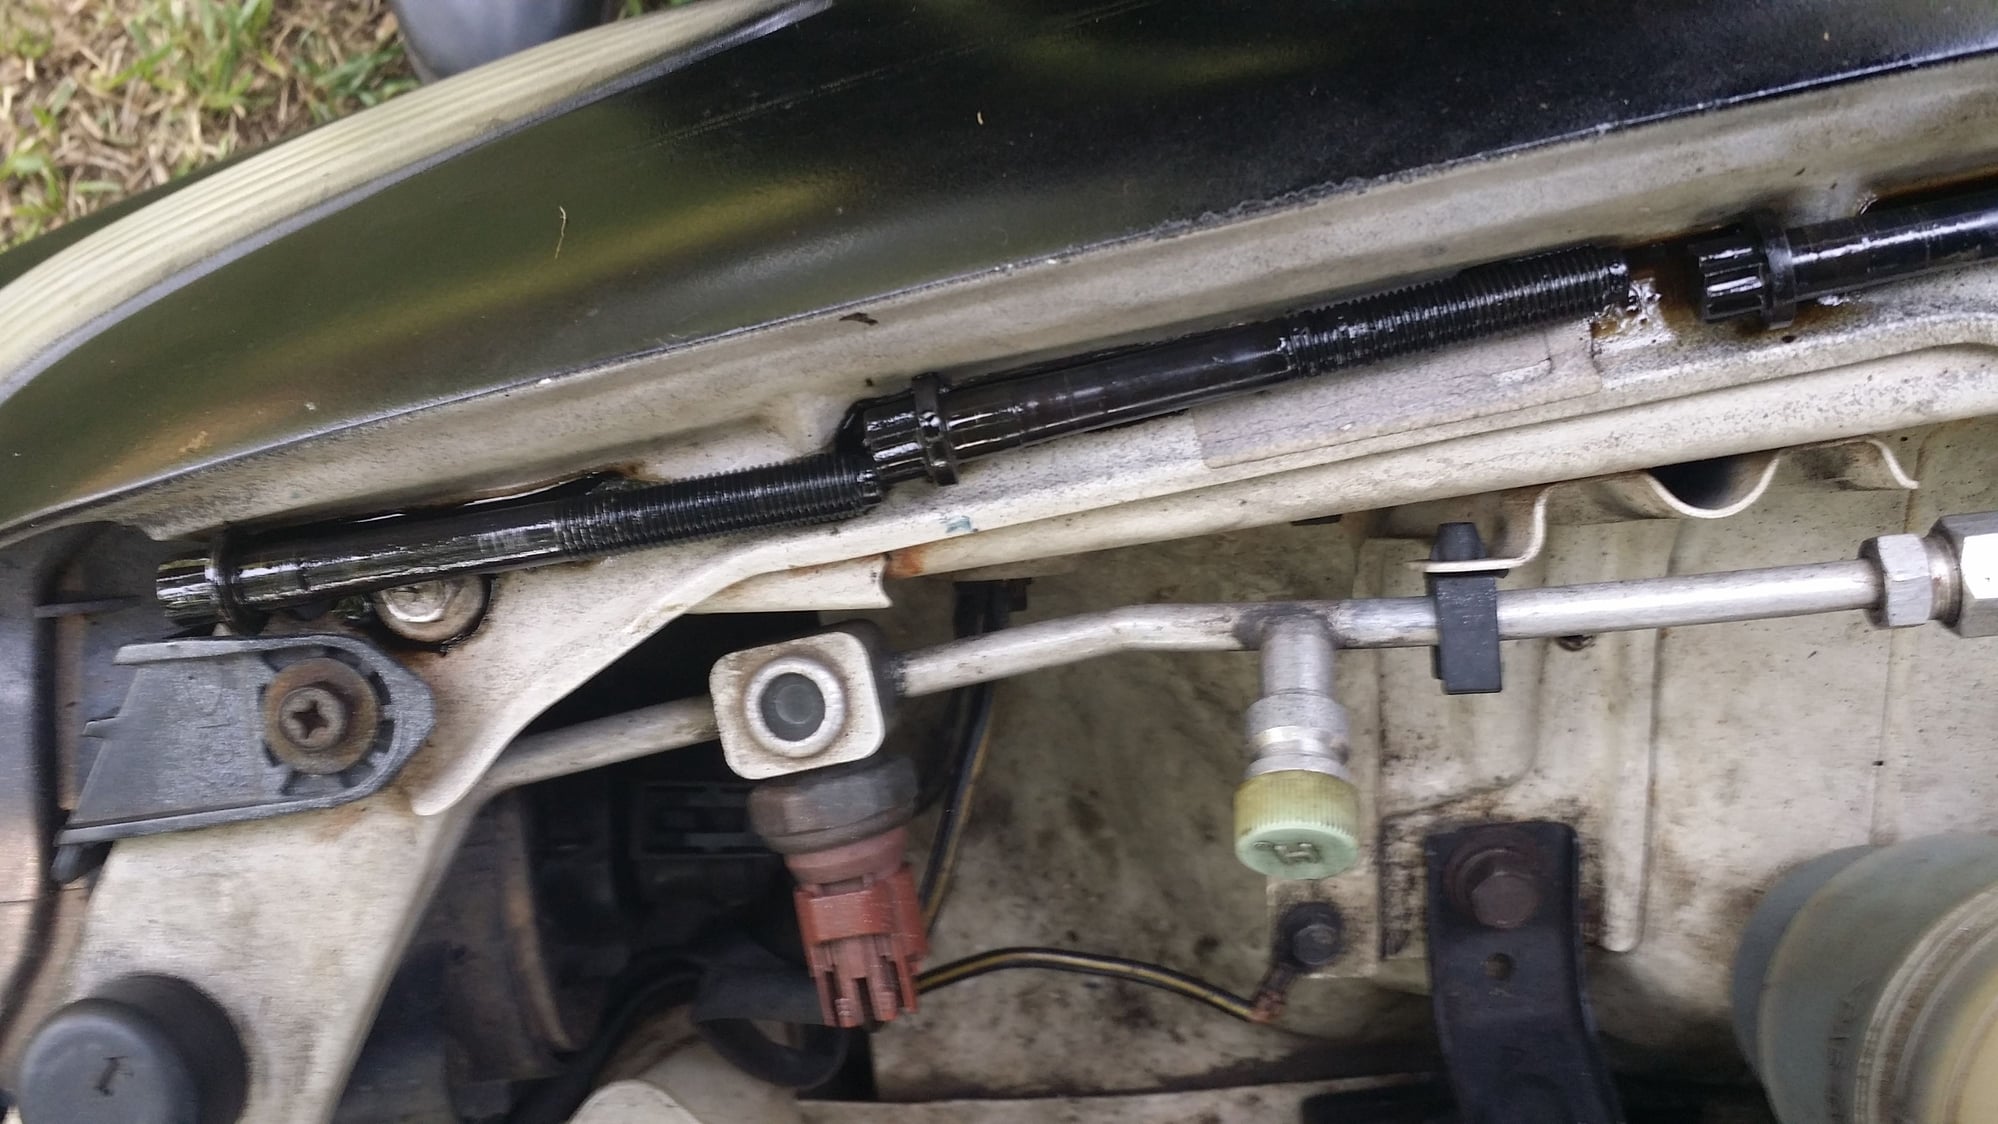
Old head bolts
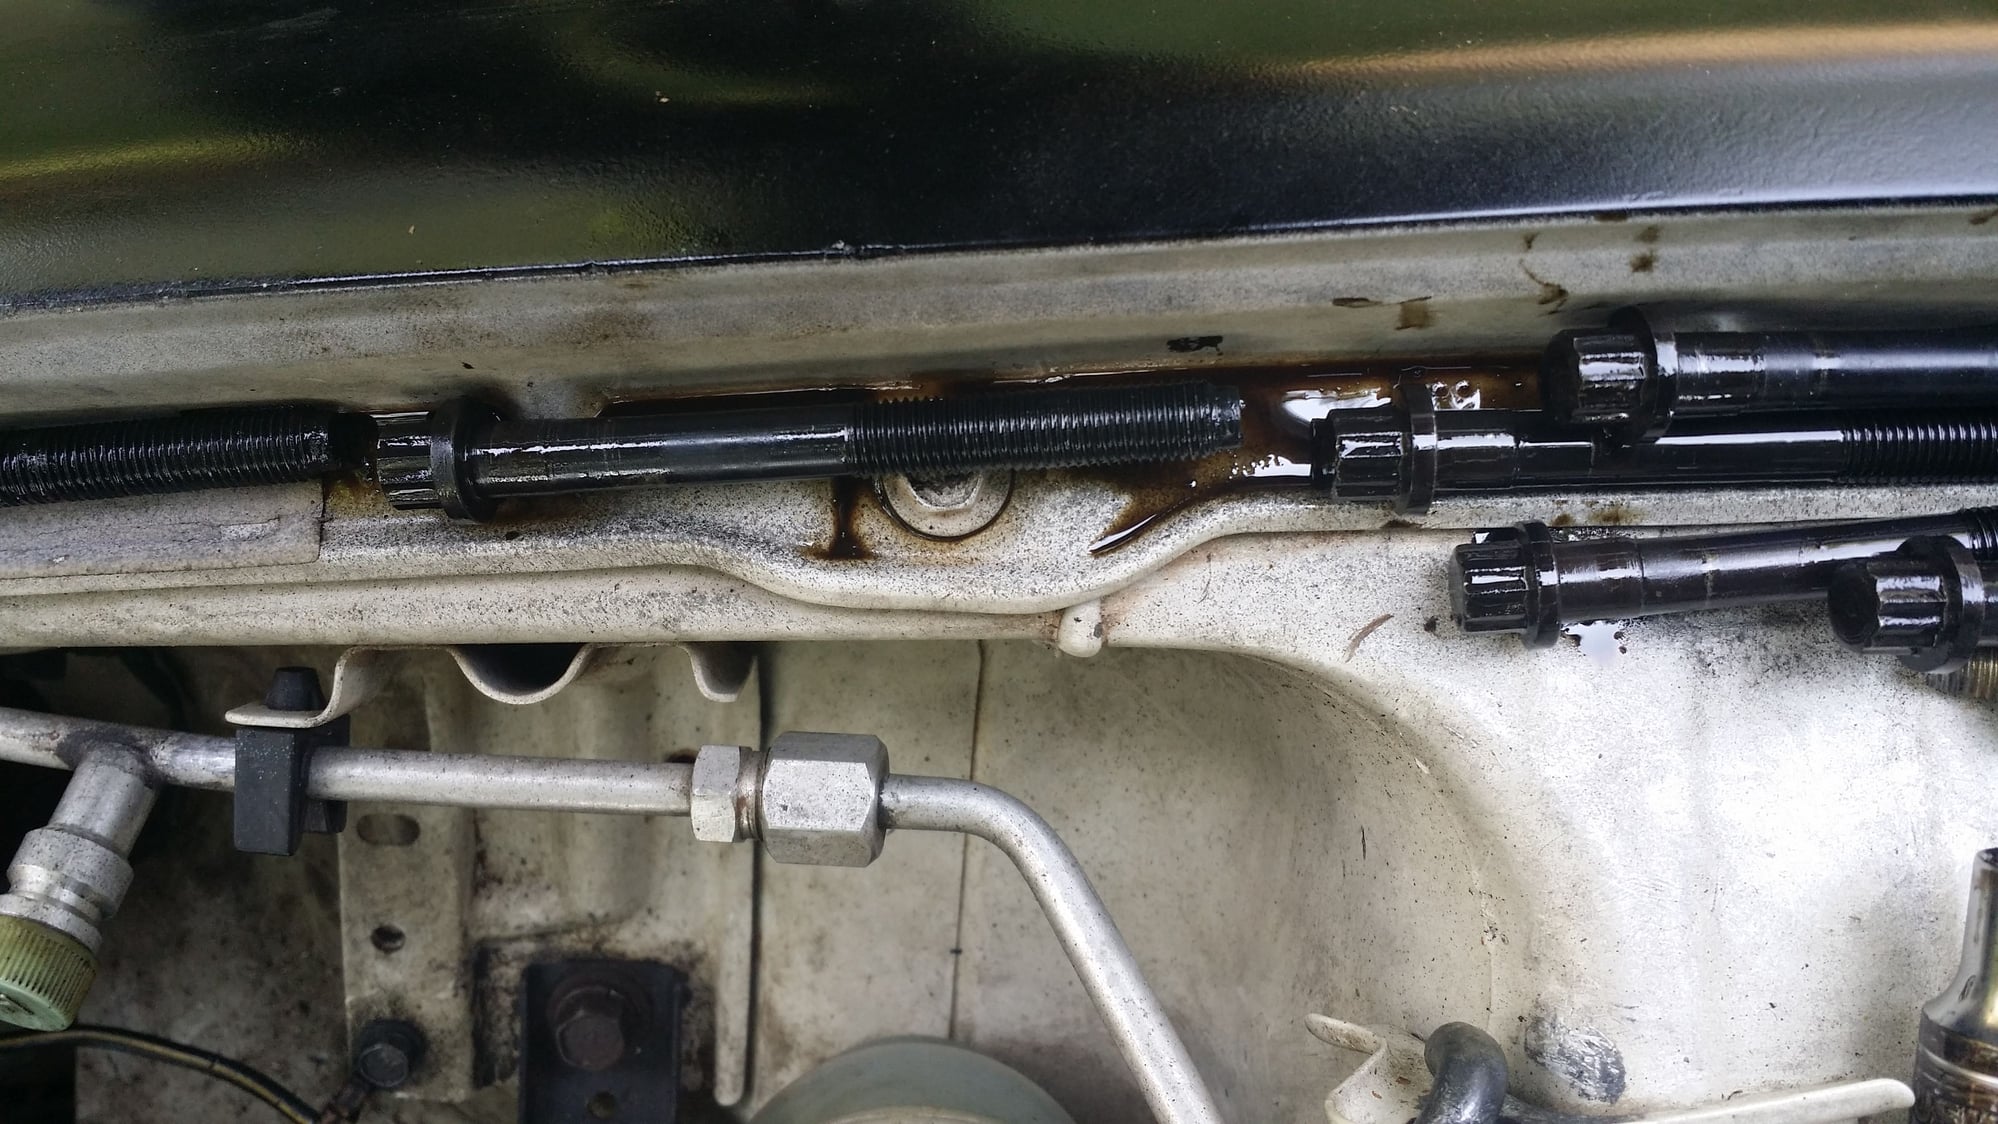
Old head bolts, ok so they look normal...all except one, notice below
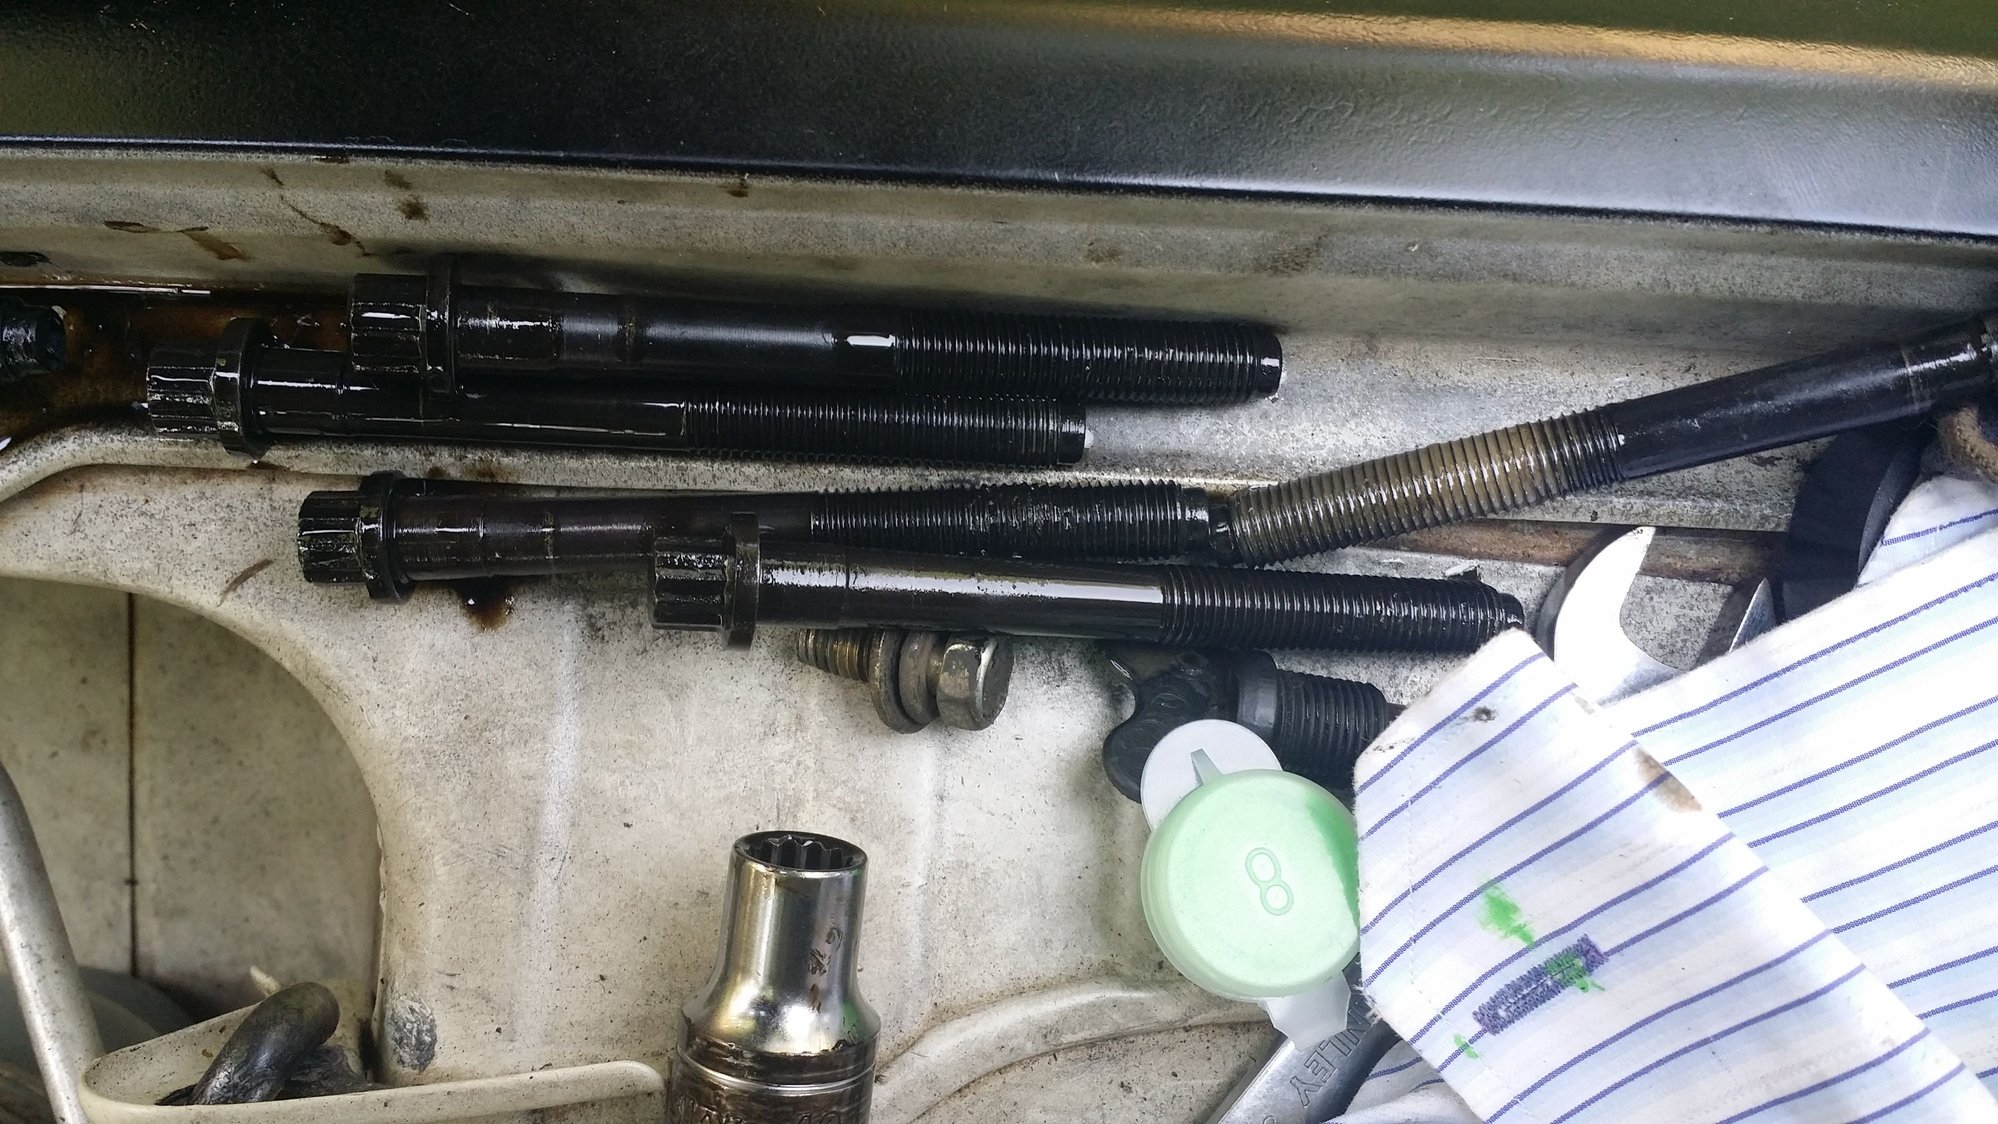
Notice anything different about 1 of the bolts?
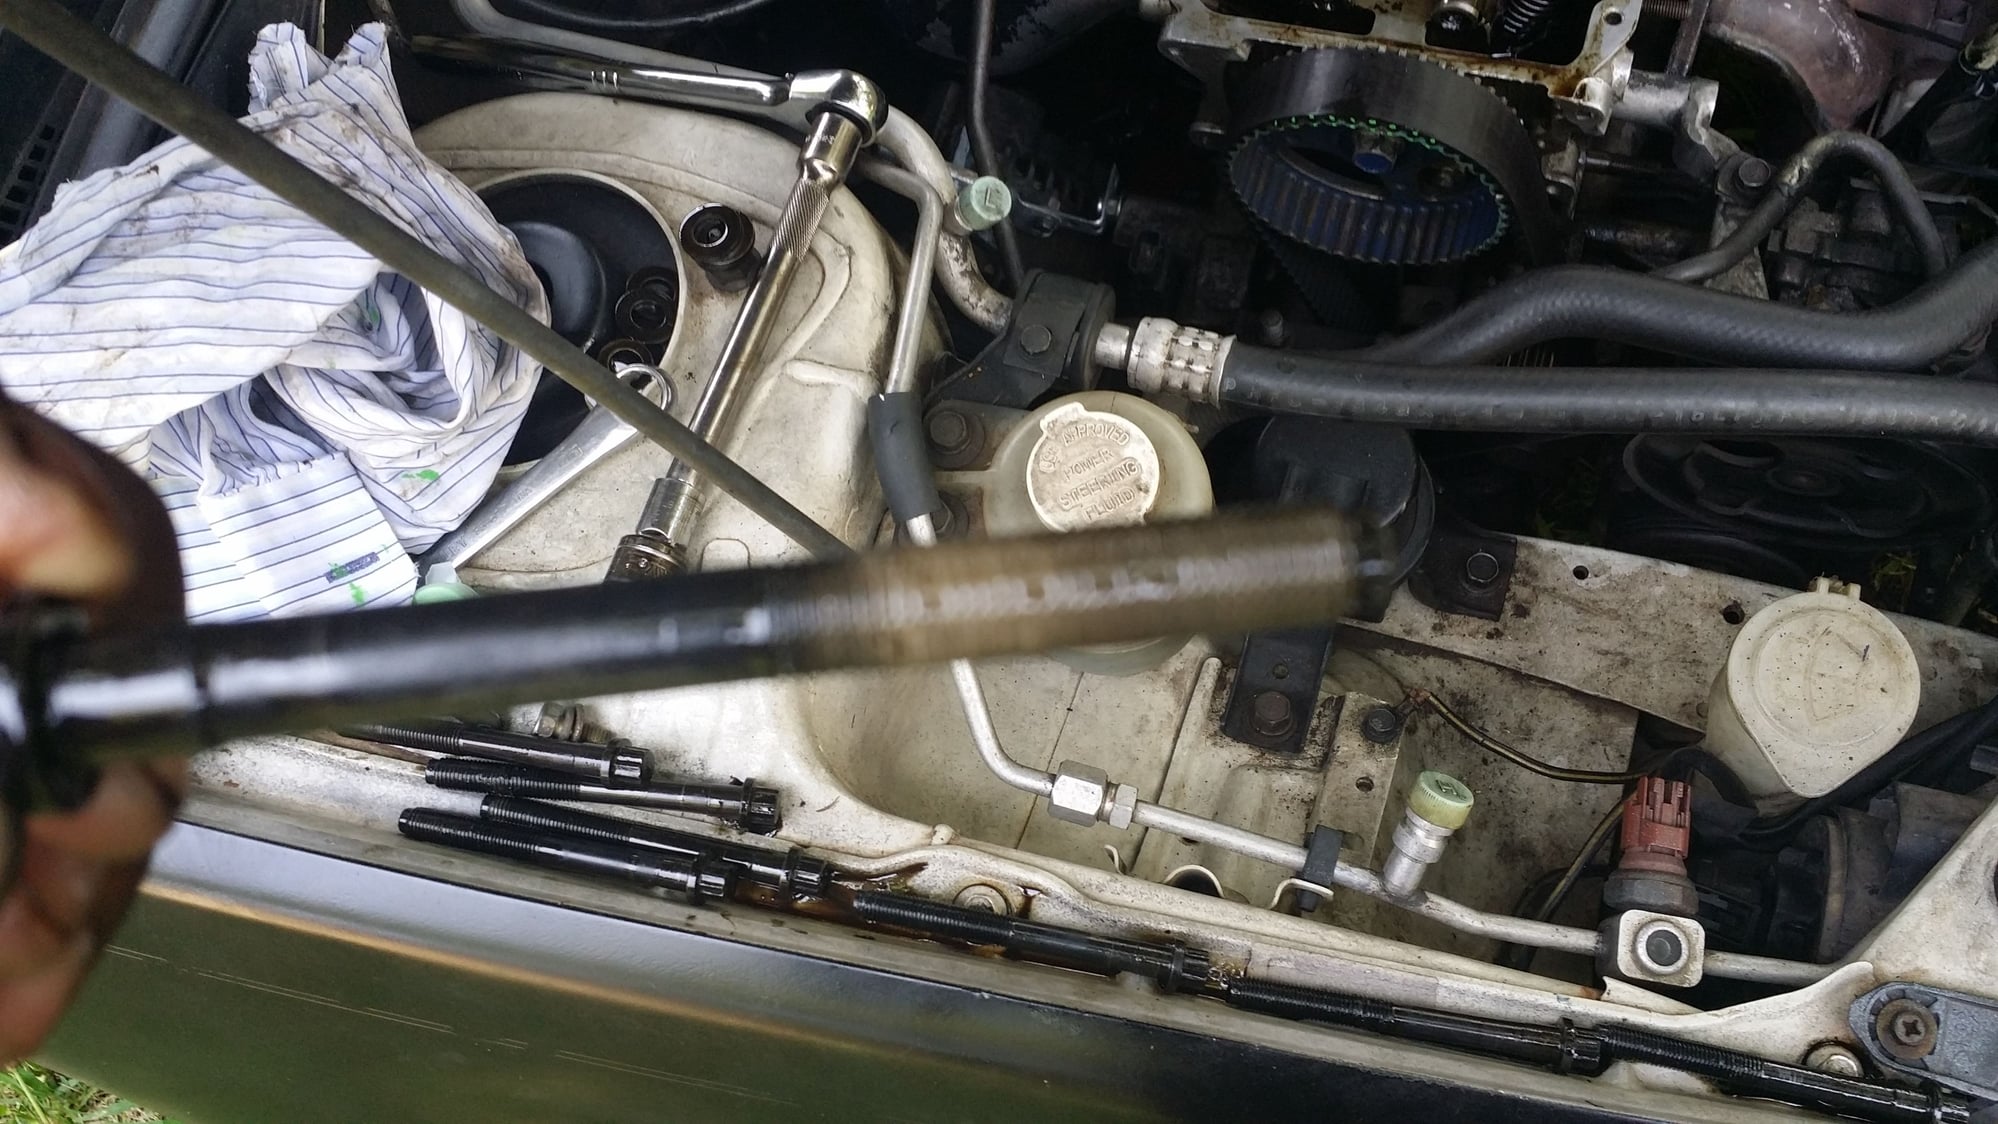
Here's a closer look, for some reason the threads of this one bolt is covered in a really thick milky substance...very interesting. And what is more is it literally stinks. I has a real stinky smell to it. Definitely smells like something different. Could be some kind of a sealant. But it's only on this one bolt, all other bolts are clean(only covered in oil of course)
#124
Evolving Member
Thread Starter
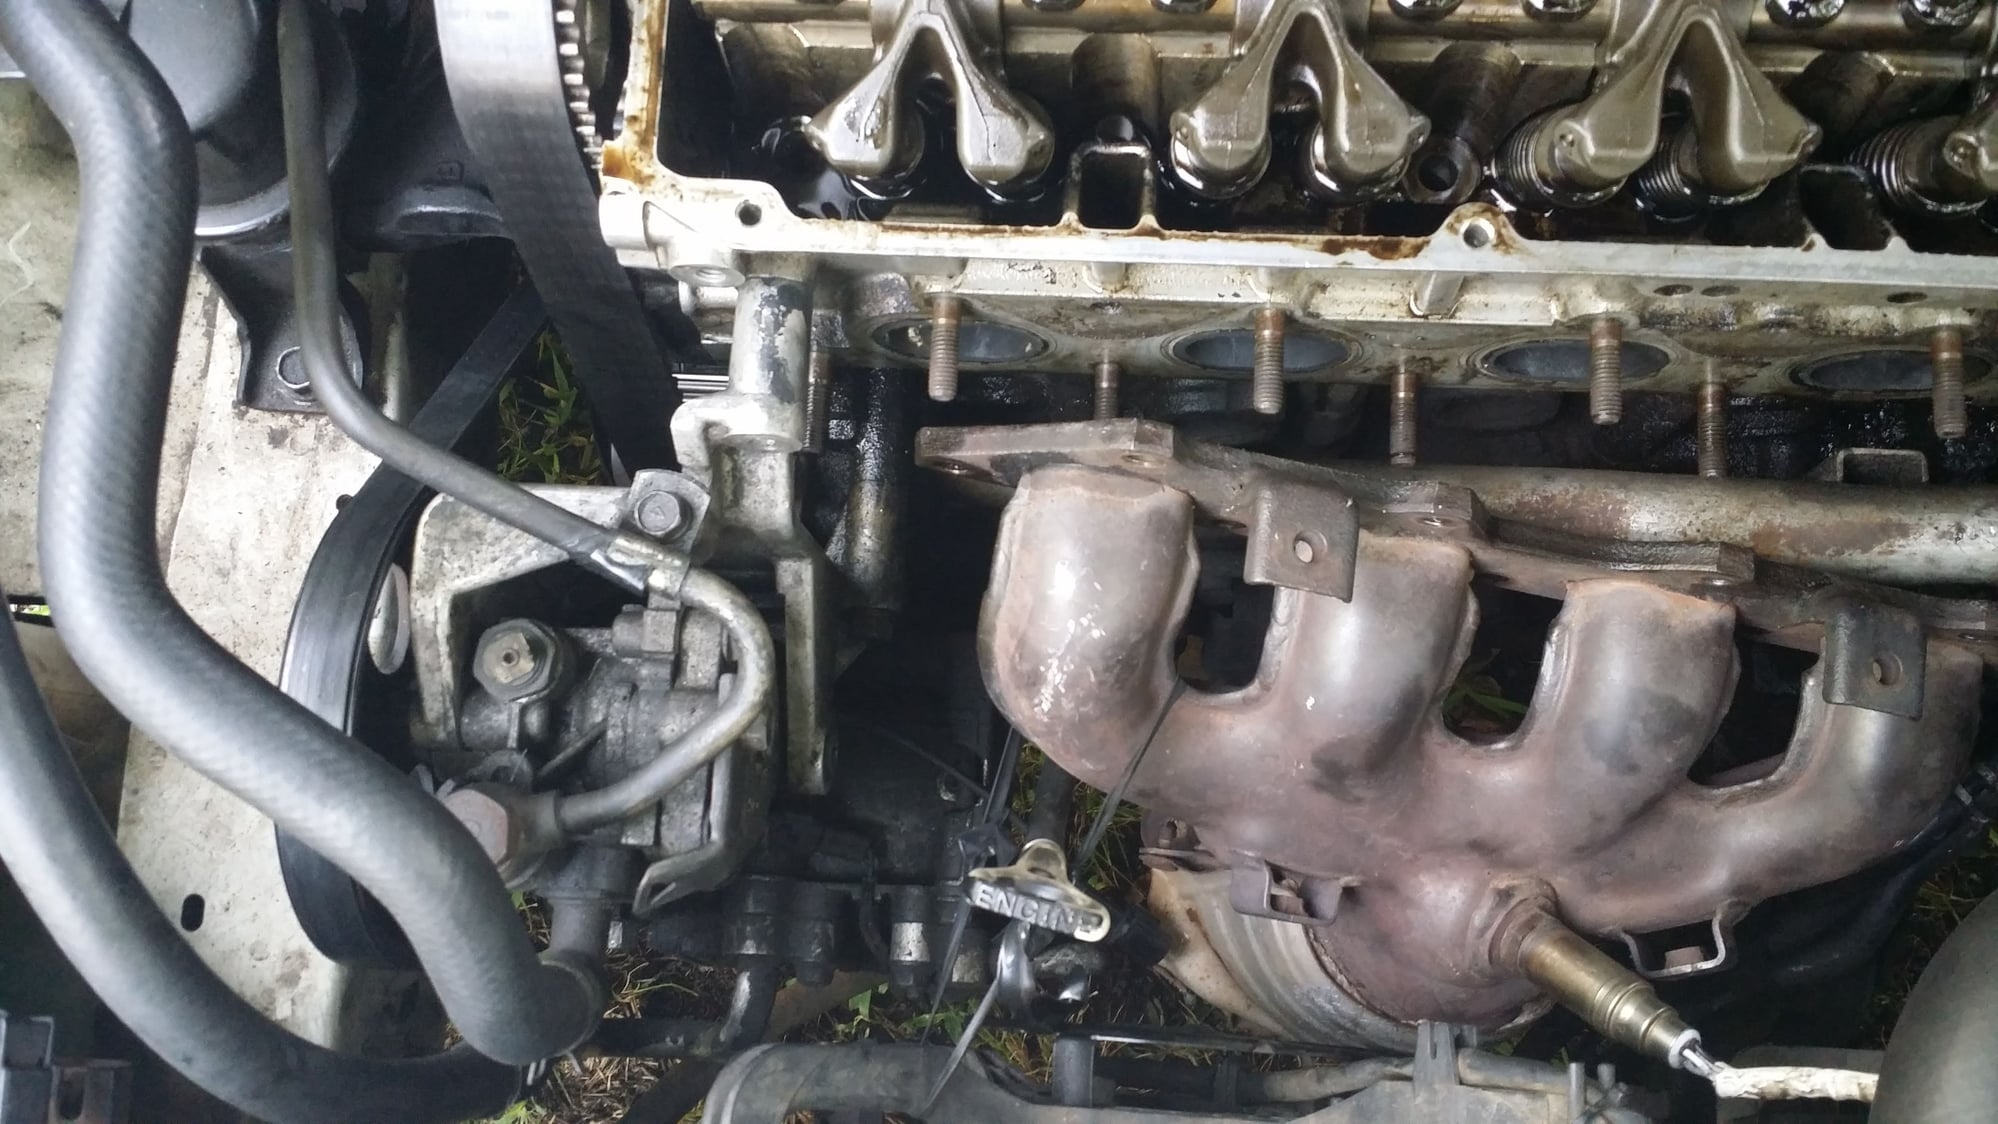
Just some process pics
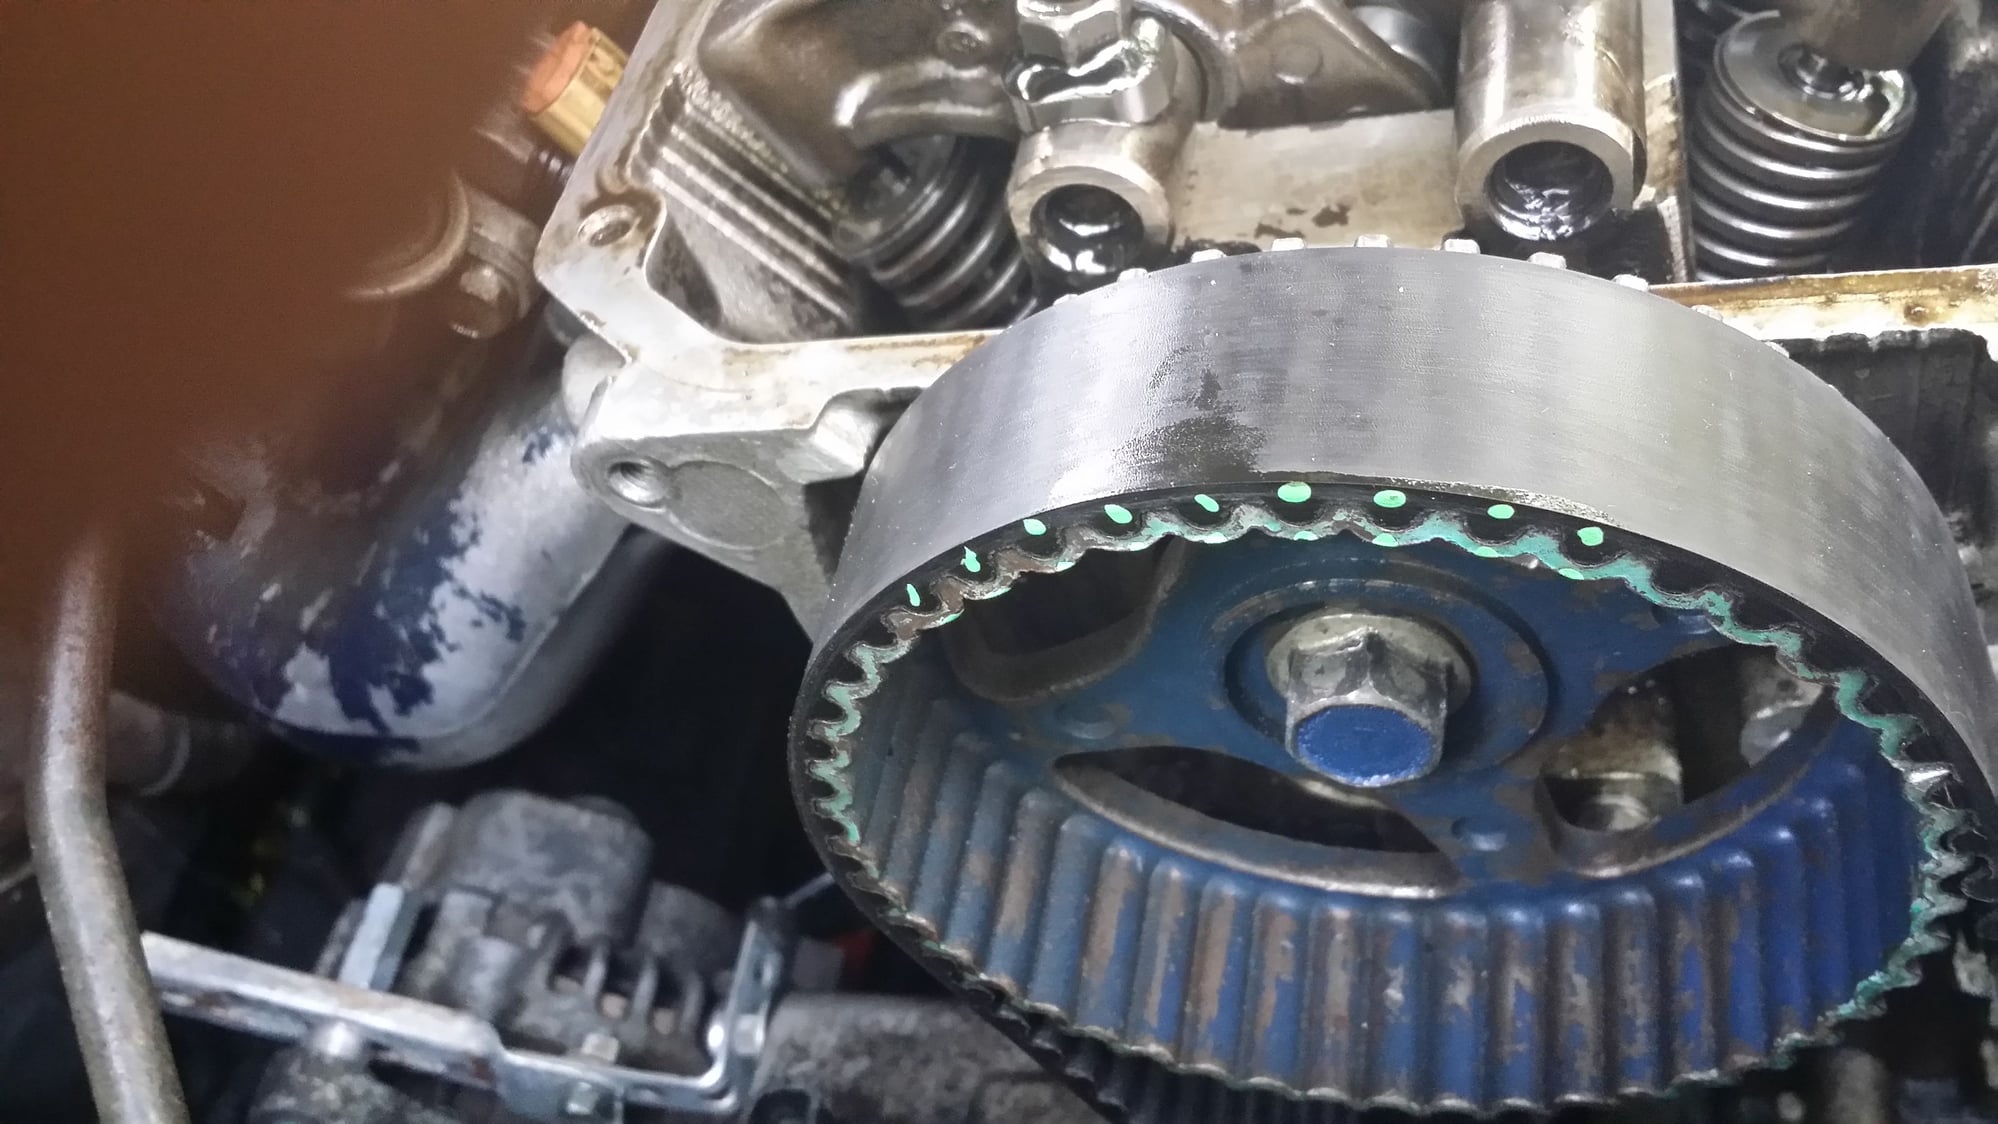
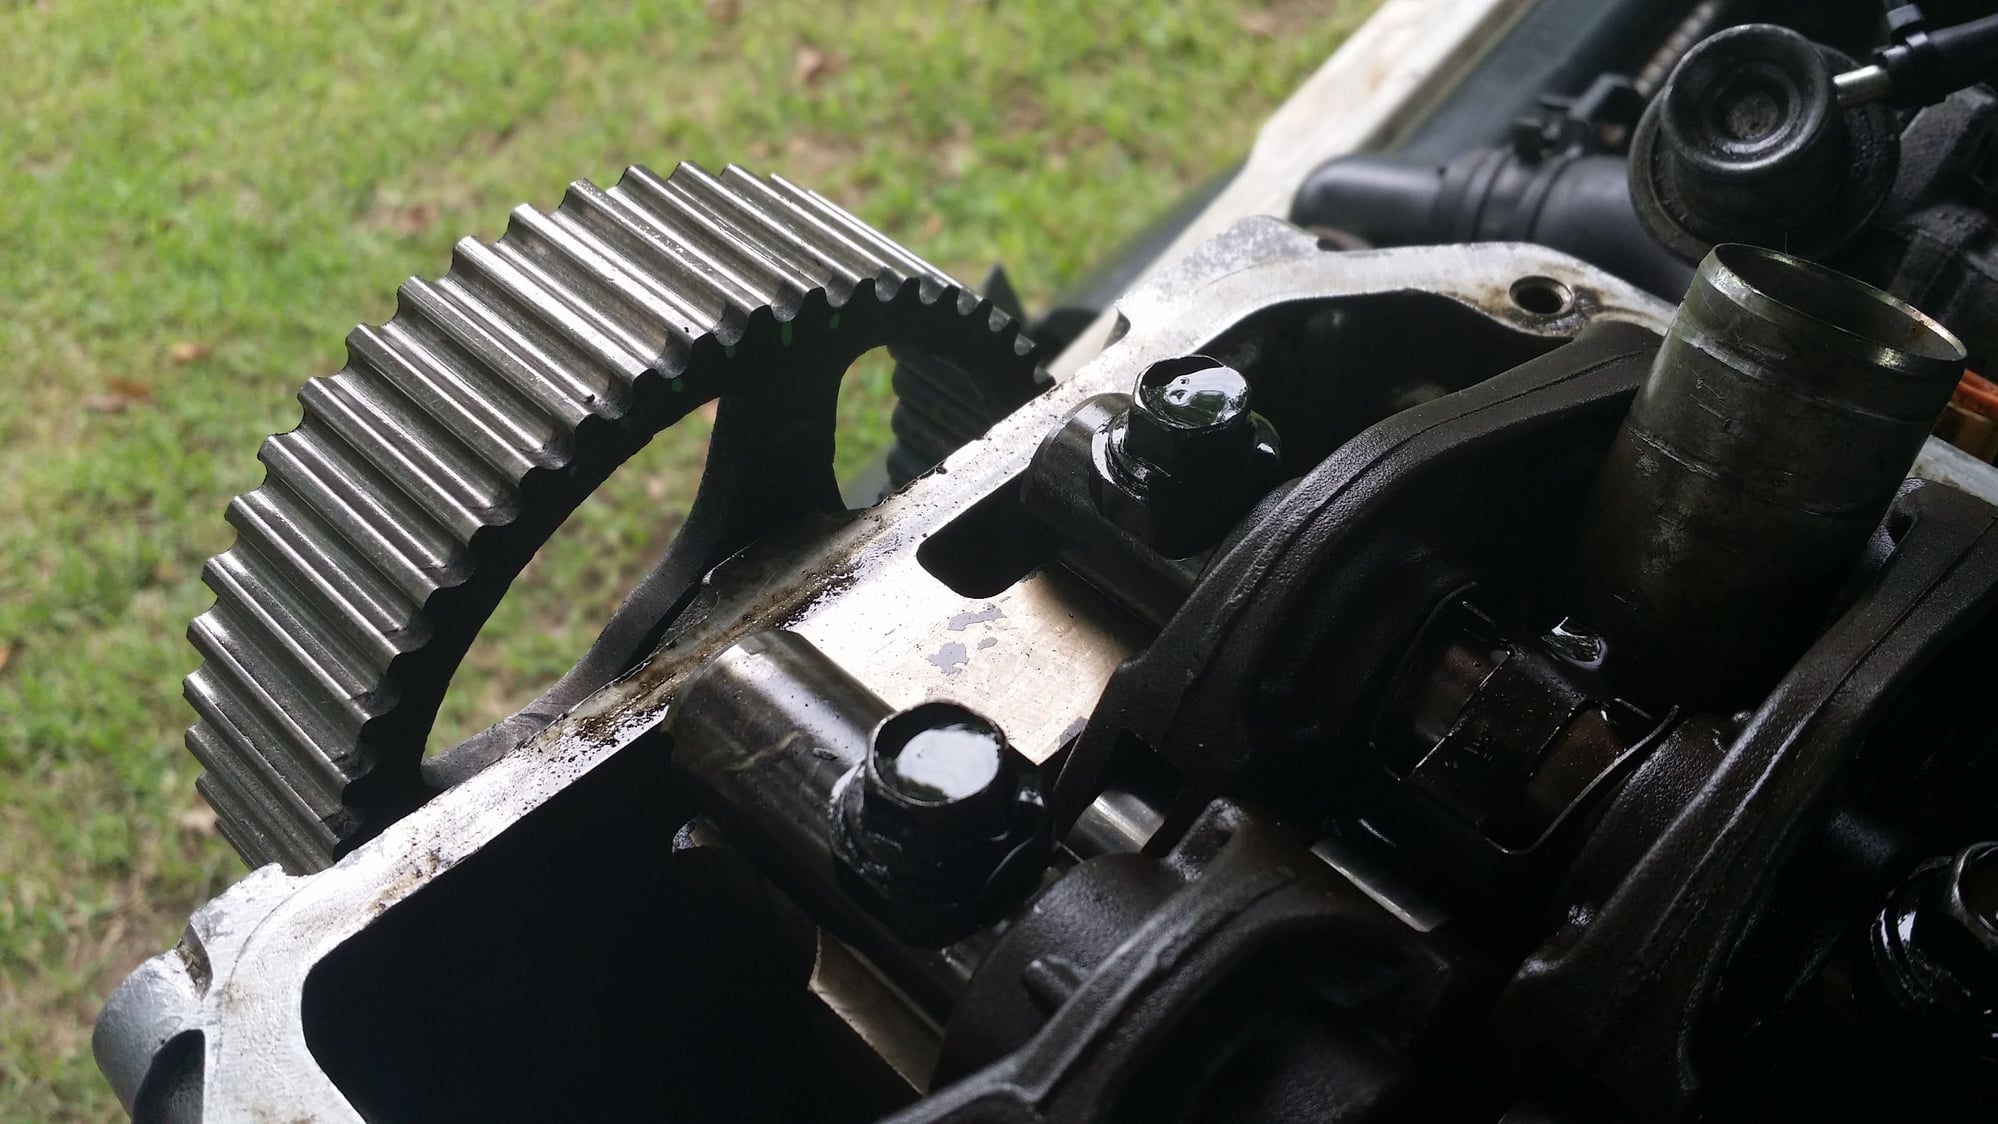
Here you can see what the alternator tensioner adjuster officially turned out to look like hehe. But anyway this pic shows how I'm trying/hoping/praying the timing doesn't get messed up. I used some paint to mark on the pulley and belt. I did this on the front side here and on the back also. So if the belt doesn't move, and the pulleys don't move, the timing should stay the same right?
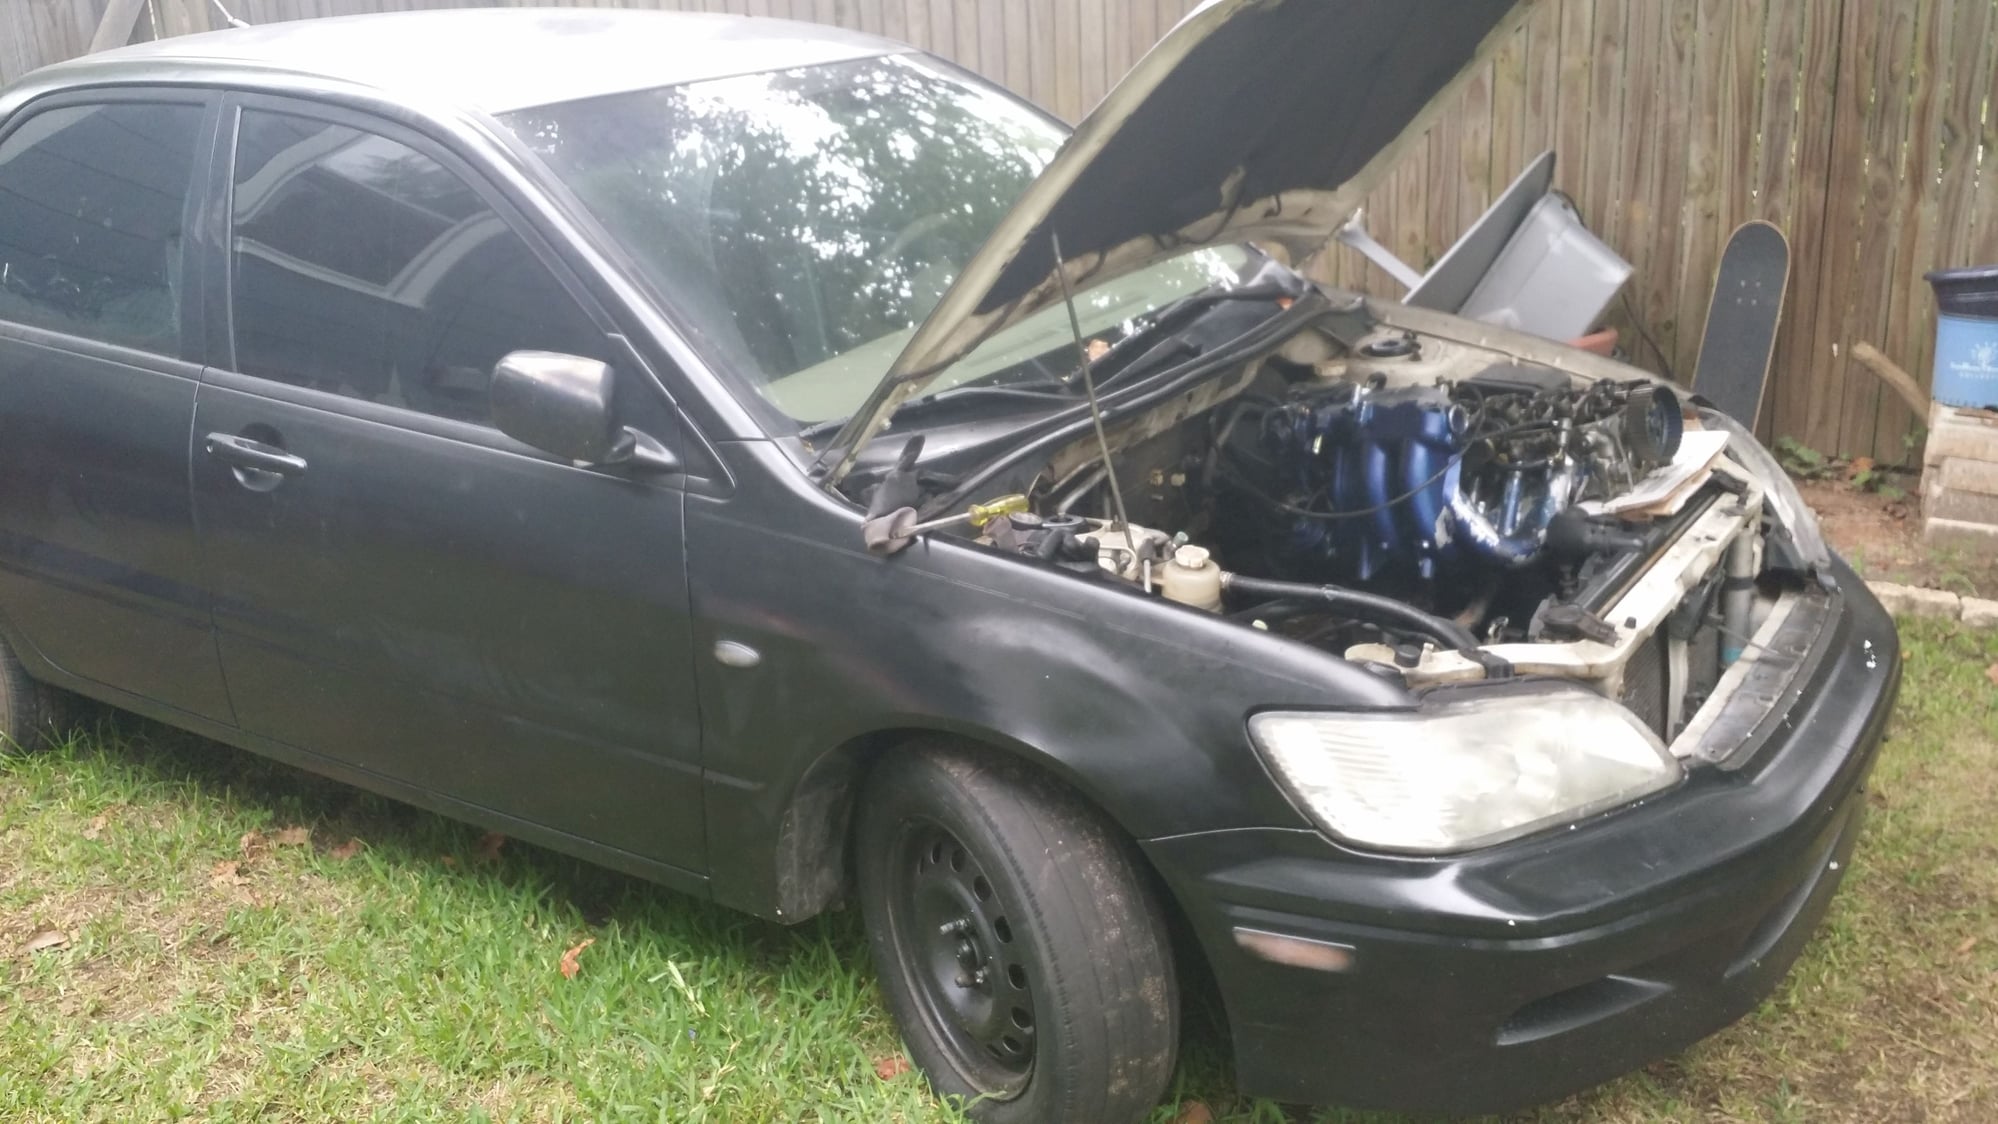
Just some progress pics, and yes in case you're wondering...yes I do plan to remove the blue paint from the intake manifold before everything gets reassembled

#125

Here's a closer look, for some reason the threads of this one bolt is covered in a really thick milky substance...very interesting. And what is more is it literally stinks. I has a real stinky smell to it. Definitely smells like something different. Could be some kind of a sealant. But it's only on this one bolt, all other bolts are clean(only covered in oil of course)
The following users liked this post:
Justinandcecil (Jul 28, 2016)
#126
Evolving Member
Thread Starter

Now remember guys this is the work of a first timer, and at this point in the process, I'm so excited and thrilled about what I'm seeing...wow I've never removed and engine head before lol. One thing I'm experiencing with this Lancer is there's a first time for everything, and, you learn something new everyday. Guess that's 2 things.
#127
Evolving Member
Thread Starter

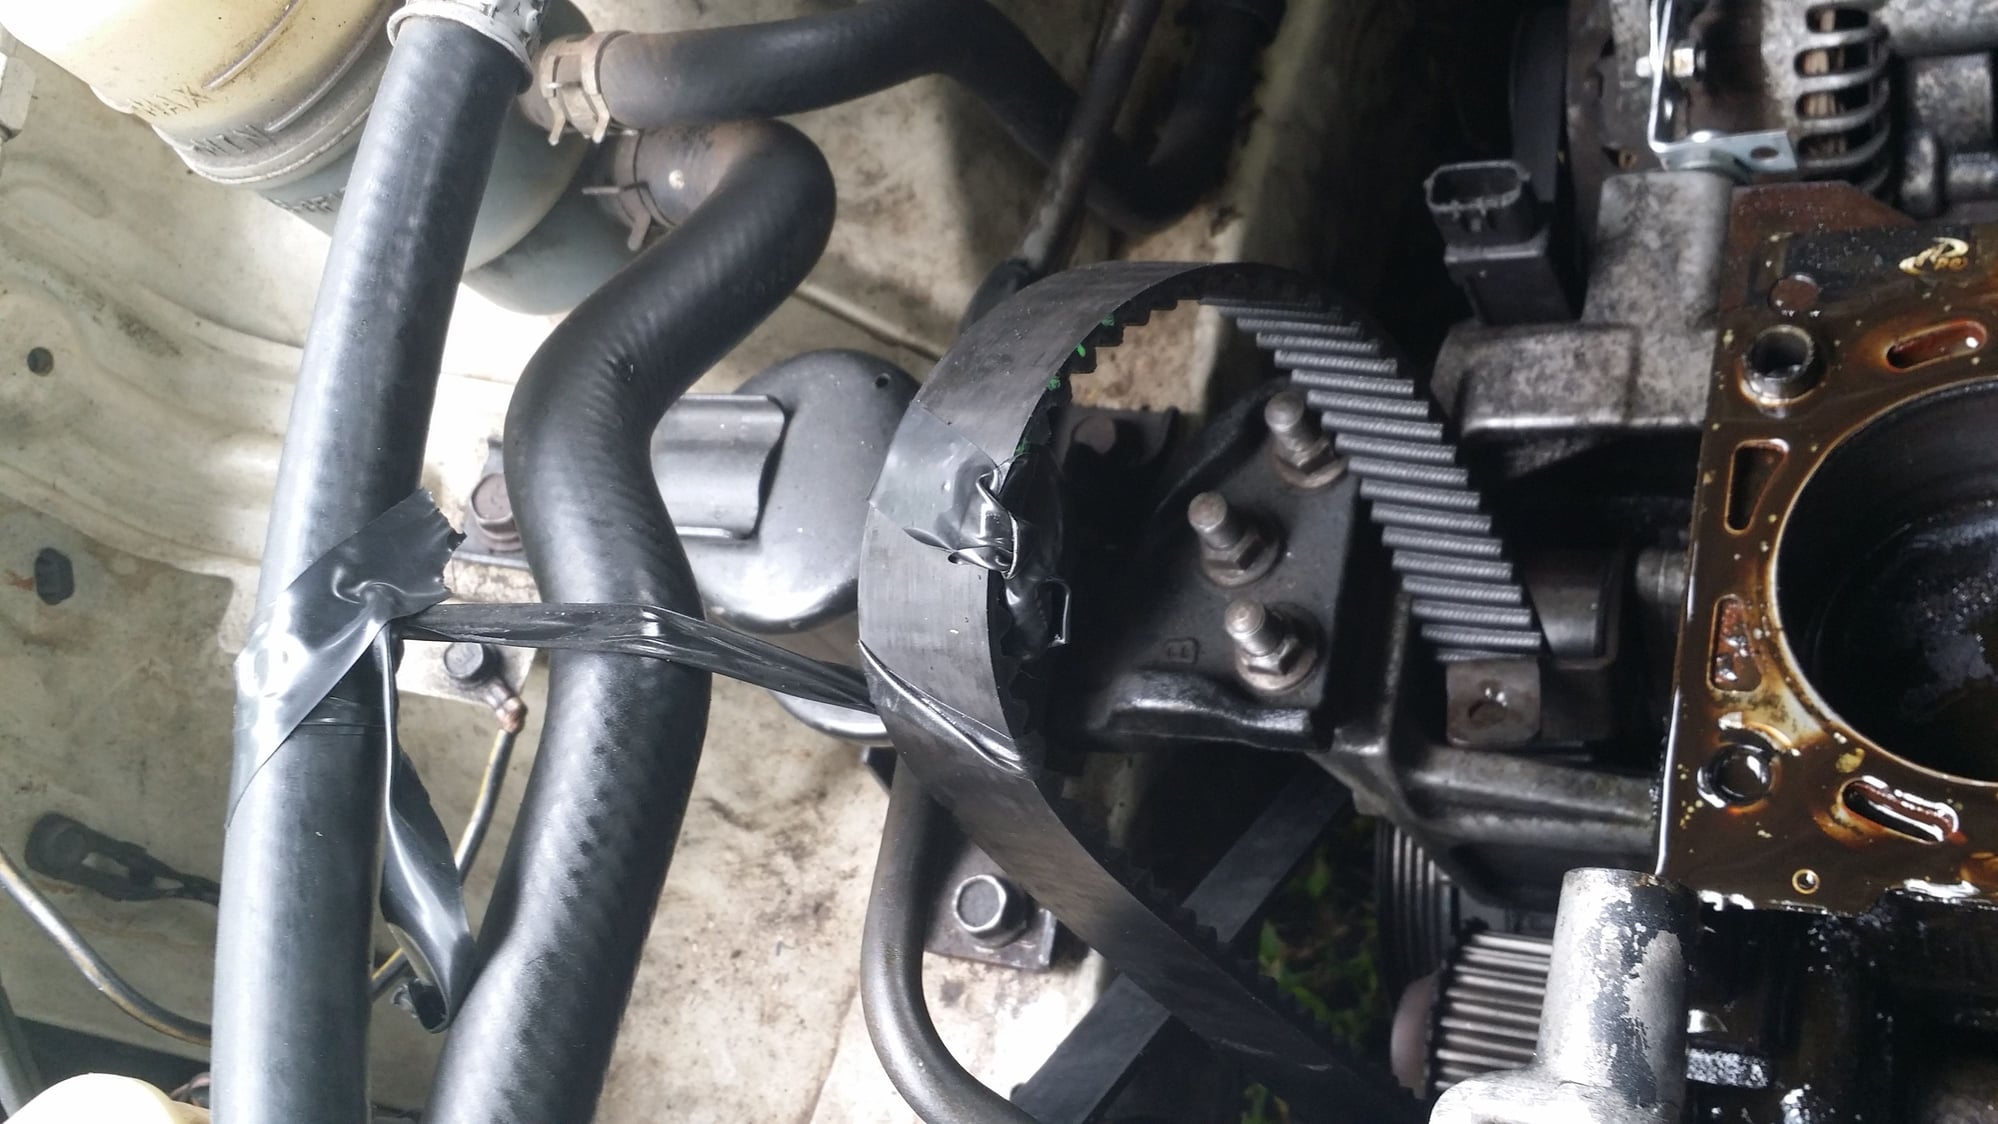
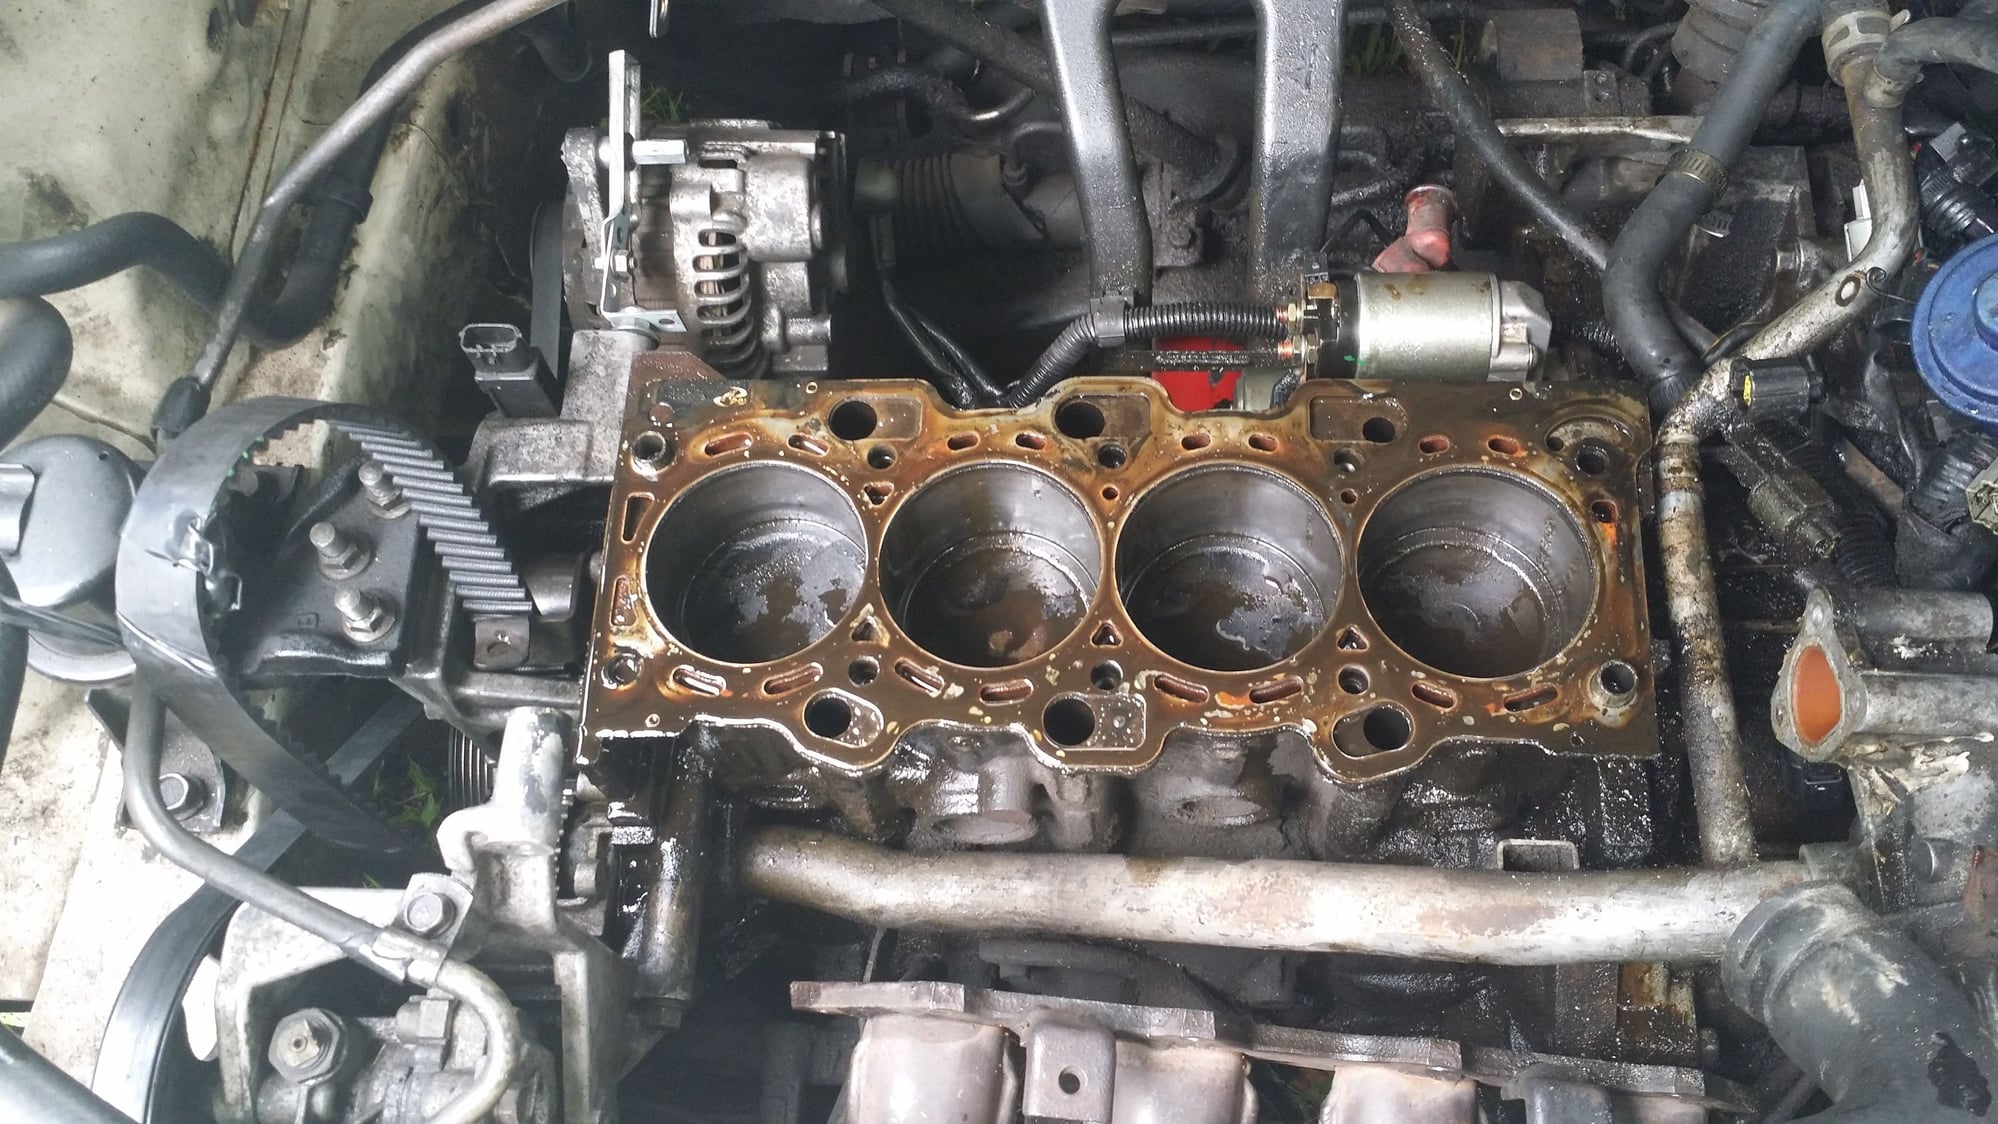
Just some progress pics, got it up on a slab of cardboard
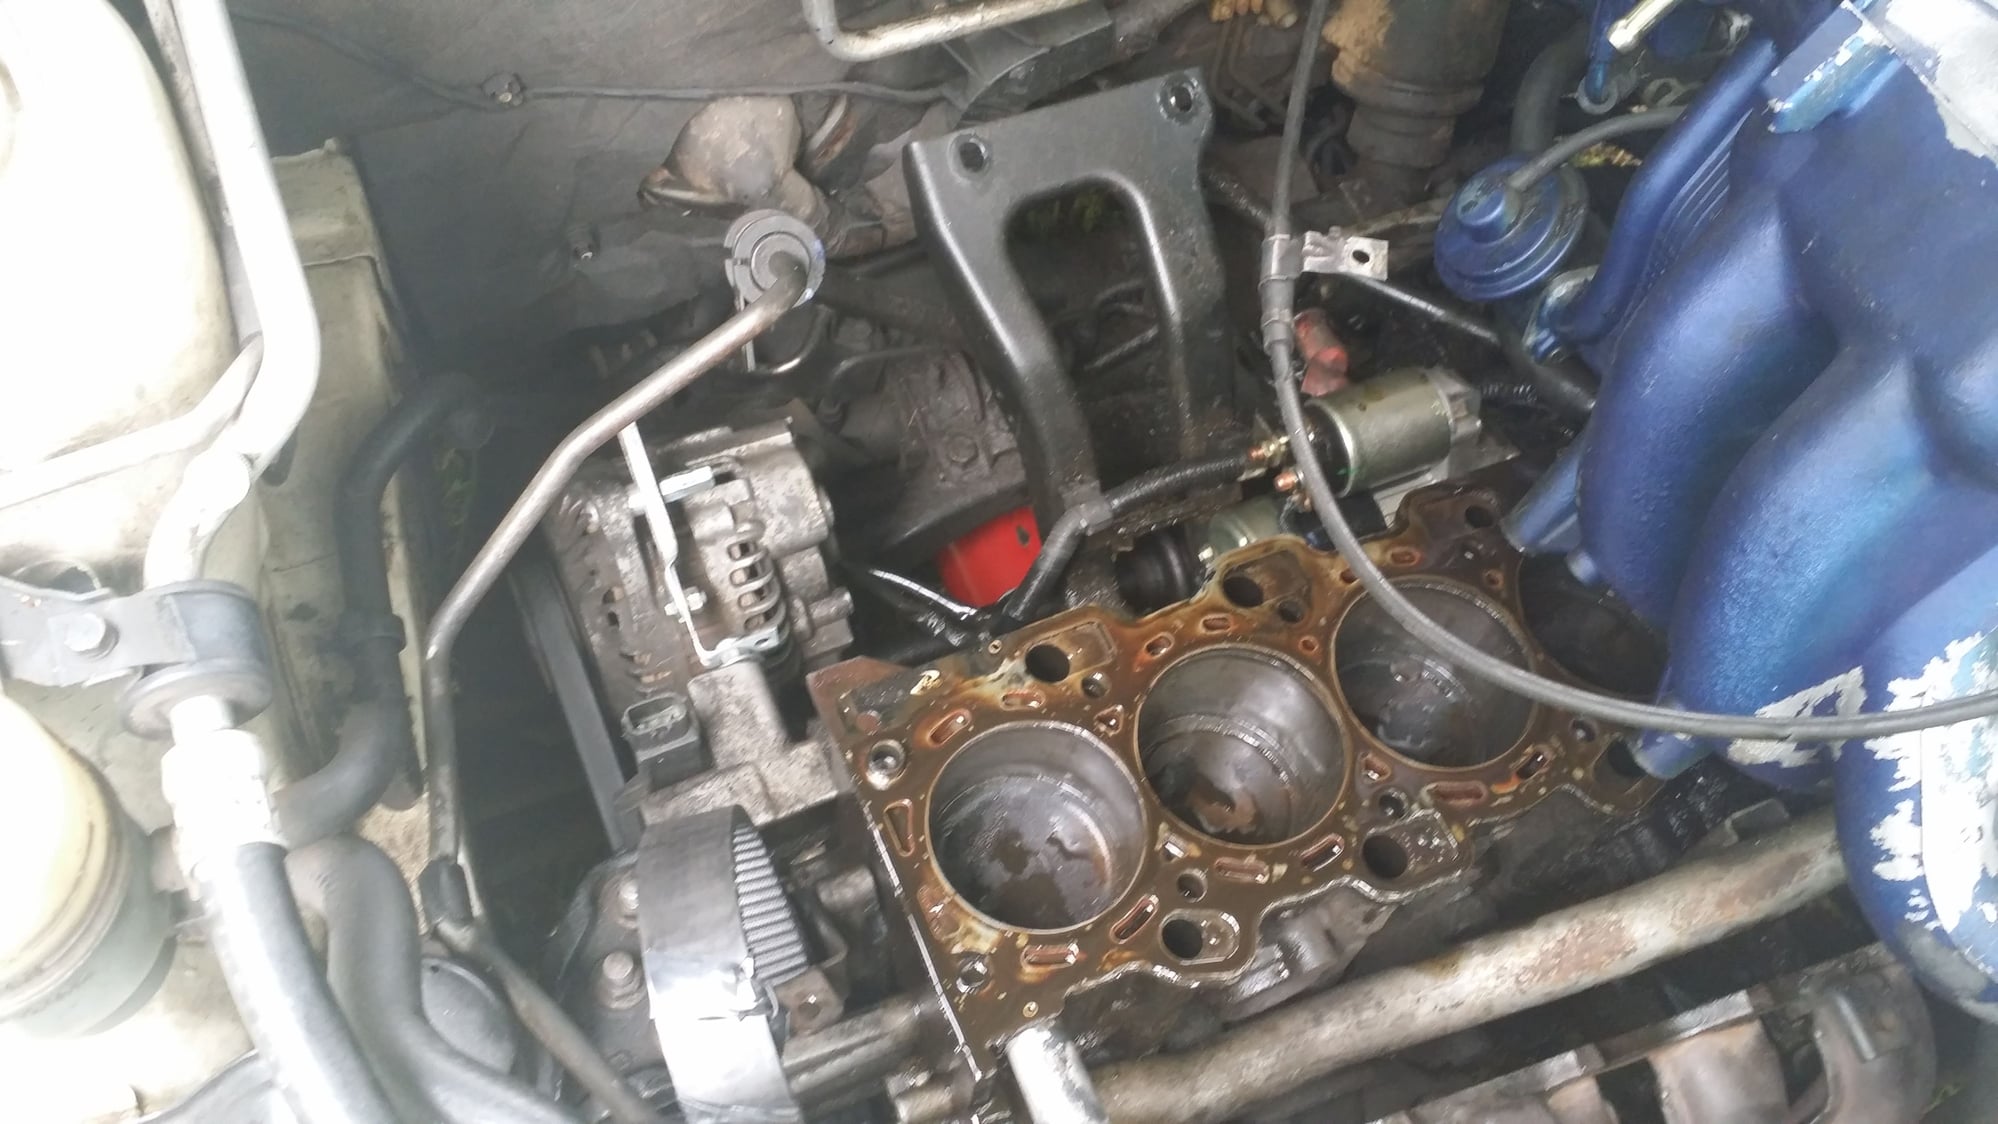
Just some progress pics, the timing belt btw is secured with tape so it wont drop down, so at this point in the process everything should be intack as far as the timing. Am I right?
#130
Evolving Member
Thread Starter
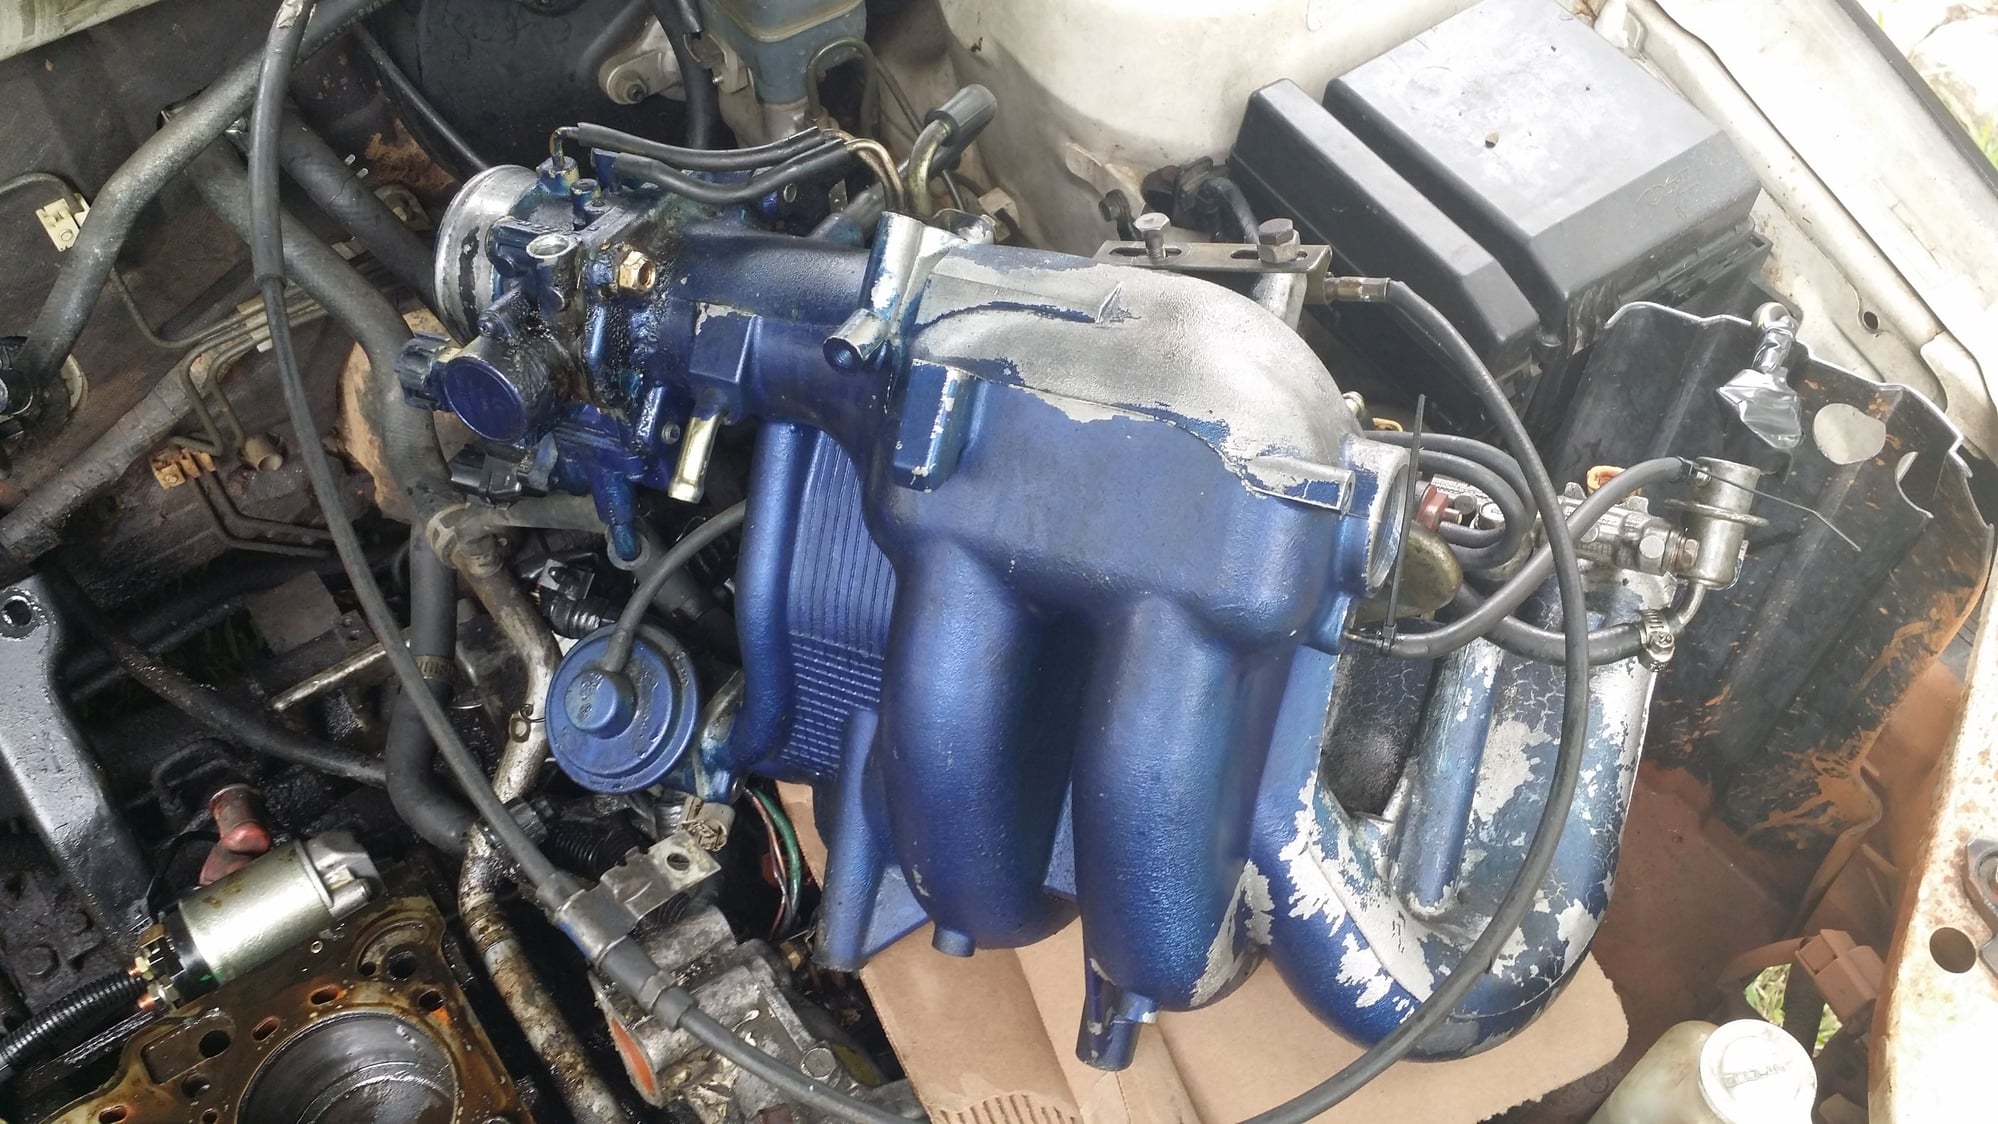
Looking forward to removing this paint
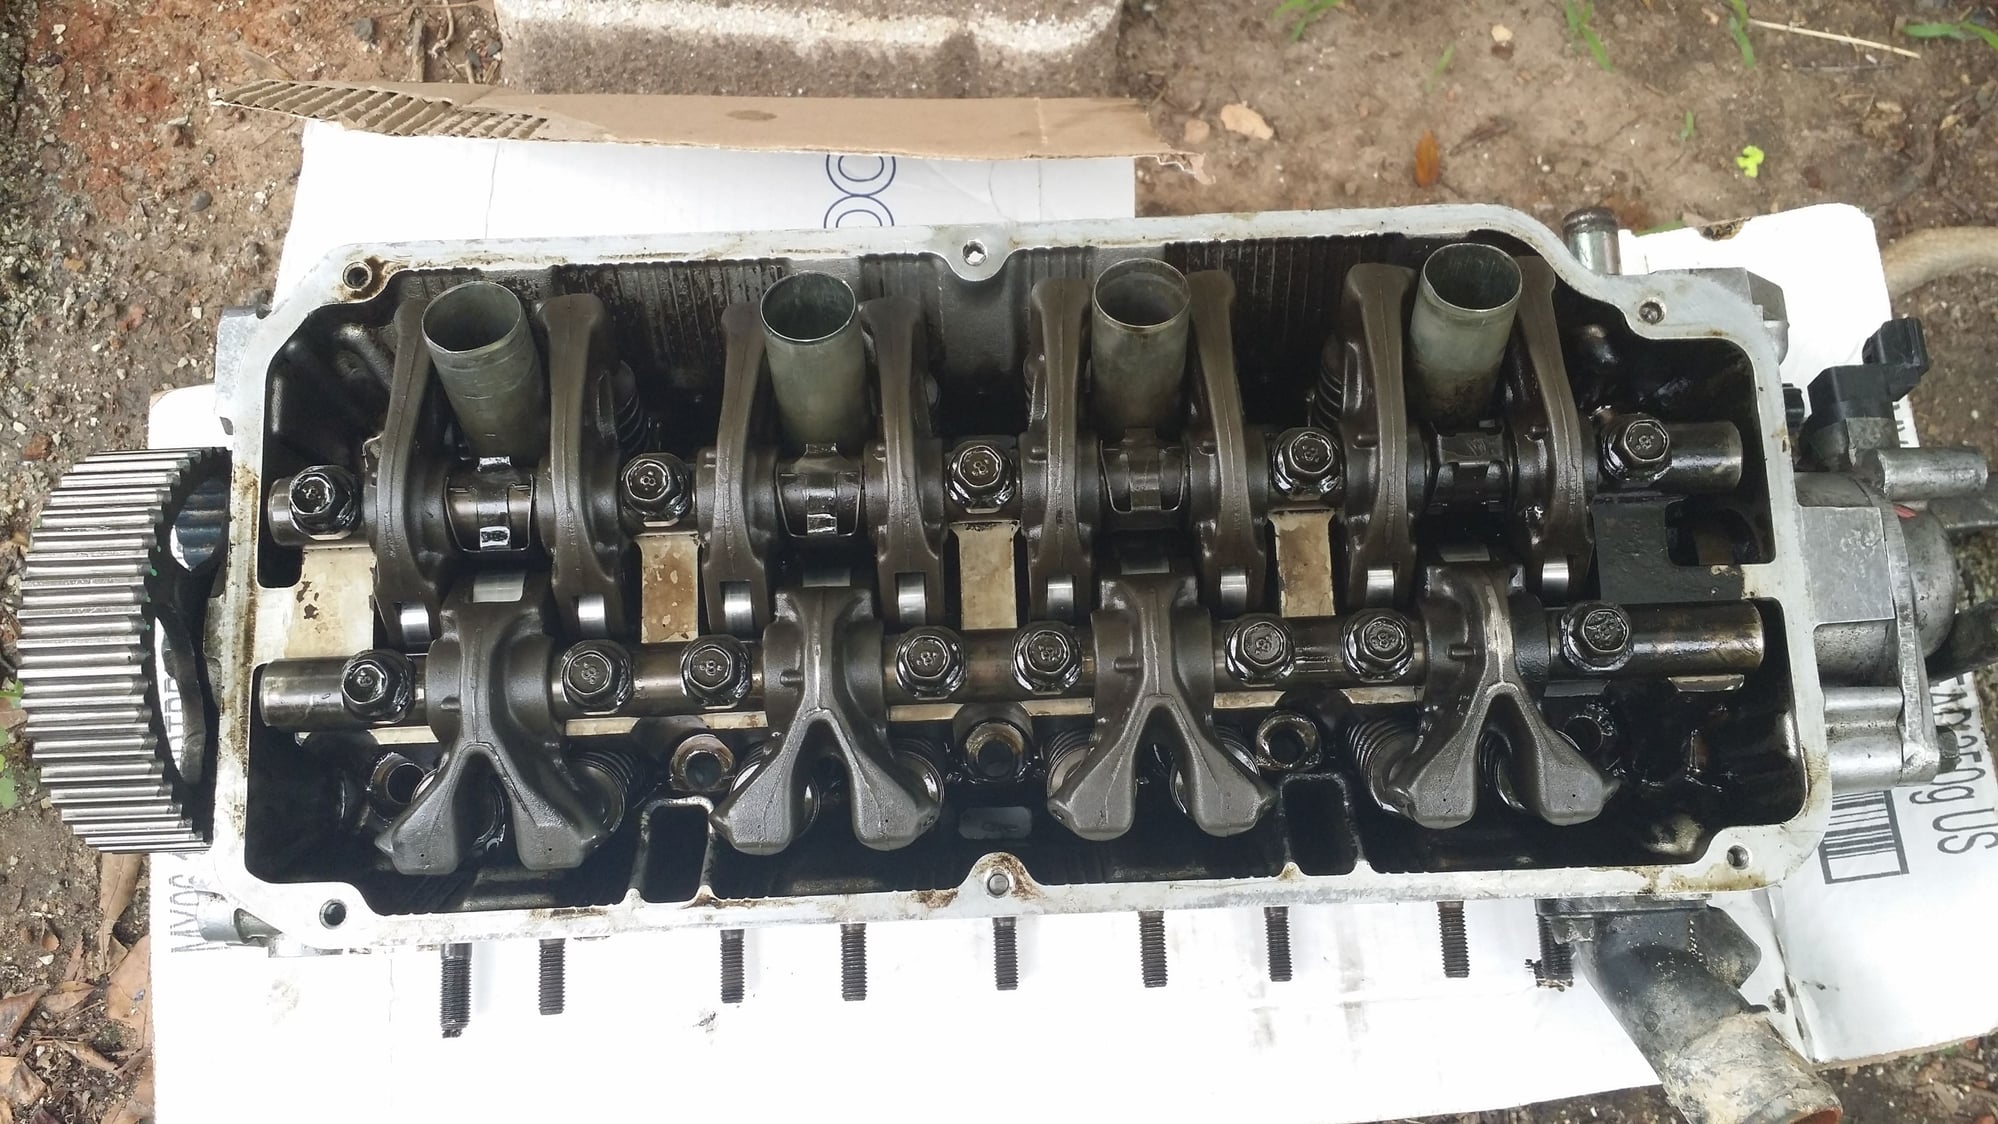
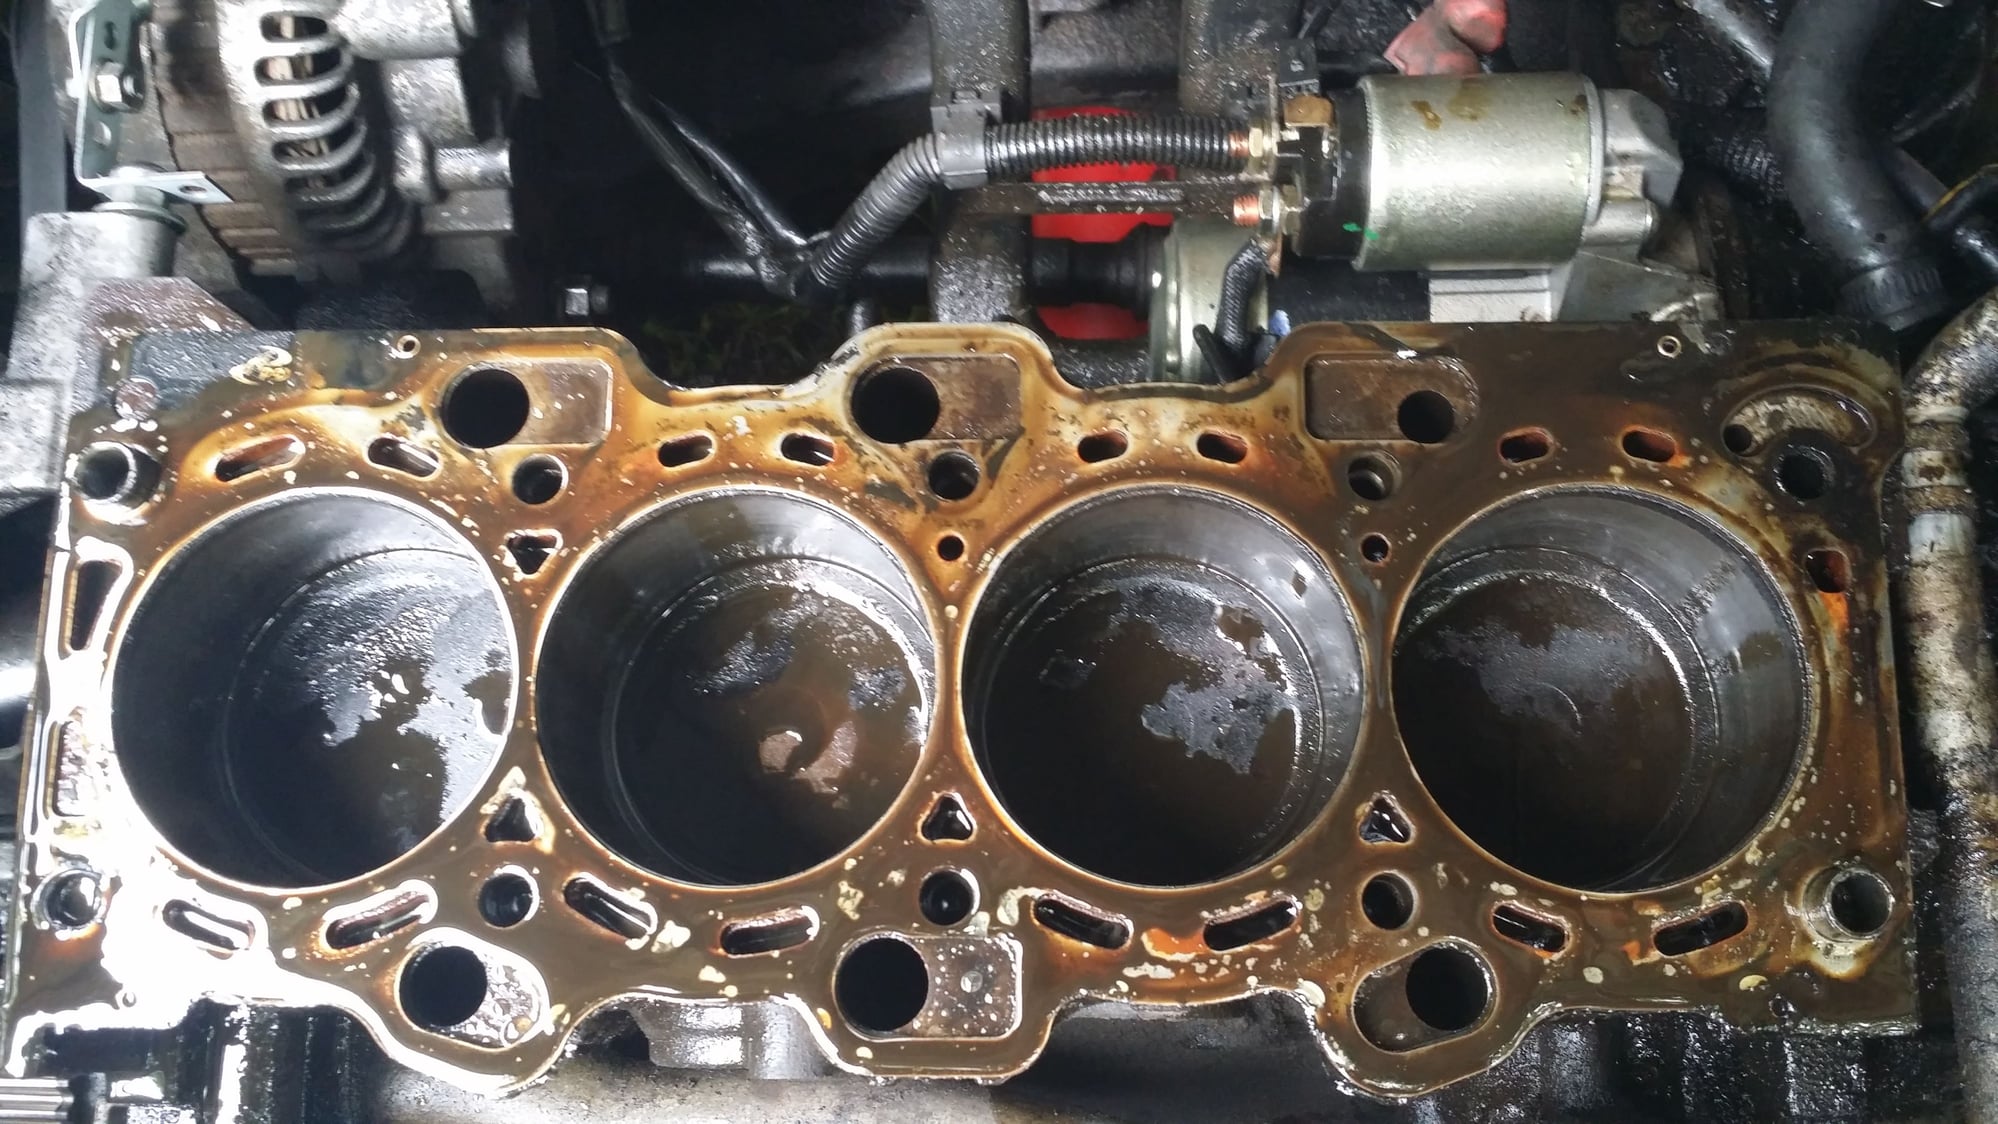
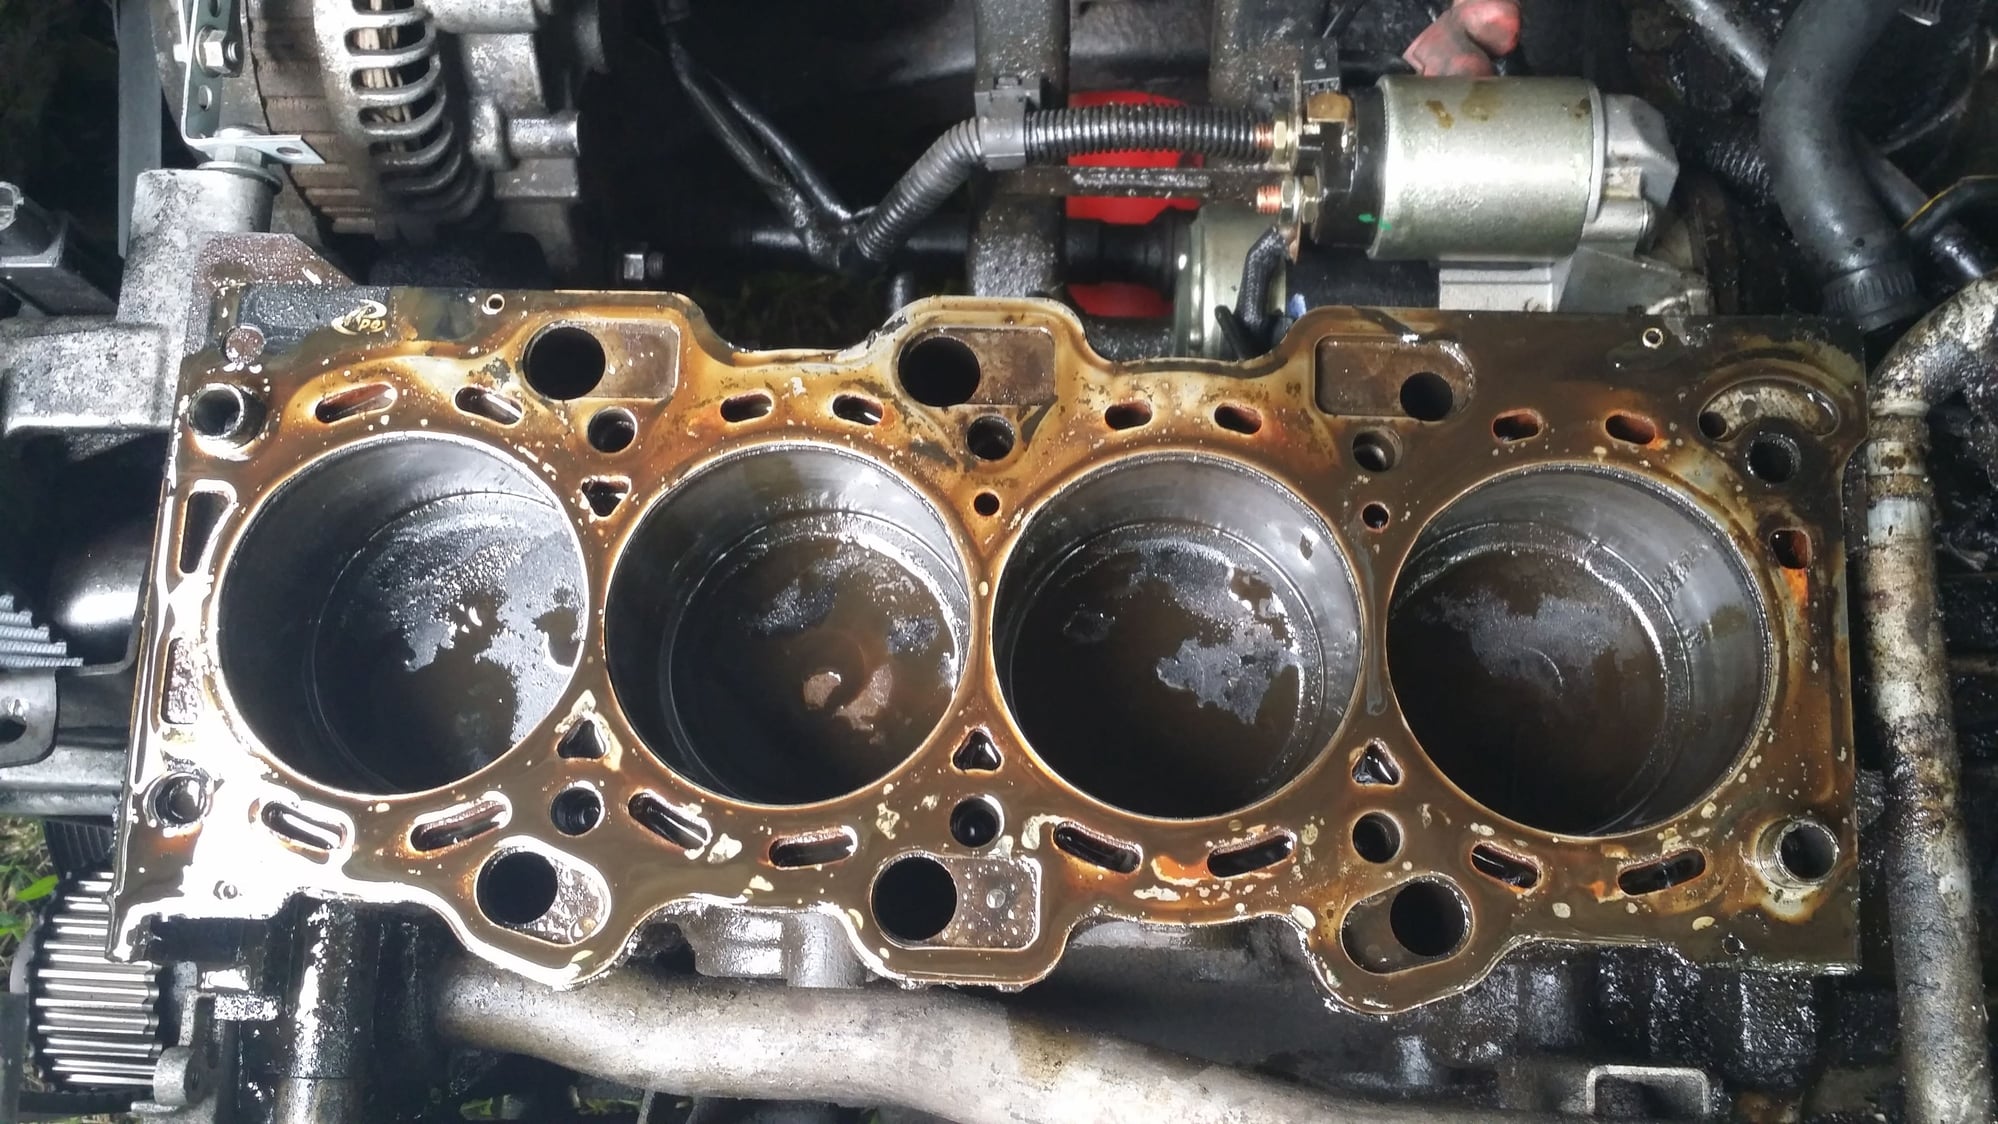
Everythings intack, and the bottom of the head is resting on a nice soft piece of cardboard. We'll get to that another day as far as cleaning and checking/inspecting the head, I've set it aside for now I'm focusing cleaning and preping the block and bolt holes. I'm using brake cleaner to remove all the oil from inside the wells and from the gasket area. And I'm using the blue scotch pad to gently clean the gasket area
#131
Evolving Member
Thread Starter
Ok guys got to get ready for work so I'll post the results of the block clean and prep tomorrow. I already cleaned and preped the block and put a cover over it while I start to clean prep and inspect intake manifold and the head.
#133

Here you can see what the alternator tensioner adjuster officially turned out to look like hehe. But anyway this pic shows how I'm trying/hoping/praying the timing doesn't get messed up. I used some paint to mark on the pulley and belt. I did this on the front side here and on the back also. So if the belt doesn't move, and the pulleys don't move, the timing should stay the same right?
NOTE: The harmonic balancer is marked for something that I believe is related to the timing, and its mark corresponds to a projecting piece on the lower timing cover. I have not looked into this, but I will see if I can find it for you and post it from the manual that I have.
Remember: this is all IF the belt gets moved around. If you can save the work by playing with it a while and working it back on from the side, then that is probably your safest bet. If not, just have patience and look carefully at your timing marks. Try not to gouge the belt with the edge of the cam gear, because if you damage it too badly, you'll have to remove the passenger-side motor mount to replace the belt. Using a bad belt on an interference engine like this (one where the valves and pistons occupy the same space at different times) can destroy your valvetrain and pistons---In short: EXPENSIVE, so don't risk it if you find a reason to doubt the belt's integrity.
Seriously, if you have access to a computer, I would get the manual off of the front page or wherever you can find it. That has saved me SOO much headache and heartache over the last few months. Good luck, man!
#134
I would spread some oil in the cylinders before I closed up shop for the day. I left my spare block out in the heat, covered up under a bag and a tarp, and I have to hone it now because it rusted around the top. Exposure to moisture will rust the cylinder walls pretty quickly. I hope that you can evade that.
#135
Evolved Member
iTrader: (5)
all 4 cyclinders on the same stroke? I don't think so...unless those are all EXACTLY half-way, lol...hard to tell from the pic...
hopefully, that's the case, and definitely coolant and oil make stinky chocolate milk...
pls verify those pistons are all crossing paths, and on different strokes, and just happened to be exactly the same depth in each cylinder...it looks weird. but definitely looks like the gasket is pooched..
edit*
also: I wouldn't fully trust that electrical tape in keeping enough tension on that belt to stay in-time. you've gone this far, re-install the belt and check timing properly, it'll save time and potential headaches.
Last edited by CrAnSwIcK; Jul 27, 2016 at 11:18 PM.
The following users liked this post:
CJBarker2 (Jul 28, 2016)


