My 04 Thunder Grey SQ Competition Ralliart
 May 21, 2014, 07:55 PM
#76
Newbie
Thread Starter

Join Date: Oct 2008
Location: USA
Posts: 44
Likes: 0
Received 0 Likes
on
0 Posts
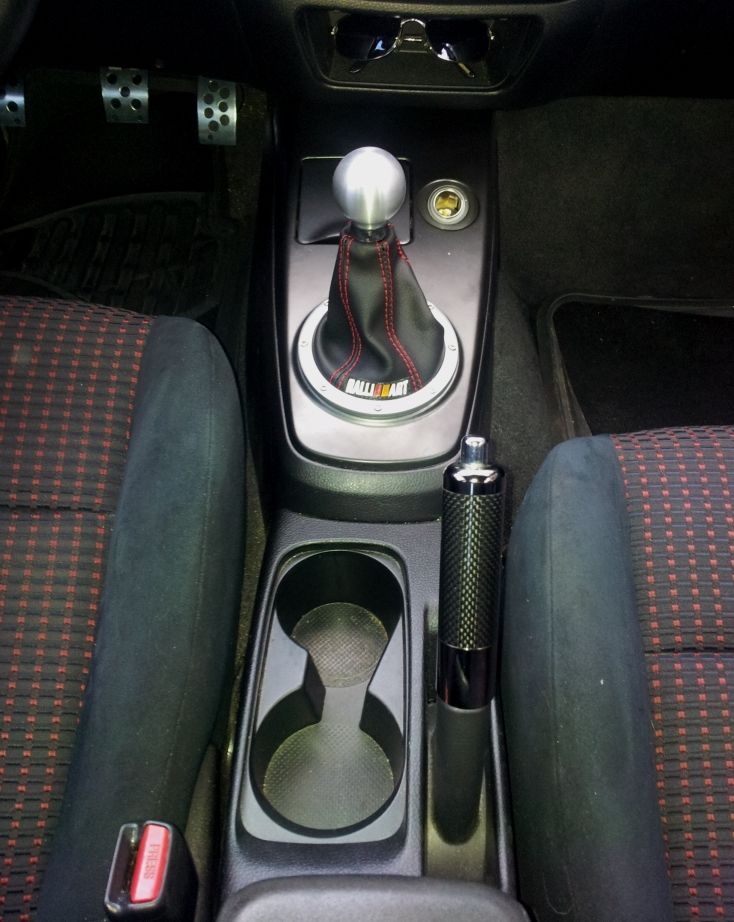
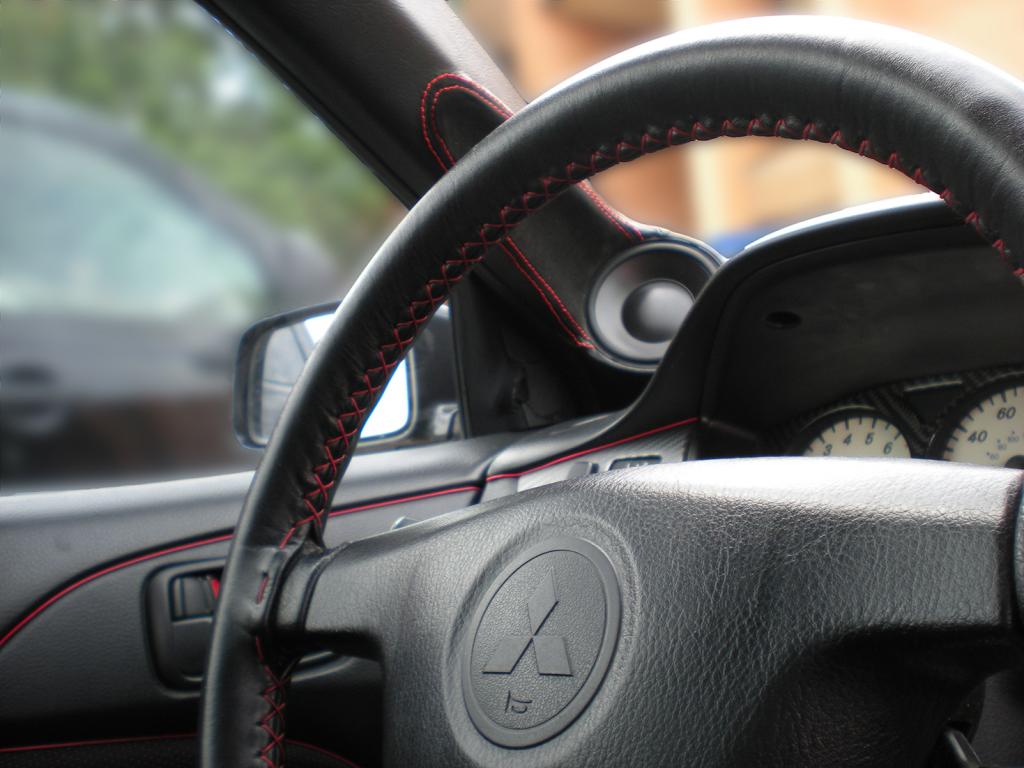
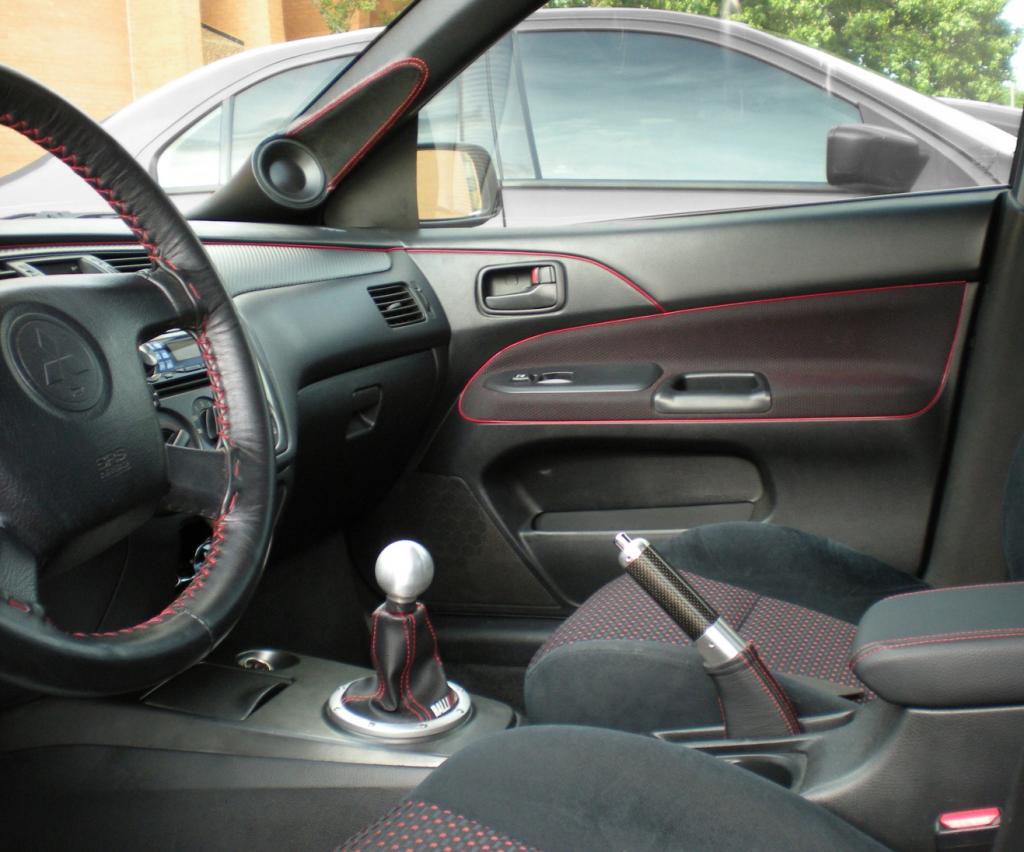
To continue the interior updates, I got a OEM carbon fiber e-brake handle with aluminum accents instead of black chrome to match the other metal in the interior, and a new red stitched leather armrest cover and e-brake boot from Redline Goods to match the shift boot and steering wheel, along with all the other black/red in the car. The current shift boot will also be replaced with one that looks very similar but is made of a nicer material and has the Ralliart logo stitched into it instead of onto it. That won't happen till I figure out if I'm switching processors and adding some more vinyl.
Anyway, here's some pics.
Before:
After:
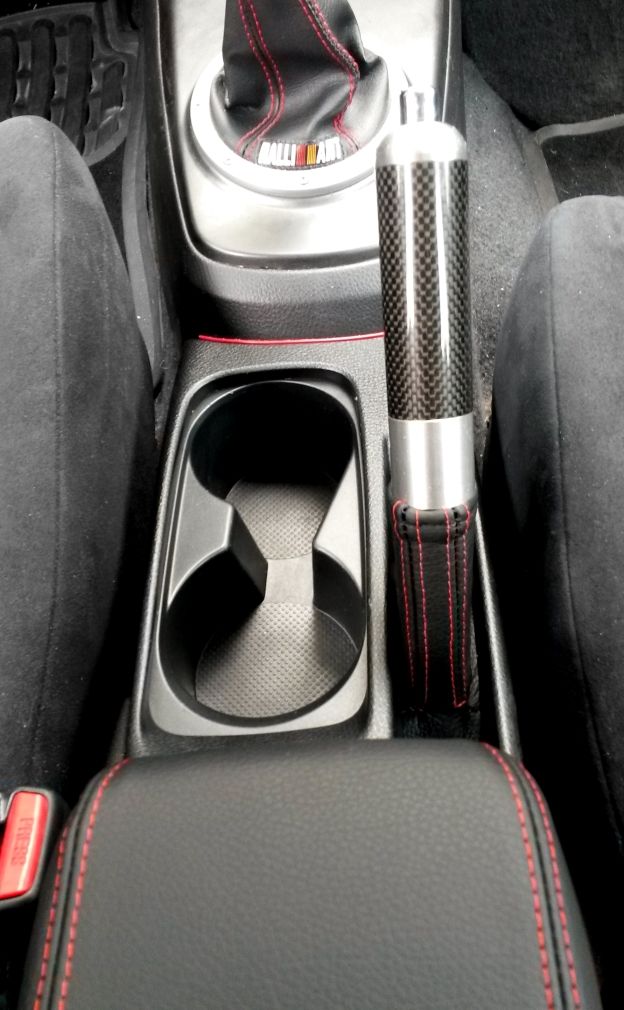
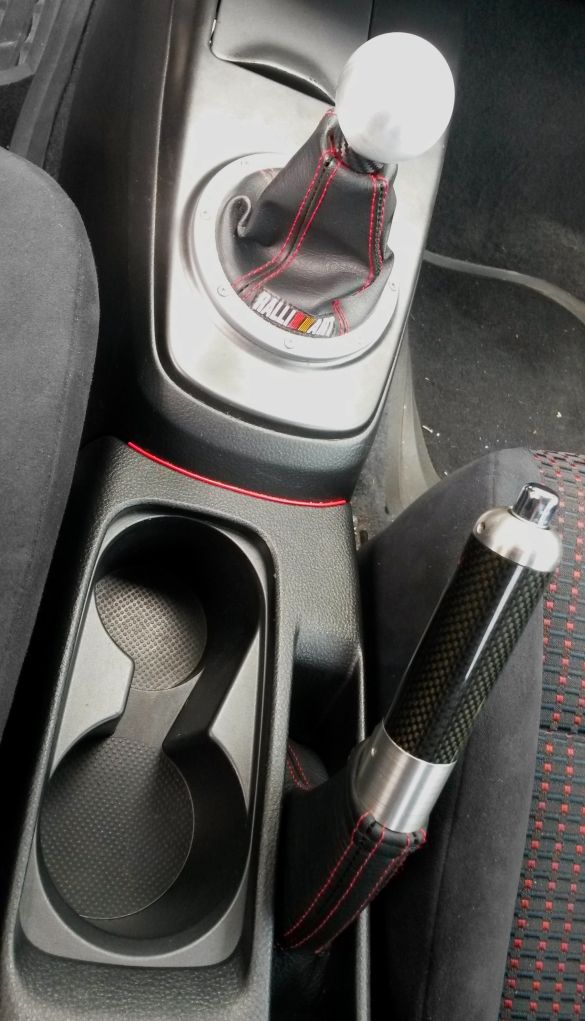
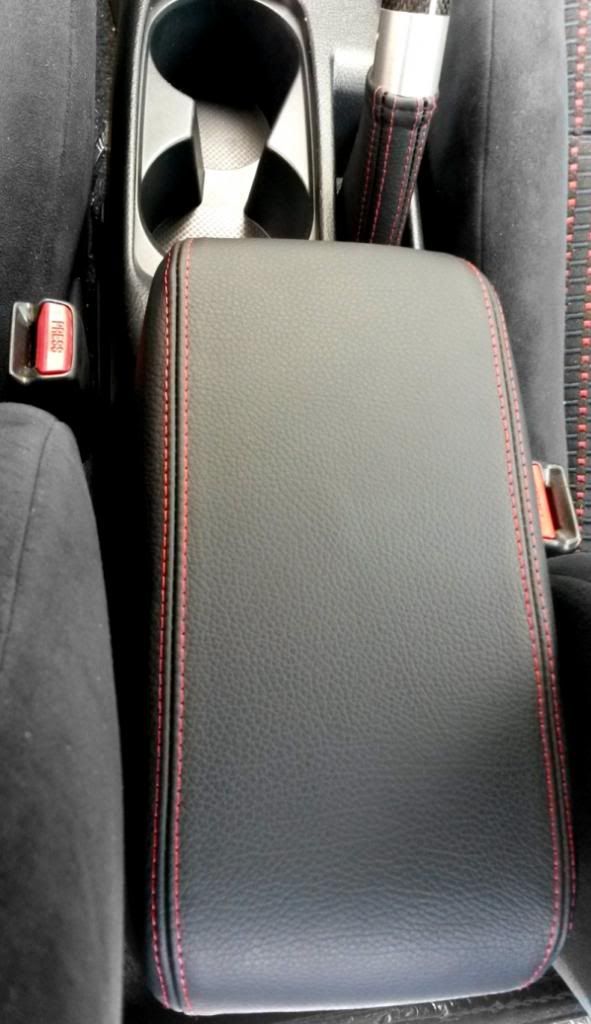
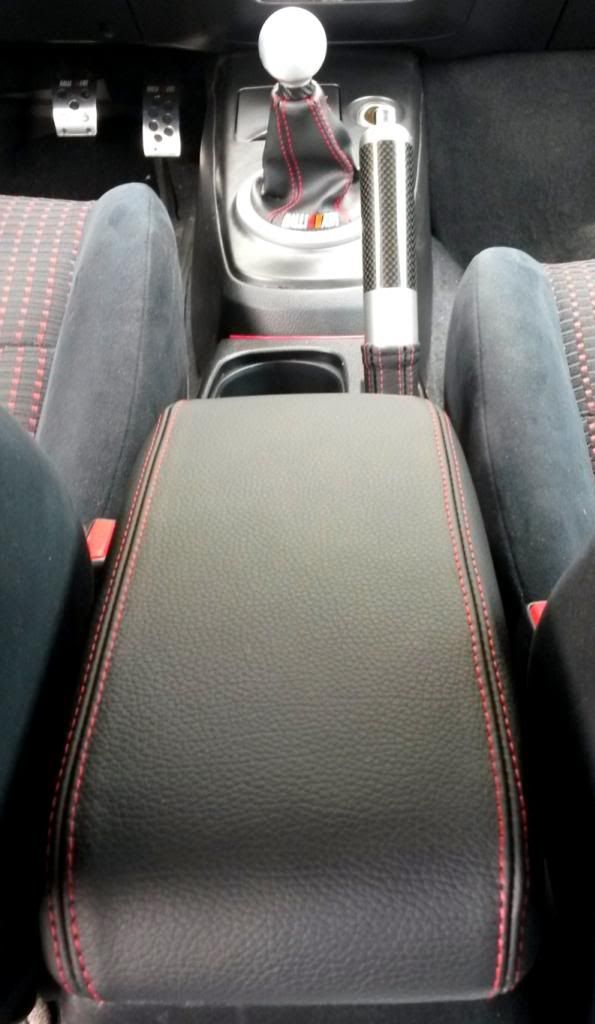
Much nicer IMO
Anyway, here's some pics.
Before:
After:
Much nicer IMO
 Jun 24, 2014, 09:57 PM
#80
Newbie
Thread Starter
Join Date: Oct 2008
Location: USA
Posts: 44
Likes: 0
Received 0 Likes
on
0 Posts
Well it's about time for some more updates. Should be done by the end of the week, but here's the start
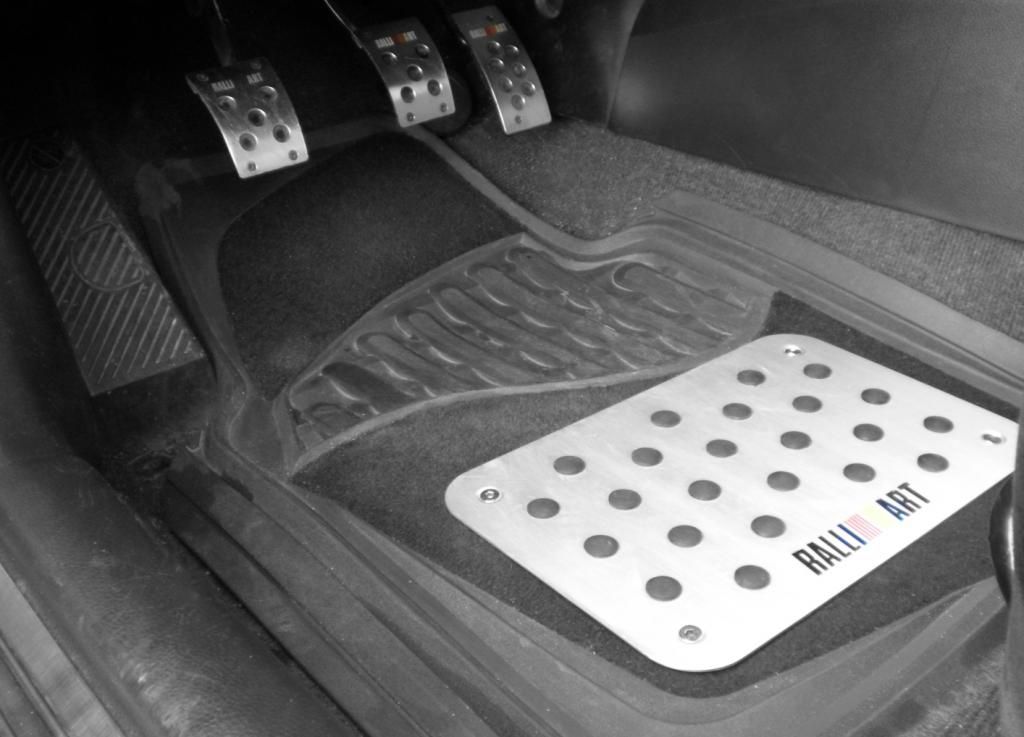
First, my floor mat had a big nasty hole worn in the carpet. So instead of getting all new ones again, I got this:
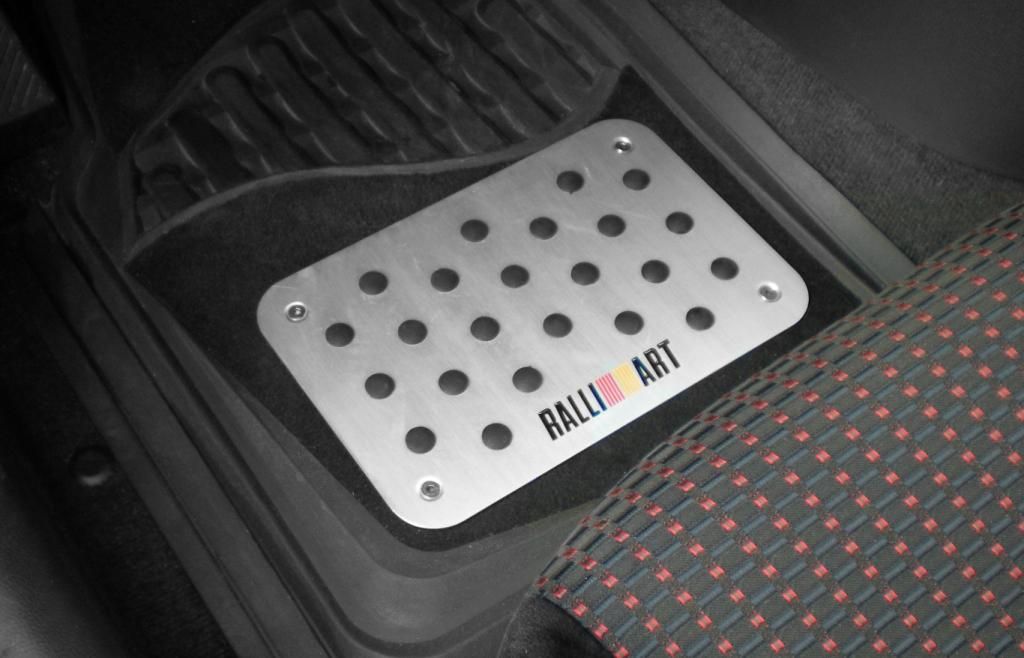
Maybe a little ricey to some people, but I'm in the Air Force and wear combat boots to work and they will tear up carpet real quick. I don't care for the look of completely rubber mats, especially for the passenger seats, so this will protect the carpet and match the pedals. And it will be transferable if I'm able to find some embroidered OEM mats so the driver's one doesn't get destroyed in a couple months.
Other than that, there are some new things in the works.
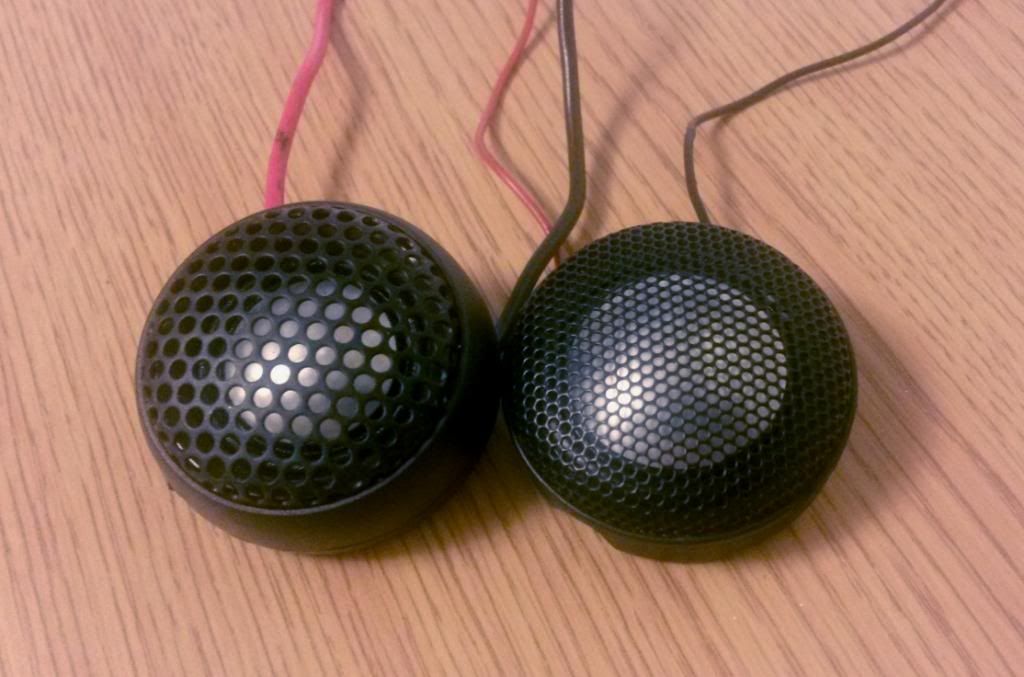
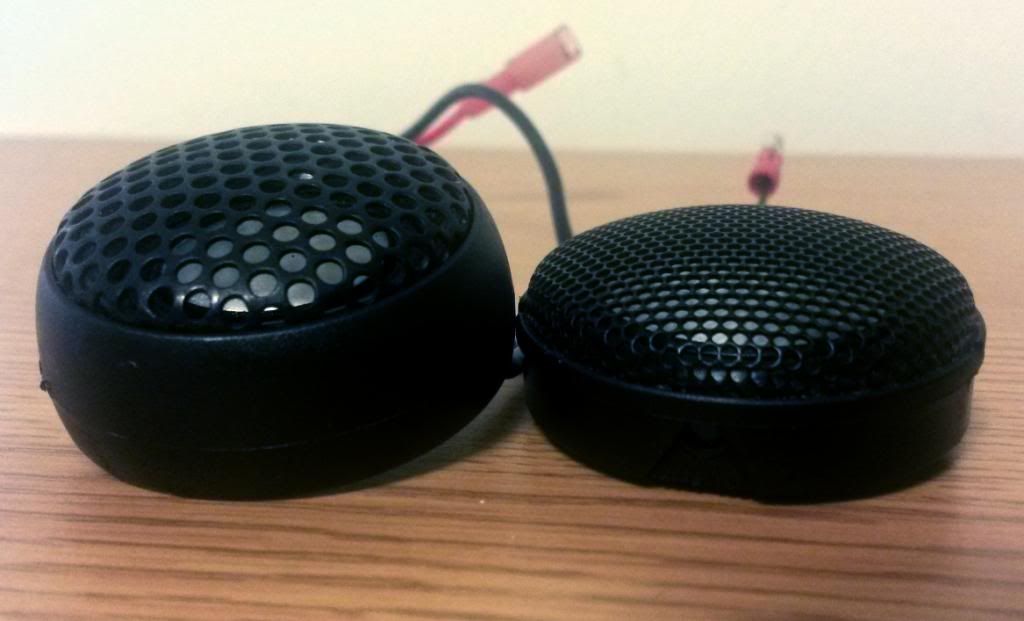
Replacing the Melodic Acoustic 20mm tweeter (left) with JL ZR-100 1 inch tweeter (right). Same physical diameter, but bigger dome, and shallower mounting depth.
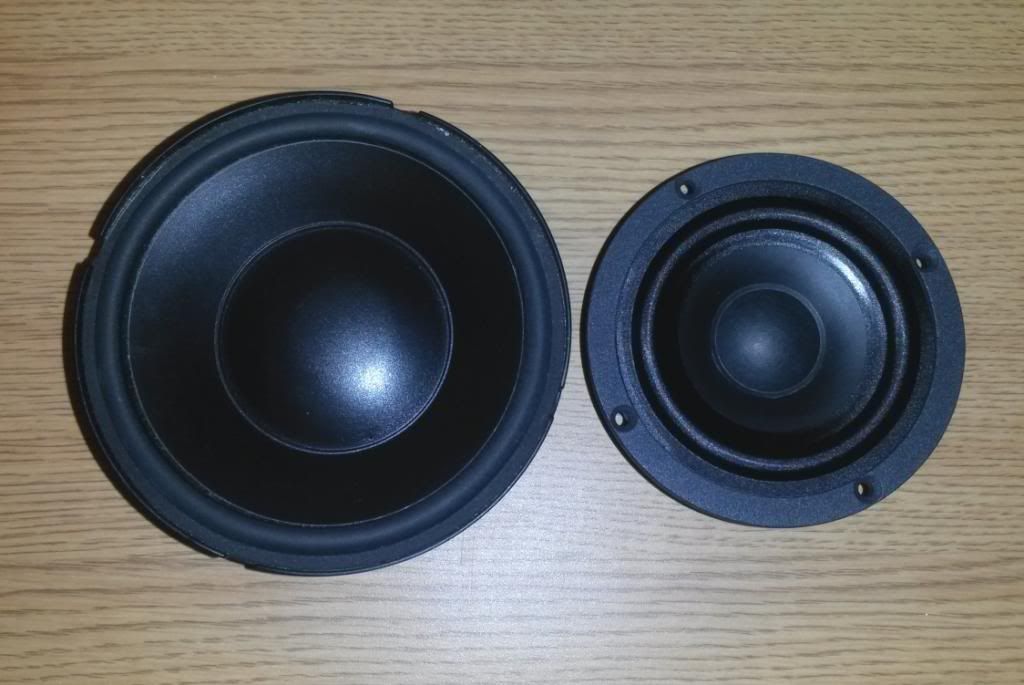
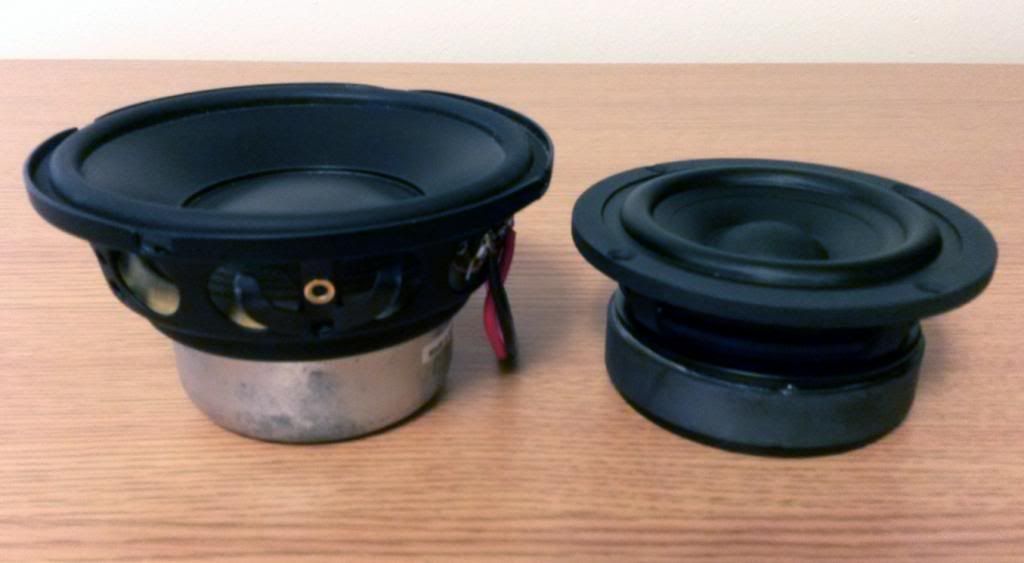
Replacing Melodic Acoustic 3.5" midrange (right) with Morel Hybrid Ovation 4" midrange (left). Only 1/2" bigger diameter, but almost 2.5x as much cone are due to the Morel's flangeless design.
Build pics to follow.
First, my floor mat had a big nasty hole worn in the carpet. So instead of getting all new ones again, I got this:
Maybe a little ricey to some people, but I'm in the Air Force and wear combat boots to work and they will tear up carpet real quick. I don't care for the look of completely rubber mats, especially for the passenger seats, so this will protect the carpet and match the pedals. And it will be transferable if I'm able to find some embroidered OEM mats so the driver's one doesn't get destroyed in a couple months.
Other than that, there are some new things in the works.
Replacing the Melodic Acoustic 20mm tweeter (left) with JL ZR-100 1 inch tweeter (right). Same physical diameter, but bigger dome, and shallower mounting depth.
Replacing Melodic Acoustic 3.5" midrange (right) with Morel Hybrid Ovation 4" midrange (left). Only 1/2" bigger diameter, but almost 2.5x as much cone are due to the Morel's flangeless design.
Build pics to follow.
Jun 25, 2014, 07:34 AM
#81
Newbie
Thread Starter
Join Date: Oct 2008
Location: USA
Posts: 44
Likes: 0
Received 0 Likes
on
0 Posts
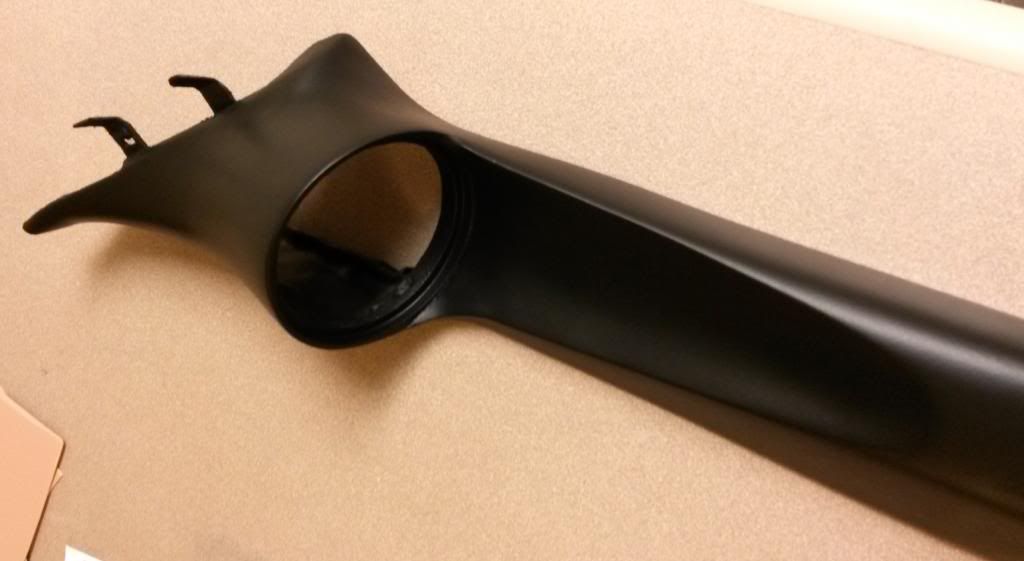
For the pillars:
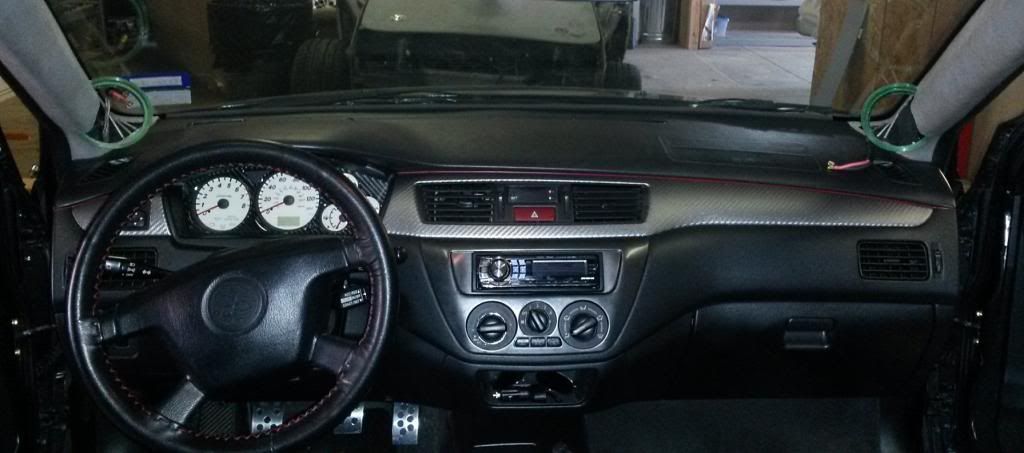
A large open area was cut out from the base of the pillars and reinforced with some thin steel rods to resist twisting and flexing while cloth was being stretched:
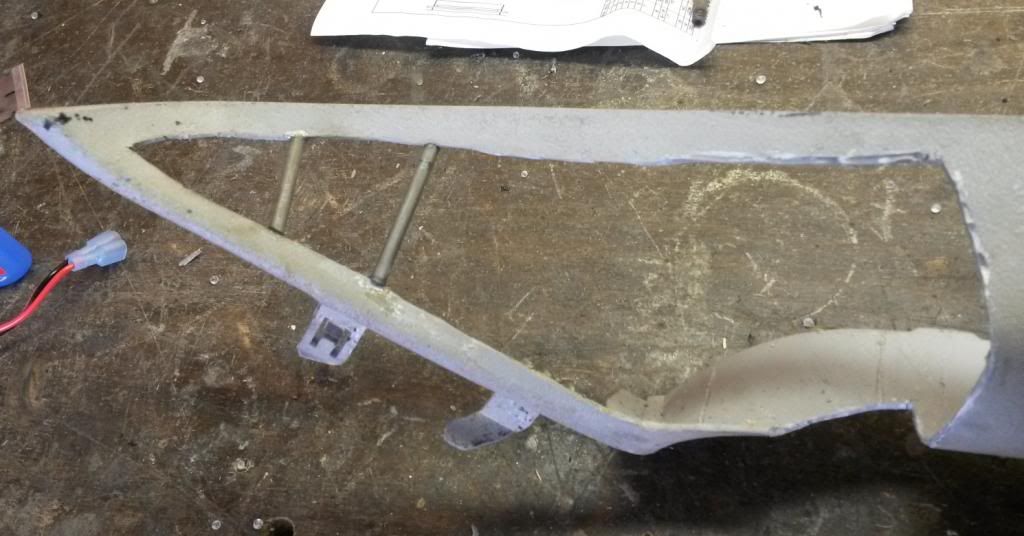
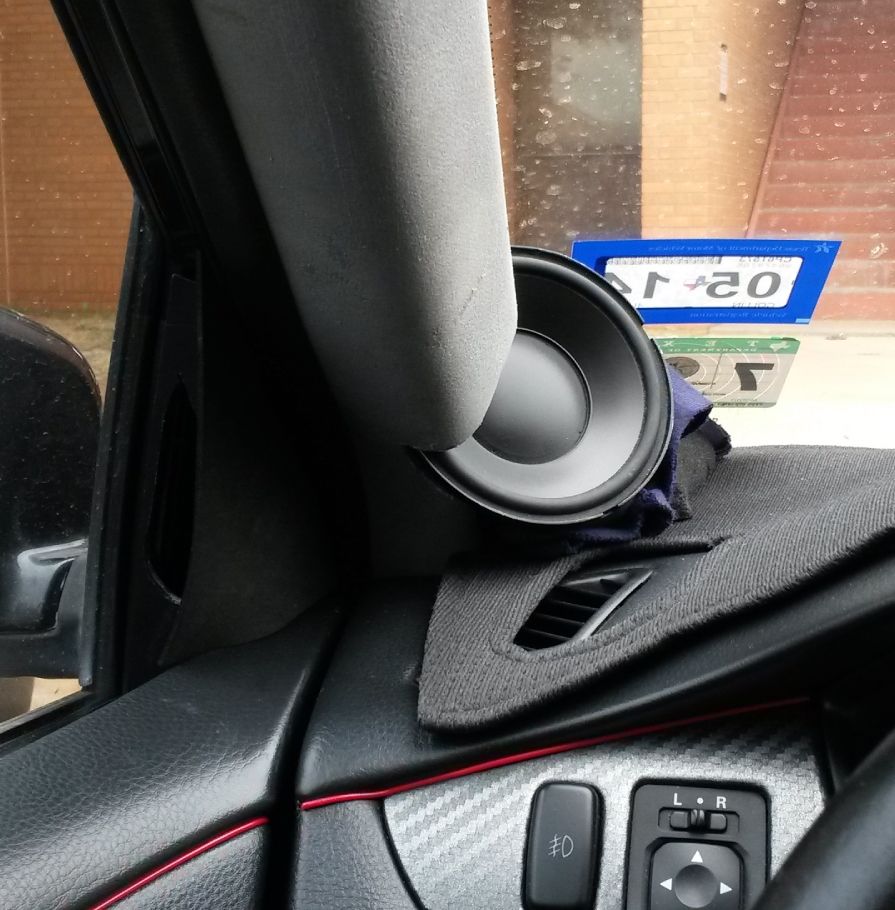
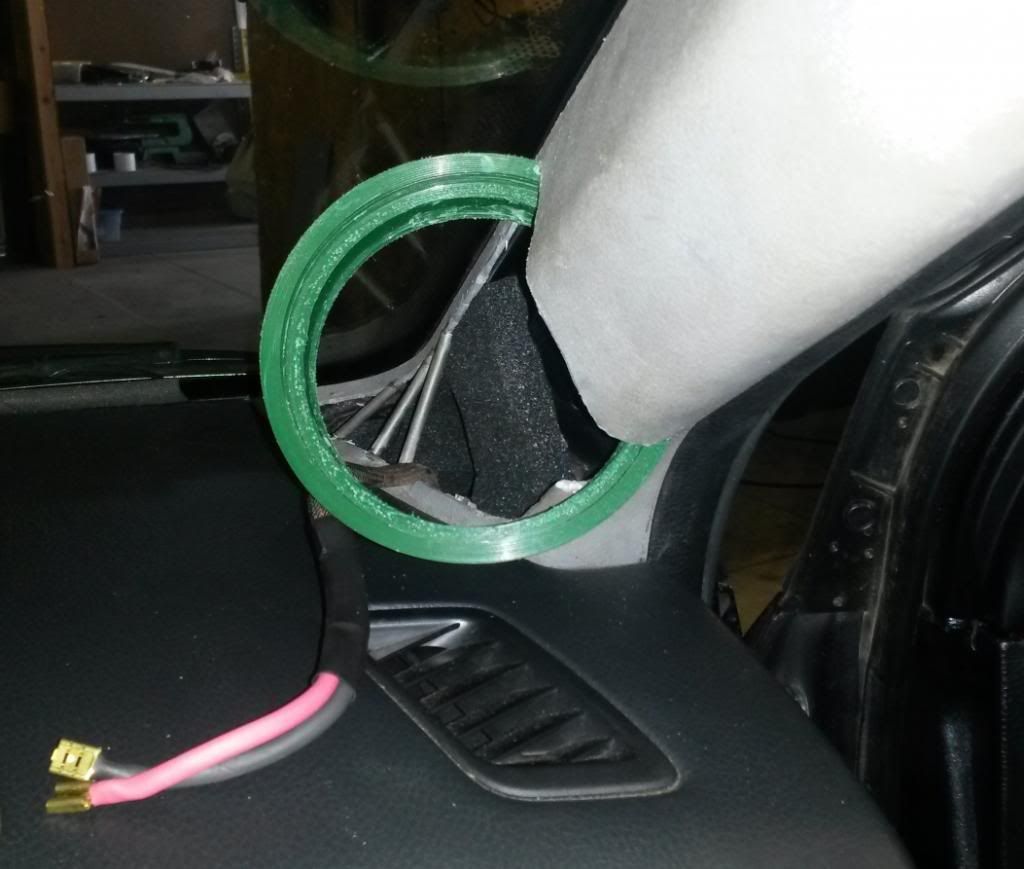
Mock up of how the speakers would be aimed. They are placed as wide as possible, inset into the pillar so the baffle will essentially be touching the metal of the pillar to maximize stage width and minimize the amount they stick out.
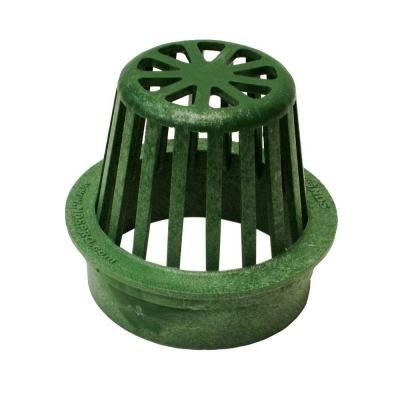
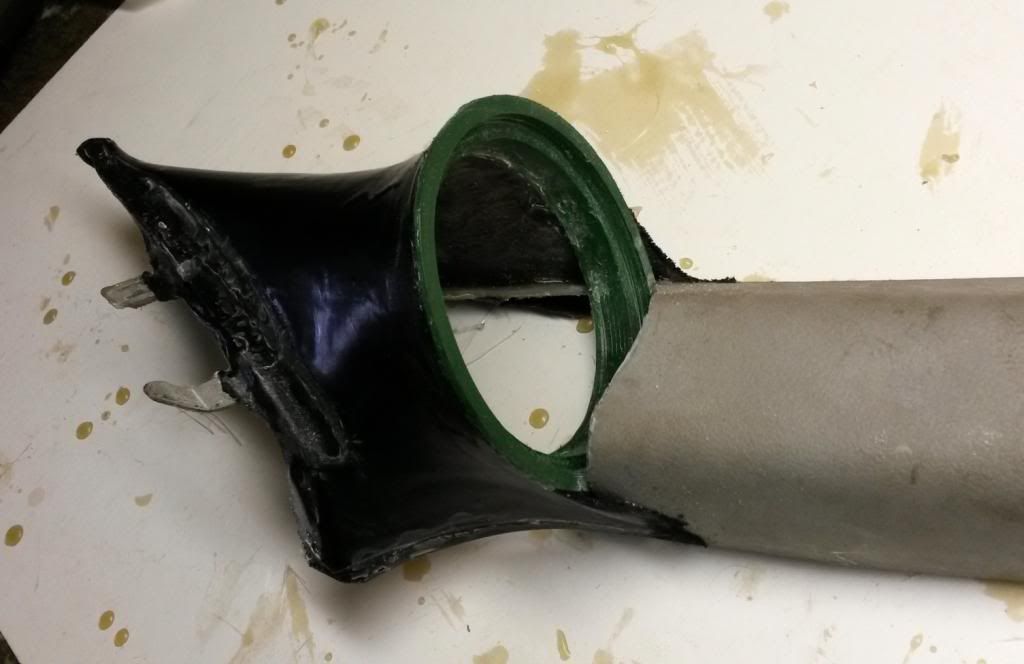
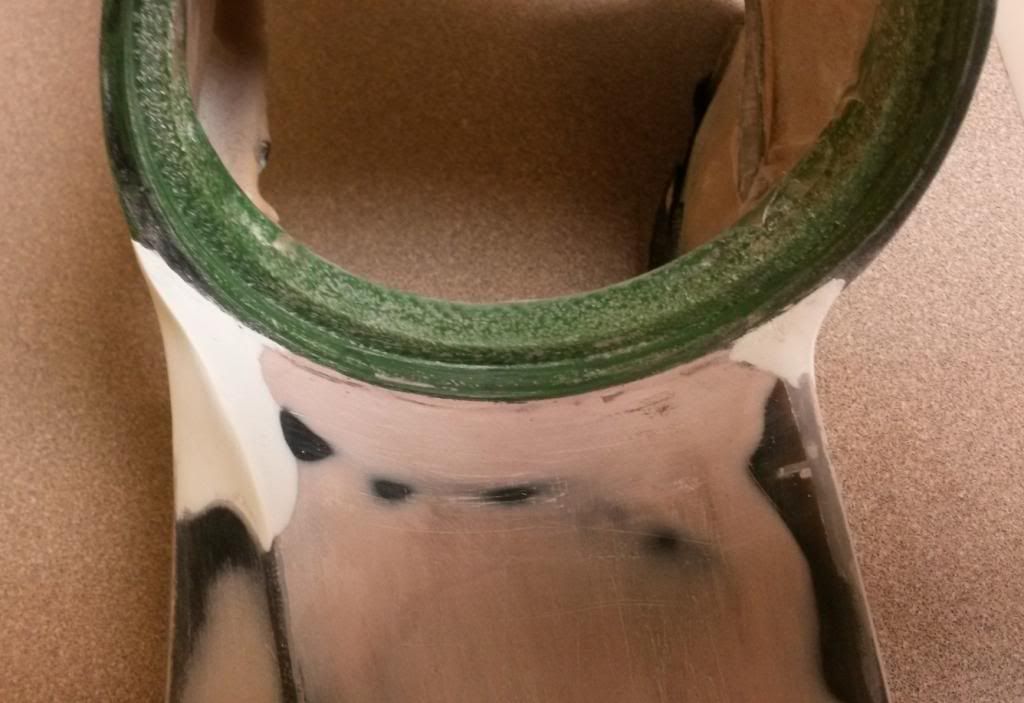
Baffles were made out of a fiber reinforced 4" atrium grate that was cut and turned to precisely fit the speaker
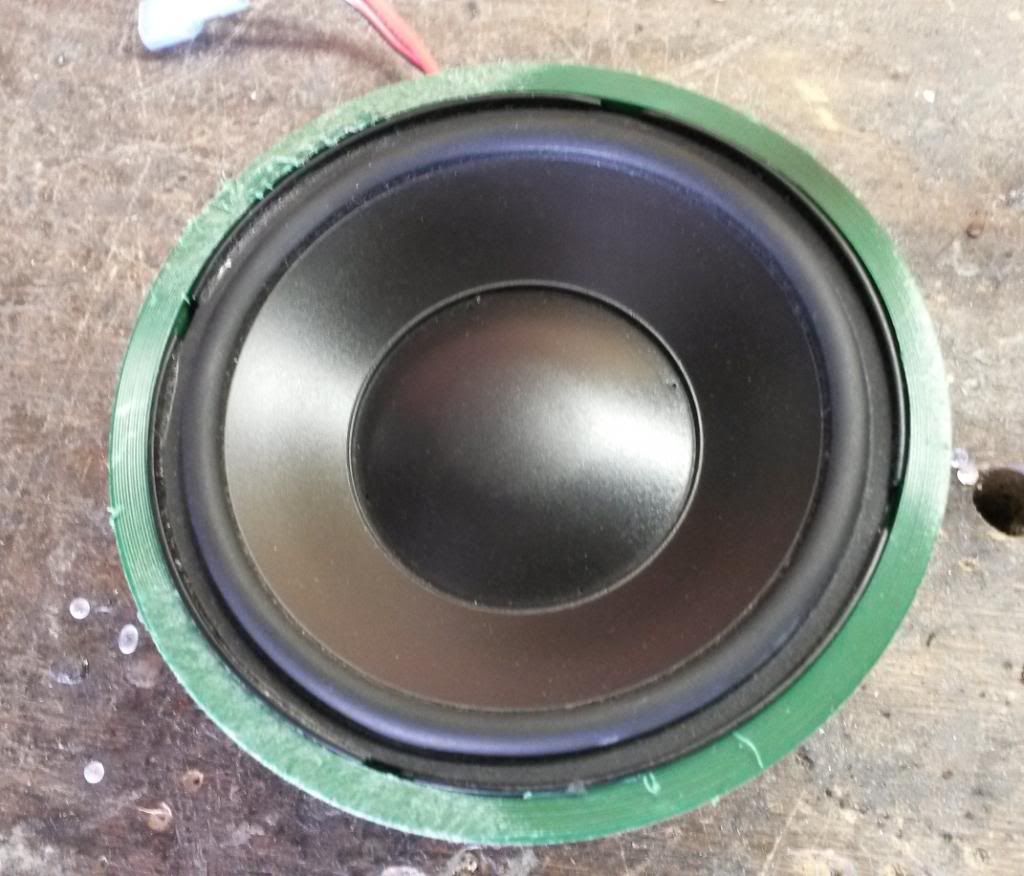
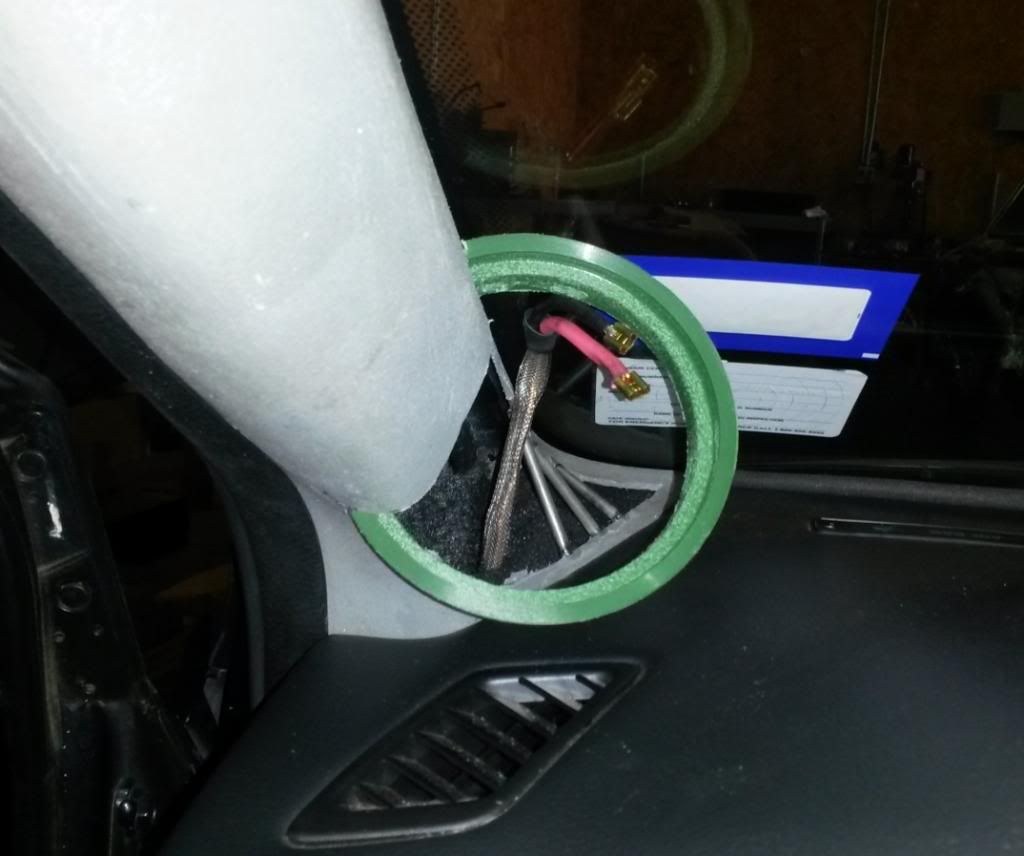
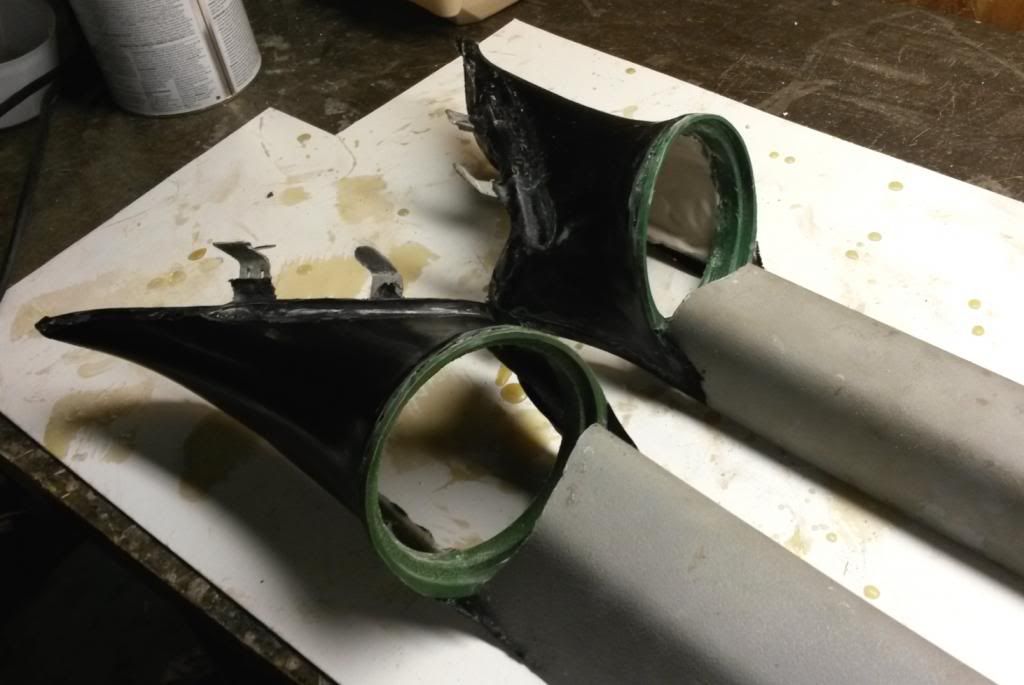
The rings were then placed in each side and glued in place:
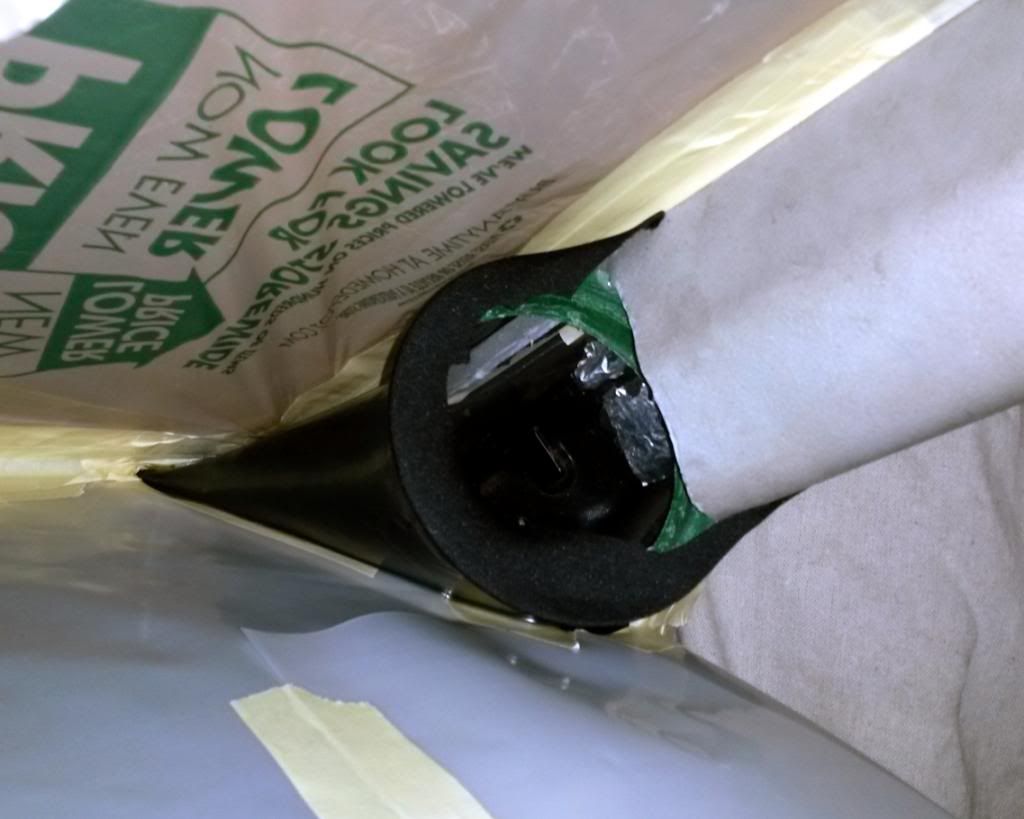
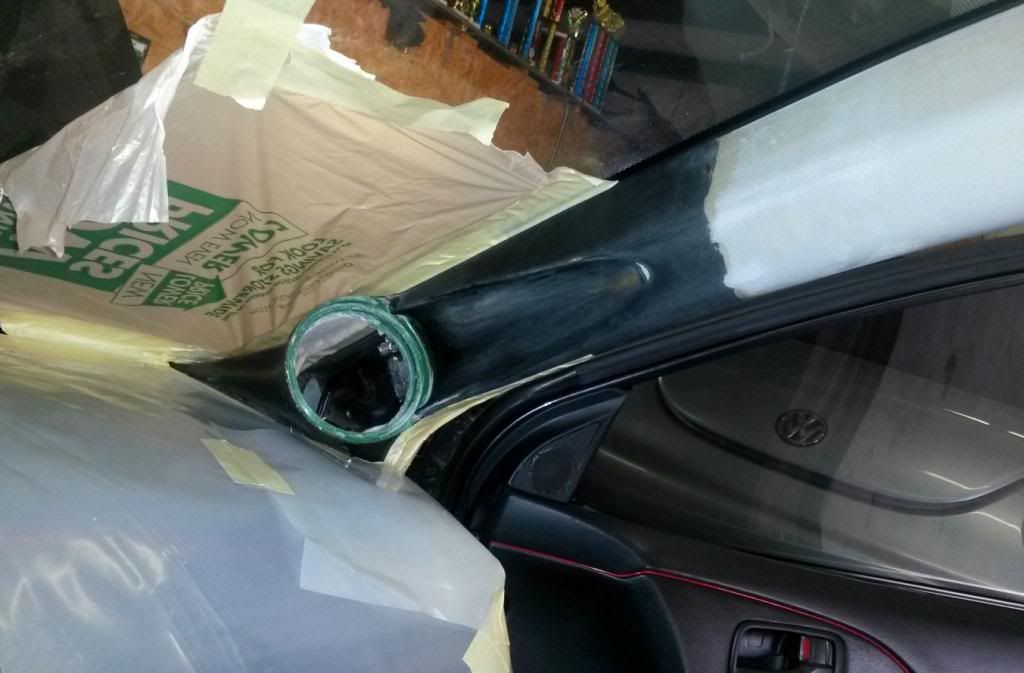
Then the area around the pillar was fully masked off:
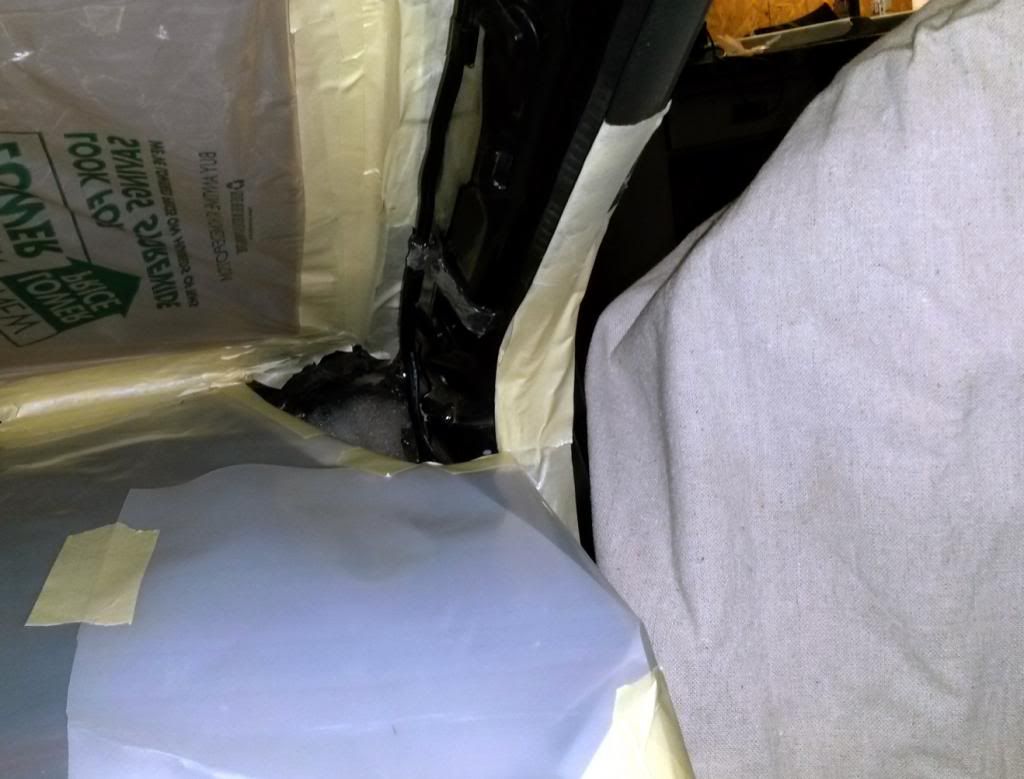
And cloth stretched to form the shape of the base:

Then resin was applied and the pillar was placed in position to cure:
A large open area was cut out from the base of the pillars and reinforced with some thin steel rods to resist twisting and flexing while cloth was being stretched:
Mock up of how the speakers would be aimed. They are placed as wide as possible, inset into the pillar so the baffle will essentially be touching the metal of the pillar to maximize stage width and minimize the amount they stick out.
Baffles were made out of a fiber reinforced 4" atrium grate that was cut and turned to precisely fit the speaker
The rings were then placed in each side and glued in place:
Then the area around the pillar was fully masked off:
And cloth stretched to form the shape of the base:
Then resin was applied and the pillar was placed in position to cure:
Jun 25, 2014, 07:49 AM
#82
Newbie
Thread Starter
Join Date: Oct 2008
Location: USA
Posts: 44
Likes: 0
Received 0 Likes
on
0 Posts
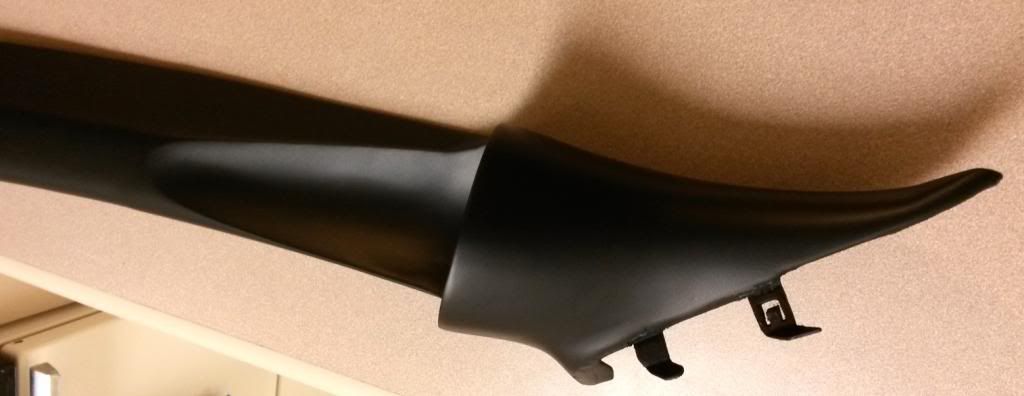
And removed from the car when cured..
Same was done to the other side:
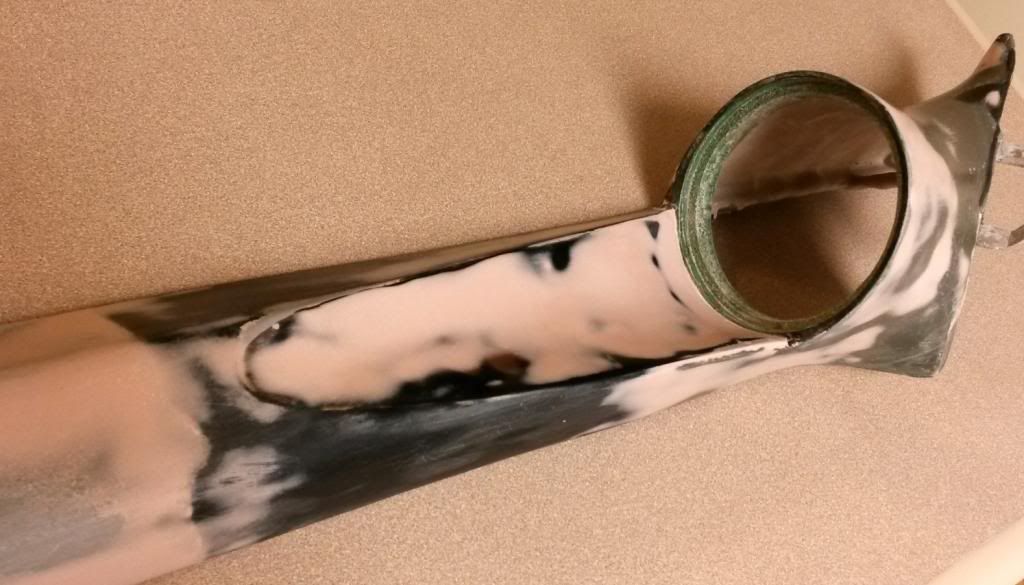
Kinda tough to tell in the pic, but then a large half oval area was cut out in front of the speaker baffle so it wouldn't block the speaker, and cloth stretched to form and smooth concave curve:
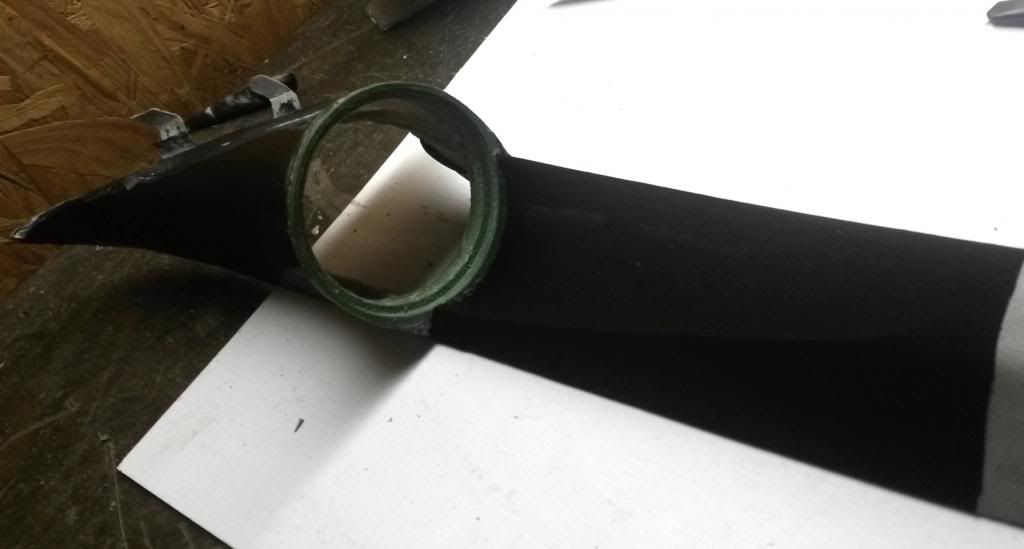
After resin applied and cured:
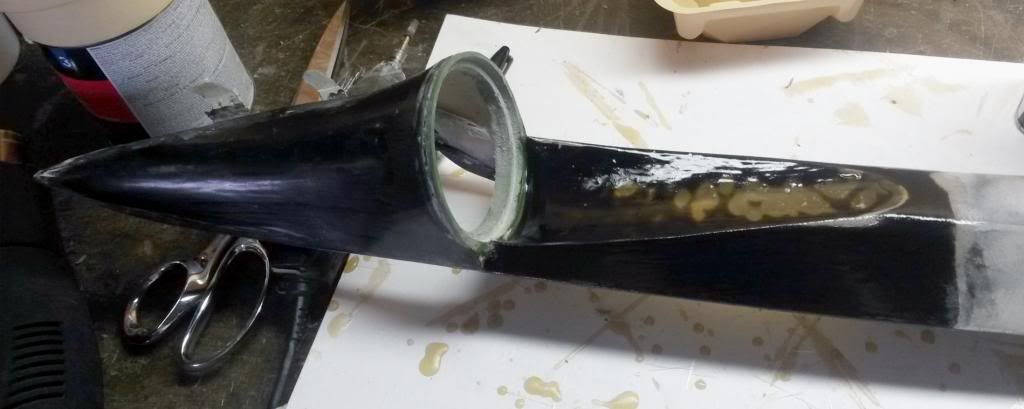
Test fit in car:
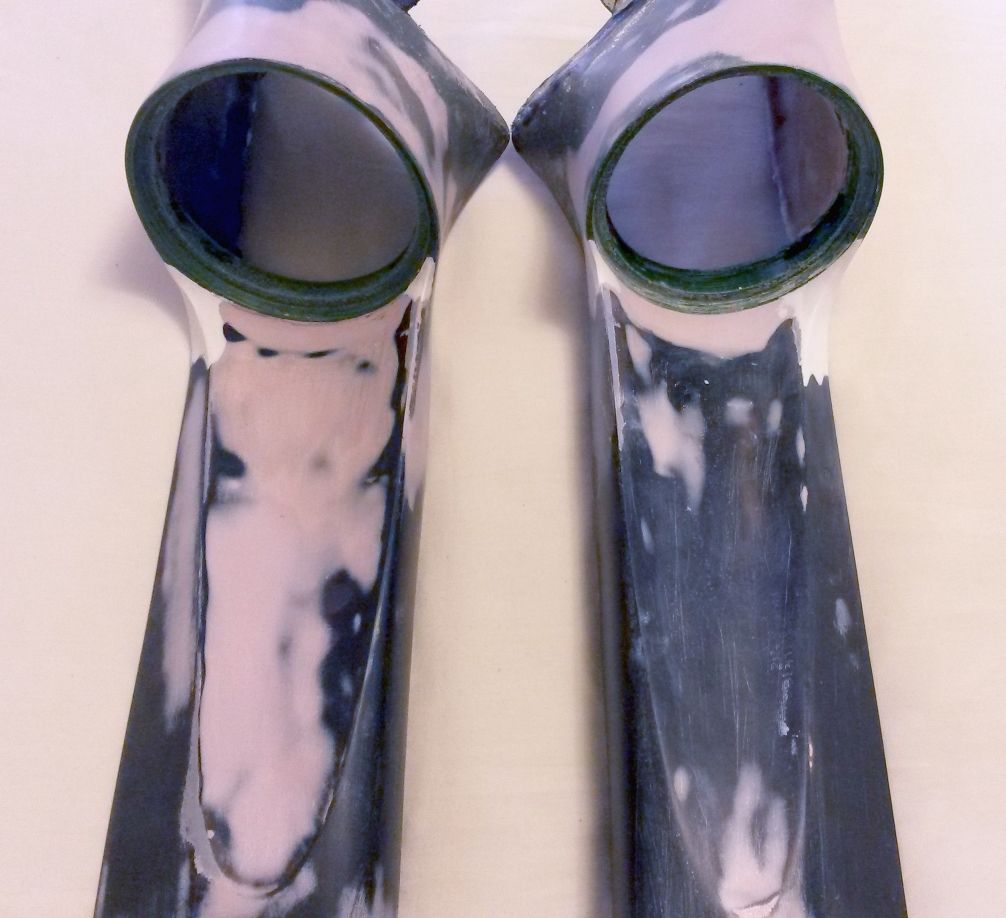
After reinforcement with fiberglass mat on the back side, it was time for body filler to smooth:
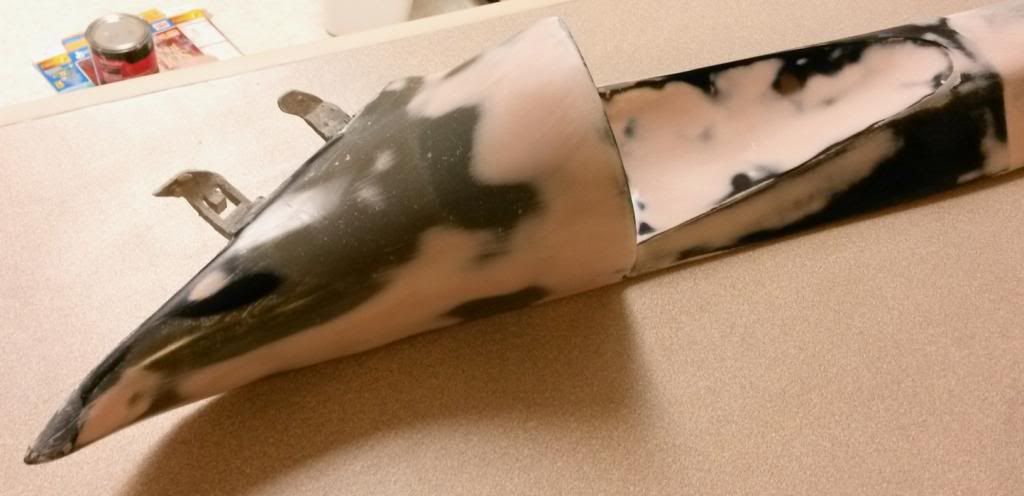
Then I shot one with Plasti-Dip so it was all one color to make it easier to see any flaws while being easy to remove:
Same was done to the other side:
Kinda tough to tell in the pic, but then a large half oval area was cut out in front of the speaker baffle so it wouldn't block the speaker, and cloth stretched to form and smooth concave curve:
After resin applied and cured:
Test fit in car:
After reinforcement with fiberglass mat on the back side, it was time for body filler to smooth:
Then I shot one with Plasti-Dip so it was all one color to make it easier to see any flaws while being easy to remove:
Jun 25, 2014, 08:01 AM
#84
Newbie
Thread Starter
Join Date: Oct 2008
Location: USA
Posts: 44
Likes: 0
Received 0 Likes
on
0 Posts
Other was filled and smoothed to match:
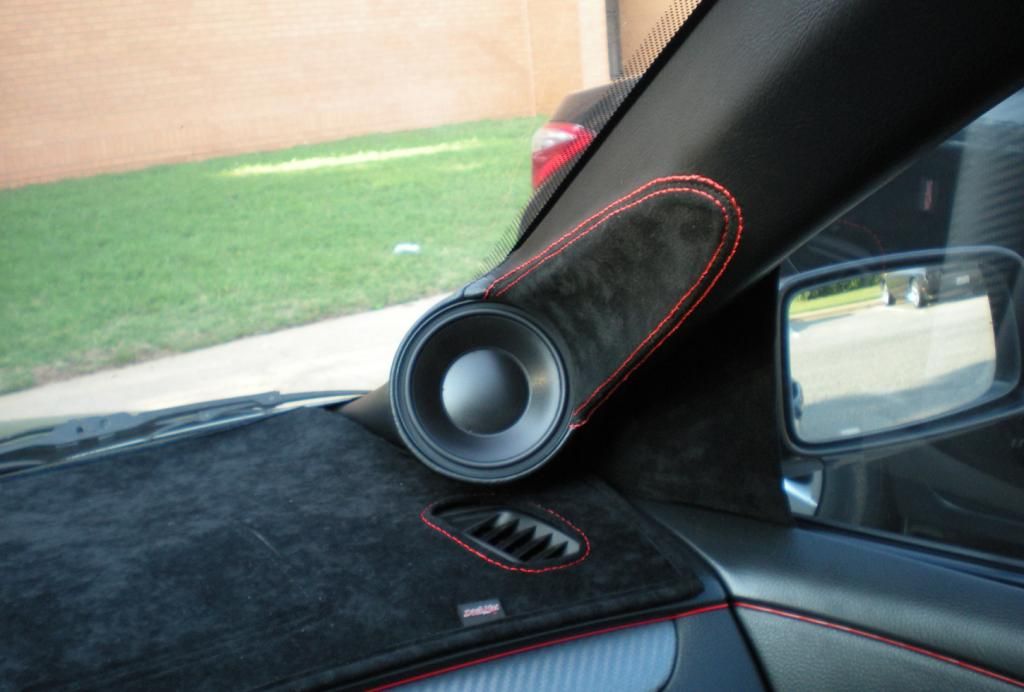
Then it was time for upholstery. I went with black vinyl on the majority just like the old pillars to match the interior, a padded suede insert behind the speaker to control some reflections, and red stitching to match the rest of the interior.
Right after picking them up:


And in the car!
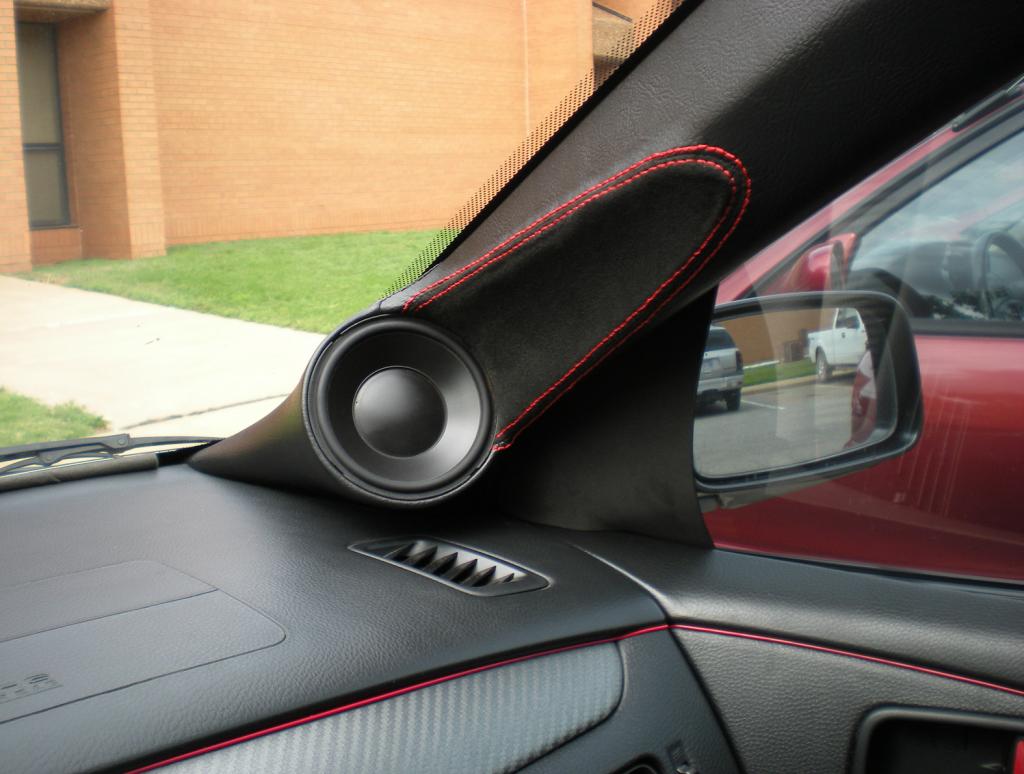

I'm very pleased with how it's all coming together
Then it was time for upholstery. I went with black vinyl on the majority just like the old pillars to match the interior, a padded suede insert behind the speaker to control some reflections, and red stitching to match the rest of the interior.
Right after picking them up:
And in the car!
I'm very pleased with how it's all coming together
Last edited by strakele; Nov 26, 2014 at 09:30 PM.
 Nov 26, 2014, 09:39 PM
#88
Newbie
Thread Starter
Join Date: Oct 2008
Location: USA
Posts: 44
Likes: 0
Received 0 Likes
on
0 Posts
Thanks guys. No major updates for now. Some tweaks on the tune. Been super busy with pilot training.
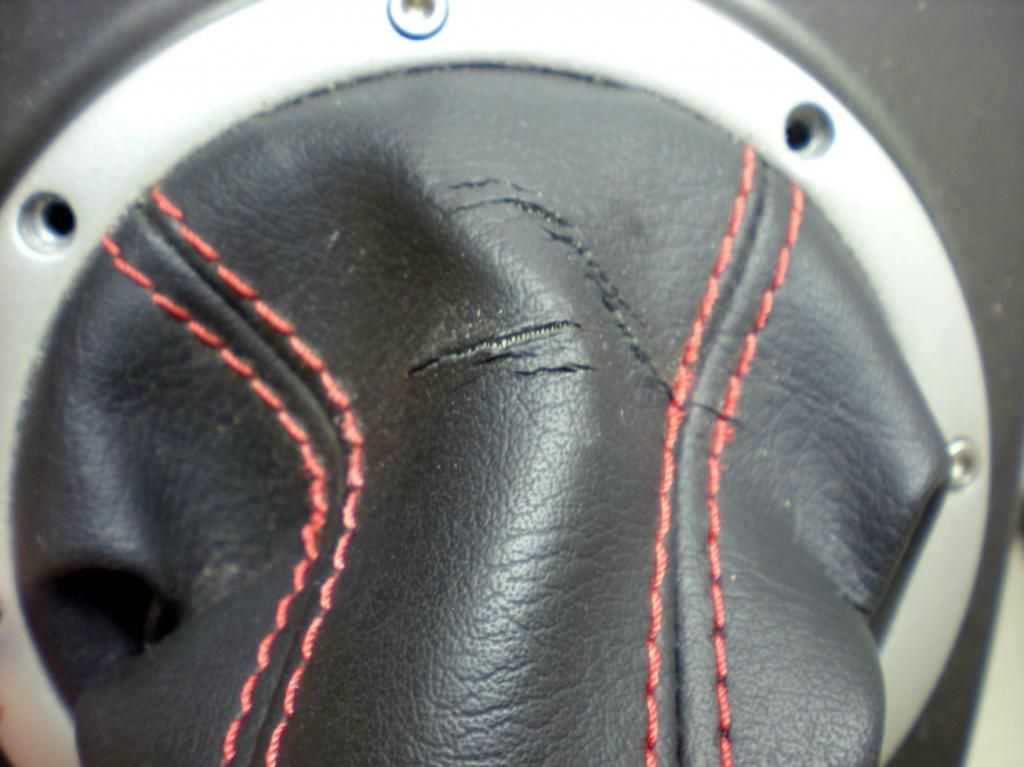
I guess I forgot to post this though..
The first shift boot I got was made out of some pretty tough material and after a year or two it ended up cracking:
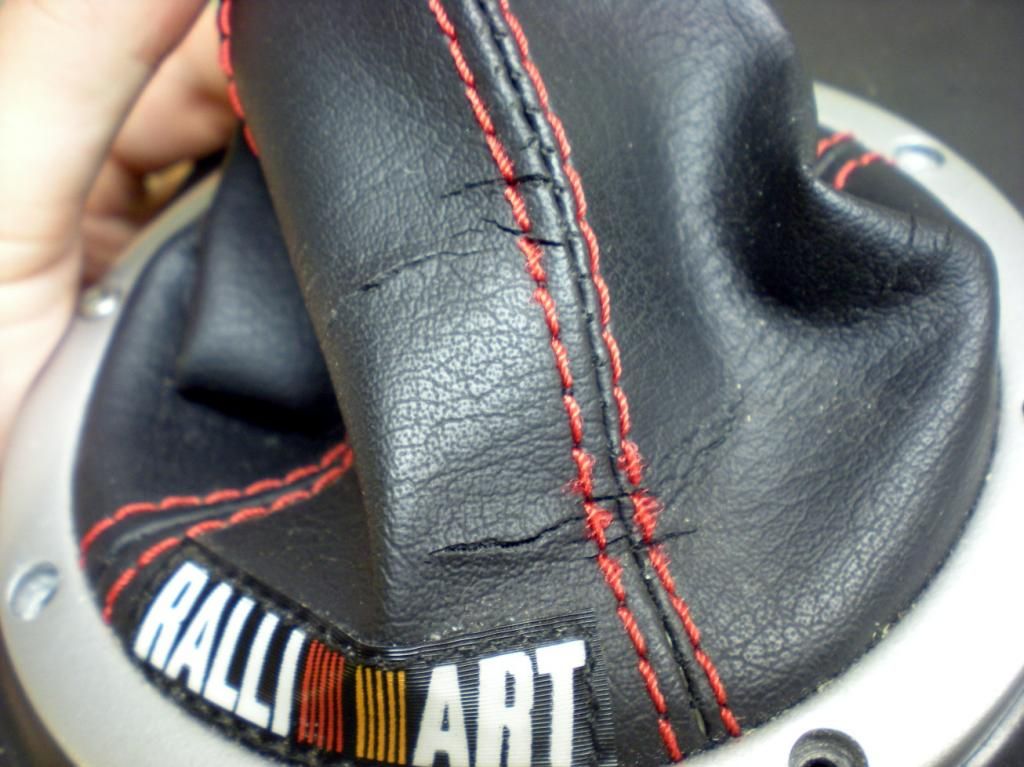
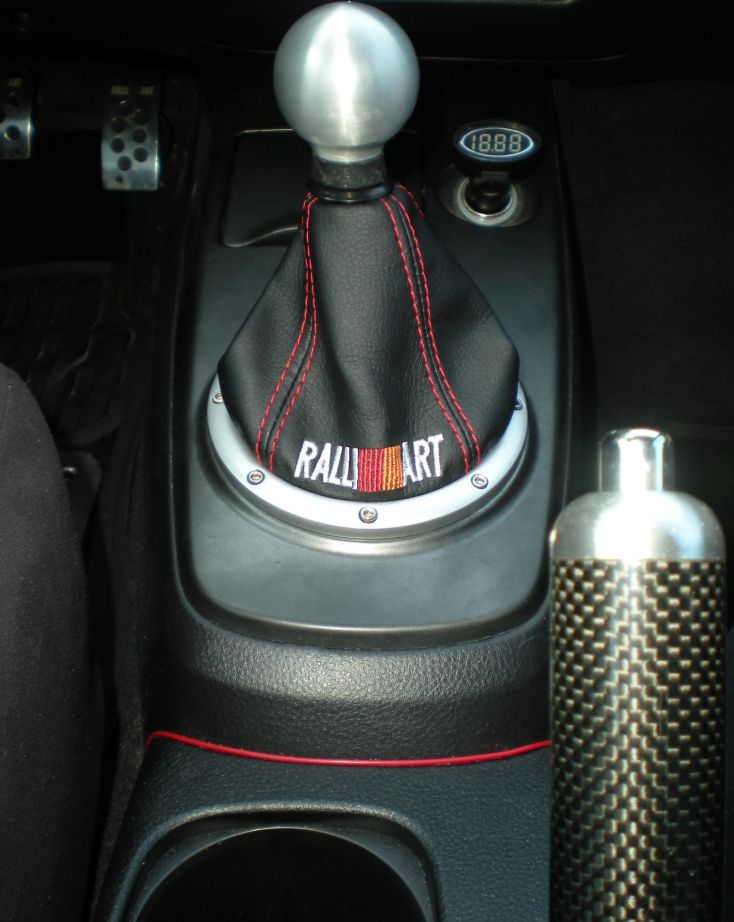
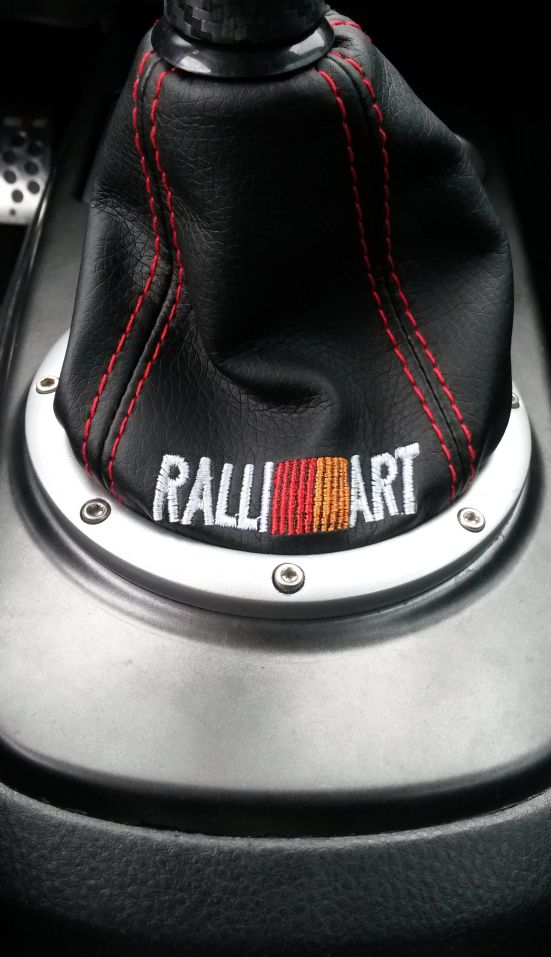
So I got a nicer new one made of softer material that has an embroidered badge instead of a sewn on one:
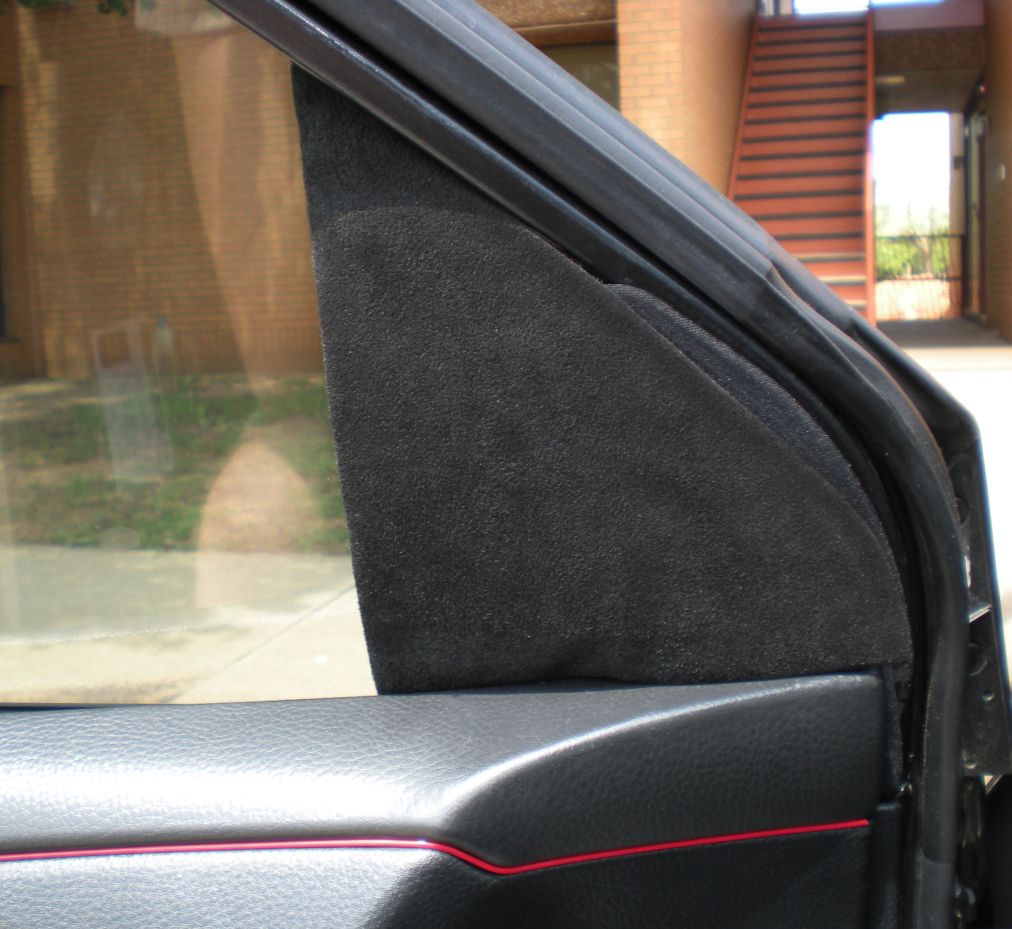
The sail panel covers are now covered in suede:
And got a suede texture dash mat that I added a bit of stitching to in order to match the sails/pillars.
I guess I forgot to post this though..
The first shift boot I got was made out of some pretty tough material and after a year or two it ended up cracking:
So I got a nicer new one made of softer material that has an embroidered badge instead of a sewn on one:
The sail panel covers are now covered in suede:
And got a suede texture dash mat that I added a bit of stitching to in order to match the sails/pillars.
Last edited by strakele; Nov 26, 2014 at 09:43 PM.
Jul 18, 2015, 06:28 PM
#89
Newbie
Thread Starter
Join Date: Oct 2008
Location: USA
Posts: 44
Likes: 0
Received 0 Likes
on
0 Posts
Man, it's been a looong time since an update. I've been super busy with pilot training, but luckily it's almost done. Hopefully I'll be moving on to fly these soon:

Anyway, it's been a while since I've done anything to the car, but now that I'll have a little more time, I'm making some updates. This is the first part of a multi stage process with the goal being further increasing dynamics and impact while retaining all the SQ aspects that I require. I'm hoping to achieve this mostly through the use of higher efficiency speakers and probably some new power and processing.
Step 1: Midbass. The most often switched component in my car. I was able to find one more real 8" speaker that would fit in the very limited depth I have available in the doors - the Beyma 8BR40/N. Given the specs and manufacturer, I was hoping this woofer would bridge the gap between 'normal' hifi speakers and pro audio speakers and I think it does that well. For those looking for a shallow, powerful 8" midbass/woofer, I'd highly recommend it, especially for the price.
Beyma 8BR40/N 8" woofer for all hi-fi and studio monitor bass speakers
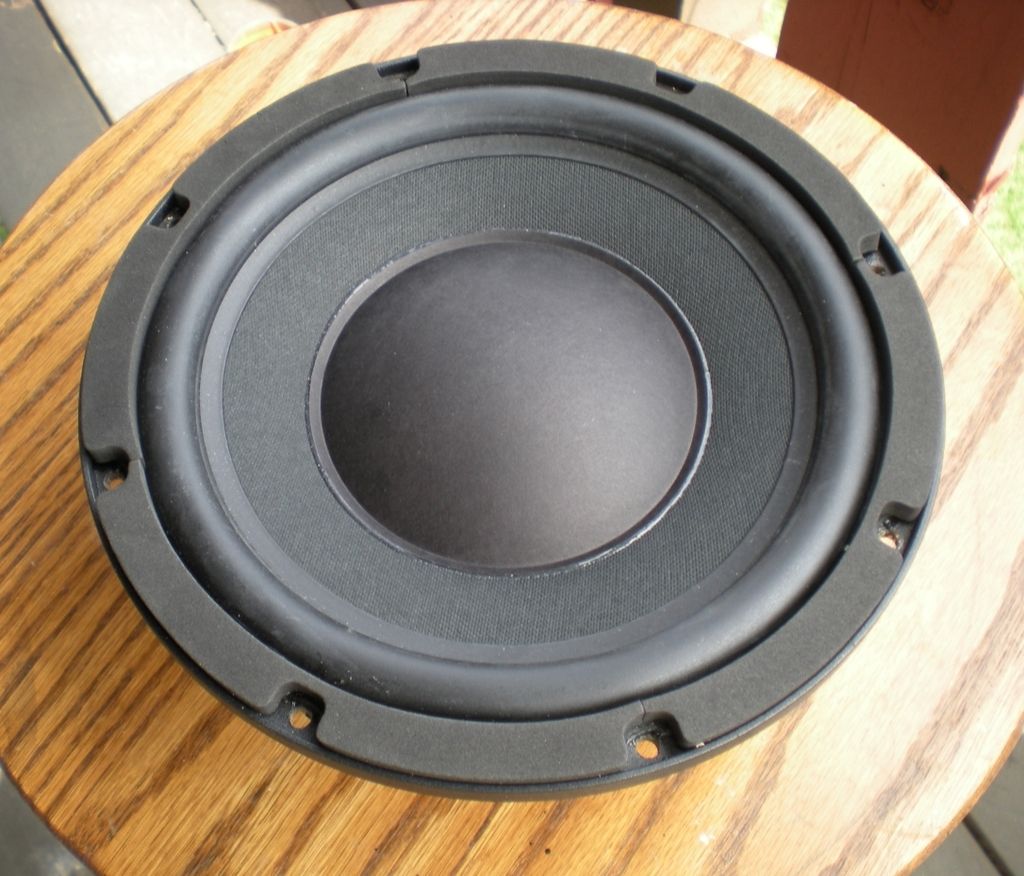

It's a really tight squeeze to get it to fit in the Lancer, but I made it work. Pretty standard install procedure-wise...
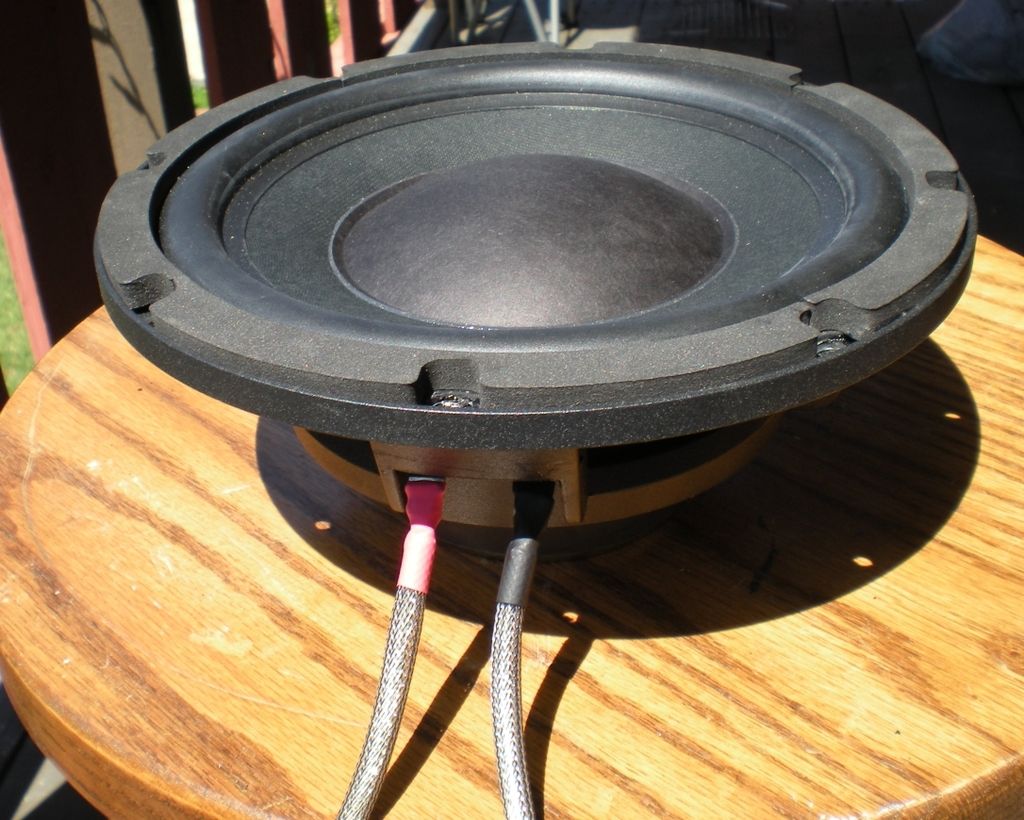
Terminated as usual with solder/Techflex/heat shrink:
Cut baffles - birch this time and using 8-32 T-Nuts:
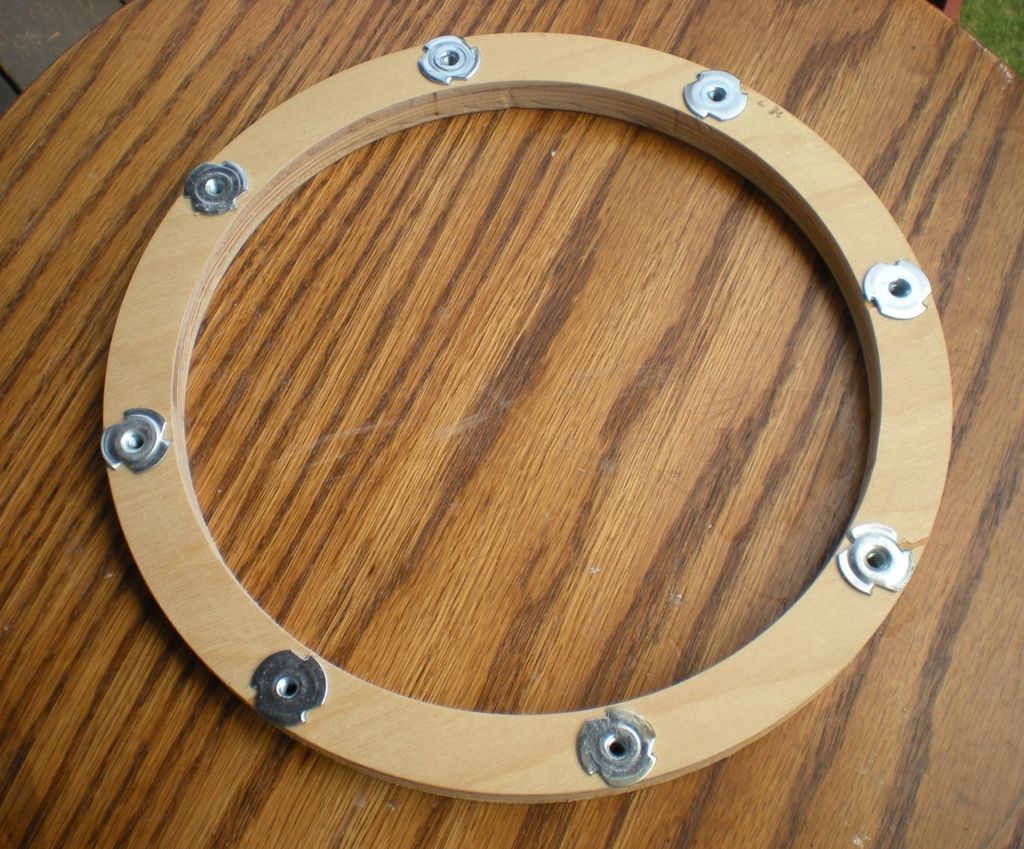
Sealed for moisture protection:
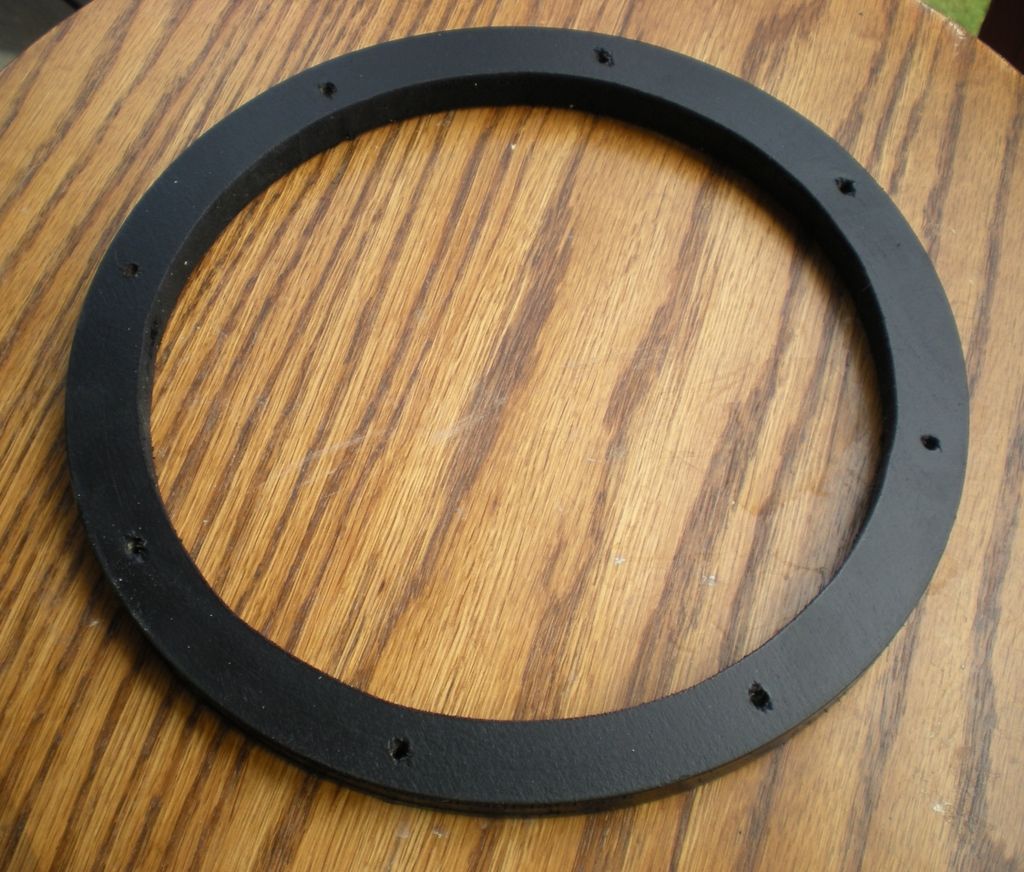
Bolted to the car with a pound or so of duct seal all around:
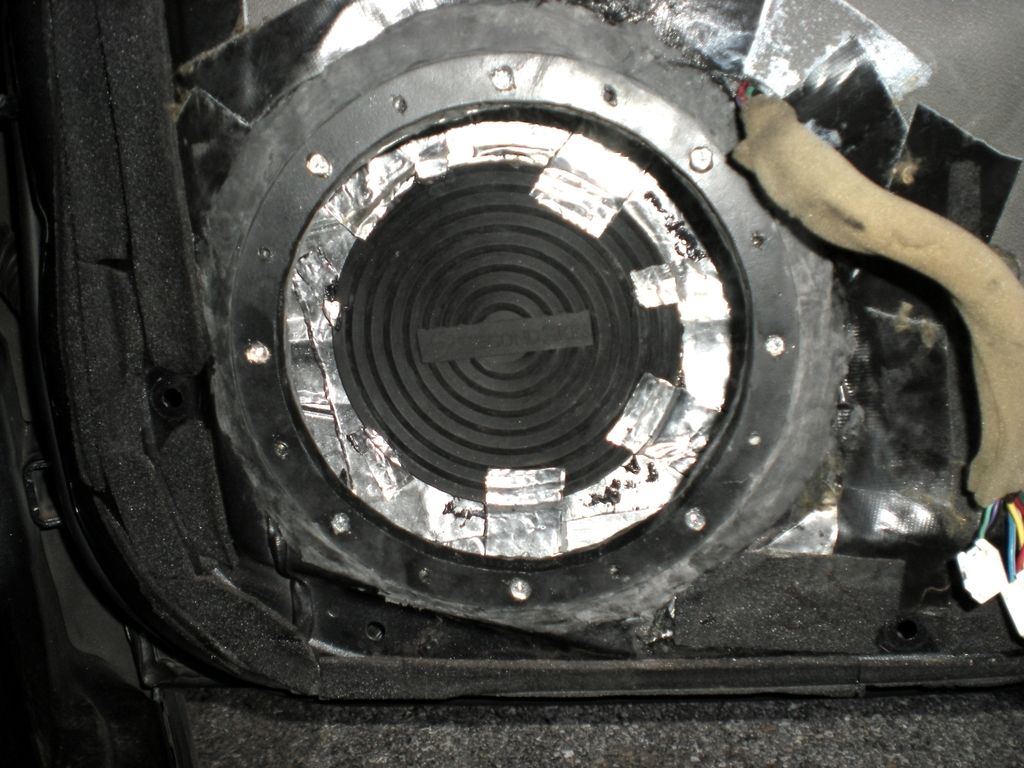
And speaker installed:
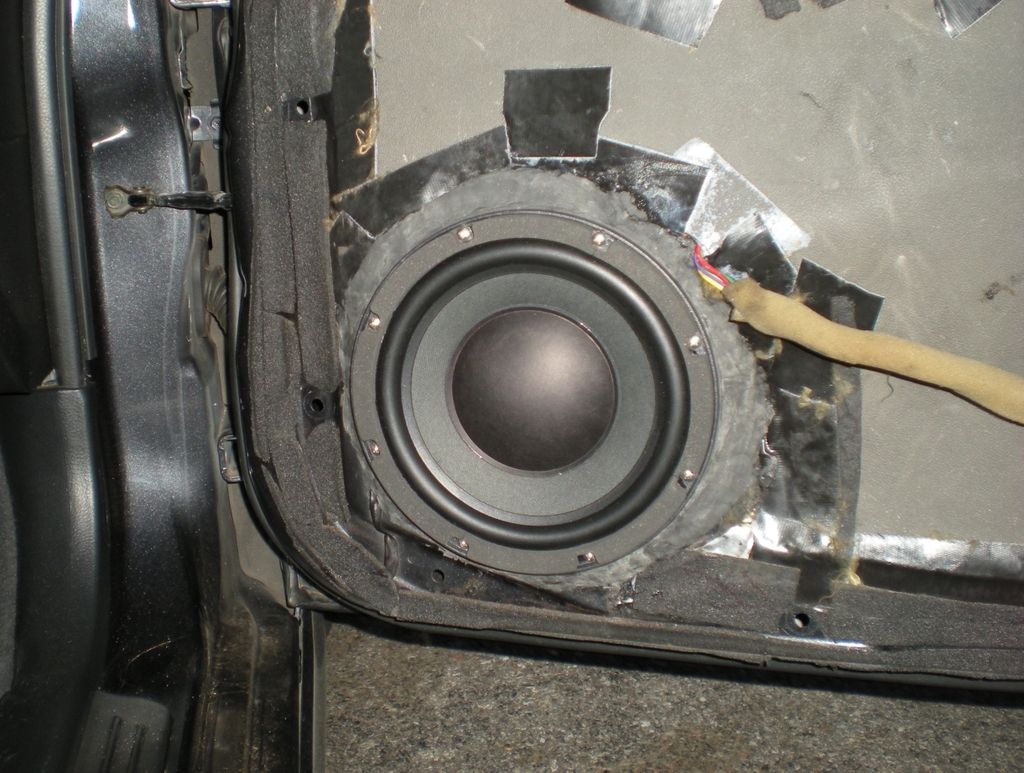
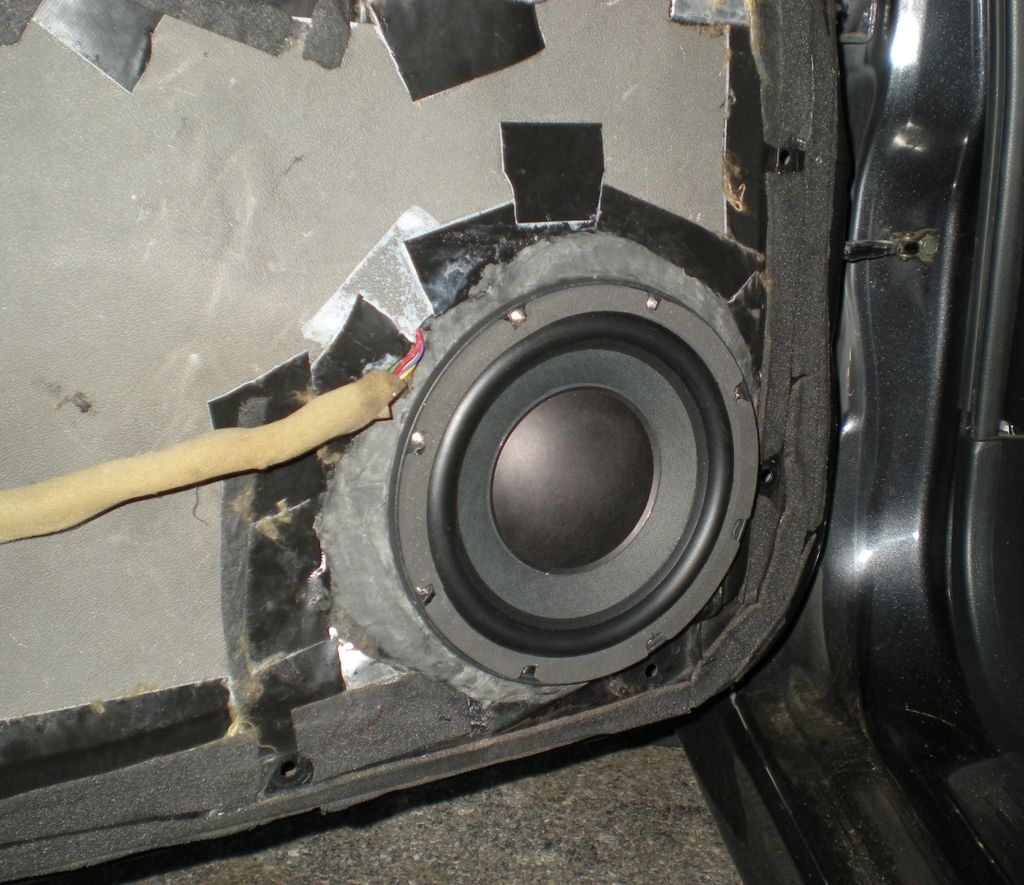
These things pound like no other midbass I've used before. Run with no highpass there are plenty of people who'd be totally happy without a sub. I just got them installed yesterday and have done very little tuning so I don't know if they'll be quite a snappy as a higher efficiency pro audio driver like a B&C 8NDL51 or 18Sound 8NMB420 (which wouldn't fit due to their large octagonal flange, but I know without a doubt that they play lower with loads more authority. For $70 each, I'm very pleased with them!
Anyway, it's been a while since I've done anything to the car, but now that I'll have a little more time, I'm making some updates. This is the first part of a multi stage process with the goal being further increasing dynamics and impact while retaining all the SQ aspects that I require. I'm hoping to achieve this mostly through the use of higher efficiency speakers and probably some new power and processing.
Step 1: Midbass. The most often switched component in my car. I was able to find one more real 8" speaker that would fit in the very limited depth I have available in the doors - the Beyma 8BR40/N. Given the specs and manufacturer, I was hoping this woofer would bridge the gap between 'normal' hifi speakers and pro audio speakers and I think it does that well. For those looking for a shallow, powerful 8" midbass/woofer, I'd highly recommend it, especially for the price.
Beyma 8BR40/N 8" woofer for all hi-fi and studio monitor bass speakers
It's a really tight squeeze to get it to fit in the Lancer, but I made it work. Pretty standard install procedure-wise...
Terminated as usual with solder/Techflex/heat shrink:
Cut baffles - birch this time and using 8-32 T-Nuts:
Sealed for moisture protection:
Bolted to the car with a pound or so of duct seal all around:
And speaker installed:
These things pound like no other midbass I've used before. Run with no highpass there are plenty of people who'd be totally happy without a sub. I just got them installed yesterday and have done very little tuning so I don't know if they'll be quite a snappy as a higher efficiency pro audio driver like a B&C 8NDL51 or 18Sound 8NMB420 (which wouldn't fit due to their large octagonal flange, but I know without a doubt that they play lower with loads more authority. For $70 each, I'm very pleased with them!