When you click on links to various merchants on this site and make a purchase, this can result in this site earning a commission. Affiliate programs and affiliations include, but are not limited to, the eBay Partner Network.
Hi, you definitely need the bottom bezel frame as the shape is different.
The frame on the left is what you need for the panel you purchased on eBay. The right side is the stock one on your car now.
Thanks for posting the pic. This is the first I’ve seen behind the bottom panel frame. I want to first see how the top will fit before purchasing the bottom or maybe modifying/cutting my bottom 2din (i have a second spare to play with).
But my main concern is what is happening behind the top air vents area. Other than the air guides that connect to the vents behind different, is the rest the same to just bolt and allow enough space ? Do you happen to have pics or link online somewhere that shows the top air vents panel removed so I can see what the dashboard behind looks like ?
Last edited by BluEVOIX; Apr 22, 2018 at 07:21 PM.
^ Wow, Thanks a lot for sharing the pics!! It seems its mostly the same behind the scenes. I was mainly worried about the top center plastic piece being in the way or different to allow things to fit.
If Im not mistaken the plastic air guides are different ? It seems the pictures you have of the air guides uninstalled on the floor are different piece than that of the pics under the dashboard on the car ? Are you switching away from 2din top piece to converting to it like I am planning to do ?
Also, where did you buy the middle 2din bezel with he side hazard button (the one with the same texture as the dashboard)?
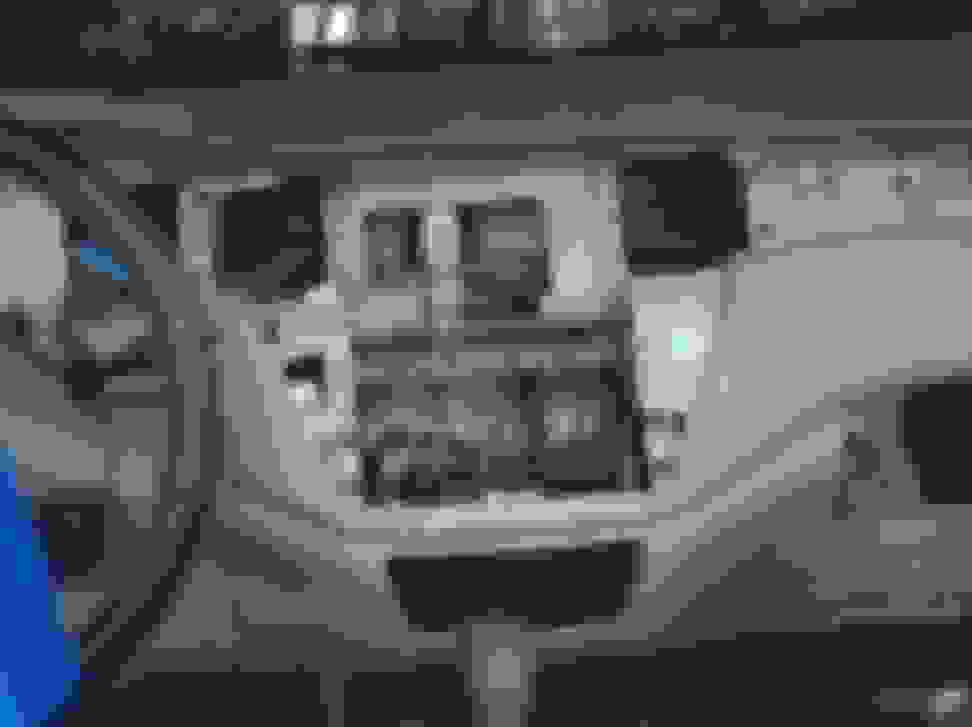
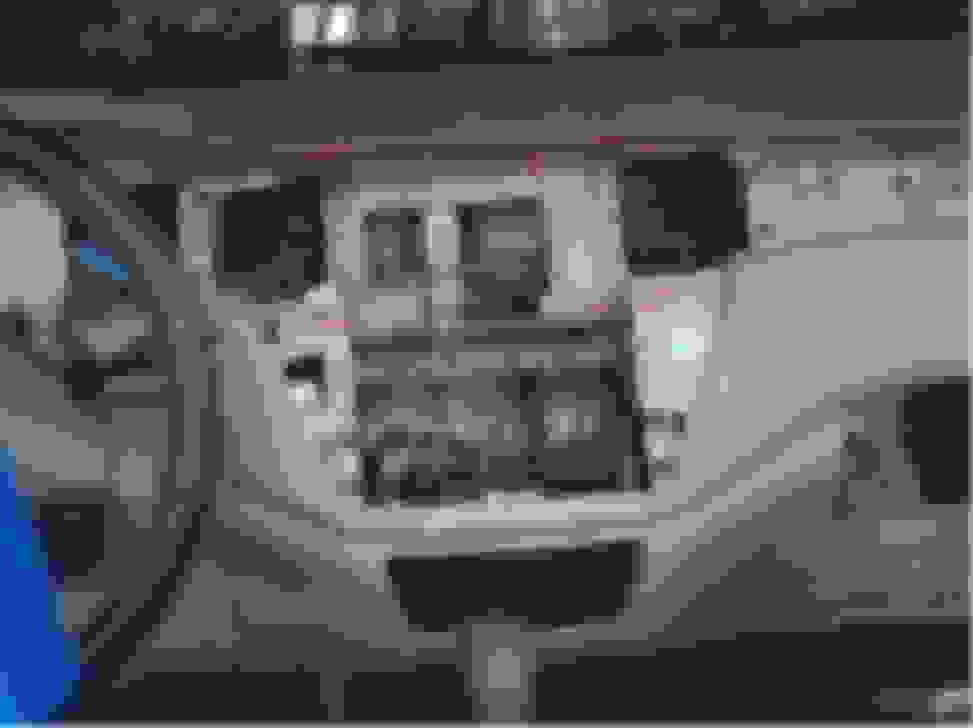
The one that is separate and on the floor is what needs to go onto the car; note the arrangement of the air vents. It is a dashboard-out job, I am told. The bezel with the hazard light switch is necessary as you will lose your dashboard clock and more importantly hazard light switch.
I bought it when I was vacationing in Taiwan. The socket arrangement was different and I had to modify the hazard light switch cover to work with the JDM switch body in order not to mess with the factory wiring harness.
I have a HKS Camp 2 gauge computer and my end state is to have it�s display show on the 7 inch add-on screen located in the higher position between the air conditioning vents. The 2DIN unit will be retained in the middle section and continue to perform normal duties including integrated Waze navigation.
Here�s what it looks like behind - and other miscellaneous pictures of parts.
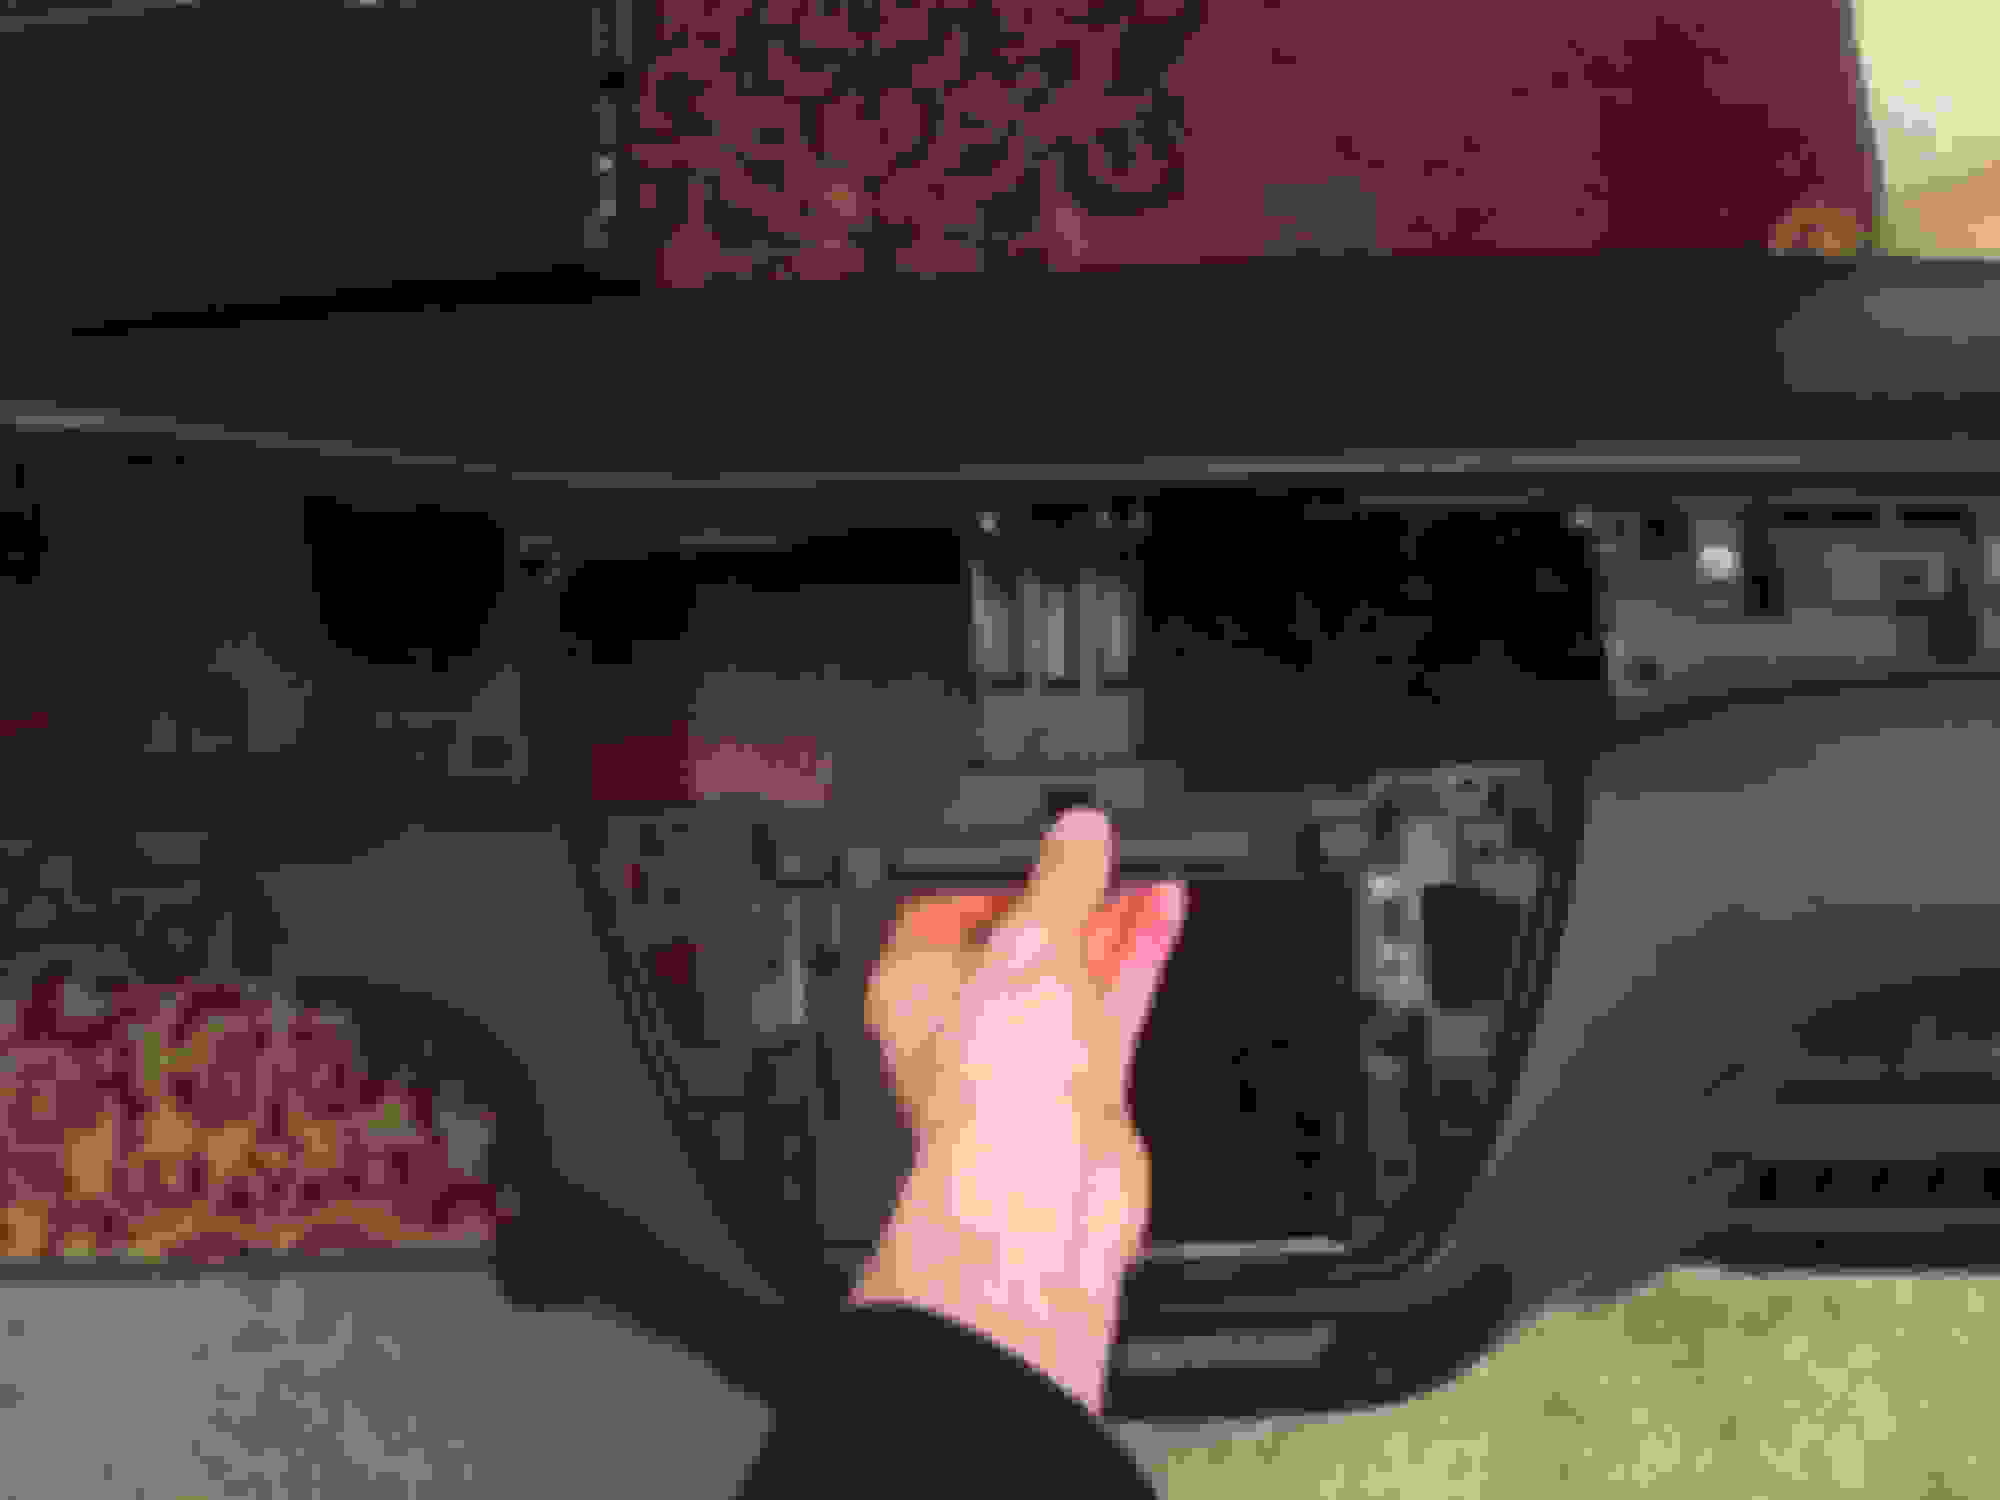
Behind the vertical plastic piece and between the two air ducts is a metal vertical bracket. Did you take it off, modify or leave on as is ?
I just took out my dashboard and Im trying to prepare it until the panel arrives. I will just have to cut and modify the rear air channels to make my non 2din panel mate with the 2din I ordered.
I don�t think the metal bracket needs to be removed. It was in the original donor console but was mangled in the disassembly.
Thanks. So basically just replace/modify air ducts to attach to the vents. Then cut out the plastic vertical piece as well as the horizontal piece it attaches to but leave the side sections the panel can screw on to.
Here, I've found you a better image of the centre console. Its a screengrab off a YouTube video - both cover the replacement of the air conditioning system's evaporator coil, it shows the console in question quite clearly.
^Excellent find and thanks for sharing. My panel has not yet arrived but thanks to the pictures and video clips you provided, I started the process of modifying until its arrival.
I took off the dash, cut out some of the plastic on the dashboard and cut/modified the air ducts. Ill be trimming the flexible tube and finishing the ends for attachment when the panel arrives.
I have a question, before you started cutting, did you have the two red circled parts molded onto your dashboard's main structure or was it somehow screwed on? Reason that I ask, is because I have a 7 inch screen with metal brackets that appear to mount into those bolt holes present in the plastic.
^ No it did not , only part i cut out was this plastic upside down “T” . My (US) Evo dash board does not look like the jdm lancers in the pics/videos posted.
Here is what I cut out. Only part missing in this pic is the hvac duct/tubing.