When you click on links to various merchants on this site and make a purchase, this can result in this site earning a commission. Affiliate programs and affiliations include, but are not limited to, the eBay Partner Network.
Evo GeneralDiscuss any generalized technical Evo related topics that may not fit into the other forums.
Please do not post tech and rumor threads here.
Sponsored by: RavSpec - JDM Wheels Central
Im looking at installing the black cat gauge overlays which replace the original ones but im curious at how to remove and especially properly re install the needles. Any info would be really appreciated
Interesting that you post this. I finally am getting around to building the custom cluster I wanted to build for years. I bought a spare part sometime in 2018 or 2017 (I can't remember) to disassemble and use as a tool to do my R&D on. I just removed the needles. I have done a few cluster modifications before, but this is the first cluster from an Evo that I've done. To do this, I have a special needle removal tool. It's specifically made for removing needles but you could easily use a dinner fork or something similar.
(photo courtesy of duckduckgo.... not my tool but very similar)
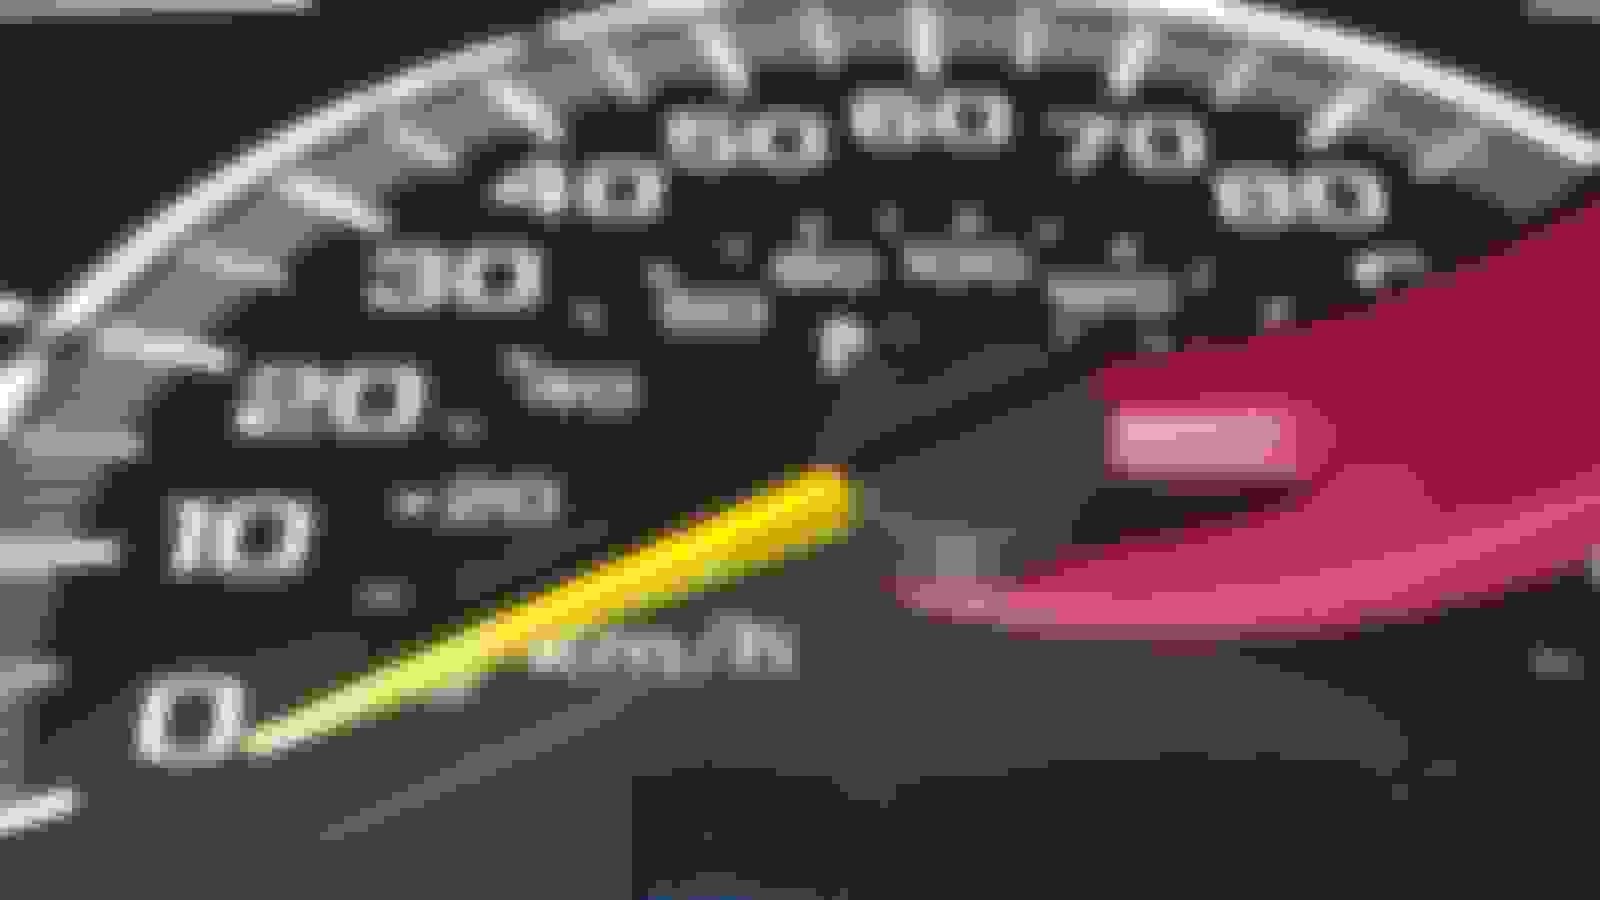
Here are some pictures of what to expect when you start to get things apart. I took these photos "square" on so it was obvious where the needles sat when the cluster was powered off before they were removed.
The temperature and the fuel gauges do not have "stop pegs" at the resting position
. There is a VERY small spring behind the face that dictates where they will sit.
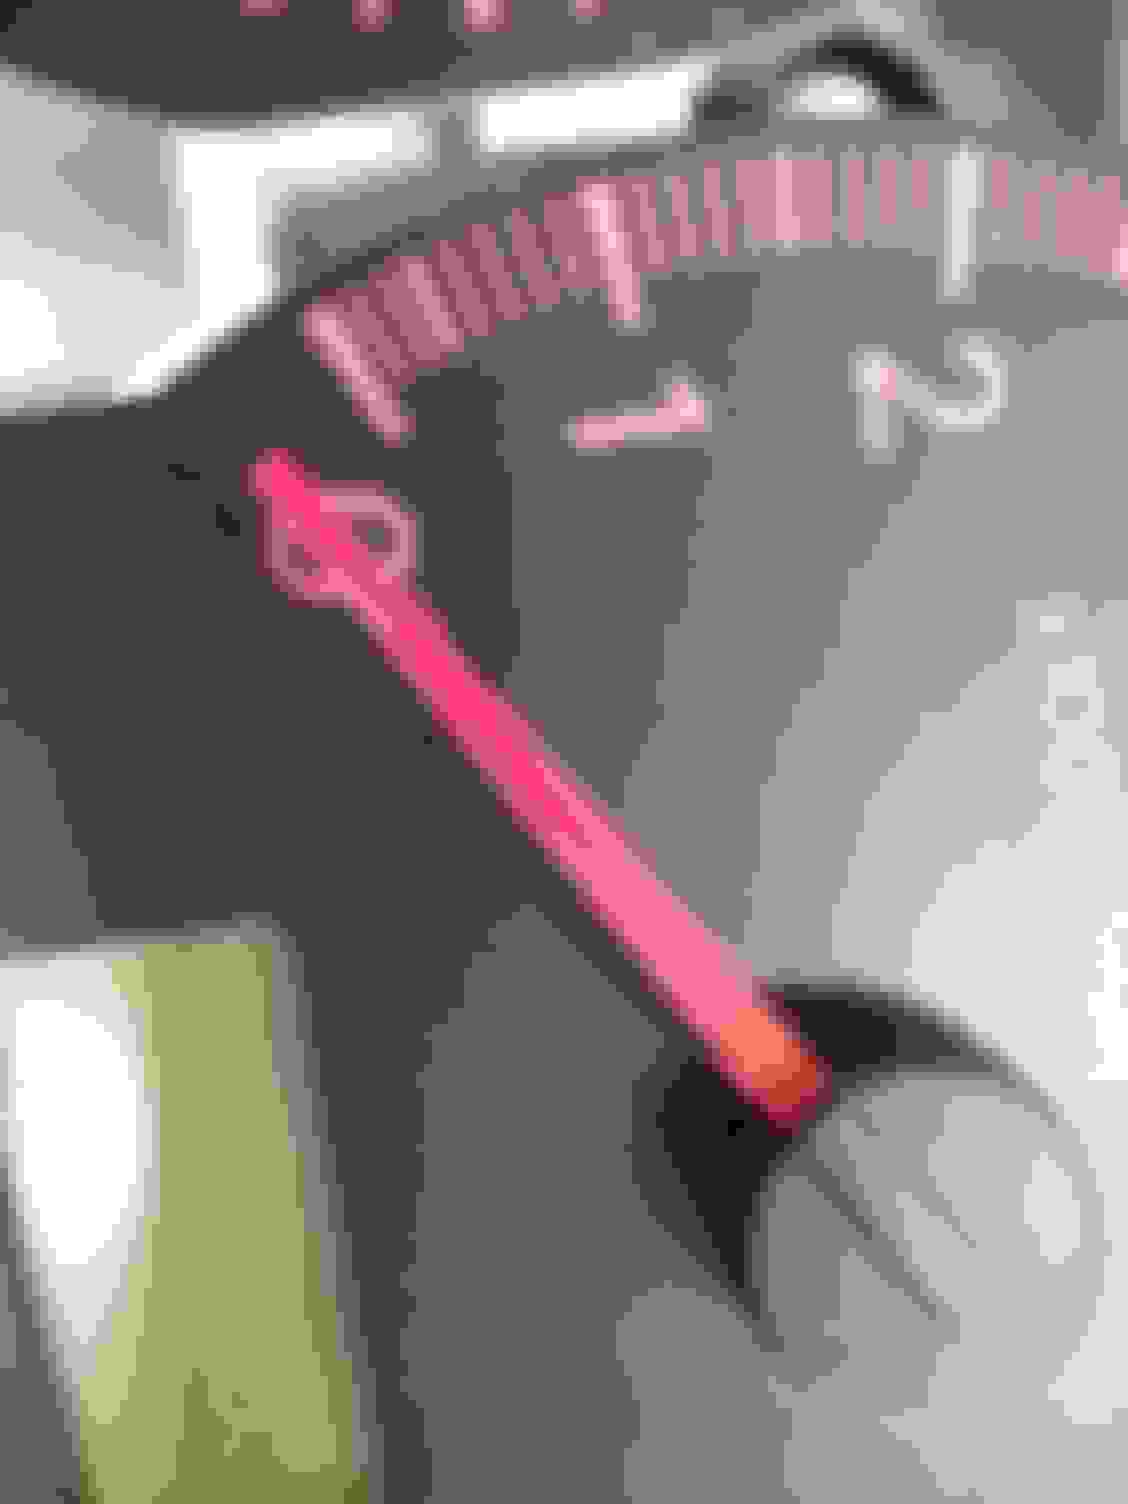
The spedo and tack have a stop peg. I haven't figured out the best way to remove this yet. I did flop the needle over the peg just to see if the spring would push it further down but it really doesn't.
As for replacement after the gauge face has been swapped, I haven't nailed down the best way to do it. Other people may chime in, but here is my best plan so far.
Temp- Can be installed with the needle in the same visual position as the photo I took (right in the middle of the "C" for cold) with the key off, car off. You also might be able to leave the engine stone-cold, and key on (engine not running) install it in the "C" position.
Fuel- same method as Temp, but possibly fill up your tank to the brim, and install at the F position if you are using the "key on" method.
RPM is a little more tricky. Might try the key off method placing it at the peg, or might do this with the engine running. You could connect an obd2 scanner and read the RPM pid, and sort of "pin the tail on the donkey" while you know your RPM at idle.
Speed is even more tricky. Might also try the key off method with the peg, or you would have to do this with the car actually moving at a known speed (tricky and dangerous!). I however have a hoist at my house, so I could easily get it at a slow speed with all 4 wheels in the air, and then use the obd2 scanner to verify speed without any real risk of an accident.
These needles are the dc motor style with a spring. It's kind of archaic technology. The better way of doing it is with a stepper motor. Here is the cluster I made for my Mazda 4x4 truck. It has the stepper motor style. This is similar to what I want to do for the Evo.
Change the color of the lighting to white LEDs by making custom circuit boards for behind.
Paint the needle "hats"
Paint the bezel of the cluster
Use different overlays
Reverse polarize the LCD, so dark becomes light, light becomes dark
as for the stoppers, i read they pop right off if you just pull them to one side and pull lightly
yes, what i have gotten so far is to see where your needles are under normal operating temp and known fuel levels.
as for the tach I have read to use a Scan tool ODB scanner or something similar and place it with the clear lenses cover still off.
as for the MPH i read (with a manual car which ours is) to see where your car MPH is in maybe 1st or 2nd gear at a certain RPM normally (like 35MPH at 2k RPM) then place the needle in the right MPH spot. Yes if one does this, must be careful or on an open field, and verify with the scan tool, except if you have larger wheels and tires.
my biggest fear is removing and replacing the needles properly. i was going to look for a cheap beat up cluster for under $30 to play with aswell.
Since the Evo electrical system is archaic, It does not receive RPM data over any sort of digital canbus message from a network like modern cars. It would be really sexy to build a signal generator that would plug into the harness to the cluster and make the signal that it gets from the speed sensor so we could literally do this at the bench, instead of in the car. I bet it is just a square wave of varying frequency. I did try and use my variable voltage supply to make the needles move by slowly adjusting DC voltage from 0, to .5, 1... etc on the points shown here. I had mixed results. I was able to get it to sorta work on the fuel and temp, but not on the speedo and tach (which totally confused the hell out of me)