
HKS RS Intake Install

HKS RS Intake Install
I did a search these past few days, but was only able to find a how-to with text only, and no pictures, so I figured I'd do one with pictures since I was installing the intake anyways.
Tools Needed:
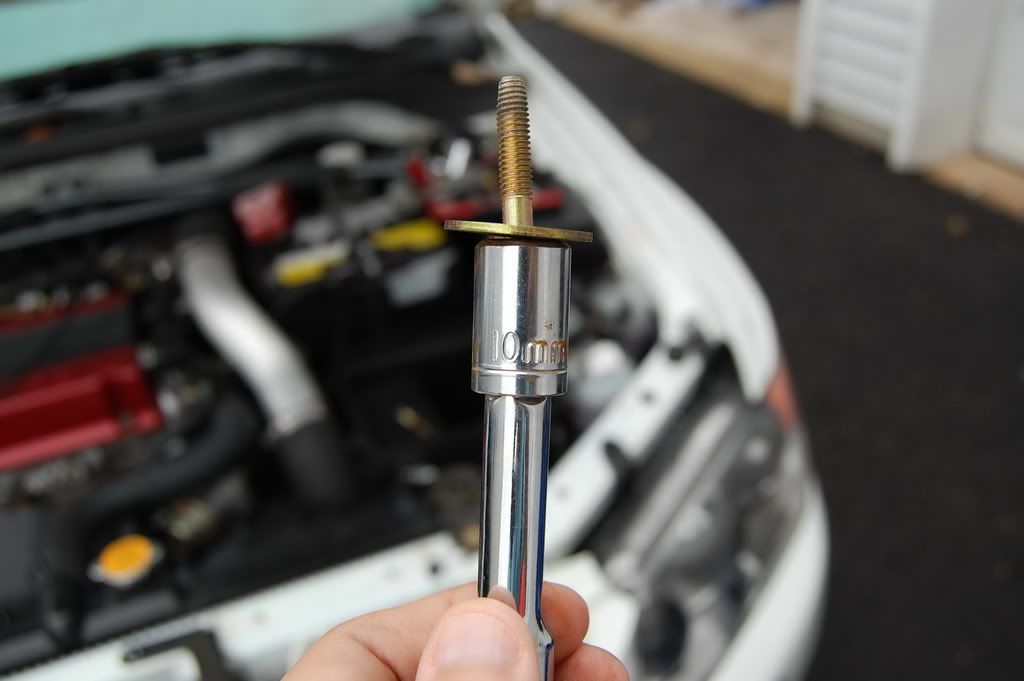
10mm and 12mm sockets
Flat head and star head screwdriver
Ratchet extension
Needle nose pliers
Patience
*Note: I'll post the information, and the picture relating to it below it.
BTW, it an evo9. Same install should apply for evo8's.
Tools Needed:
10mm and 12mm sockets
Flat head and star head screwdriver
Ratchet extension
Needle nose pliers
Patience
*Note: I'll post the information, and the picture relating to it below it.
BTW, it an evo9. Same install should apply for evo8's.
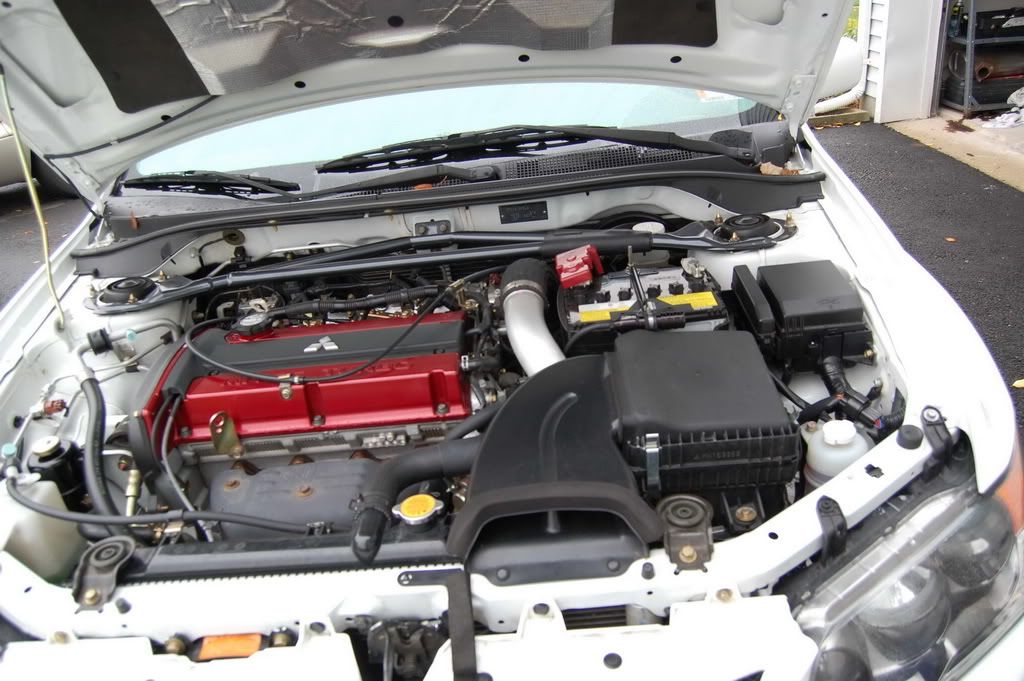
First things first, Pop the hood, and look at the intake/intake scoop. You’ll notice that the intake scoop has two plastic clips holding it in place. With the flat head screwdriver, lift up the inner circular plastic to be able to completely remove the clip. Do the same with the second clip.

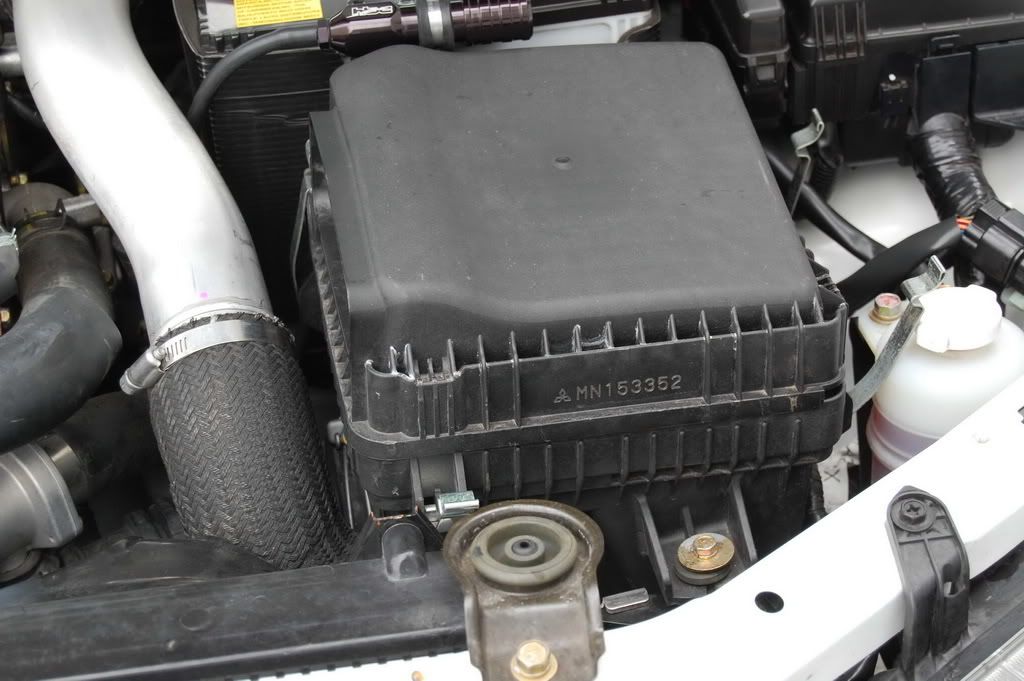
Now that you have removed those clips, we will move on to the intake box itself. You�ll notice 4 metallic clips around the box. Just pull the clips towards yourself and they will come off. After un-clipping all 4, you can now take off the top cover, and along with it the scoop. When I did it, I removed the scoop first. It doesnt really make a difference.
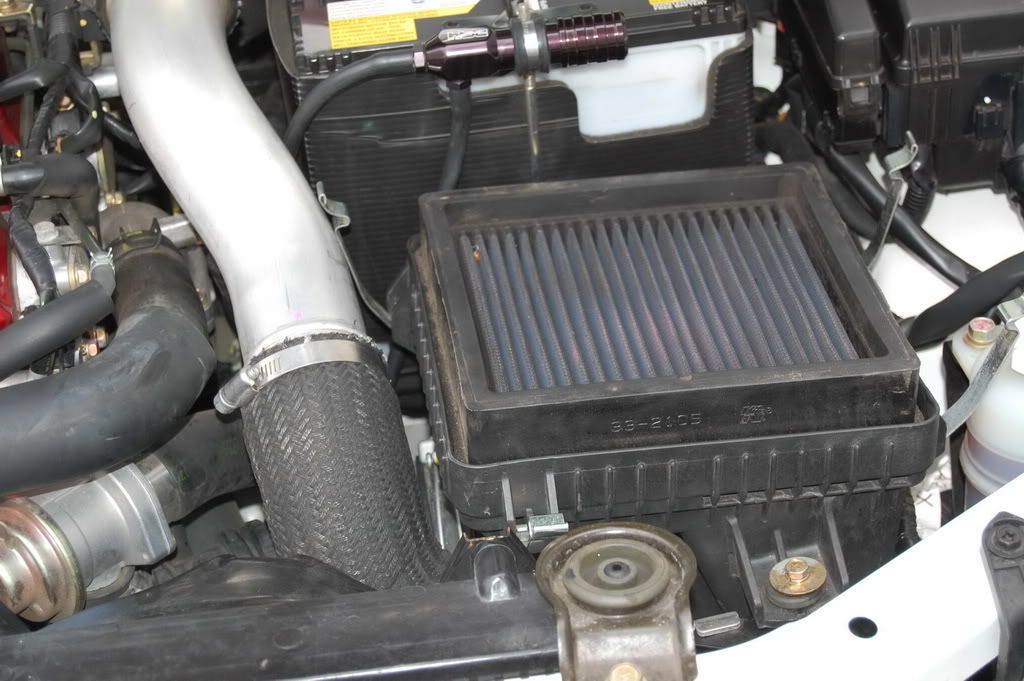
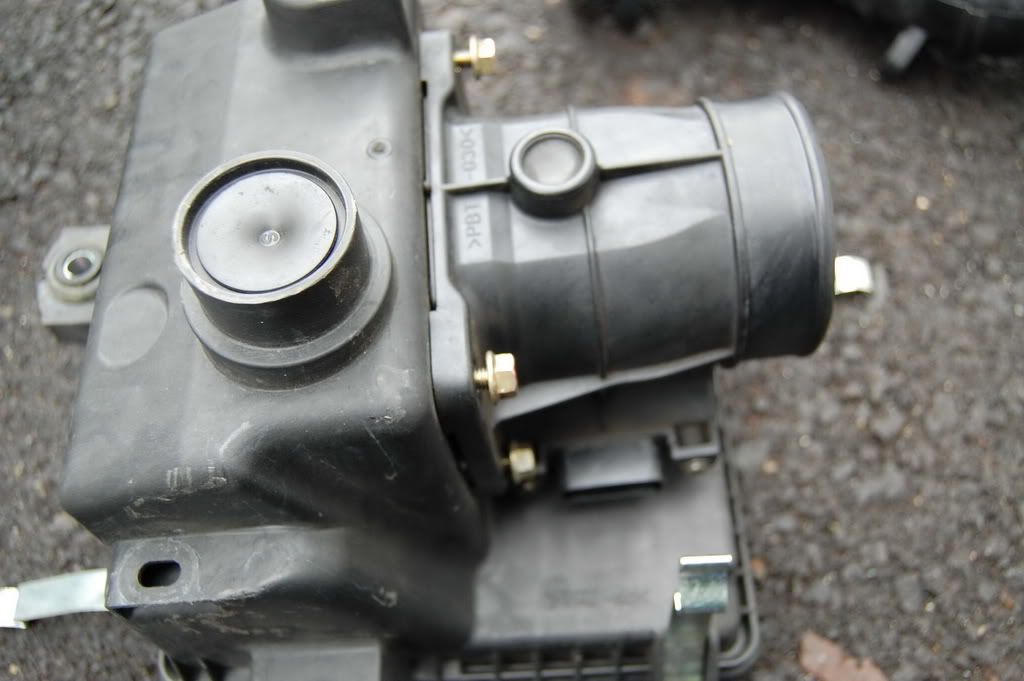
Next, you will have to unplug the Mass Airflow Sensor (MAS from now on) cable attached to the bottom side of the intake box. After you have unclipped this, you will have to now remove the clamp holding the intake box and the intake pipe together. Either a 10mm socket, or a star head screw driver will work. After you have loosened this up, you can now wiggle the intake box and lift it up so that you can unclip the cables attached to the bottom of the intake box. Wiggle the box around until it is completely out of the engine. Set it aside since we�ll need the MAF later. BE VERY CAREFUL NOT TO DROP IT.
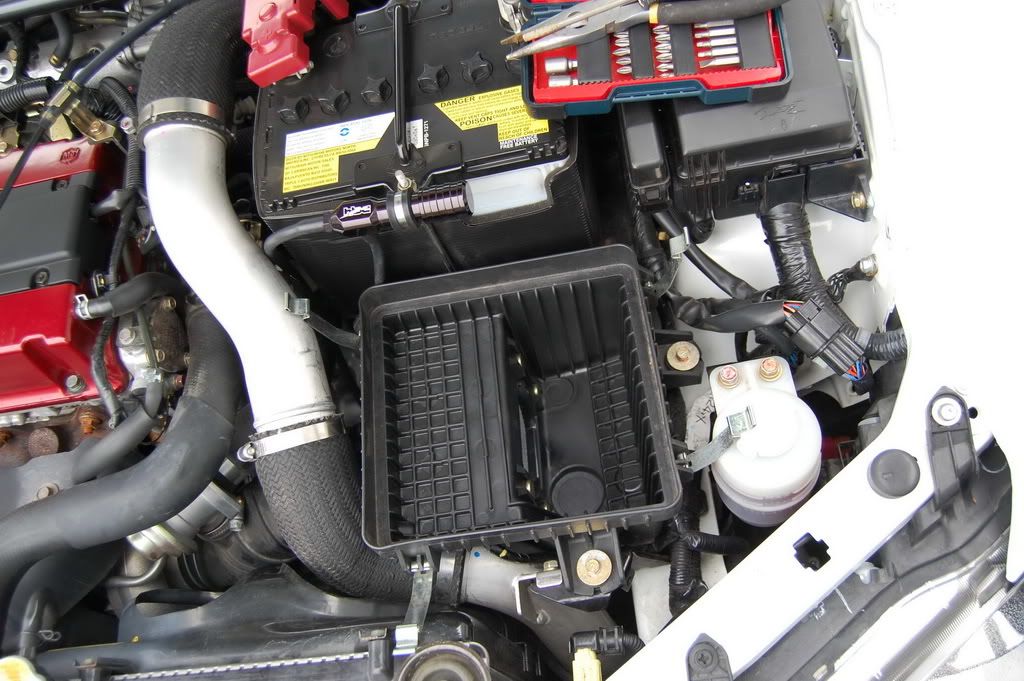
At this point you are left with a hole where the box used to be. What I did next was to unscrew the clamp holding the upper intercooler piping (UCIP from now on) since it was in my way. It�s a ***** to do, but it�s possible.
You can now unscrew the clamp connecting the UCIP to the blow off valve (BOV from now on), and maneuver the BOV away from the intake pipe area. Sorry forgot to take a picture of this step.
Trending Topics
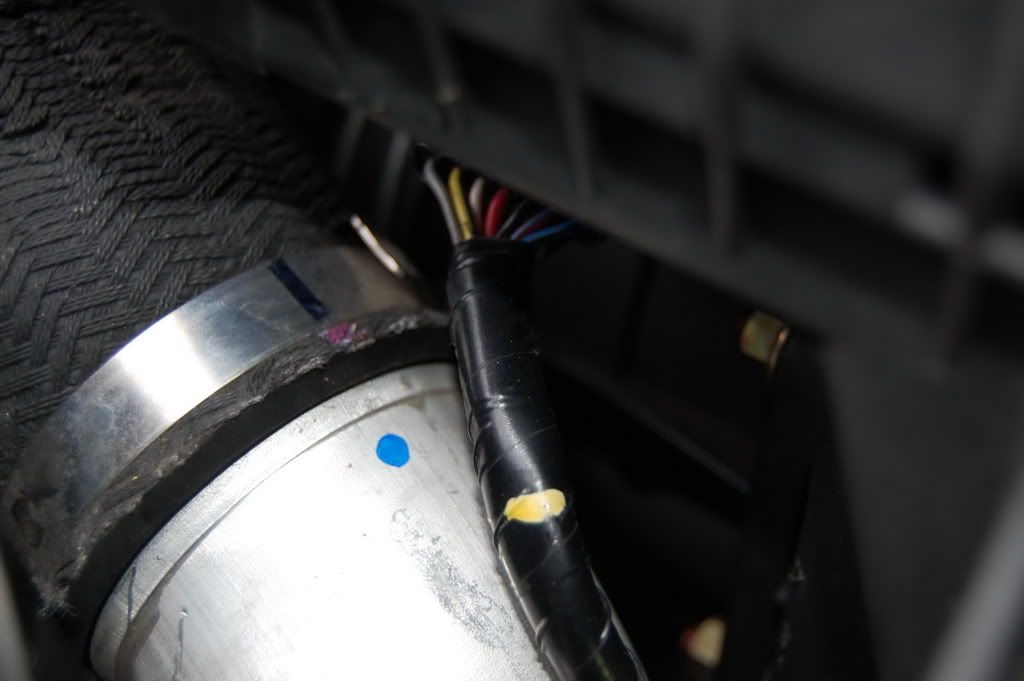
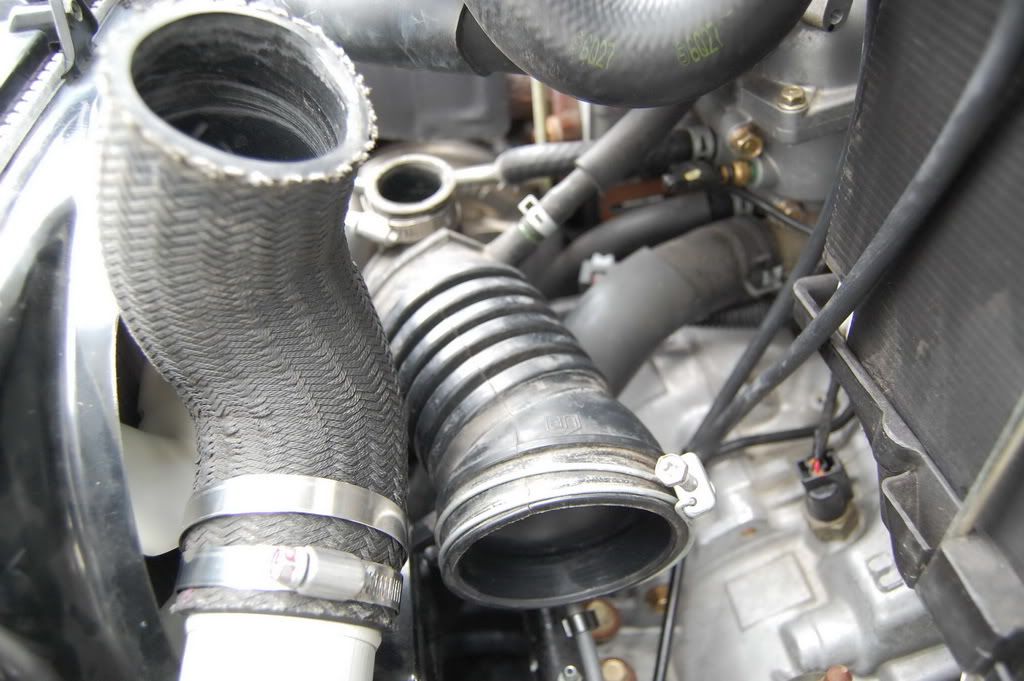
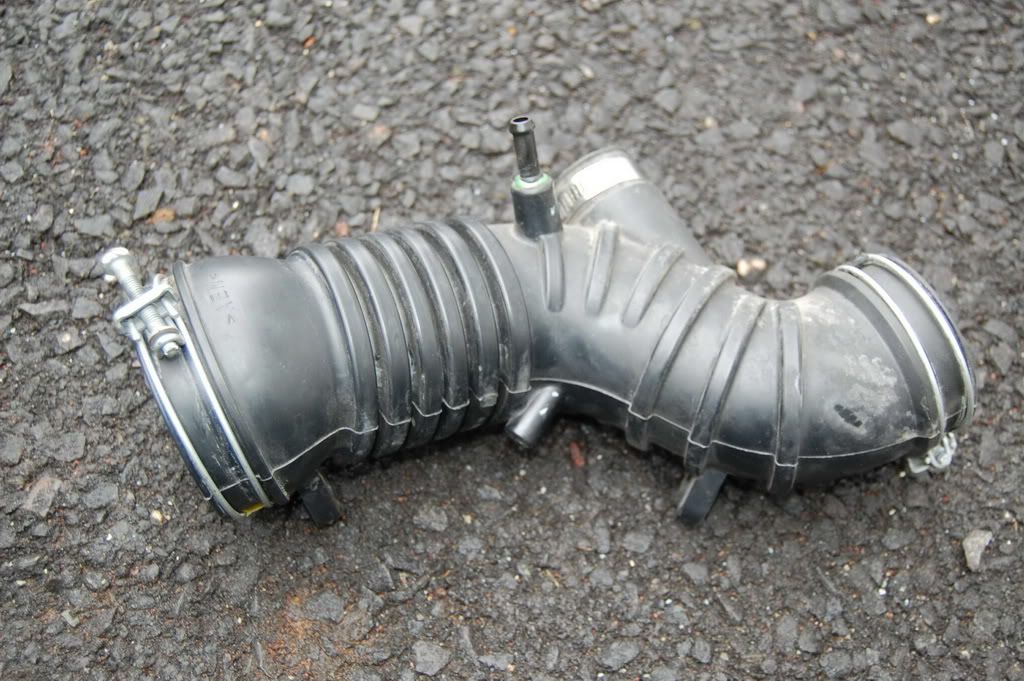
There are two smaller pipes attached to the intake pipe, and you will have to remove these pipes. There is one below the intake pipe which can merely be pulled off (make sure to not rip the pipe off), and the second pipe has a clip which you will need to use the pliers to relocate, and then pull the pipe off.
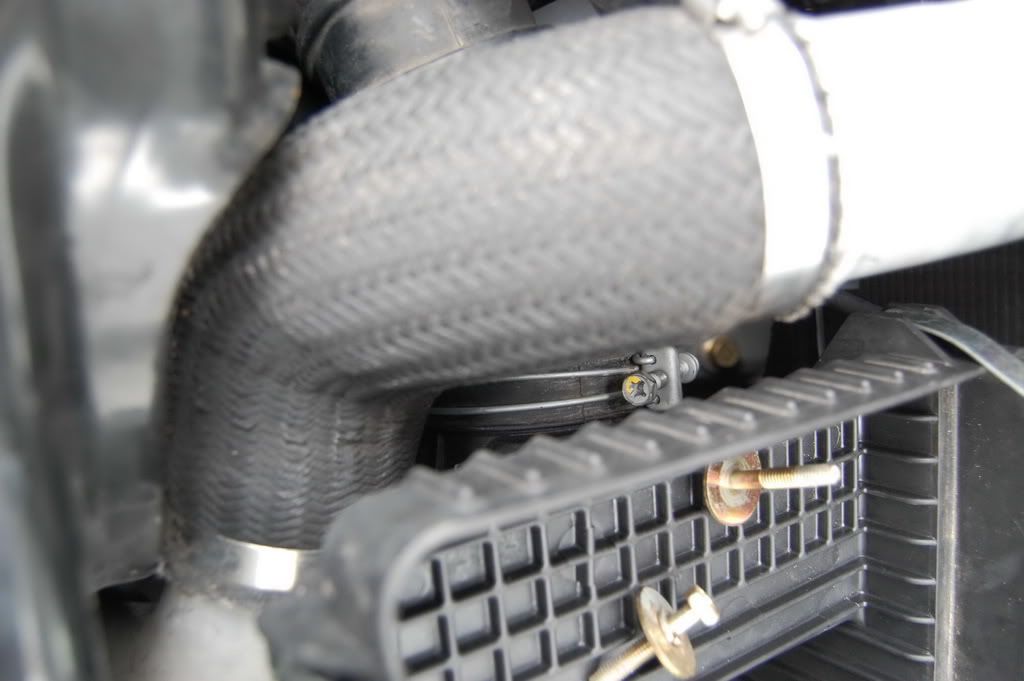
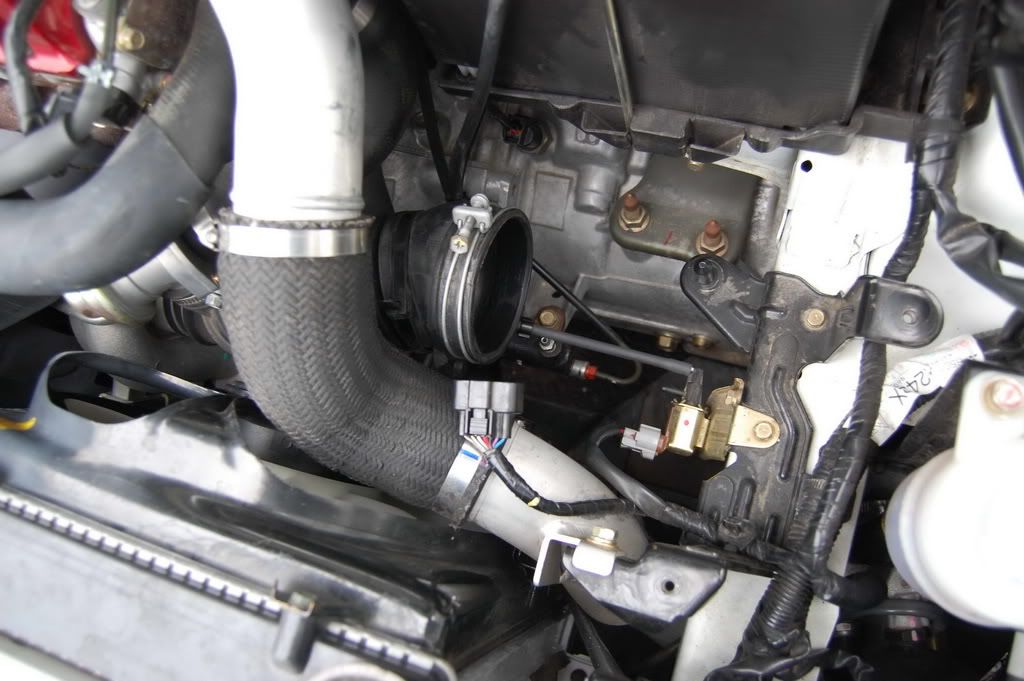
Now that those pipes are off and the only thing holding the stock intake pipe to the turbo is the final clamp. THIS IS A *****! I warn you now, you WILL scrape your hand, you WILL curse, you WILL hurt yourself. But it CAN be done. In my case, the screw holding the clamp closed was located on the bottom side, so I had to shove my hand in that area, and use my 10mm socket to get this final clamp loosened. Once loose, you can just wiggle it off the turbo.
I used a pic of the stock intake pipe off so you get the idea of where those two pipes are.
Ok, the hardest part is basically done. That clamp took me an hour to take off! Anyways though, you will now have to take off the bracket, and use the 10mm socket again. There are 3 bolts which come off with the 10mm, and there is one bolt connected to the UCIP which is a 12mm bolt. After you have unbolted everything, there are two clips that you�ll have to squeeze with the pliers and push through its hole, so that you can remove the cables attached to the bracket. After the bracket is out, you will have to re-attach the gold part of the bracket which is holding something boost related.
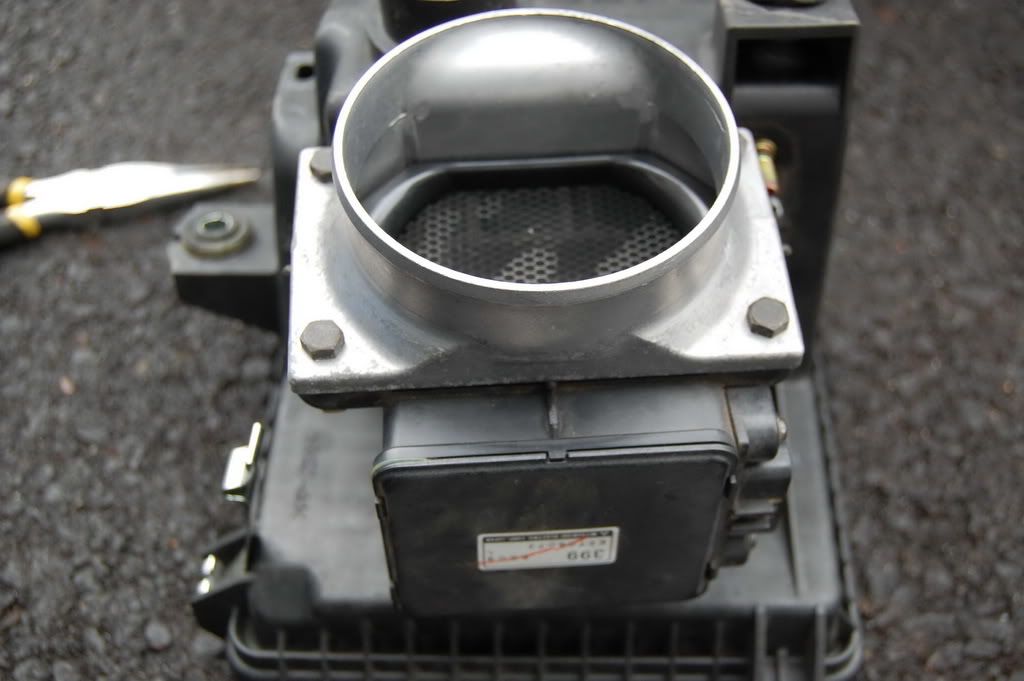
Now we can go back to the stock intake box, and remove the MAS. You’ll notice that there are 4 gold colored nuts. These have to be removed so that we can remove the MAS. I think that I used the 10mm socket to remove these nuts. The first turn for each nut must be quick and a bit powerful so that you can remove the nuts without breaking anything. So now that the MAS is off, we will now bolt it up to the adapter plate that came in the kit.
The rest of the installation is essentially self explanatory since it�s the reverse of the removal of the stock parts. I�ll just note things that were worth mentioning during reinstallation.
Firstly, when putting the HKS pipe in the car, make sure that the couplers are properly attached, and that the clamps are put on so that if you have to take off the HKS pipe, it wont be a ***** to take off.
Second, I ran out of room quickly, so install the pipe first, then the MAF adapter, and finally, after everything has been tightened, the filter.
Third, make sure EVERYTHING is tightened, and that you have reattached those two pipes to the HKS intake pipe.
Last but not least, double check your work, and then after everything is 100%, start the car and let it idle for about 5min.

End.
Firstly, when putting the HKS pipe in the car, make sure that the couplers are properly attached, and that the clamps are put on so that if you have to take off the HKS pipe, it wont be a ***** to take off.
Second, I ran out of room quickly, so install the pipe first, then the MAF adapter, and finally, after everything has been tightened, the filter.
Third, make sure EVERYTHING is tightened, and that you have reattached those two pipes to the HKS intake pipe.
Last but not least, double check your work, and then after everything is 100%, start the car and let it idle for about 5min.
End.


Nice write-up. FYI, I run the HKS unit and have had good results. With my V2 testing last week, we decided to throw on a Buschur Racing cone type filter just to see what it would do. Mike at AWD Motorsports had this theory that the HKS filter was some what restrictive. We threw it on and what do you know, the cone filter picked up 8hp. Might want to check your BOV, it looks like it's not mounted correctly.
