
HOW TO: Install front rotors

Thread Starter
Evolved Member
iTrader: (4)
Joined: Aug 2006
Posts: 1,466
Likes: 1
From: FLA-HI-SoCal
To start off I accept no responsibility for faulty installations and the consequences of the before or after results.
TOOLS:
- 19mm socket/wrench
- torque wrench
- floor jack/ lift
- 2 jack stands
- coat hanger/safety wire
First of all this install is pretty straight forward. But for those of you that may need the know here you go.
STEP 1
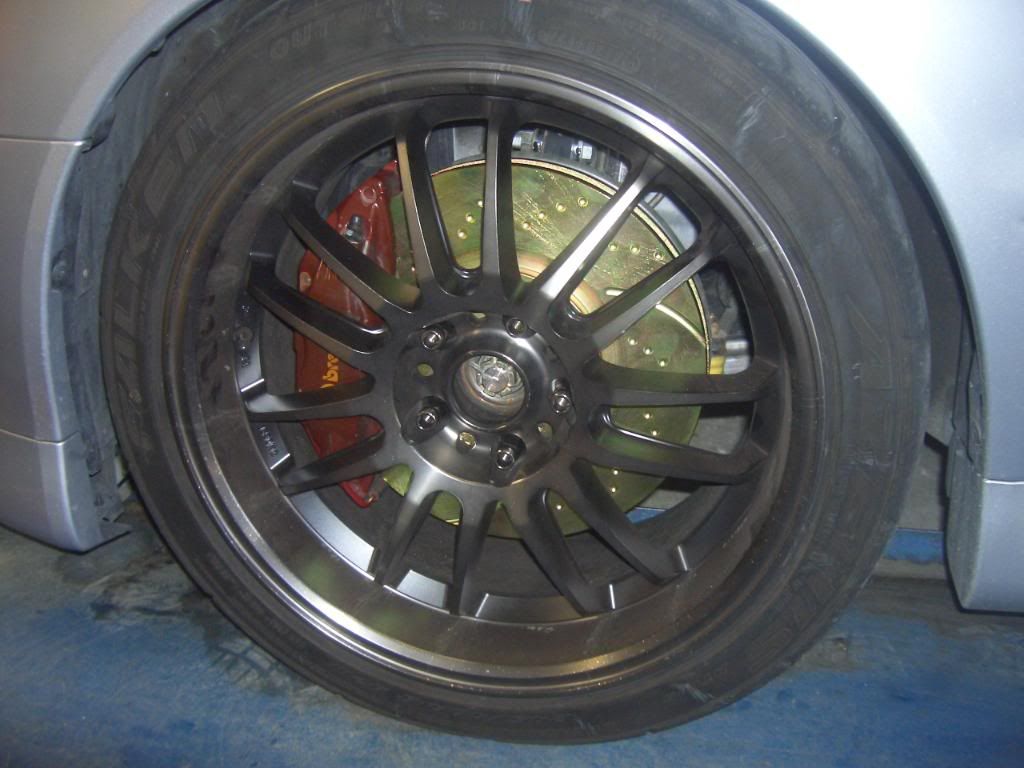
Jack up your car and place the jacks at the lift points of the car and then remove your wheels. Before touching your rotors or brakes make sure they are cool to the touch!
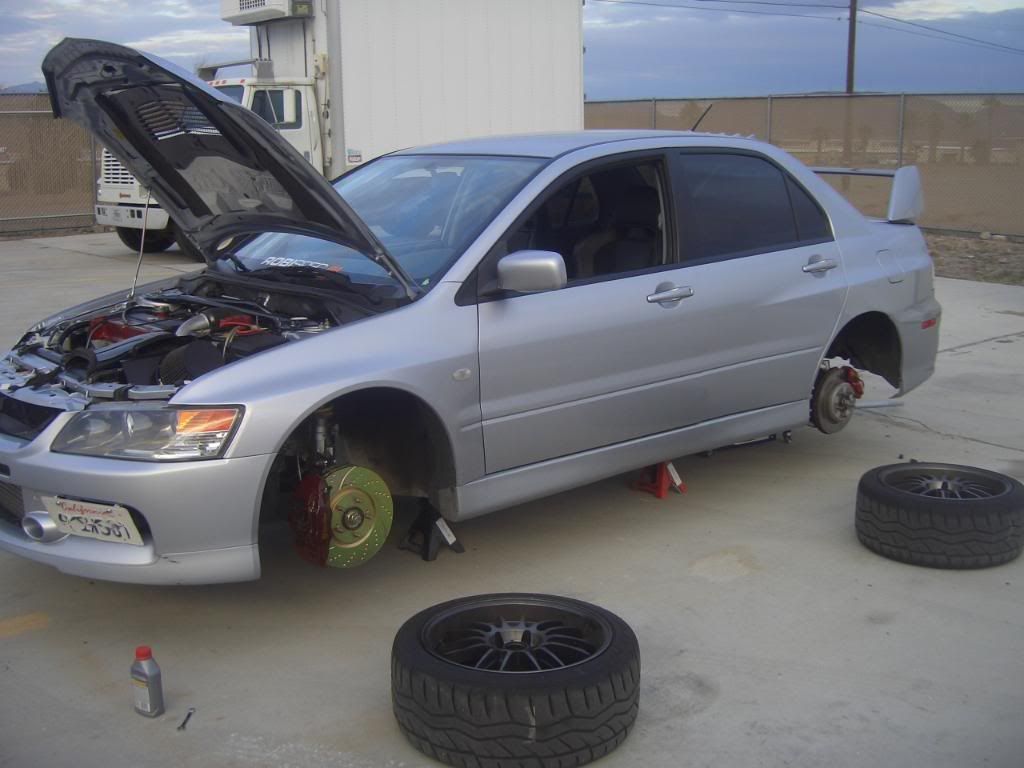
This is shot after I replaced the rotors. I also lifted the entire car due to a brake bleed after the install
STEP 2
Then turn you ignition to the "accessory" position and turn your steering wheel to the full left/right (depending on the side of the car your working on) to gain access to the caliper knuckle bolts.
STEP 3
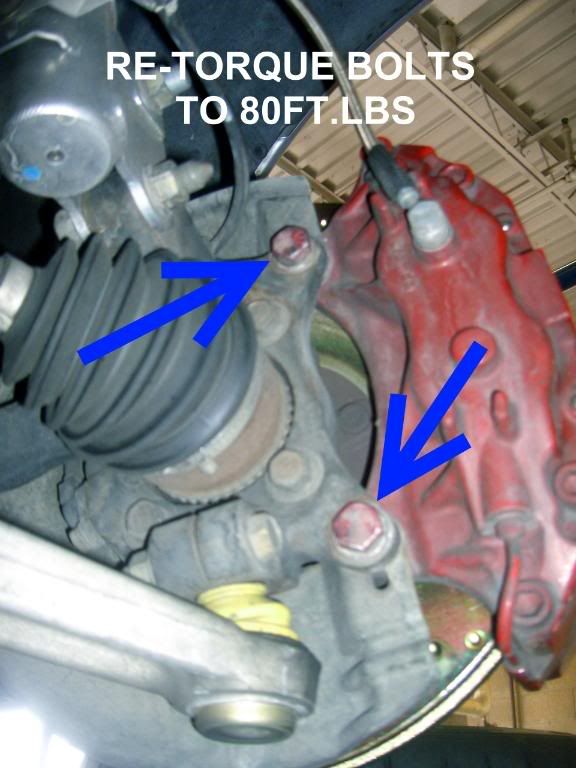
Here are the two 19mm caliper knuckle bolts that are need to be removed. Once the caliper is unbolted you can then slide your caliper away from the rotor. BUT if your rotors have any lip on them you will need to remove your pads. Refer to the any brake pad removal HOW TO. sorry
STEP 4
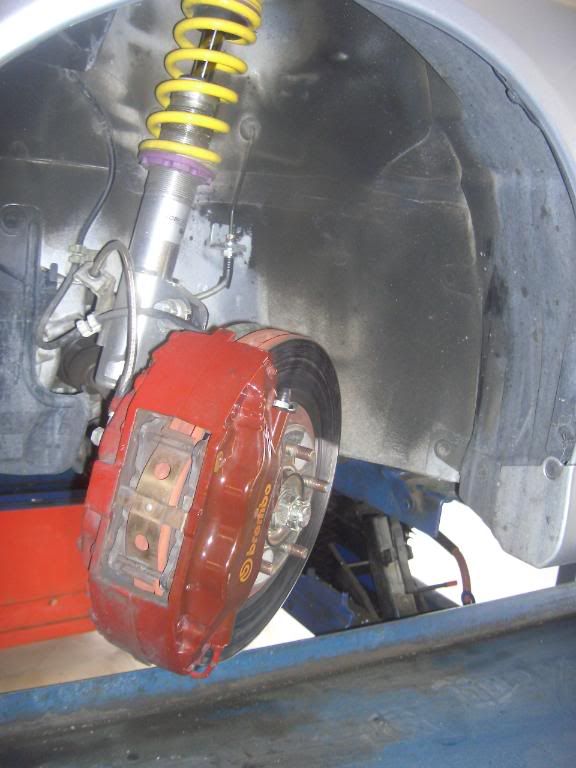
Now you need to hang the caliper up. To hang it, cut up the coat hanger/safety wire long enough to hang the caliper from the suspension or whatever seats your needs. Main thing is to not let your caliper hang from the ABS/Brake line.
STEP 5
Your rotor should now easily slide off of the axle hub. Once its off slide the new rotor and then tighten it down with a few lug nuts.
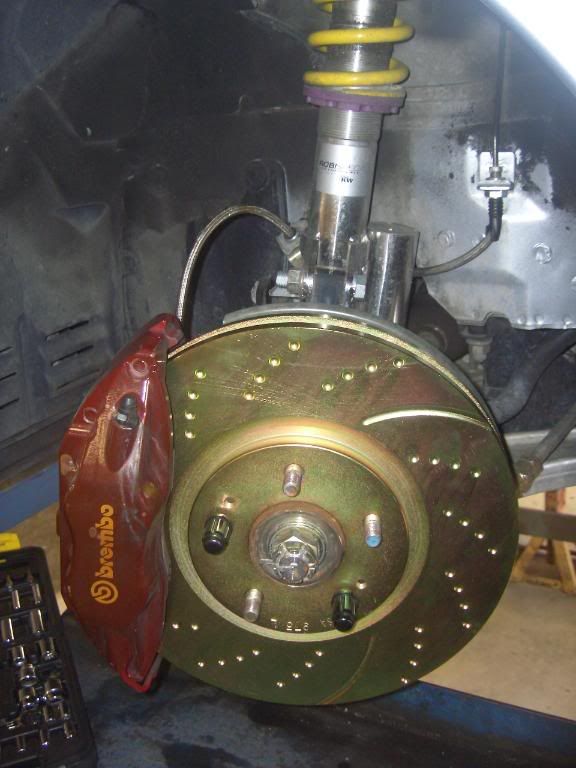
BEFORE
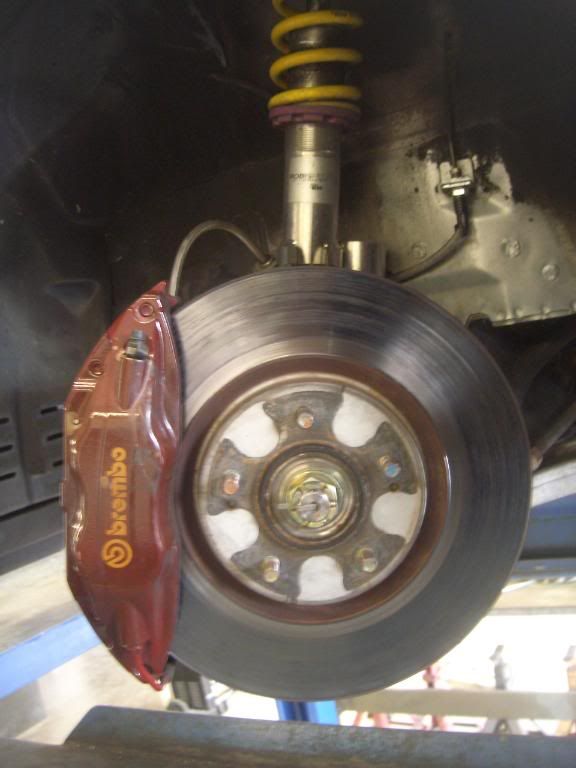
AFTER
STEP 6
With the rotor held down with the lug nuts you can then put the caliper back on. (WITHOUT the the brake pads in the caliper, if removed) Be sure to then torque the caliper knuckle bolts to 80ft.lbs!!! If the pads were removed you can replace them when the caliper is placed back and the bolts are torqued down.
Place the wheel back on and just repeat for the other side.
CAUTION Before driving ensure all bolts are properly tightend and drive slowly. While driving, try to listen for any unusally sounds or abnormal vibrations.
Then you will have to bed in your pads to you rotors.
After all is said and done drive it like you stole it...!
Holla
TOOLS:
- 19mm socket/wrench
- torque wrench
- floor jack/ lift
- 2 jack stands
- coat hanger/safety wire
First of all this install is pretty straight forward. But for those of you that may need the know here you go.
STEP 1
Jack up your car and place the jacks at the lift points of the car and then remove your wheels. Before touching your rotors or brakes make sure they are cool to the touch!
This is shot after I replaced the rotors. I also lifted the entire car due to a brake bleed after the install
STEP 2
Then turn you ignition to the "accessory" position and turn your steering wheel to the full left/right (depending on the side of the car your working on) to gain access to the caliper knuckle bolts.
STEP 3
Here are the two 19mm caliper knuckle bolts that are need to be removed. Once the caliper is unbolted you can then slide your caliper away from the rotor. BUT if your rotors have any lip on them you will need to remove your pads. Refer to the any brake pad removal HOW TO. sorry
STEP 4
Now you need to hang the caliper up. To hang it, cut up the coat hanger/safety wire long enough to hang the caliper from the suspension or whatever seats your needs. Main thing is to not let your caliper hang from the ABS/Brake line.
STEP 5
Your rotor should now easily slide off of the axle hub. Once its off slide the new rotor and then tighten it down with a few lug nuts.
BEFORE
AFTER
STEP 6
With the rotor held down with the lug nuts you can then put the caliper back on. (WITHOUT the the brake pads in the caliper, if removed) Be sure to then torque the caliper knuckle bolts to 80ft.lbs!!! If the pads were removed you can replace them when the caliper is placed back and the bolts are torqued down.
Place the wheel back on and just repeat for the other side.
CAUTION Before driving ensure all bolts are properly tightend and drive slowly. While driving, try to listen for any unusally sounds or abnormal vibrations.
Then you will have to bed in your pads to you rotors.
After all is said and done drive it like you stole it...!
Holla
Sometimes the rotors can rust to the hub. You can use the threaded holes with the properly sized bolt (the size escapes me) to push the rotor off the hub. There are usually two of these holes on each rotor. The threads in the holes unfortunately can rust/deteriorate and strip, so be careful, patient, slow, and use some pb blaster or other penetrant on them as well as blow them out to minimize the chances of stripping.

Trending Topics
Newbie
Joined: Mar 2008
Posts: 96
Likes: 0
From: Denver, Co
Awesome how-to. I had never changed rotors or pads and was iffy bout doing it but followed this and finished it in no time.

Evolving Member


Joined: Apr 2004
Posts: 194
Likes: 4
From: Virginia
The radiator screw tip here is fantastic. They popped right off. If you take out the time I spent looking for and gathering my tools, it only took about 3 hours to change the brakes, rotors, and install the stainless steel lines.
Good HowTo!
Good HowTo!
It's not the slots that determine the direction of the rotor, it's the veins inside (between the two plates of the disk). If they are straight then you can put the rotor either way. If they are directional then you want the veins to point to the rear of the car to create a vacuum that pulls heat away from the center of the wheel. Some rotors have the veins and slots opposite, some are the same. It depends on the rotors manufacturer.

