
STM "how to'' radiator brackets.... HAHAHAAHAHH.

STM "how to'' radiator brackets.... HAHAHAAHAHH.
well after the intense wait for these bad boys they finally came in the mail. and i must say holy crap there sweet. stm's pics did not do them justice. once you get them in your hand you will see...
anyways i was just board today with nothing to do. and my girl said babe you should do a how too.... i looked at her and said AHAHHA hun this is not a ''how to'' type of product. she said well i dont know im just a girl. well turns out it was a fun idea she had. so here is my how to on installing STM radiator brackets for anyone not knowing how to do it. haahah.
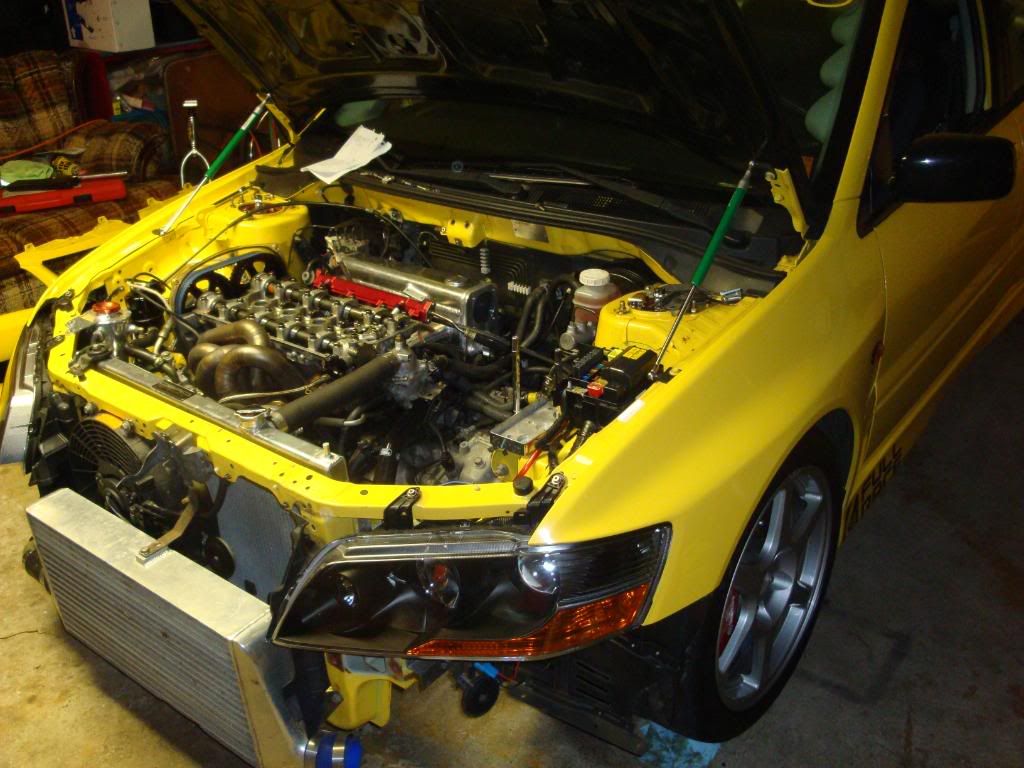
1. you need to locate your evo 7,8, or 9. mine was sitting in the warm garage
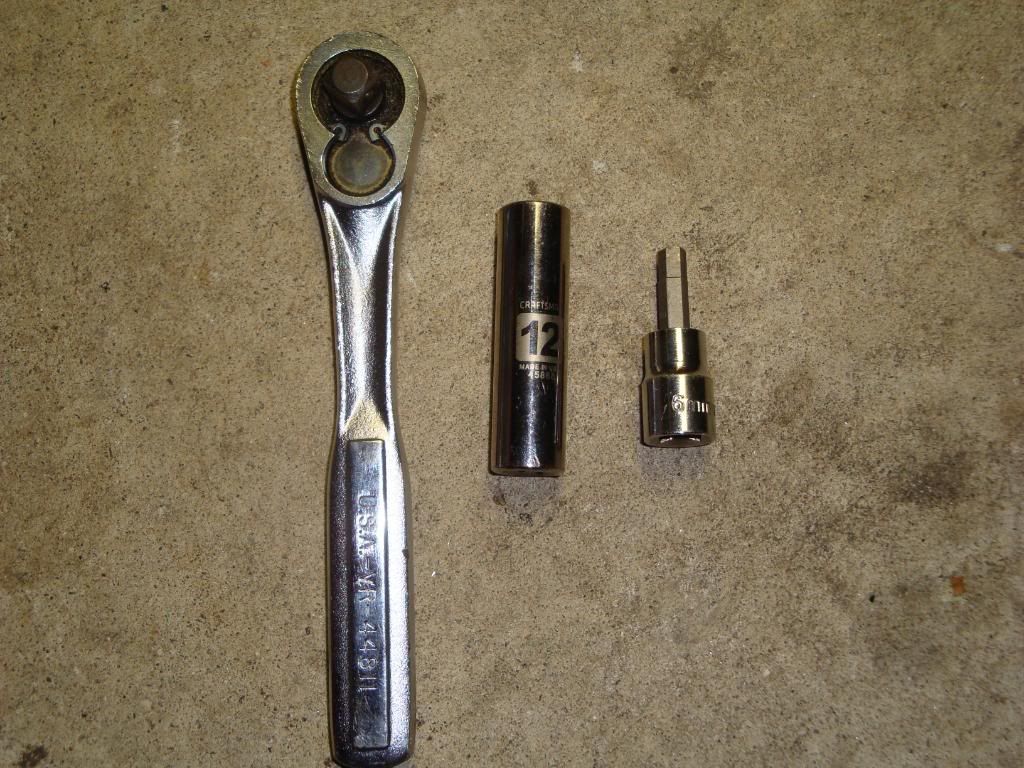
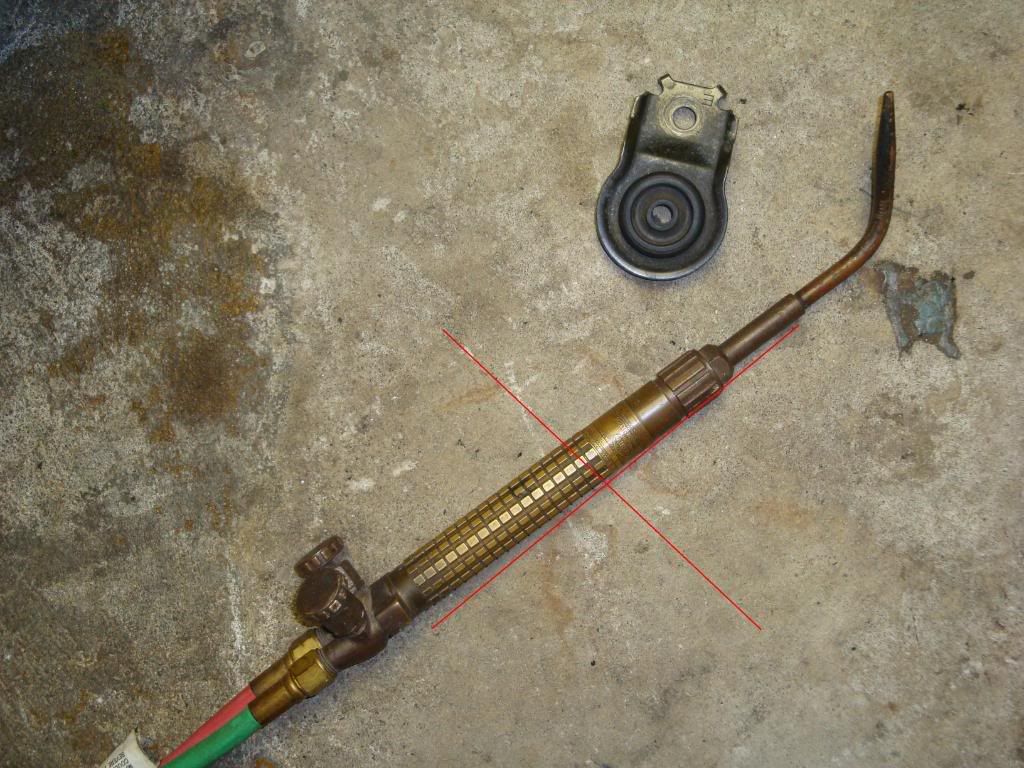
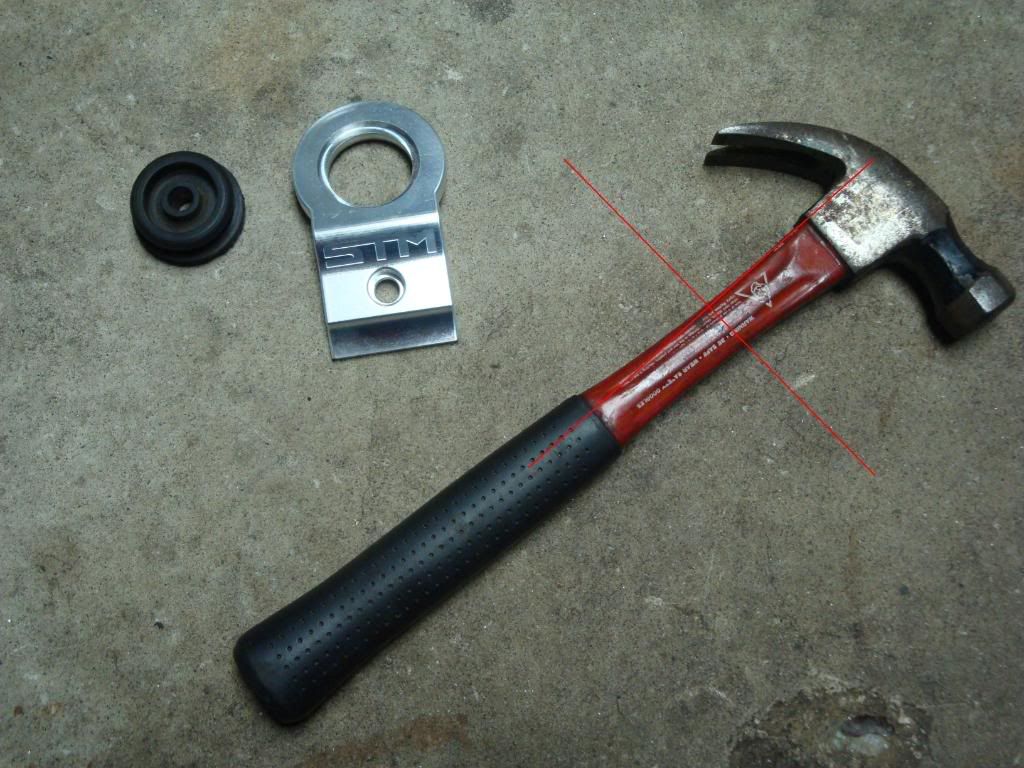
2. you need to gather up all the major tools needed for this intense install
12mm socket
6mm allen key/socket
3/8 ratchet
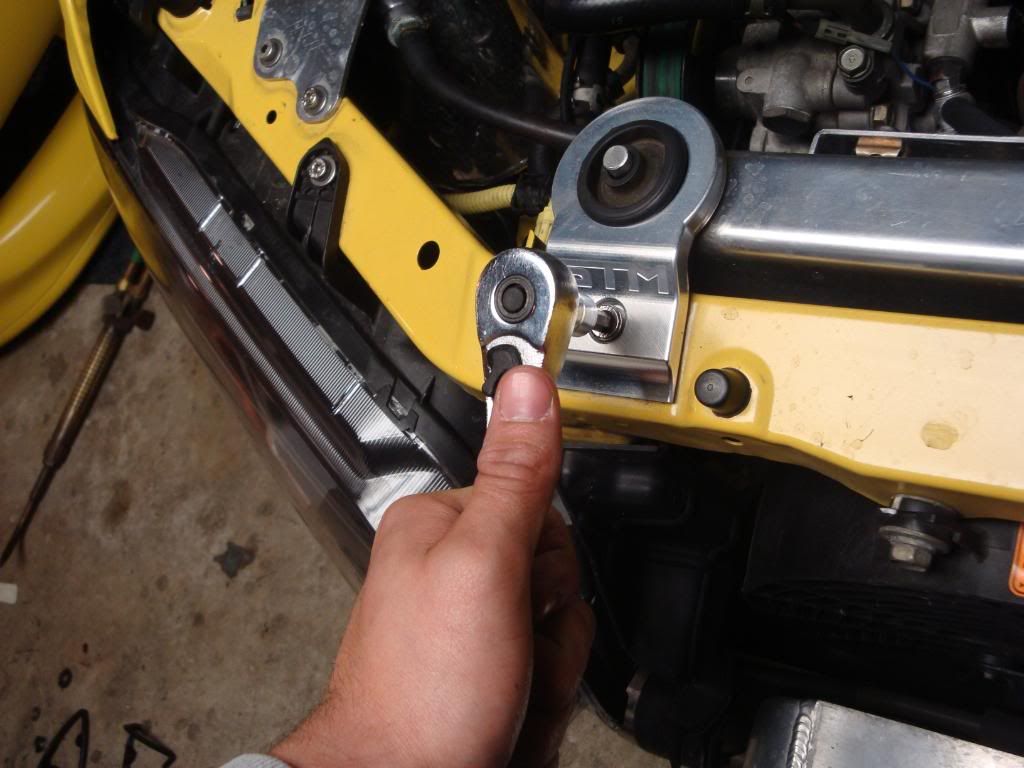
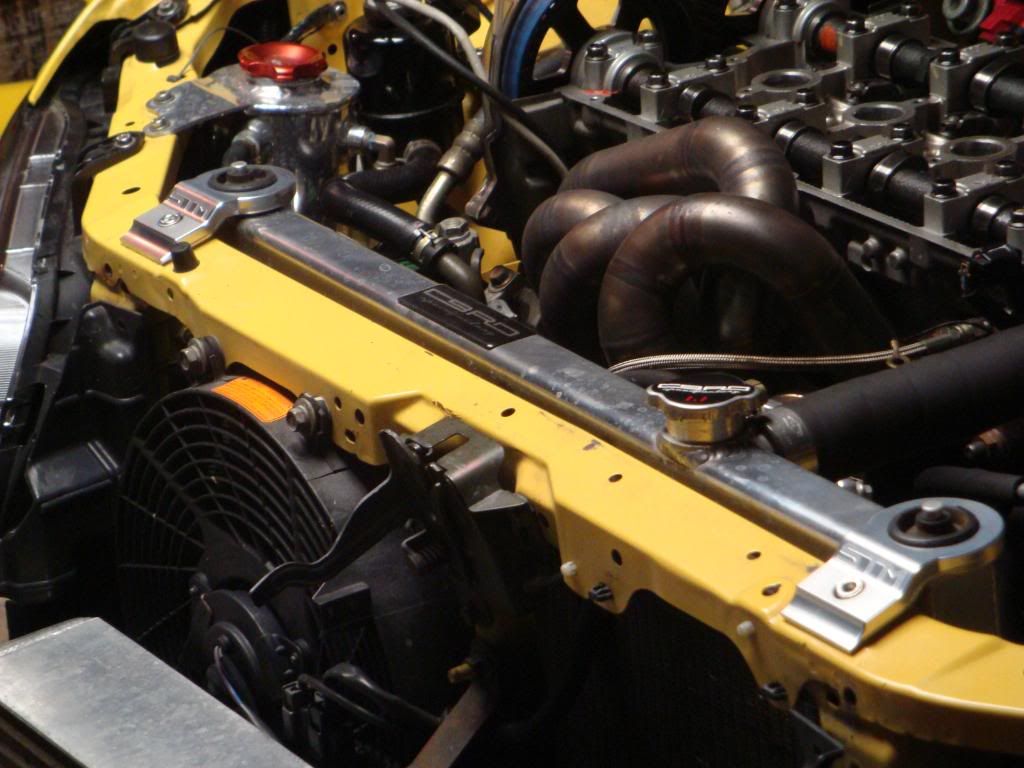
3. next we need to find the radiator bracket that needs to be removed. this can be found on top of the radiator support as seen here where i am pointing
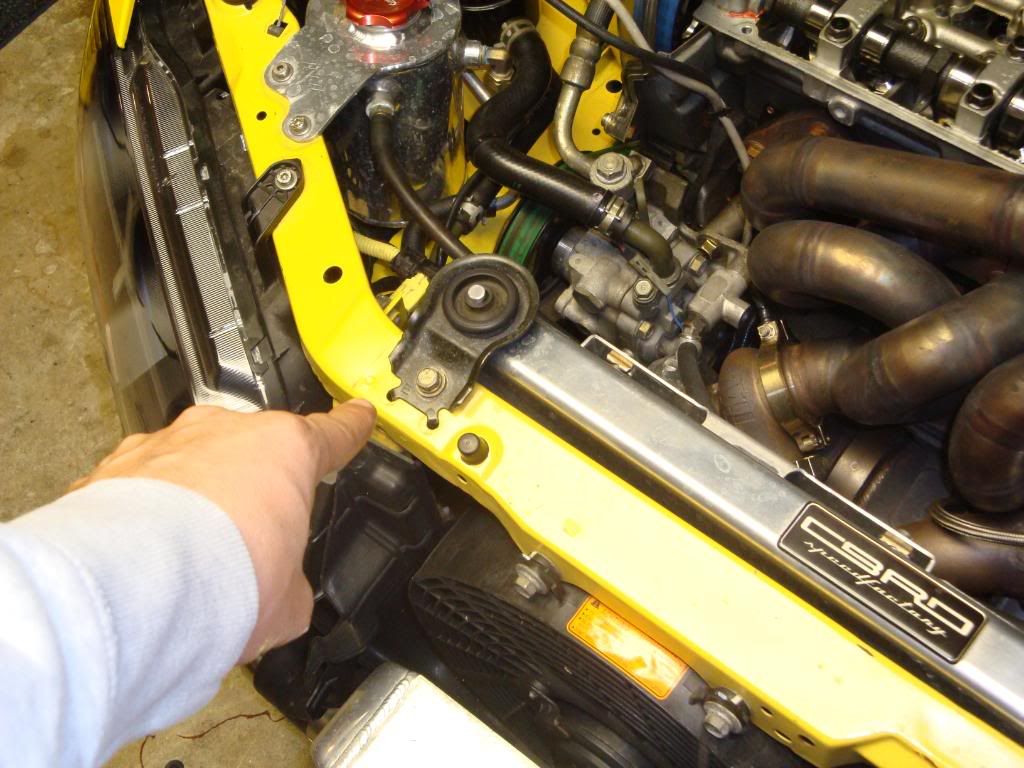
4. next take your 3/8 ratchet and 12mm socket and take off the one 12mm bolt holding the bracket to the upper rad support like this

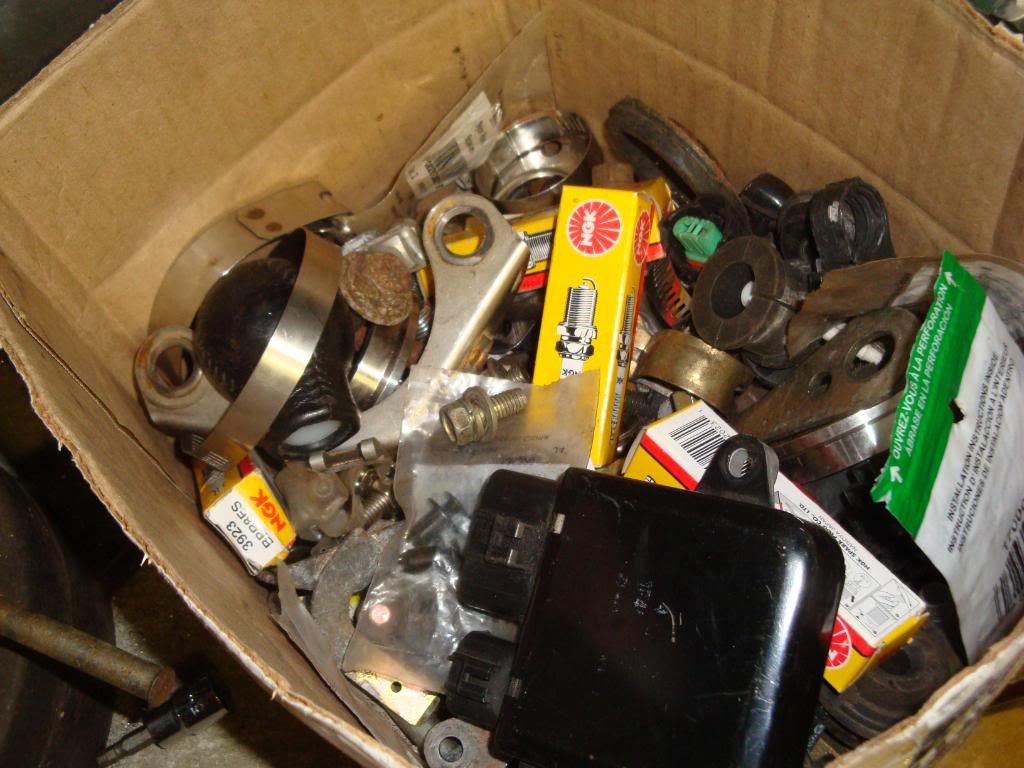
5. take the 12mm bolt and through it into the extra/not needed parts box if you have one. i have a few of them so i picked this one.
its in there. somewhere.....
6. next we need to remove the rubber bushing thing from the factory rad support bracket......
NOTE... this is not pressed in so no press or torch is needed
notice the red X......
all you simply need is your 2 fingers as seen below
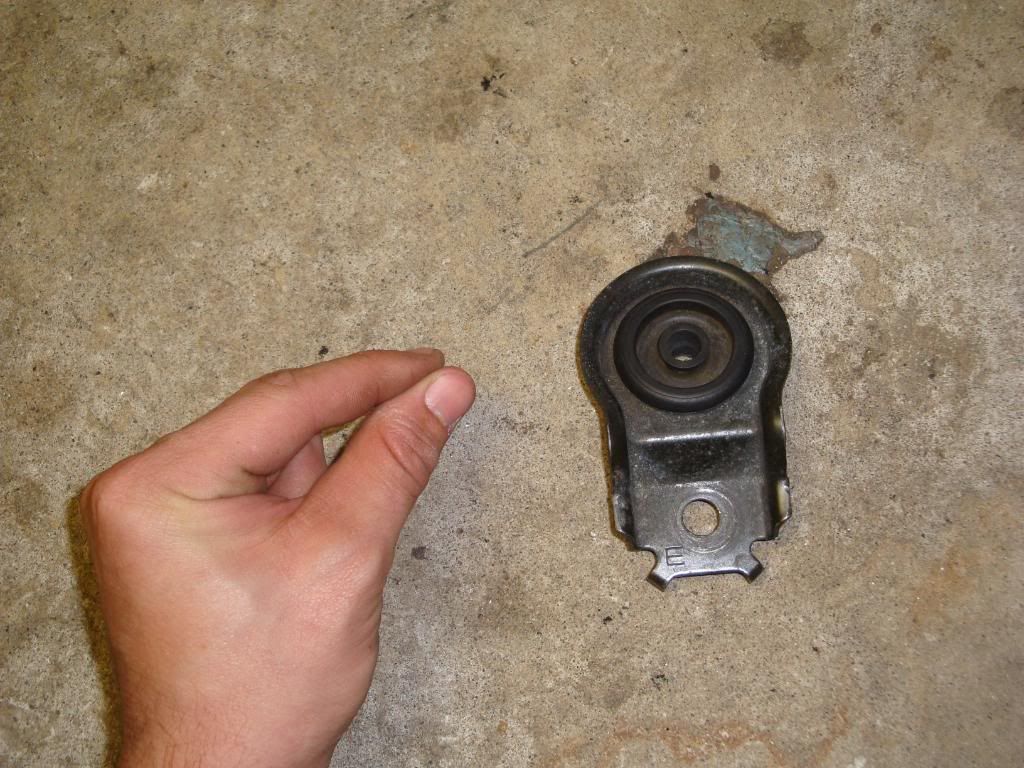
POP. wow that was easy
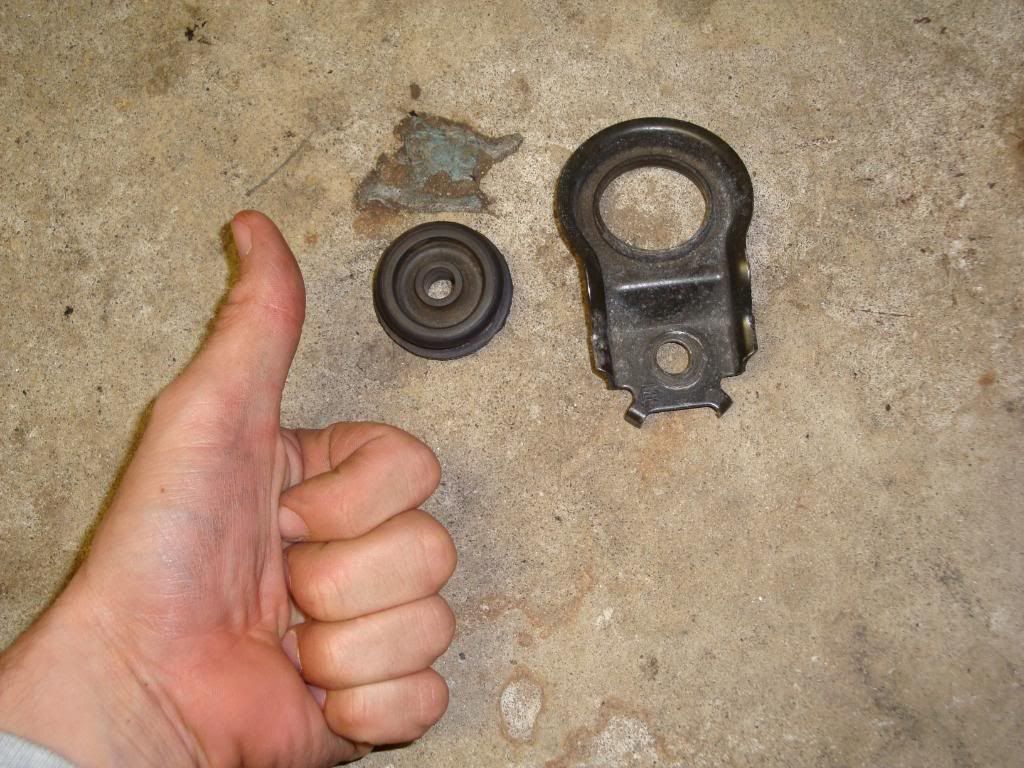
7. now we can also add this p.o.s. crappy ugly stock radiator bracket to the extra/leftover parts box.. see it is in there. right next to the 12mm bolt we added 4 minutes ago
8. next up we need to install the rubber bushing we took out of the stock rad bracket and install it into the cool new STM bracket.......
NOTE..... this is very easy. you do not need to bash it in there... notice the red X again.... no hammer or press needed here
again all we need is are 2 fingers
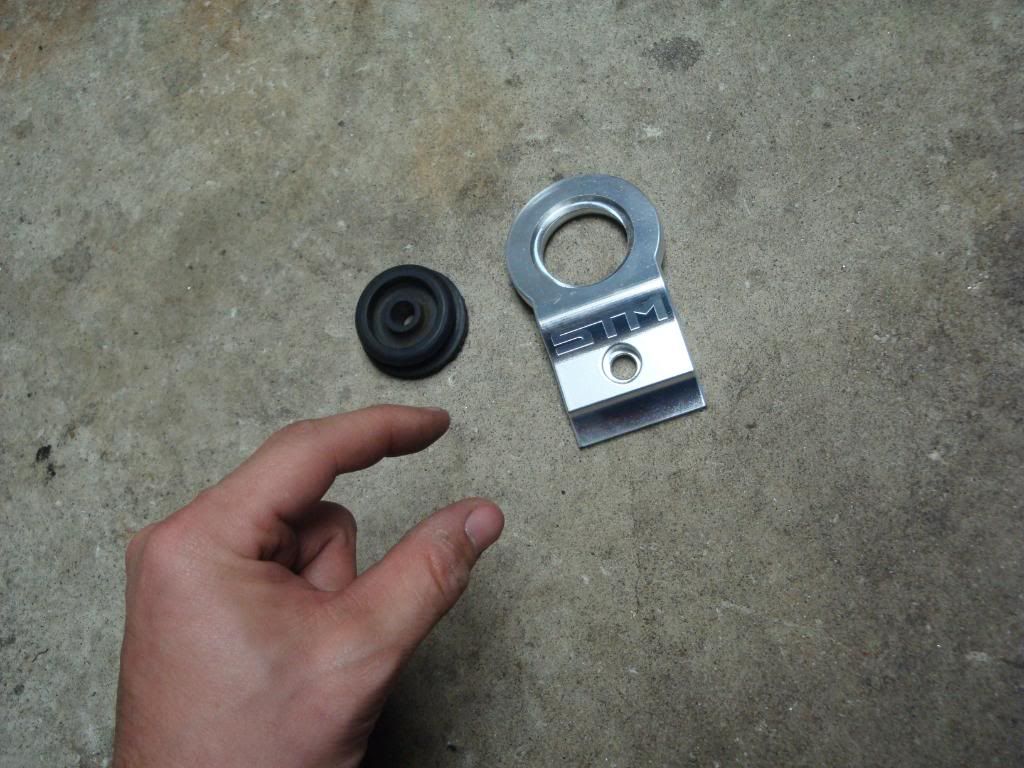
sssssssslip and here we go
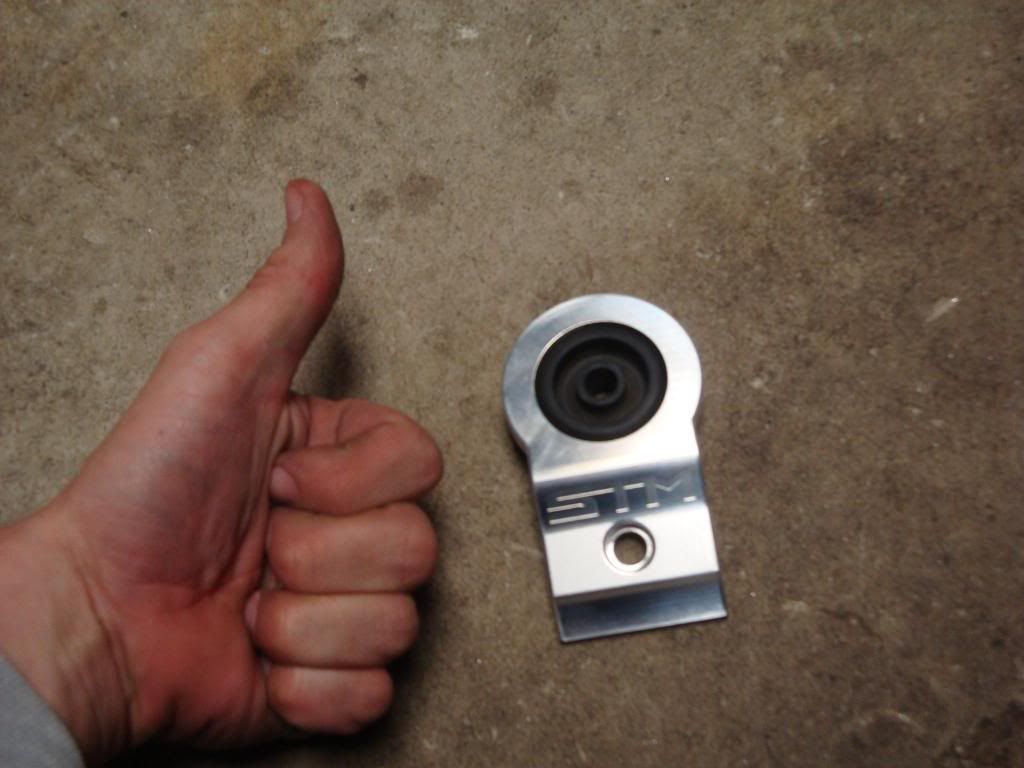
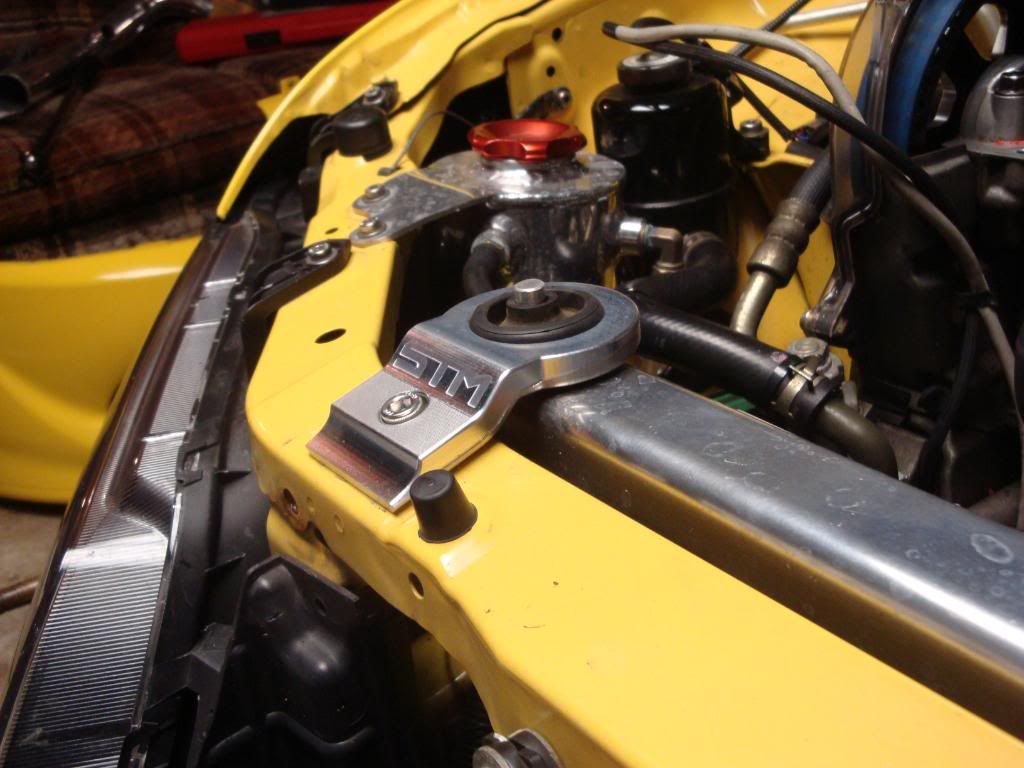
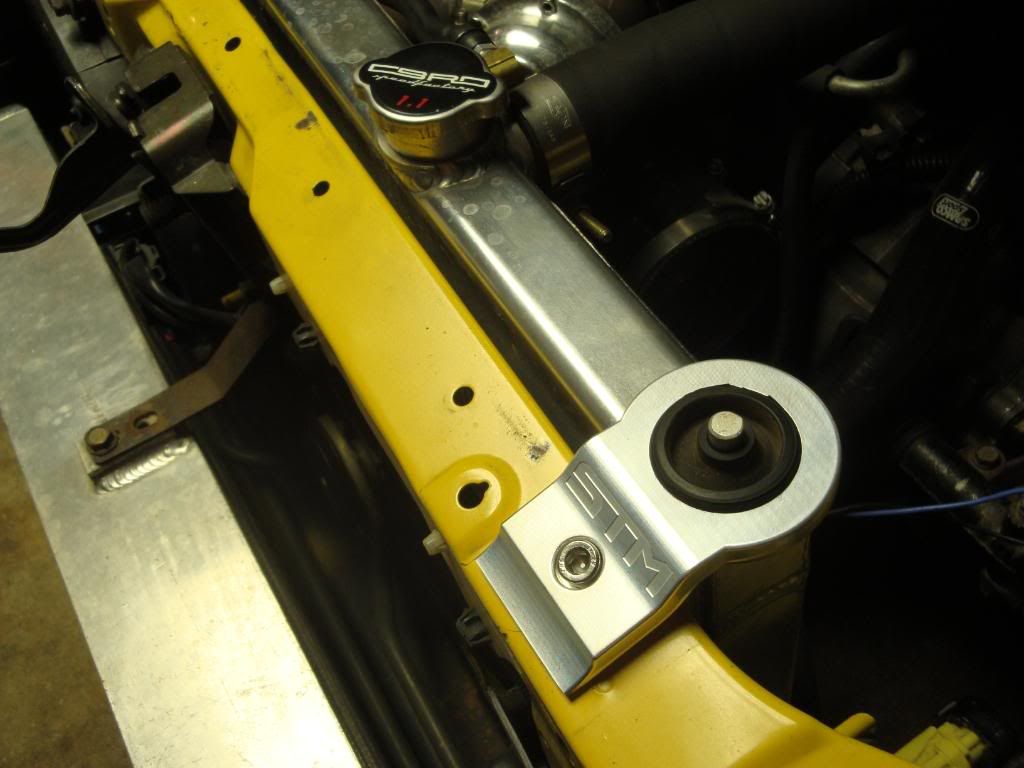
9. next we can FINALLY install this bad boy on the car. wow its been a long 6 minutes and i cant wait. you will need your 6mm allen key/ socket and 3/8 ratchet.... here we go
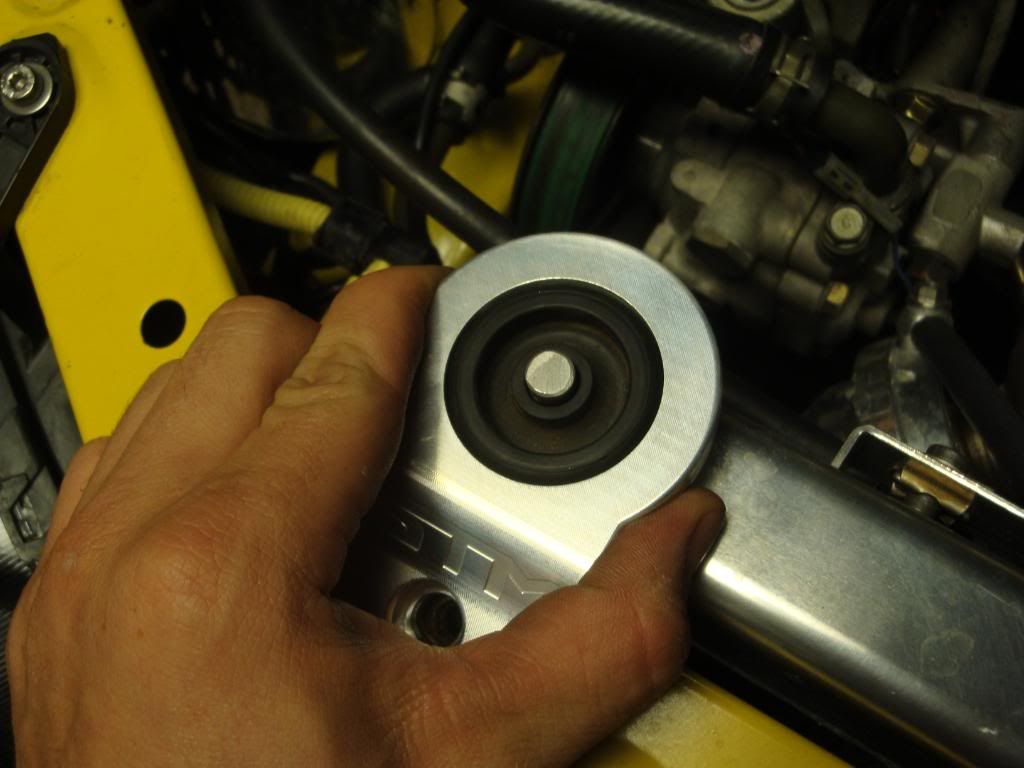
take the supplied allen bolt that came with your kit and get to work.
NOTE...... no need to make it supper tight. just snug will do....
and guess what your 50% done. all you need to do is start from step one and repeat the steps on the other side and do the second bracket to complete the install.. here is what it should look like when finished....

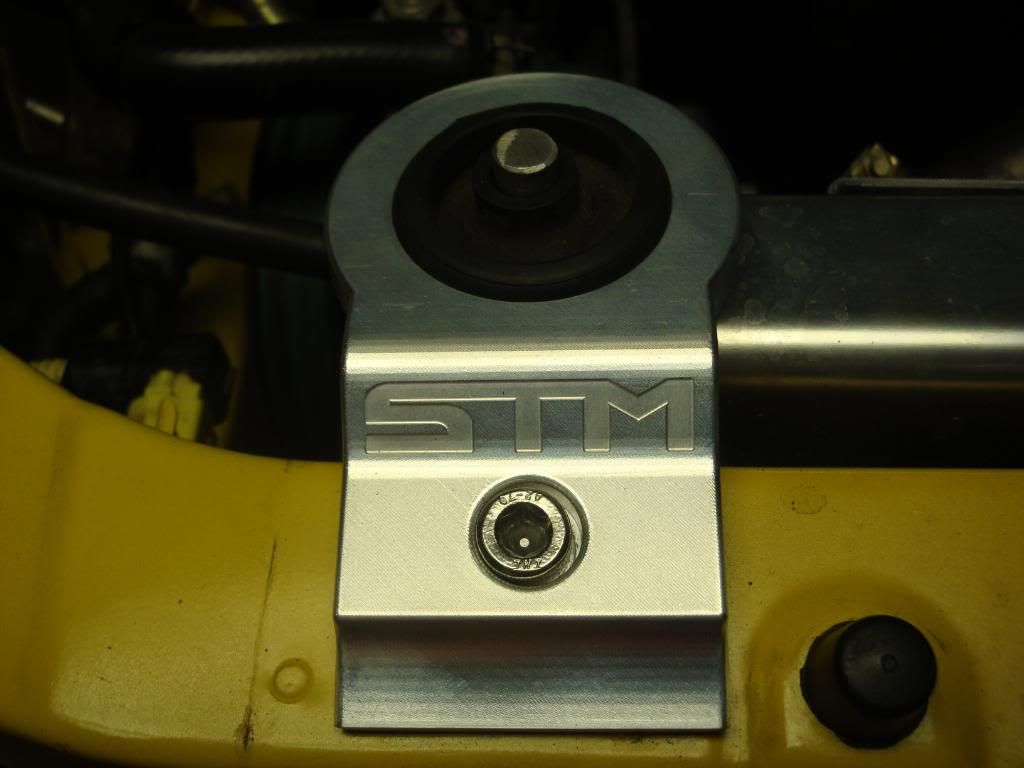
wow they look hooooooot. enjoy your new STM brackets and show them off to your friends and tell them you did the install all by your self.
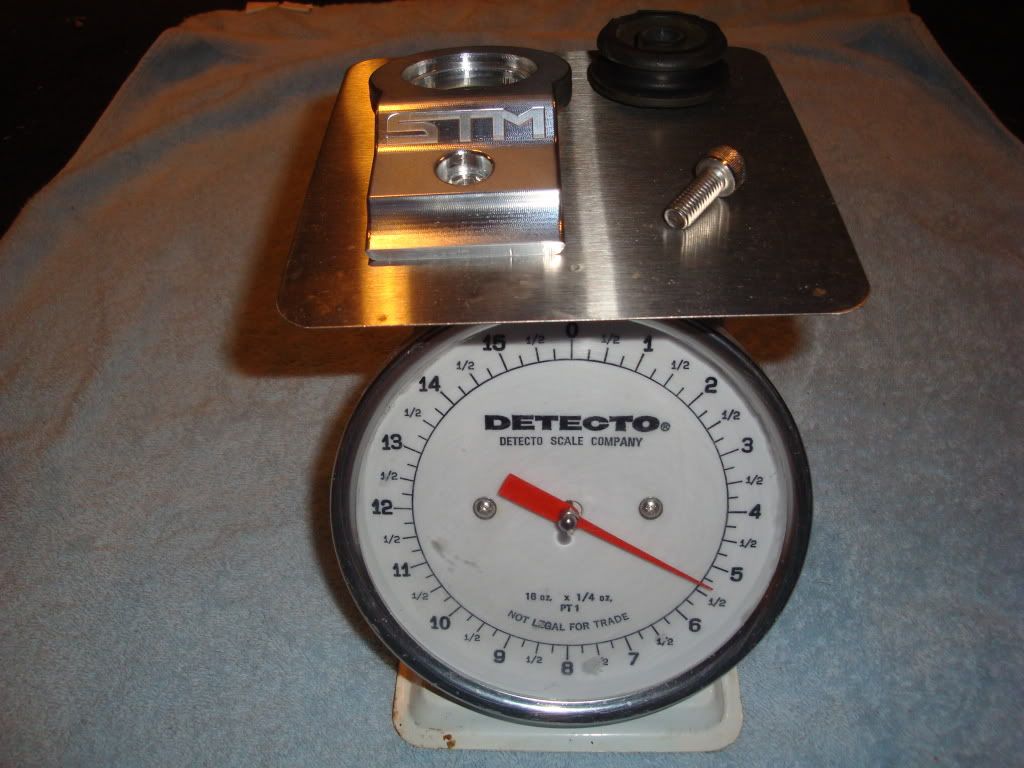
as requested HAHA here are the stock rad brackets vs the stm brackets on the scale.
NOTE this is a 1lb scale

anyways i was just board today with nothing to do. and my girl said babe you should do a how too.... i looked at her and said AHAHHA hun this is not a ''how to'' type of product. she said well i dont know im just a girl. well turns out it was a fun idea she had. so here is my how to on installing STM radiator brackets for anyone not knowing how to do it. haahah.
1. you need to locate your evo 7,8, or 9. mine was sitting in the warm garage
2. you need to gather up all the major tools needed for this intense install
12mm socket
6mm allen key/socket
3/8 ratchet
3. next we need to find the radiator bracket that needs to be removed. this can be found on top of the radiator support as seen here where i am pointing
4. next take your 3/8 ratchet and 12mm socket and take off the one 12mm bolt holding the bracket to the upper rad support like this
5. take the 12mm bolt and through it into the extra/not needed parts box if you have one. i have a few of them so i picked this one.
its in there. somewhere.....
6. next we need to remove the rubber bushing thing from the factory rad support bracket......
NOTE... this is not pressed in so no press or torch is needed
notice the red X......
all you simply need is your 2 fingers as seen below
POP. wow that was easy
7. now we can also add this p.o.s. crappy ugly stock radiator bracket to the extra/leftover parts box.. see it is in there. right next to the 12mm bolt we added 4 minutes ago
8. next up we need to install the rubber bushing we took out of the stock rad bracket and install it into the cool new STM bracket.......
NOTE..... this is very easy. you do not need to bash it in there... notice the red X again.... no hammer or press needed here
again all we need is are 2 fingers
sssssssslip and here we go
9. next we can FINALLY install this bad boy on the car. wow its been a long 6 minutes and i cant wait. you will need your 6mm allen key/ socket and 3/8 ratchet.... here we go
take the supplied allen bolt that came with your kit and get to work.
NOTE...... no need to make it supper tight. just snug will do....
and guess what your 50% done. all you need to do is start from step one and repeat the steps on the other side and do the second bracket to complete the install.. here is what it should look like when finished....
wow they look hooooooot. enjoy your new STM brackets and show them off to your friends and tell them you did the install all by your self.
as requested HAHA here are the stock rad brackets vs the stm brackets on the scale.
NOTE this is a 1lb scale


 You are a funny guy HAHAHAHAHHAHAHAHAHHAHA
the passenger side allen looks to be off center a little bit, if used the correct Torque sequence, it would have line up perfectly centered ..............................LOL , only you would do a HOW TO ........ HAHAH made my night
LUKE
yes there working on a anidized black set. they should be piiiimp....
antilag_200
crap your right. next time i need to use a trq wrench. good looking out. HAHAHA
yes there working on a anidized black set. they should be piiiimp....
antilag_200
crap your right. next time i need to use a trq wrench. good looking out. HAHAHA


Trending Topics

Emery
Im glad you like it..... thanks a lot they look great. I will be sure to get some nice pics up of how it looks when I get the car back together and all cleaned and polished up. Should be around 1 to 2 weeks.
Im glad you like it..... thanks a lot they look great. I will be sure to get some nice pics up of how it looks when I get the car back together and all cleaned and polished up. Should be around 1 to 2 weeks.

12mm socket
6mm allen key/socket
1/2 ratchet
6mm allen key/socket
1/2 ratchet
Your right. I always get these damn ratchet sizes messed up. I was gonna use my 1/2 air gun for better laughs but with my luck bad things would happen.
As for weight haha I will weigh it on the scale when I get home.
As for weight haha I will weigh it on the scale when I get home.