
new parts for the evo III


new parts for the evo III
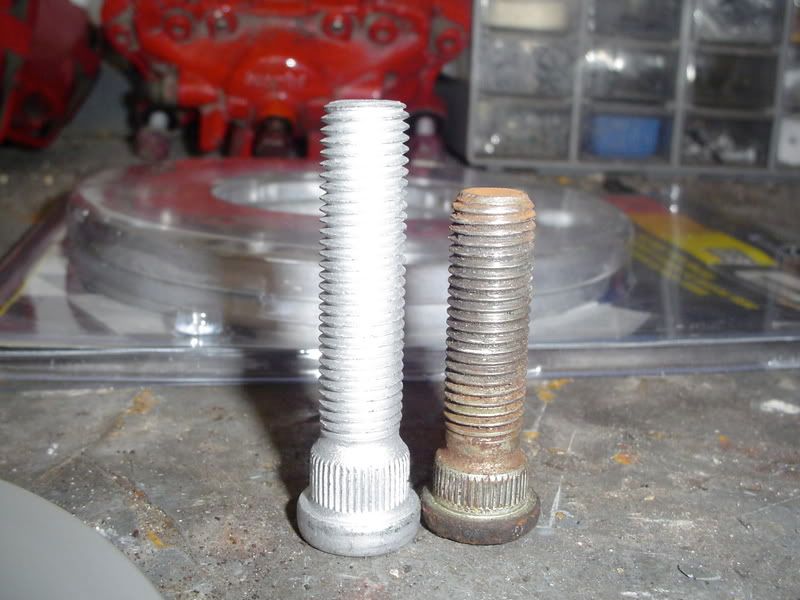
I got the wood templates made and got them mounted to the evo III knuckle with the 1g 5lug hub in them. I had to tap the knuckle with a 5/8 tap to put the bolt in to it and get longer bolts for the brembos. The bolts will be replaced with alen heads the hardwear store was out of them so I just got the bolts to get the mock up all done.
Here is the wood mock ups (they are getting cut right now out of 1/2 alum)


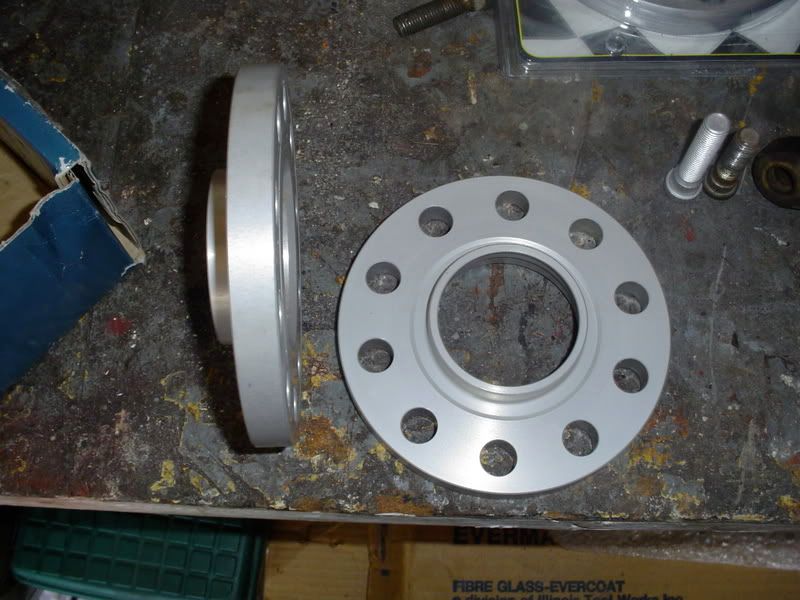
Got a really cheap set of spacers both together is 15mm. Got them from my brother at his work (oreilly's) just for mock up before I ordered a good set. Also the rims are a 18*8 (got them new from a buddy for 300.00)


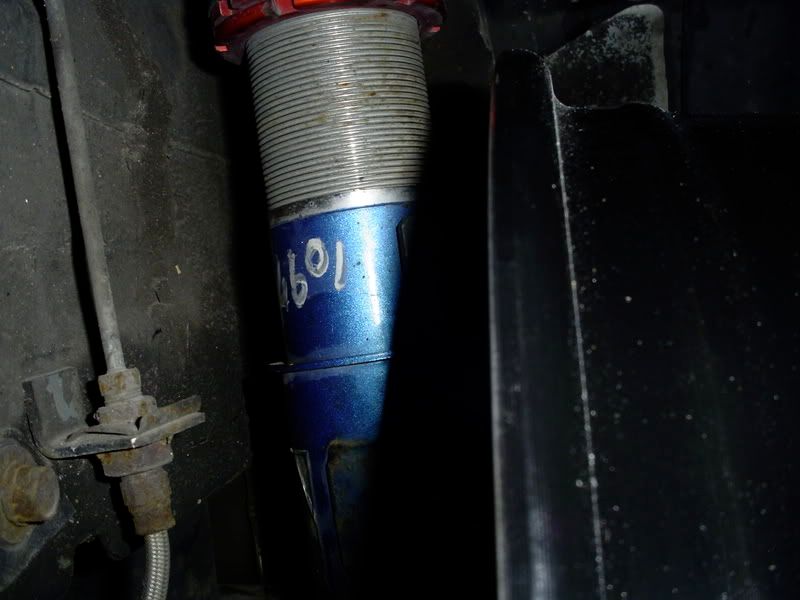
well I got the knuckle brake set up put on the car for mock up. I have 2in of back spacing from the rim to the cusco zero2r coils. The rim sits with in the fender still with the 15mm spacer plates. I used a jack to compress the suspention to make sure also and was all good to go.


got a set of H&R 15mm spacers for a great deal
stock 1g stud next to the H&R stud

Here is the wood mock ups (they are getting cut right now out of 1/2 alum)
Got a really cheap set of spacers both together is 15mm. Got them from my brother at his work (oreilly's) just for mock up before I ordered a good set. Also the rims are a 18*8 (got them new from a buddy for 300.00)
well I got the knuckle brake set up put on the car for mock up. I have 2in of back spacing from the rim to the cusco zero2r coils. The rim sits with in the fender still with the 15mm spacer plates. I used a jack to compress the suspention to make sure also and was all good to go.
got a set of H&R 15mm spacers for a great deal
stock 1g stud next to the H&R stud
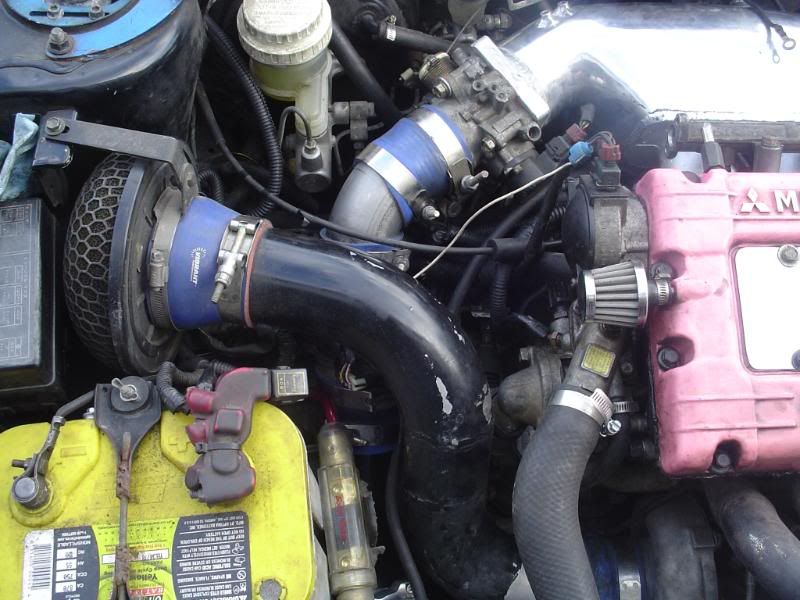
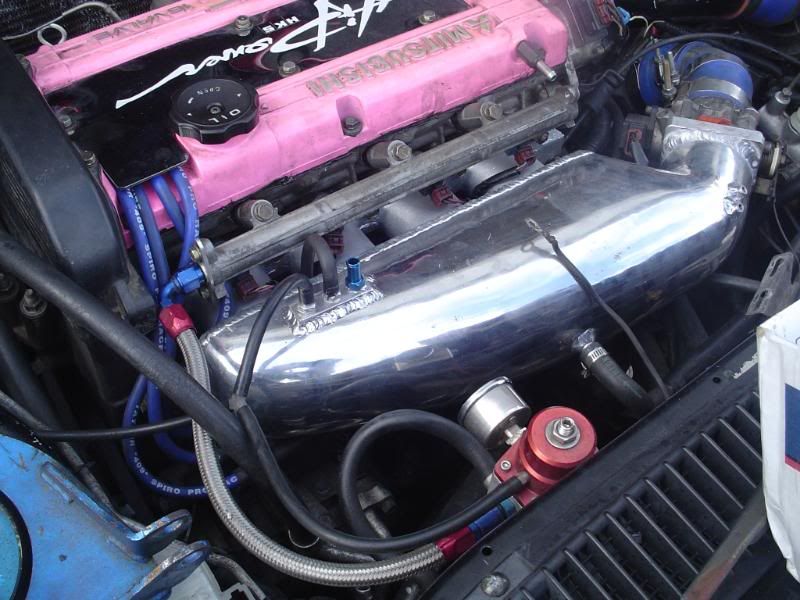
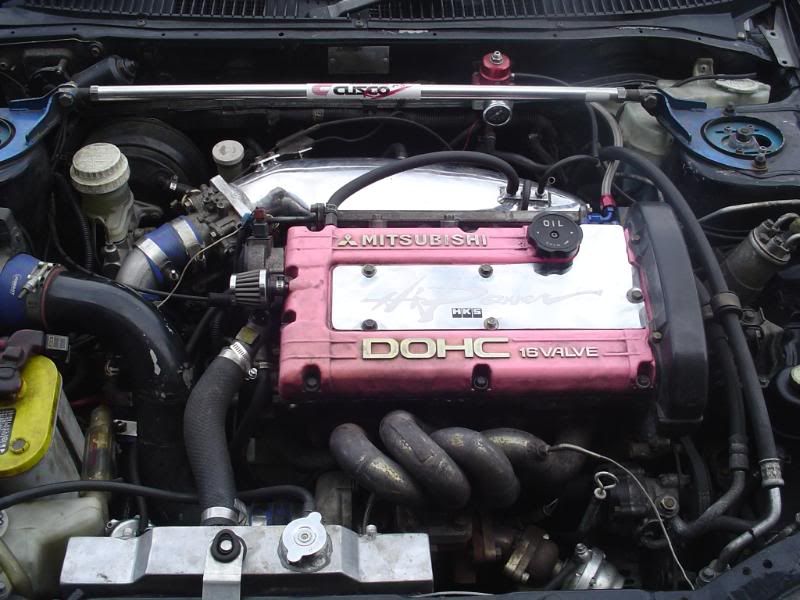
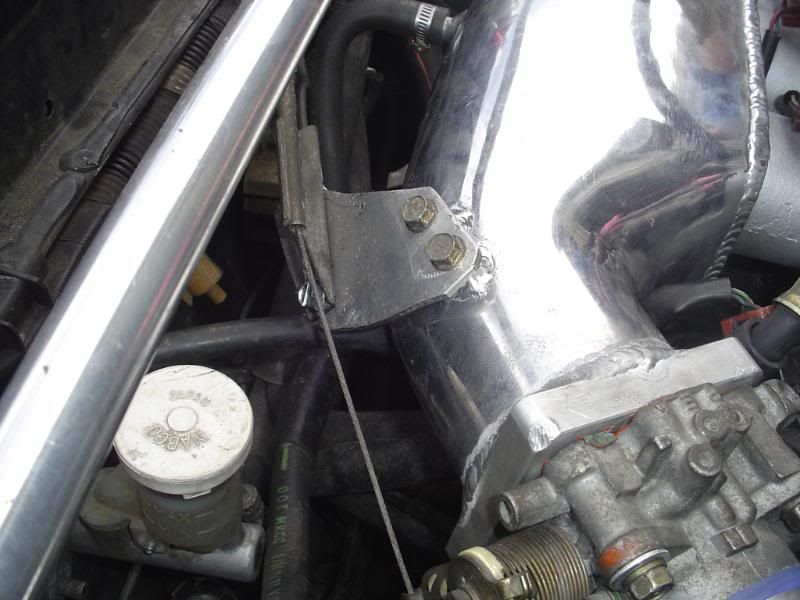
the smim just showed up after 3week wait for it to come from japan
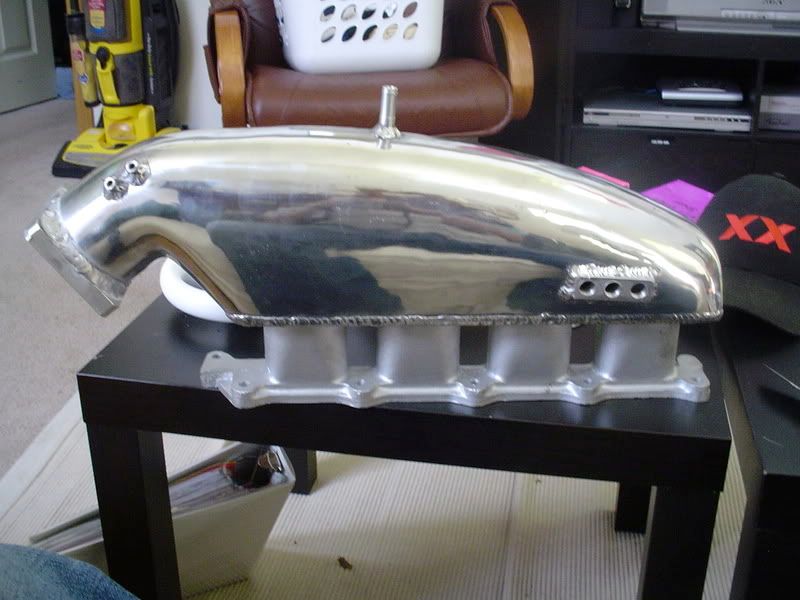
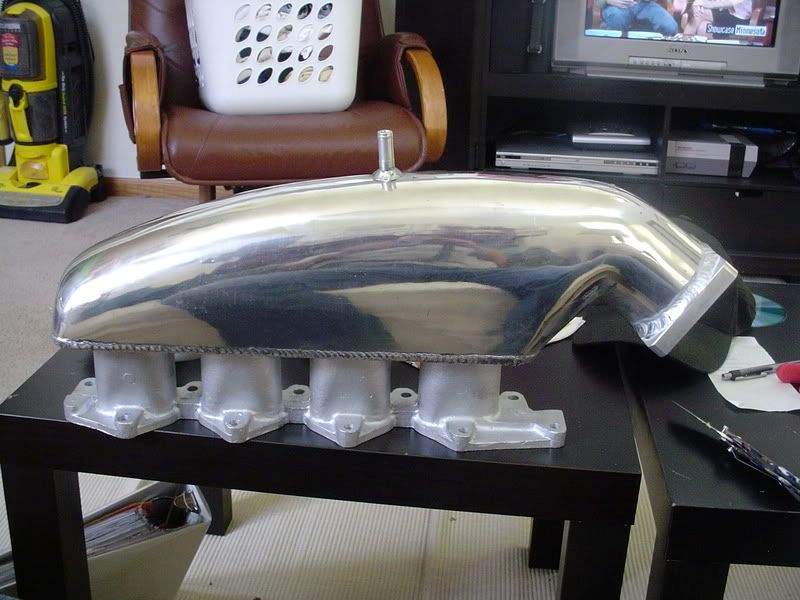
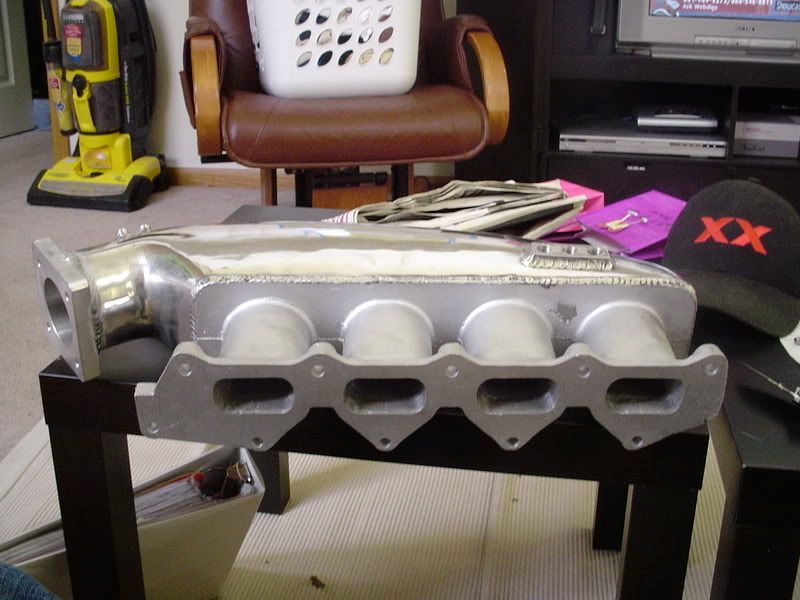
I have to thank my dad Ken for doing the coil pack bracket. he made it from a extra 90 dsm coil bracket and some angel iron I had at the house. it is now mounted on to of the A/C pump. I also drilled out the mount hole on a 91+ ignitor and put it were the oem intake bracket was. Dad also made an alum bracket to move the throttle cable so it would work and not bind up. We did a mini wire tuck also. I just have to get a longer hose for the PVC. We also had to redo the fmic piping with a 45 bend and cut the lower pipe shorter. On the smim we had to drill out the bolt holes a bit to get it to fit the bigger studs. But that was the only thing we had to do to it.
now to the pics
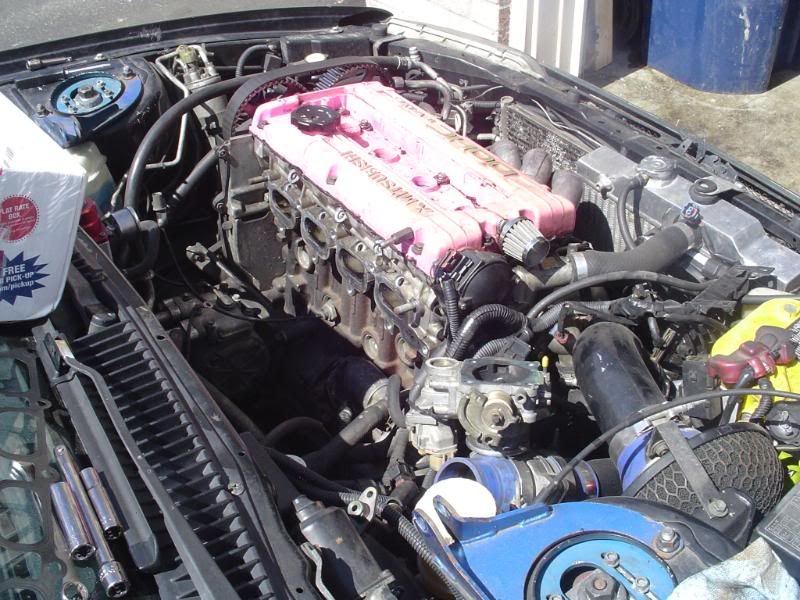
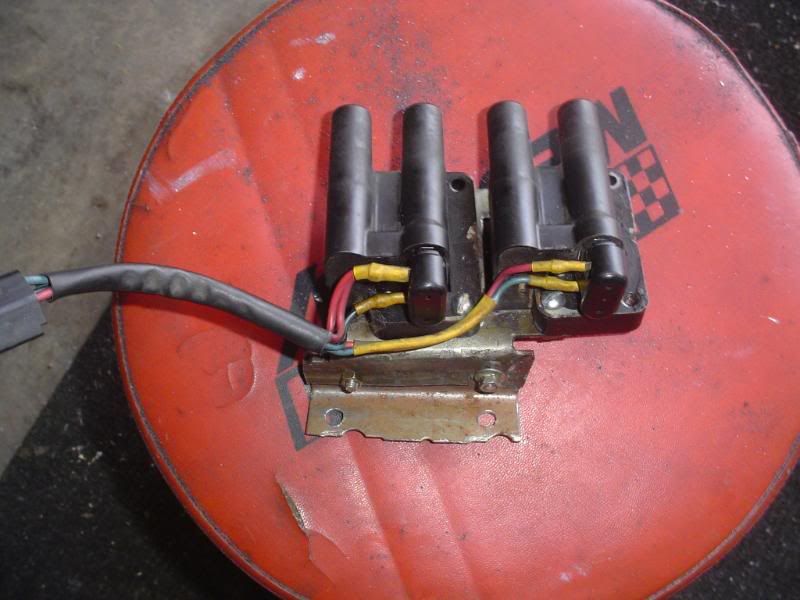
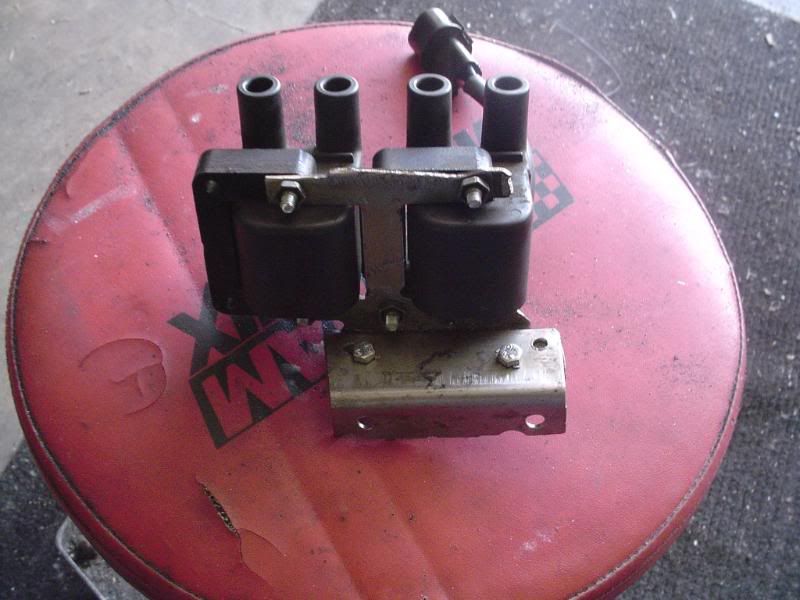
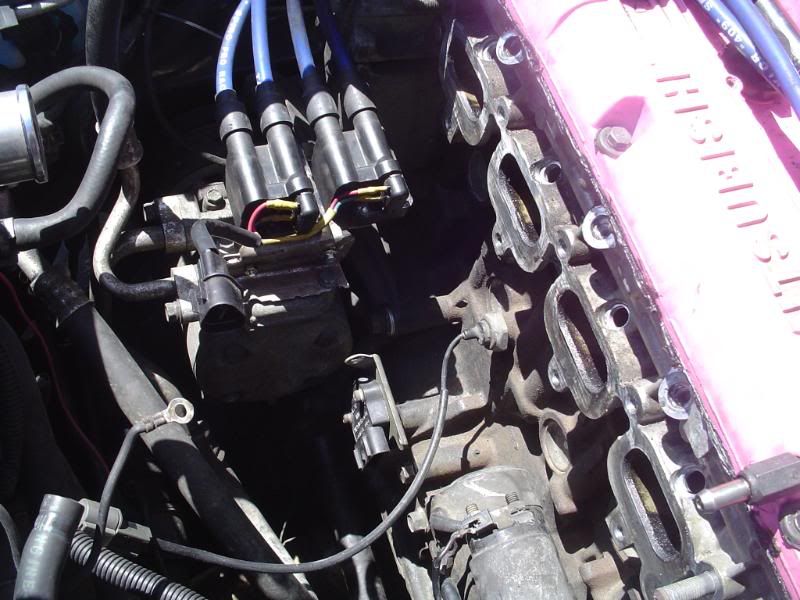
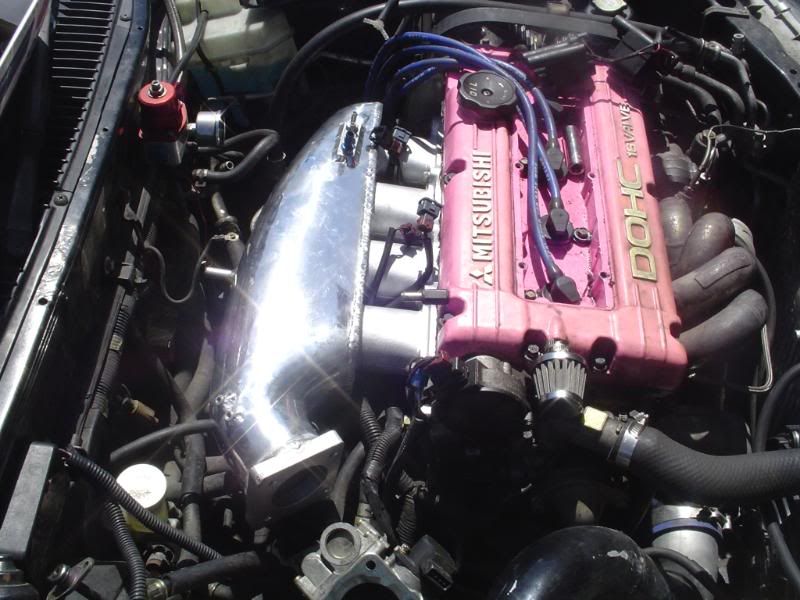
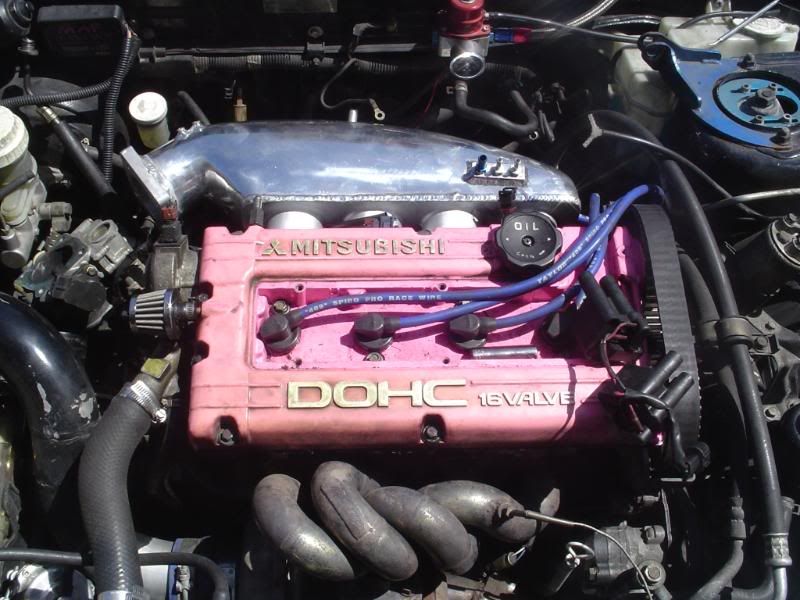
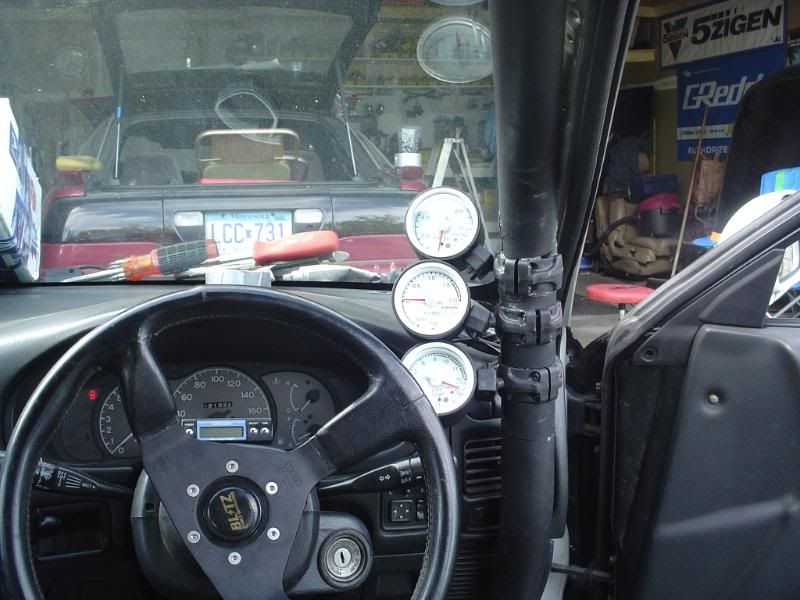
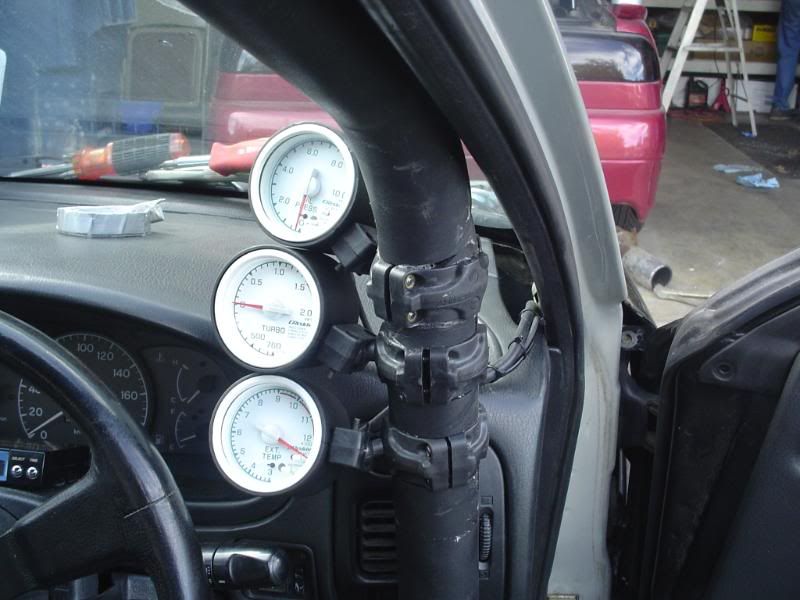
also got the autometer cage mounts and got them installed also and cut the cage foam out to put them in and used some 3m spray glue and trimmed the foam to fit back on it all
Evolving Member
Joined: Nov 2005
Posts: 356
Likes: 2
From: Actionville, FL
Good stuff. How hard is it really to aquire early Evolution parts in the states? I know alot of DSM stuff should be compatable, but what about the Japanese specific stuff, do you have a hard time? Pricey?
I went though alot to find out what will work from dsm's so it would save money. But I have ordered a ton of parts from the UK and Japan and it sucks but you have to when they never sold them here.
the suspention in the front anyway is just like a 1g. I put in new 1g balljoints in it,new 95 mirage outer tie rod ends,the wheel bearings are 1g's also. all the engine stuff is the same as a dsm, But the smim had to come from japan to fit. It had to clear the clutch master and the brake booster and master.
the suspention in the front anyway is just like a 1g. I put in new 1g balljoints in it,new 95 mirage outer tie rod ends,the wheel bearings are 1g's also. all the engine stuff is the same as a dsm, But the smim had to come from japan to fit. It had to clear the clutch master and the brake booster and master.

Trending Topics


hey man, with those brake brackets, if you offset the rotor more you won't have to cut the bolts like that. The design you're investigating there will be terrible to service.


I have a CAD file for this bracket but you're using different calipers so it probably won't help.
I have a CAD file for this bracket but you're using different calipers so it probably won't help.