
HELP Headlight Tint Removal Disaster!

Evolving Member
Joined: Jul 2003
Posts: 297
Likes: 0
From: New Orleans Area
They have places all around my area that will do this type of headlight restoration thing for you while you sit in your car. All they are doing is what everyone else has said wet sanding and then buffing them. Good luck.

Newbie
Joined: Sep 2008
Posts: 63
Likes: 1
From: San Bruno
Possible Solution for your Headlight Tint Problem
Have you fixed your headlight yet?
I recently bought a pair of headlights (came from an 05 EVO MR) that had fading tint film (ugly). I quickly turn to the forum to search for a "how to remove tint film from headlights" and your thread came up.
I didn't find the info I wanted so I turned to Google (awesome) for help. Here's what I found: http://www.tintdude.com/remove-2.html
Fortunately, we had one of those steamers sitting somewhere in the garage. Here are the steps I took from taking out the film to removing the adhesive left out:
Equipment needed:
-steamer (e.g. Jiffy steamer)
-hand towel (2x)
-goo-gone
-windex
-paper towel
1) Wear a long-sleeve and gloves (STEAM!!!) to protect yourself from the heat.
2) Use the steamer to heat up one corner of the headlight. Gently peel off the tint film with one hand while using the steamer with the other hand. The film should come off in 5-10 minutes estimate.
3) Now the hard part. ADHESIVE! Well, not really hard but repetitive and a much longer process (20-30 minutes estimate). Starting from one corner, use the steamer while you lift the glue off with the FIRST hand towel. The adhesive should come right off with a little pressure pressing down and forward.
4) Your headlight should look really clean now but there will be some (few small streaks) adhesive leftovers.
5) This is when you use goo-gone and the SECOND hand towel.
6) Finish off with some windex and paper towel.
7) Same steps for 2nd headlight.
Hope this helps!
Question: Do I now need to recoat my headlights?


Thread Starter
Evolved Member
iTrader: (41)
Joined: Jul 2007
Posts: 4,690
Likes: 128
From: Massachusetts
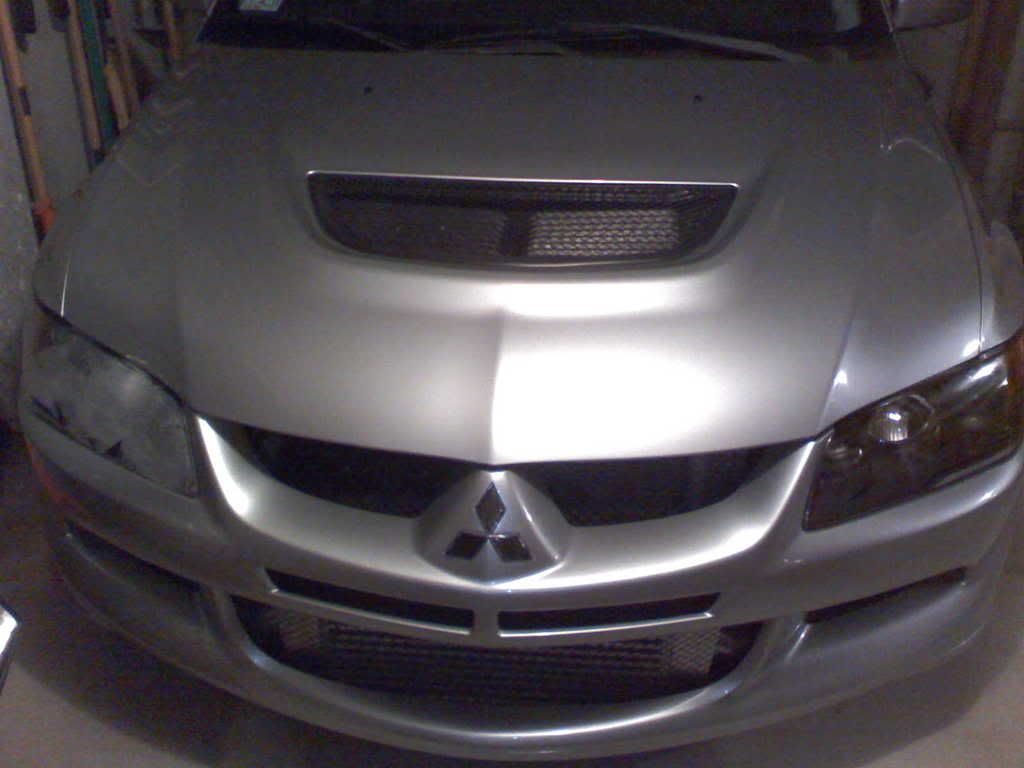
just an update for everyone. I wetsanded the lens and then buffed it with scratch x followed by some type of sealant. The lens appeared to be clear however there is a dilemma. When I turn on my lights the lens almost absorbs the light. Its hard to explain but basically the light spreads throughout the entire lens and turns the whole lens white. I would post a picture however I am at school and my evo is at home. Ill be home in a week n a half for thanksgiving and cant wait to drive her. There is also a lens waiting for me thanks to evodave. Lucky me i get to take my bumper off again and split the housing and reseal it with the new lens

just an update for everyone. I wetsanded the lens and then buffed it with scratch x followed by some type of sealant. The lens appeared to be clear however there is a dilemma. When I turn on my lights the lens almost absorbs the light. Its hard to explain but basically the light spreads throughout the entire lens and turns the whole lens white. I would post a picture however I am at school and my evo is at home. Ill be home in a week n a half for thanksgiving and cant wait to drive her. There is also a lens waiting for me thanks to evodave. Lucky me i get to take my bumper off again and split the housing and reseal it with the new lens
it "absorbs" the light because you are still seeing the scratches from the wetsanding. you didnt buff it out enough with polish to get rid of the hairline scratches you made when you wetsanded.
also when it comes to wetsanding... its best to go atleast two steps in grit. for example 1000 or 1500 grit to remove that original haze then 2000 grit to smooth it all out. THEN polish compound the crap out of it. also i hope you didnt sand in circular motion, it just means u'll have to polish even MORE to remove all the lil scratches.
Last edited by mifesto; Nov 15, 2008 at 07:32 AM.
those lights are done... stick a fork in em. even if you wet sand it you will constantly have to wax and re-polish it to make it "look" better.
save up for some new JDM Headlights.
save up for some new JDM Headlights.
Thread Starter
Evolved Member
iTrader: (41)
Joined: Jul 2007
Posts: 4,690
Likes: 128
From: Massachusetts
ya well i guess i failed at wetsanding the lens...at least it doesnt look retarded like the pictures i originally posted. Like i said the replacement lens will be going on when i come back home in a week and a half!