
Painted my VIII Tails


Thread Starter
Newbie
Joined: Aug 2009
Posts: 42
Likes: 0
From: Bay Area
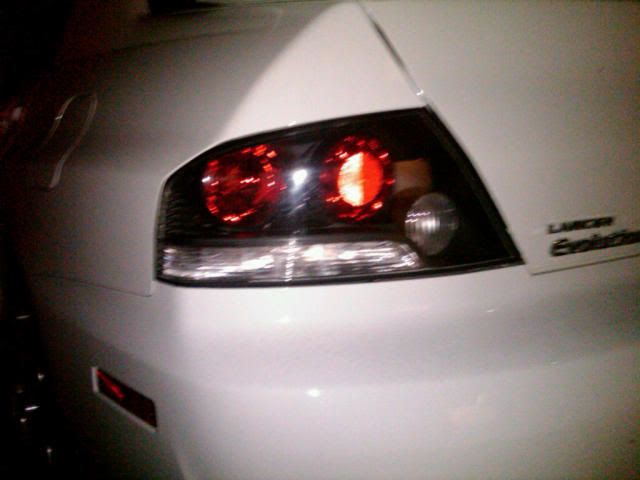
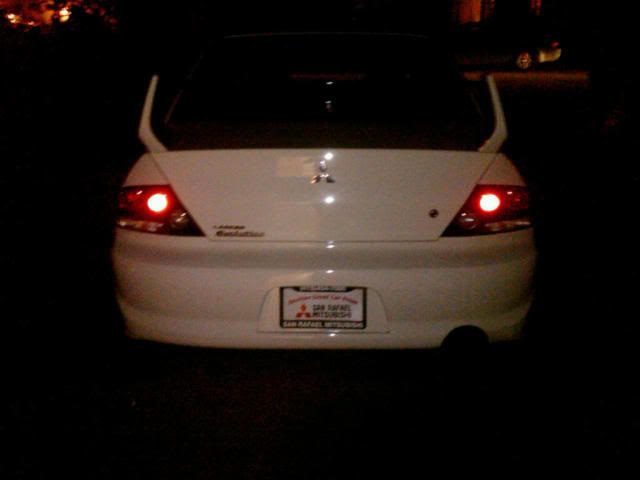
Painted my VIII Tails (More pics PG.2)
Well it took me 7 hours but it was well worth it - Looks awesome. Sorry for the crappy pictures i'll get some better ones today. 
Painted, before lens

Border on the lense

Lenses attatched

Taped and drying

 More pics PG.2
Painted, before lens
Border on the lense
Lenses attatched
Taped and drying
More pics PG.2
Last edited by YAMAHArYder; Mar 30, 2010 at 06:23 PM.


Thread Starter
Newbie
Joined: Aug 2009
Posts: 42
Likes: 0
From: Bay Area
Thanks guys. Yeah i used Rustoleum brand flat black primer, and flat black multi surface paint. Before i primed i sanded the chrome just so it wasnt reflective anymore. Then i cleaned it with alchohol and started spraying. I did 3 coats primer and 3 coats finish. It's a lot of work but if you're careful, there's no reason why anyone couldnt do it.
No oven!
1. Flat black primer
2. Flat black paint
3. heat gun
4. 'Break off' style razor blade (bends easier)
5. Plastic clear drying glue
6. Silicone sealant
7.Masking tape
8.Time
No oven!
1. Flat black primer
2. Flat black paint
3. heat gun
4. 'Break off' style razor blade (bends easier)
5. Plastic clear drying glue
6. Silicone sealant
7.Masking tape
8.Time
Last edited by YAMAHArYder; Mar 30, 2010 at 12:35 PM.


Trending Topics
Thread Starter
Newbie
Joined: Aug 2009
Posts: 42
Likes: 0
From: Bay Area
As far as the chemical process, i'm not sure - But so far it's holding up great! ;D I only used the silicone after i had glued the lens back on. I just squeezed it into any gaps but i also made a nice thick layer all the way around - No one likes a fogged tail/head light.

Thread Starter
Newbie
Joined: Aug 2009
Posts: 42
Likes: 0
From: Bay Area
Coming sometime today

Well i guess i'll have to report back on how it holds up after a while. That sounds like a good idea with the LED's while you're in there, though. Either way you could always re-seal/silicone it. As far as sloppyness, i wandered the same thing and was hesitent to do the whoel project to begin with. BUT when it's all said and done, and cleaned up nicely, it looks as though the car came that way. It's not PERFECT, but if i were to do it again it would look even better. For example, instead of cutting the seam where the two plastics come together, i'd cut behind it further onto the black housing and make my own seam. This way you may not have to paint a border on the lens to cover up the '****tyness' of the seperated melt joint. Hope that all makes sense... I'll post up some close ups in the daytime as well later today.