
How To: RedLineGoods leather armrest.

Thread Starter
Evolving Member
Joined: Jul 2009
Posts: 222
Likes: 0
From: Canada
How To: RedLineGoods leather armrest.
HOW TO: RedLineGoods leather padded armrest.
Parts Required:
- RedLineGoods padded or non-padded arm rest.
can be obtained at REDLINEGOODS
Tools Required:
- Phillips screw driver to remove armrest screws.
- soft - pressure clamps
- thin flat head screw driver
- very sharp knife
- scissors
- pliers
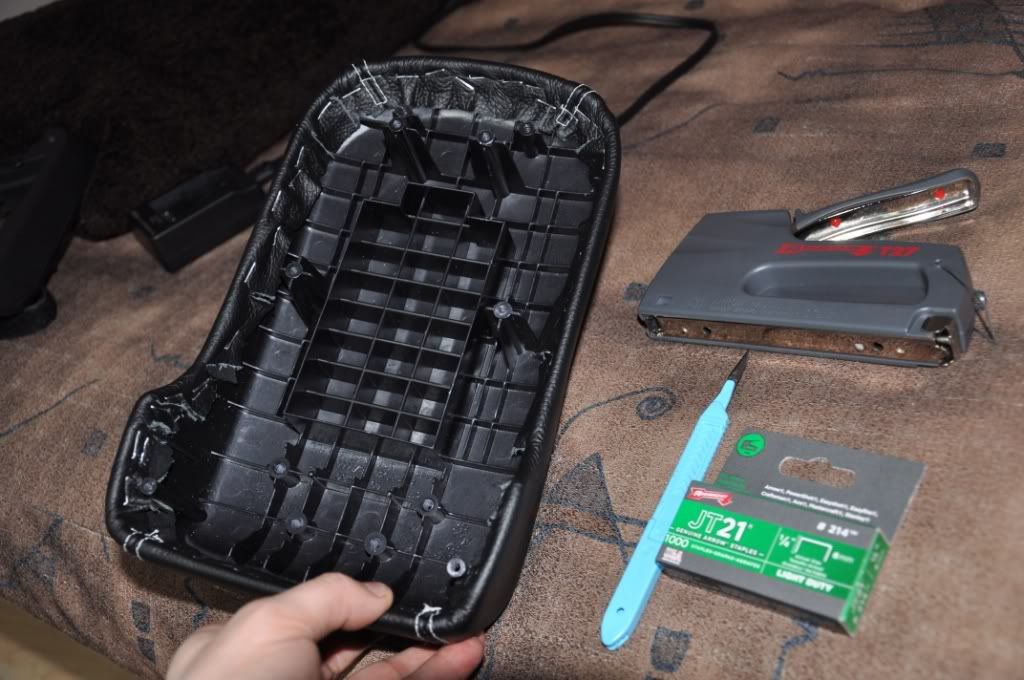
- 6mm | 1/4" light duty staples.
Recommended Number of People
- 1 person
Difficulty
- 2, hard part is getting the metal staples into the plastic.
Time to complete
- 30 minutes taking your time.
Step by Step Instructions
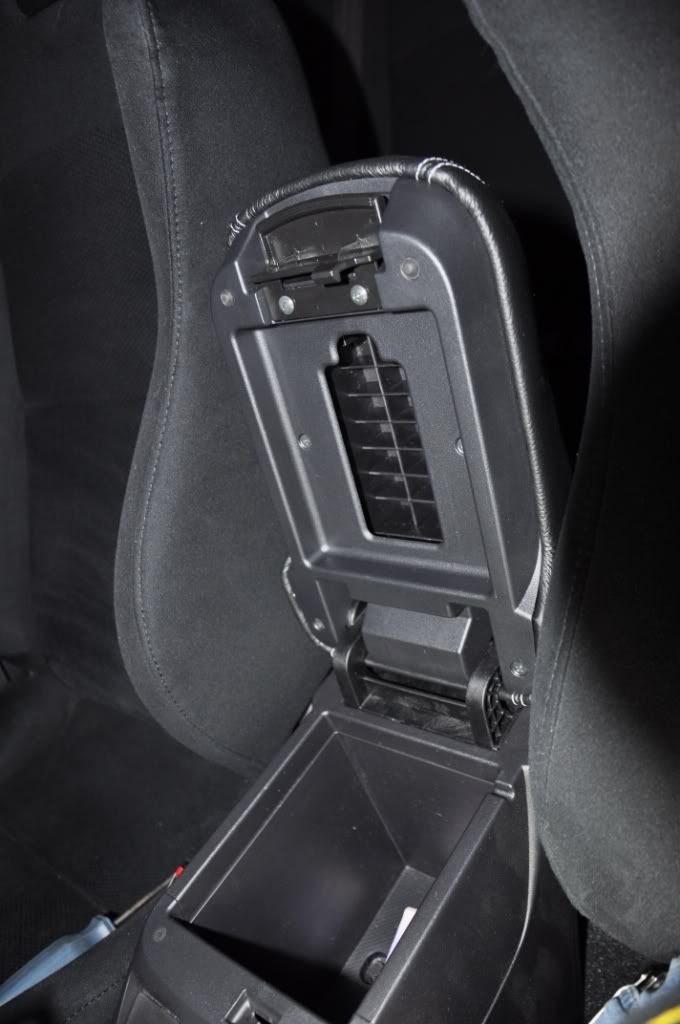
1) Open up the arm rest and remove the 6 visible Phillips screws.
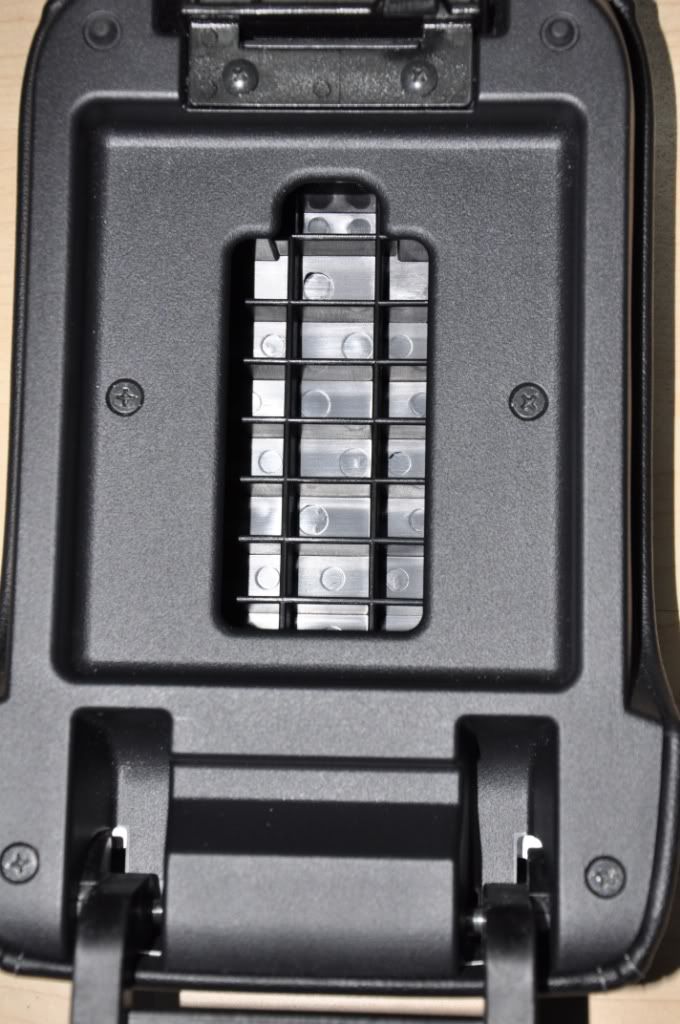
2) Remove two more screws under the plastic armrest lock clip and slowly remove the arm rest frame.
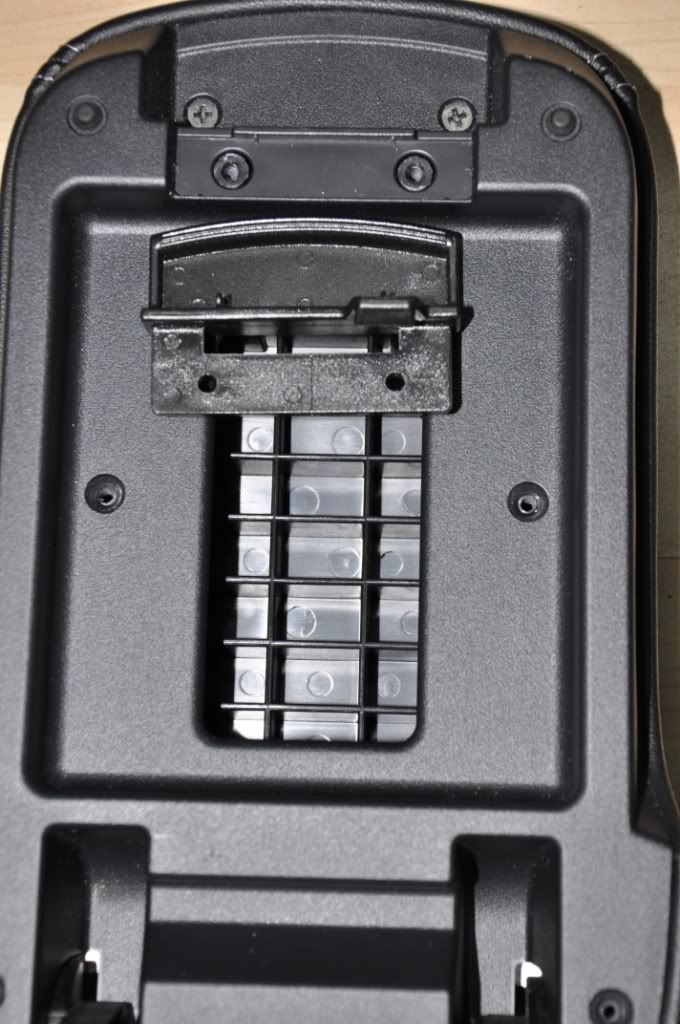
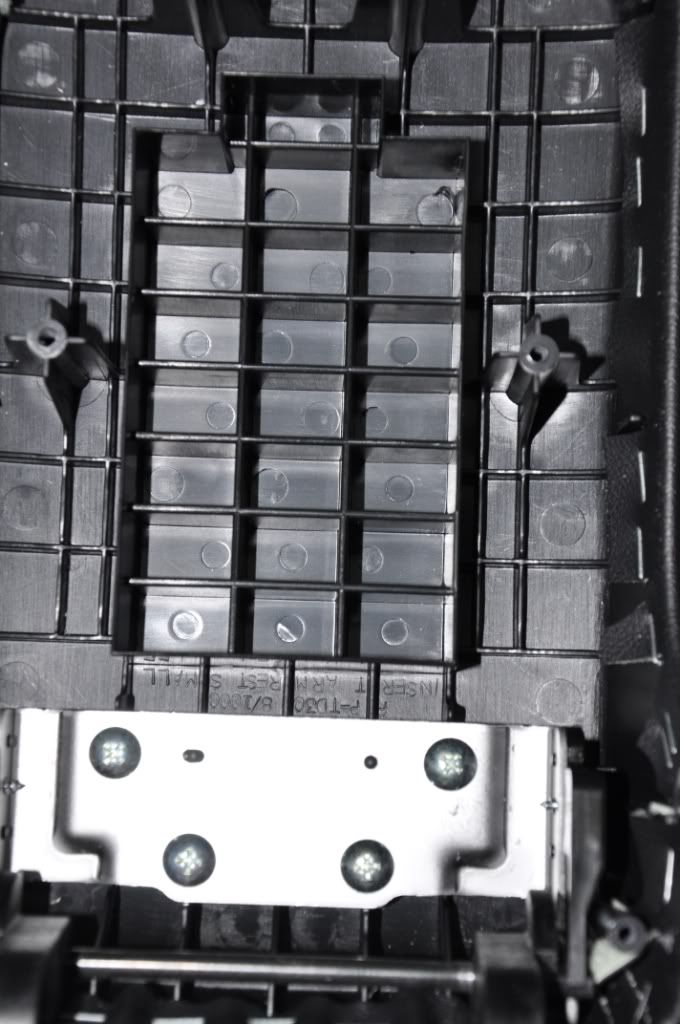
3) You can now see the 4 silver screws holding the armrest to the hinge. Remove them and take off the upper shell of the arm rest.
4) Unpack your brand new armrest cover and fit it to the arm rest shell. You have the option of removing the original suede. I left the OEM suede on in case I want to revert back to stock in the future.

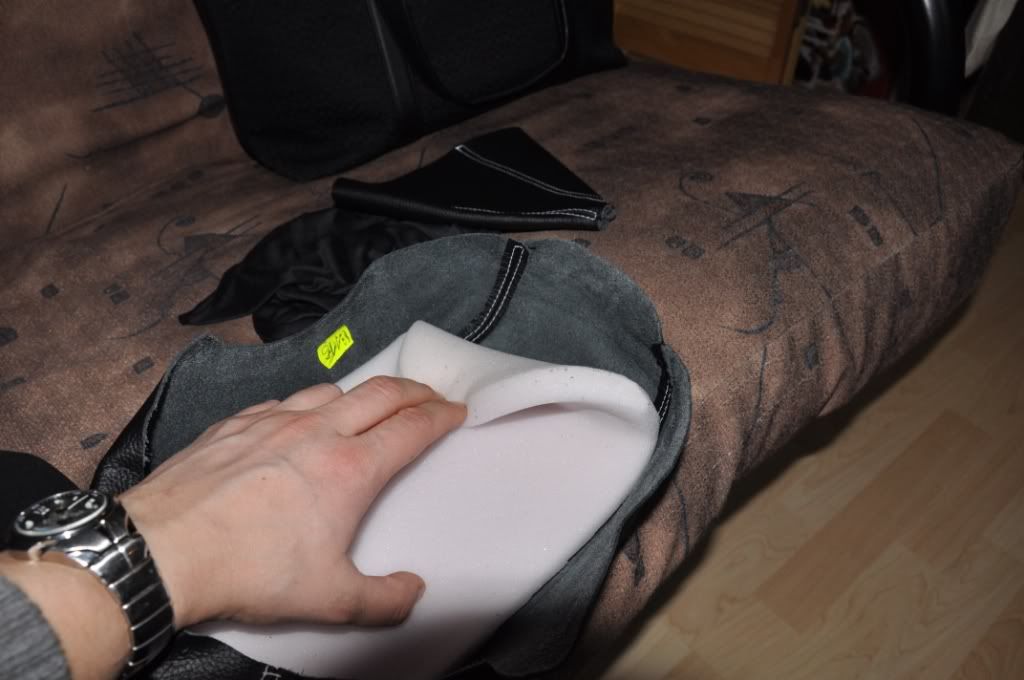
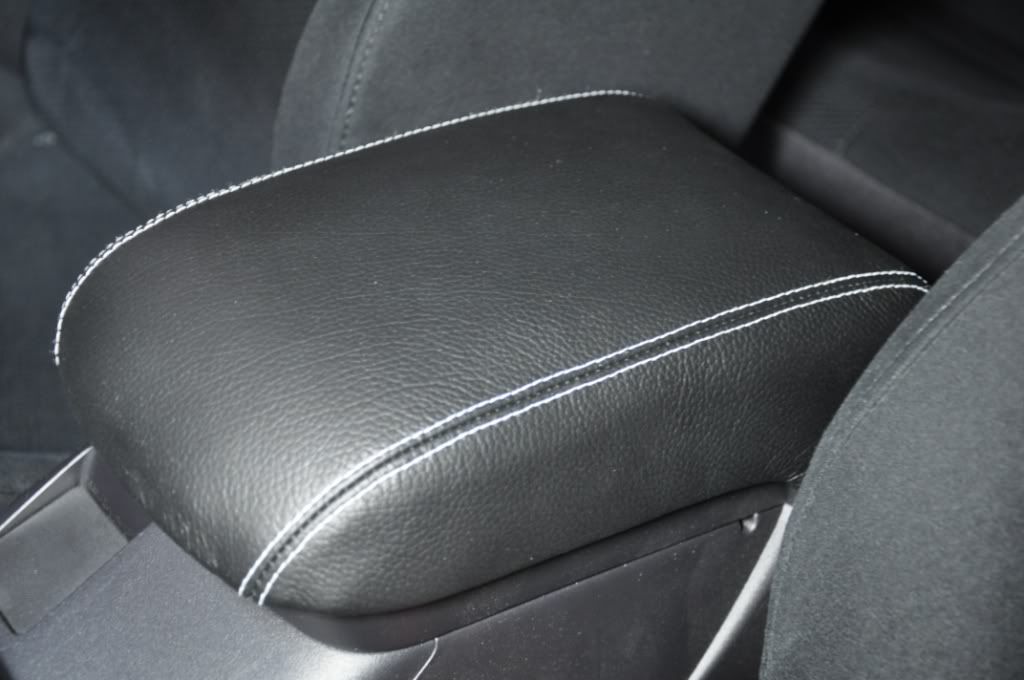
5) Once you have the Leather on the arm rest, stretch it out to your liking over the shell and clip in place with soft - pressure clamps.
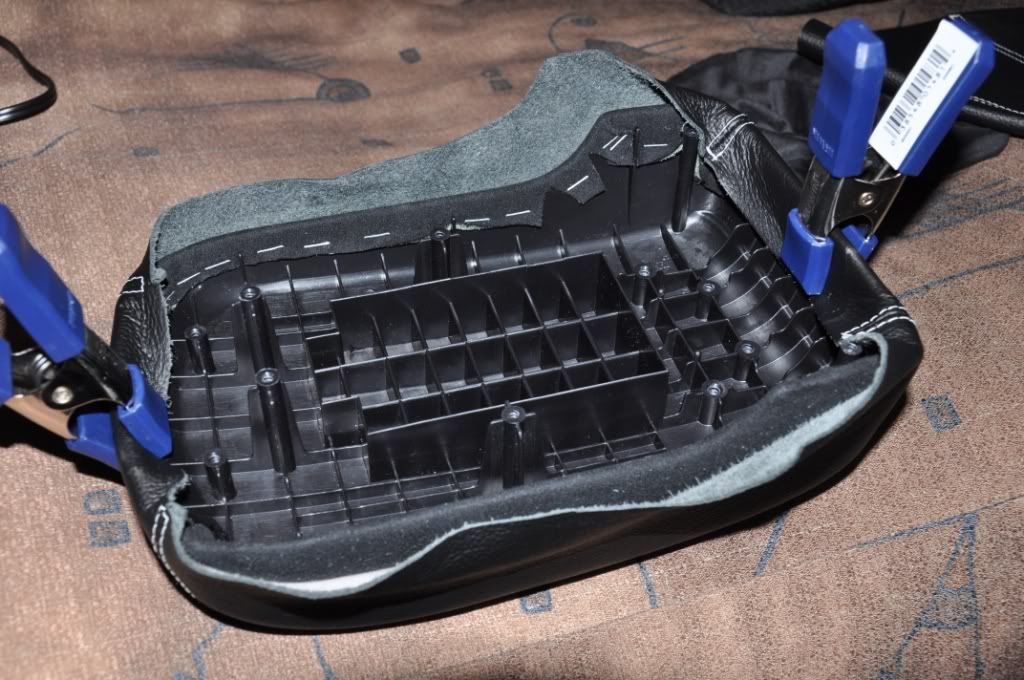
6) Staple the leather to the arm rest using 6mm - 1/4" or smaller staples. You may need to trim the leather around the corners like the OEM suede. Trimming will depend on how tight you want the leather.
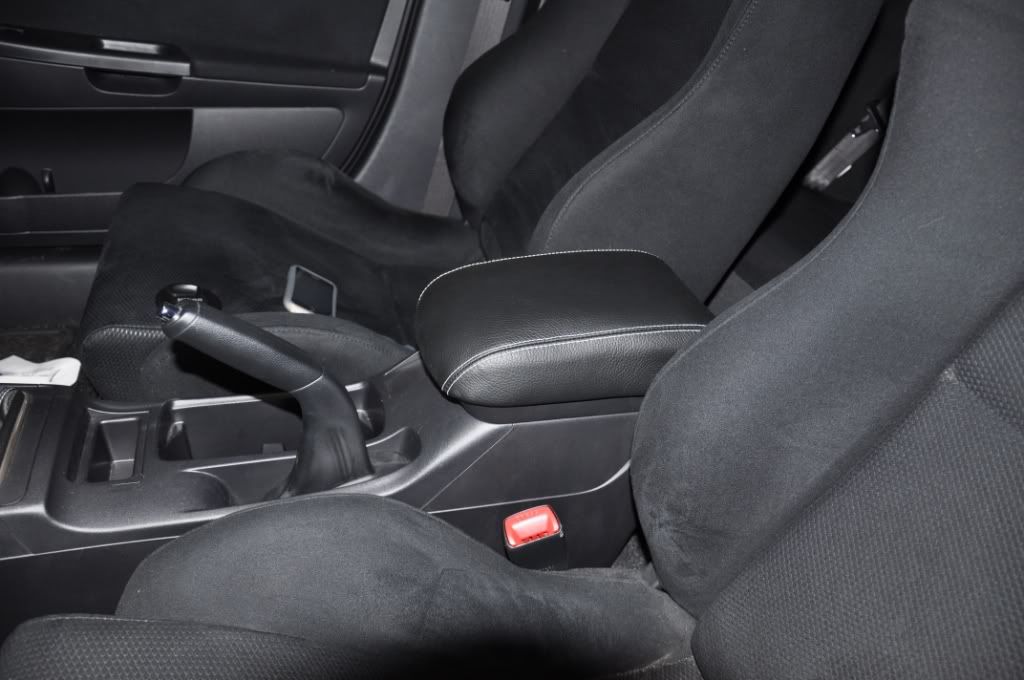
7) Re-install the newly re-upholstered RedLineGoods leather arm rest into your EvoX. Replace the 4 silver Philips screws that attach the arm rest to the hinge.
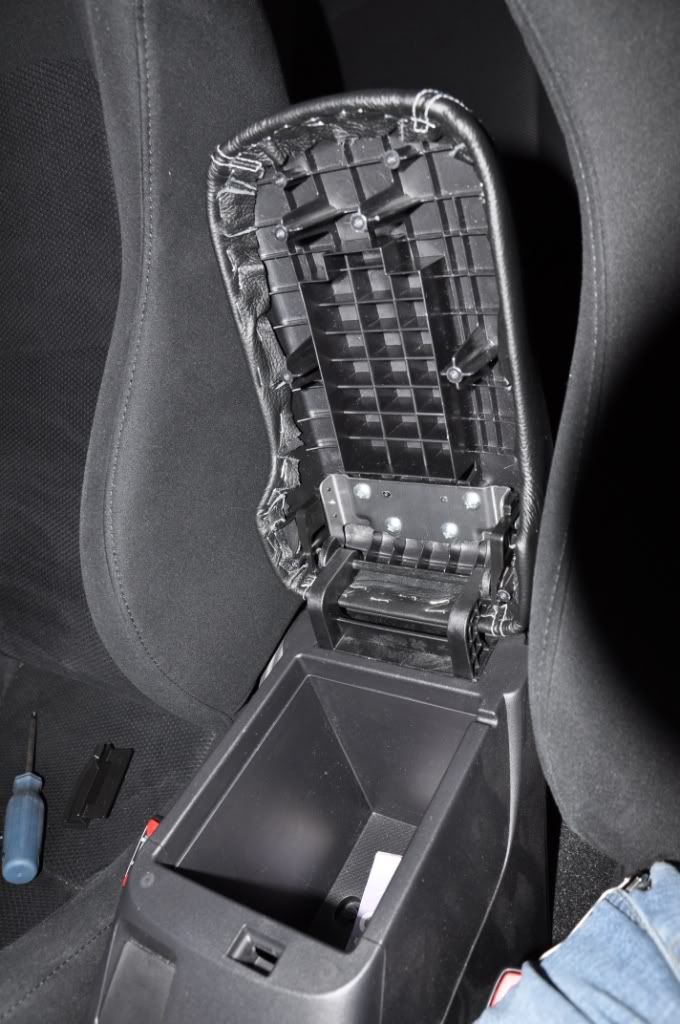
8) ***CAREFULLY AND SLOWLY so you don't break the hinge***, insert the armrest frame into the arm rest shell. Replace the remainder of the flat Philips screws and re-attach arm rest lock clip with round Philips screws.
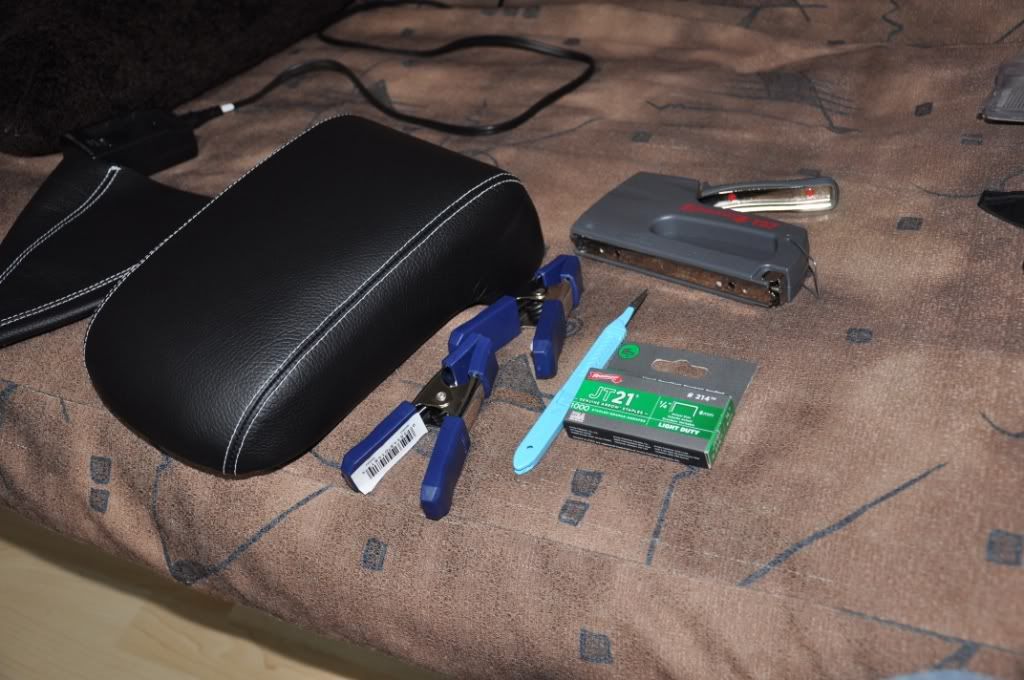
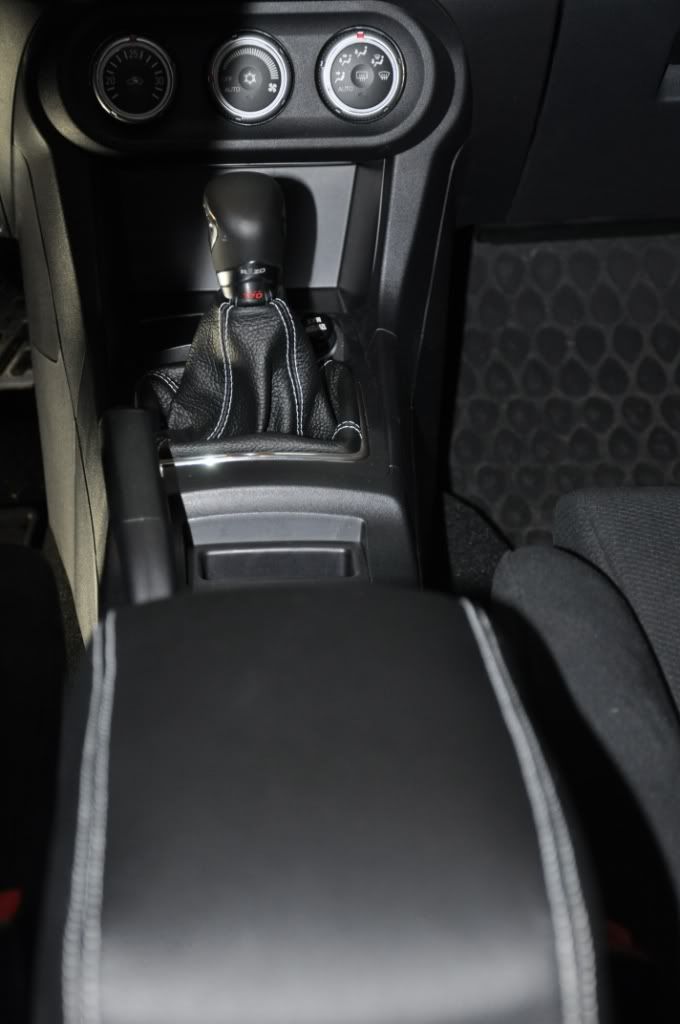
9) Enjoy your new leather arm rest.
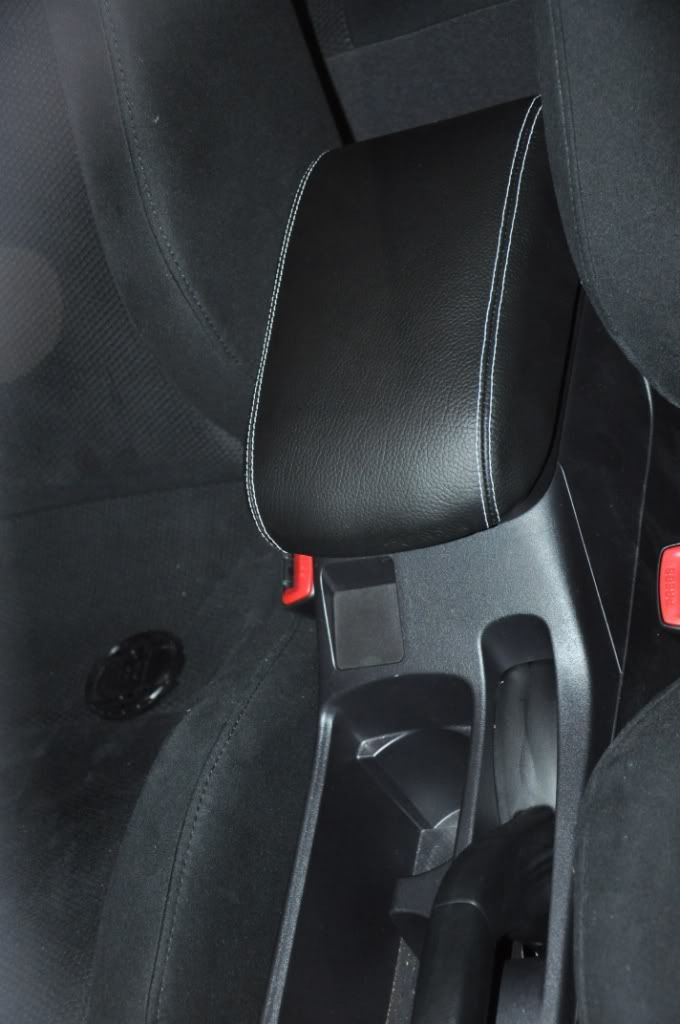
10) Or match it up with a new RedLineGoods shift boot and make your interrior really POP.
Useful tip:
You have installed a product made out of genuine leather. As you know, to maintain a leather product in good condition, you should take care of it. We suggest occasionally (every 4-6 week for example) applying some leather conditioner/UV protector to keep your leather from drying up in the sun and cracking.
Parts Required:
- RedLineGoods padded or non-padded arm rest.
can be obtained at REDLINEGOODS
Tools Required:
- Phillips screw driver to remove armrest screws.
- soft - pressure clamps
- thin flat head screw driver
- very sharp knife
- scissors
- pliers
- 6mm | 1/4" light duty staples.
Recommended Number of People
- 1 person
Difficulty
- 2, hard part is getting the metal staples into the plastic.
Time to complete
- 30 minutes taking your time.
Step by Step Instructions
1) Open up the arm rest and remove the 6 visible Phillips screws.
2) Remove two more screws under the plastic armrest lock clip and slowly remove the arm rest frame.
3) You can now see the 4 silver screws holding the armrest to the hinge. Remove them and take off the upper shell of the arm rest.
4) Unpack your brand new armrest cover and fit it to the arm rest shell. You have the option of removing the original suede. I left the OEM suede on in case I want to revert back to stock in the future.
5) Once you have the Leather on the arm rest, stretch it out to your liking over the shell and clip in place with soft - pressure clamps.
6) Staple the leather to the arm rest using 6mm - 1/4" or smaller staples. You may need to trim the leather around the corners like the OEM suede. Trimming will depend on how tight you want the leather.
7) Re-install the newly re-upholstered RedLineGoods leather arm rest into your EvoX. Replace the 4 silver Philips screws that attach the arm rest to the hinge.
8) ***CAREFULLY AND SLOWLY so you don't break the hinge***, insert the armrest frame into the arm rest shell. Replace the remainder of the flat Philips screws and re-attach arm rest lock clip with round Philips screws.
9) Enjoy your new leather arm rest.
10) Or match it up with a new RedLineGoods shift boot and make your interrior really POP.
Useful tip:
You have installed a product made out of genuine leather. As you know, to maintain a leather product in good condition, you should take care of it. We suggest occasionally (every 4-6 week for example) applying some leather conditioner/UV protector to keep your leather from drying up in the sun and cracking.

Thread
Thread Starter
Forum
Replies
Last Post
TheNEWB
09+ Ralliart Brakes/Wheels/Suspension
98
Jul 13, 2017 04:26 PM
TheNEWB
Evo X How Tos / Installations
21
Dec 4, 2014 09:35 PM
TheNEWB
Evo X How Tos / Installations
8
Mar 20, 2011 11:01 AM
TheNEWB
Evo X How Tos / Installations
1
Mar 14, 2011 06:05 PM