
How To: RedLineGoods leather e-brake cover.

Thread Starter
Evolving Member
Joined: Jul 2009
Posts: 222
Likes: 0
From: Canada
How To: RedLineGoods leather e-brake cover.
HOW TO: RedLineGoods leather e-brake cover.
Parts Required:
- RedLineGoods leather e-brake cover can be obtained at REDLINEGOODS
Tools Required:
- 6mm | 1/4" light duty staples.
- canned grease (optional)
- pliers
- thin flat head screw driver
- very sharp knife
- scissors
Recommended Number of People
- 1 person
Difficulty
- 1, hard part is getting the metal staples into the plastic.
Time to complete
- 15 minutes taking your time.
Step by Step Instructions
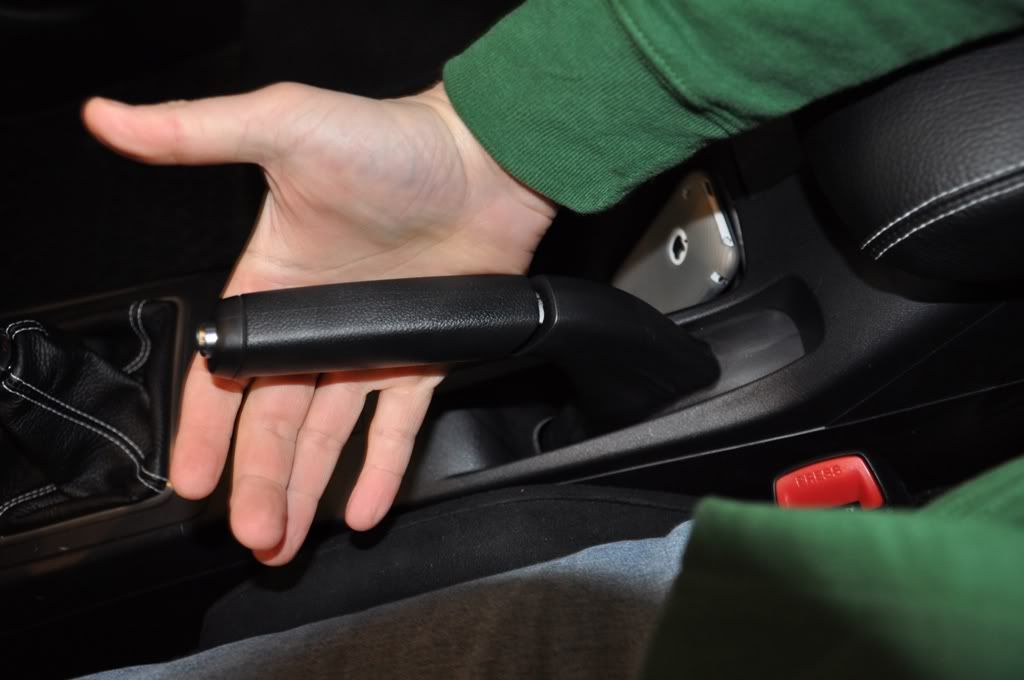
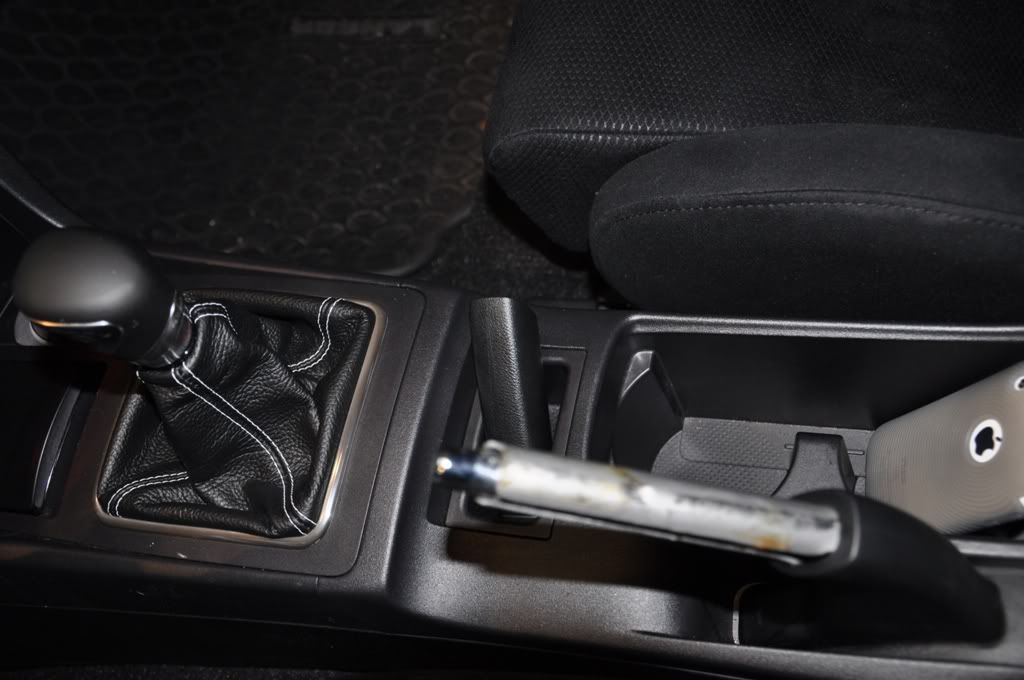
1) Slide off the e-brake handle, it takes time so be patient and keep pulling forward. Eventually it will come off. A dab of grease or pressurized silicone spray under the handle will help.
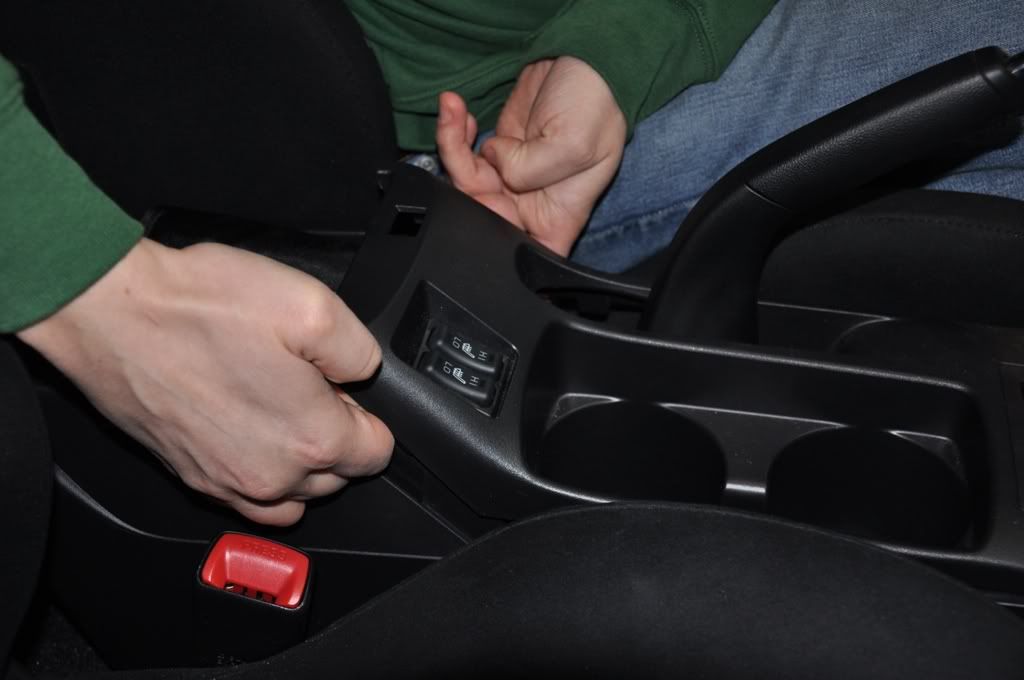
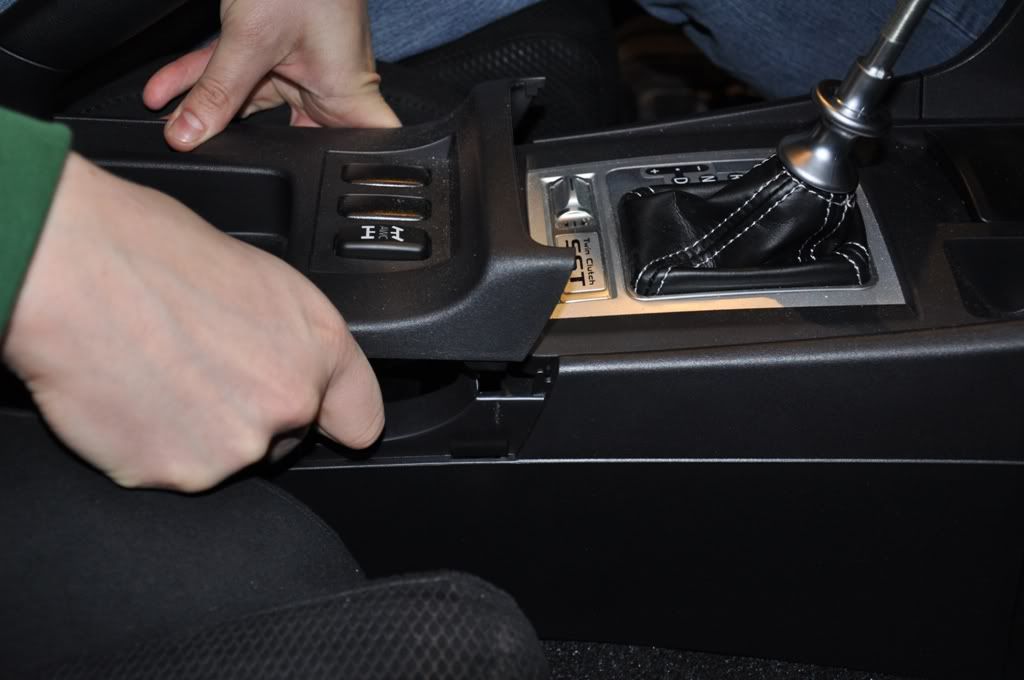
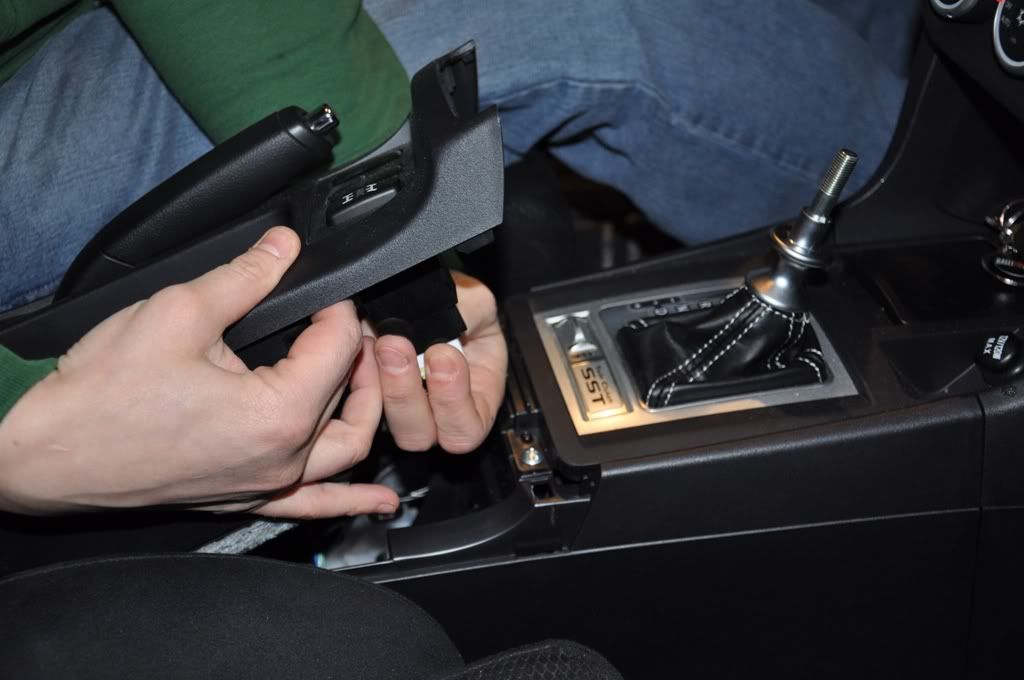
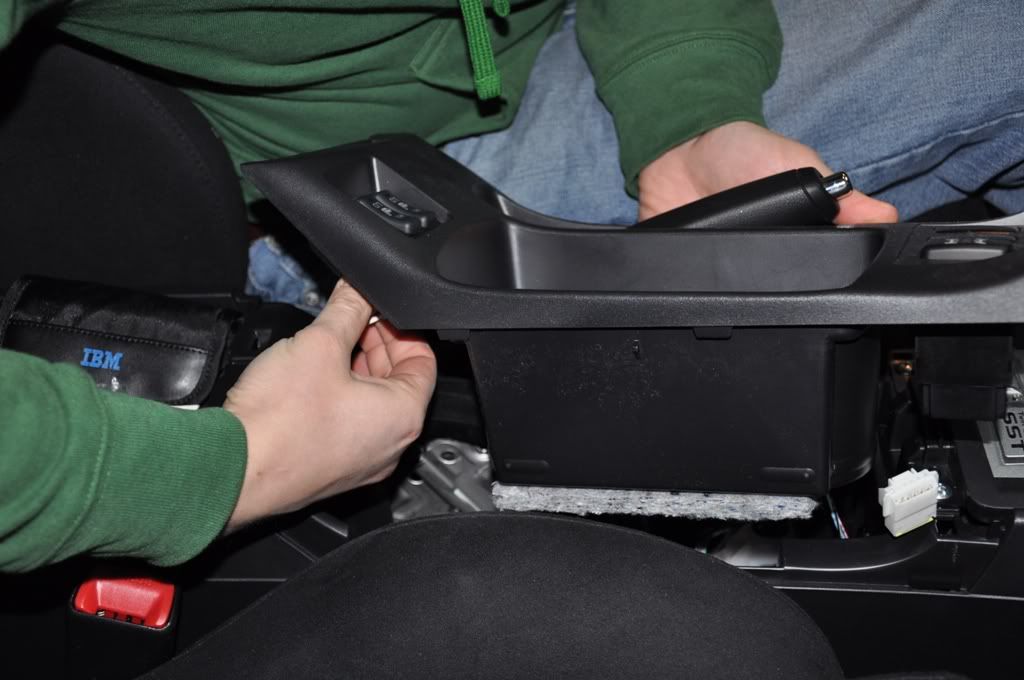
2) Open the arm rest and lift up the centre cup holder console from the rear, then slowly moving forward, pull upwards on the console near the shifter base. There are 4 clips here, ensure you don't loose the two white plastic ones near the shifter base.
3) If you have a RalliArt or an EvoX MR, Unclip the AWC module wires by depressing the white tab. If you have a EvoX GSR simply set the cup holder trim aside as there is enough slack in the wire.
4) If you have a RalliArt or an EvoX MR, Unclip the heated seat module wires by depressing the white tab, and set the console aside. If you have an EvoX GSR skip this step.
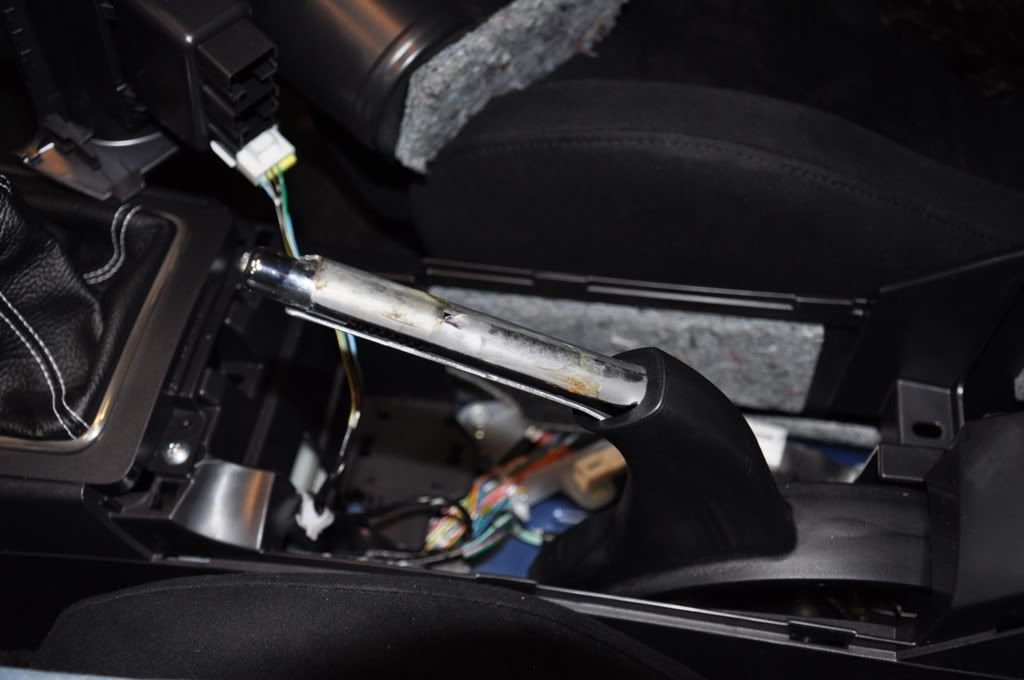
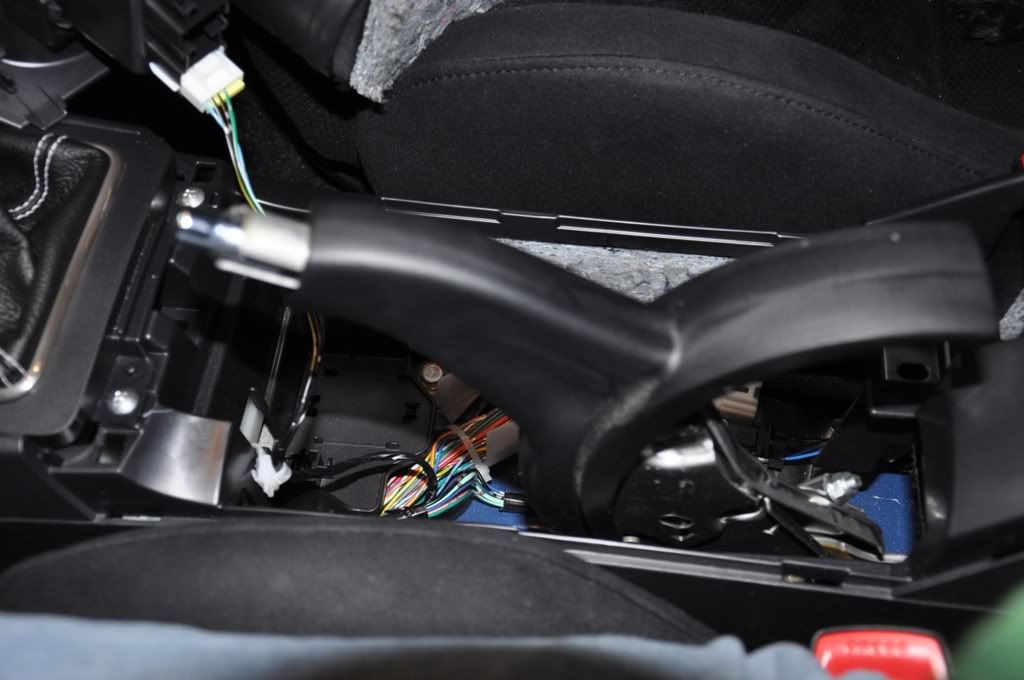
5) With the e-brake handle and the cup holder trim off remove the lower plastic e-brake boot. A little bit of force should be used to pull the lower plastic boot off.
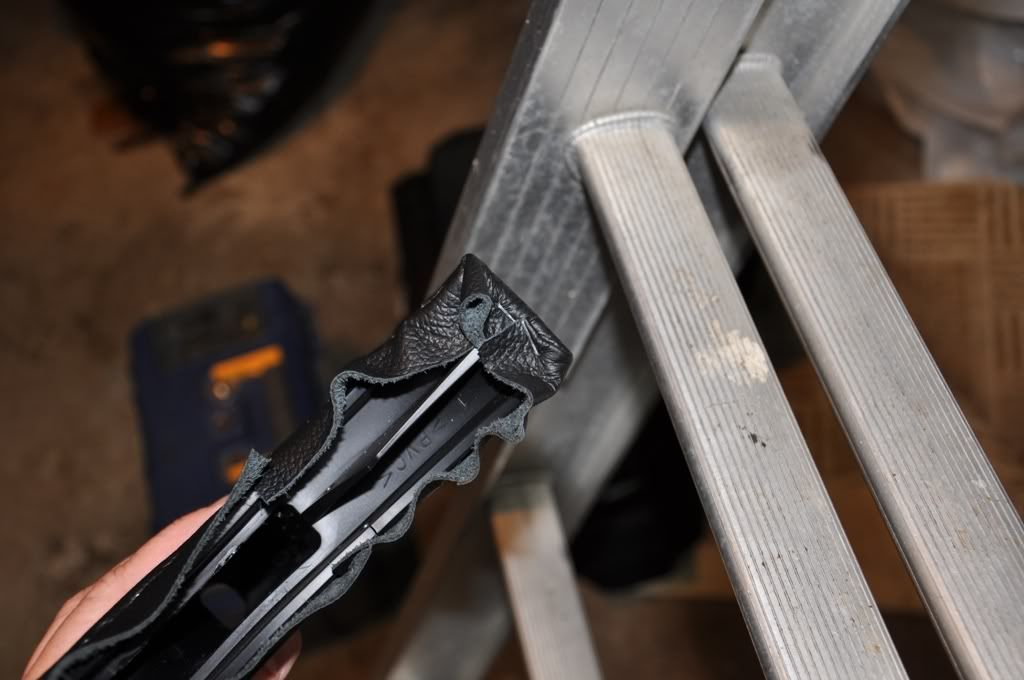
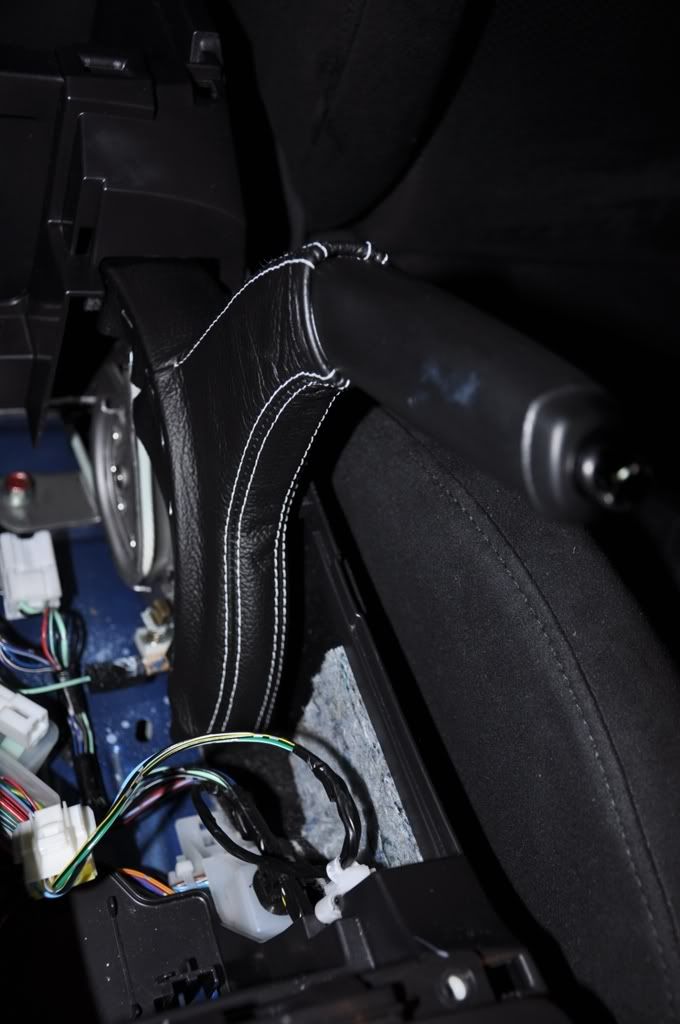
6) Slide the REDLINEGOODS leather e-brake boot over the plastic boot and staple around the lower edge of the plastic. Adjust the fit to your liking.
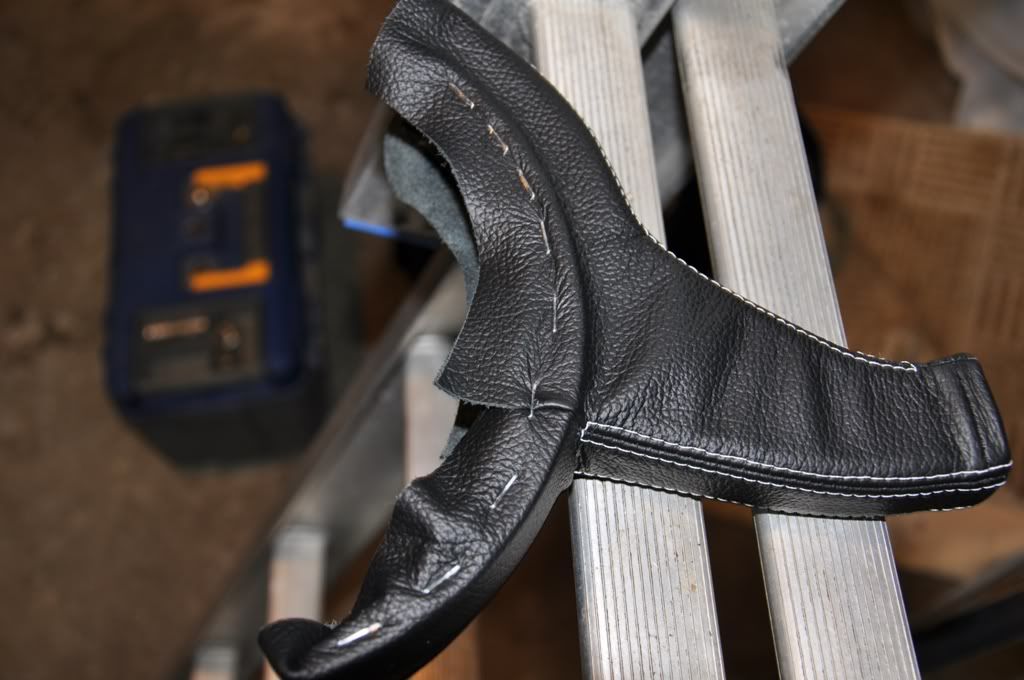
7) Staple the back end of the leather nice and tight around the back end of the plastic e-brake cover.
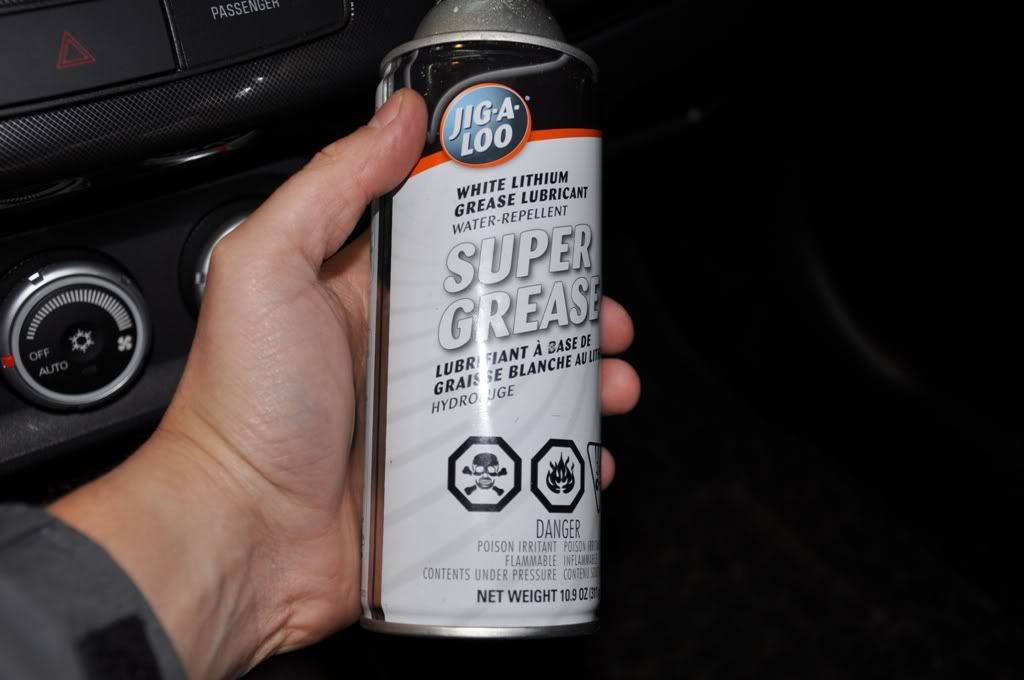
8) Re-insert the covered e-brake boot back onto the e-brake mechanism. A touch of white lithium grease should help but not necessary.
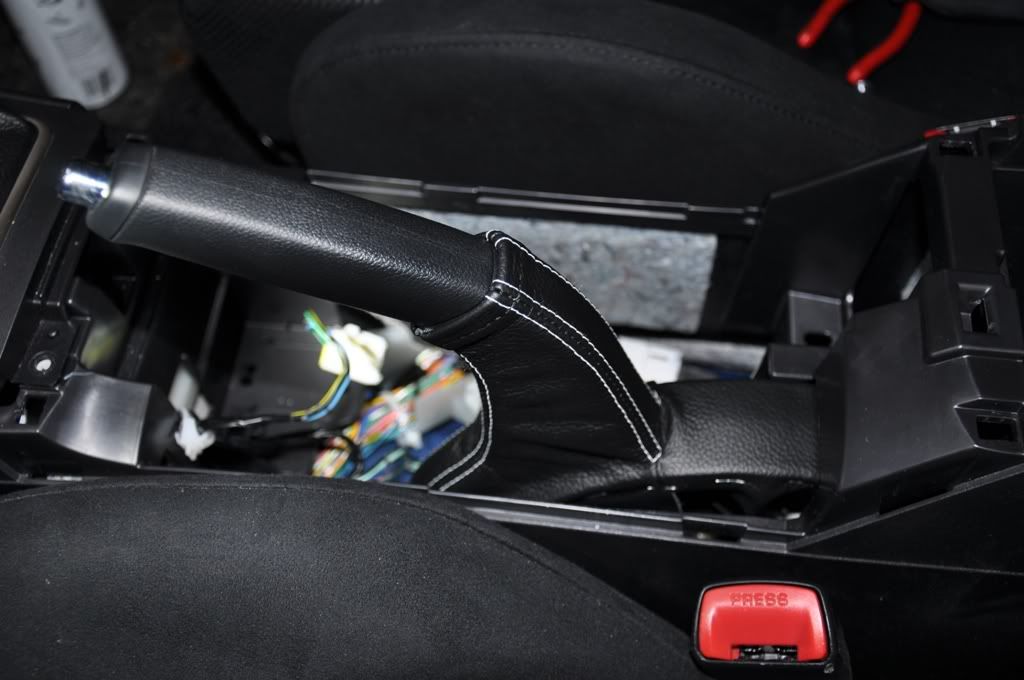
9) Re-install your plastic cup holder trim and enjoy!
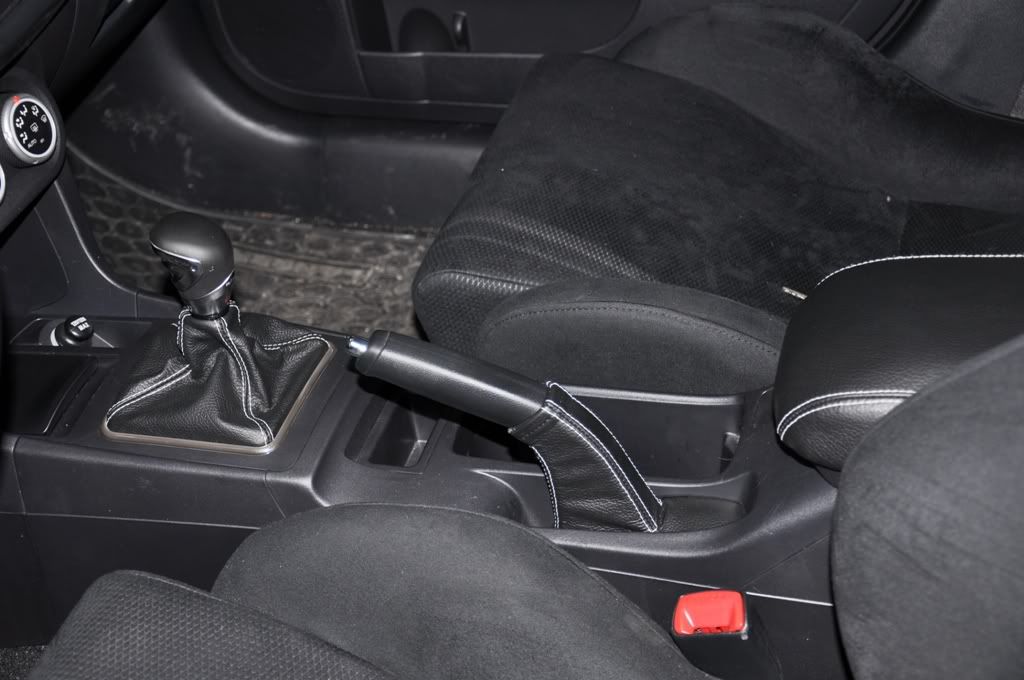
CONGRATULATIONS - YOU HAVE SUCCESSFULLY INSTALLED YOUR NEW LEATHER BOOTS!
Useful tip
You have installed a product made out of genuine leather. As you know, to maintain a leather product in good condition, you should take care of it. We suggest occasionally (every 4-6 week for example) applying some leather conditioner/UV protector to keep your leather from drying up in the sun and cracking.
Parts Required:
- RedLineGoods leather e-brake cover can be obtained at REDLINEGOODS
Tools Required:
- 6mm | 1/4" light duty staples.
- canned grease (optional)
- pliers
- thin flat head screw driver
- very sharp knife
- scissors
Recommended Number of People
- 1 person
Difficulty
- 1, hard part is getting the metal staples into the plastic.
Time to complete
- 15 minutes taking your time.
Step by Step Instructions
1) Slide off the e-brake handle, it takes time so be patient and keep pulling forward. Eventually it will come off. A dab of grease or pressurized silicone spray under the handle will help.
2) Open the arm rest and lift up the centre cup holder console from the rear, then slowly moving forward, pull upwards on the console near the shifter base. There are 4 clips here, ensure you don't loose the two white plastic ones near the shifter base.
3) If you have a RalliArt or an EvoX MR, Unclip the AWC module wires by depressing the white tab. If you have a EvoX GSR simply set the cup holder trim aside as there is enough slack in the wire.
4) If you have a RalliArt or an EvoX MR, Unclip the heated seat module wires by depressing the white tab, and set the console aside. If you have an EvoX GSR skip this step.
5) With the e-brake handle and the cup holder trim off remove the lower plastic e-brake boot. A little bit of force should be used to pull the lower plastic boot off.
6) Slide the REDLINEGOODS leather e-brake boot over the plastic boot and staple around the lower edge of the plastic. Adjust the fit to your liking.
7) Staple the back end of the leather nice and tight around the back end of the plastic e-brake cover.
8) Re-insert the covered e-brake boot back onto the e-brake mechanism. A touch of white lithium grease should help but not necessary.
9) Re-install your plastic cup holder trim and enjoy!
CONGRATULATIONS - YOU HAVE SUCCESSFULLY INSTALLED YOUR NEW LEATHER BOOTS!
Useful tip
You have installed a product made out of genuine leather. As you know, to maintain a leather product in good condition, you should take care of it. We suggest occasionally (every 4-6 week for example) applying some leather conditioner/UV protector to keep your leather from drying up in the sun and cracking.

could not get the rubber off my ebrake on my 2010 for the life of me. also it is a good idea to put moleskin on the plastic lip of the center console that touches the ebrake boot. it will eventually rip the leather.
Thread Starter
Evolving Member
Joined: Jul 2009
Posts: 222
Likes: 0
From: Canada
I shaved the top of the plastic over the boot a bit so that it does not touch the leather.
Trending Topics

yea well i was looking at the clearance between the e-brake boot and where it goes into the center console in the rear and the front. there is definitely not enough room for it to slide with leather on top. looks like i may have to dremel out a millimeter or so on both sides

Thread
Thread Starter
Forum
Replies
Last Post
TheNEWB
09+ Ralliart Brakes/Wheels/Suspension
98
Jul 13, 2017 04:26 PM