Notices
Evo X How Tos / Installations Post or link to your detailed how to / installation articles in here. If you have any questions regarding the how tos, feel free to post them in the Request sub-forum.

Whiteout Emblems on Wicked White

Thread Tools
 
Search this Thread
 
Old Jan 1, 2013 | 10:34 AM
  #1  
EvilYeti's Avatar
Thread Starter
Newbie
 
Joined: Sep 2012
Posts: 28
Likes: 0
From: Florida
Whiteout Emblems on Wicked White

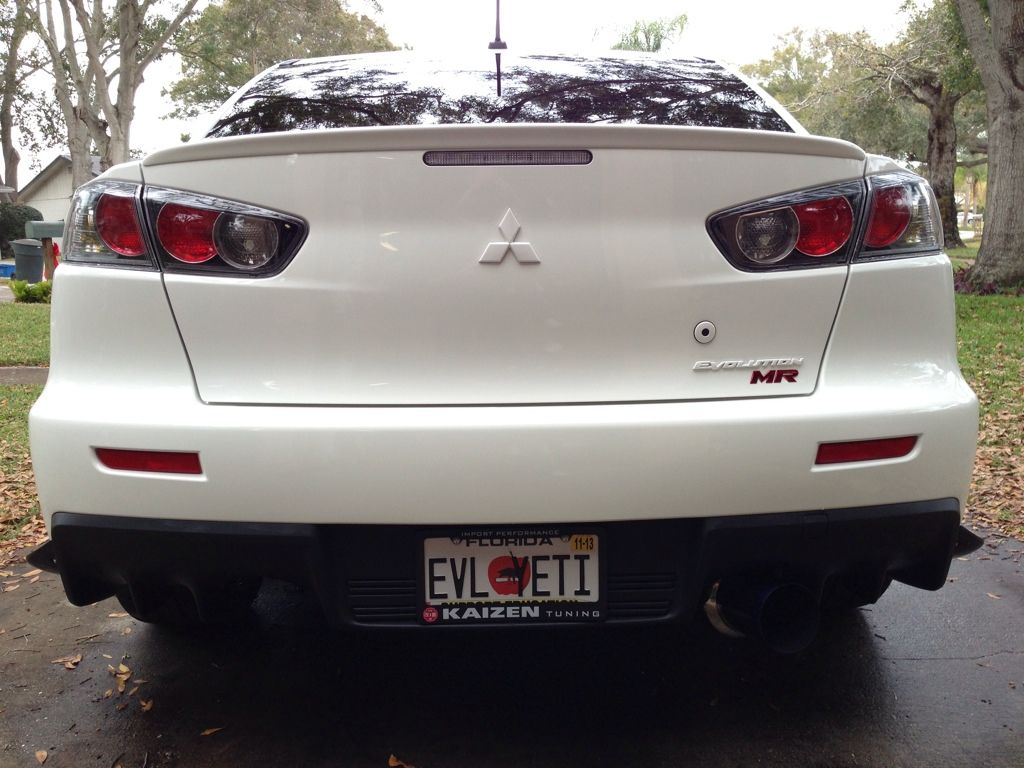
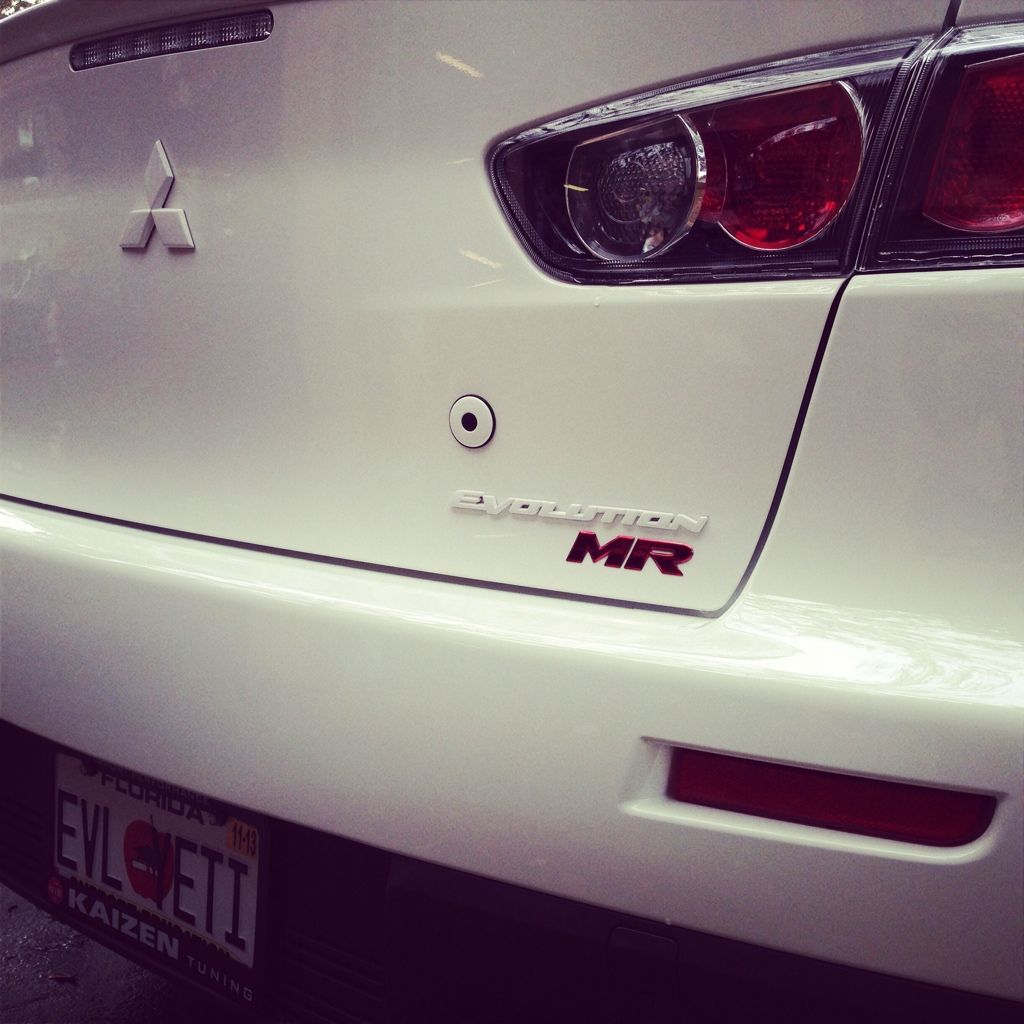
Came out super clean!!!

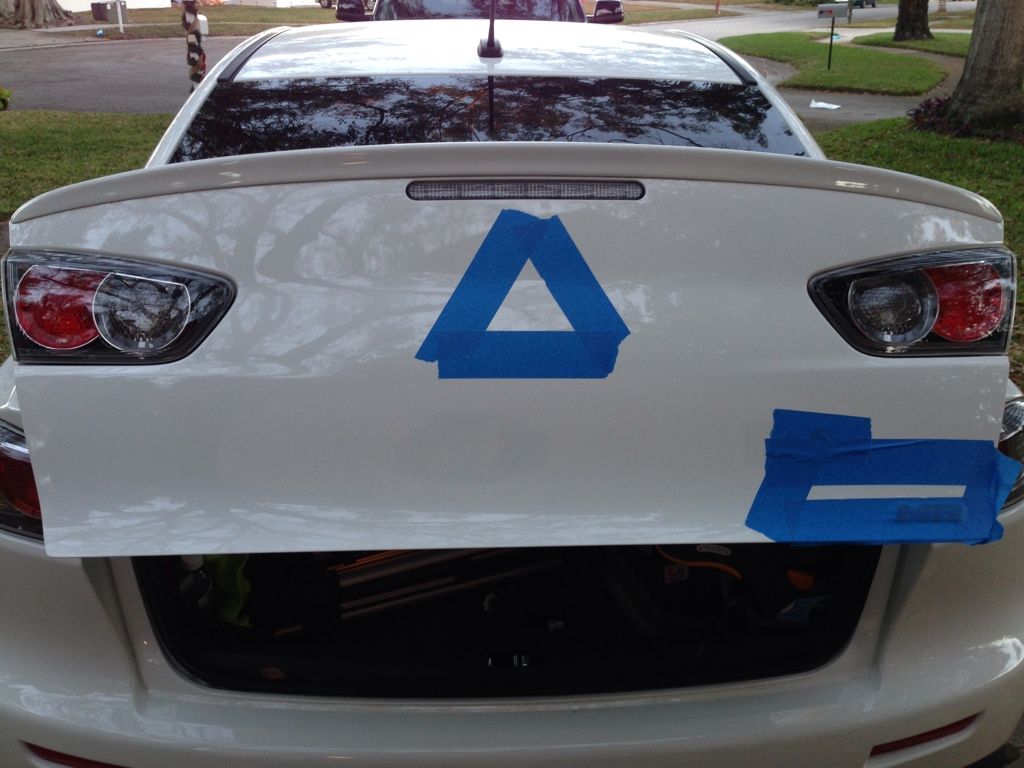
Before I removed the emblems, I marked the placements with painters tape:


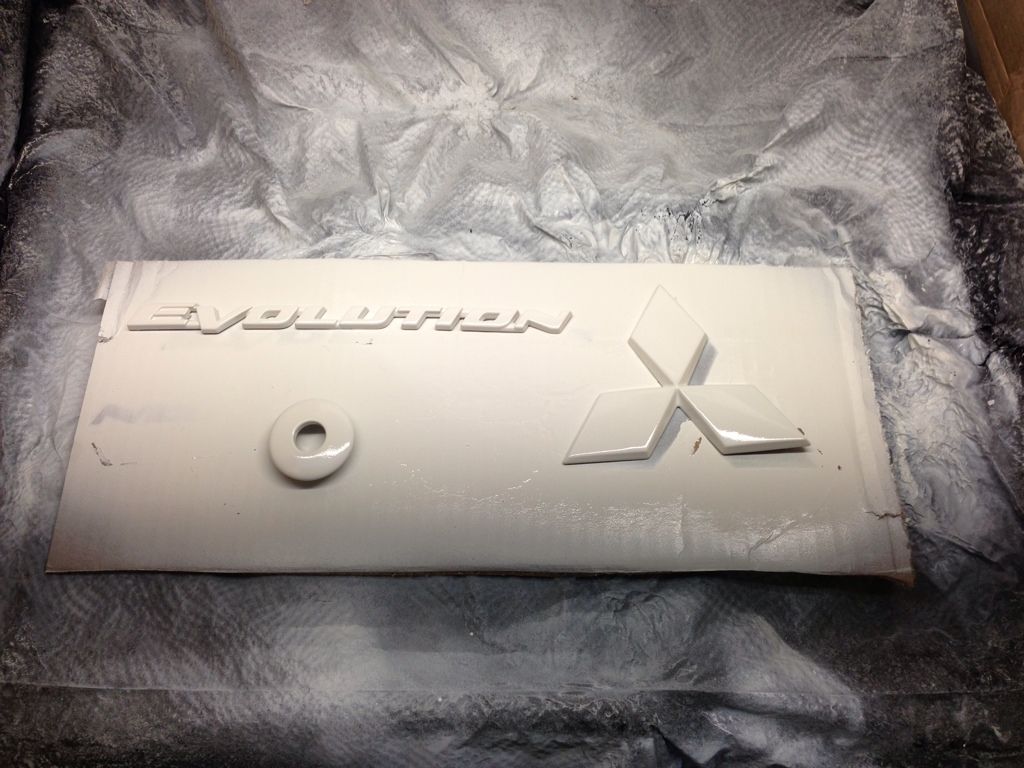
Scuffed, 2 coats of primer, wet sanded with 800, 2 coats of white, wet sanded with 800, 2 coats of clear, wet sanded with 1200, and ended with 1 more clear. At least 48 hours to cure:


3M Emblem Tape...done and done:


Reply
Old Jan 1, 2013 | 10:42 AM
  #2  
Evoryder's Avatar
Evolved Member
iTrader: (55)
 
Joined: Apr 2004
Posts: 7,383
Likes: 10
From: ☼ Florida ☼
looks nice, very nice
Reply
Old Jan 2, 2013 | 10:57 AM
  #3  
DevilDog7's Avatar
Newbie
iTrader: (1)
 
Joined: Feb 2011
Posts: 65
Likes: 0
From: Butler, Pennsylvania
I like it a lot. Looks good.
Reply
Old Jan 2, 2013 | 12:02 PM
  #4  
Jagdeep.Kumar's Avatar
Newbie
 
Joined: Dec 2012
Posts: 18
Likes: 0
From: Toronto, Canada
easier to just plastidip it and peel off excess
Reply
Old Jan 2, 2013 | 04:30 PM
  #5  
GsrJake's Avatar
Evolving Member
iTrader: (4)
 
Joined: Oct 2012
Posts: 357
Likes: 0
From: SA, Texas
looks better debadged
Reply
Old Jan 2, 2013 | 04:33 PM
  #6  
JDMitsu's Avatar
Newbie
 
Joined: Jul 2010
Posts: 17
Likes: 0
From: Yonkers, NY
I like what you did with the trunk button.

How difficult was taking it off?
Reply
Old Jan 3, 2013 | 09:07 AM
  #7  
EvilYeti's Avatar
Thread Starter
Newbie
 
Joined: Sep 2012
Posts: 28
Likes: 0
From: Florida
Originally Posted by Jagdeep.Kumar
easier to just plastidip it and peel off excess
The white dip doesn't match
Reply
Old Jan 3, 2013 | 09:11 AM
  #8  
EvilYeti's Avatar
Thread Starter
Newbie
 
Joined: Sep 2012
Posts: 28
Likes: 0
From: Florida
Originally Posted by JDMitsu
I like what you did with the trunk button.

How difficult was taking it off?
Very easy. Pull off the inner trunk panel and behind the button are two small screws and tension clip. Unplug the button and done.
Reply
Old Jan 3, 2013 | 10:58 AM
  #9  
1012Xmr's Avatar
Evolving Member
 
Joined: Feb 2012
Posts: 162
Likes: 1
From: SI NY
Nice looks good
Reply
Old Jan 5, 2013 | 03:41 AM
  #10  
ZeroX's Avatar
Newbie
 
Joined: Oct 2012
Posts: 40
Likes: 0
From: NEW YORK
again, great idea for the trunk button. looks good man
Reply
Old Jan 5, 2013 | 05:47 AM
  #11  
itsmyturn's Avatar
Newbie
Veteran: Army
 
Joined: Oct 2011
Posts: 91
Likes: 7
From: NY
Looks good...
Reply
Old Jan 7, 2013 | 03:24 PM
  #12  
ikt's Avatar
ikt
Evolved Member
iTrader: (18)
 
Joined: Oct 2009
Posts: 1,574
Likes: 11
From: the internet
you coulda just scuffed with 320 and shot it. Throw two coats of clear on it. Shooting clear over 800 wet can cause adhesion problems in the long run. Did you use a lacquer?
Reply
Old Jan 7, 2013 | 06:14 PM
  #13  
u4styx's Avatar
Newbie
 
Joined: Apr 2012
Posts: 35
Likes: 0
From: Ft. Carson, CO
Nice
Reply
Old Jan 7, 2013 | 06:55 PM
  #14  
EAGLE 5's Avatar
Evolving Member
 
Joined: Jul 2012
Posts: 281
Likes: 0
From: Houston, TX
Reply
Old Jan 9, 2013 | 03:18 PM
  #15  
EvilYeti's Avatar
Thread Starter
Newbie
 
Joined: Sep 2012
Posts: 28
Likes: 0
From: Florida
Originally Posted by ikt
you coulda just scuffed with 320 and shot it. Throw two coats of clear on it. Shooting clear over 800 wet can cause adhesion problems in the long run. Did you use a lacquer?
320?!? They're not made of wood.
Reply


All times are GMT -7. The time now is 06:15 AM.