
Official Evo X interior and dash picture thread!


Official Evo X interior and dash picture thread!
Credit to Eggy for coming up with this idea in the 1-9 forums!
Took this from the evolution 1-9 forums and figured it would be a great idea for the X forums since i haven't seen nor found any.
Please provide pictures of all interior mods you have done! This includes gauges, pods, lighting, audio, engine related electronics, seats.... whatever!
If possible, please try to include information about the components you have added.
This thread could be a great reference for anyone who wants to start modding their interior and wants to get a good idea of everything that is available out there!
Also, through this thread vendors can figure out what parts Evo owners are in need of.
I hope we can all benefit from this thread.... so.... start posting!
Evolving Member
Joined: Apr 2008
Posts: 409
Likes: 0
From: Roanoke, Va, USA
Probably a good idea to start an official thread about pictures ... with pictures. Theres quite a few threads regarding interior setups, but no "official" one. I am interested tho, lets see what everyone has done in a consolidated fashion.

Evolving Member
Joined: Jul 2007
Posts: 253
Likes: 0
From: SLovenia-EU
1.CF Fabric
What you need:
-CF Fabric http://m3forum.net/m3forum/showthread.php?t=244952
-3M™ Super 77™ Multipurpose Adhesive
-Olfa blades


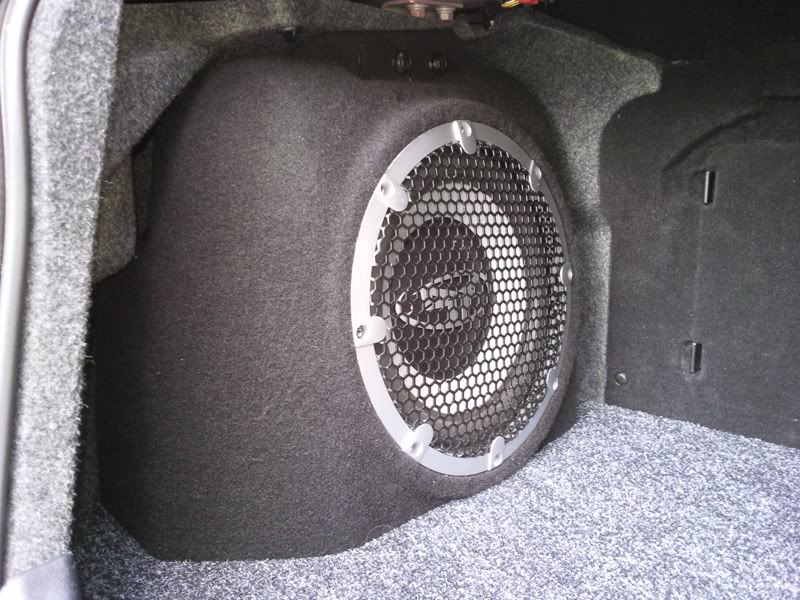
2.New LED light for rear trunk


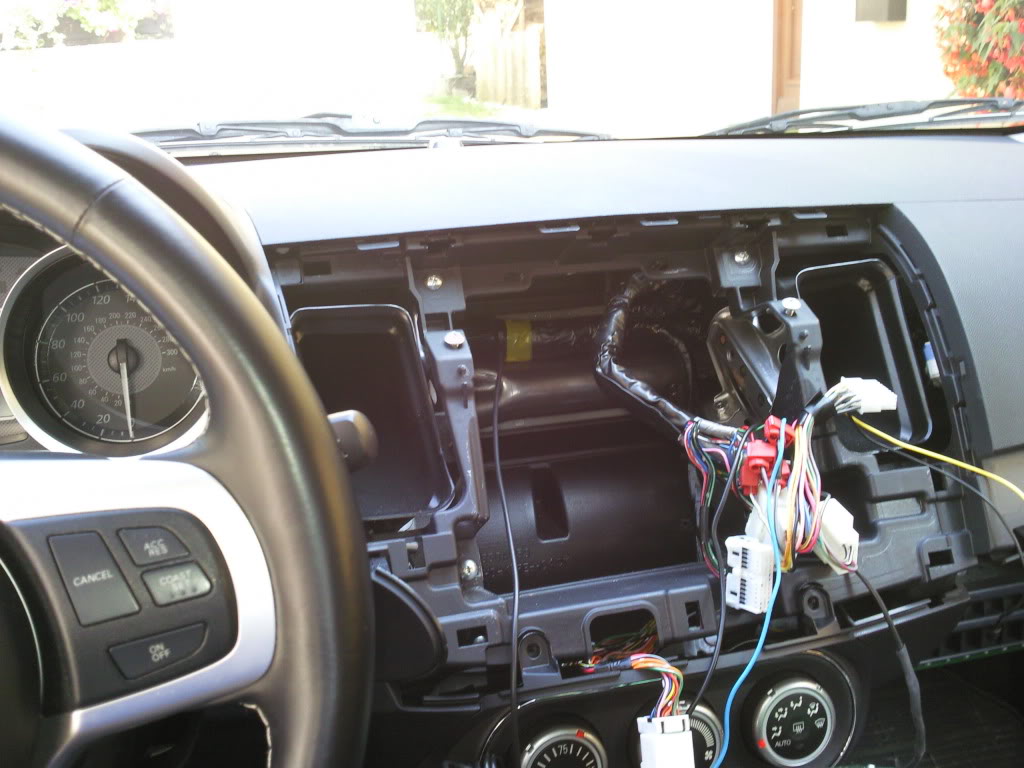
3.Install Pioneer AVIC-Z110BT

http://www.youtube.com/watch?v=xr0r3JuWZUk

4.For

5.Made Cam holder I use for a track day

6Gauge


7.Paint Recaro

8.Because is in the reat trunk to much plastic I do this.

What you need:
-CF Fabric http://m3forum.net/m3forum/showthread.php?t=244952
-3M™ Super 77™ Multipurpose Adhesive
-Olfa blades


2.New LED light for rear trunk


3.Install Pioneer AVIC-Z110BT

http://www.youtube.com/watch?v=xr0r3JuWZUk
4.For

5.Made Cam holder I use for a track day

6Gauge


7.Paint Recaro

8.Because is in the reat trunk to much plastic I do this.
Last edited by boy36; May 12, 2010 at 12:58 PM.

Evolving Member
Joined: Jul 2007
Posts: 253
Likes: 0
From: SLovenia-EU
1,First I wash the harnes slots with hot watter,then dry.
2.Then I take sanpaper (800) and light everything with sandpaper under the running water, then dry.
3.I take Plastic Premier spray and made two thin coat.Wait 5-6 hour beetwen coat to dry.
4.Then I smooth it by slightly wet sanding it with 1200-1500 sandpaper ,clean ewrything with watter and dry.
5.Then I take acrylics spray and made three thin coat with silver colour.Wait beetwen coat 24 hours.
[B]Betveen each coat you must wash harnes slot.
Why?
As part of the paint on the road to the housing of the spray dried in the air and fell on
housing as the dust - it is not grabbed by the housing and so the next coat of paint will not be touched in this dust.[/B]
Sorry for my English is so so.
Last edited by boy36; May 11, 2010 at 11:34 PM.
Trending Topics
Evolving Member
Joined: Jul 2007
Posts: 253
Likes: 0
From: SLovenia-EU

Evolving Member
Joined: Aug 2008
Posts: 280
Likes: 0
From: Canada
Need step by step instrutions pretty please? would love to do this but have no clue how to even take off the door trim. not very handy...
1.CF Fabric
What you need:
-CF Fabric http://m3forum.net/m3forum/showthread.php?t=244952
-3M� Super 77� Multipurpose Adhesive
-Olfa blades
What you need:
-CF Fabric http://m3forum.net/m3forum/showthread.php?t=244952
-3M� Super 77� Multipurpose Adhesive
-Olfa blades
Evolving Member
Joined: Jul 2007
Posts: 253
Likes: 0
From: SLovenia-EU
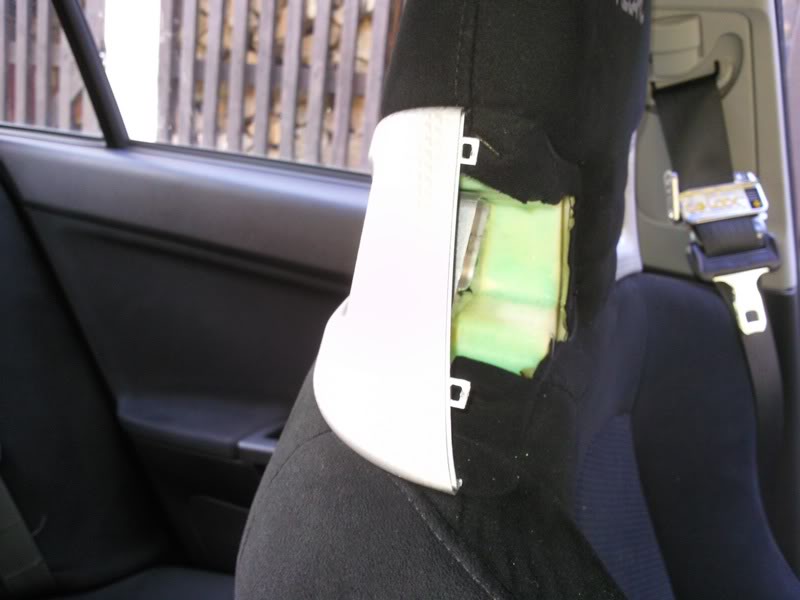
How to take off and paint harnes slot from Reccaro seats.
1.As the first you must do this when is in the car hot, then plastic pins will not broke.Put your fingers as shown in the picture on both sides of the harness slots and pull slowly in the direction as shown by the arrow.You need to pull with some forces.


2.Two pices of harness slots.
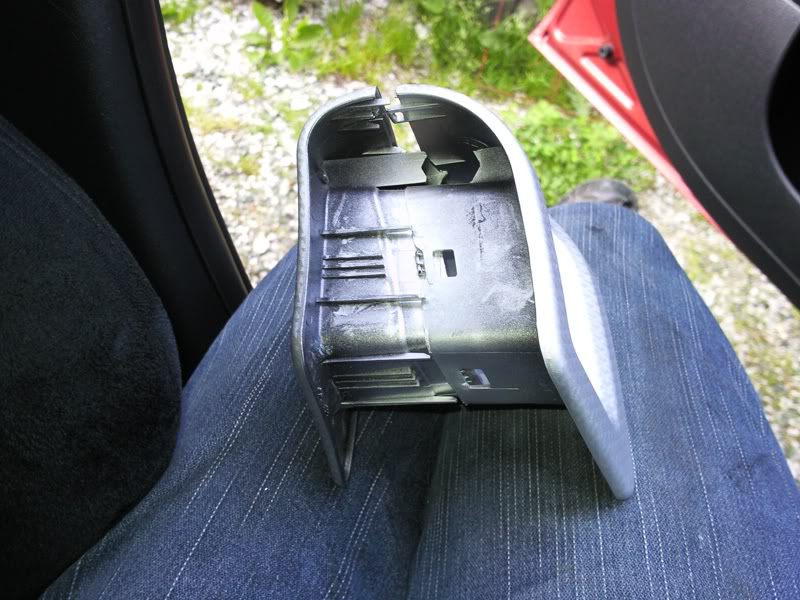
3.Painting plasticsThese proces may vary. I use this proces:

1,First I wash the harnes slots with hot watter,then dry.
2.Then I take sanpaper (800) and light everything with sandpaper under the running water, then dry.
3.I take Plastic Premier spray and made two thin coat.Wait 5-6 hour beetwen coat to dry.
4.Then I smooth it by slightly wet sanding it with 1200-1500 sandpaper ,clean ewrything with watter and dry.
5.Then I take acrylics spray and made three thin coat with silver colour.Wait beetwen coat 24 hours.
Betveen each coat you must wash harnes slot.
Why?
As part of the paint on the road to the housing of the spray dried in the air and fell on
housing as the dust - it is not grabbed by the housing and so the next coat of paint will not be touched in this dust.
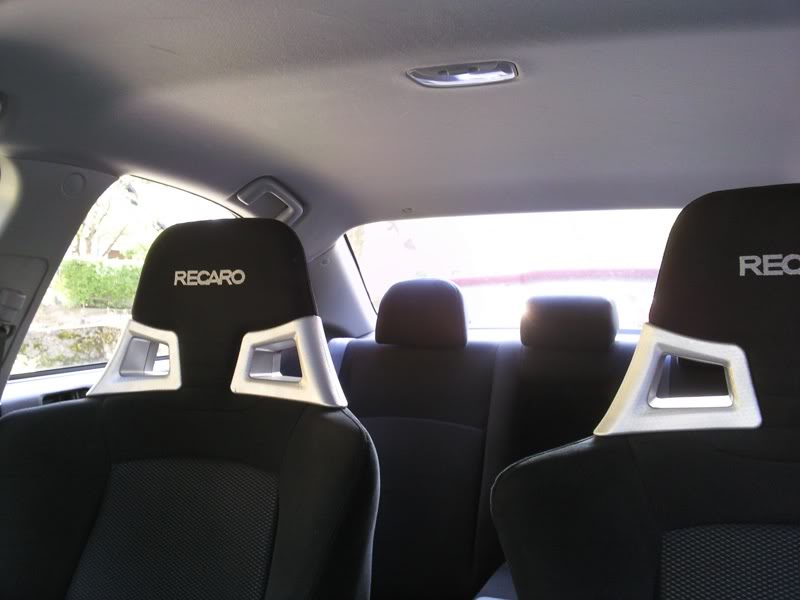
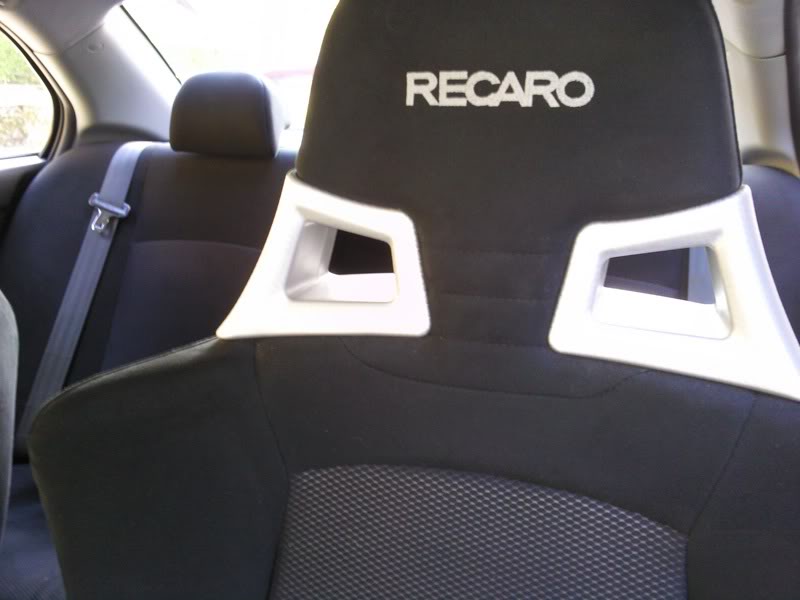
4.When you are done with painting,you put back harness slots to the seats. ,
5.And this is the result.Then you deserve one
1.As the first you must do this when is in the car hot, then plastic pins will not broke.Put your fingers as shown in the picture on both sides of the harness slots and pull slowly in the direction as shown by the arrow.You need to pull with some forces.
2.Two pices of harness slots.
3.Painting plasticsThese proces may vary. I use this proces:
1,First I wash the harnes slots with hot watter,then dry.
2.Then I take sanpaper (800) and light everything with sandpaper under the running water, then dry.
3.I take Plastic Premier spray and made two thin coat.Wait 5-6 hour beetwen coat to dry.
4.Then I smooth it by slightly wet sanding it with 1200-1500 sandpaper ,clean ewrything with watter and dry.
5.Then I take acrylics spray and made three thin coat with silver colour.Wait beetwen coat 24 hours.
Betveen each coat you must wash harnes slot.
Why?
As part of the paint on the road to the housing of the spray dried in the air and fell on
housing as the dust - it is not grabbed by the housing and so the next coat of paint will not be touched in this dust.
4.When you are done with painting,you put back harness slots to the seats. ,
5.And this is the result.Then you deserve one
Evolving Member
Joined: Jul 2007
Posts: 253
Likes: 0
From: SLovenia-EU
Evolving Member
Joined: Aug 2008
Posts: 280
Likes: 0
From: Canada
I think is here:
https://www.evolutionm.net/forums/ev...rim-evo-x.html
https://www.evolutionm.net/forums/ev...rim-evo-x.html